
How to Load Filament in the Silhouette Alta 3D printer
Your Silhouette Alta 3D printer is an incredible machine for crafting.The easy to use machine uses PLAfilament to create custom 3D designs. Correctly loading filament into the Silhouette Alta 3D printer is essential to getting a good result. In this tutorial we will show you exactly how to do that.
Step 1 - Access Filament icon
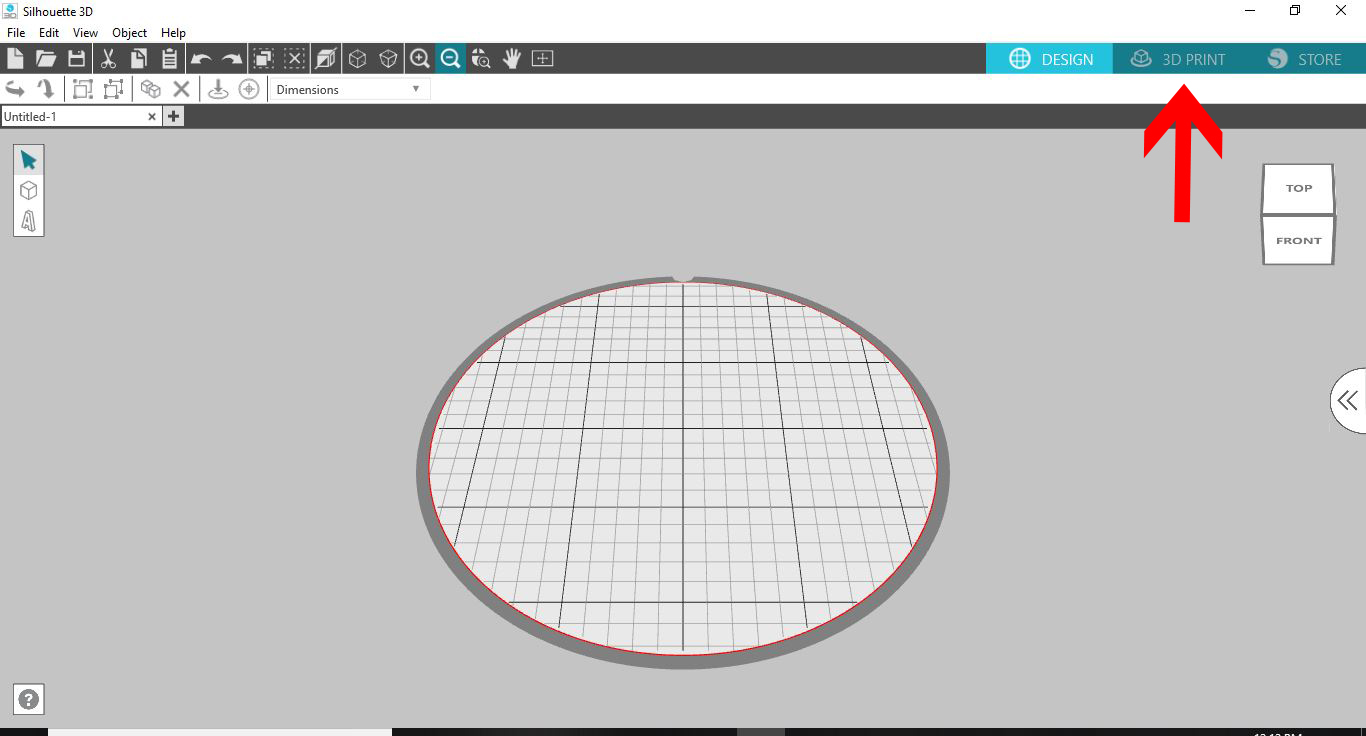
To load the filament we need to access the Filament icon. Click on Silhouette Alta software to open it. At the top of the screen click on the 3D print icon.
Click on the small filament icon on the print screen.
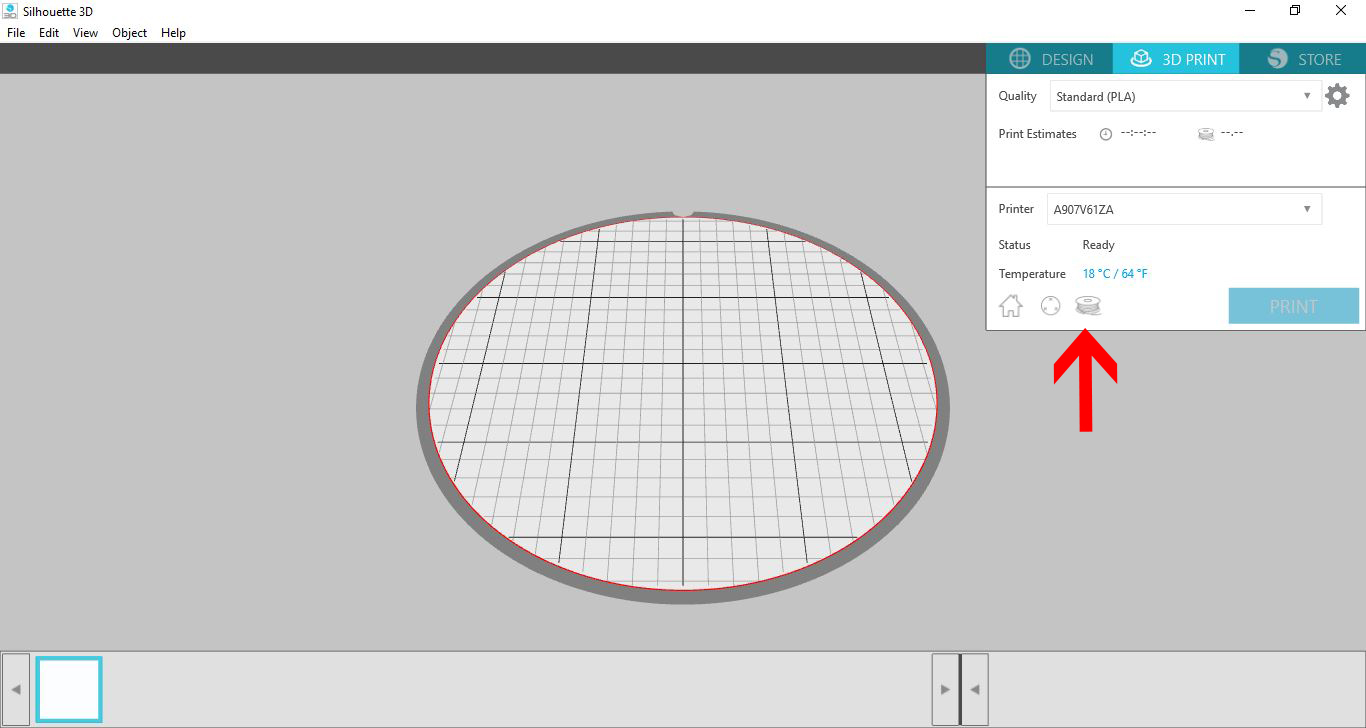
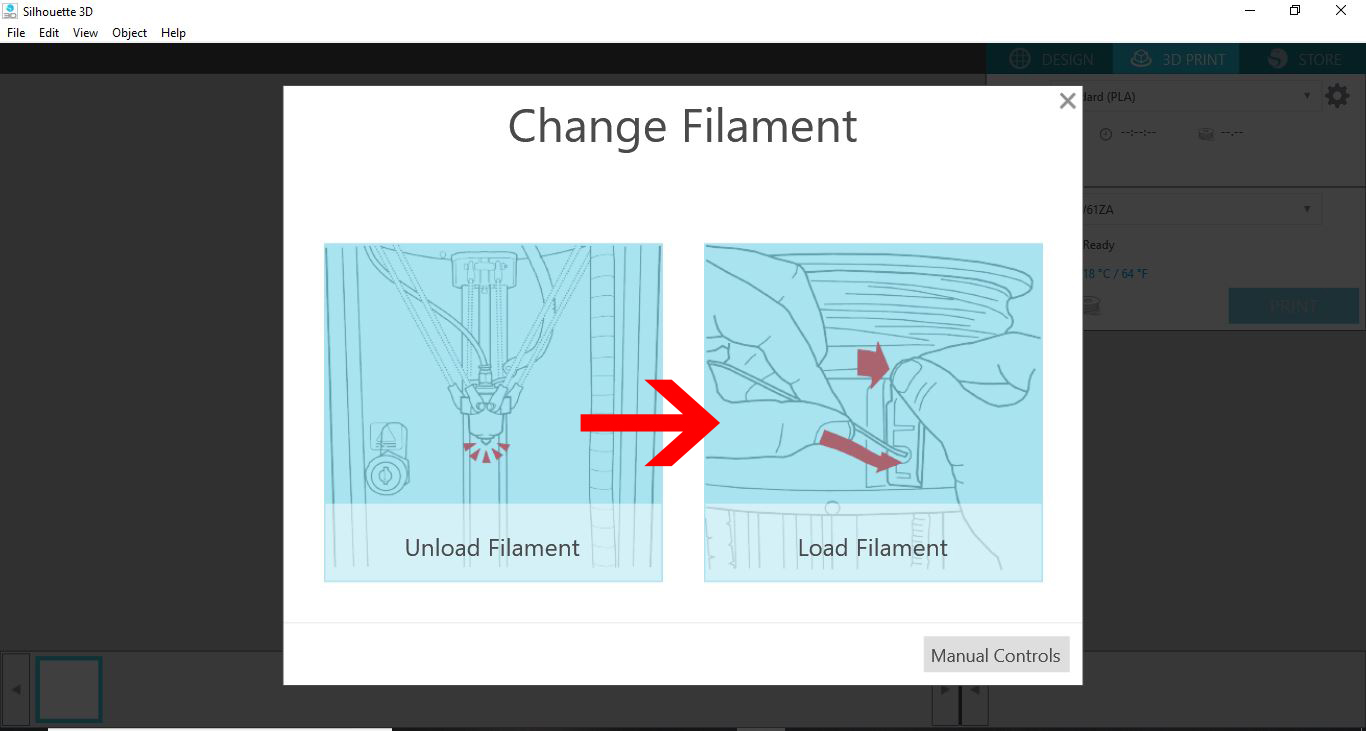
A change filament screen will appear where you will click on Load Filament.
Step 2 - Load the Filament following onscreen instructions
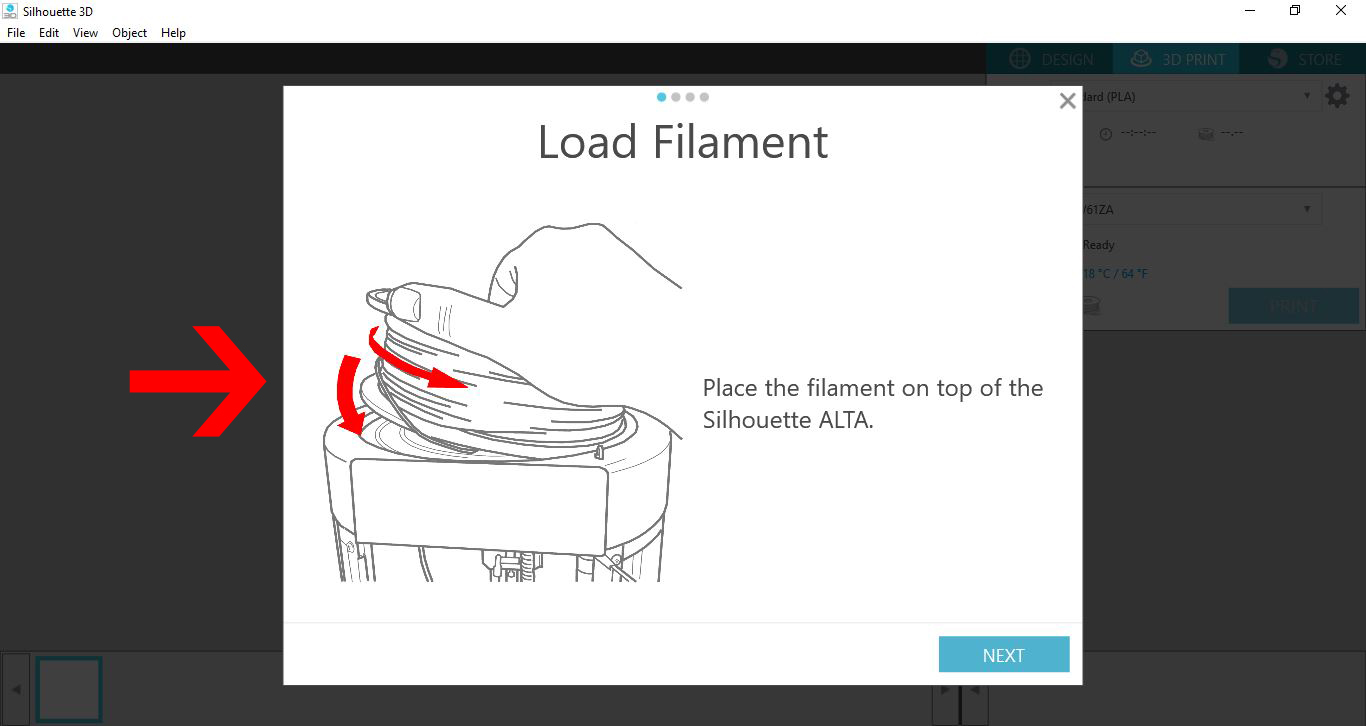
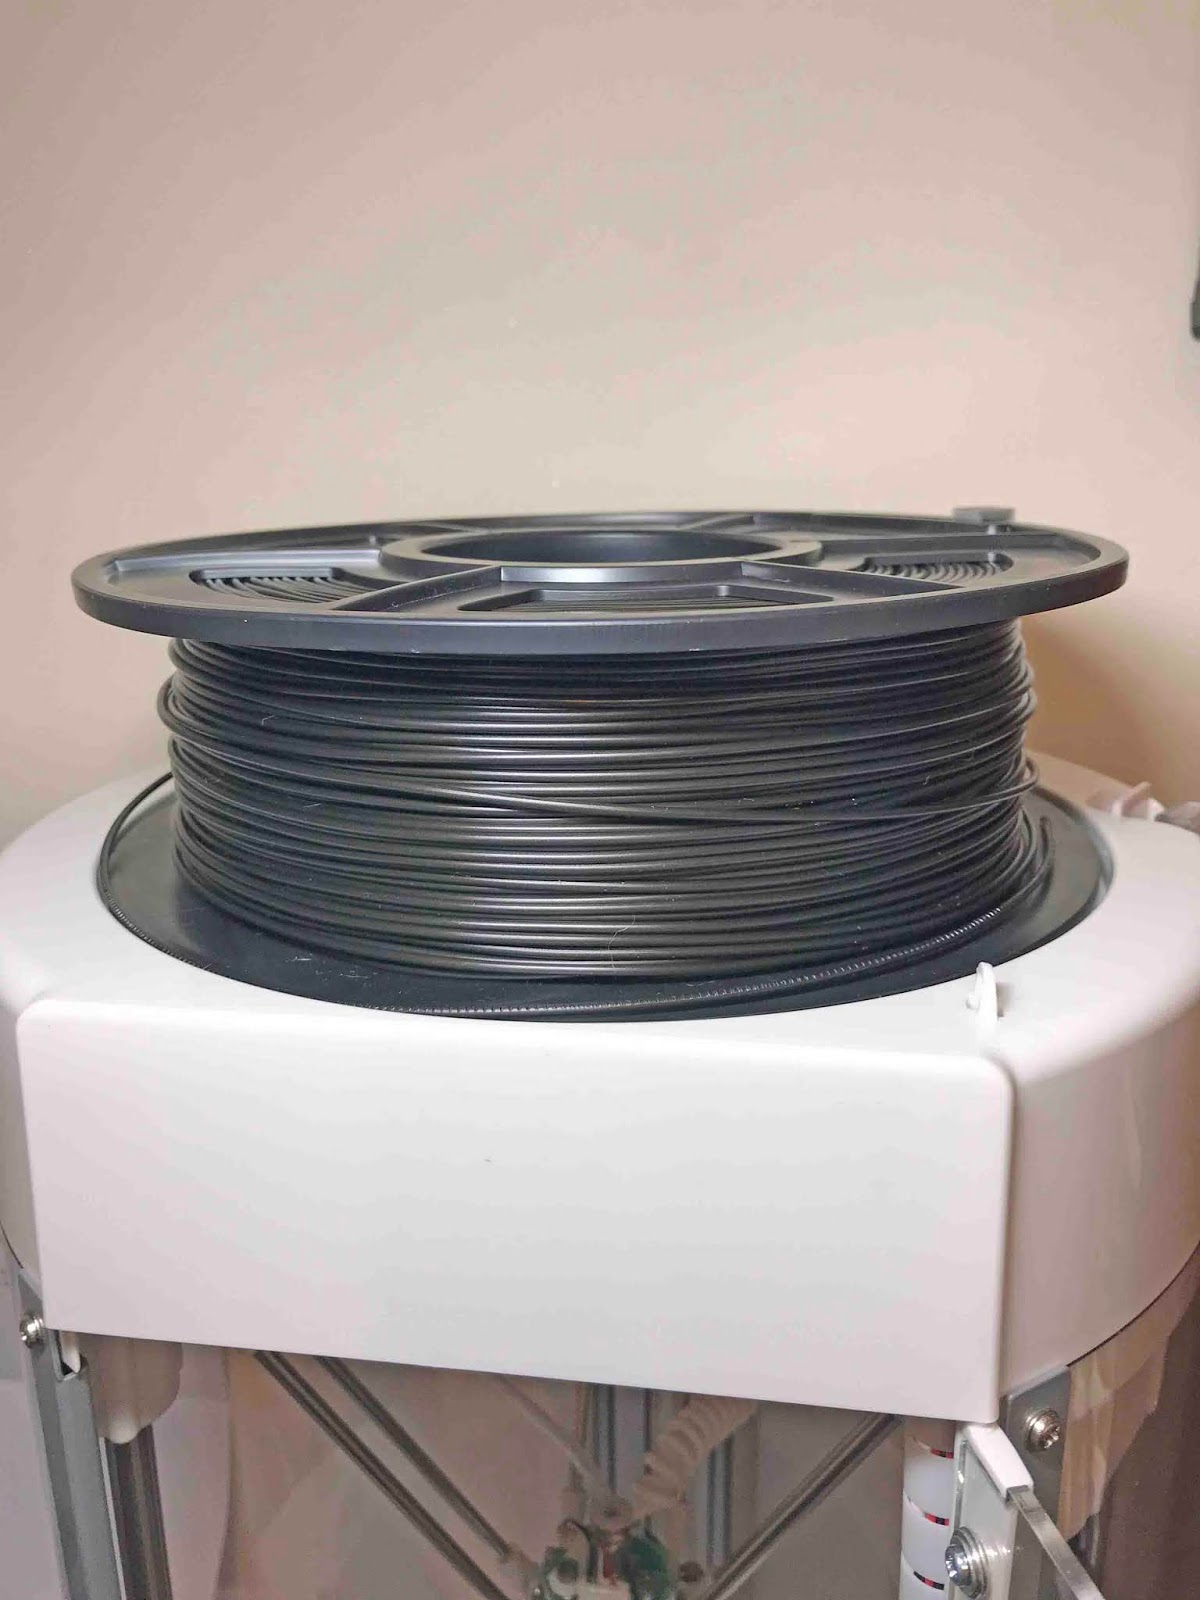
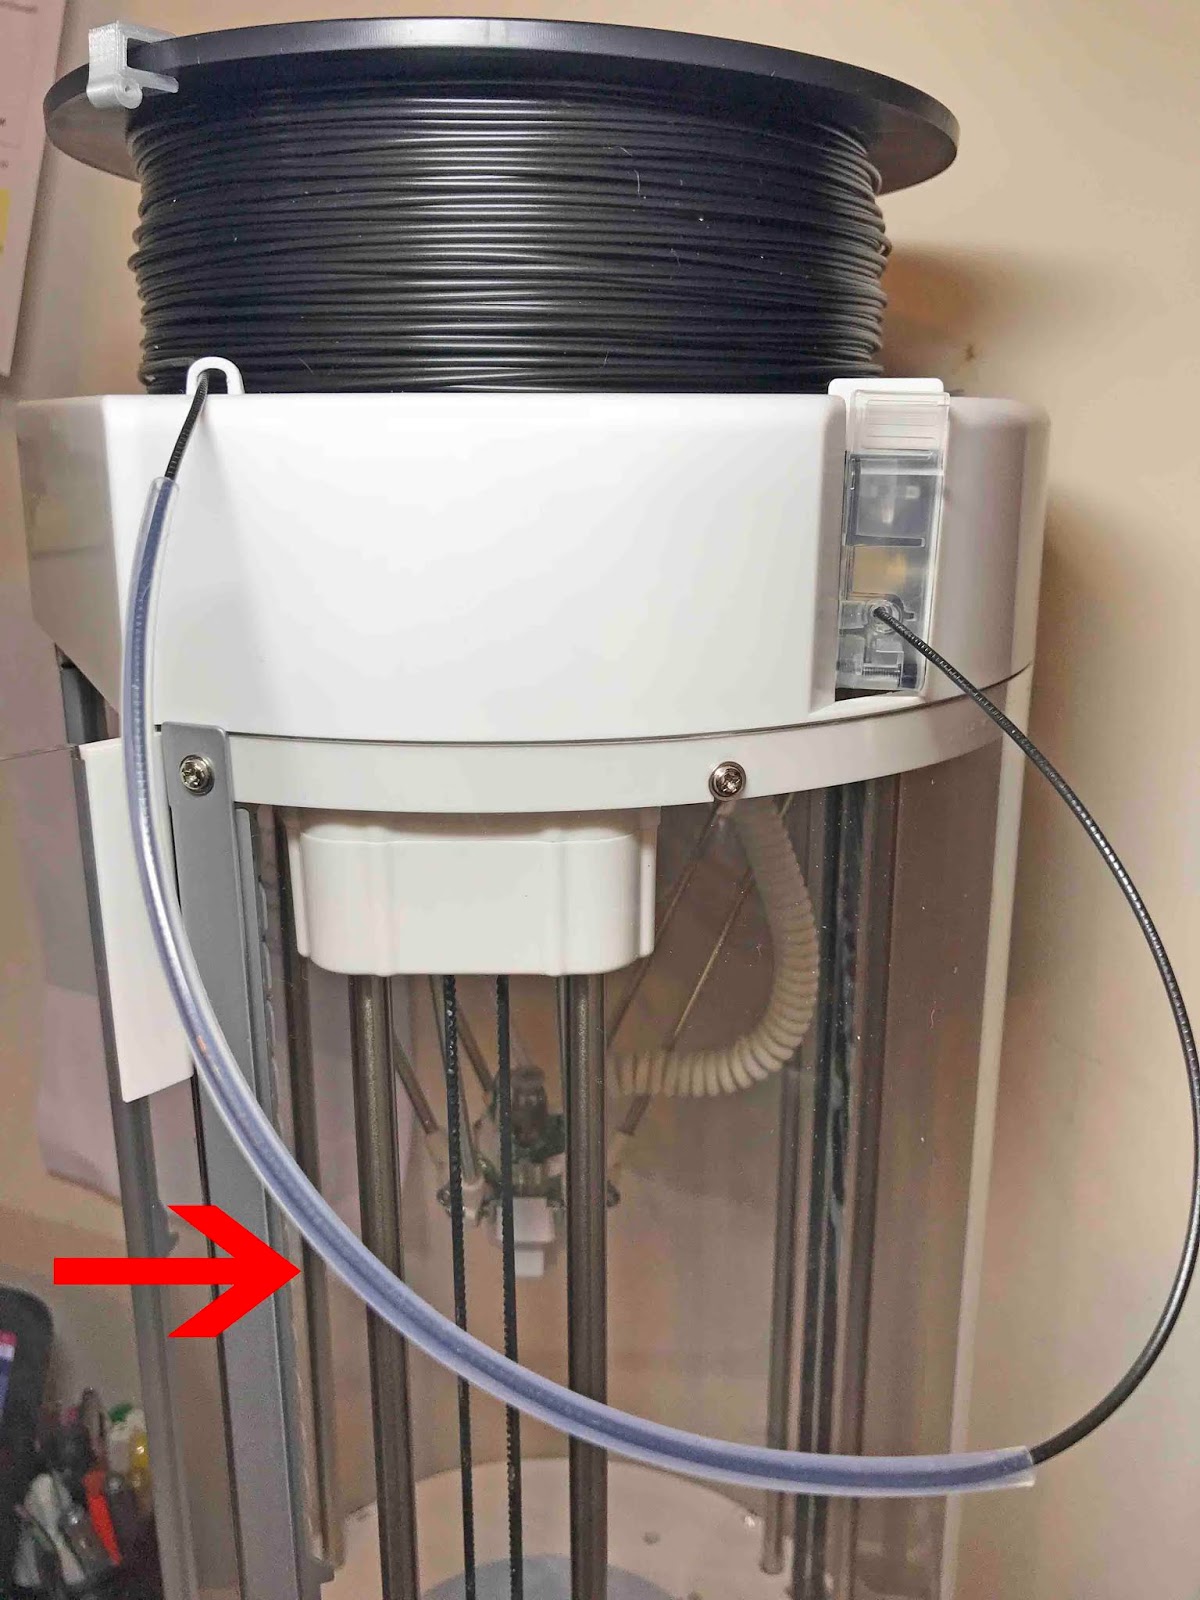
Following the onscreen instructions, place the roll of filament on top of your machine. Make sure that the filament is running in the right direction as per on screen.
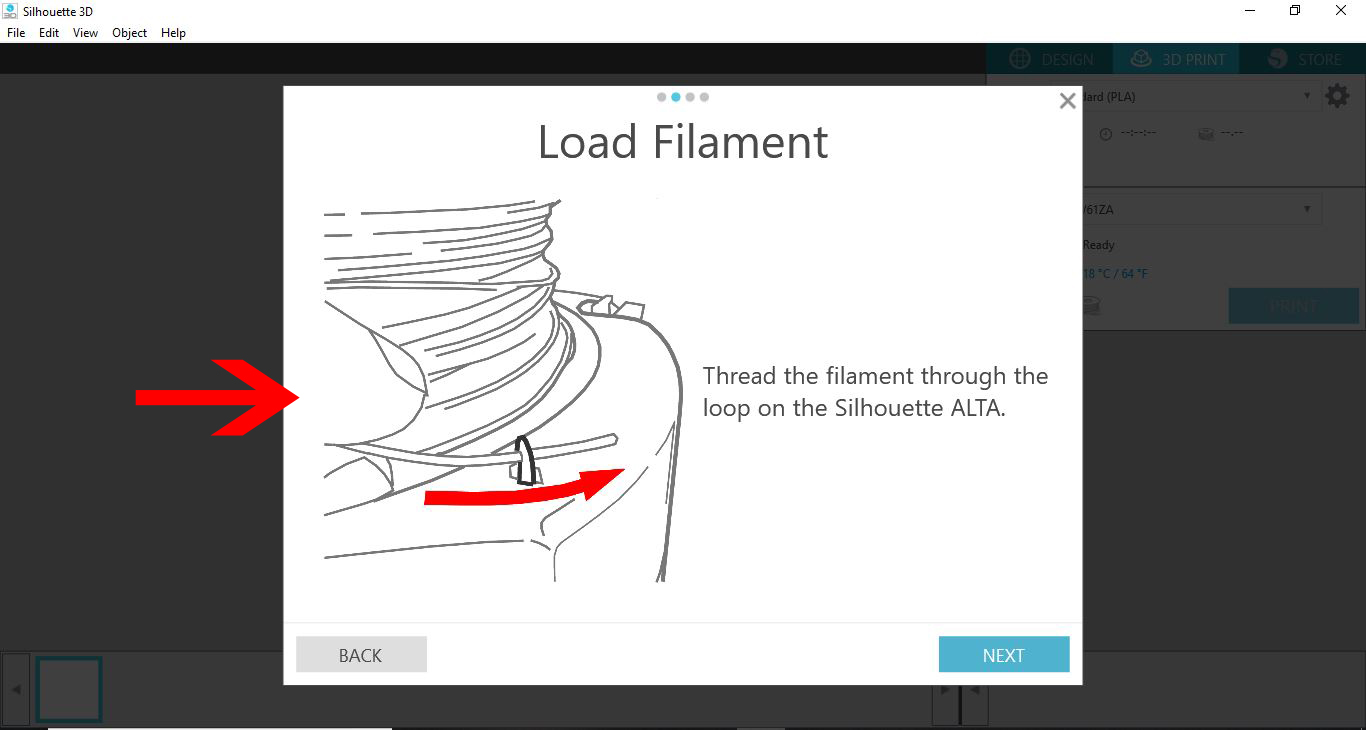
You now need to thread the filament through the filament loop. The image below provides a visual of what you should see on your screen. When threading the filament,ensure that it is loose and not knotted up anywhere or caught on anything.
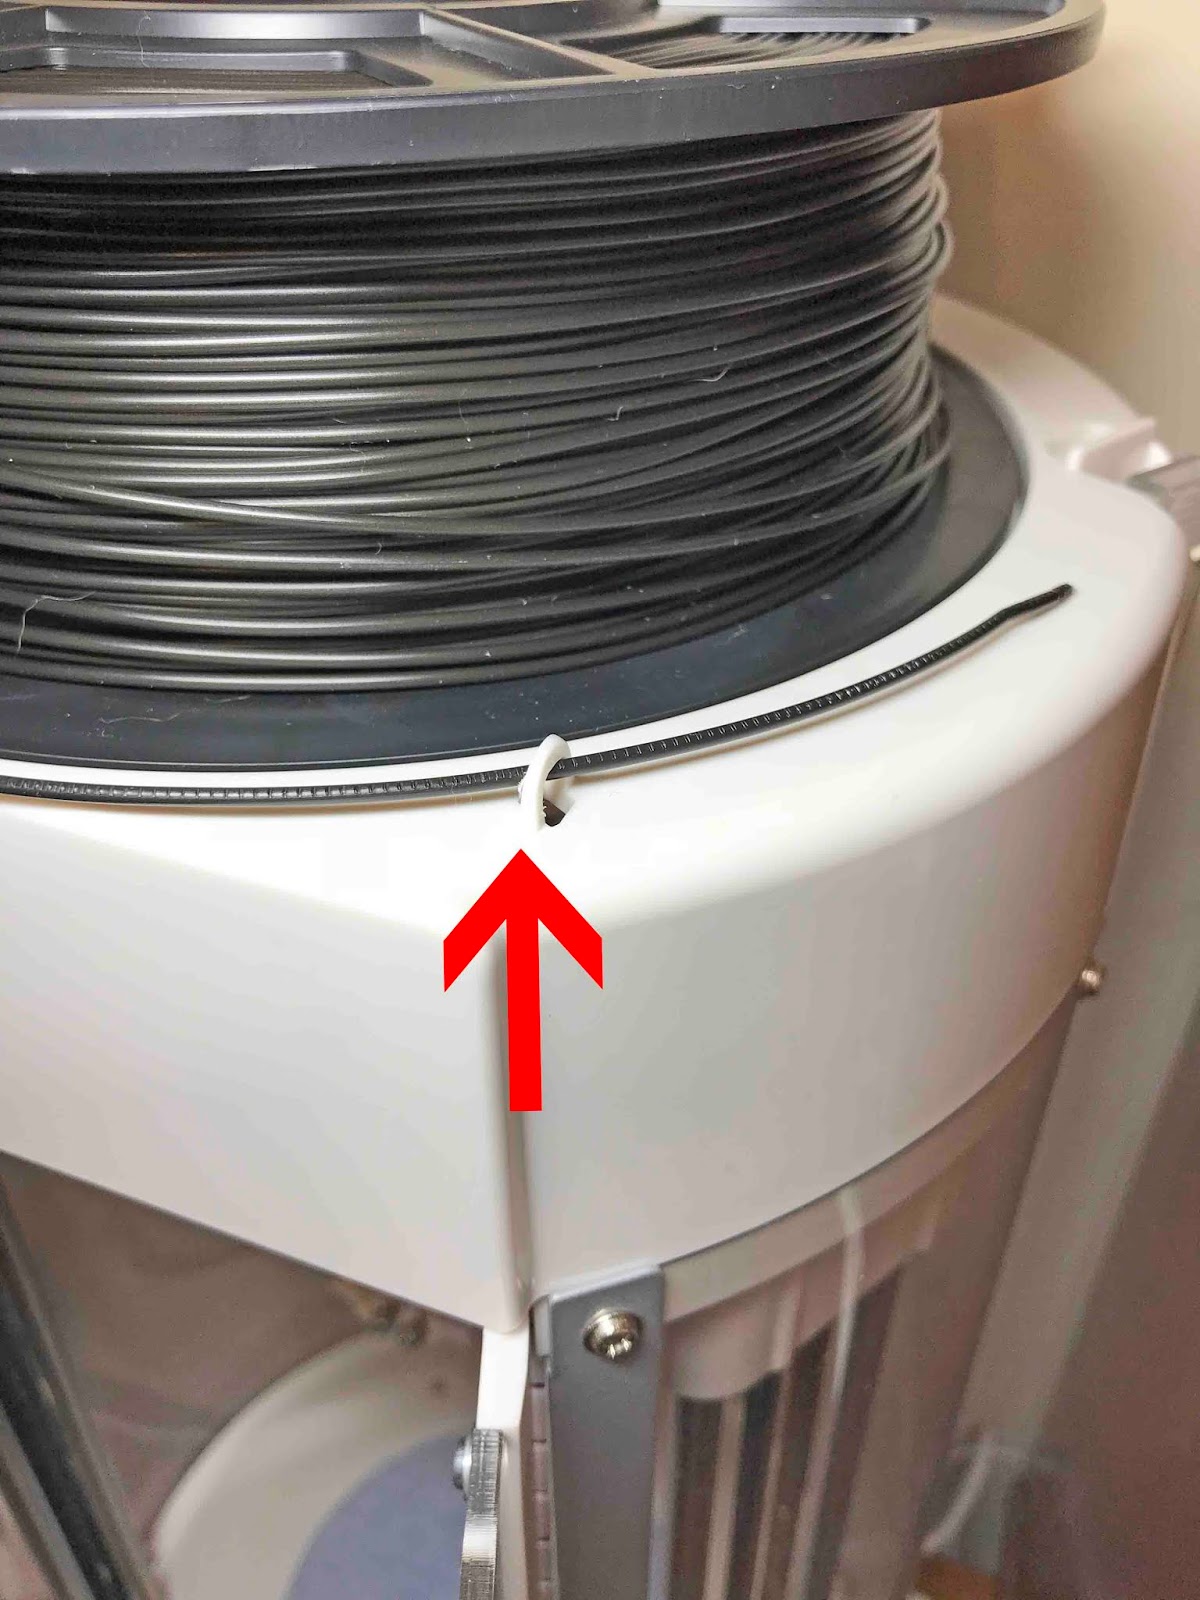
As seen in the image below, the filament is threaded through the loop on the machine.
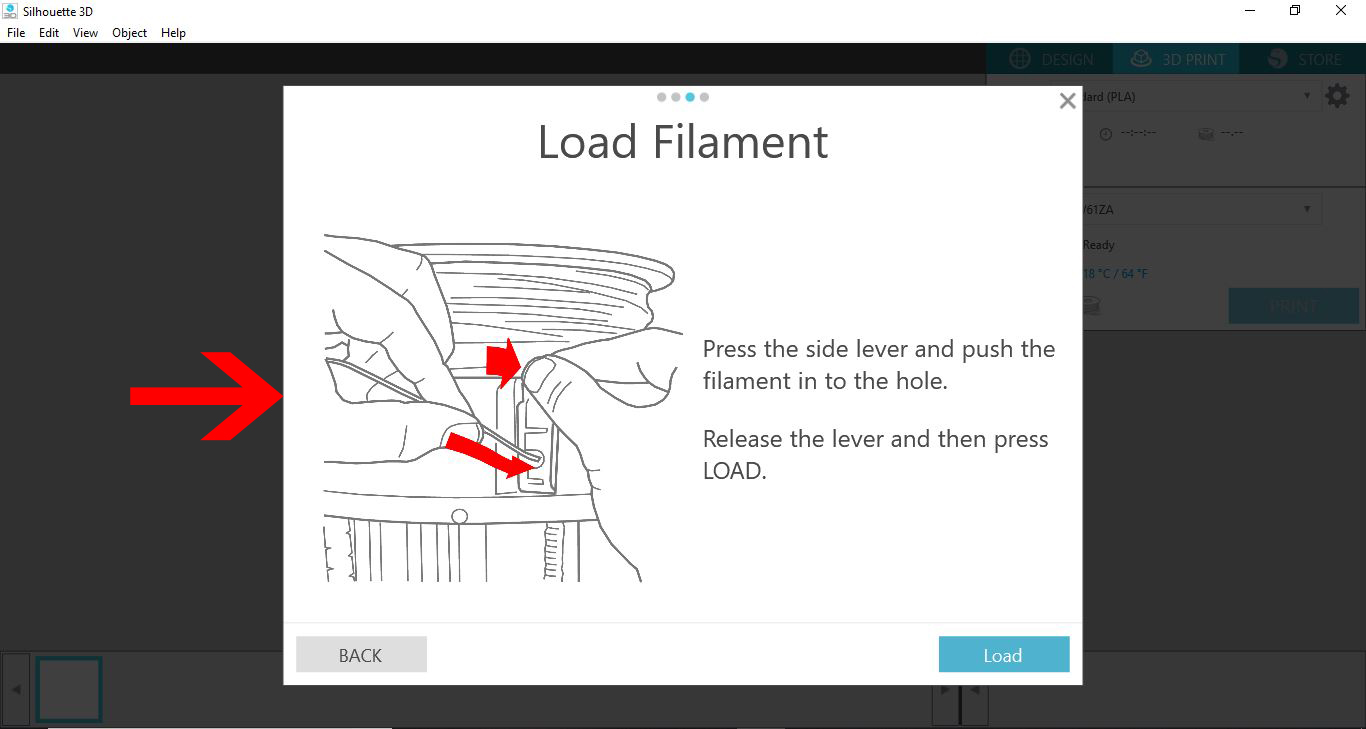
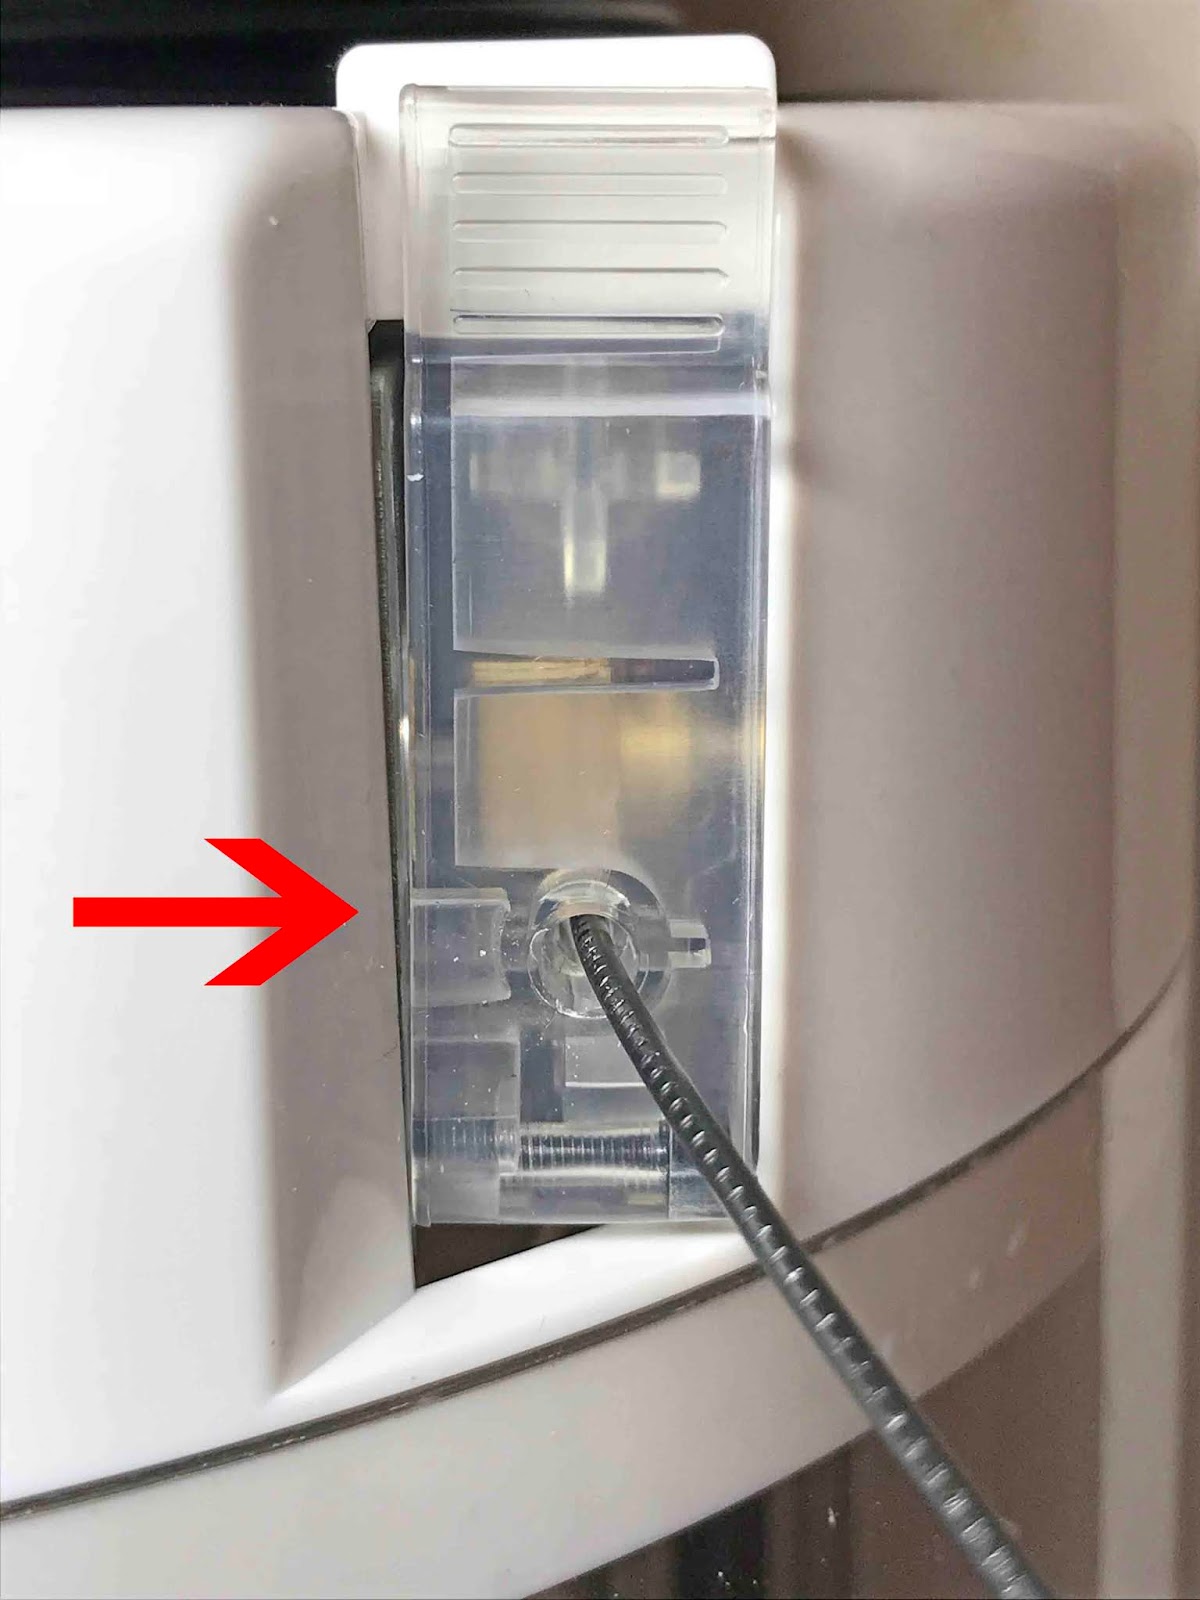
Next, you need to thread the filament through the filament feeder tube. Then press on the lever on the filament hole and place the filament in.
Please note the tube on the filament is to help the filament guide into the machine more easily.
*I would also recommend to have the clear tube sitting through the filament loop as well. I recommend this as after only having this machine for several weeks, the filament is wearing the loop down. By placing the plastic tube through the loop this will avoid any wear on the loop.
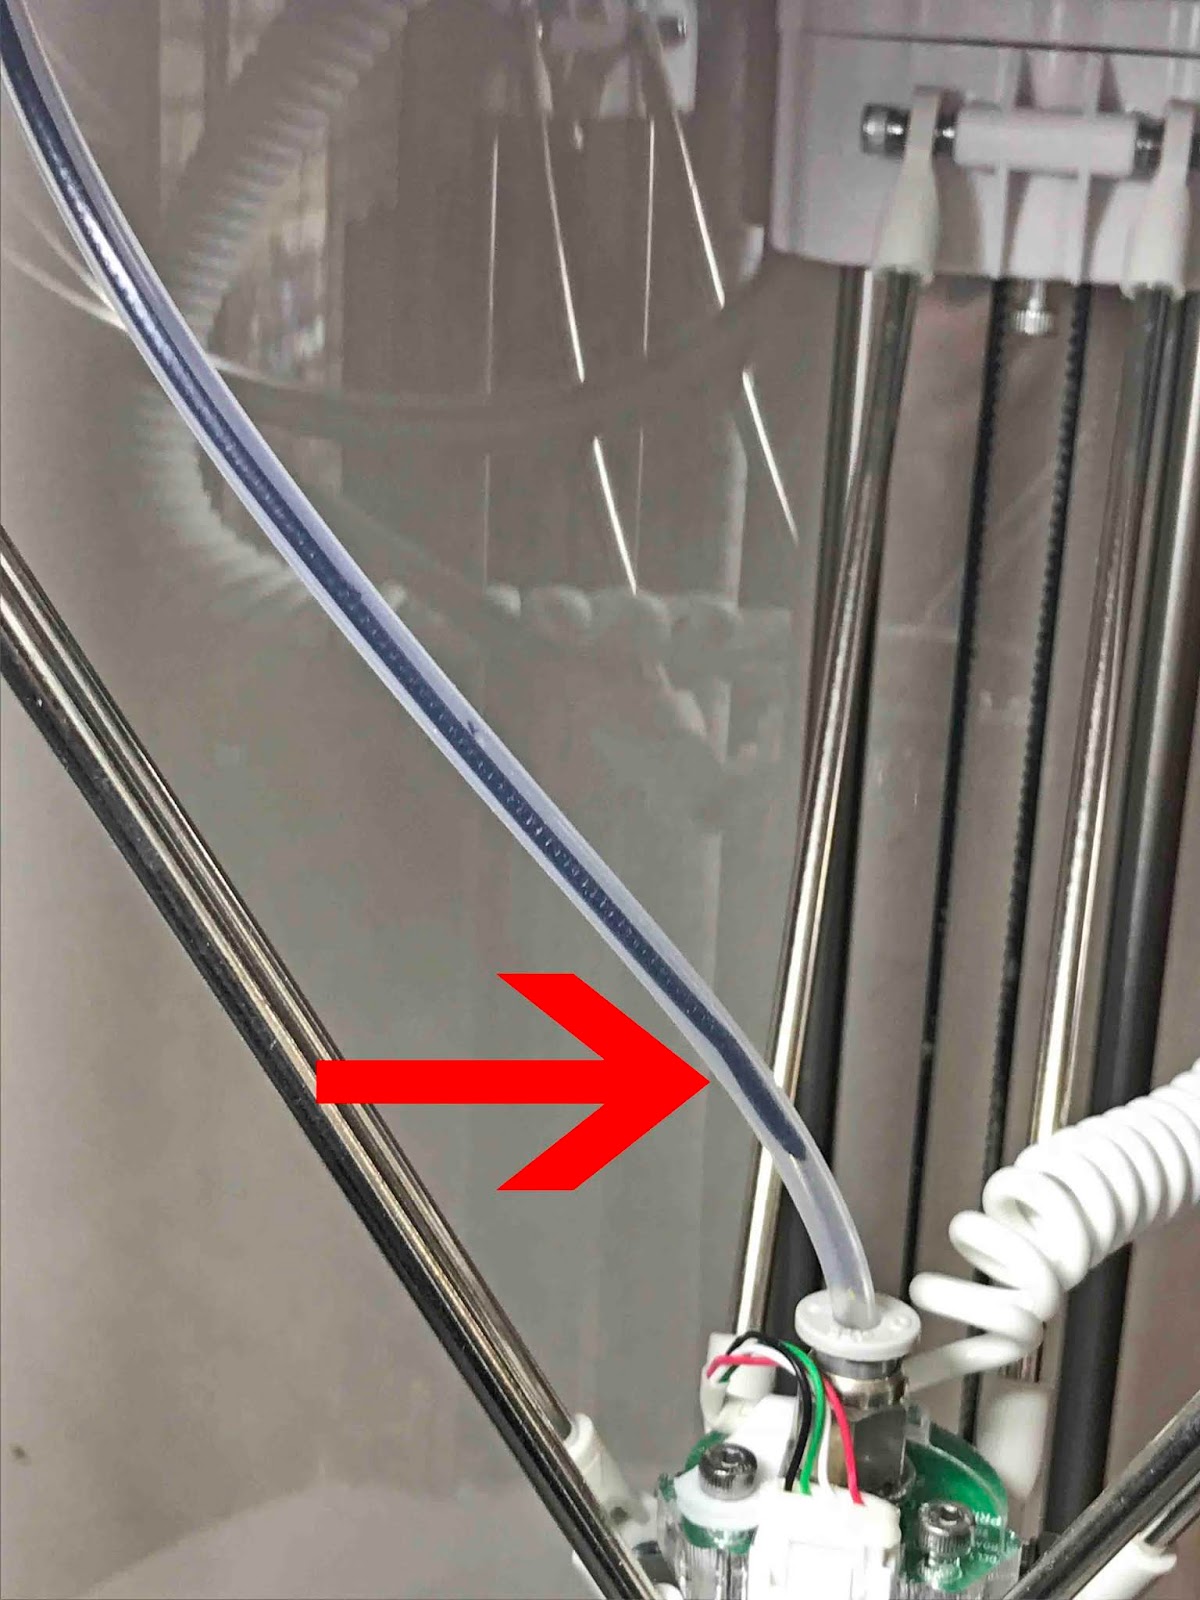
While holding the lever, keep pushing the filament in until you can see it in the tubing inside your machine.
Keep pushing all the wayuntil it will not go any further.
Step 3 - Complete loading the filament
Once the filament is loaded, click on the Load button on your screen.A new window will appeartelling you that the print head is warming up.

The print head will move to the front of your machine .
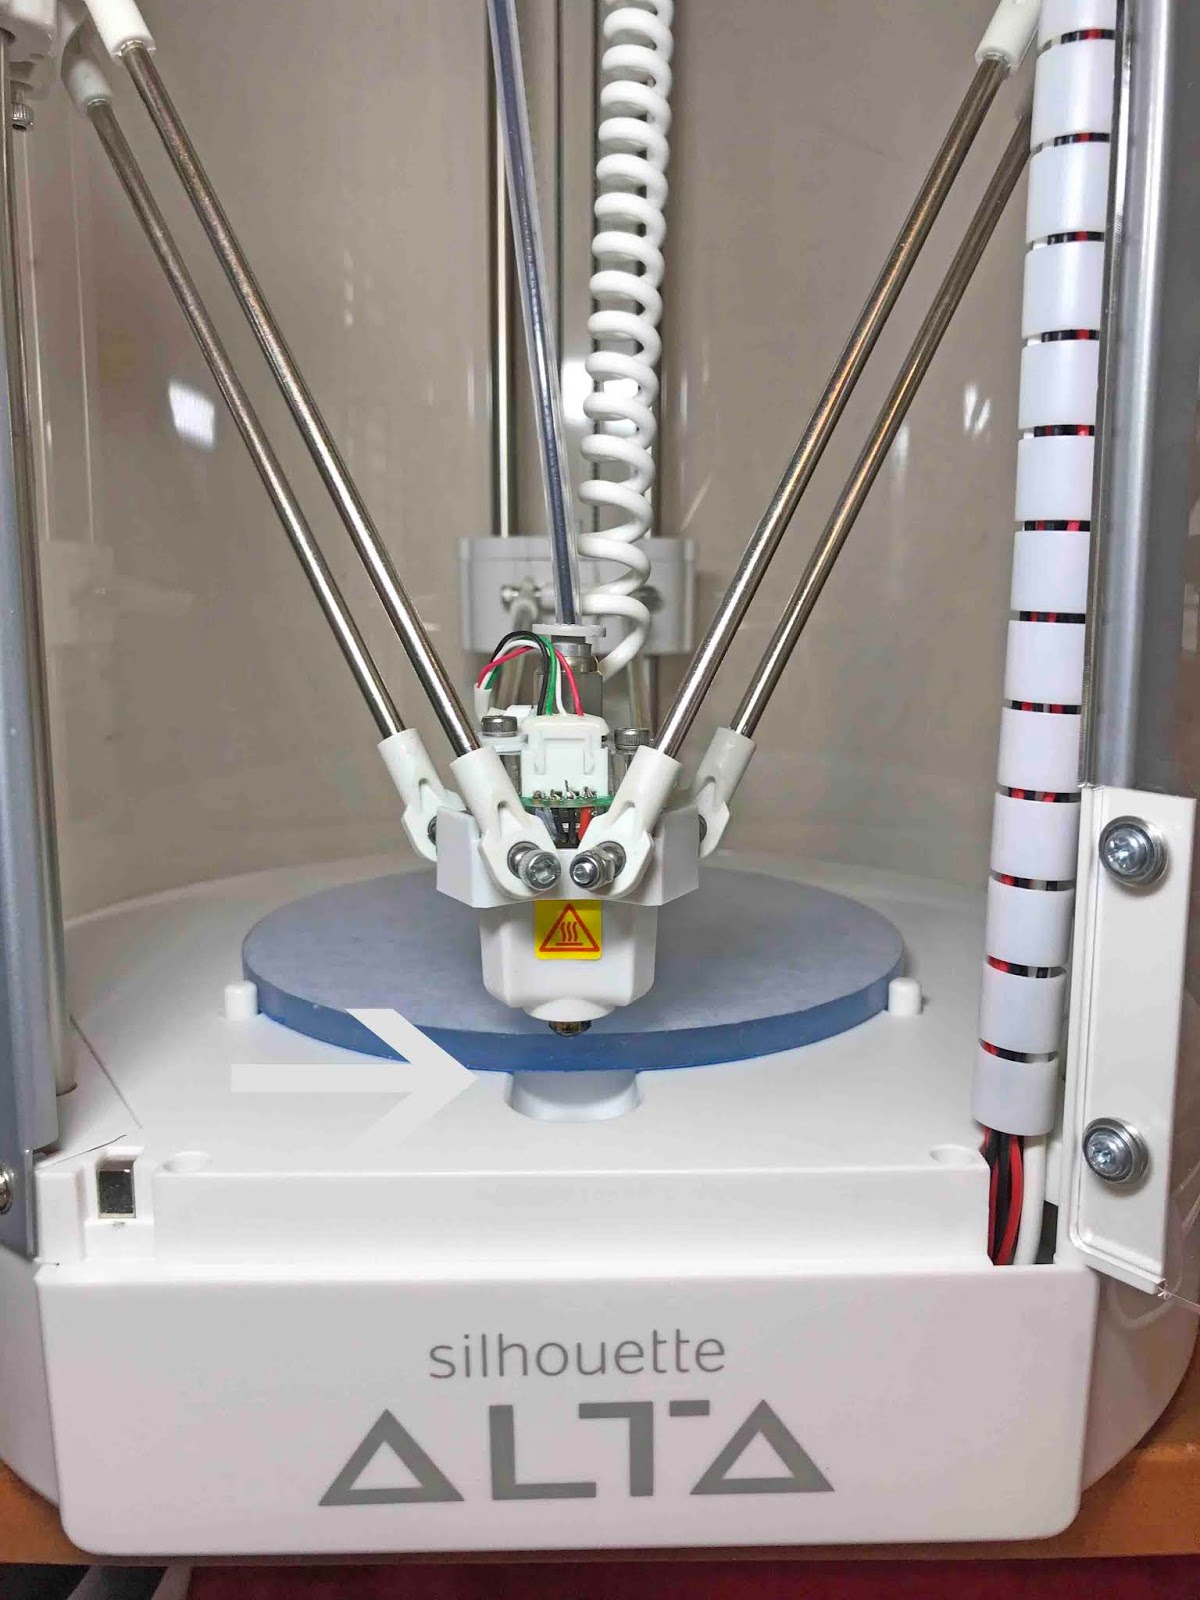
The print head will make a few noiseswhile heating the filament. You will start to see the filament push through and go into the cavity to collect. This is just waste filament you can throw away.

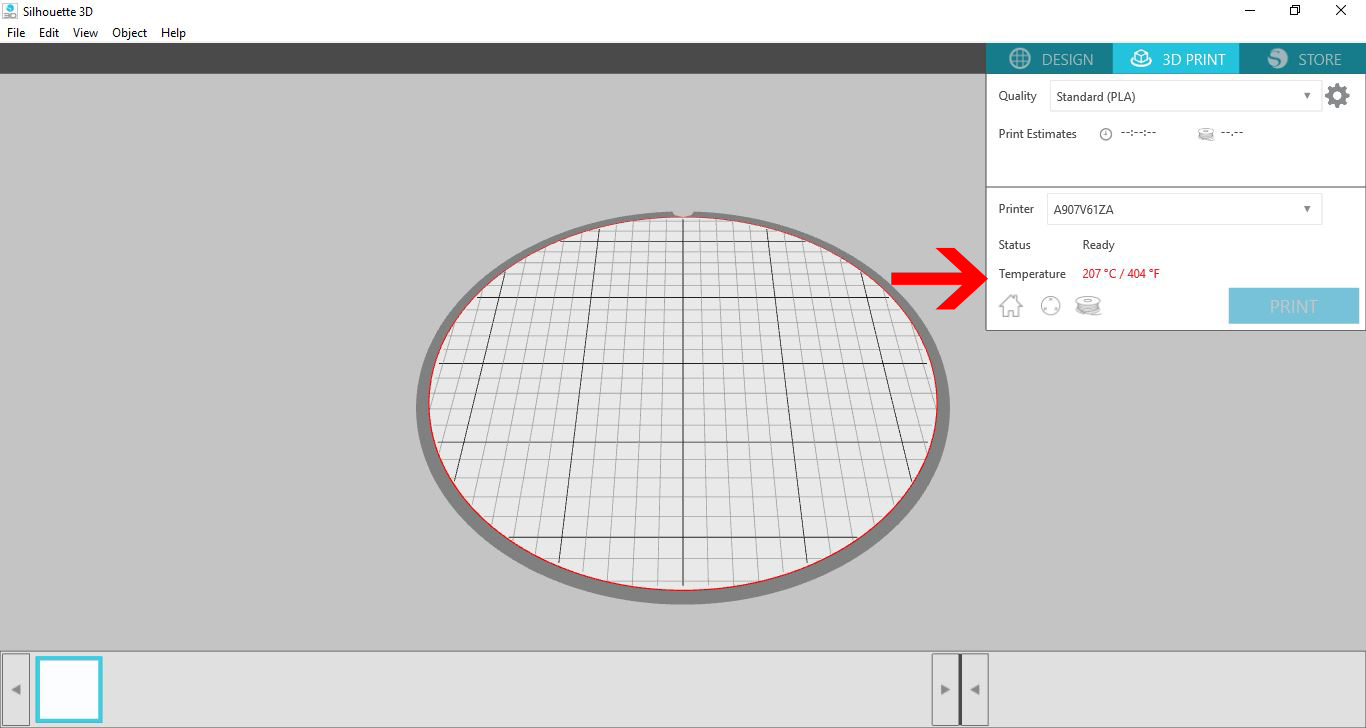
Once it has hit 200 degrees, the filament will stop coming through. You will then be taken back to your print screen. Here you can now print any designs you have created.
Please note. It is recommended that after printing for the day, the filament should be unloaded. We have a very helpful tutorial on how to unload filament for the Silhouette Alta. Also store your filament in an air tight bag with silica to prevent humidity and damp.
If you enjoyed this tutorial be sure to have a look at printing for the first timeand creating a basic cookie cutter with the Silhouette Alta.


