First Time Printing with Silhouette Alta Software
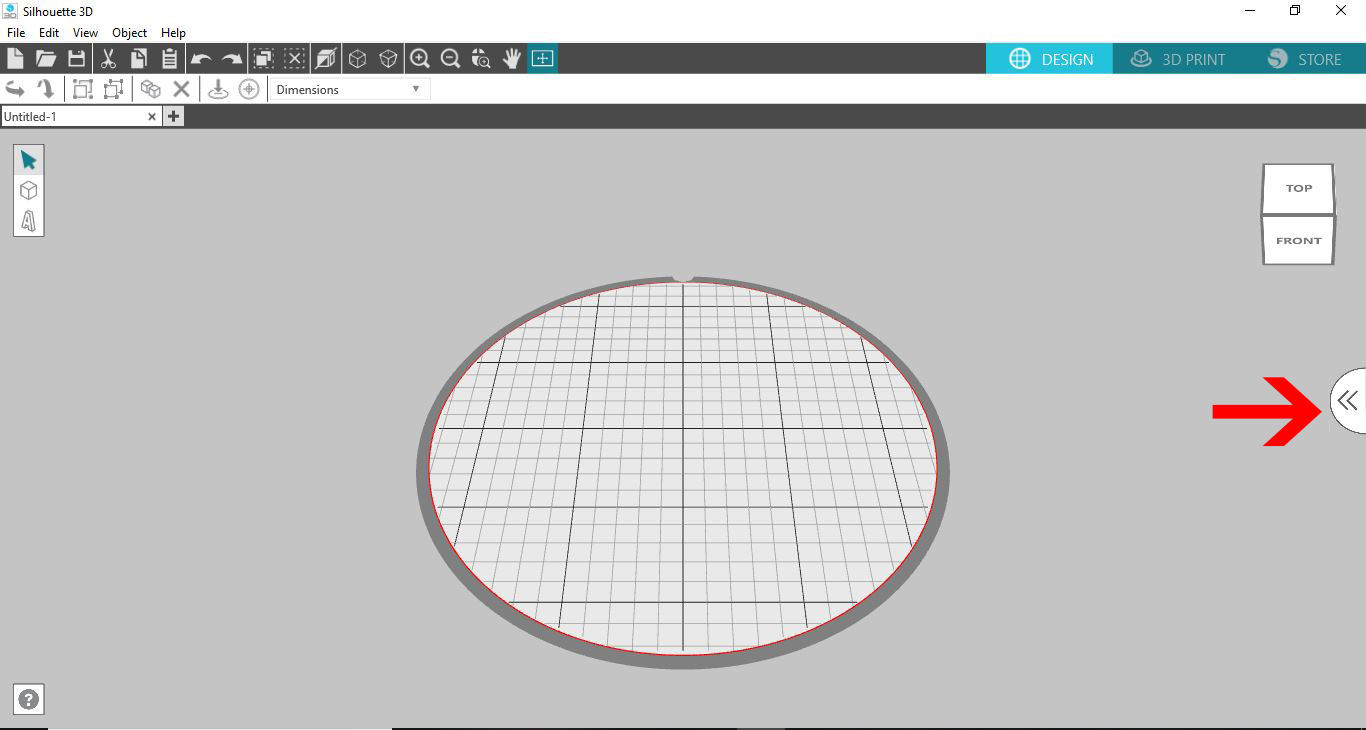
1- Load up the Silhouette Alta 3D printer software. For your first print pick something simple from the free designs that come with the software.
To do this click on the arrows to access your library.
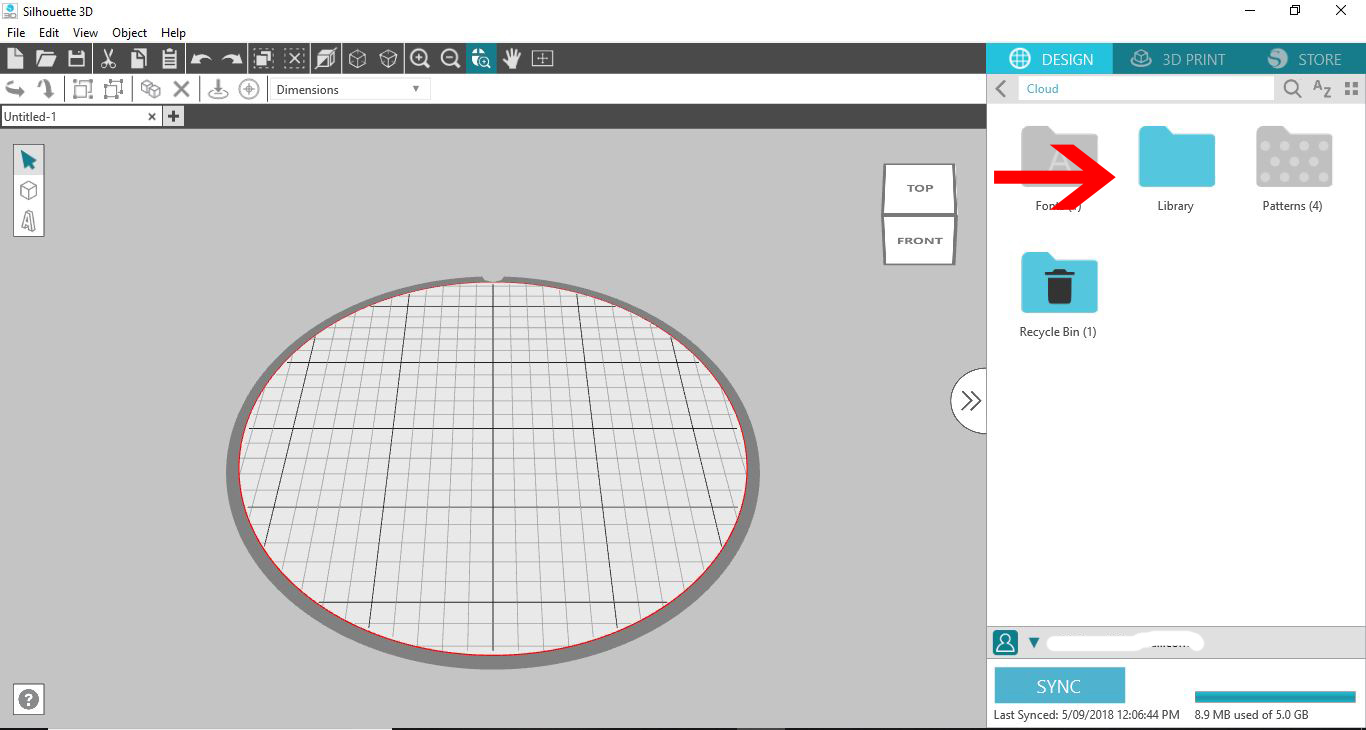
2- Click on Library.
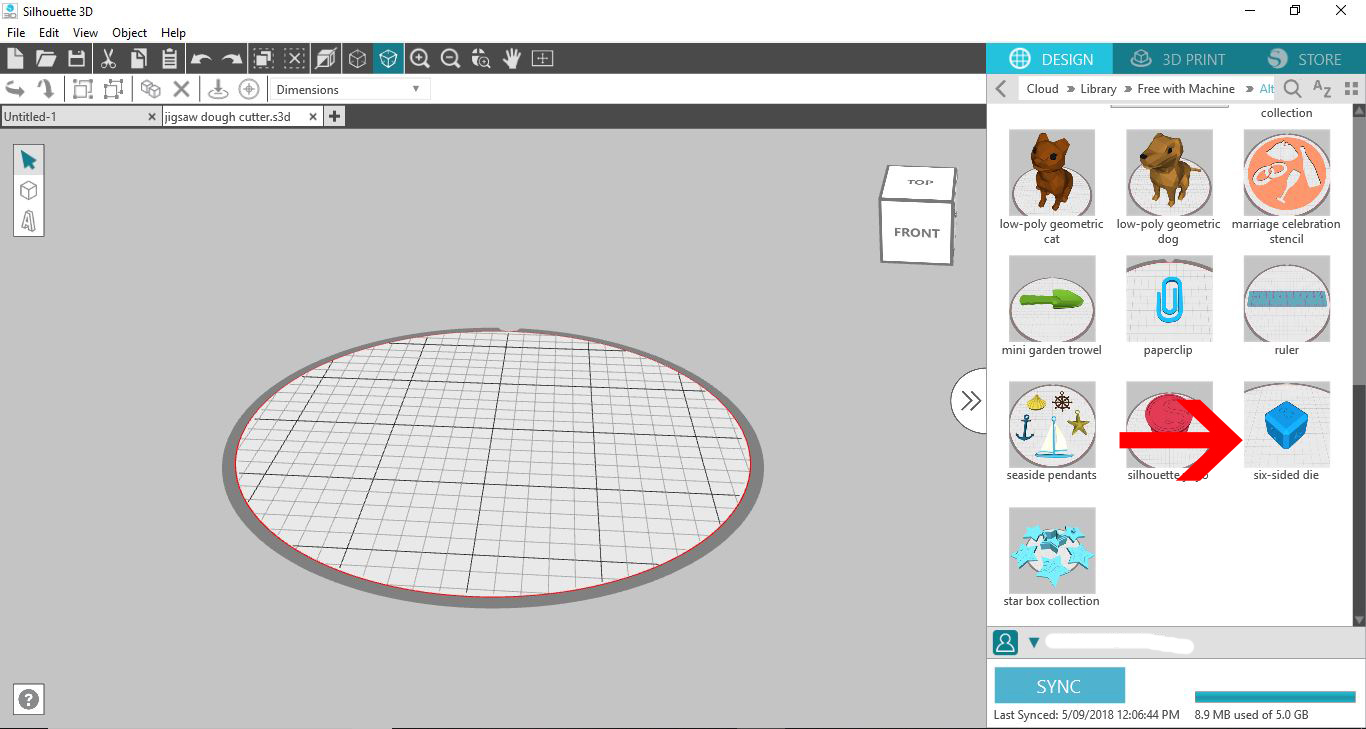
3- Access the free designs and select a simple design. I am using the die.
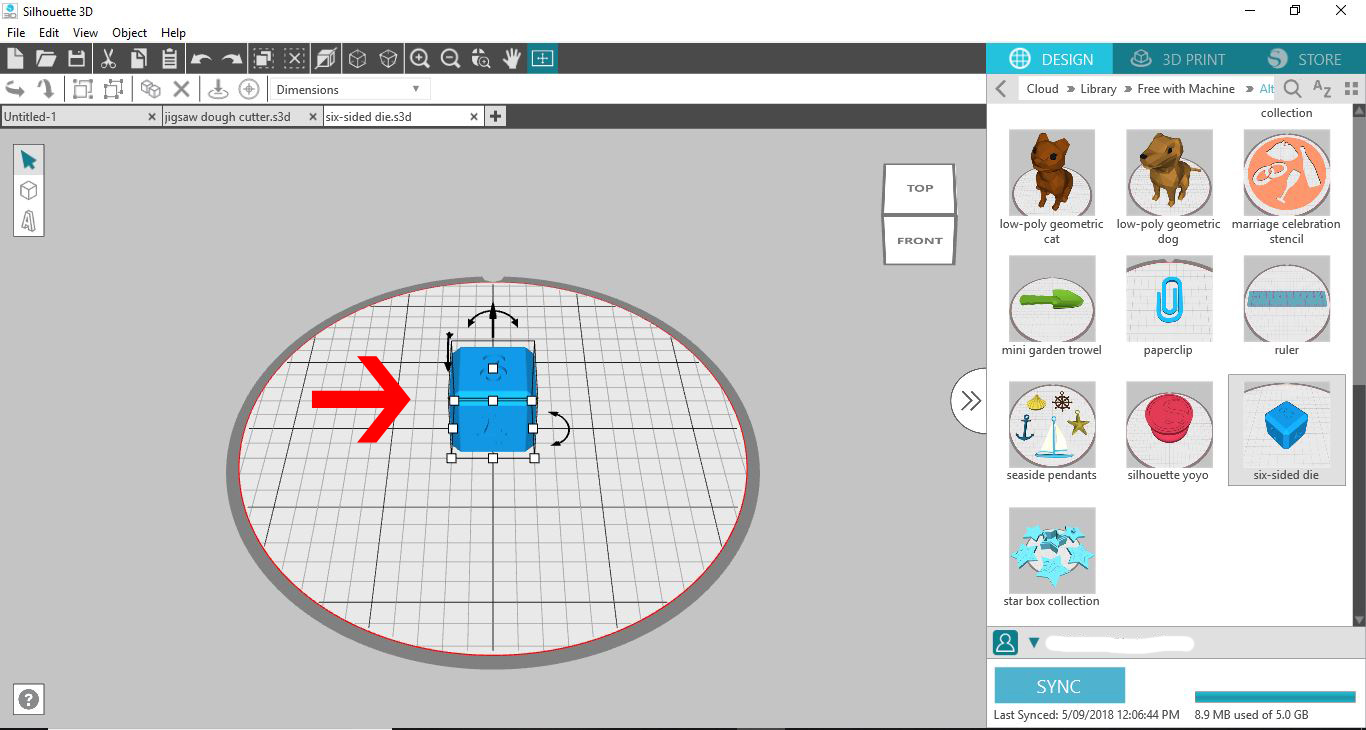
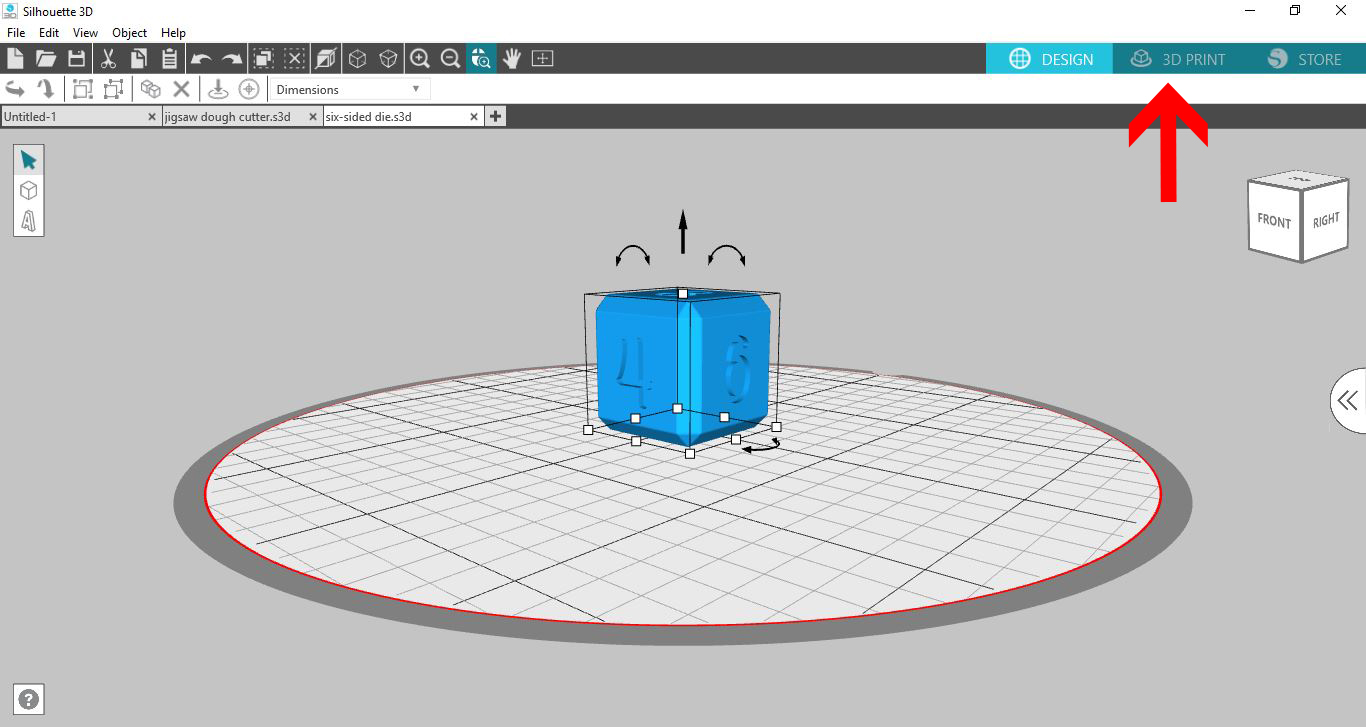
4- When you click on the image the 3D image will appear on your design space.
5- At this point you can adjust the size of the design. Click on the 3D print icon.
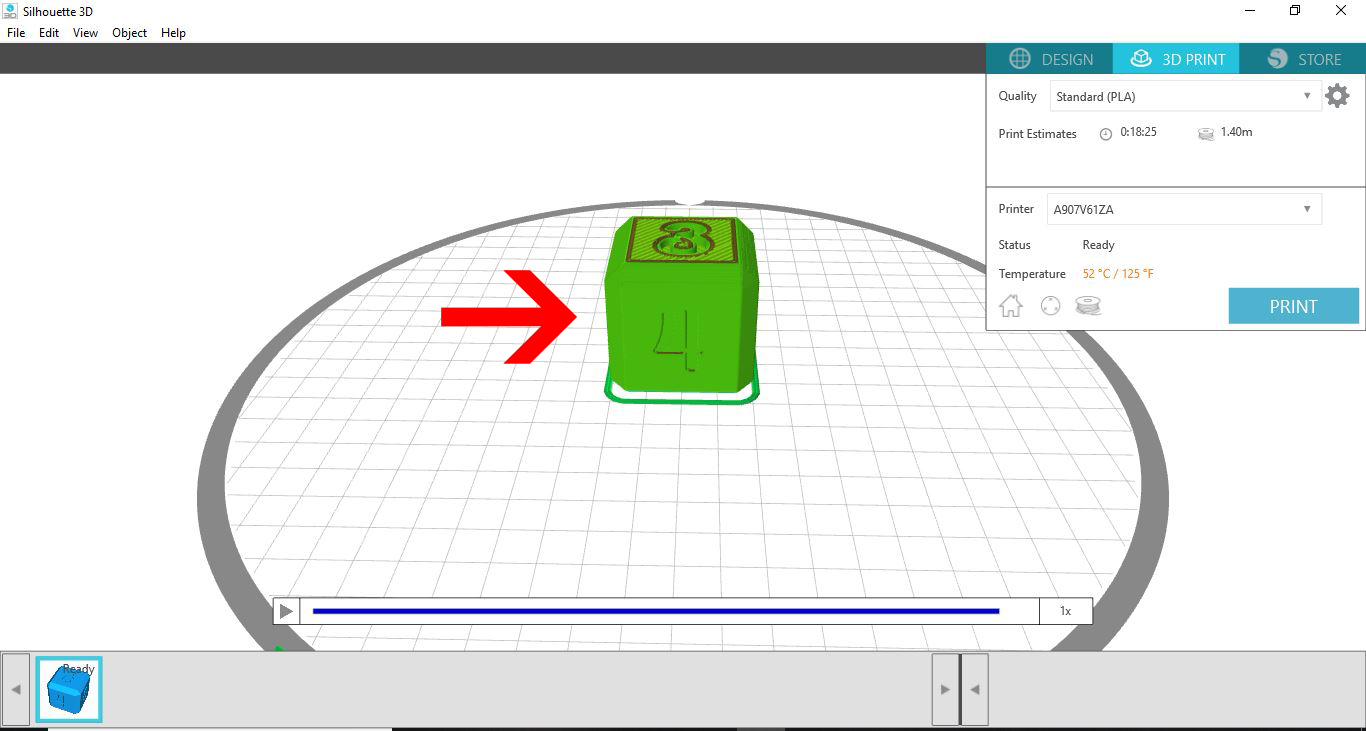
6- The next screen may take a few seconds to appear. This is the software creating the slicing of the design ready to print. You can see the sliced design on your screen.
To zoom in use the roller on your mouse. To rotate right click your mouse and hold then move around to see different angles of your design.
7- You can also click on the play icon to see the printing process play through to see how your design will print.
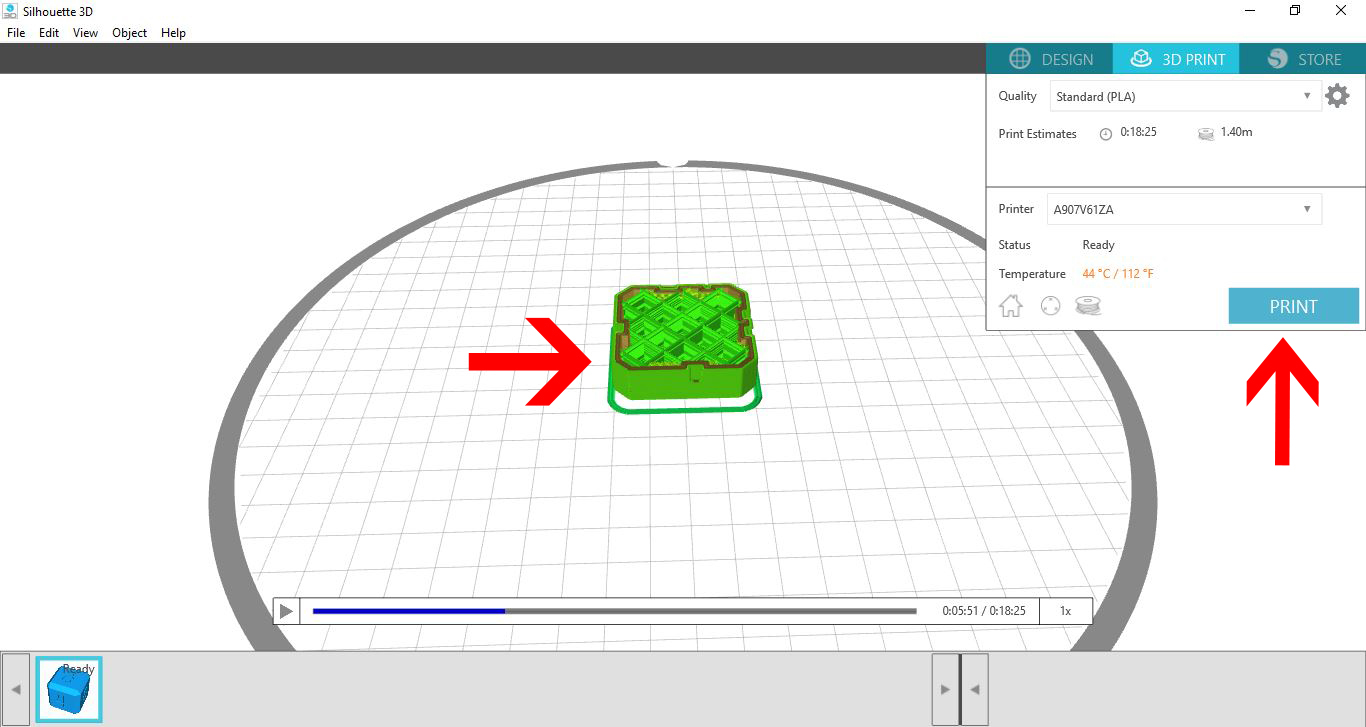
8- At any point you can click on Print to start the 3D printing.
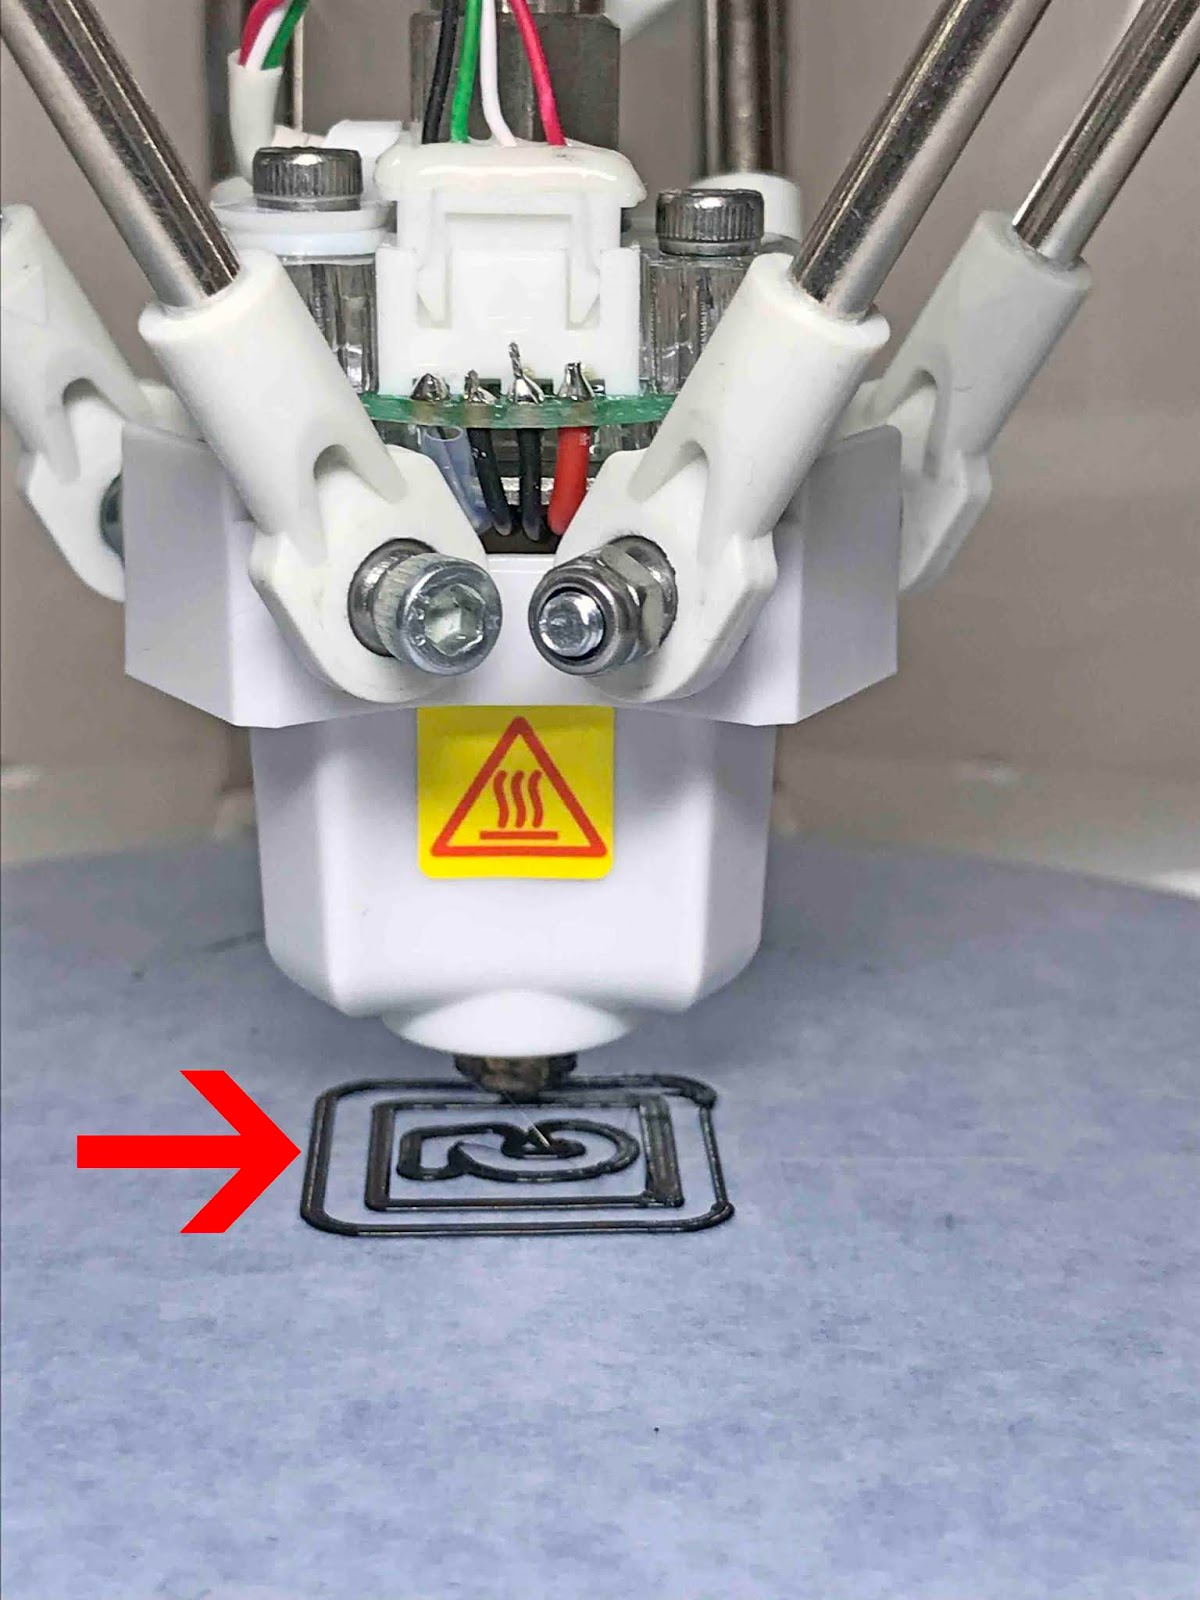
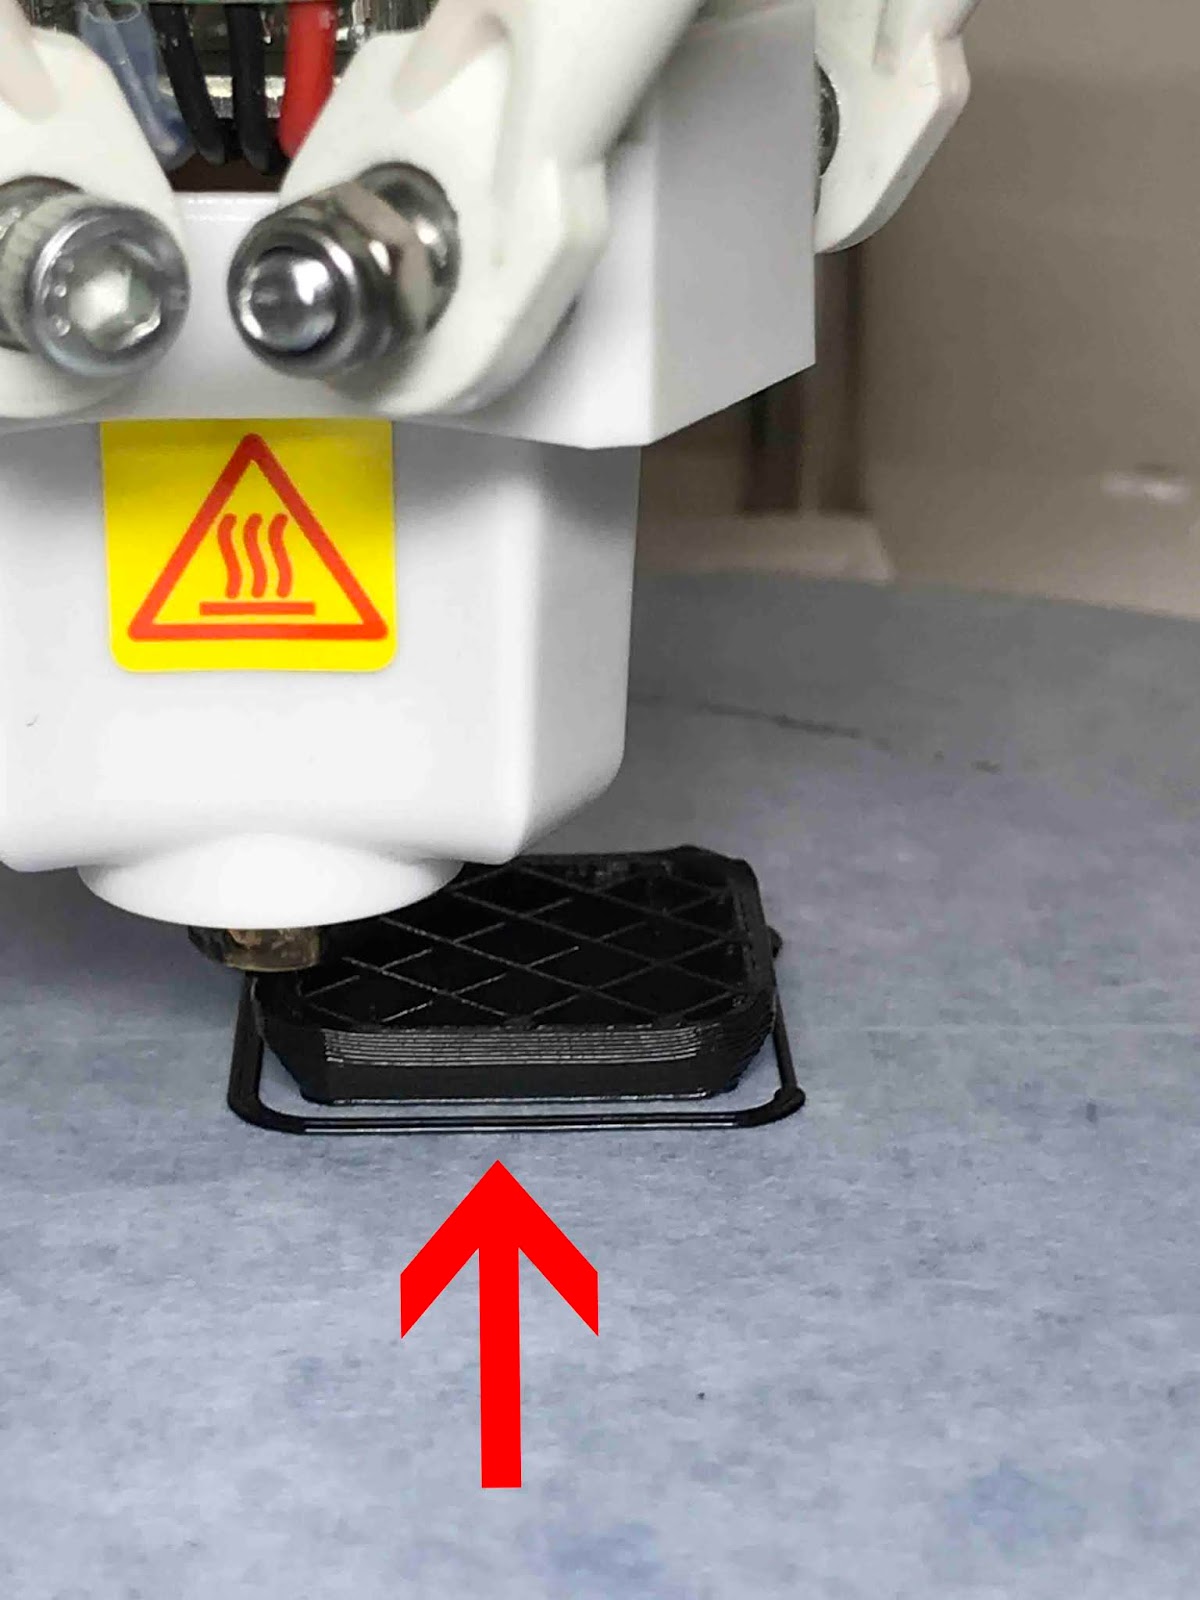
9- The 3D printer will print to get to 200 oC then start to print your design.
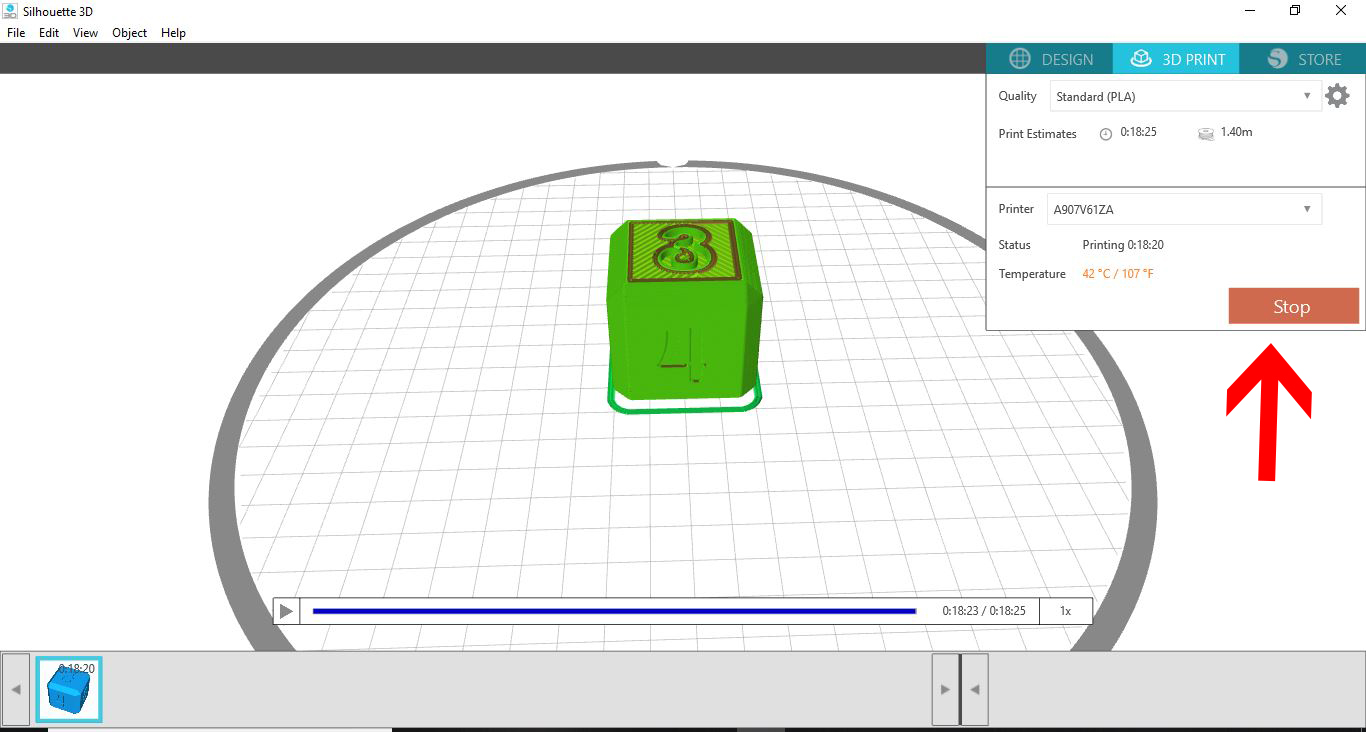
10- At any point you can click on the stop icon to stop the 3D print.
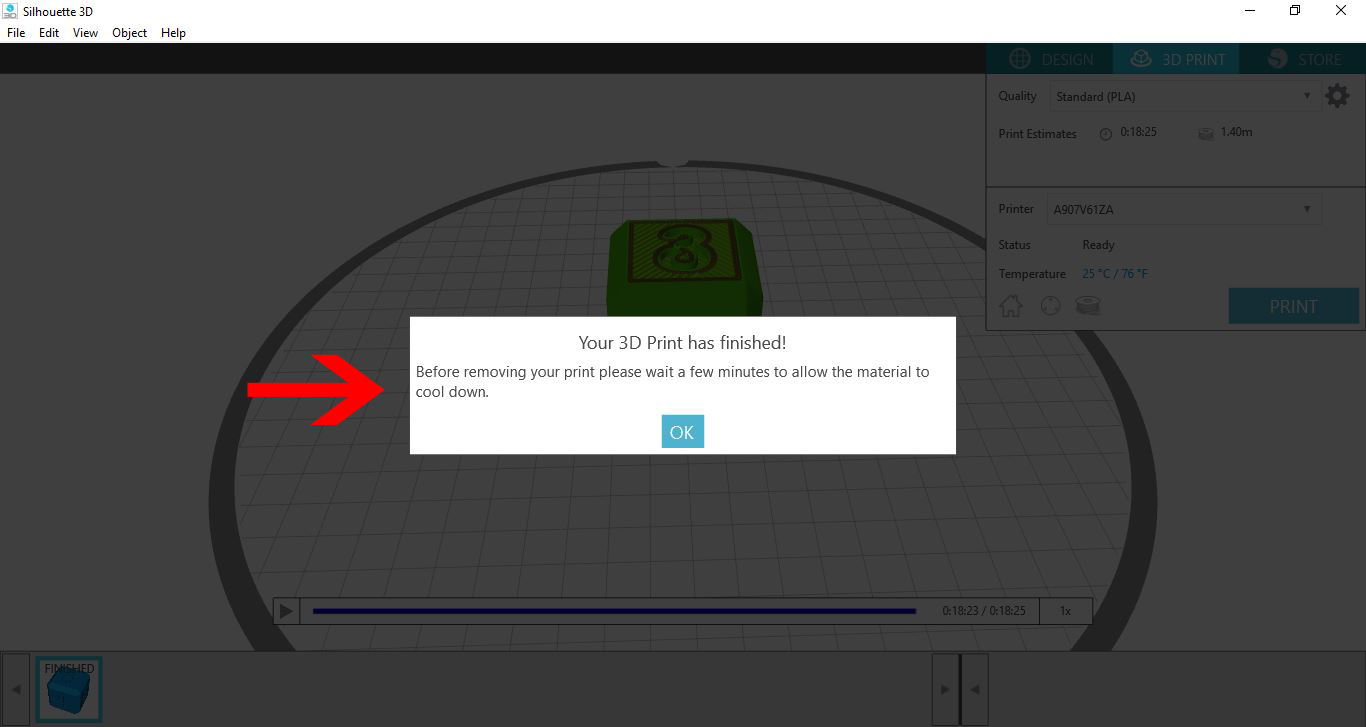
11- Once your print has finished (or if you have manually stopped it) A message will appear letting you know that your Is finished and to allow the printed file a few minutes to cool.
To do this click on the arrows to access your library.
2- Click on Library.
3- Access the free designs and select a simple design. I am using the die.
4- When you click on the image the 3D image will appear on your design space.
5- At this point you can adjust the size of the design. Click on the 3D print icon.
6- The next screen may take a few seconds to appear. This is the software creating the slicing of the design ready to print. You can see the sliced design on your screen.
To zoom in use the roller on your mouse. To rotate right click your mouse and hold then move around to see different angles of your design.
7- You can also click on the play icon to see the printing process play through to see how your design will print.

8- At any point you can click on Print to start the 3D printing.
9- The 3D printer will print to get to 200 oC then start to print your design.
10- At any point you can click on the stop icon to stop the 3D print.
11- Once your print has finished (or if you have manually stopped it) A message will appear letting you know that your Is finished and to allow the printed file a few minutes to cool.
12- The print is now complete. You can remove the printed design from the base plate and detach the brim that is around the design.


