Unlimited Downloads 15% off Marketplace Purchases Exclusive Software Access Unlimited Downloads
15% off Marketplace Purchases
Exclusive Software Access
Go Unlimited Maybe Later
How to Use a PNG File in the Silhouette Alta software
  • By Design Bundles
  • 11 Oct 2018
  • 4 Mins
  • Silhouette Tutorials

How to Use a PNG File in the Silhouette Alta software

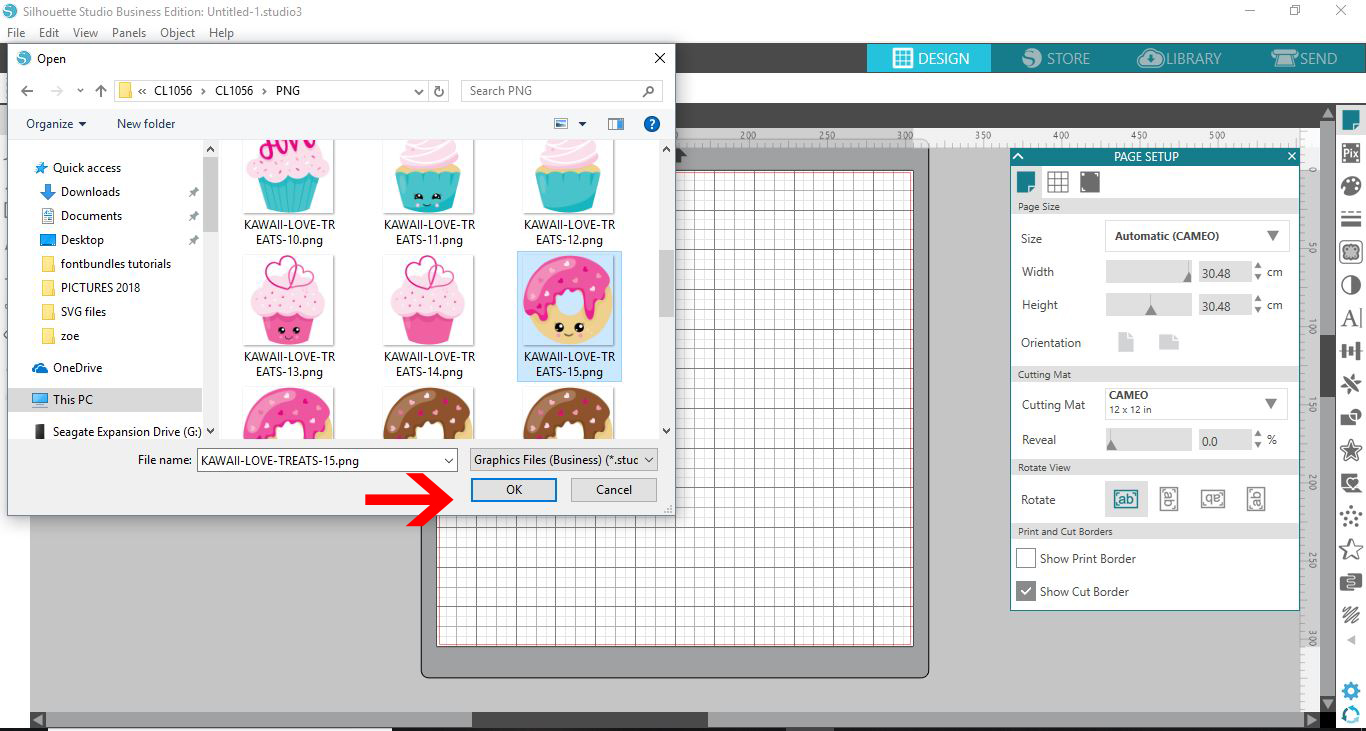
1- Open Silhouette Studio software (free edition). Click on open file.

2- Select the PNG you would like to use.

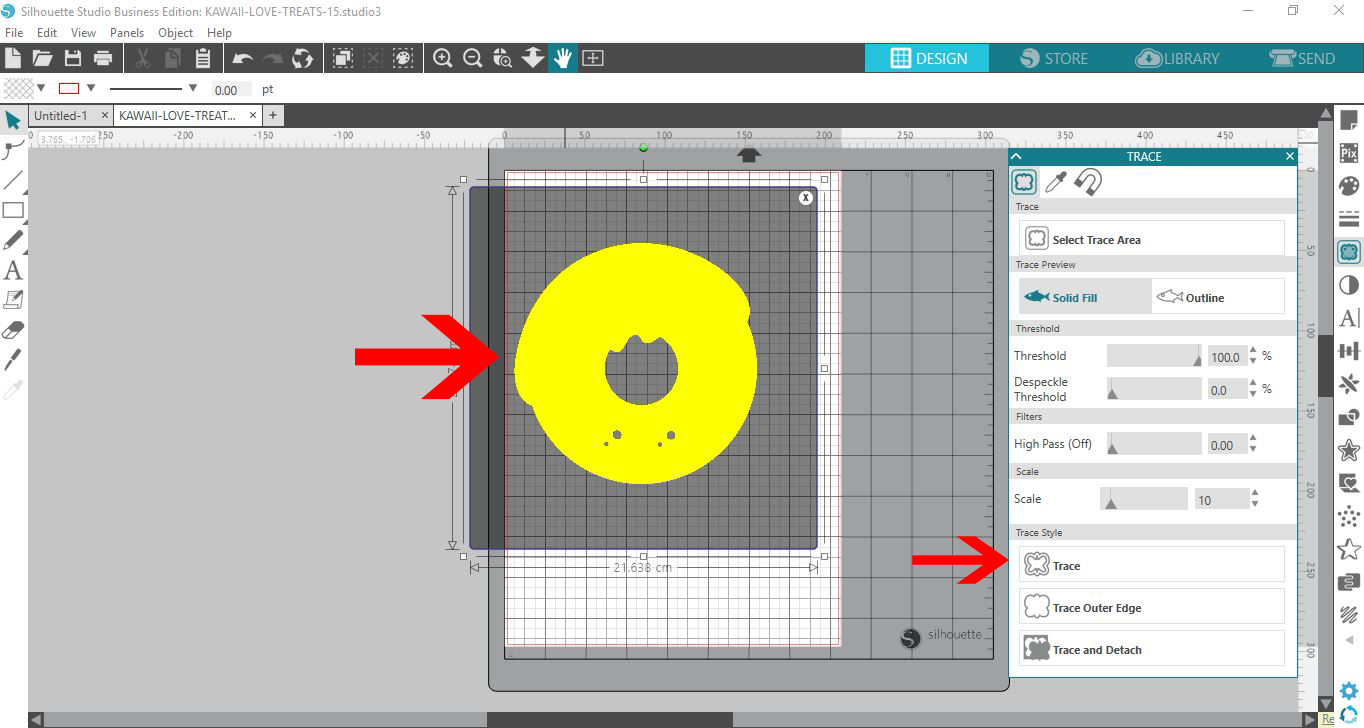
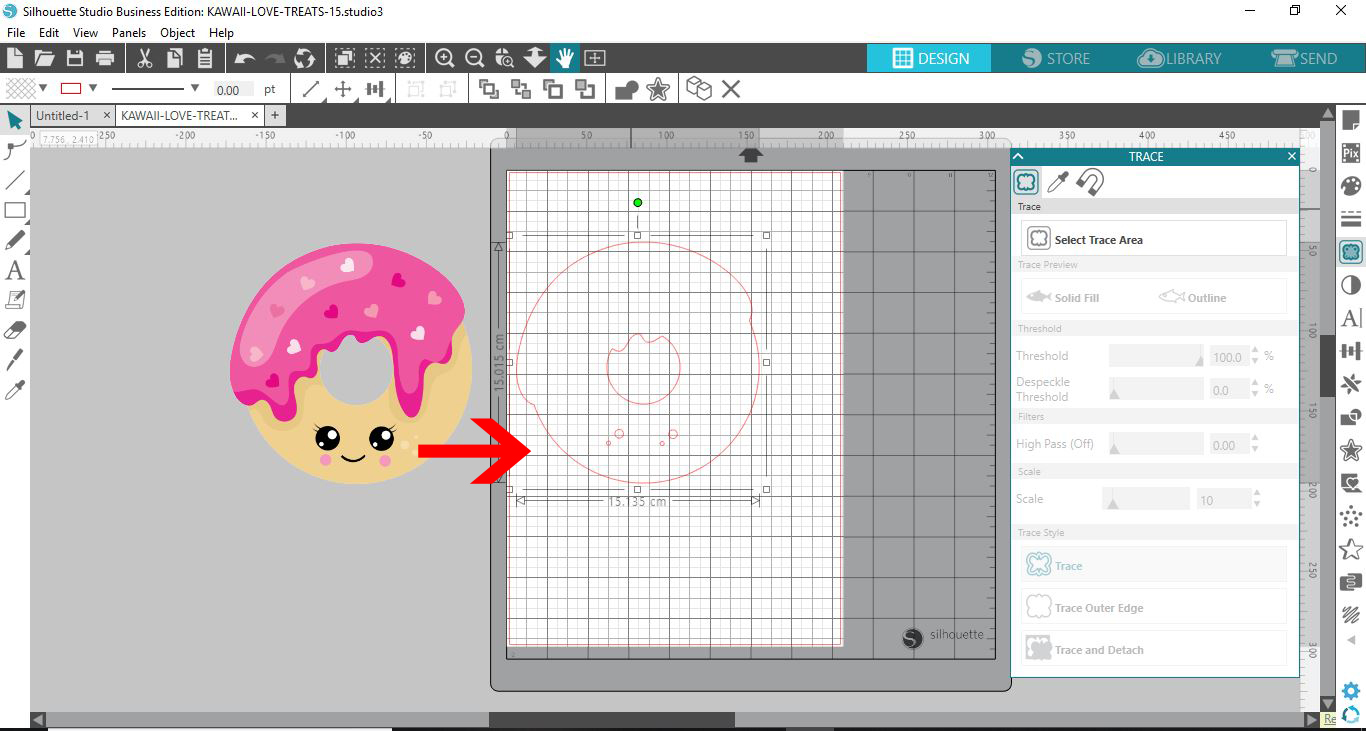
3- Select your PNG and then click on the trace icon. We need to trace the image as when you use a PNG file there are no cut lines. In the Silhouette studio software we can trace and make cut lines that will work in the silhouette alta software.

4- Trace the image. When tracing the PNG to use in the Silhouette alta, we will need several layers so the software can create a 3D model of a flat design. This trace will be the base of the design.

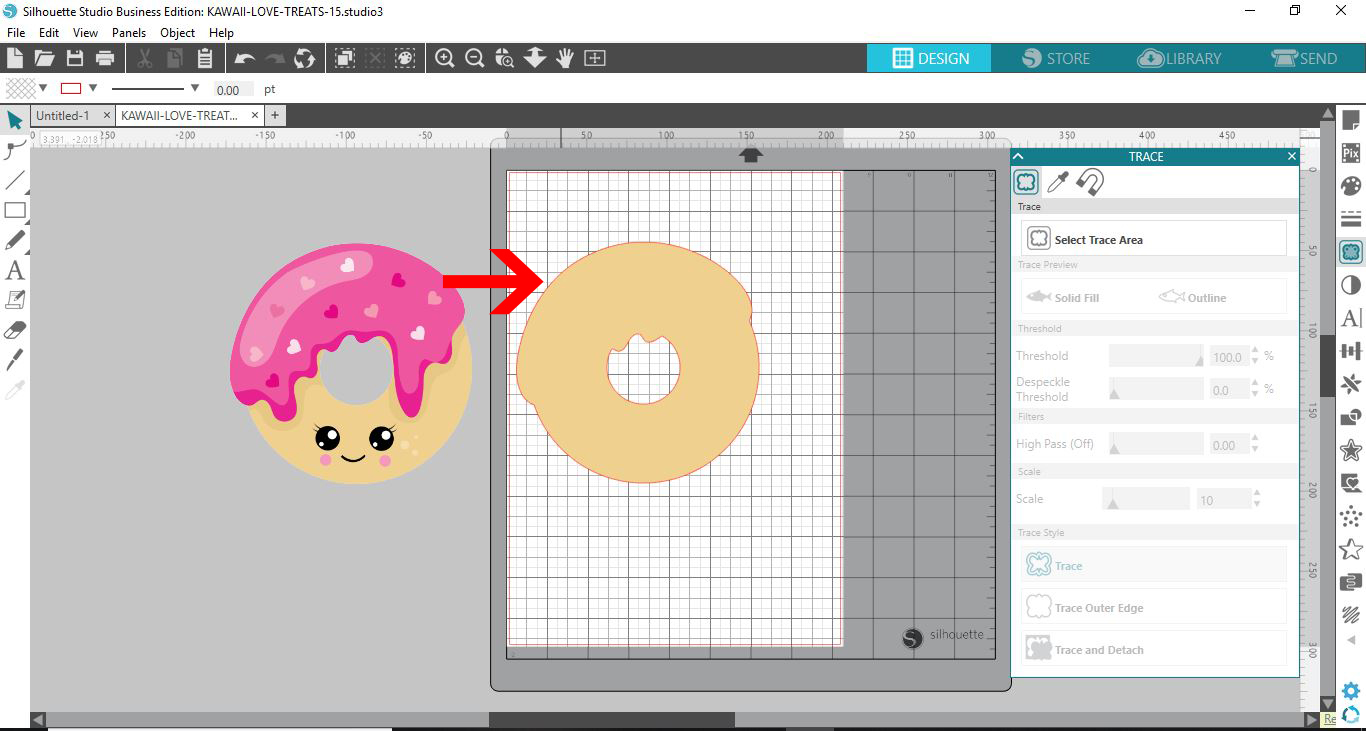
5- Remove any parts of the design by ungrouping the parts.

6- Fill with colour so you can reproduce the design with cut lines and will know which part is which and where it needs to go. I am using a PNG from thecupcake graphics and illustrations bundlefrom designbundles.net

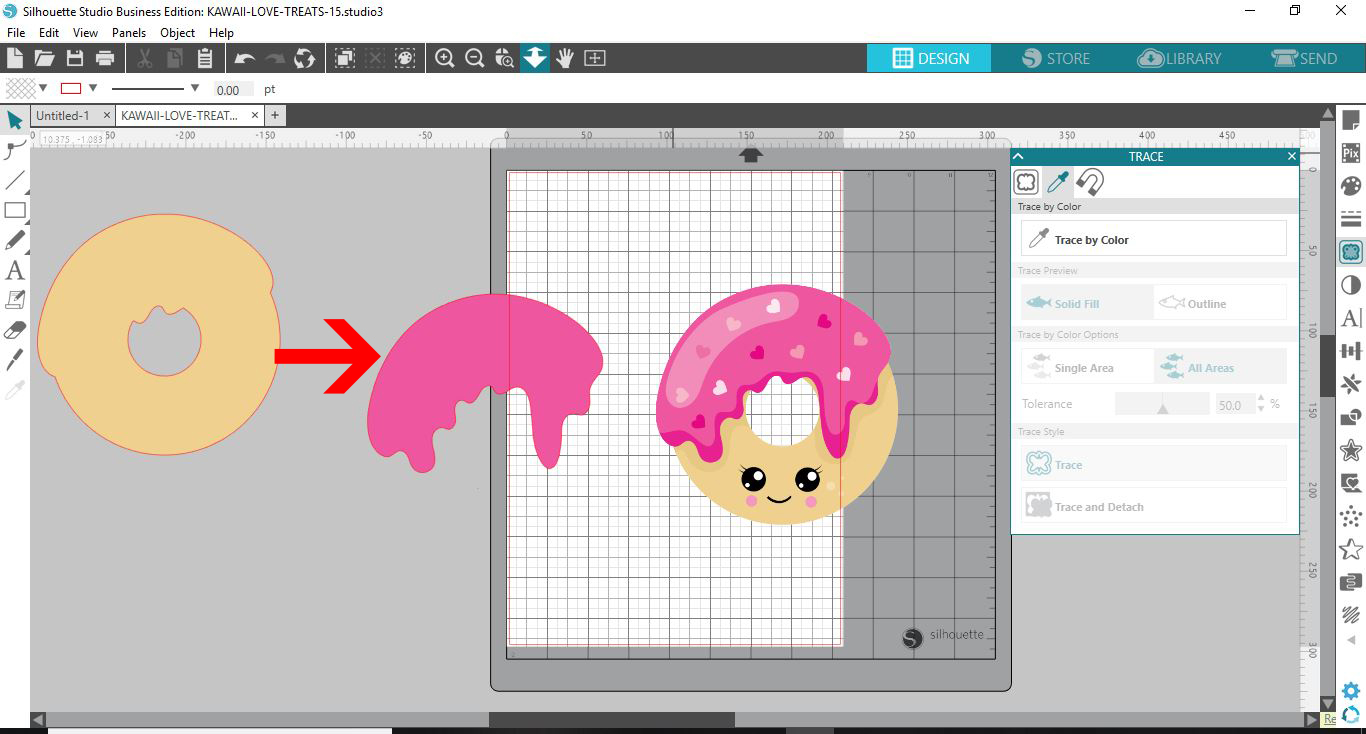
7- Repeat the above process of tracing all the different parts of the PNG.

8- Colour the individual parts that you trace.

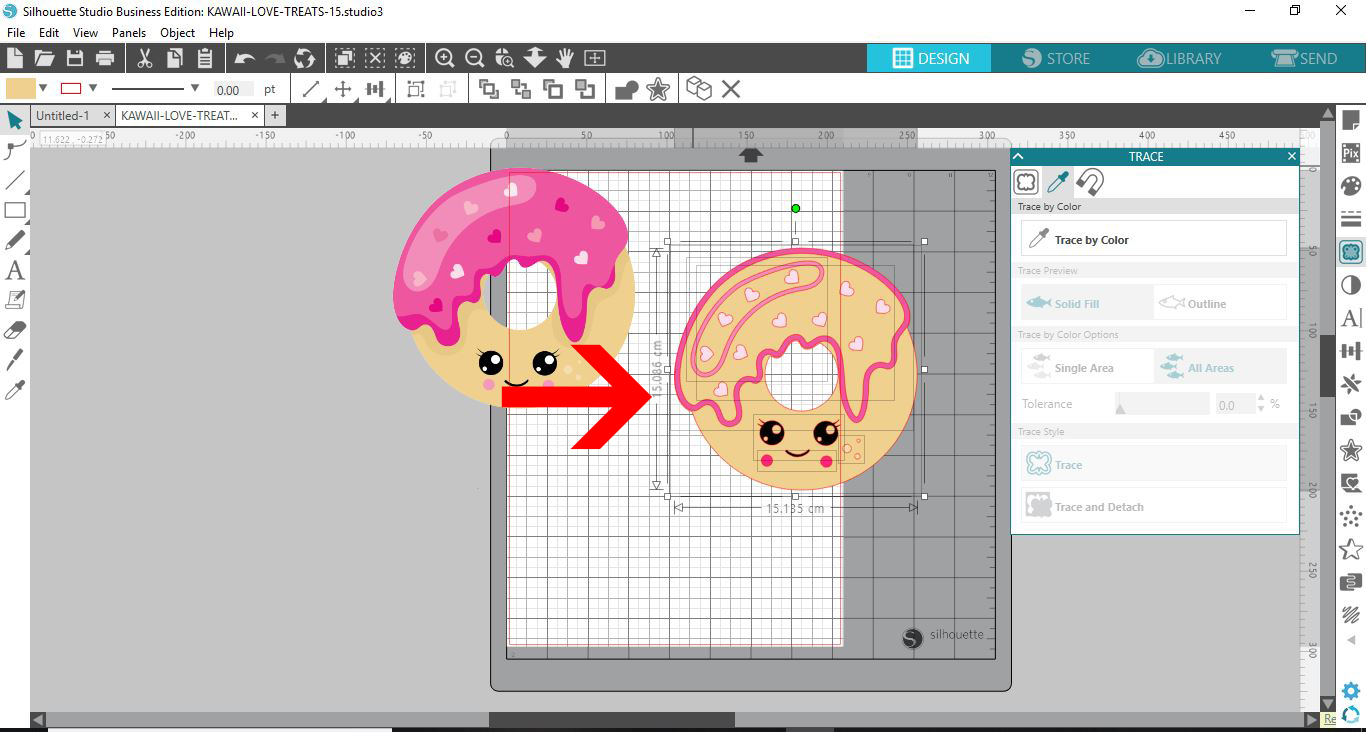
9- If you would like to have a raised part and then a border. (for eg if you want an edge so you can hand paint your design) you can use the internal offset icon to create a border.

10- Create and borders you would like on your design. I am creating 2 with the icing on the donut so i can paint the inside of it with acrylic paint.

11-Once you have traced every part of the PNG select everything and group.

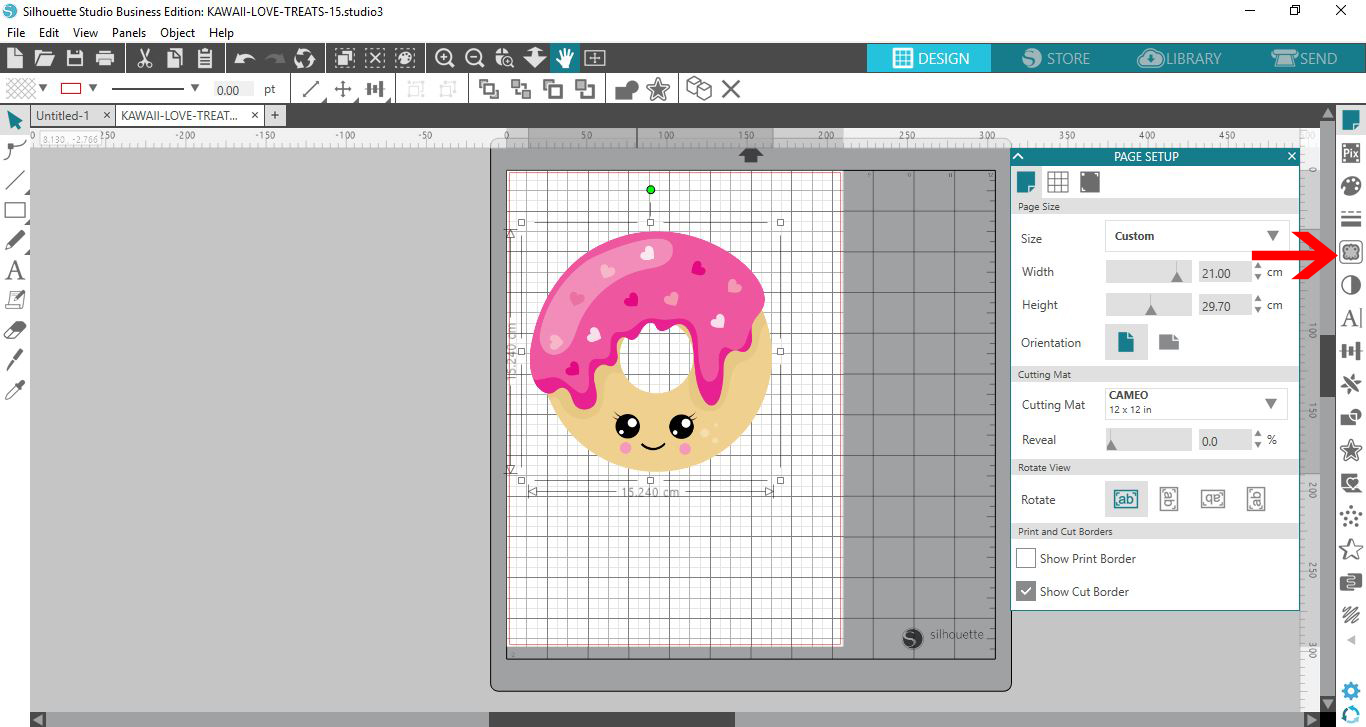
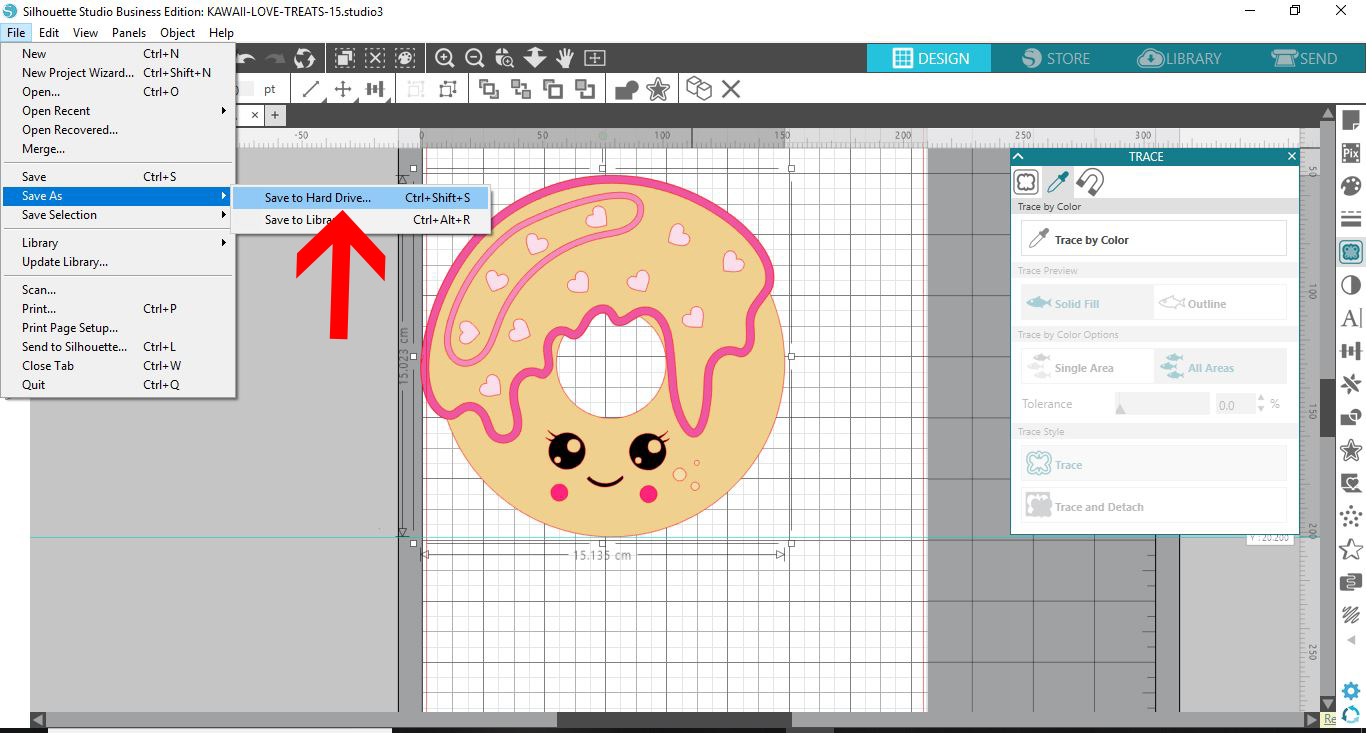
12- Resize the design to the size you would like in your 3D software. then save as a studio file.

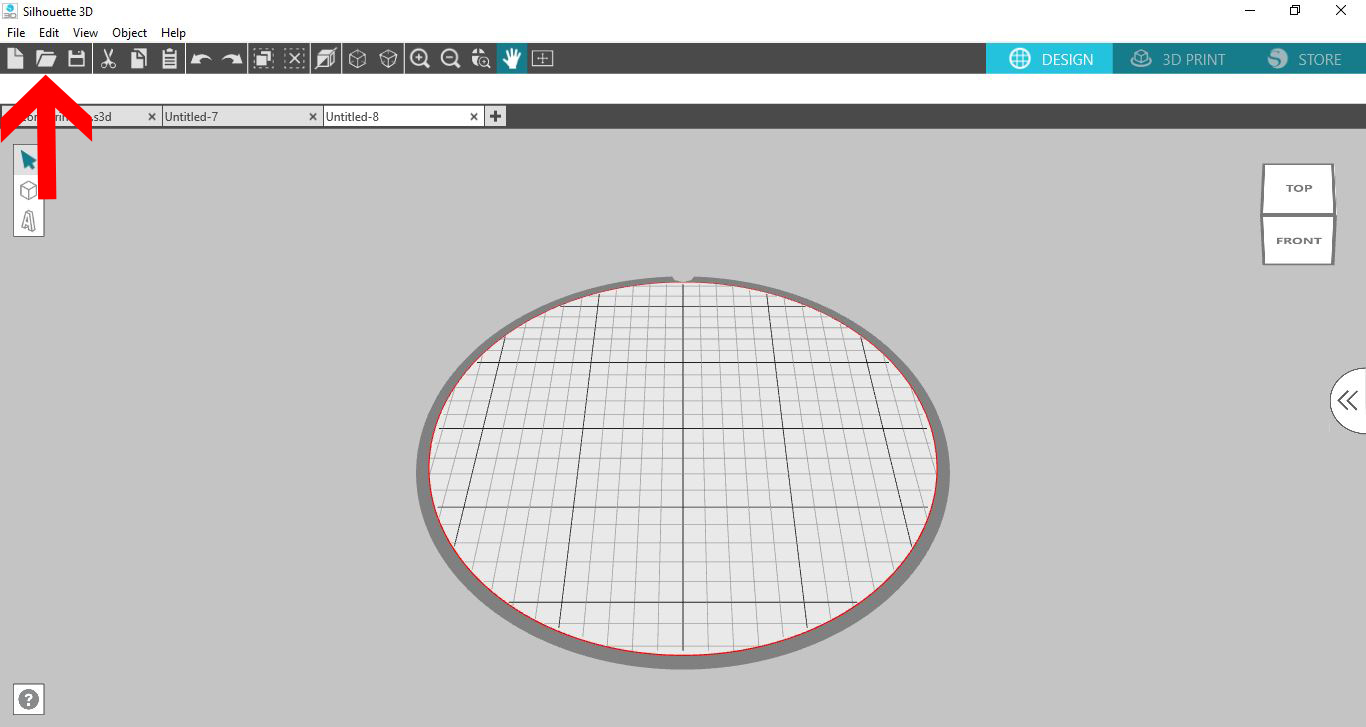
13- Open the silhouette alta software. Click on the open folder icon.

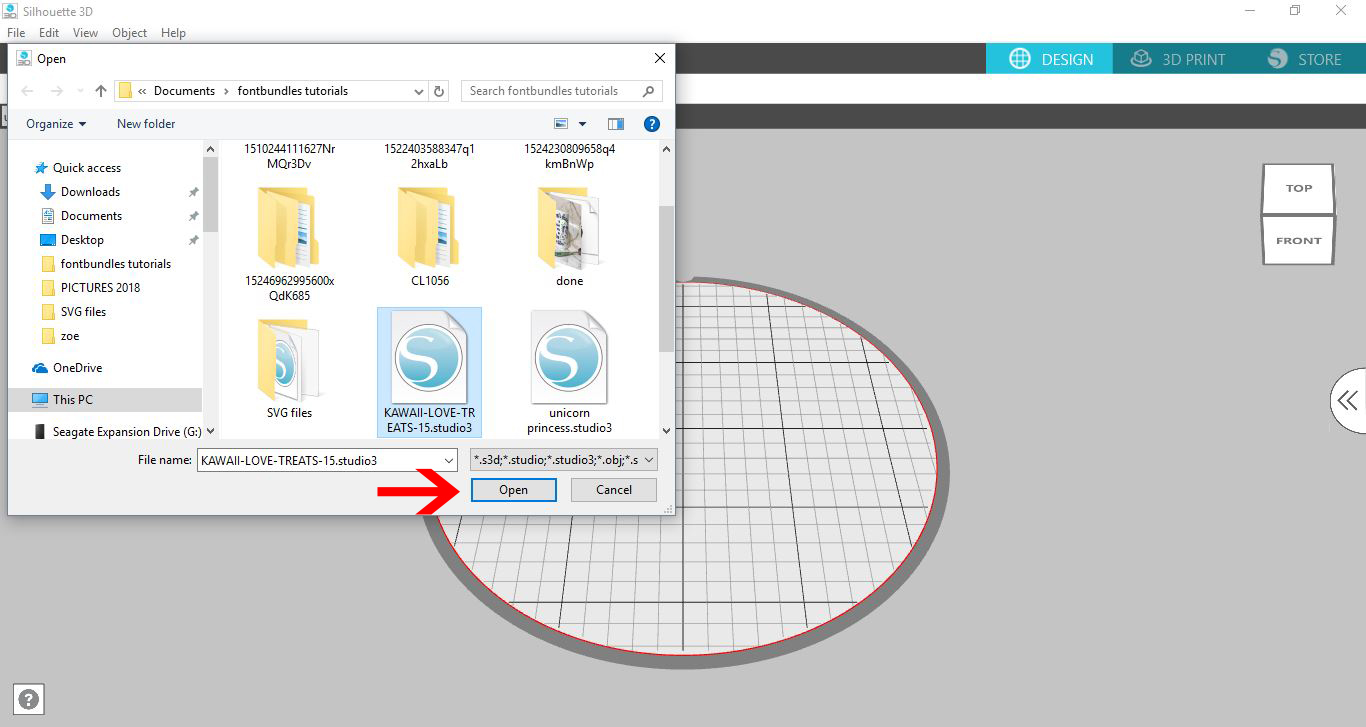
14- Select your silhouette studio file and open.

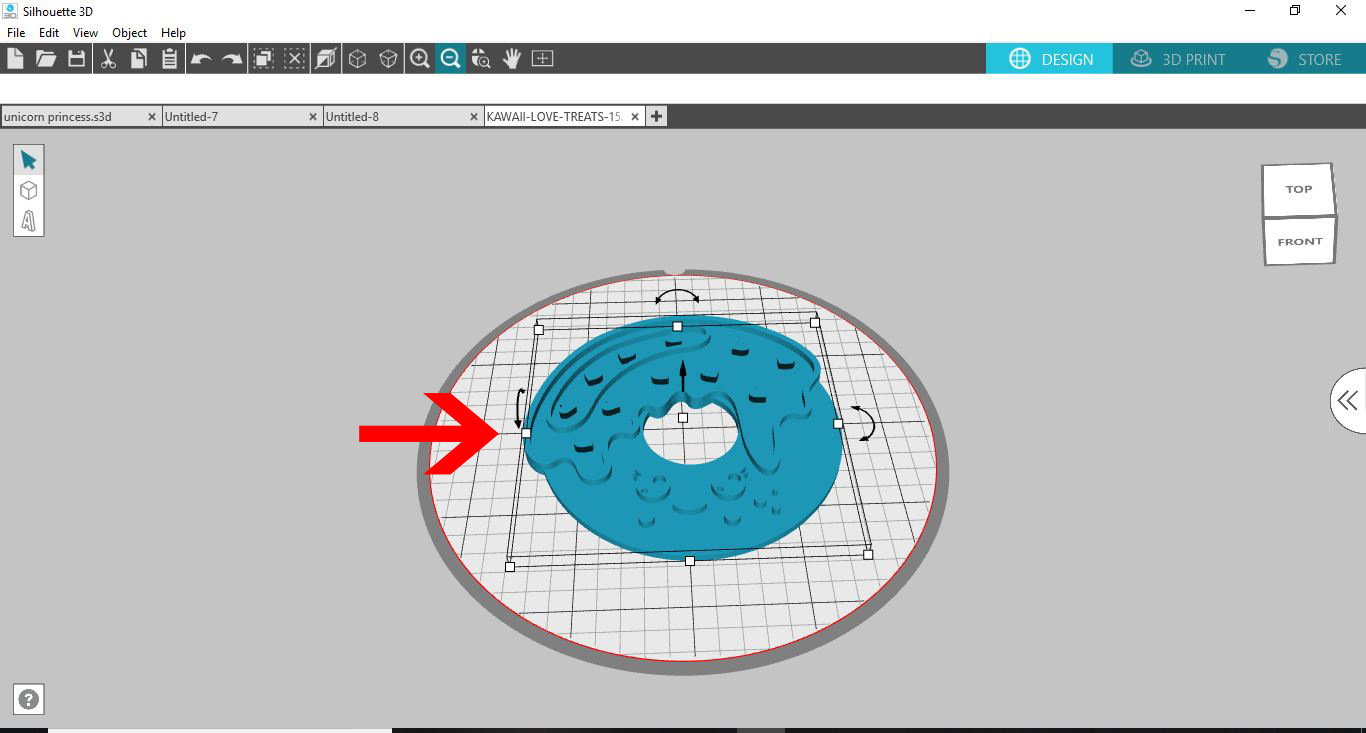
15- Click on Extrusion.

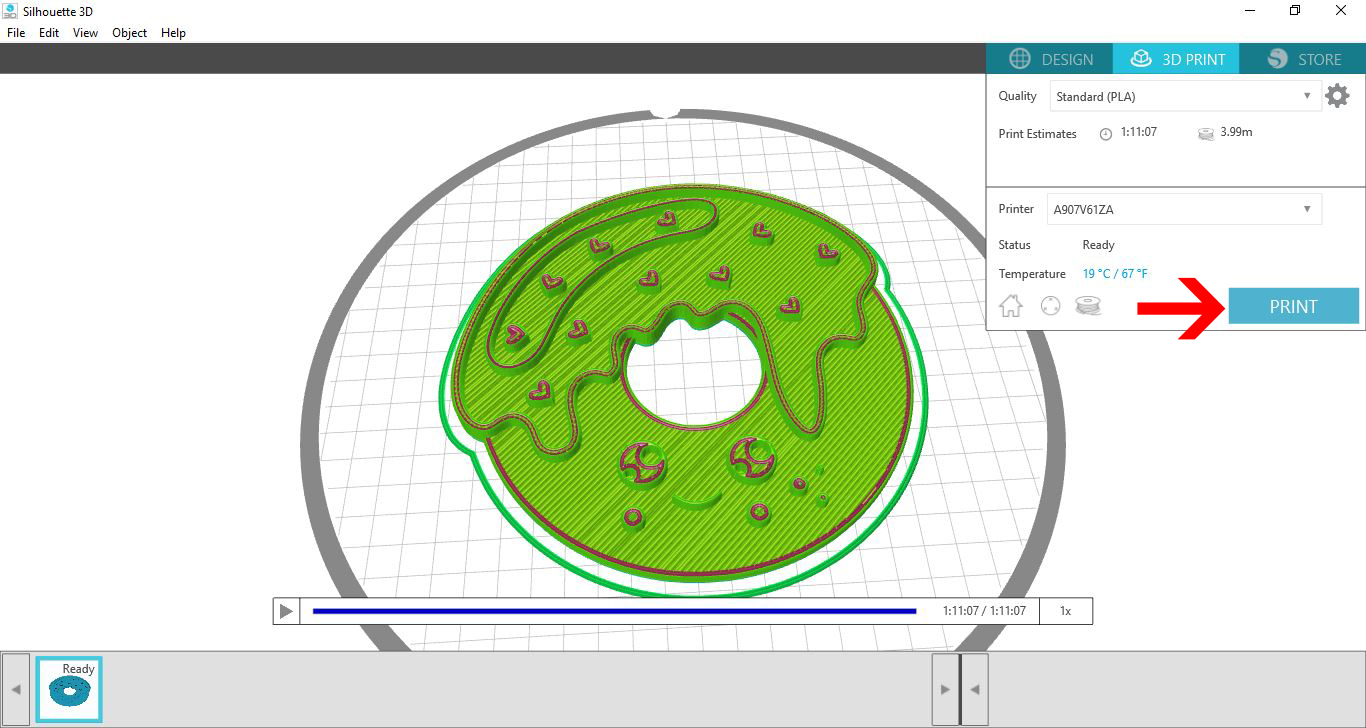
16- Your flat PNG file will now be a 3D file ready to print.

17 - Click on the 3D print file to print.

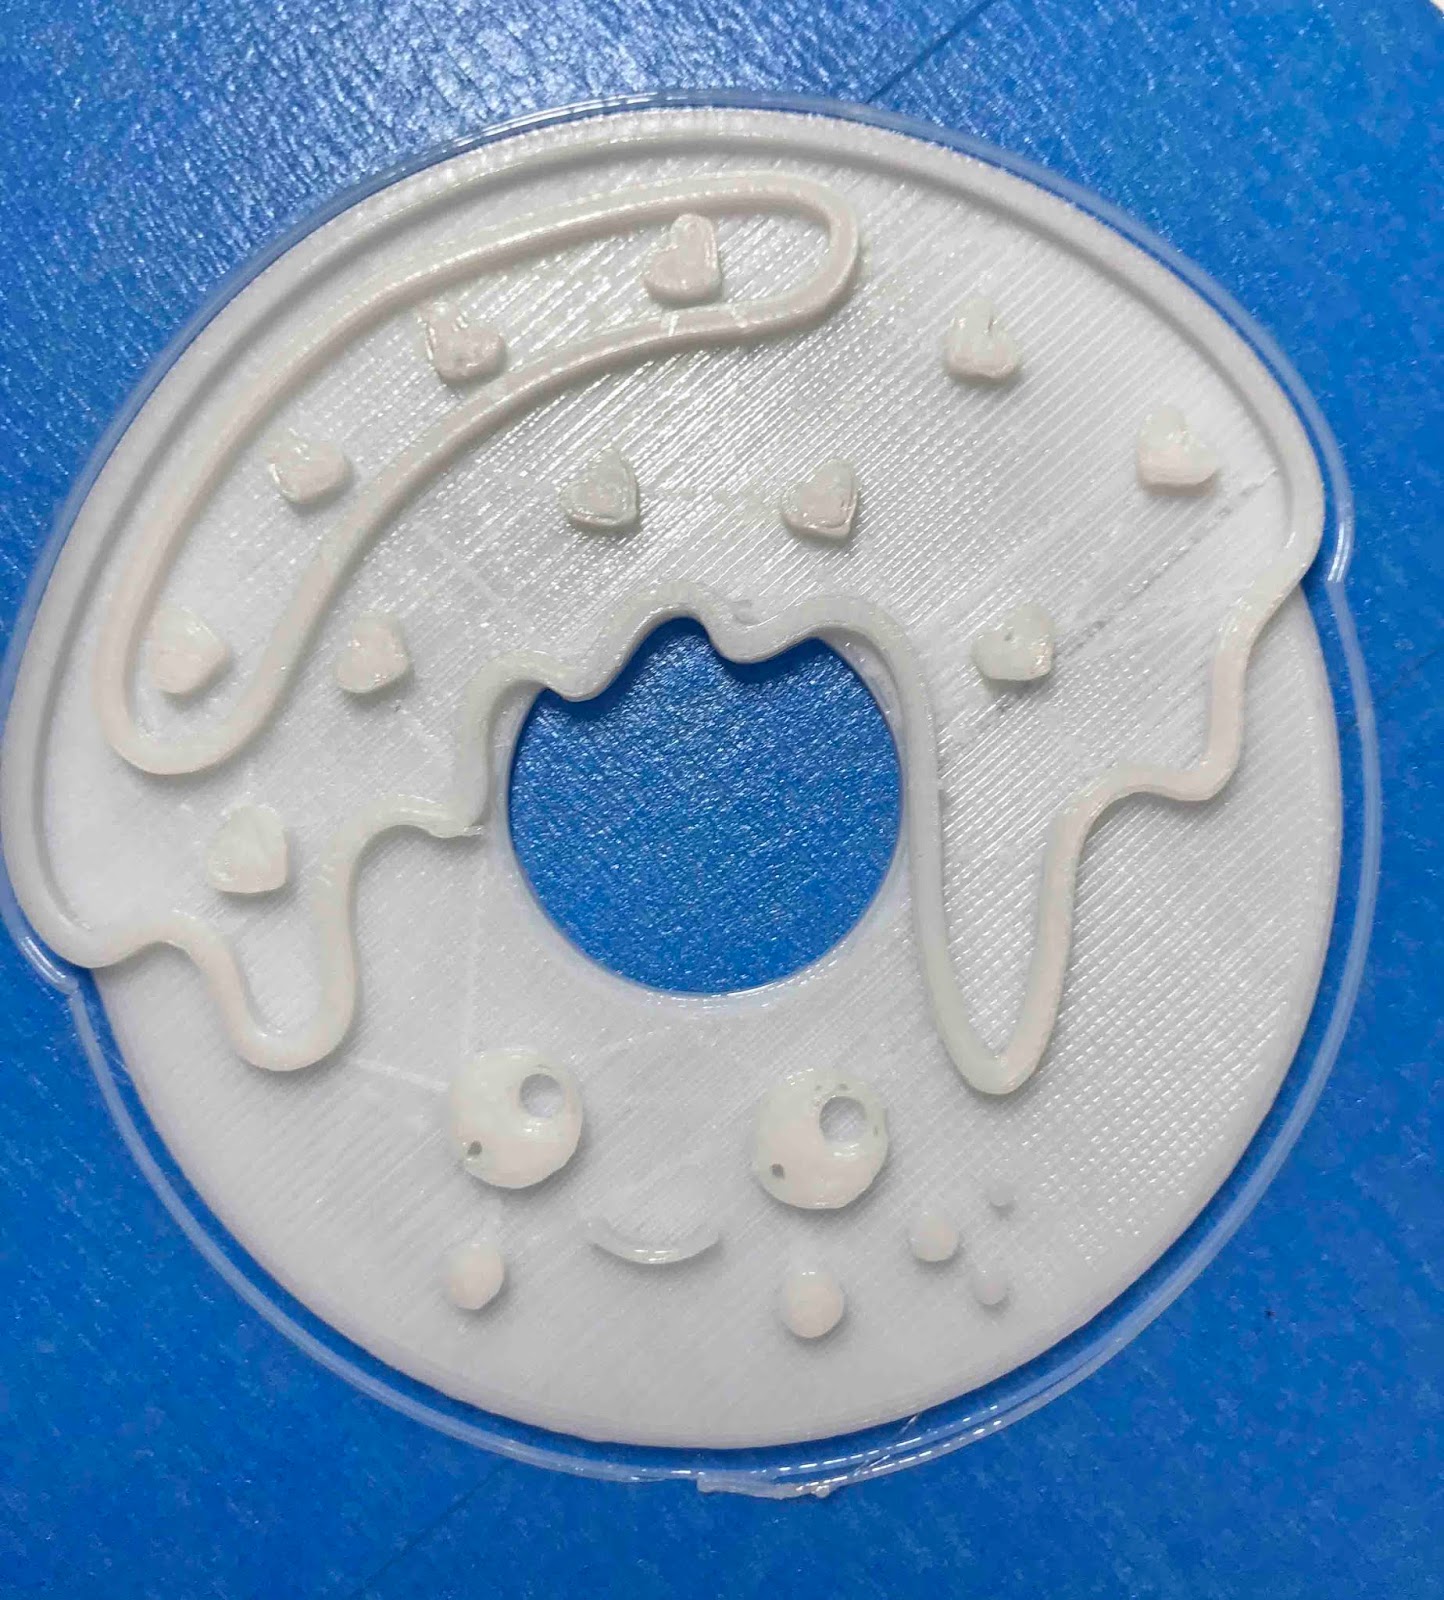
18-Once printed you can see below that you can now paint the design. If you have a silhouette cameo you can even us the design that you first created to cut vinyl pieces to place on the 3D print ed object.


6 Related Silhouette Tutorials

1- Ope Silhouette Studio Software (Business Edition). Click on the open folder icon.2- Find your EPS file and open it. I am using acat lover svgfrom designbundles.net3- Your file has now imported to the design space.4- Select the image and right click and check ungroup.5- ...

1- Open up Silhouette Studio software (Business Edition). Click on the open folder.2- Click and open your DXF file. I am using theflip flop monogram svgfrom designbundles.net3- The file will now appear in your design area.4- Ungroup the design, then select the part you would like ...

With the Silhouette Alta 3D software, you can also create text designs. Objects with 3D text can be personalized for all kinds of projects. These projects can include cake toppers, luggage tags, monograms, and so much more. In this tutorial, we will show you how to use the Text tool ...

1- Open silhouette studio. Click the file drop down menu.2- Select merge.3- Select your SVG file. I am using aunicorn papercutbundlefrom Design Bundles.4- Your SVG will appear.5- Click on the fill tool and remove the color.6- Go to the send screen. You can see that ...

1- Open Silhouette Studio Software (Business Edition).Click on the open folder.2- Find your Ai file and open. I am usingI love you svgfrom designbundles.net3-A new window will appear. This will let you import the design as a vector file. click on import.4- It will take ...

1- Open the Silhouette Alta 3d software. Click on the shapes icon.2- Select your first shape.3- Click on your dome. Adjust the size and make the dome flat.4- Adjust the thickness of the shape to only 1 mm thick.5- Lengthen the shape to make the clip part ...

You may also like

Help Center
ol image