- By Design Bundles
- 8 Mins
- Procreate Tutorials
How to Make a Mandala in Procreate
Discover how to make a mandala in Procreate with the symmetry tool.
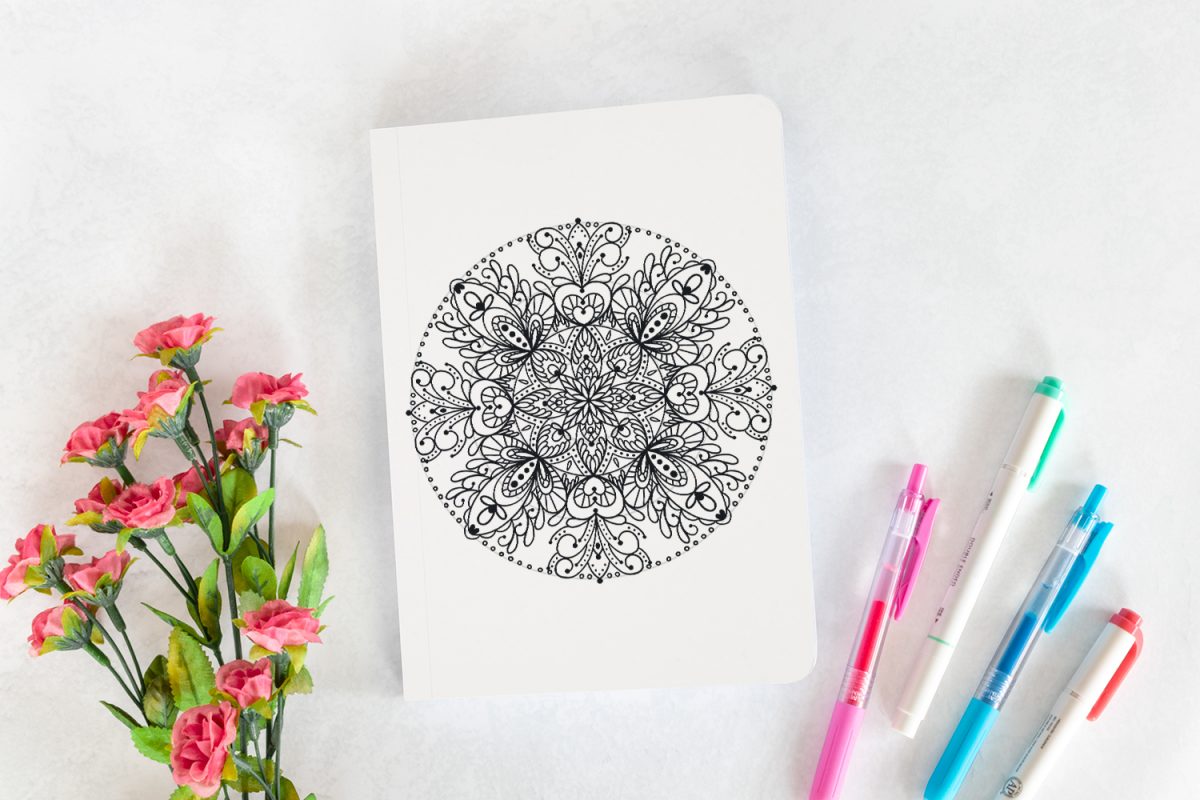
Making a mandala in Procreate may be easier than you think, and they’re super relaxing to draw. People also love to color and decorate with them. In this tutorial, we'll go over how to set up the canvas in Procreate for drawing a mandala. Then we'll move on to actually drawing the mandala. Lastly, we'll show you some finished mandalas that will hopefully inspire you to draw your own.

We will be using the brush LittleWild from The Ultimate Lettering Pack, but there are several Procreate lettering brushes you can pick from.
Step 1 - Set Up the Canvas by Enabling the Drawing Guides
Enable the Drawing Guide in the Actions Menu
Open the Actions menu in Procreate by tapping the wrench icon. In the Canvas tab, toggle the Drawing Guide on and tap Edit Drawing Guide. To learn more about Procreate drawing guides, check out the tutorial we have available.

Enable the Symmetry Drawing Guide
Now we need to enable the Symmetry Guide. As you draw the mandala in one segment, the Symmetry Drawing Guides will mirror your drawings in the other segments, so you don't have to repeatedly draw each line/shape for the entire mandala.
Tap Symmetry and then tap the Options button.

Set Up the Symmetry Drawing Guide Options
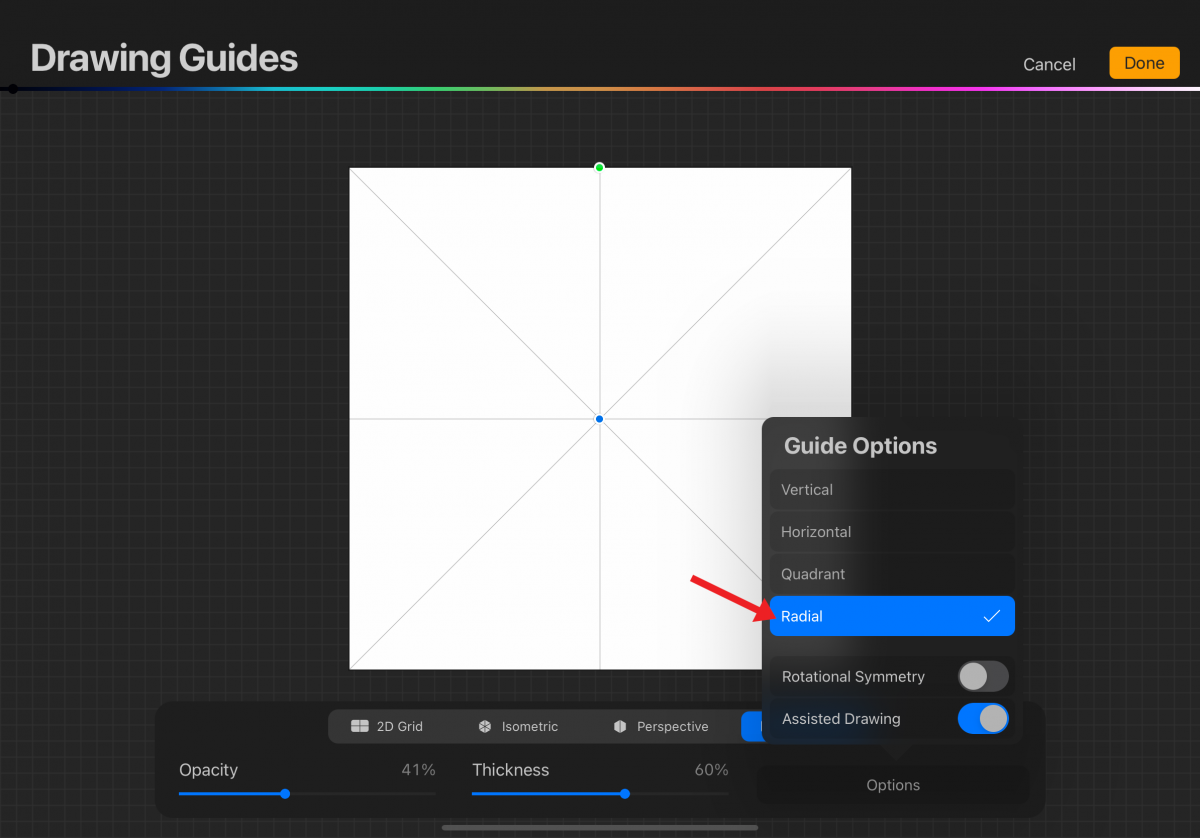
Pick either Quadrant or Radial. Using Quadrant symmetry may result in a less detailed mandala, but either option is fine to use.
If you'd like to follow along, we'll be using Radial symmetryi n this tutorial, so go ahead and tap Radial.

You can toggle on Rotational Symmetry if you'd like, but we will not be using Rotational Symmetry in this tutorial. Switching back and forth while drawing the mandala is also an option.
Make sure Assisted Drawing is toggled on and tap Done.

Draw Some Circles to Guide the Lines and Shapes of the Mandala
You can basically draw whatever you would like, but mandalas often consist of repeated geometric shapes, patterns, and/or colors in a circular design.
On separate layers, draw some circles and center-align them. They don’t have to be evenly spaced. In the Layers panel, lower the opacity of the circle layers so they don't interfere with your drawing. Now you're all set to start drawing your mandala.

Step 2 - Draw the Mandala Piece by Piece
We'll be drawing the mandala piece by piece, but it's very easy to do with the help of the Drawing Guides.
Before we start, we would like to remind you to use layers. We can oftentimes forget about using layers when we're super focused and into a drawing. Because mandalas can be very intricate, it's important to use layers.
Deleting a layer is easier than trying to erase brushstrokes that are connected. If you are at the point where you can't add new layers, merge layers together that contain drawings that do not touch each other. This will make erasing parts of a layer simpler if needed.
Draw the Larger Pieces of the Mandala
Draw larger pieces first to create the foundation of the mandala. See the following image for an example. Notice how the lines and shapes follow the circle guides and how they're mirrored in the other segments.

Fill in the Mandala With More Lines and Smaller Shapes
Once you have the larger pieces down, draw more lines and smaller shapes to fill in the mandala. It's as simple as that!

Mandala Examples
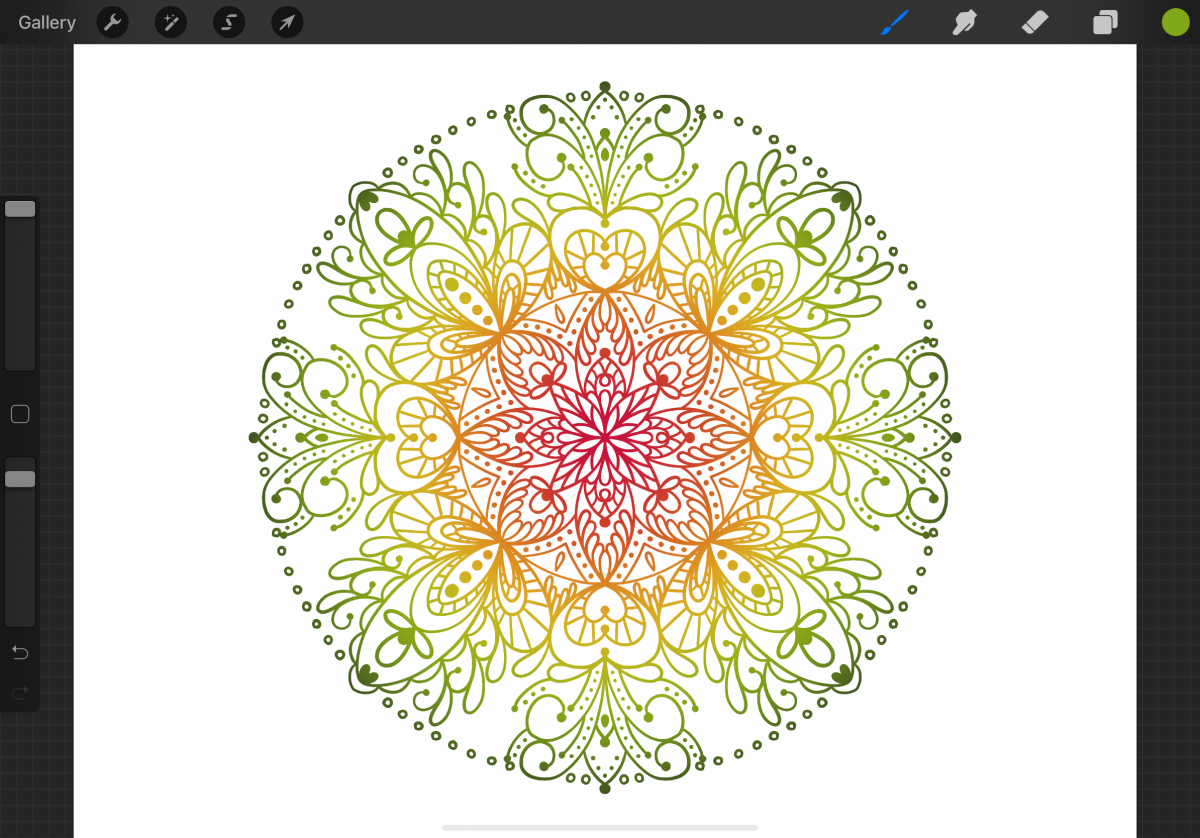
Color Gradient Mandala
For the following image, we merged all the layers together and used Alpha Lock to fill the mandala with a gradient in Procreate.

Colored in Mandala
Again, we merged the layers and used Alpha Lock to color or fill in the shapes in Procreate. Subtle changes can really help to create an entirely different look.

If you enjoyed this tutorial, you may want to check out our tutorials on making sublimation designs, creating 3D typography, and drawing a pumpkin.
6 Related Procreate Tutorials
Procreate textures unlock endless possibilities when creating artwork. Not only can a texture brush be used for adding texture, but is a great time saver and can add unique patterns and backgrounds. In this tutorial, we are going to create a textured brush for Procreate. If you are short on ...
Procreate stamp brushes are a great tool to have. They can be used to add creative elements like leaves or base models for drawing. The stamp brushes can be customized and new brushes created with ease. In this tutorial we are going to create a stamp brush in Procreate. If ...
Do you want a multicolored rainbow brush that you can make from your favorite standard Procreate Brush? In this tutorial, I’ll take you through the steps on how you can turn any brush into a fun rainbow brush. We are using the Blackburn brush that comes standard with Procreate ...
You can make your custom Procreate brushes that add unique textures and strokes to your artwork. And the best part of making your brushes is it’s so much fun and enables you to take real-world textures and shapes and make them digital. In this tutorial, we’re going to ...
The Symmetry Tool in Affinity Designer is found under the Pixel Persona. It works with the Paint Brush Tool to create symmetrical or mirrored designs. These designs are placed on one or multiple planes to create amazing detail. In this tutorial we will make a mandala design in Affinity Designer....
Sublimation designs have become extremely popular with DIYers and crafters. Having the option to make custom prints for yourself is a great way of expressing your style. In this tutorial, we will show you how you can use Procreate to make your Sublimation designs and send them to your printer ...

 All your Font Needs


