
How to Make a Split Monogram in Inkscape
Did you know that you can create your own Split Monogram with the free program, Inkscape!? That's right, you can - and today we are going to show you how.
We will use a “D” as the monogram and “Design Bundles” as the text to go inside the split.
Step 1 - Create the “D” monogram
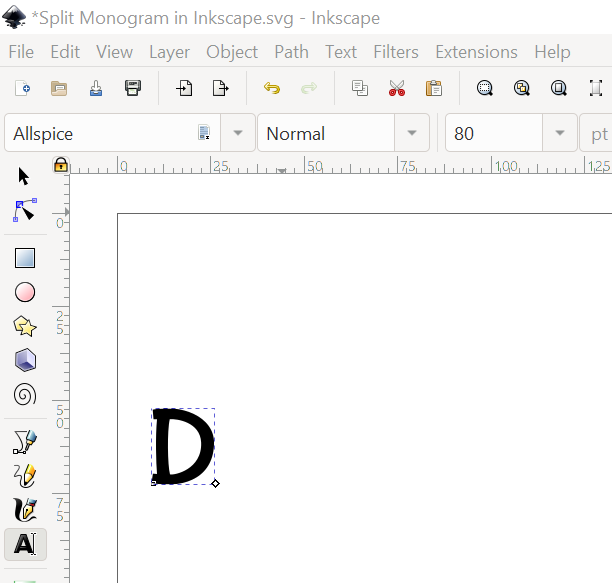
Select the text tool in the left toolbar and choose the font you want to use. In this tutorial we are using the Allspice font by Missy Meyer. Write out a capital “D”.
Step 2 - Change the “D” from text to a path
Click on the “D”. Go to Path > Object to Path. Then go to Object > Ungroup.
Step 3 - Resize the monogram
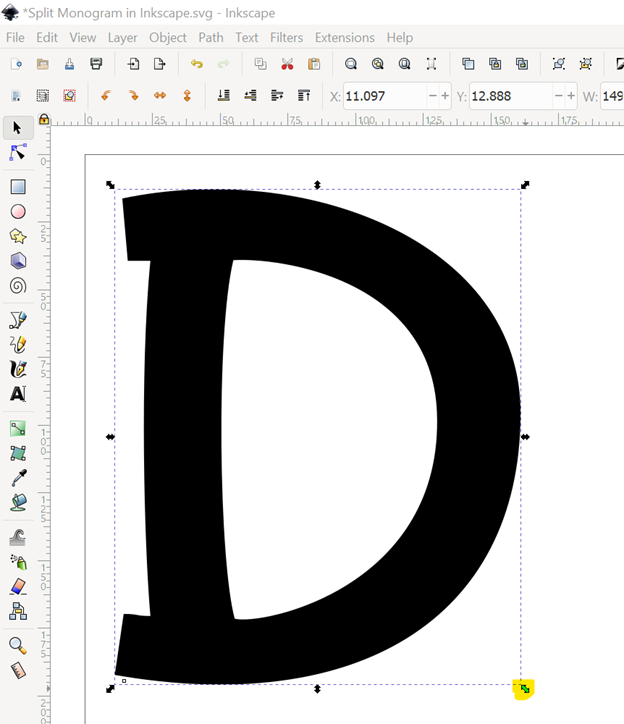
Hold down the Ctrl key and drag the corner to resize the monogram.
Step 4 - Draw a rectangle for the blank space and convert it to a path
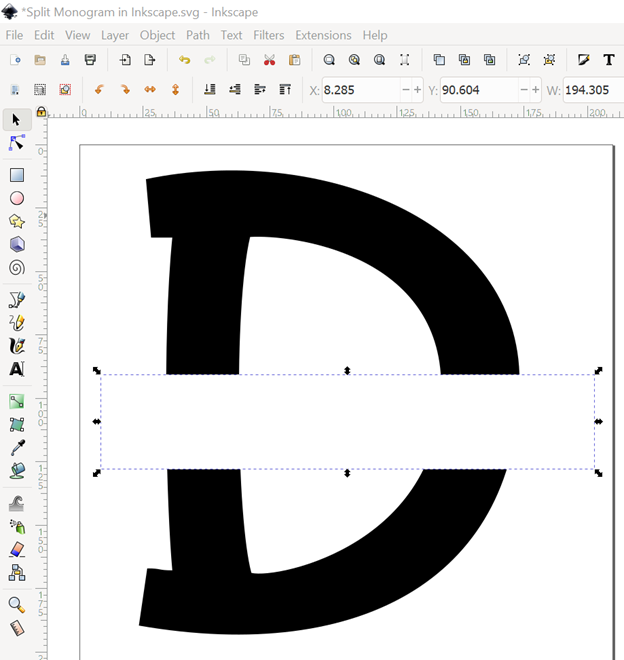
Draw the white rectangle with the “Create Rectangles and Squares” tool on the left toolbar. When it’s the size you want, make sure you have the rectangle selected, then go to Path > Object to convert the rectangle to a path.
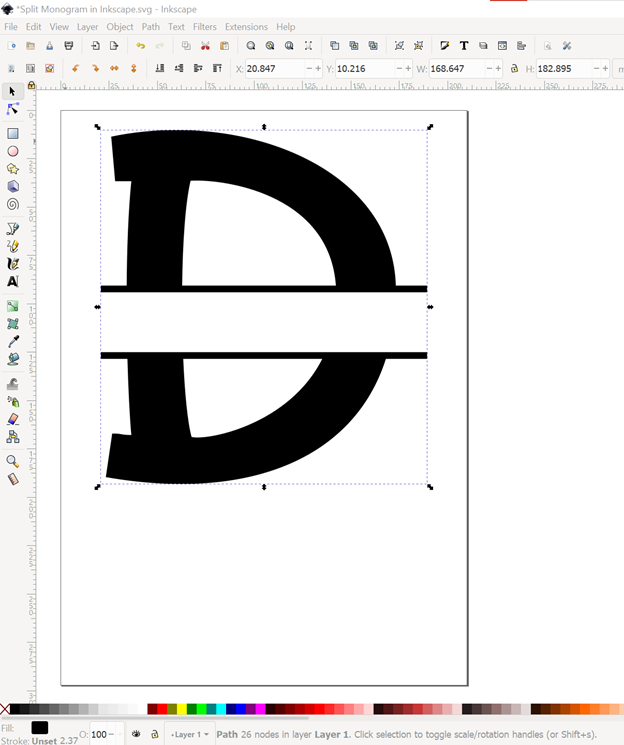
Step 5 - Create the split monogram by cutting out the rectangle from the “D”
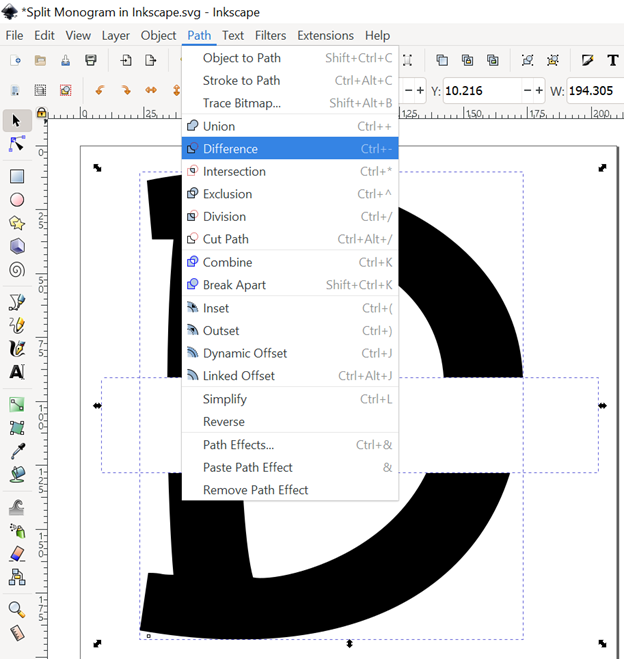
Select the D and the rectangle (to select more than 1 object at a time, hold shift and click on each object you want selected), then go to Path > Difference to create the split.
Step 6 - Draw 2 smaller rectangles to create the frame around the blank space
To ensure they are the same size, draw 1 black rectangle to the size you like for the top of the blank space, then duplicate it (Ctrl + D) and move the copy to the bottom of the blank space to create a symmetrical frame.

Step 7 - Union 3 items to make it one path
Select the 2 black rectangles and go to Path > Object to Path. Select the “D” and the 2 rectangles and go to Path > Union to make them all one object. Now when you select the item, you can see at the bottom you have selected 1 path so you know this step is complete.
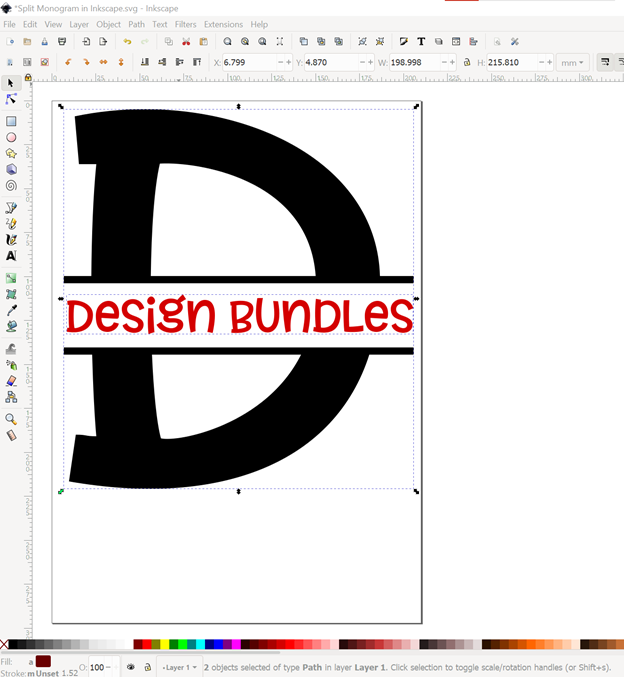
Step 8 - Add text inside the frame
Use the text tool to create the text inside the frame. I will type out “Design Bundles” in the Allspice font. Select the text, then hold down the Ctrl key and drag the corner to resize the text to fit within the frame.

Step 9 - Weld text
Click on the “Design Bundles” text and weld it following these 3 steps: Go to Path > Object to Path. Then go to Object > Ungroup. Lastly go to Path > Union. Check out this other tutorial for more detailed steps for welding text in Inkscape. This leaves the “Design Bundles” text as a separate object from the split monogram so you can cut in a different color vinyl from the split monogram.
These steps convert all items to paths so you can import into your cutting machine software without issue.
We hope you enjoyed this tutorial. Check out some of our other tutorials like creating an offset in Inkscape.


