
How To Use Mock Ups In Affinity Designer
In this tutorial we will show you how to use both JPG and PSD Mockups in Affinity Designer.
In this tutorial you will learn how to use mockups in Affinity Designer. Mockups create a visual display for your designs allowing you an end result preview. Usually purchased in PSD formats, mockups can easily be customized in Affinity Designer. We will guide you through the process of using both PSD and JPEG mockups in Affinity Designer.

During the tutorial we will be using a nursery frame mockup bundle and cute dinosaur clipart.
Mockup folders can consist of PSD or JPEG files or both. We have both formats available in the mockup we chose. After downloading the purchased files on your PC, you may need to unzip the zip files first.
Method 1 - Use a JPEG Mockup Design
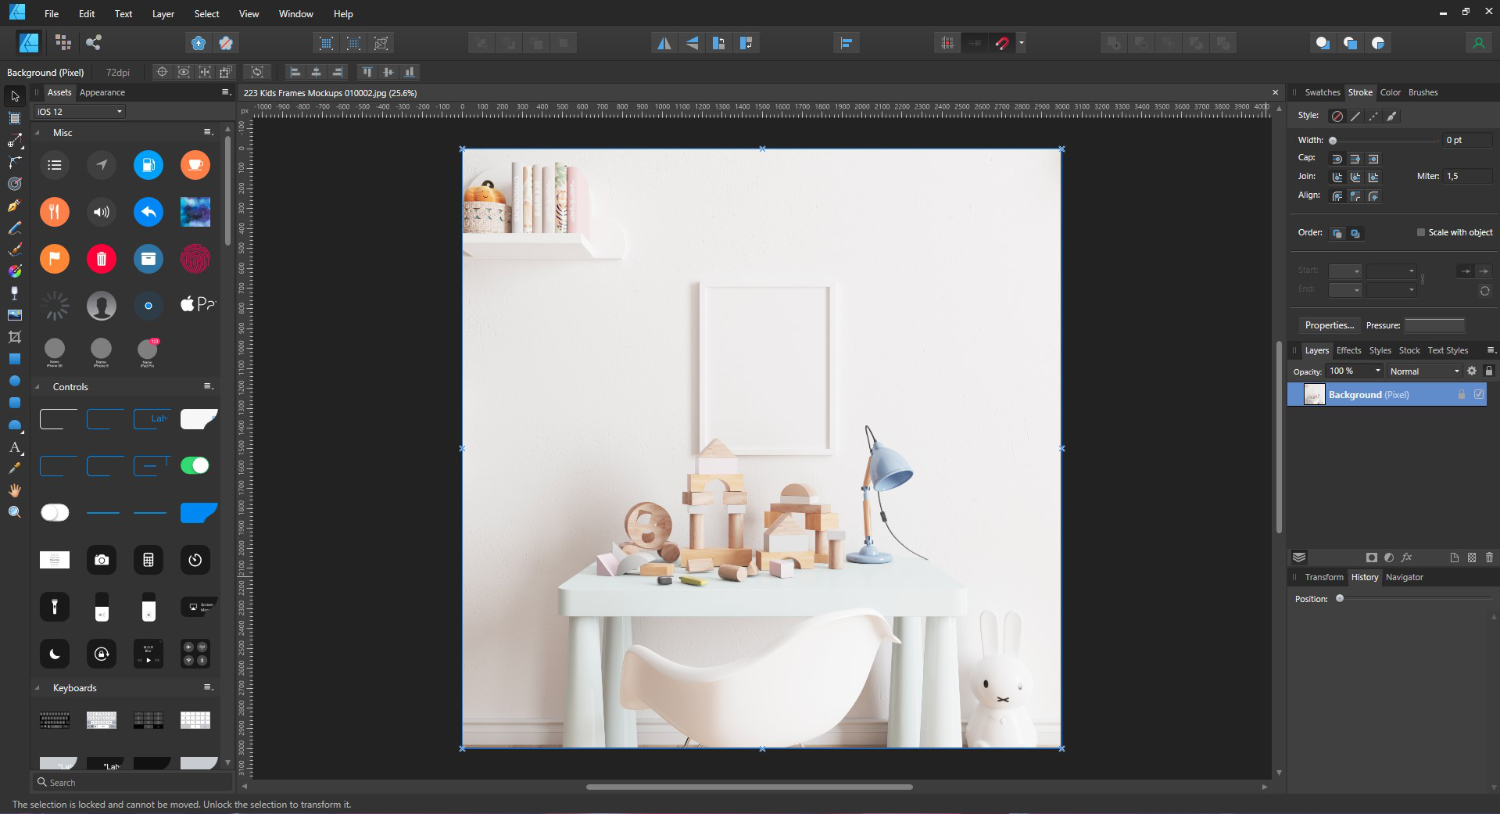
A JPEG mockup is just a single file, unlike the layered files of a PSD. This is a great way to quickly add the design without the fuss of layers. Once you have opened Affinity Designer, locate and open the JPEG mockup you want to use.
Step 1 - Add your Design
It’s usually best practice to create a duplicate in case you want to revert back to the original. Under the Layers panel on the right, right click the Background layer then select Duplicate.

Now, you can import your design by using copy and paste or drag and drop. We chose to drag and drop the watercolor design onto the canvas. It is preferable to use a PNG file as these usually have a transparent background.
Step 2 - Change the Design Size
The design will be placed at the top of the layers and may need to be resized. Click on the newly added design to select and activate the sizing handles.

We selected the right corner sizing handle at the bottom, then clicked + dragged inward. With the Move Tool selected (top left), we repositioned the design in the middle of the frame.

That’s all there is to using a JPEG mockup. For more complex setups, a PSD file is a better option.
Method 2 - Use a PSD Mockup File
A PSD mockup consists of multiple layers that can be edited independently. This gives greater control over how the design is set up and saved. It can also be edited at any time with the layers still in place.
Step 1 - Open the PSD file
When you have located and opened the PSD file, you will see the layers on the right hand side. Depending on the file, you may have a Logo/Design layer that you will be working on. For our mockup, we will be working on the Smart objects layer.
In this Smart objects layer, we will only use the layers Picture 3, Picture 12 and Picture 2. Click on the arrow for the Smart Objects layer to access the Picture layers.

Step 2 - Import your Designs
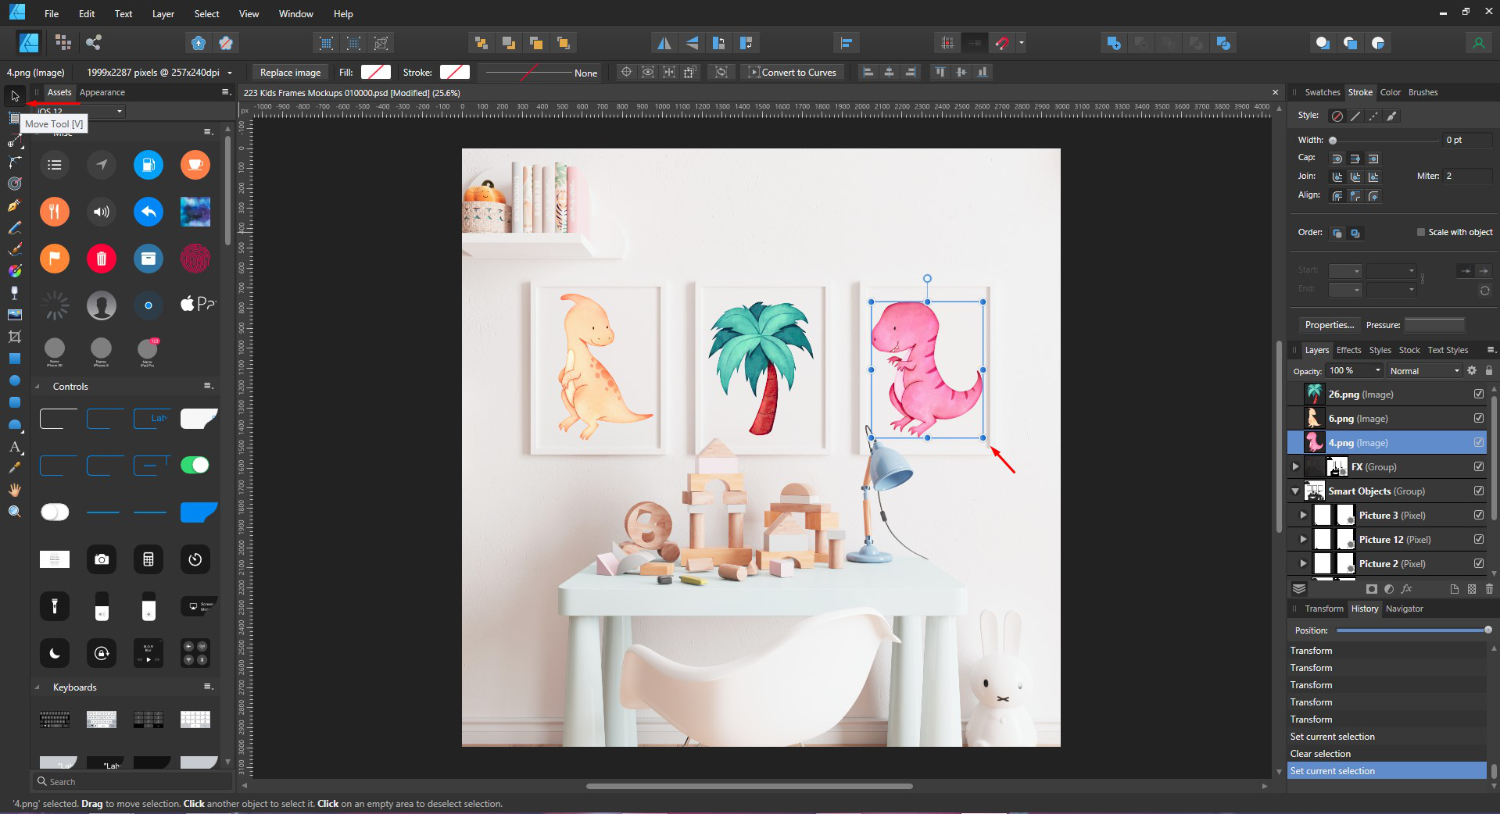
Using the drag and drop method, bring in the designs you want to use in the mockup. We chose three cute dinosaurs, which were all added as new layers.

Step 3 - Adjust Designs in the Mockup
As with the JPEG mockup, we need to resize the images to fit in the frames on the wall. Using the resizing handles, click + drag in the right corner until you get the desired size.
To reposition the image, select the Move Tool. Then place your mouse in the middle of the design and click + drag to move it. To flip the design around, as we did, right click > Transform > Flip Horizontal.
Now, you may be thinking “How is this any different to using a JPEG”? A PSD mockup accommodates your design so that you don’t have to do the complicated editing. In the next step we will show you how this works.
Step 4 - Change Order of Layer Designs
To make full use of the PSD layers, the order of the design layers needs to change. We need to move each design into one of the Picture layers.
Under each Picture layer is a masked child layer. The design needs to be placed beneath this layer in the same group. In the image below the masked child layer is shown with a red rectangle.

Click on one of the dinosaur layers then drag it over and just below the masked layer. It is crucial that you drag and drop exactly below the masked layer thumbnail.

Do this for the remaining dinosaur layers.

Step 5 - Resize the Designs
We have now moved the designs to their allocated layers. Here they can easily be adjusted without extending outside the frames.
Notice how the lamp on the far right overlaps on the bottom part of the frame? The masking layer makes sure that anything in the frame is also behind the lamp. This is why placement is important.

The PSD layers allow us to adjust the size of the designs while restricting them to the frames. Here we used the sizing handles to increase the size of each design. No matter how big we made the design, it stayed within the frame.

Create a Fun Split Frame Mockup
Let’s have a bit of fun and create a crafty display. You can use the PSD layers to create a split frame theme. This works great with designs or photos.
Import your design and resize it over the three frames as shown in the image below.

Go to the Layers Panel on the right, click to select the dinosaur layer then right click > Duplicate. Duplicate this layer one more time so that we have three dinosaur layers in total.

As with Step 4 above, change the order of the layers and place one dinosaur layer on each Picture layer. There we go, now you have a split frame design.

Split frames are a popular way to showcase your design in a unique perspective.
Using mockups in Affinity Designer is an efficient way to display your designs. Whether for marketing purposes or to see the end result, mockups are an essential tool. We hope this tutorial showed you just how easy it is to use mockups in Affinity Designer.


