How to Use Mock Ups in Silhouette Studio
*Business edition used.
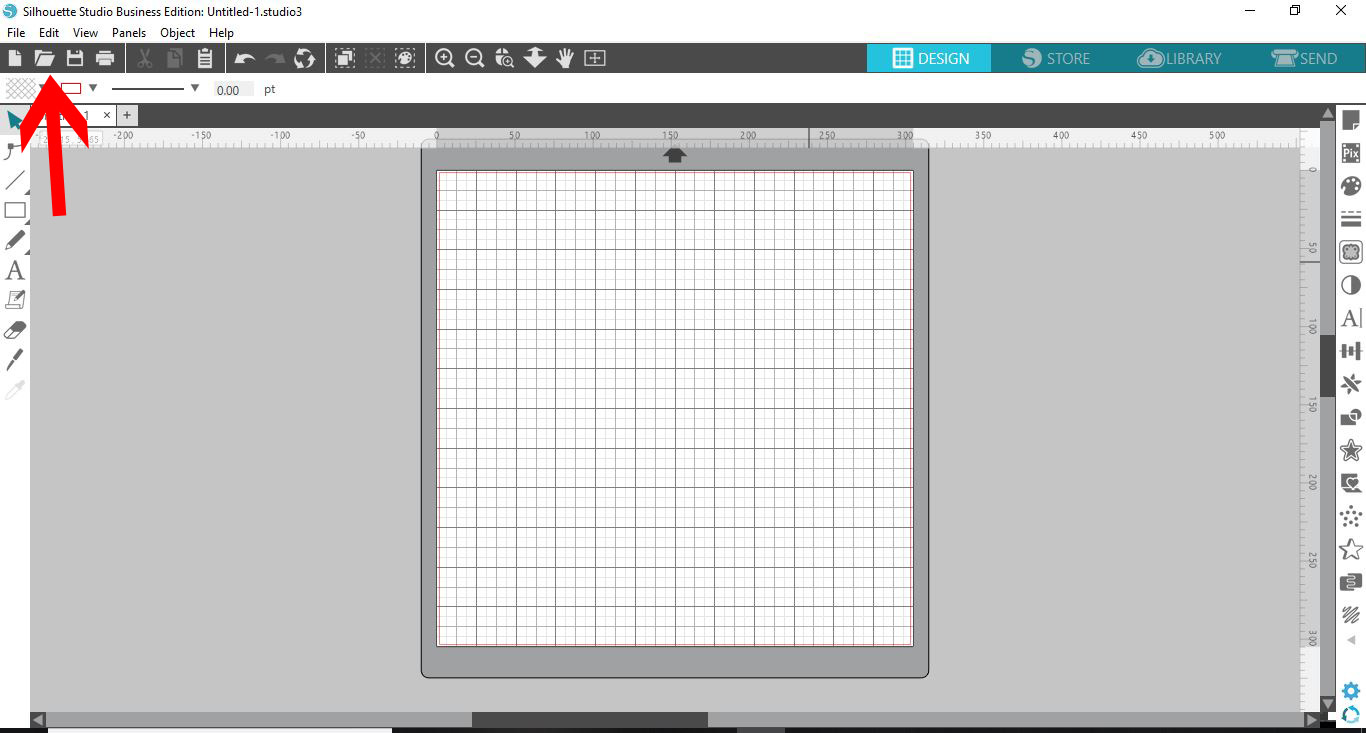
1- Open Silhouette Studio. Click on the open icon.
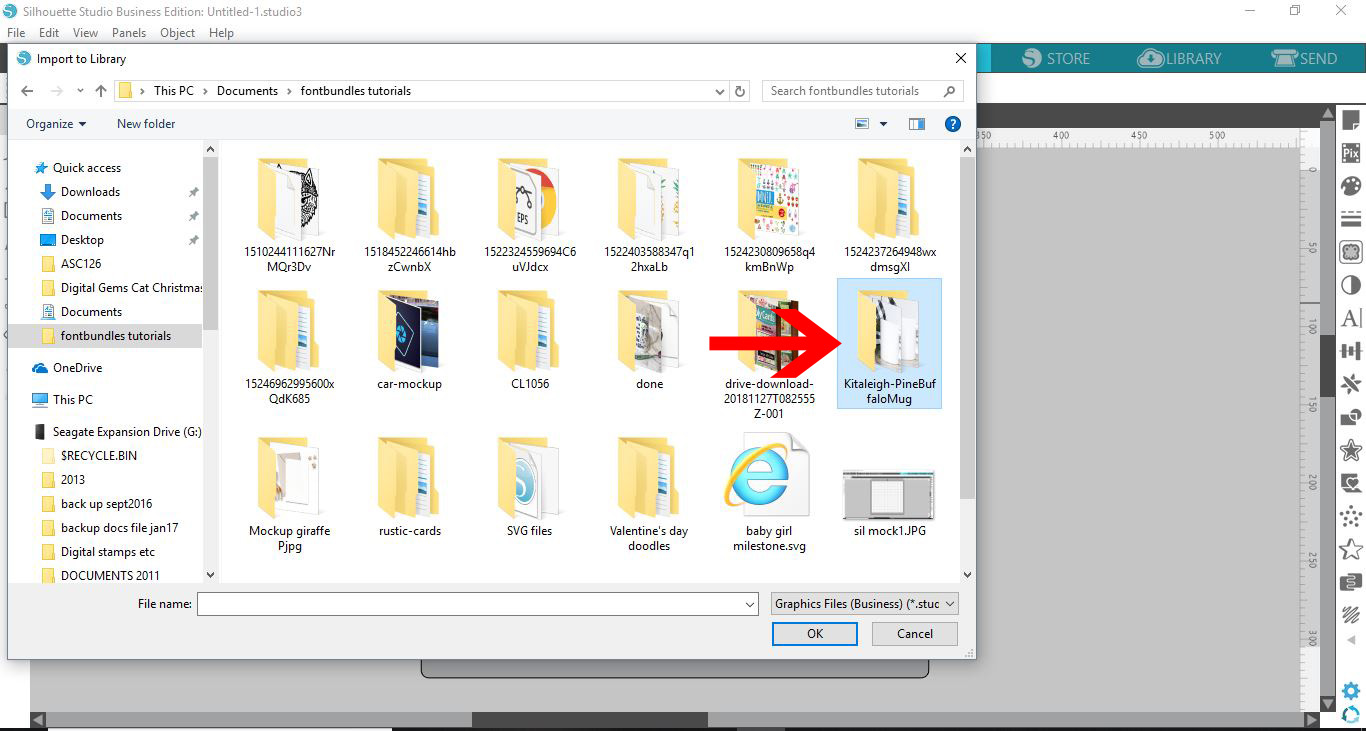
2- We need to import the blank mock up into silhouette studio. Go the library then import to library.
3- Find your mock up and open.
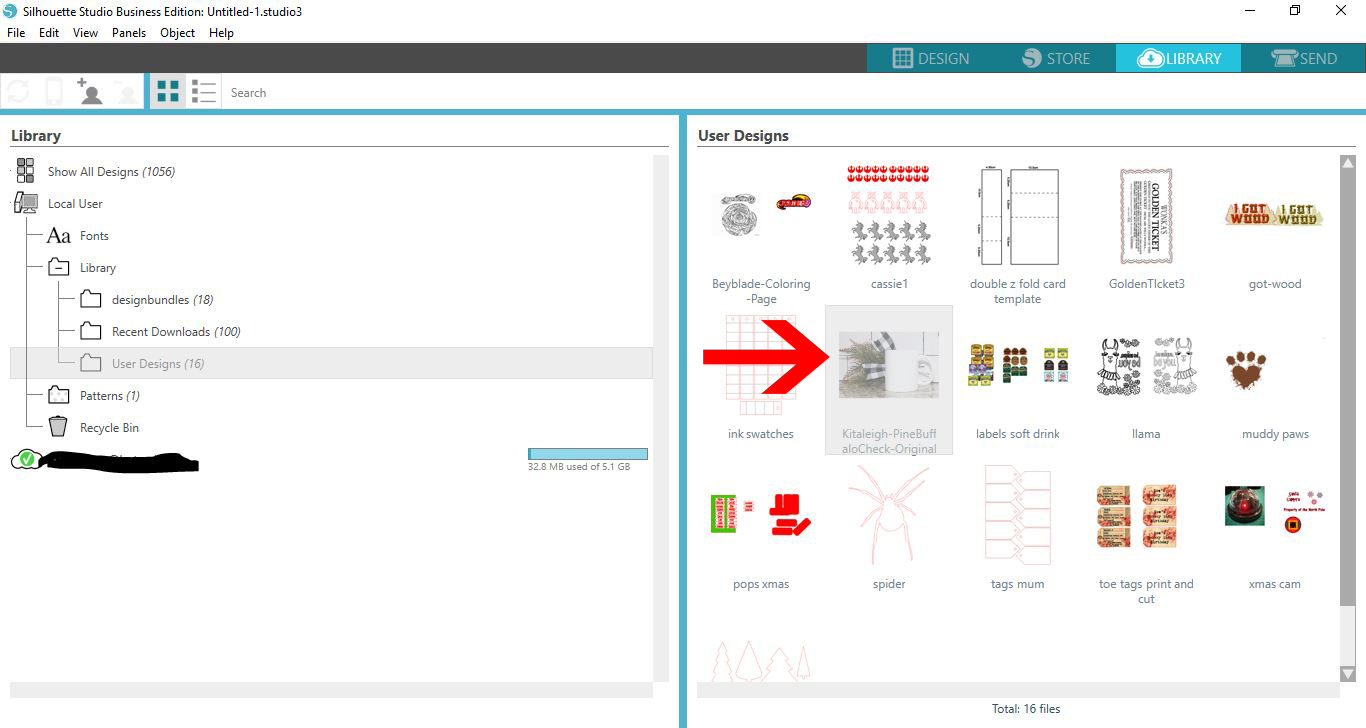
4- The mock up will appear in your library. double click on it.
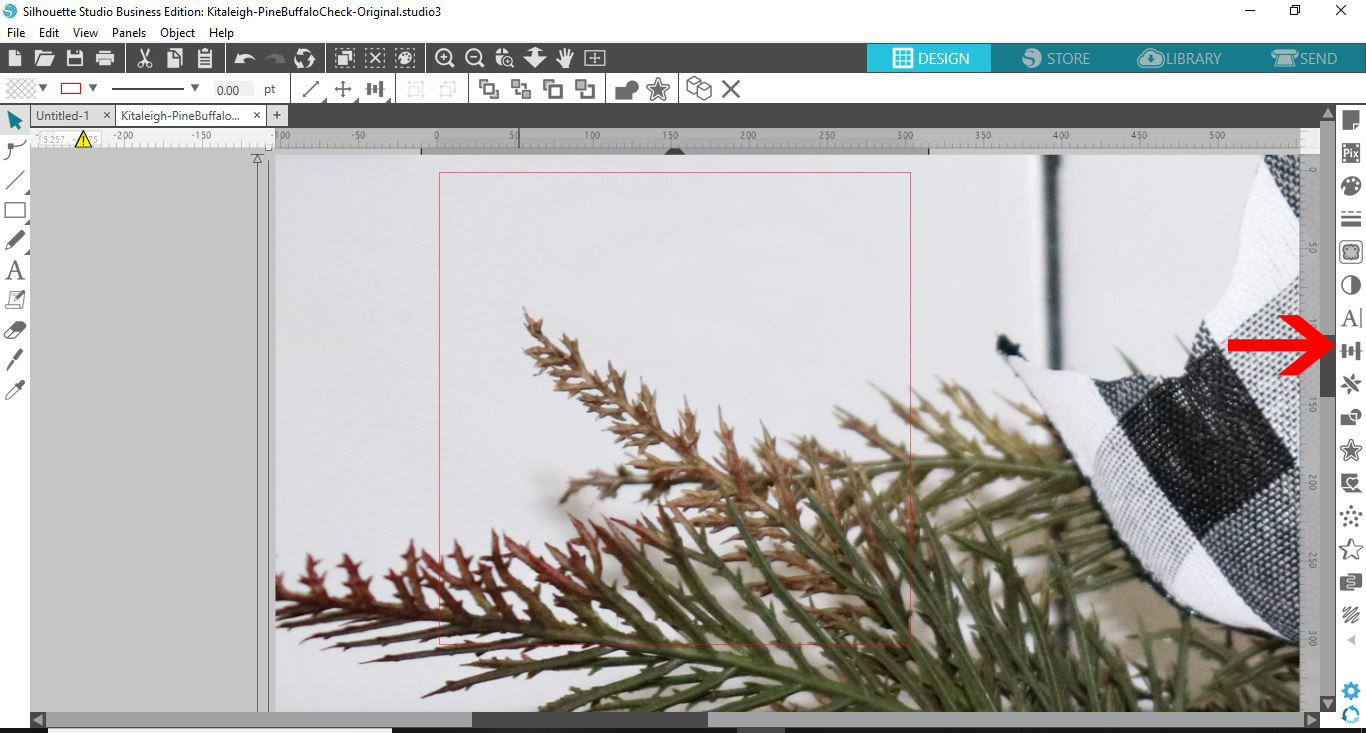
5- If your mock up is too large for the design space click on the transform panel.
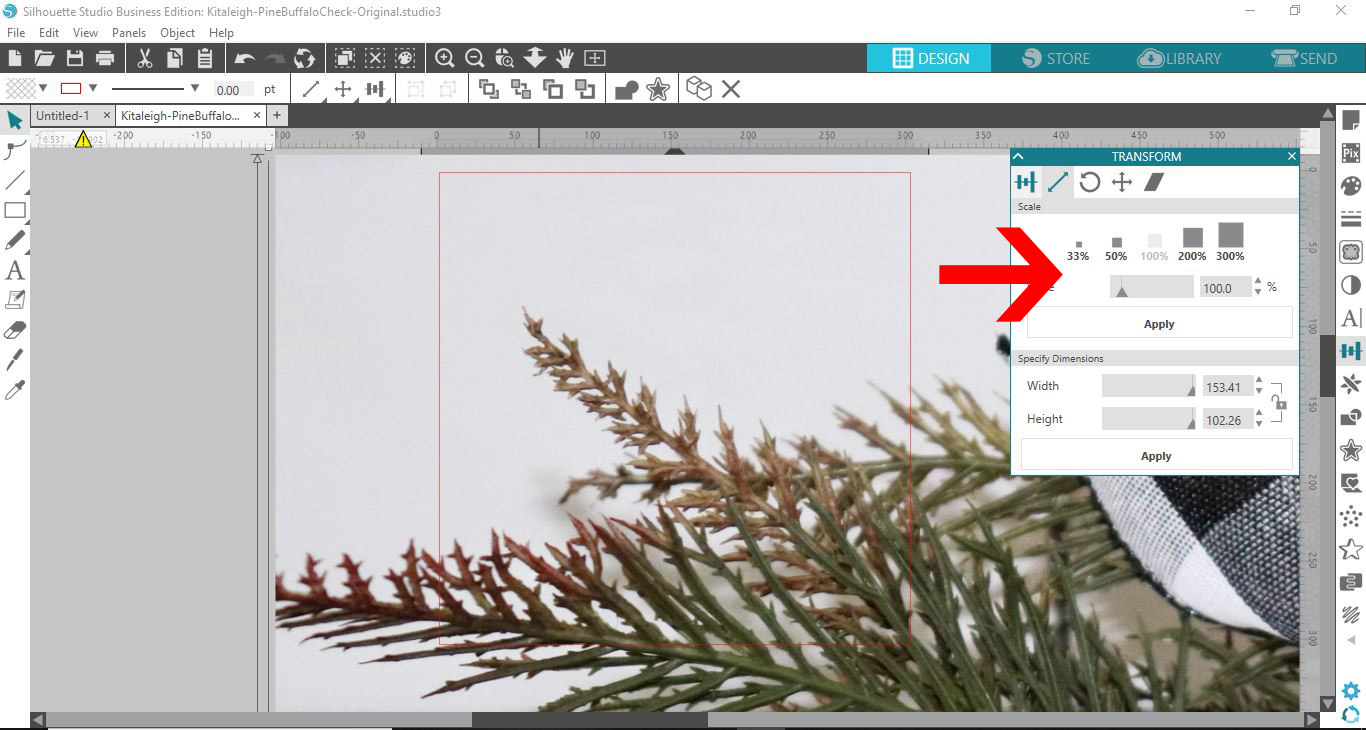
6- Reduce the size. I used 33%
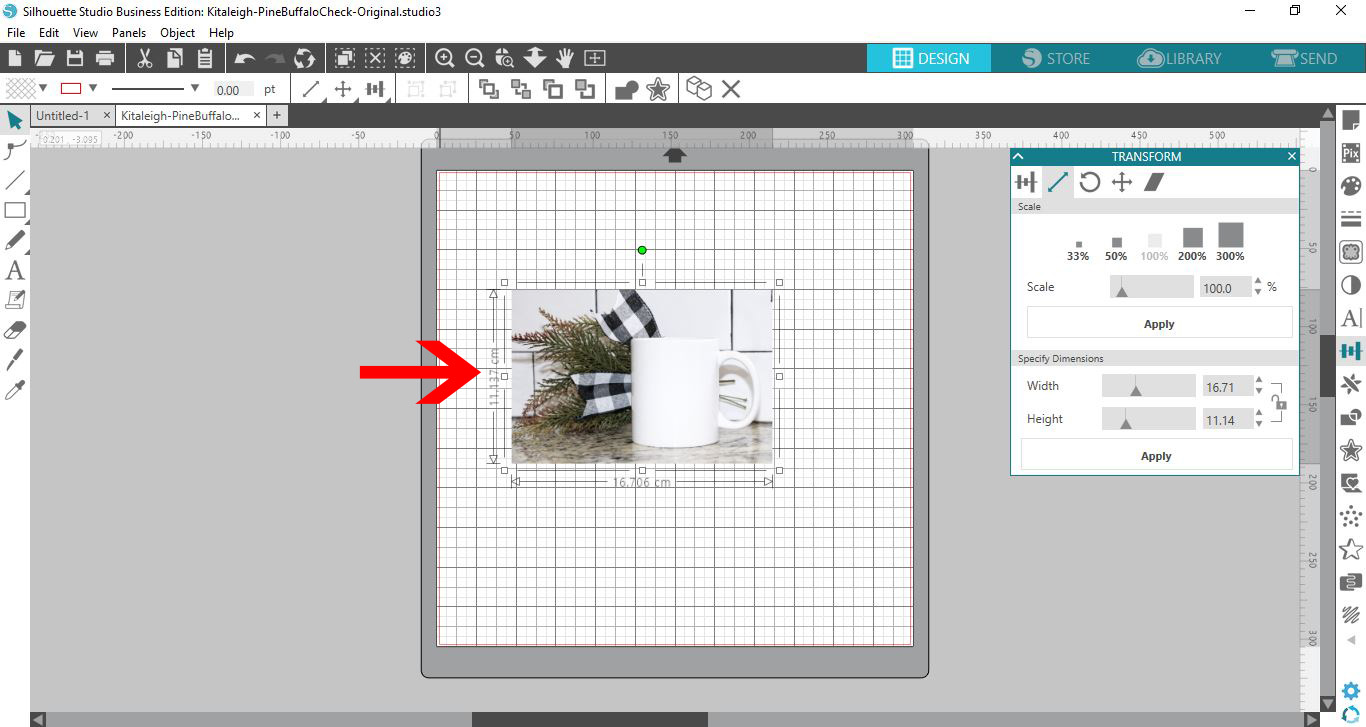
7- Once centered on the design space you can then adjust the size with the handles.
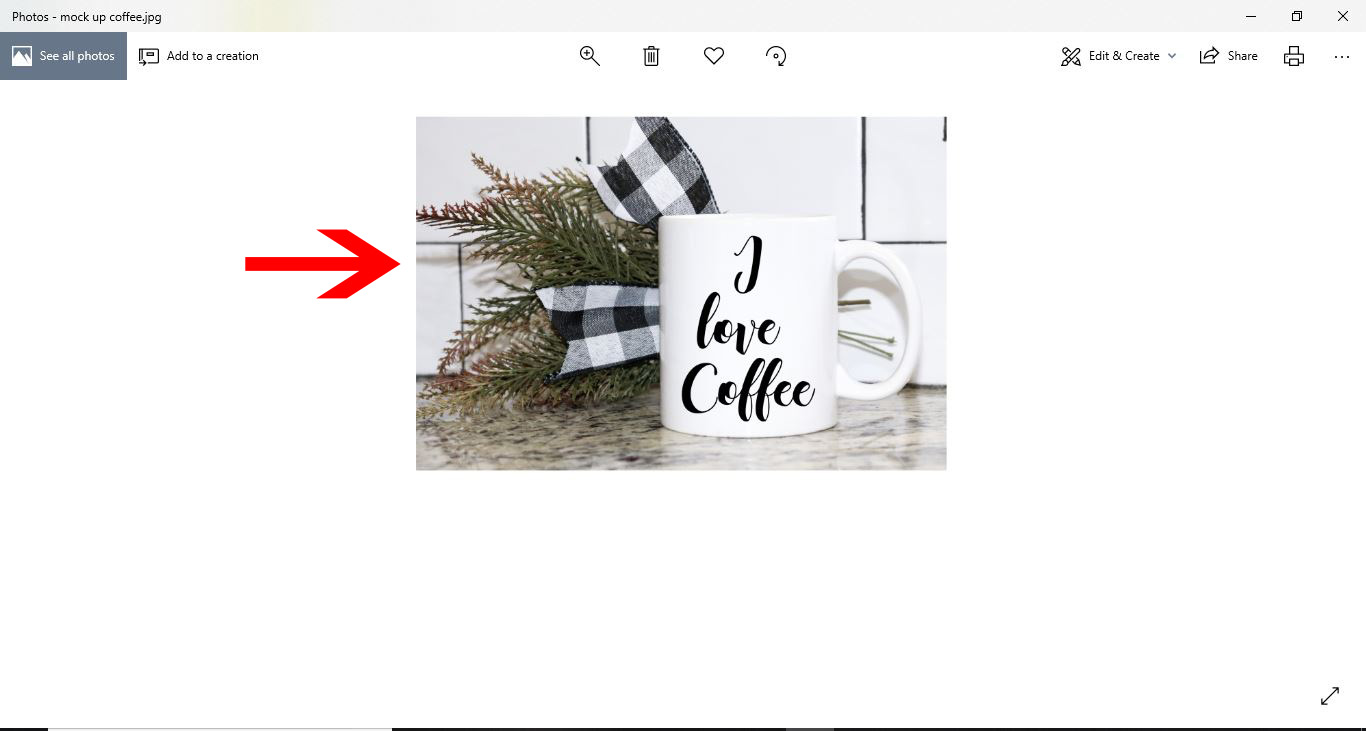
I am using Pine with buffalo check mock up from Design Bundles.
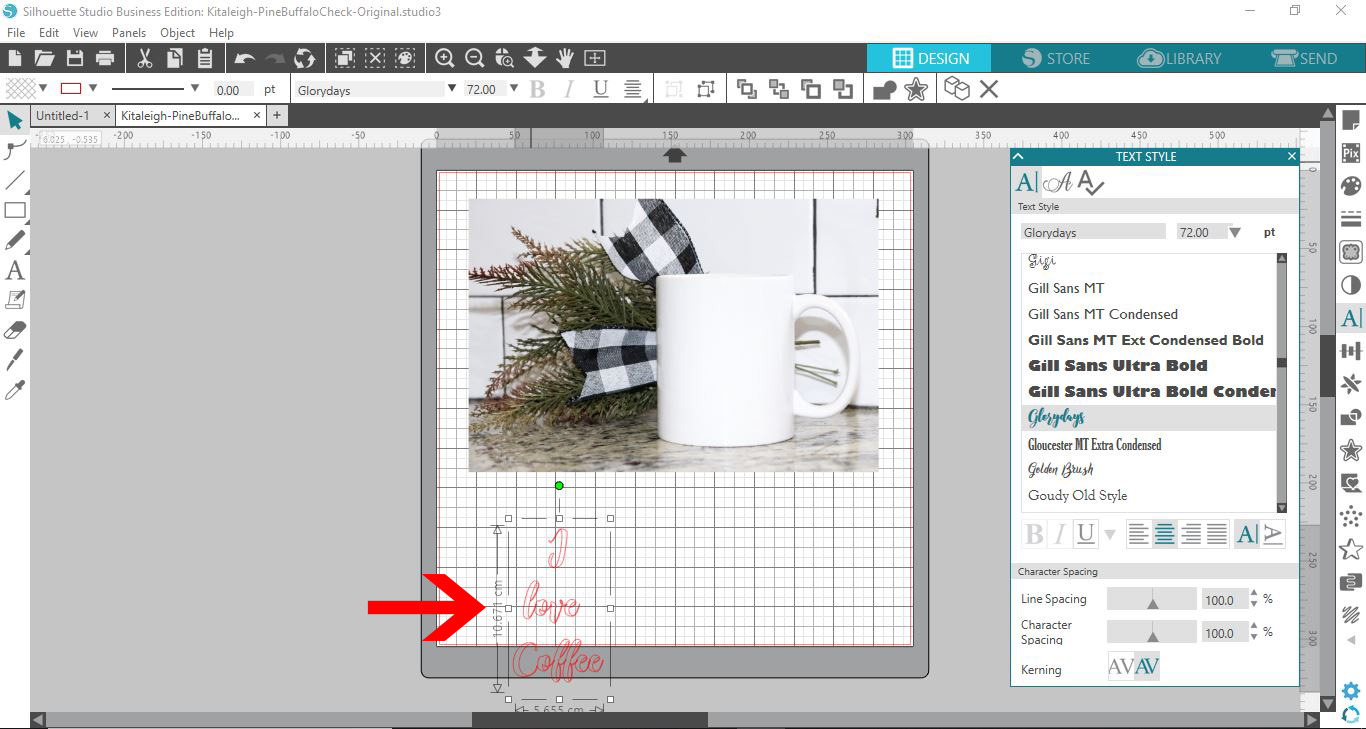
8- Add your design for the mock up. I am using text. Type your text.
9- Select the text option. Select your font. I will be using Glorydays from Font Bundles.
10- Select the text.
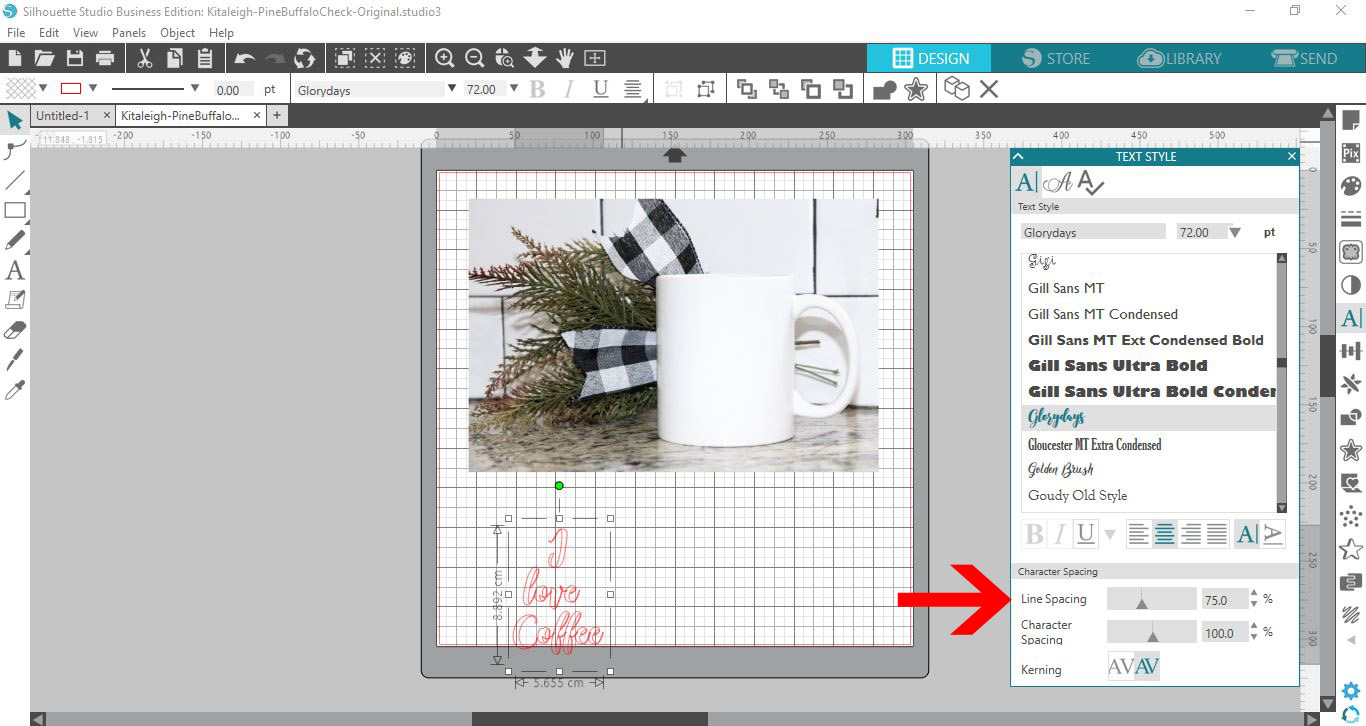
11-Adjust the line spacing.
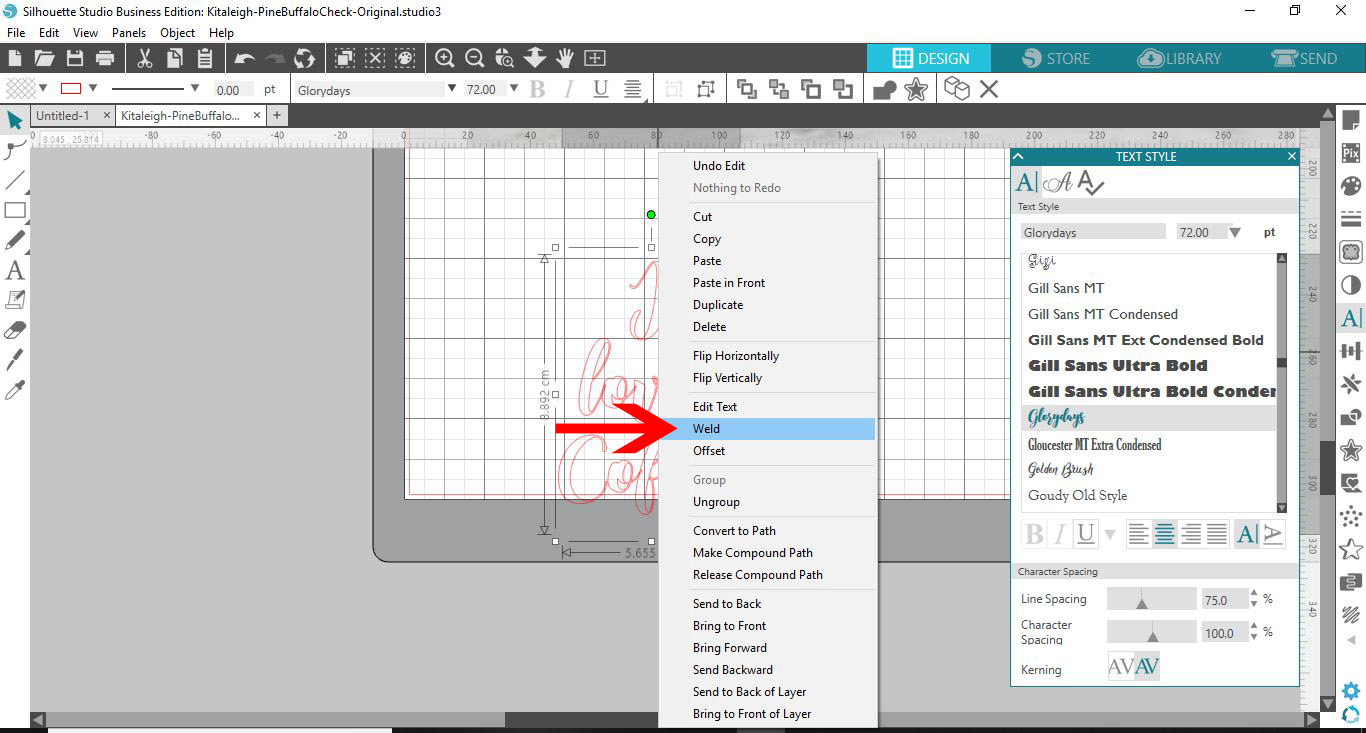
12- With the text selected, right click and weld.
13- With text still selected, right click again and make a compound path.
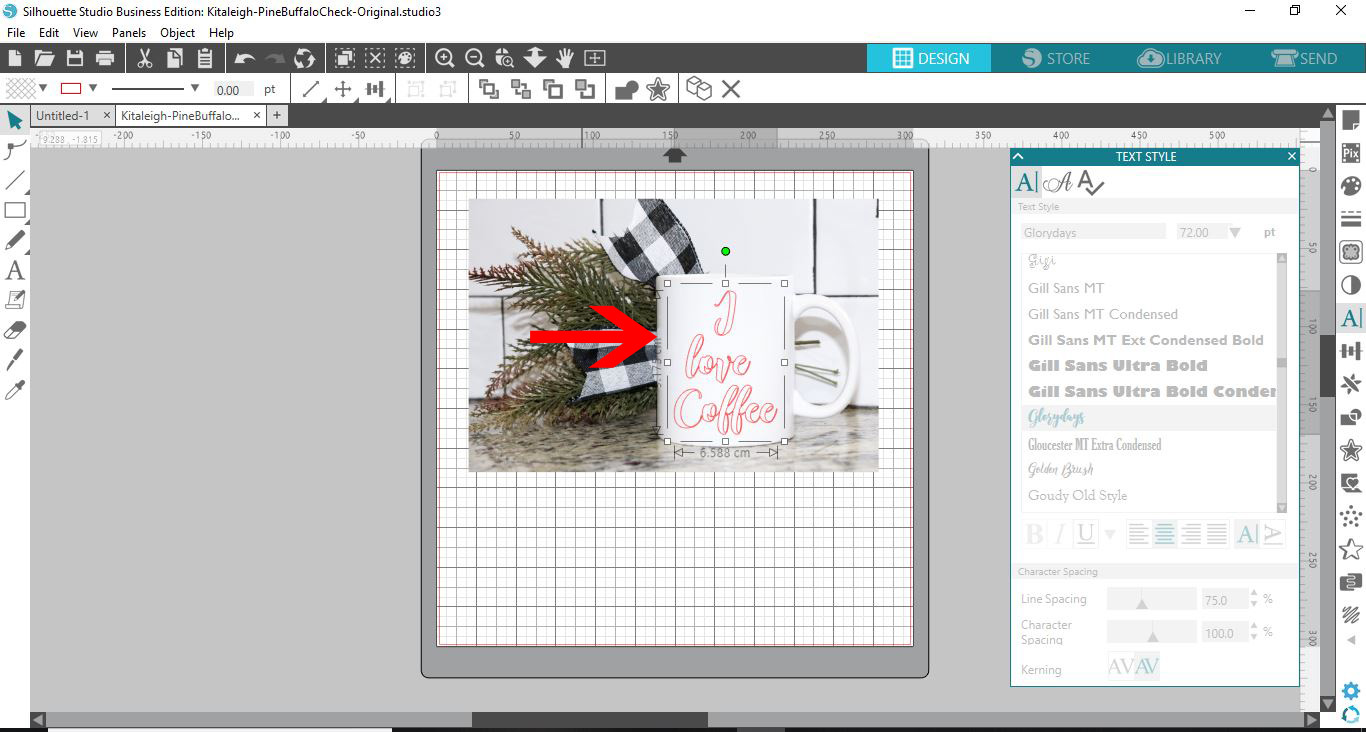
14- Move the text onto your mock up.
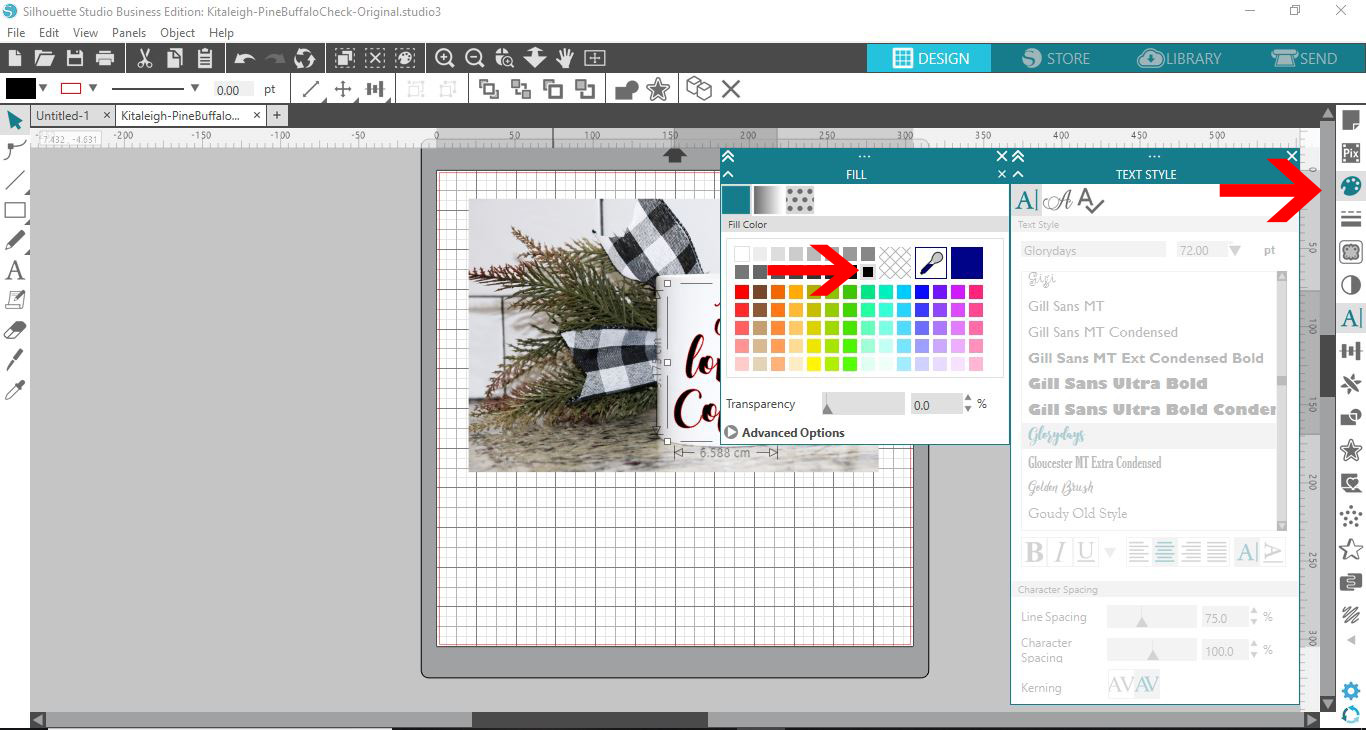
15- Change the text fill colour to suit your needs.
16- Change the line colour to match the fill colour.
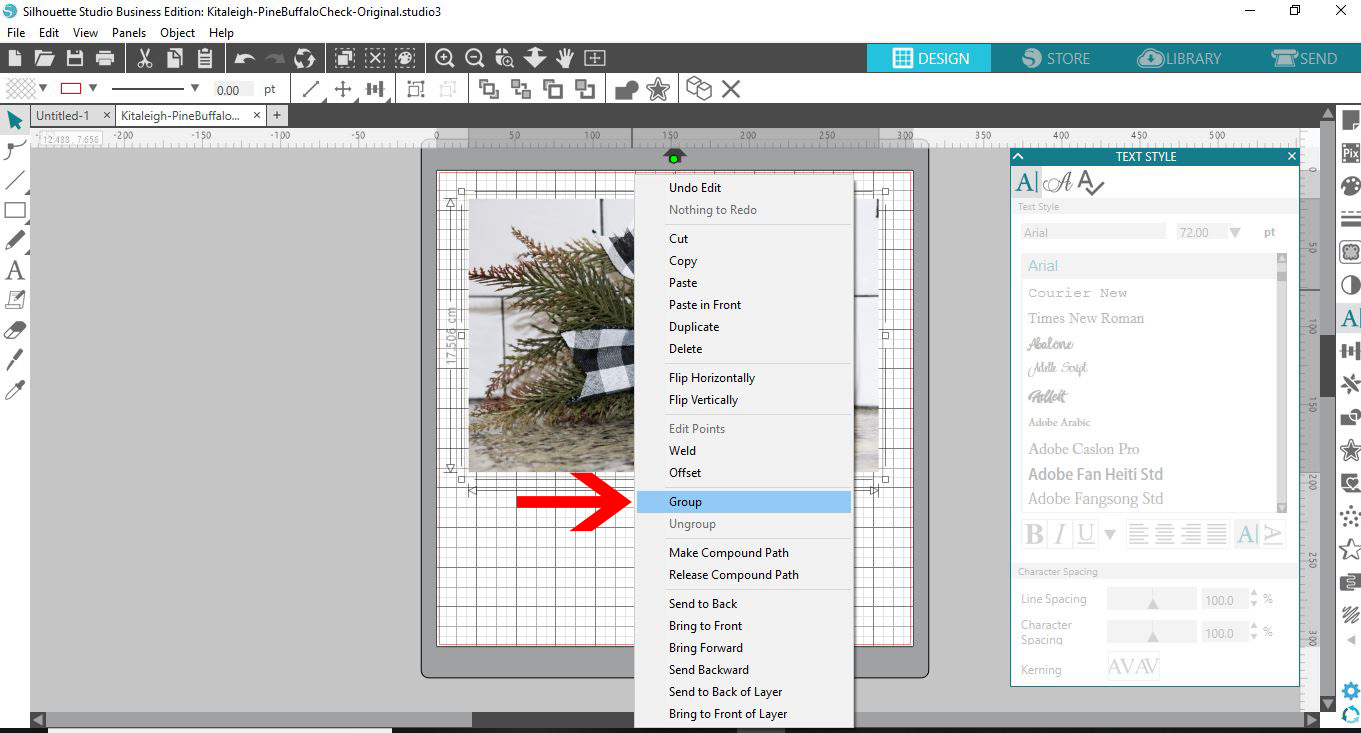
17- Once you are happy select everything and right click - group.
18- It is time to save your mock up as a jpeg. If you are running on the free version of Silhouette studio you will need to use a clipping tool to take a screenshot of the design. The first thing you will need to do is remove the grid lines. Go to page set up and uncheck grids.
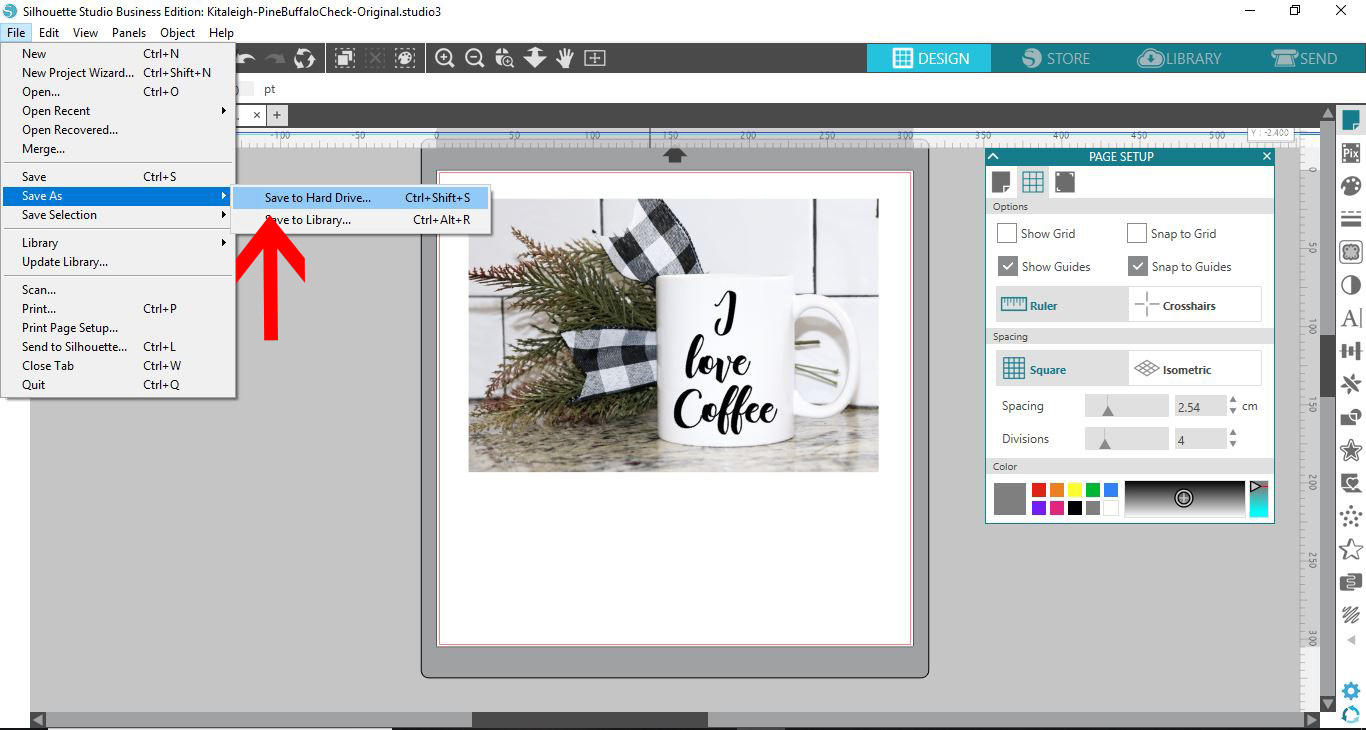
19- If you have the business edition, you can save the design. go to file - save as - save to hard drive.
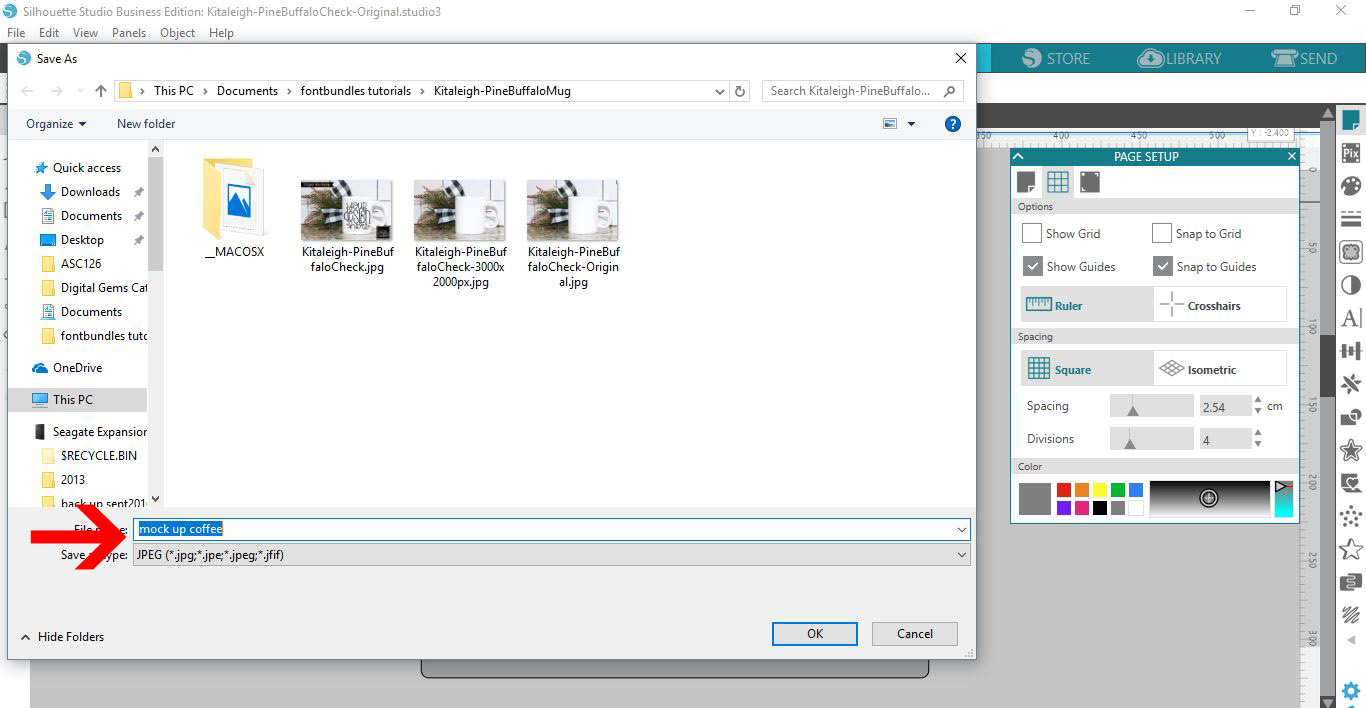
20- Name your design and select jpeg. Save.
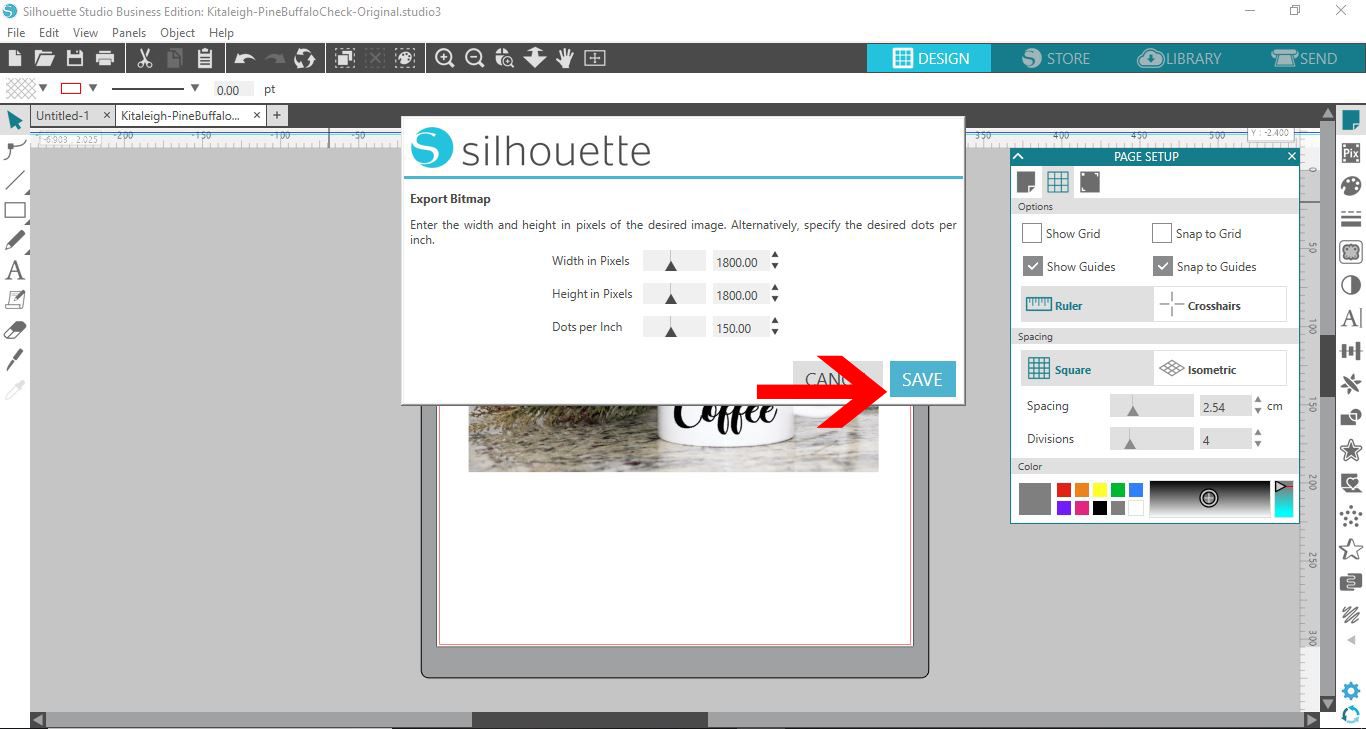
21- In the export window click on save.
22- Once saved you will now have a jpeg of your mock up.
1- Open Silhouette Studio. Click on the open icon.
2- We need to import the blank mock up into silhouette studio. Go the library then import to library.

3- Find your mock up and open.
4- The mock up will appear in your library. double click on it.
5- If your mock up is too large for the design space click on the transform panel.
6- Reduce the size. I used 33%
7- Once centered on the design space you can then adjust the size with the handles.
I am using Pine with buffalo check mock up from Design Bundles.
8- Add your design for the mock up. I am using text. Type your text.
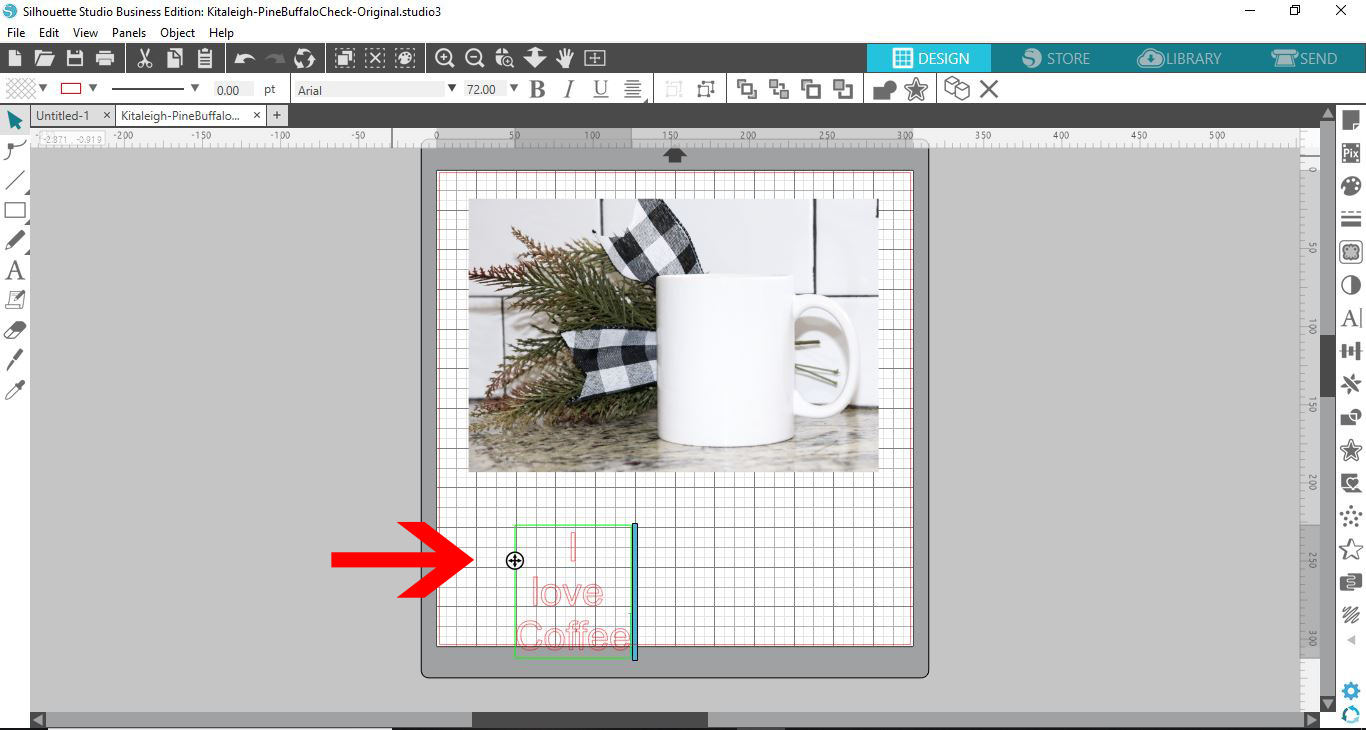
9- Select the text option. Select your font. I will be using Glorydays from Font Bundles.

10- Select the text.
11-Adjust the line spacing.
12- With the text selected, right click and weld.
13- With text still selected, right click again and make a compound path.

14- Move the text onto your mock up.
15- Change the text fill colour to suit your needs.
16- Change the line colour to match the fill colour.

17- Once you are happy select everything and right click - group.
18- It is time to save your mock up as a jpeg. If you are running on the free version of Silhouette studio you will need to use a clipping tool to take a screenshot of the design. The first thing you will need to do is remove the grid lines. Go to page set up and uncheck grids.

19- If you have the business edition, you can save the design. go to file - save as - save to hard drive.
20- Name your design and select jpeg. Save.
21- In the export window click on save.
22- Once saved you will now have a jpeg of your mock up.