
How to use Sketch Markers with Silhouette Studio
For this tutorial Silhouette branded sketch pens were used. You can, however, use any pen of your choice with the pen tool. To show the versatility of the sketch option, I will be using two fonts called Black Kost and Captain Jack.
Our fonts have already been installed. But if you need help with this please have a look at our tutorial on installing fonts on a PC or Mac.
Step 1 - Type out the text and change the font
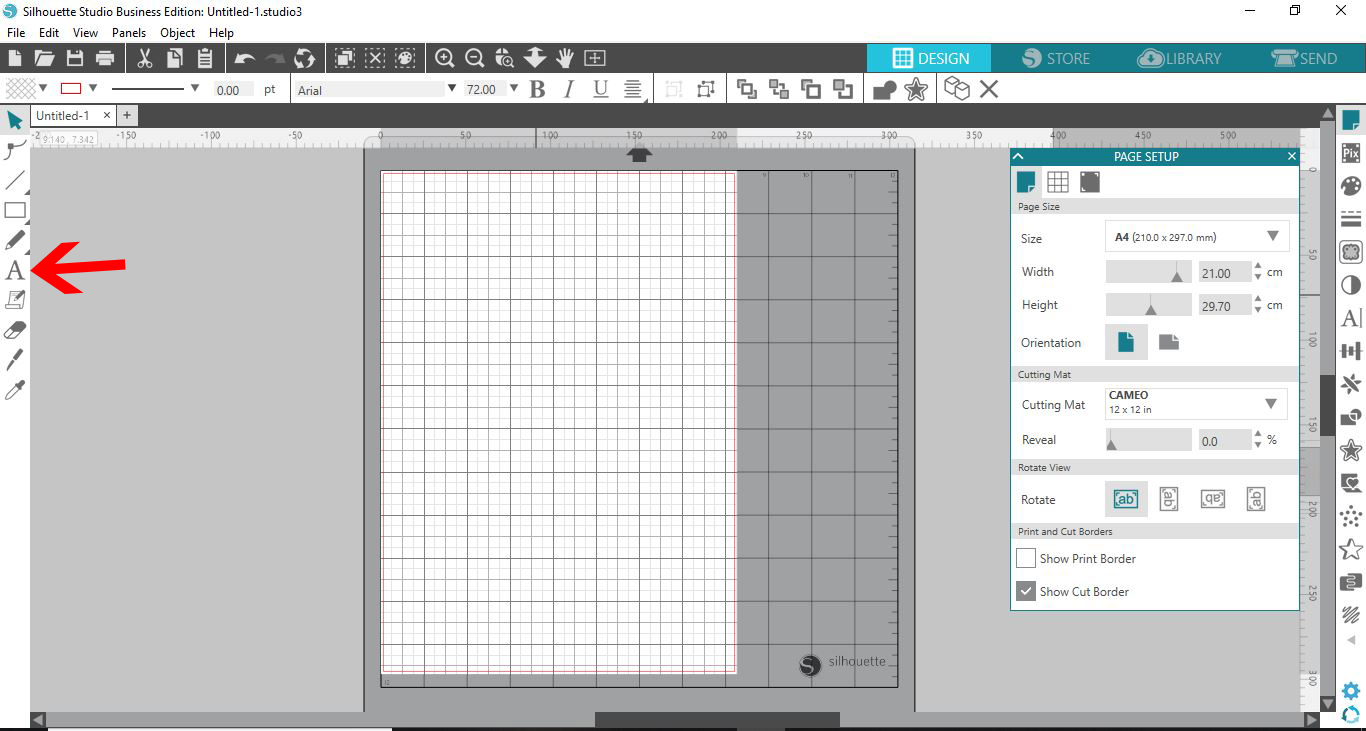
Let us begin by opening Silhouette Studio. To type out your text, click on the Text Tool (A) on the left side panel.
Click anywhere on your canvas and type out the first set of text. For this tutorial we want to show how the two fonts look when sketched. So we duplicated the first text object by right clicking > Duplicate. We then moved it below the first text.
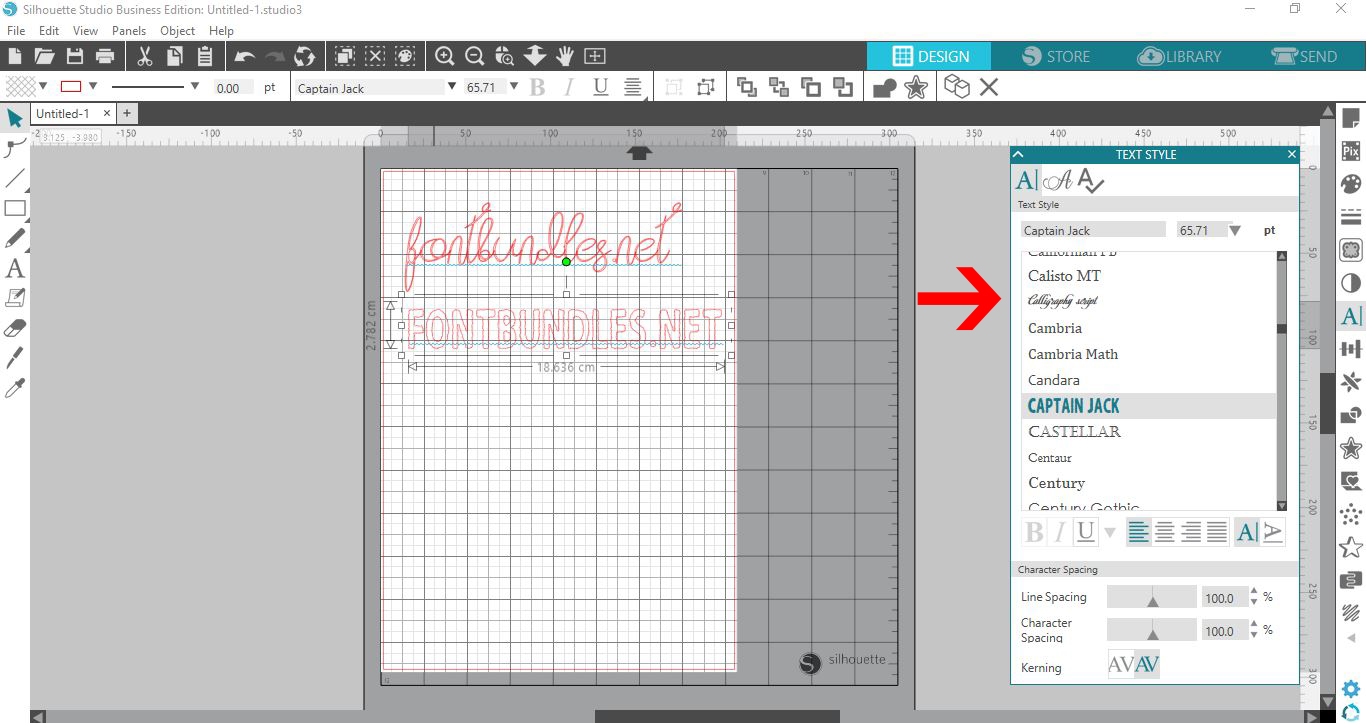
The font was changed by selecting the text then going to the Text Style Panel on the right hand side. Click on the first icon at the top of the Text Style Panel.
Scroll down the list to find the fonts you want. You can also type the name in the search box to make the process quicker. With your text selected, click on the font to apply. Do this for all of your text objects.
Step 2 - Adjust Send panel options and sketch
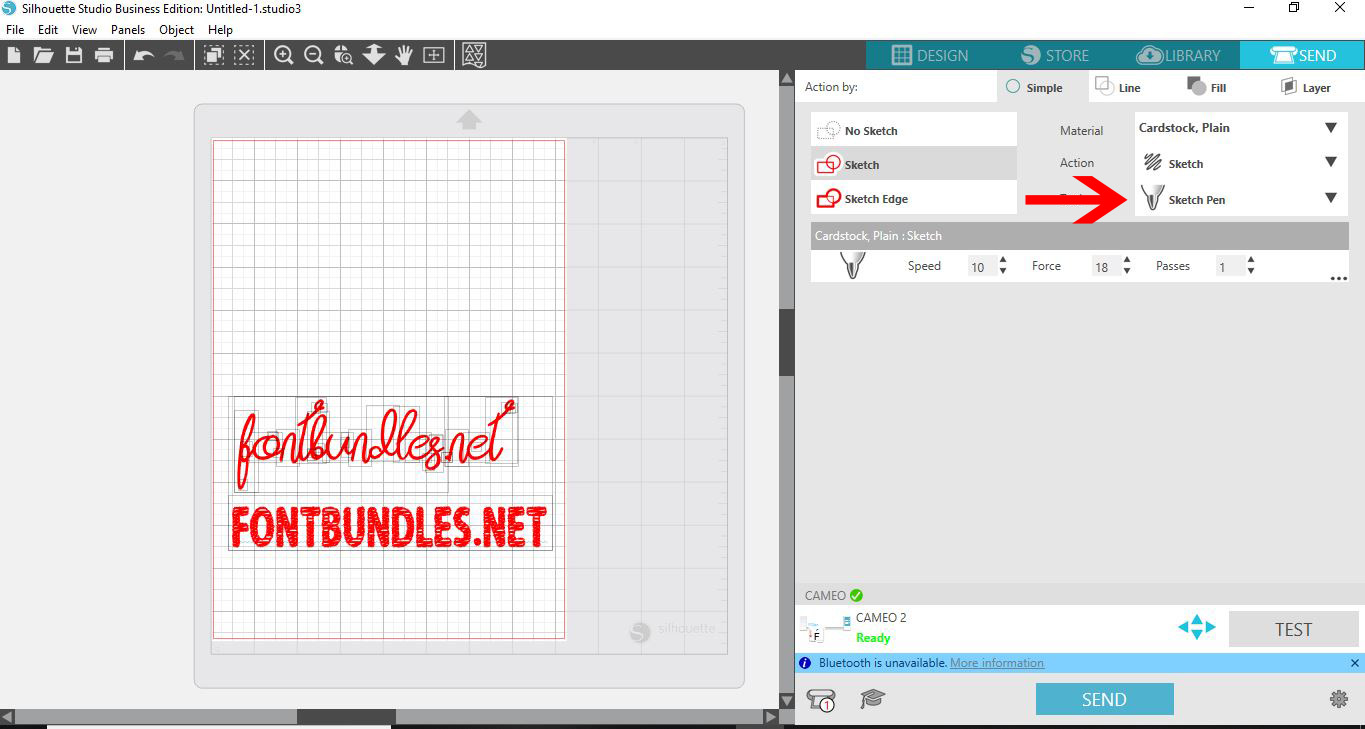
The material and 'cut' settings need to be adjusted under the Send panel. Click on the Send button top right. Choose your material and under Action select Sketch.
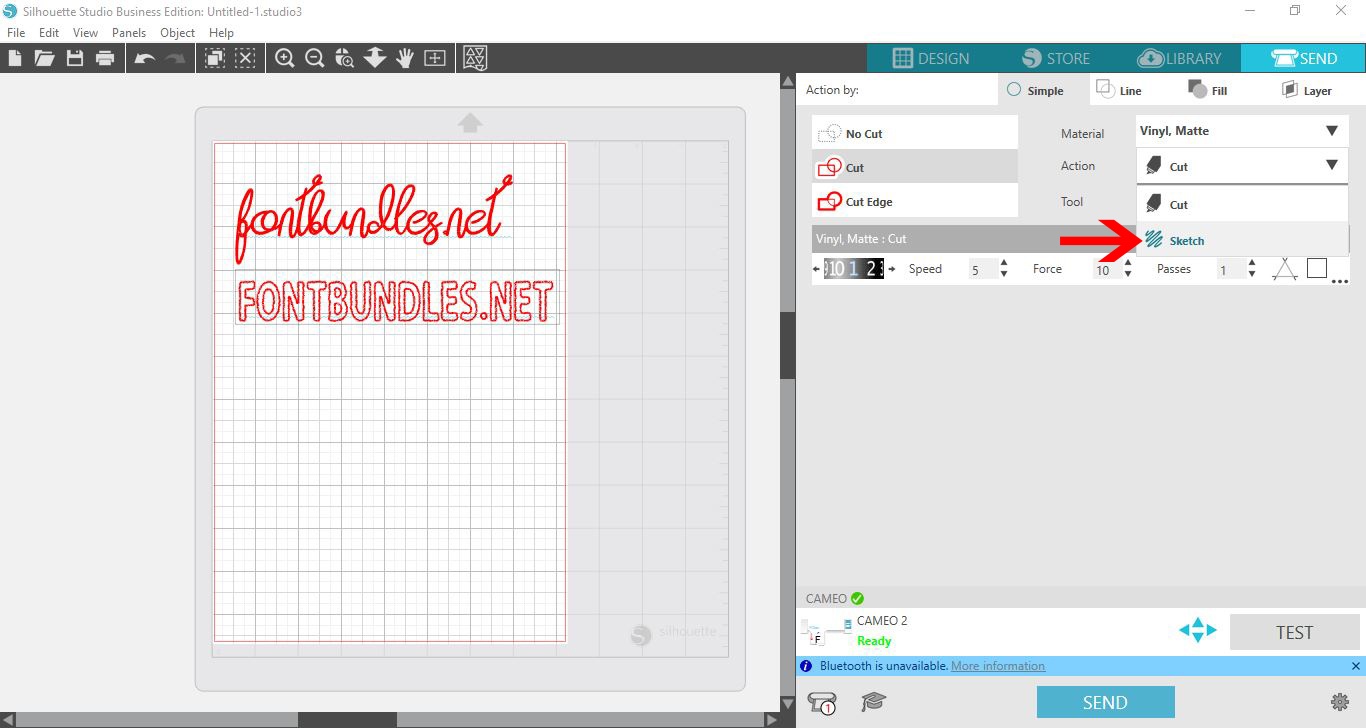
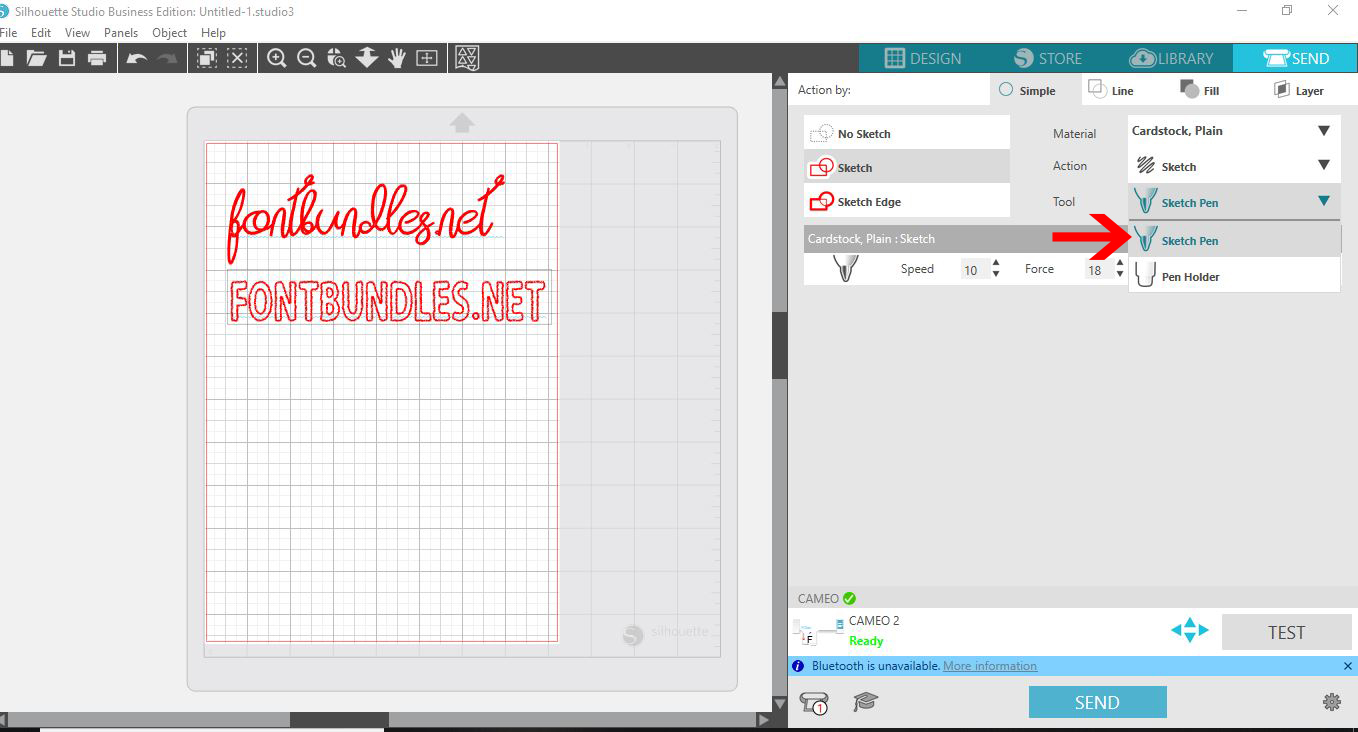
Next to the Tool option select Sketch Pen as shown in the image below. If you are using another type of pen, select Pen Holder. Your version of Silhouette Studio might only show Pen as an option. If that is the case, click Pen.
If you are using the pen holder, place it in the holder as seen below. Then turn the clip to lock in place.
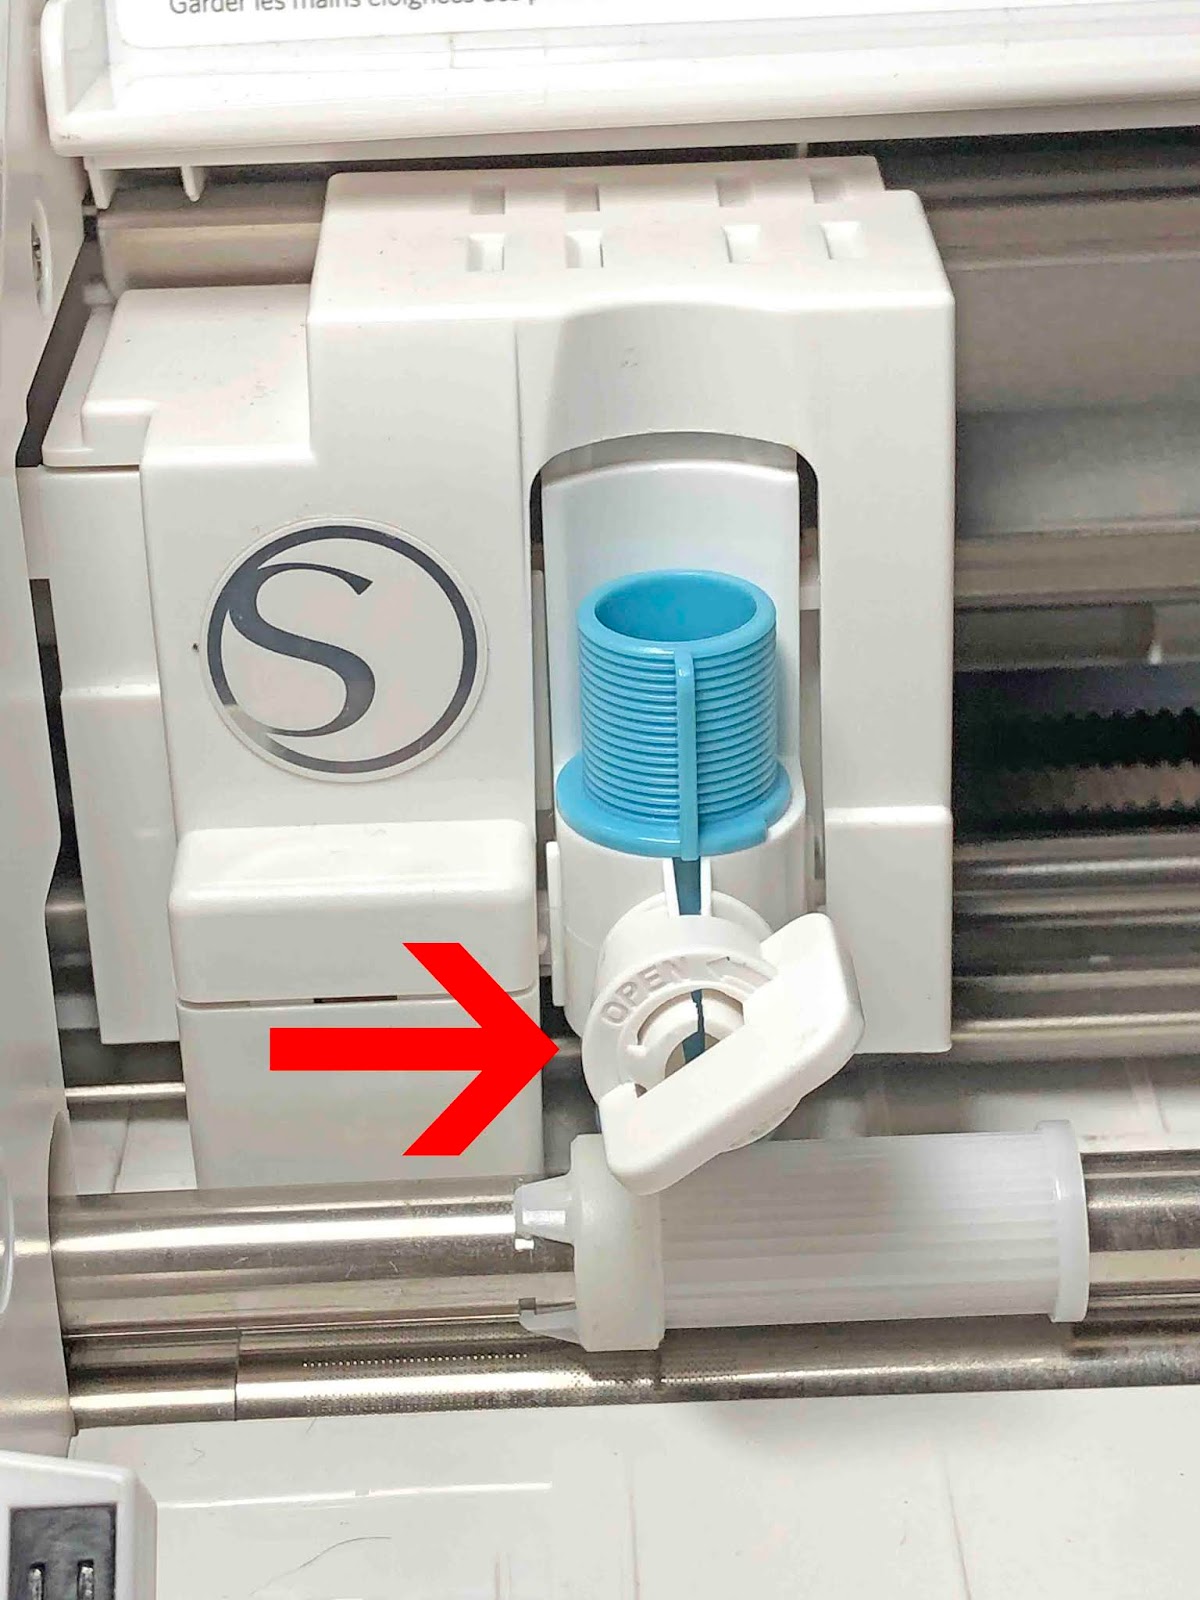
If using the sketch pen, place it in the carriage. Push it fully down into the carriage then turn the clip to lock it in place.

Attach your media to the mat and load the mat into the machine. On your computer screen, check that your material settings are correct. If they are, click on the Send button at the bottom of the screen. You may need to adjust the settings to get a better result.
Step 3 - Add an offset or fill to the font
Adding an Offset or Fill pattern will depend on the type of font you are using. An Offset will work best with a thin script font, while thicker fonts benefit more from fill patterns.
Add an Offset
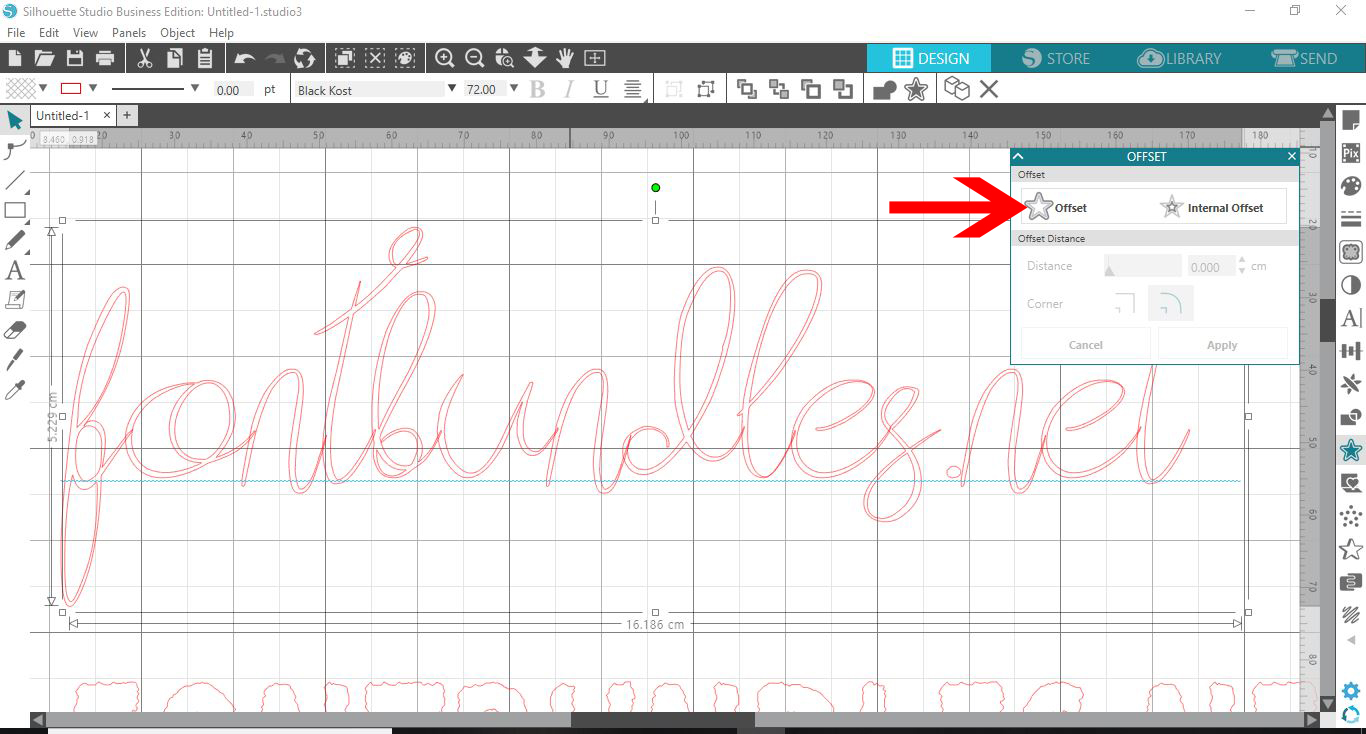
There are many beautiful script fonts that can be a little thin for crafting. If you want to make the font thicker, you can add an Offset. Click on the Offset tool on the right hand side panel. The icon looks like a Star with an outline. In the Offset panel options, select Offset. This will create an external offset.
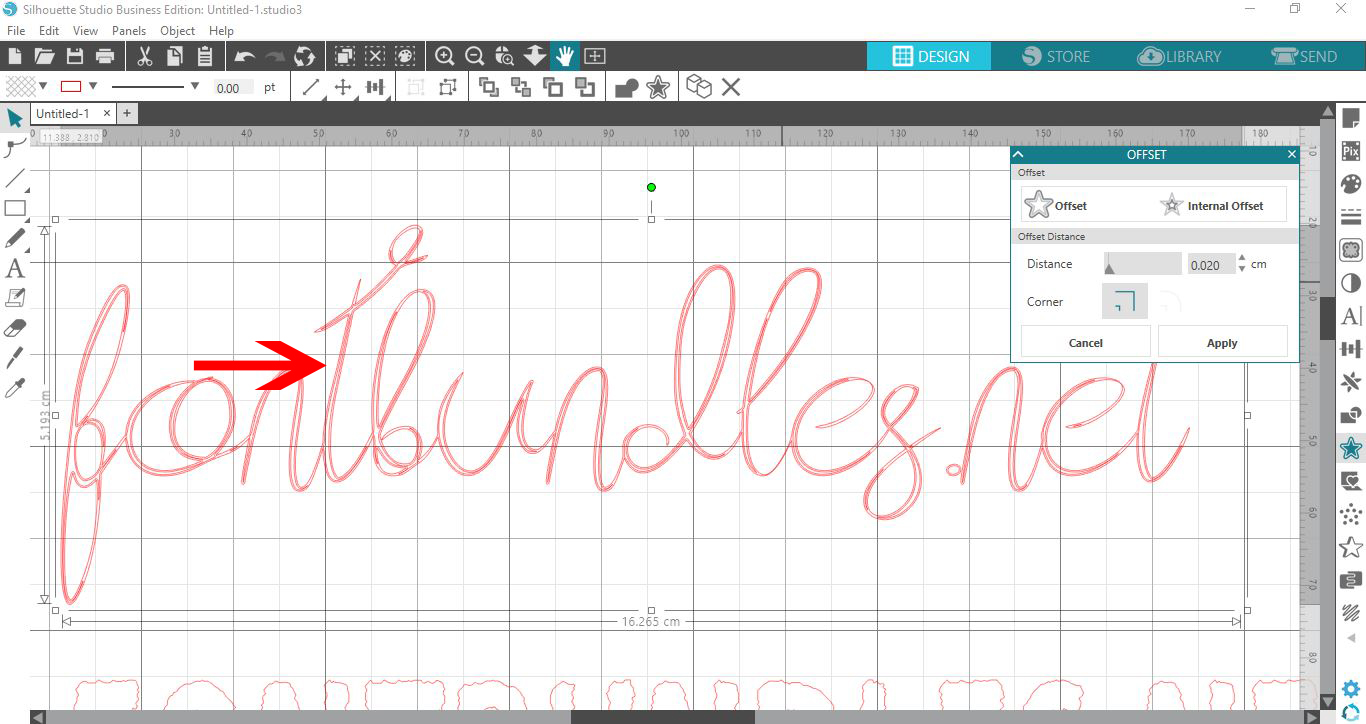
Adjust the distance to around 0.020cm. You can make it thicker or thinner. When making the Offset thicker, try not to go too high with the number. You may end up losing small details of the font.
Add a Fill pattern
For the thicker fonts, a sketch fill is a better option. On the right hand side click on the Sketch option that looks like Squiggly lines. If you are using a later version of Silhouette Studio, the sketch tool will be called Line Effects.
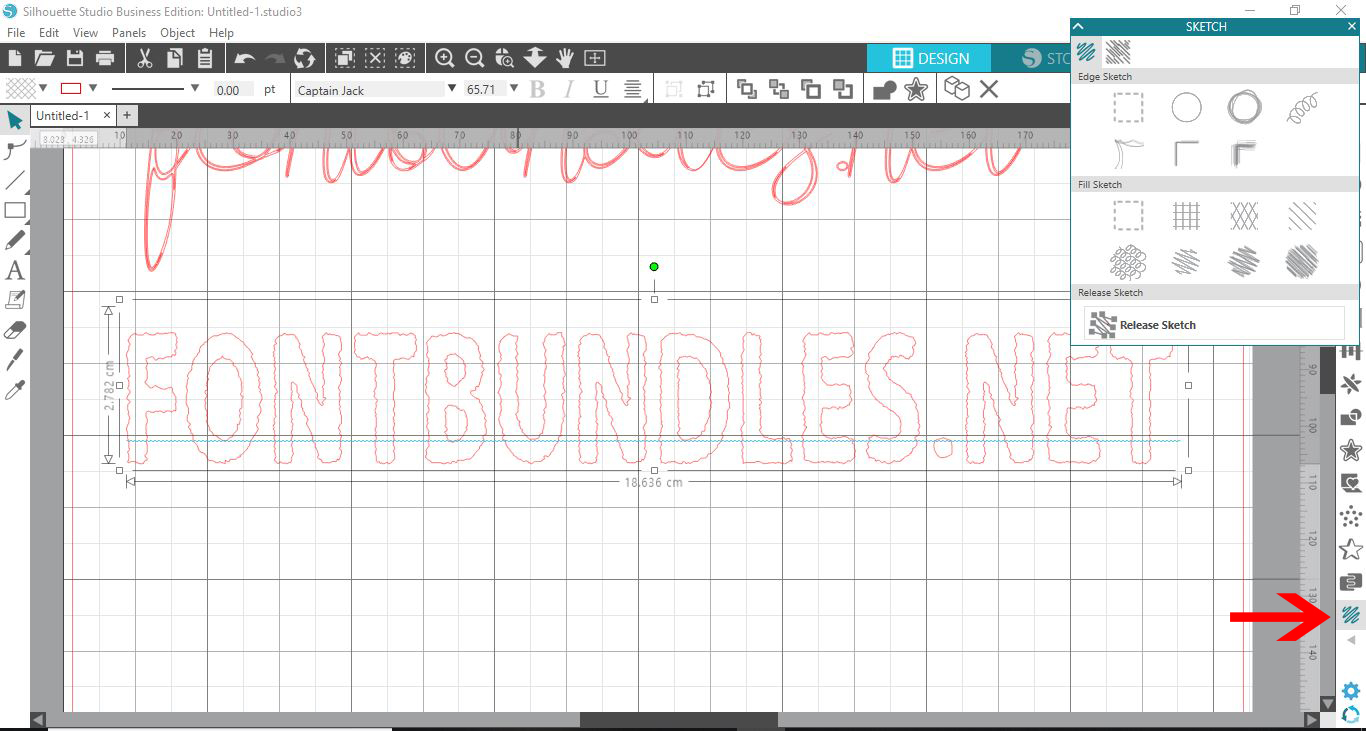
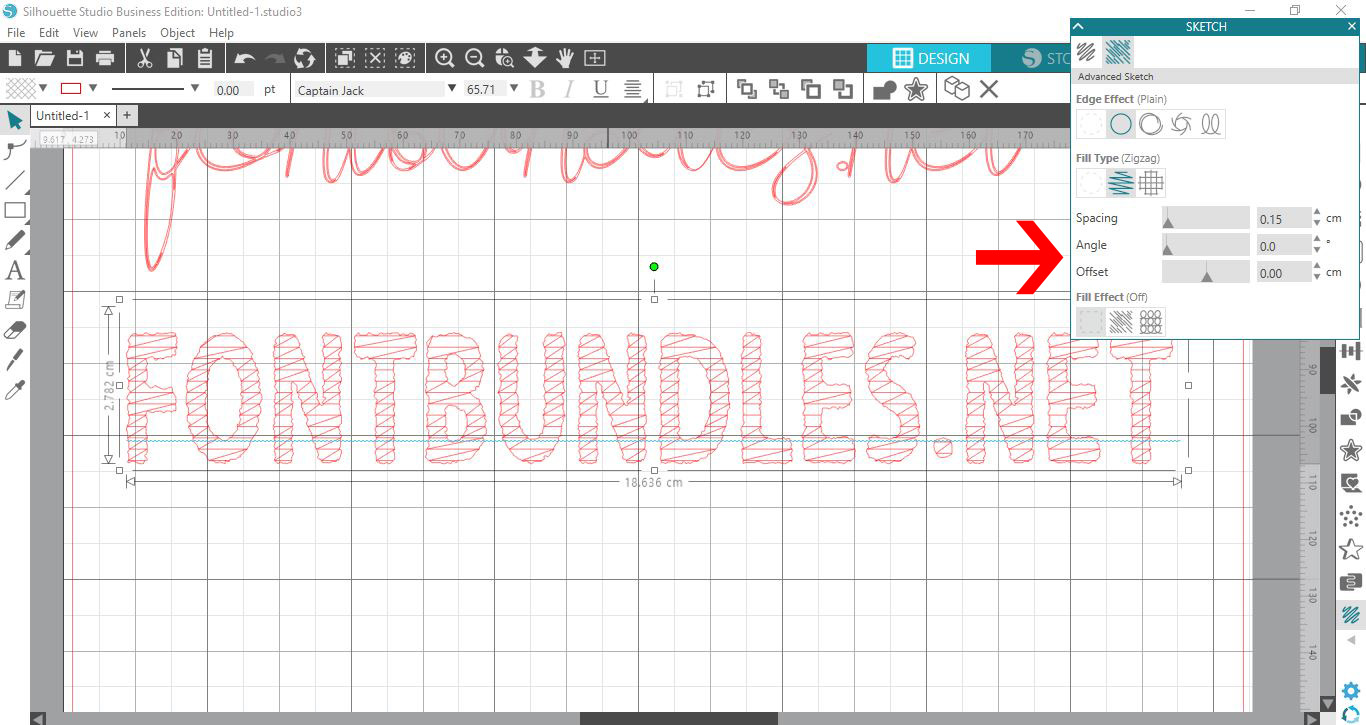
Make sure that the text is selected, then click on the Advanced option. This will be the second icon under the panel. Click on the Zigzag fill type (second selection).

Once the fill pattern has been added you can adjust the spacing and angle. You can use your own settings or follow our settings in the image below.
Send to sketch
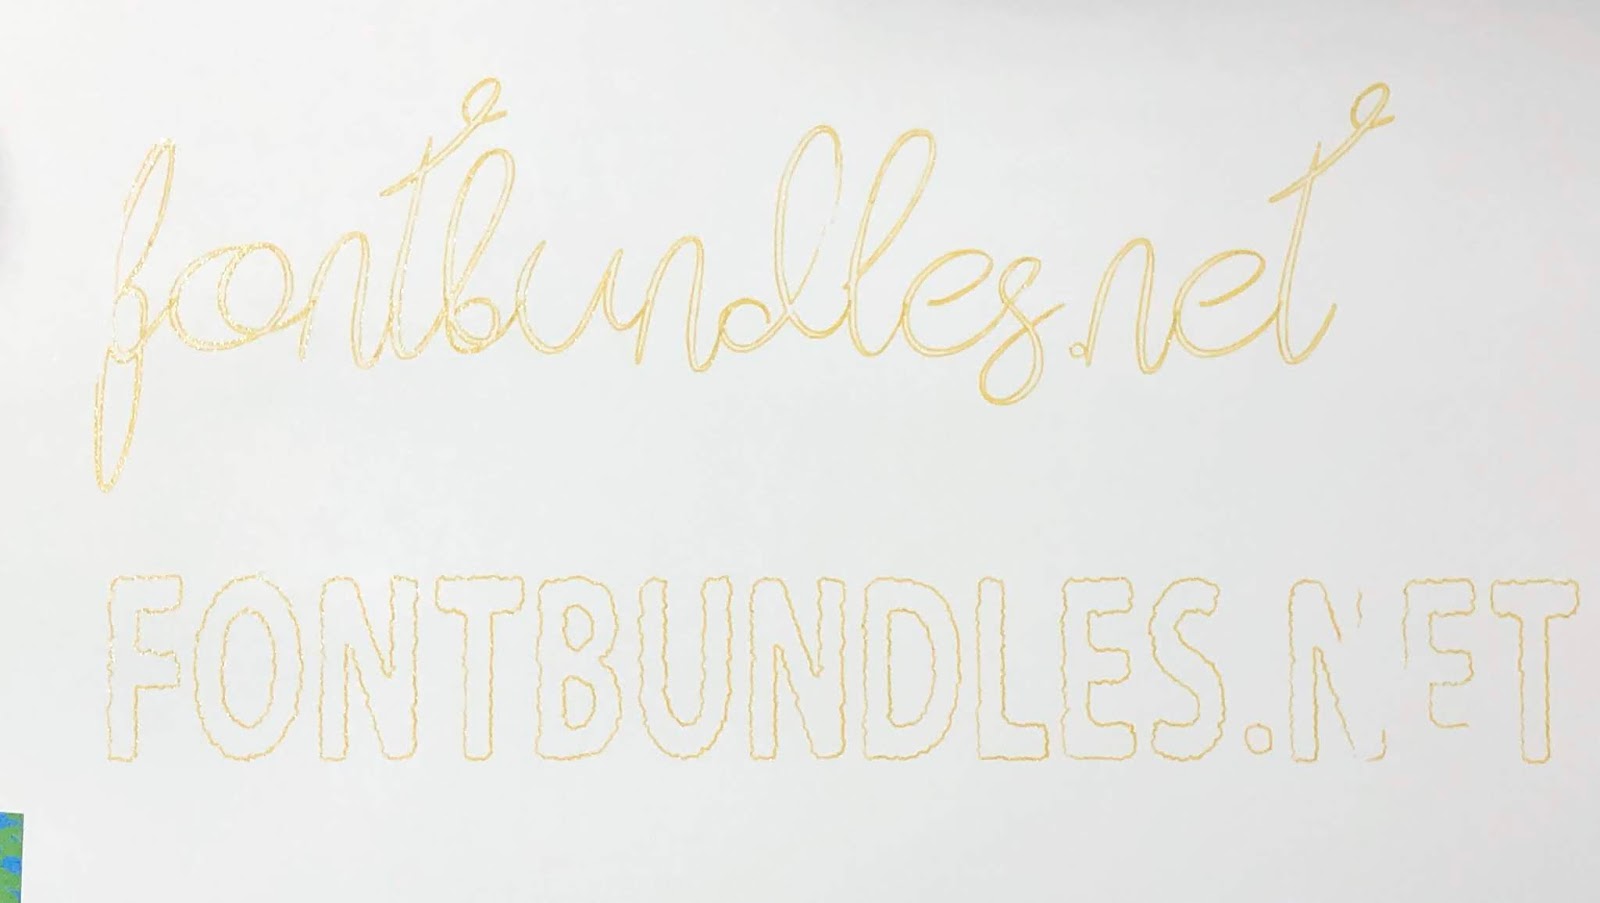
The text is ready to be sketched with a Sketch Pen or any marker of your choice. Follow the process in Step 2 for selecting the Sketch options. When ready, click on the blue Send button at the bottom.
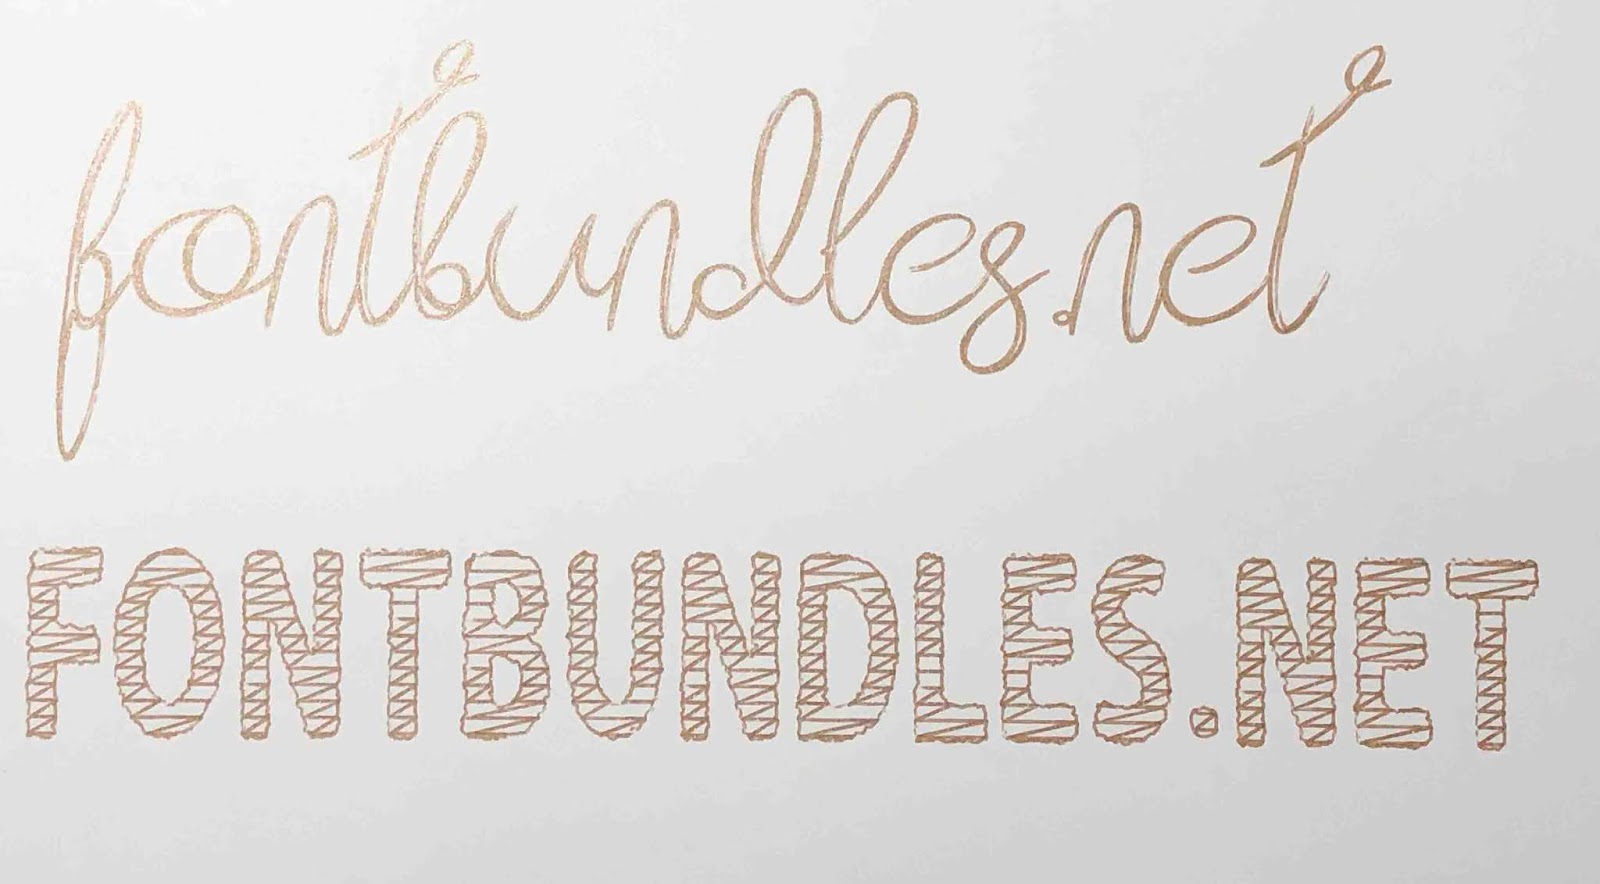
Now the script is slightly thicker and a fill has been added to the second text.
We have more excellent tutorials for you to follow such as filling text with sketch pens using the Curio.


