Unlimited Downloads 15% off Marketplace Purchases Exclusive Software Access Unlimited Downloads
15% off Marketplace Purchases
Exclusive Software Access
Go Unlimited Maybe Later
Object to Path Feature in Silhouette Designer Studio V4
  • By Design Bundles
  • 05 Jun 2017
  • 2 Mins
  • Silhouette Tutorials

Object to Path Feature in Silhouette Designer Studio V4


Object to path feature in Silhouette Designer Studio V4.
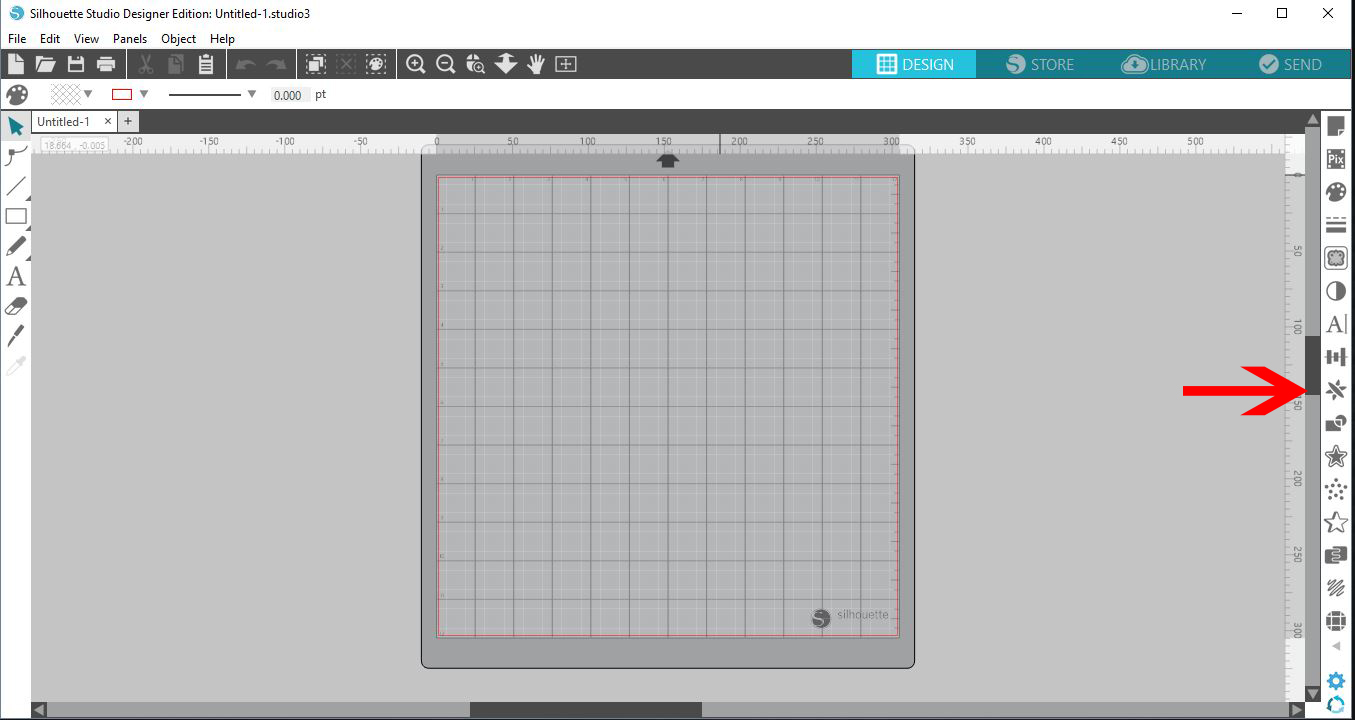
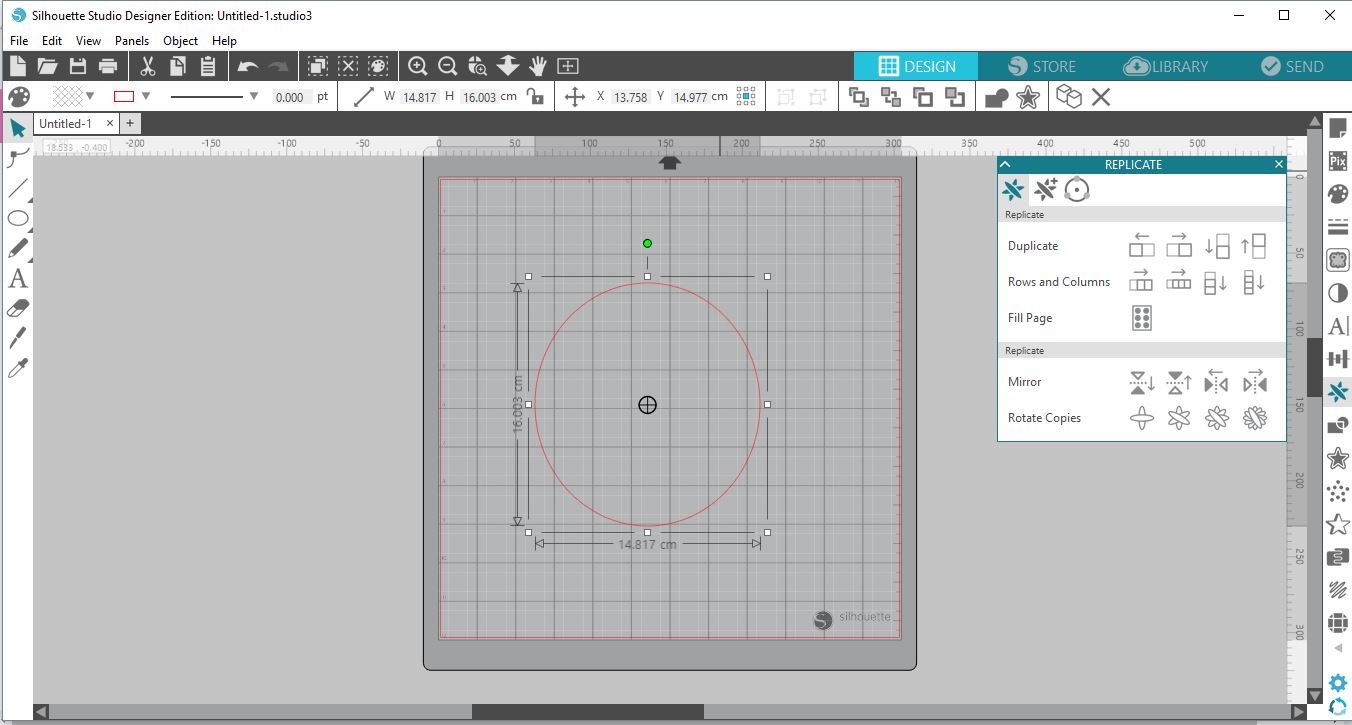
1- Open Silhouette Designer studio software V4 and select the replicate icon.


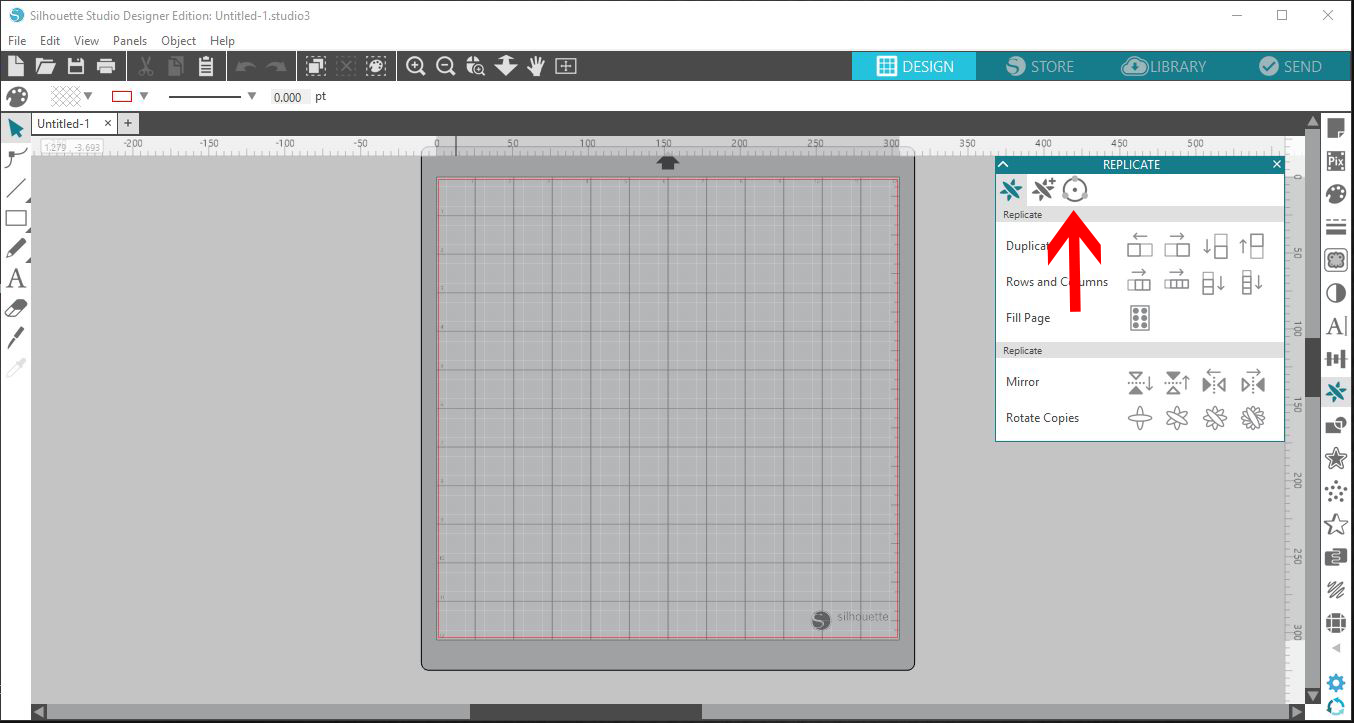
2- In the replicate panel there are 3 options, select the object on path icon.


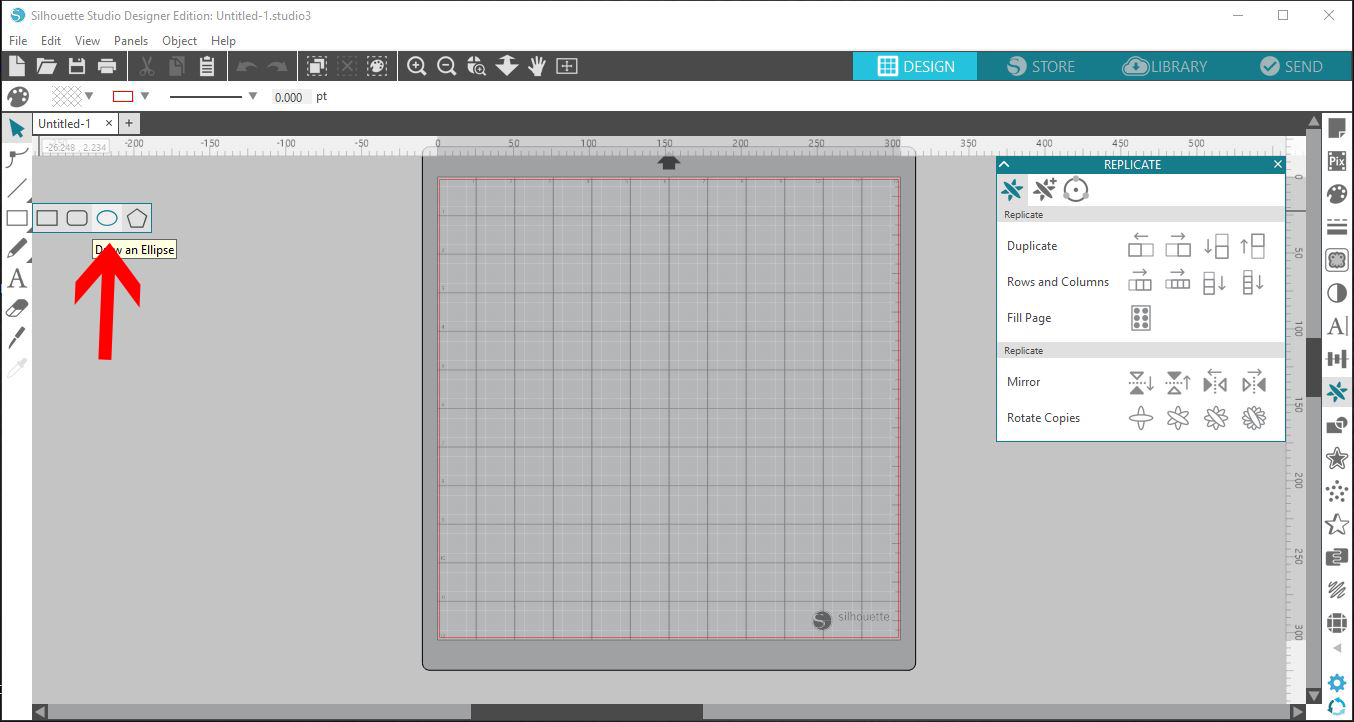
3- Create a shape to place your object on.


4- Select your shape.


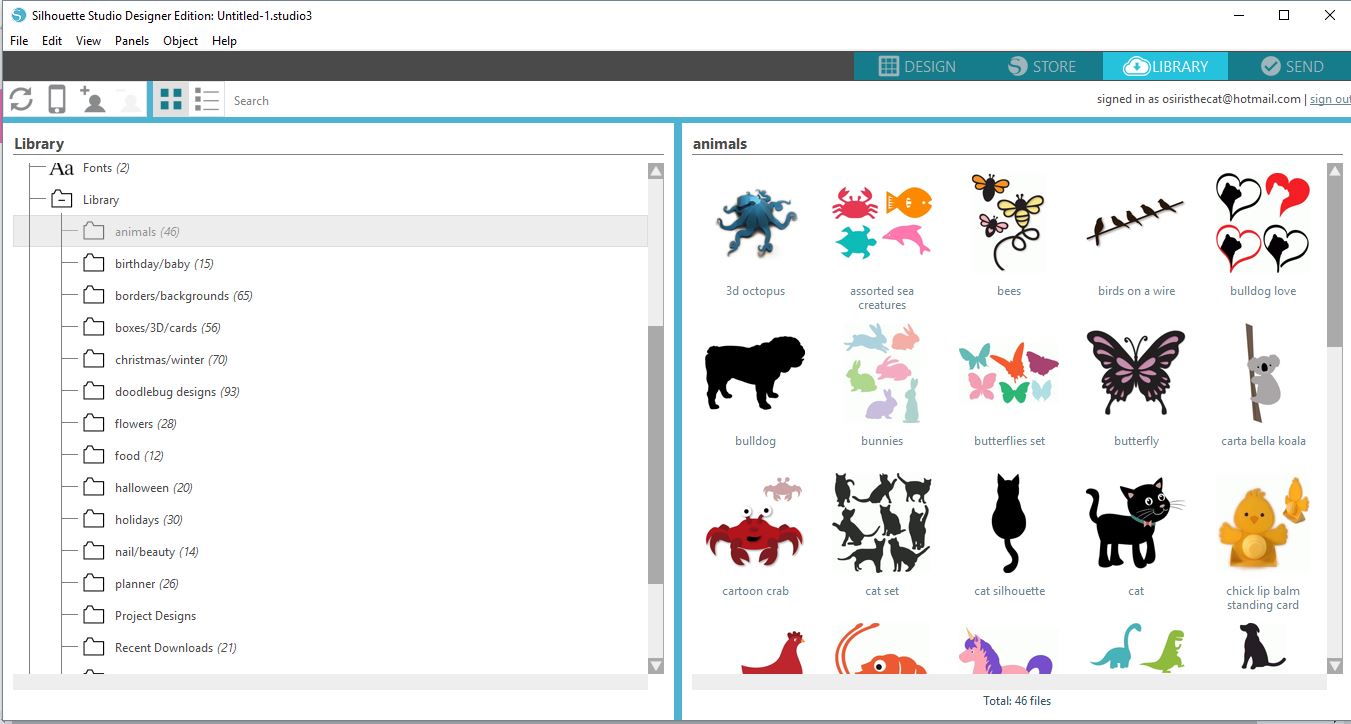
5-  Import a design/word you would like to place on the path.


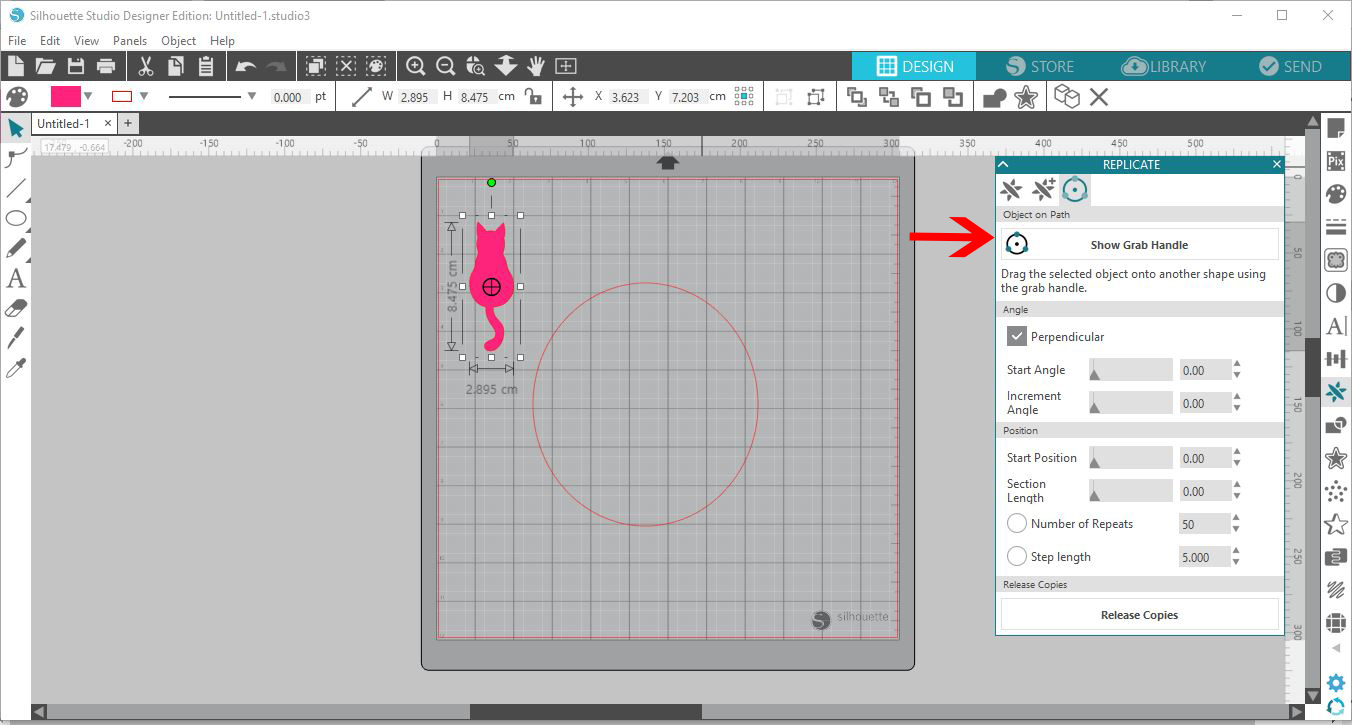
6- Select the object. Select the show grab handle option on the panel.


7- The grab handle will now appear on your object.


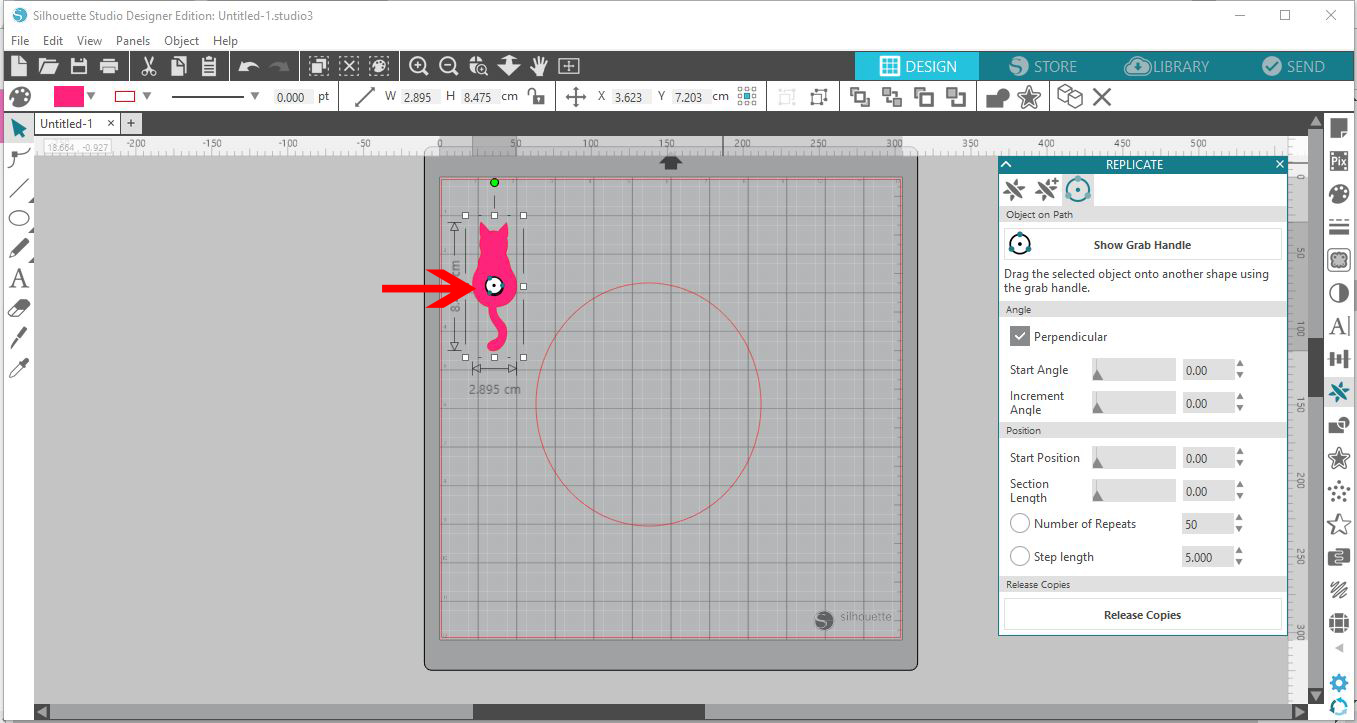
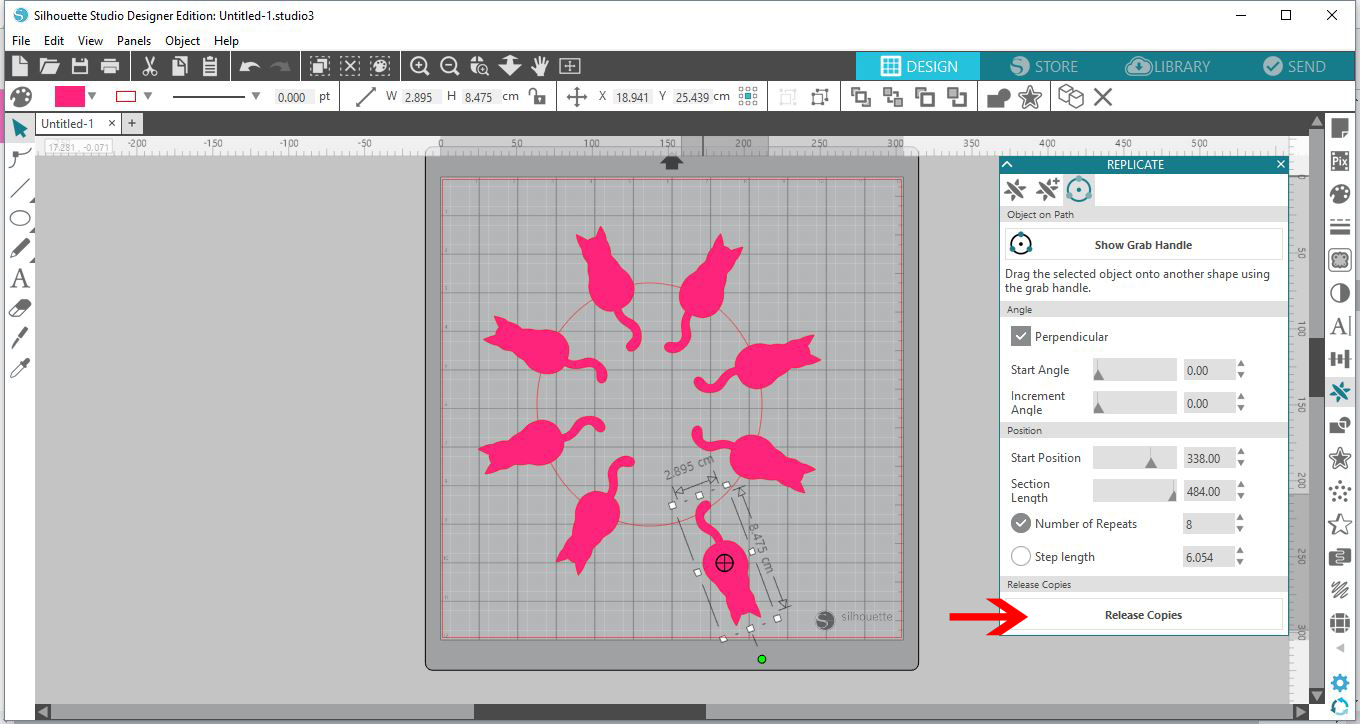
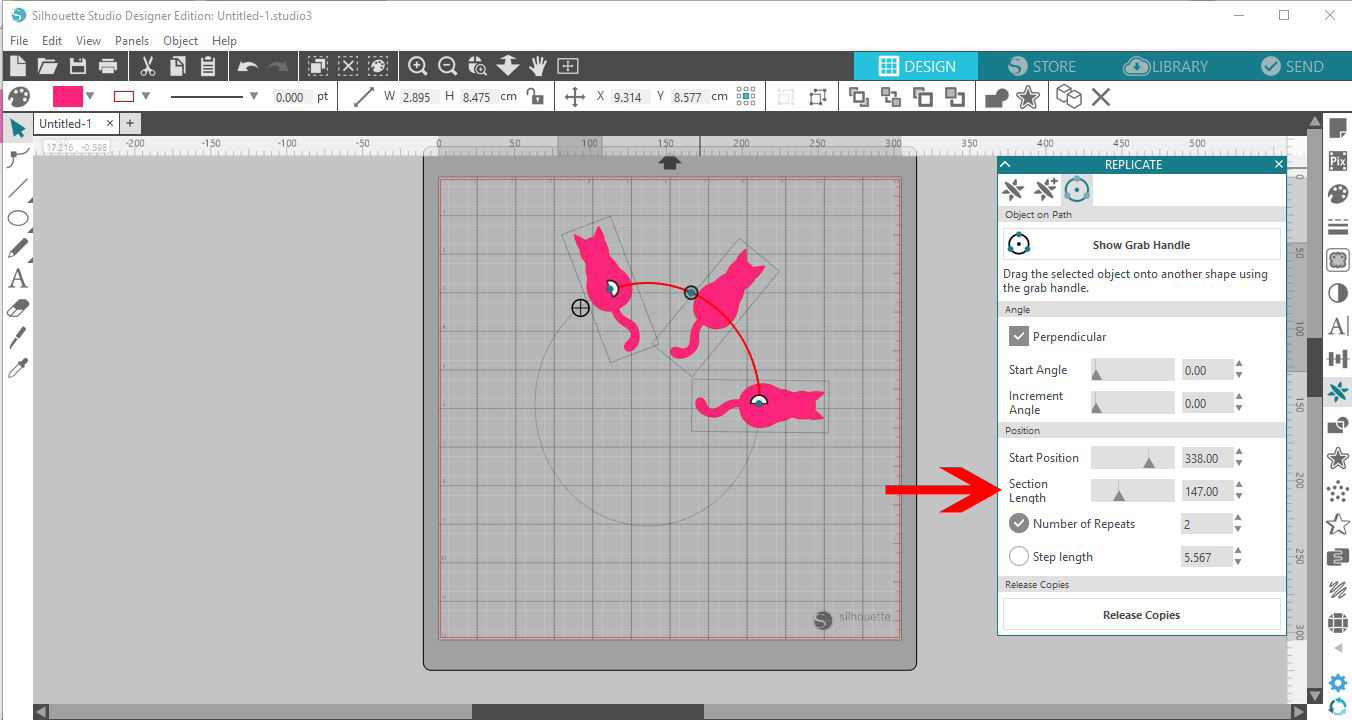
8- Click and drag the object with the handle to the shape you have created. As soon as the object touches the shape (path) the object will repeat around the path.


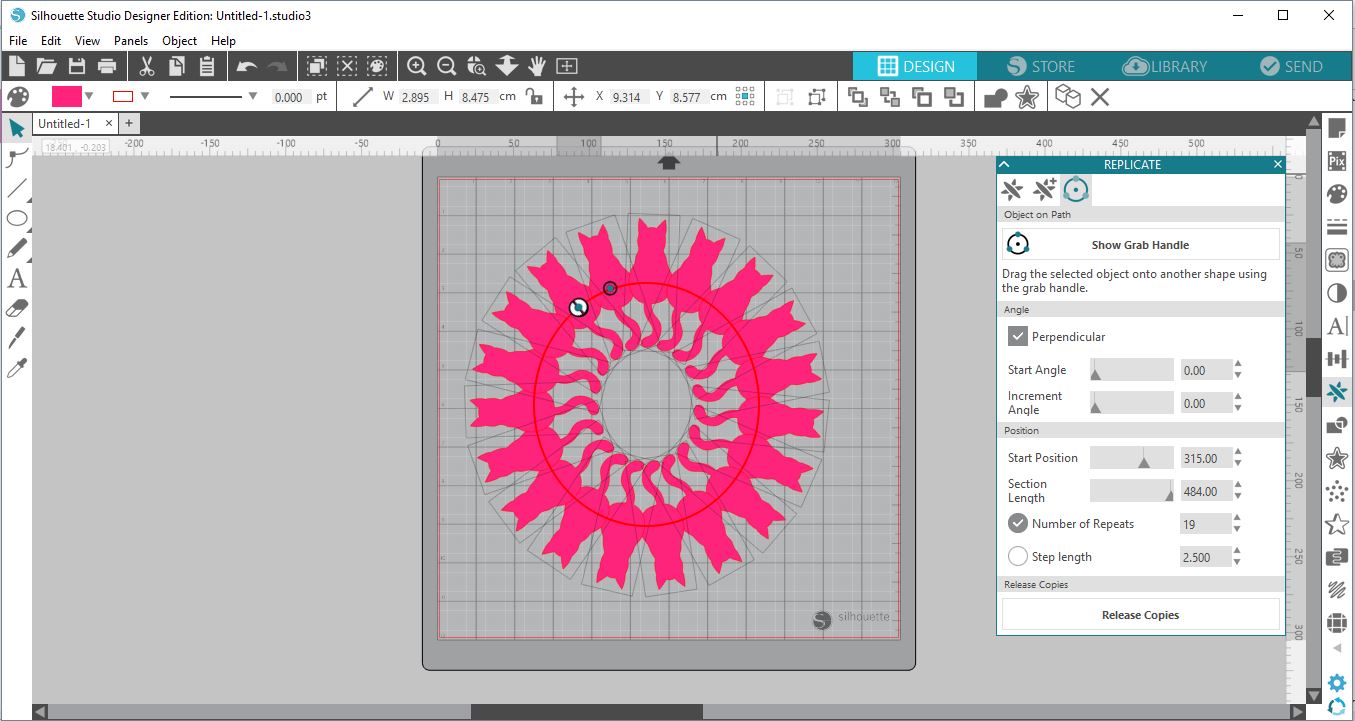
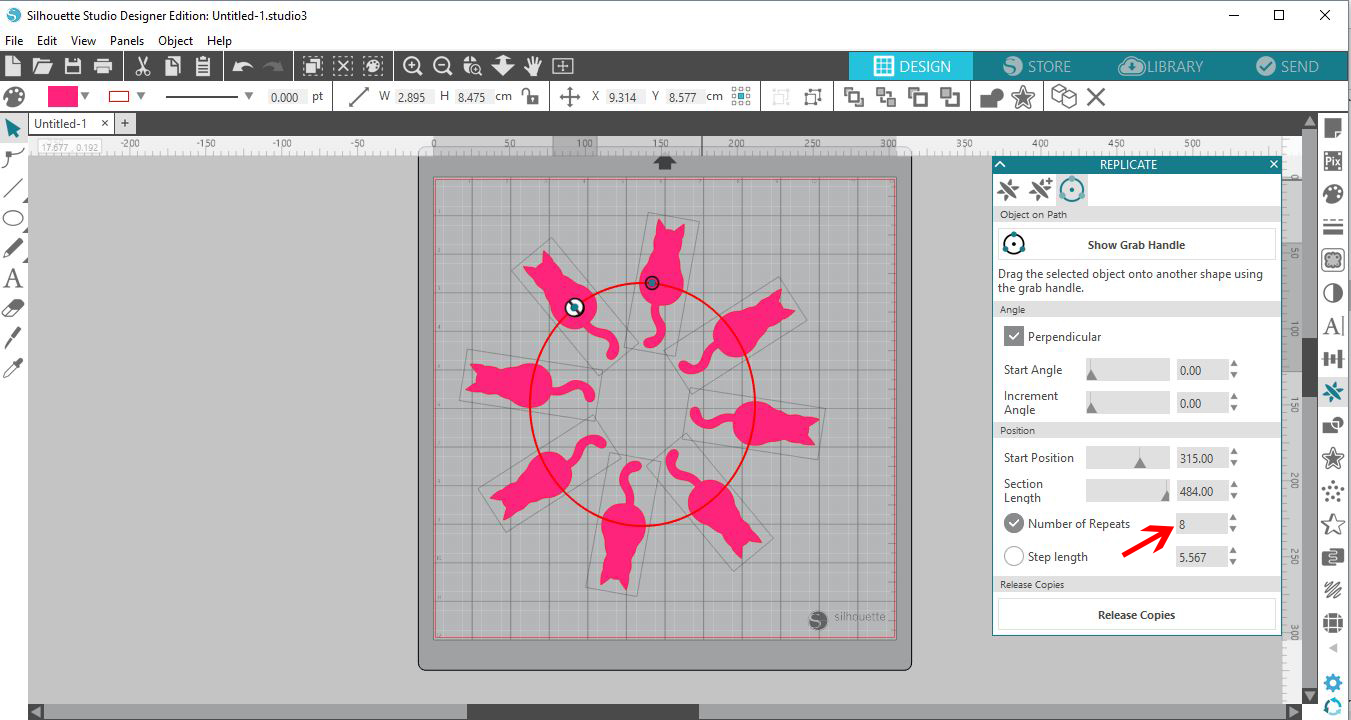
9- You can adjust the number of objects you have on your path by changing the number of repeat option.


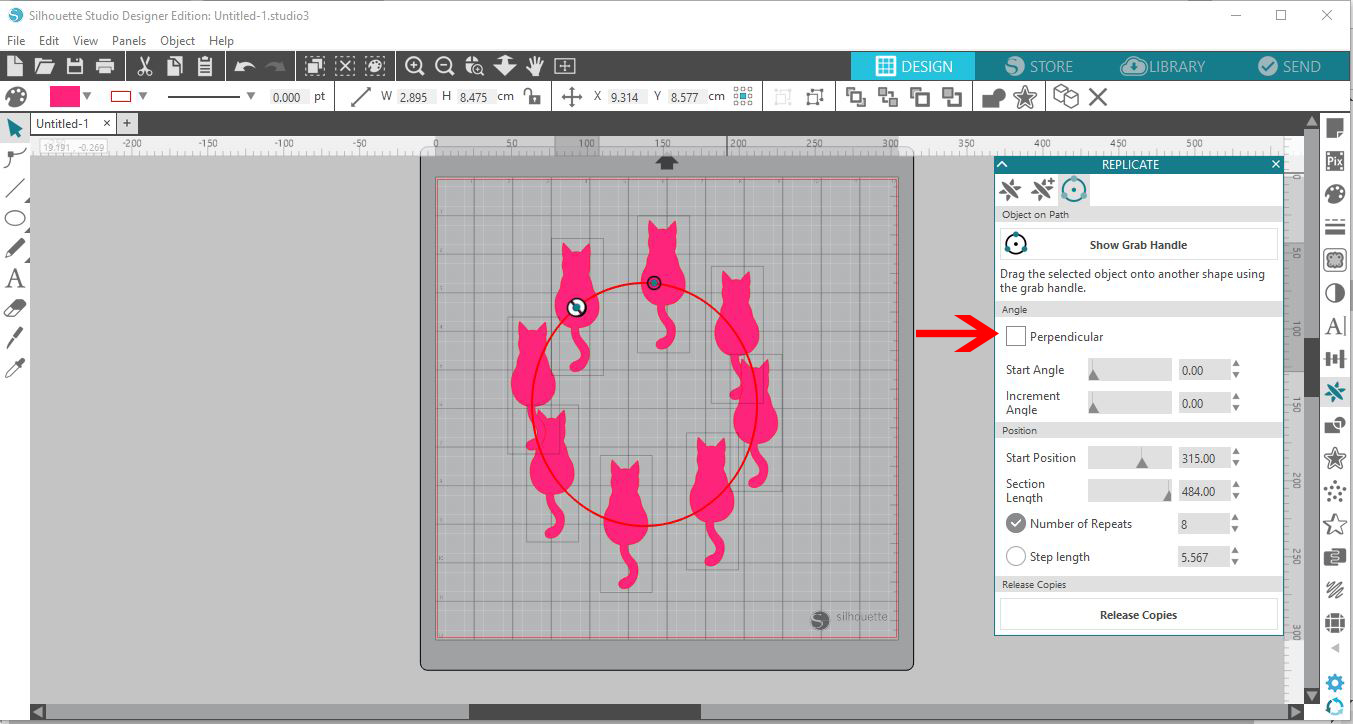
10-  you can also adjust the way the object appears on the path by unselecting the perpendicular option.


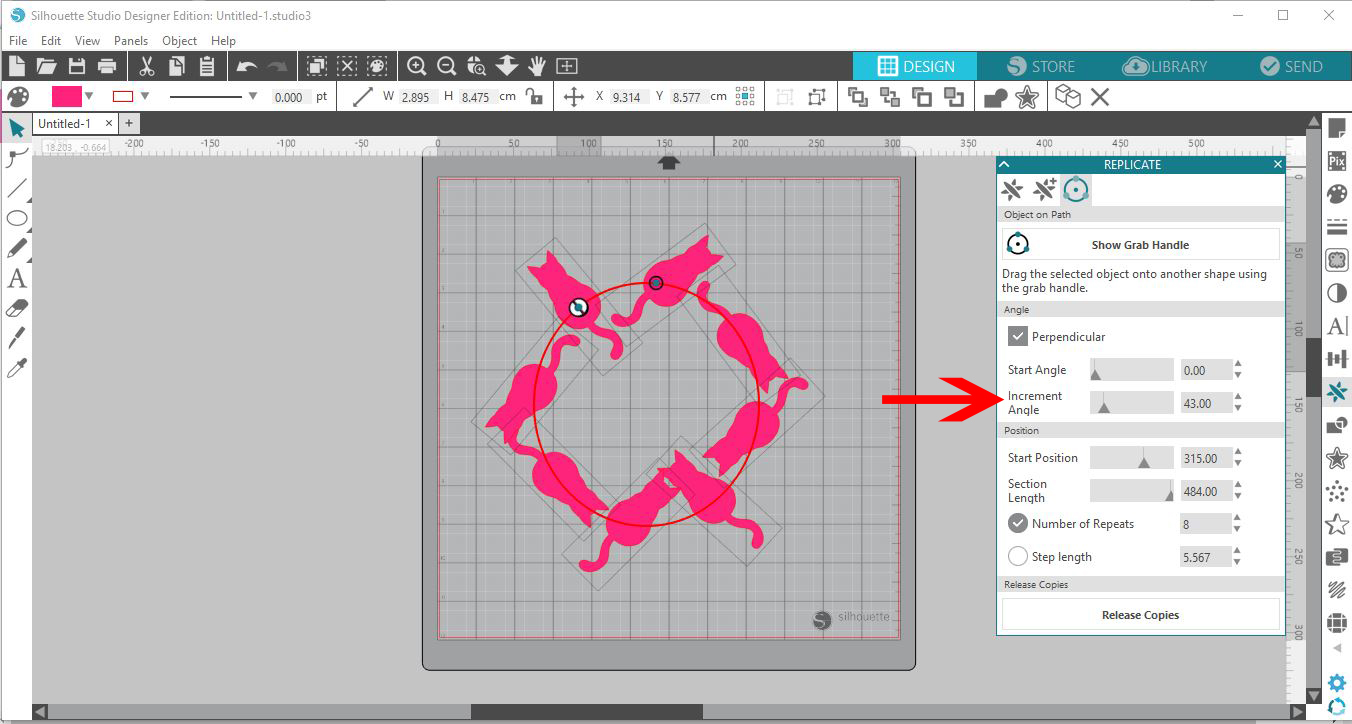
11- You can also adjust the start angle on the object.


12-  you can also adjust the increment angle on the objects.


13-  If you want to shorten length you can adjust this and this will affect the number of objects you have on your path also.


14-  Lastly if you are not 100% happy of need to adjust a specific object on the path, or even remove the path/shape, you can select release objects and this will enable you to move objects off the path.


6 Related Silhouette Tutorials

Creating text to path in Silhouette Studio is essentially curving text to a shape. This can be a typical shape like a circle or a drawn path. You can customize your text to almost any shape you want. In this tutorial we will show you a quick way to curve ...

In today’s fun and easy tutorial, we will show you how to use the Puzzle Feature in Silhouette Studio. This feature is only available in the Designer Plus and Business Edition. Puzzles are a great gift for anyone. So let us show you how to create your own. We ...

*Silhouette Cameo 3 used. 1- Open silhouette studio and click on the text icon.2- Type your text.3- You can change your font. I am using  luducudu font from fontbundles.net4- Click on the sketch tool.5- As you can see there are a lot of sketch options in ...

With this super quick tutorial, discover how to use the magnetic floating panels in Silhouette Studio V4. You can adjust the position of the panels, have multiple panels open at once and even snap them together. This is a useful way of customizing your work area and making things so ...

AutoTrace is a new function in Silhouette Studio 4.4 that will automatically show your cut lines for any PNG that is transparent.If you are a visual learner, this video is a great reference on how to use the auto trace feature. Find written instructions below.In this tutorial we will ...

Today we will show you how to fill text with the Foil Quill using the Silhouette Studio Free Edition. The Foil Quill uses heat to transfer foiled designs to several types of media. It’s a fantastic way of making a gift extra special. Usually, single line fonts are used ...

You may also like

Help Center
ol image