Spacing images evenly on a line in Brother scan and cut canvas workspace
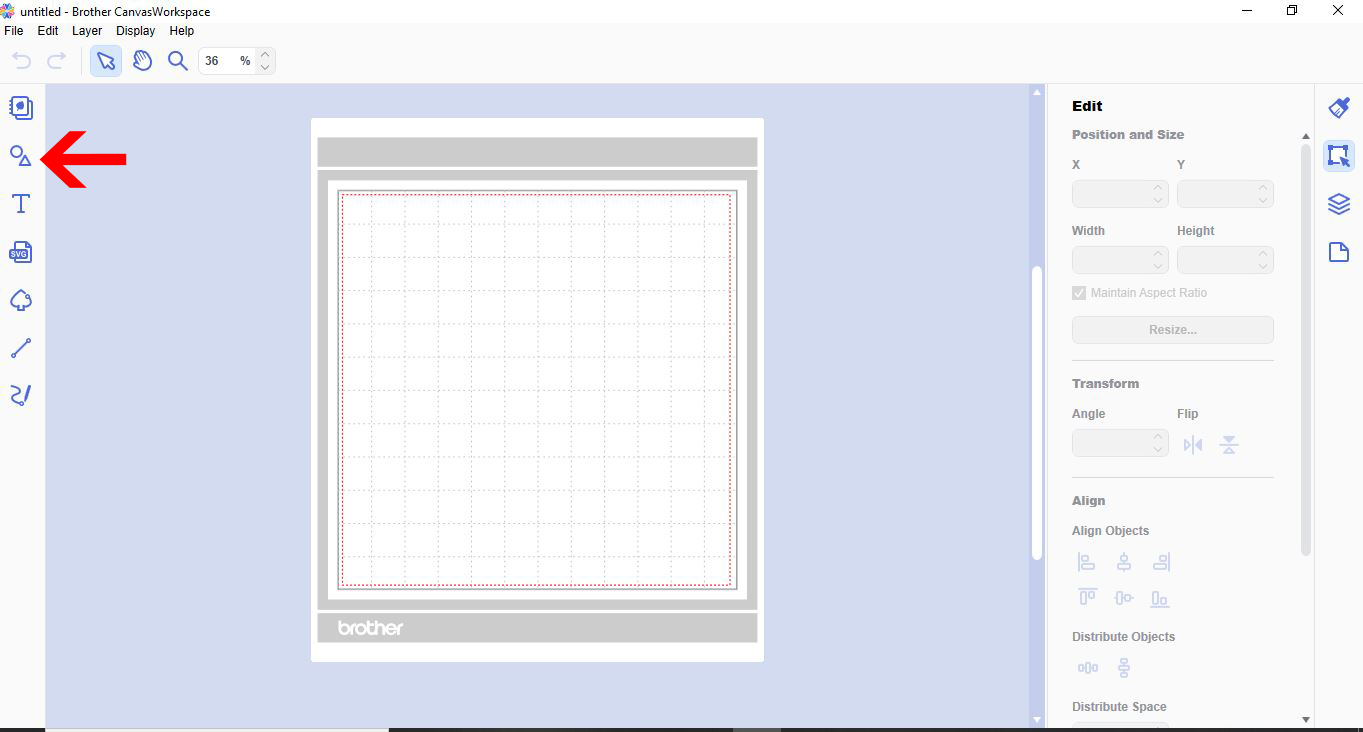
1- Open canvas workspace. Click on the shape tool.
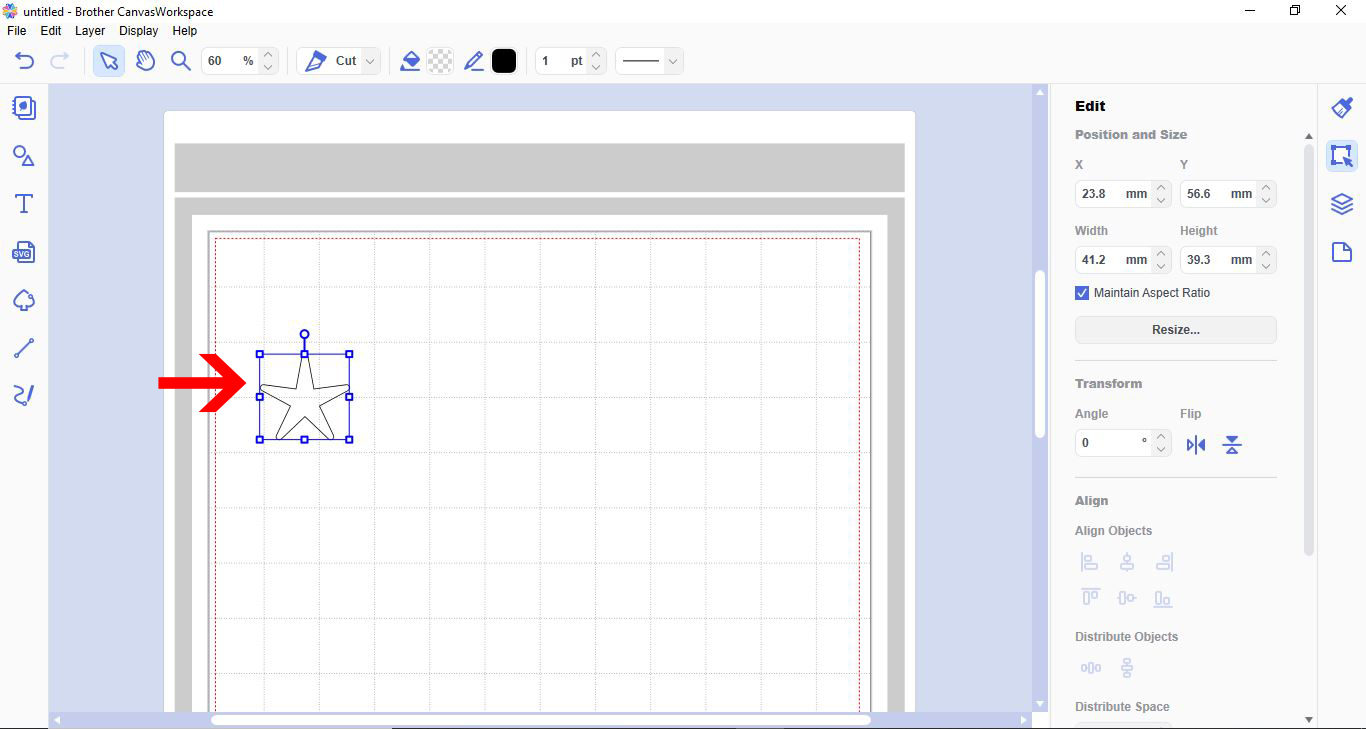
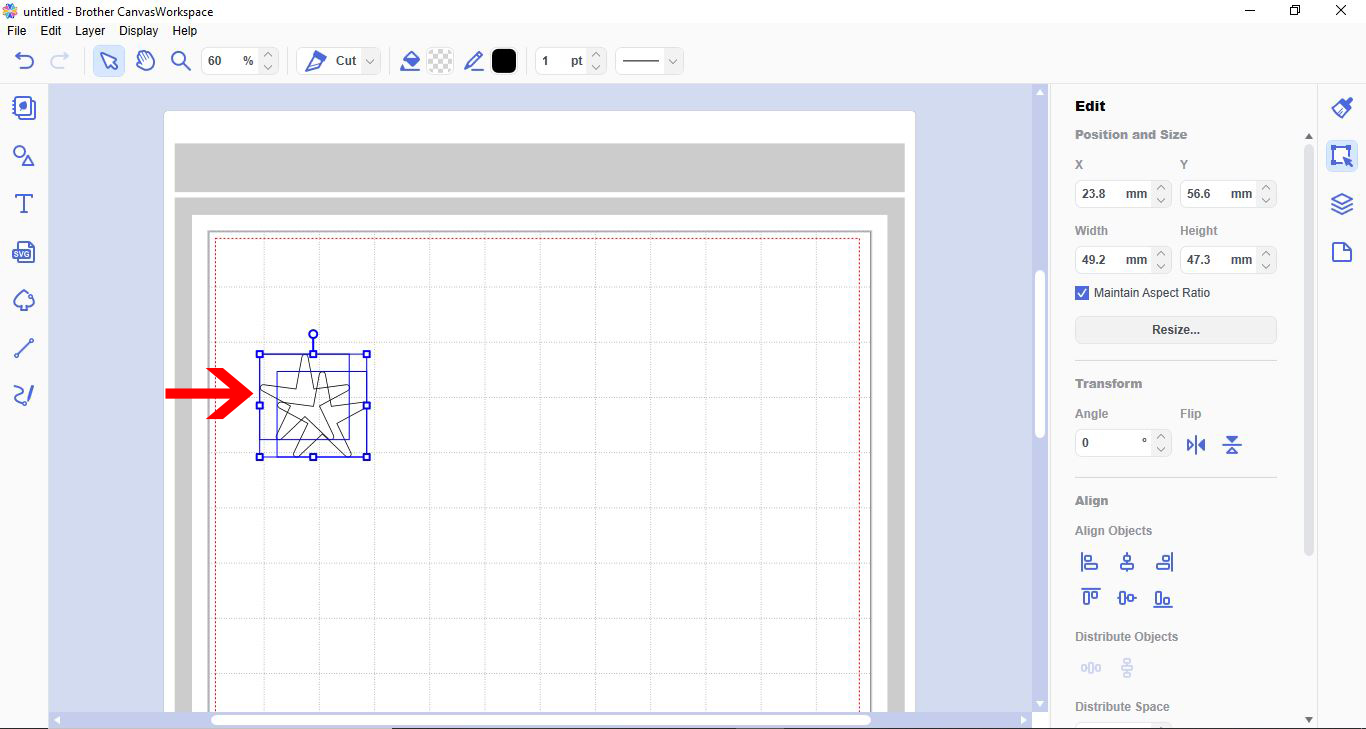
2- Add your shape to the workspace.
3- Resize the shape.
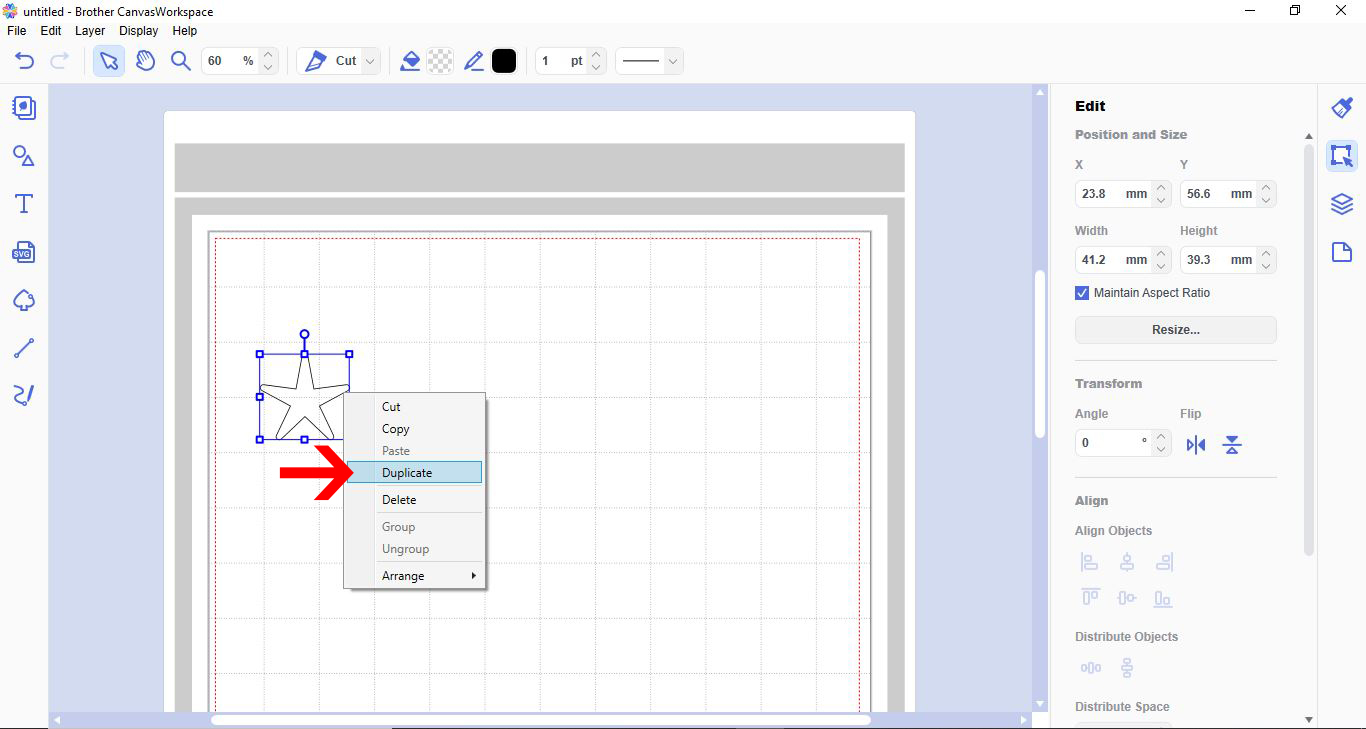
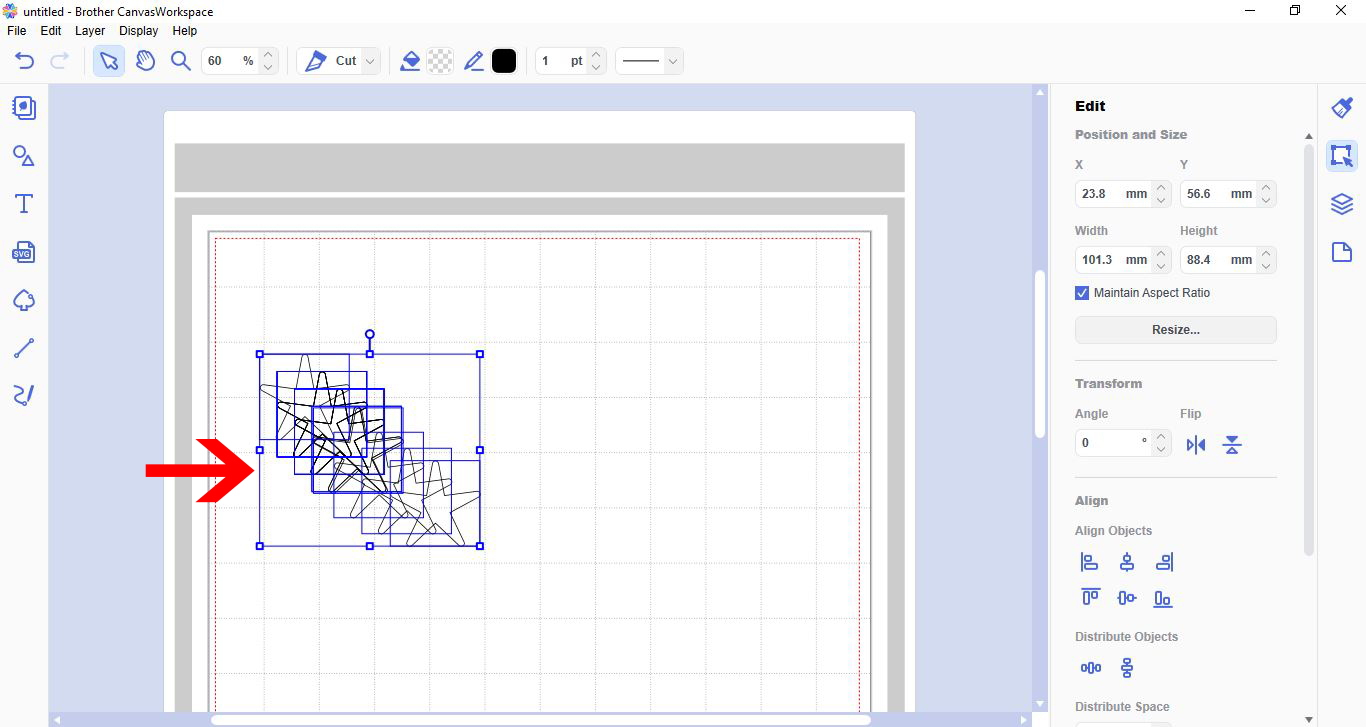
4- With the shape selected, right lick and select duplicate.
5- The shape will replicate on the workspace.
6- You can now select both and duplicate again.
7- Repeat the above process until you have enough shapes.
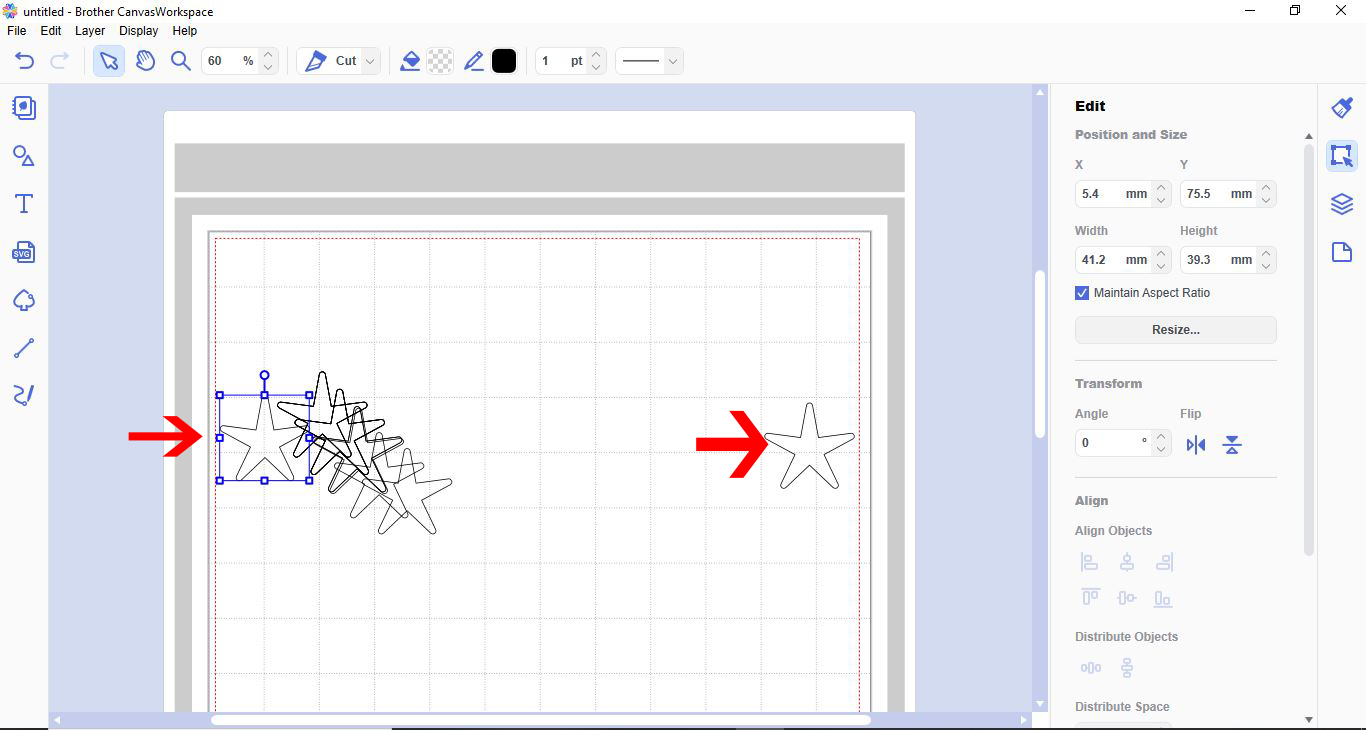
8- Place one of the shapes either side of the work space.
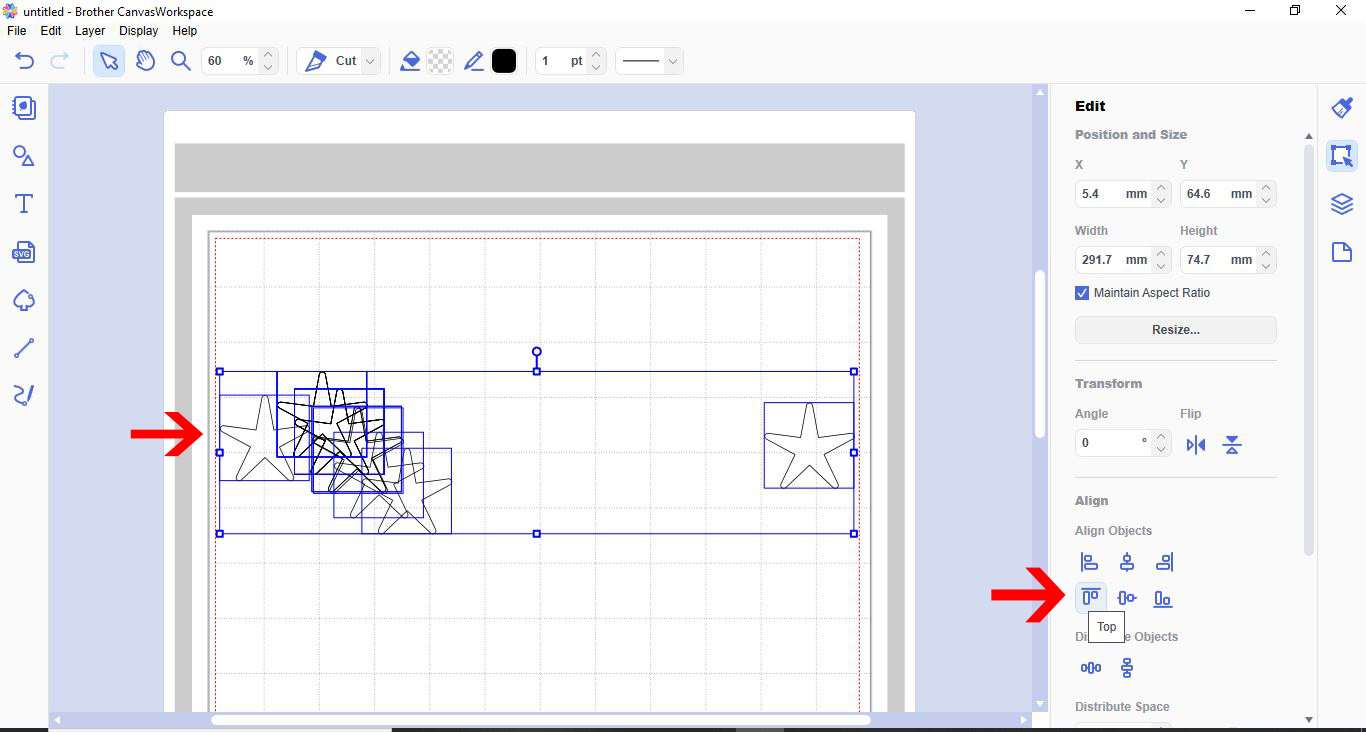
9- With all the shapes selected, go to the align tools and select top.
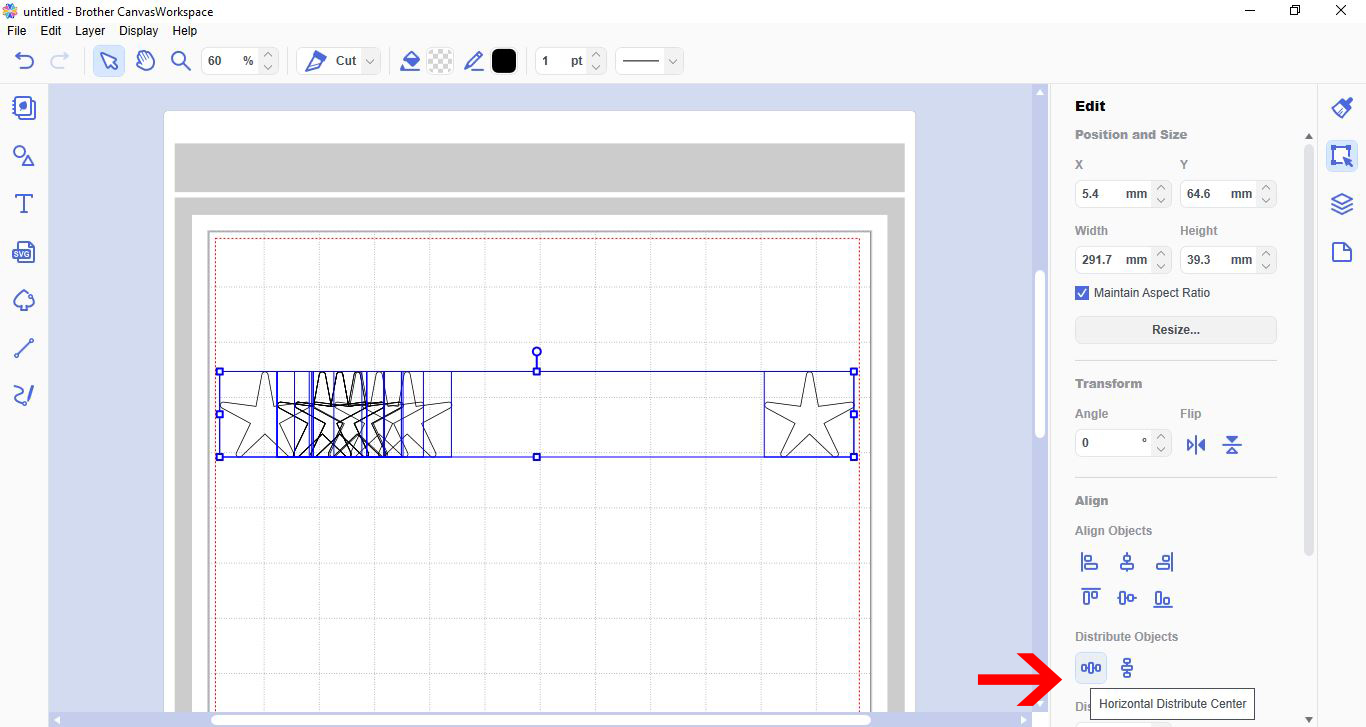
10- All your shapes will be aligned at the top. With the shapes still selected click on the distribute horizontal.
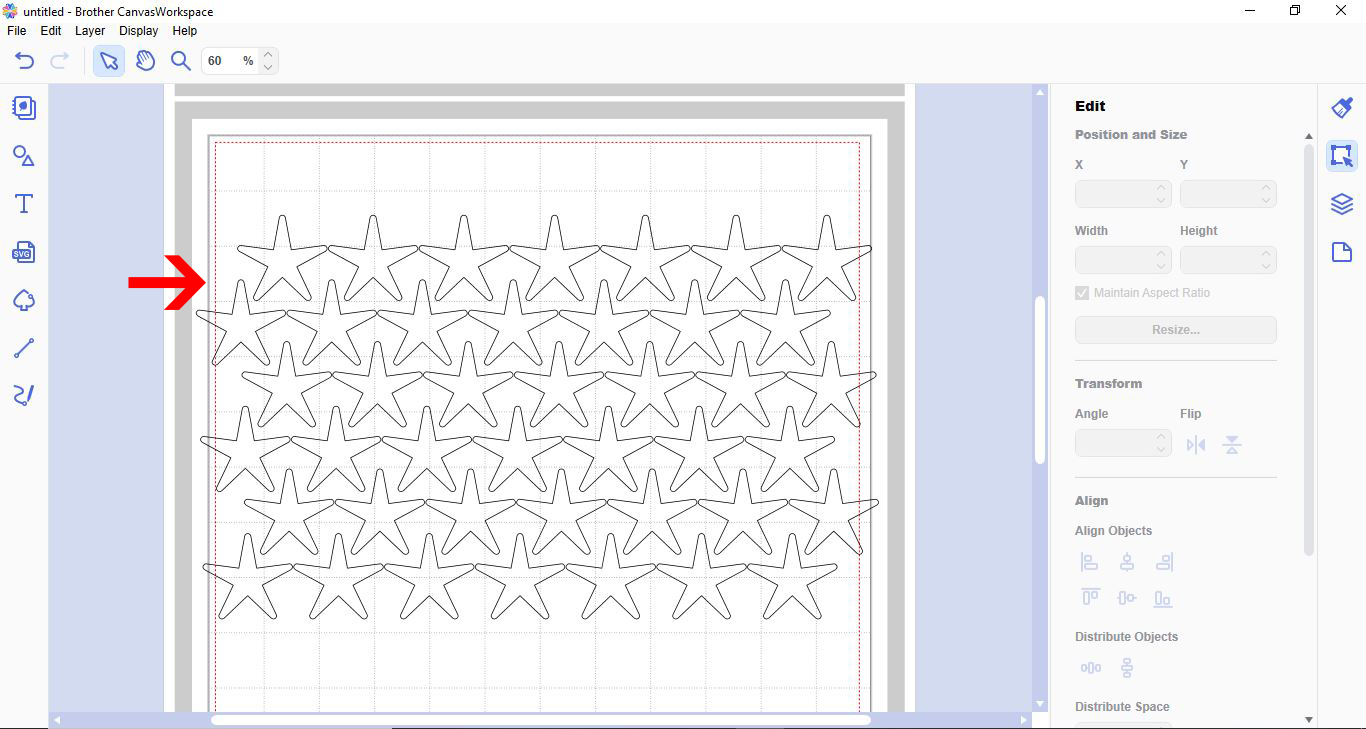
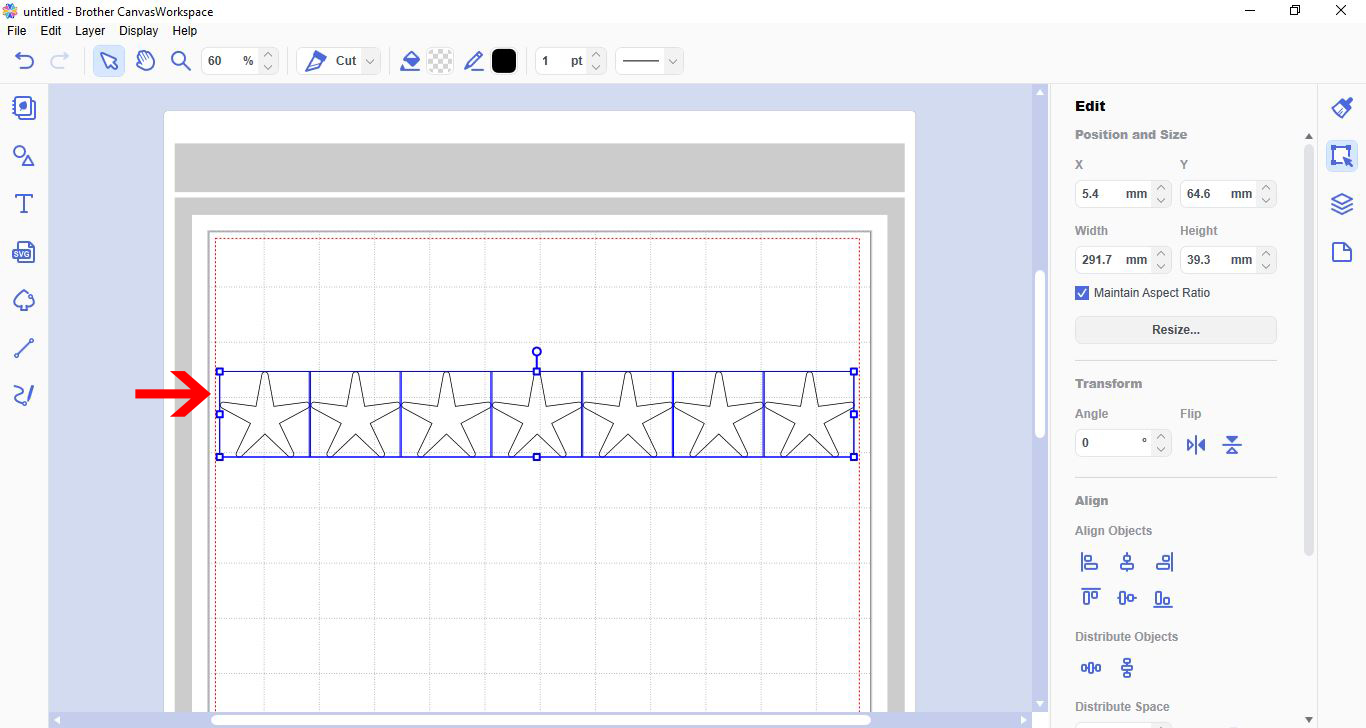
11- All your shapes will now be aligned and spaced evenly.
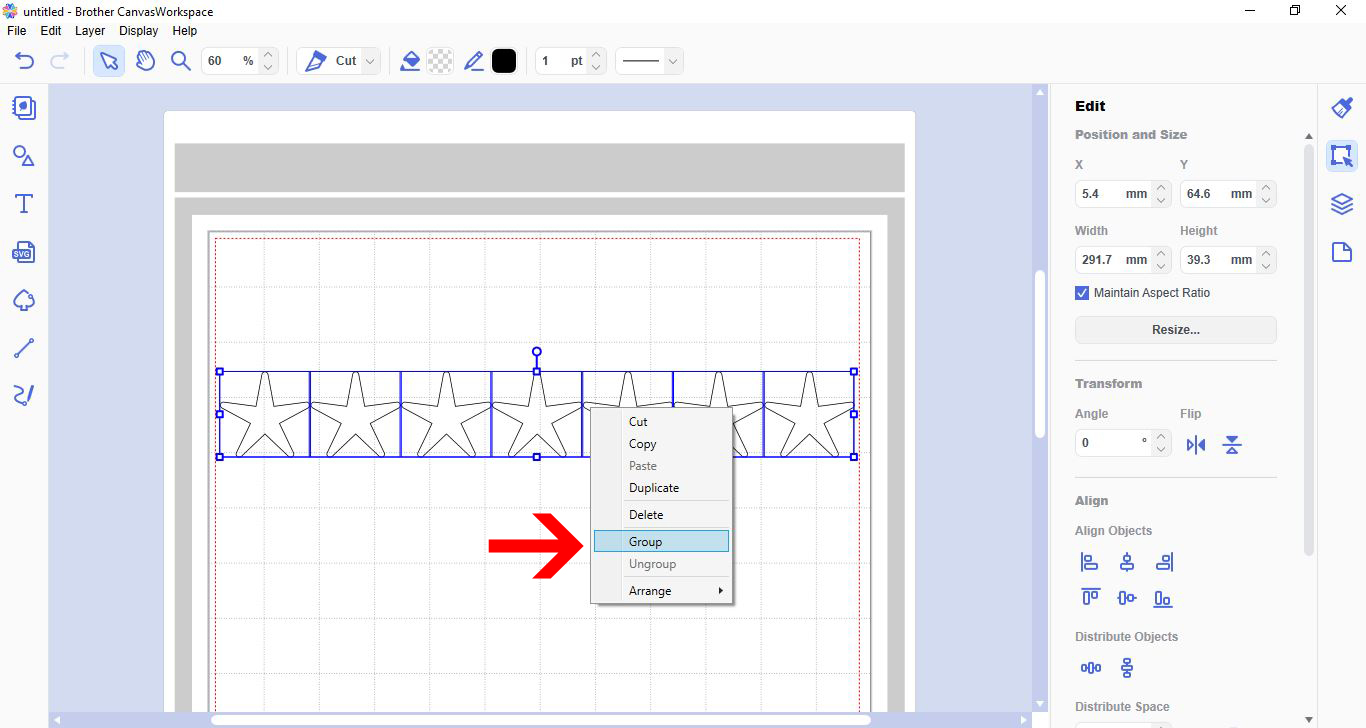
12- Right click and group.
13- You can repeat the process to create full pages of evenly spaced shapes.
2- Add your shape to the workspace.

3- Resize the shape.
4- With the shape selected, right lick and select duplicate.
5- The shape will replicate on the workspace.
6- You can now select both and duplicate again.

7- Repeat the above process until you have enough shapes.
8- Place one of the shapes either side of the work space.
9- With all the shapes selected, go to the align tools and select top.
10- All your shapes will be aligned at the top. With the shapes still selected click on the distribute horizontal.
11- All your shapes will now be aligned and spaced evenly.
12- Right click and group.
13- You can repeat the process to create full pages of evenly spaced shapes.