How to Make a Dash Fold Line in Brother Scan N Cut
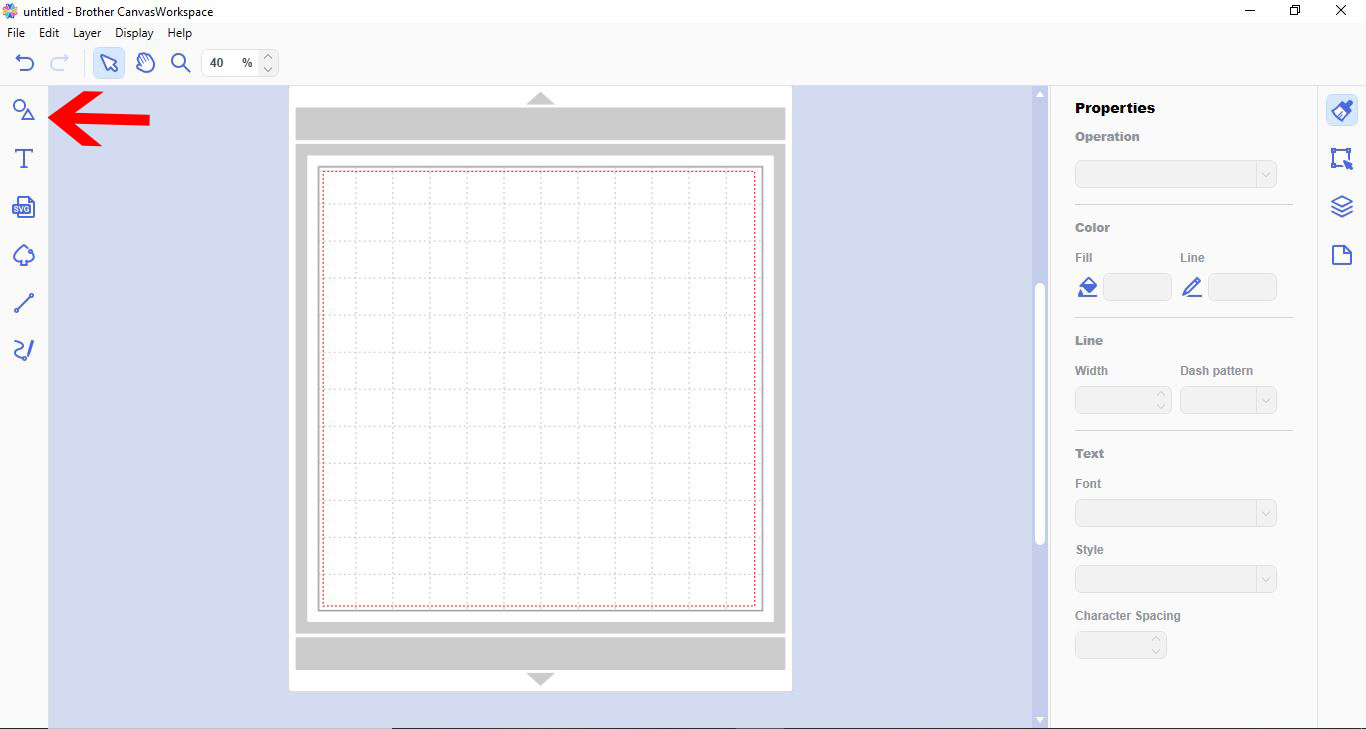
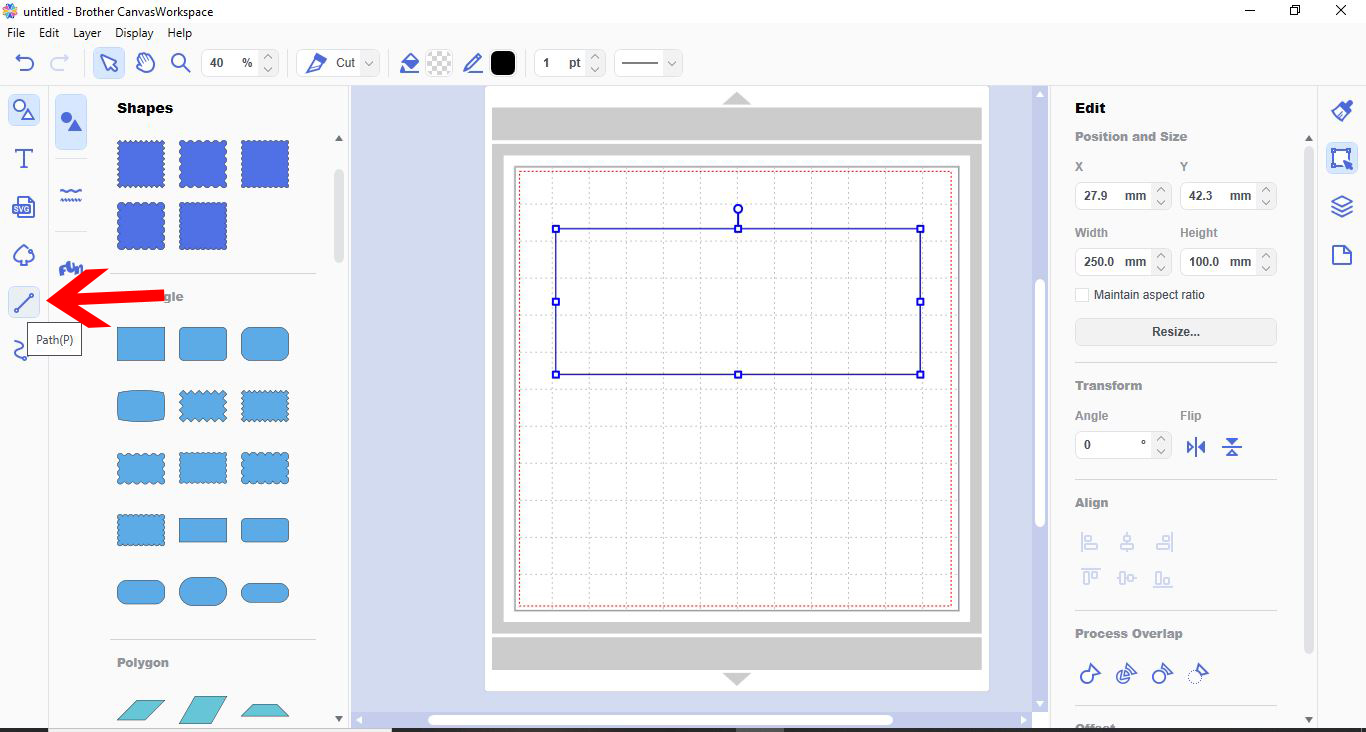
1- Open canvas workspace. Click on the shape tool.
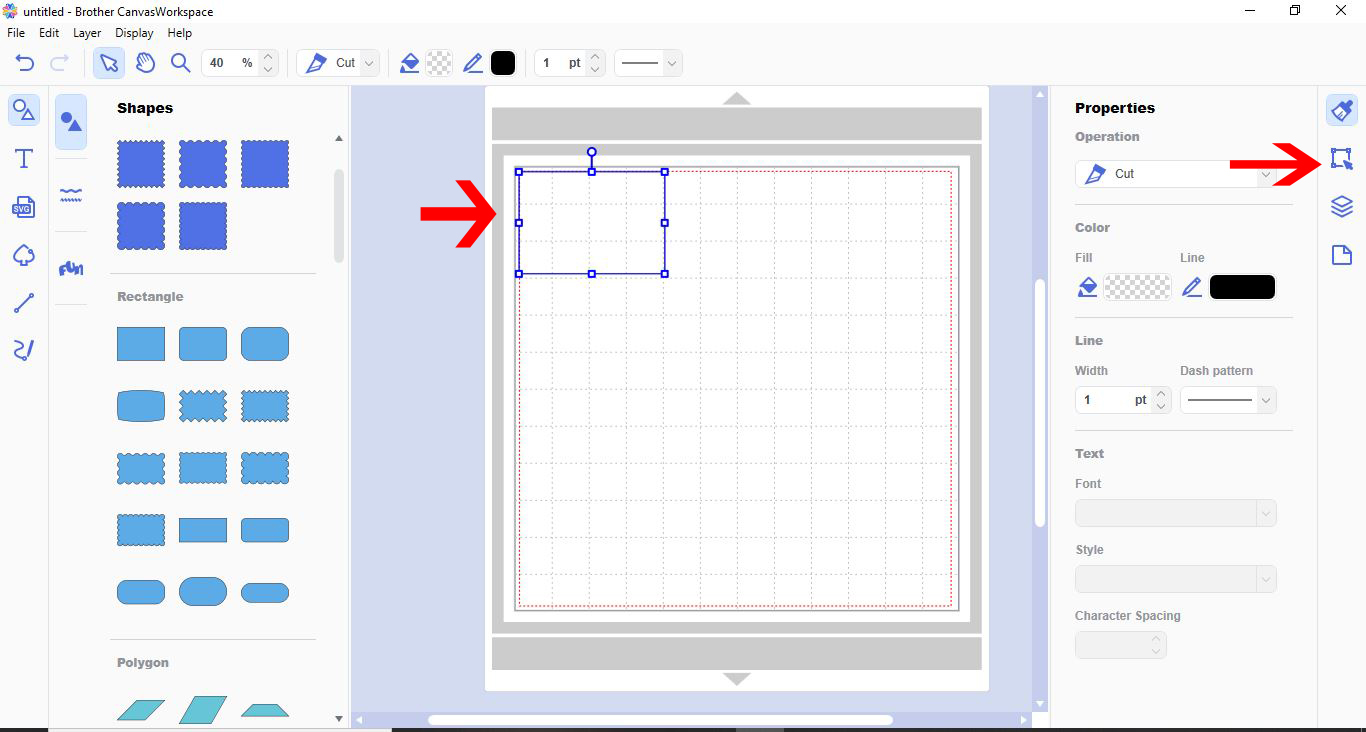
2- Click on the shape you would like to use for your card blank. I picked a rectangle.
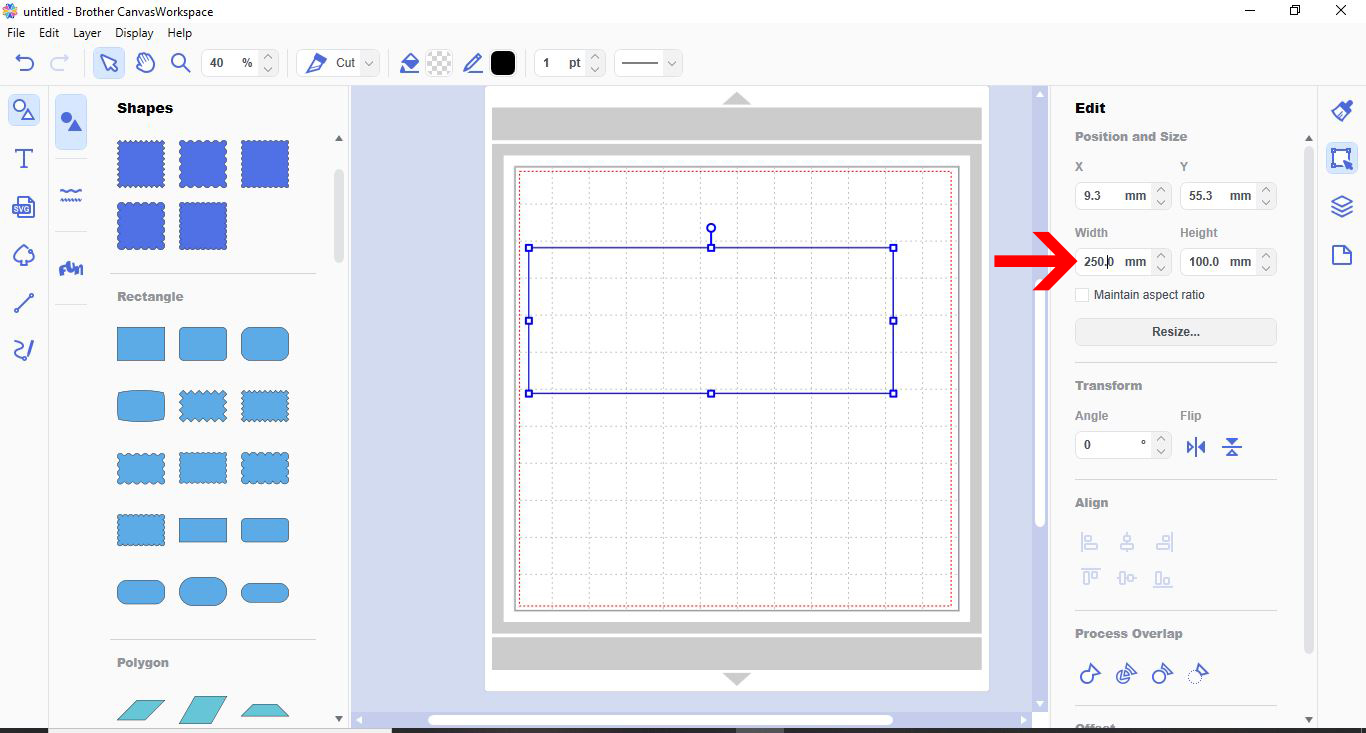
3- Change the size manually to create the full size of your card blank. For example. I want a 10 x 10 cm square card, so I changed the width and length to 20 x 10 cm.
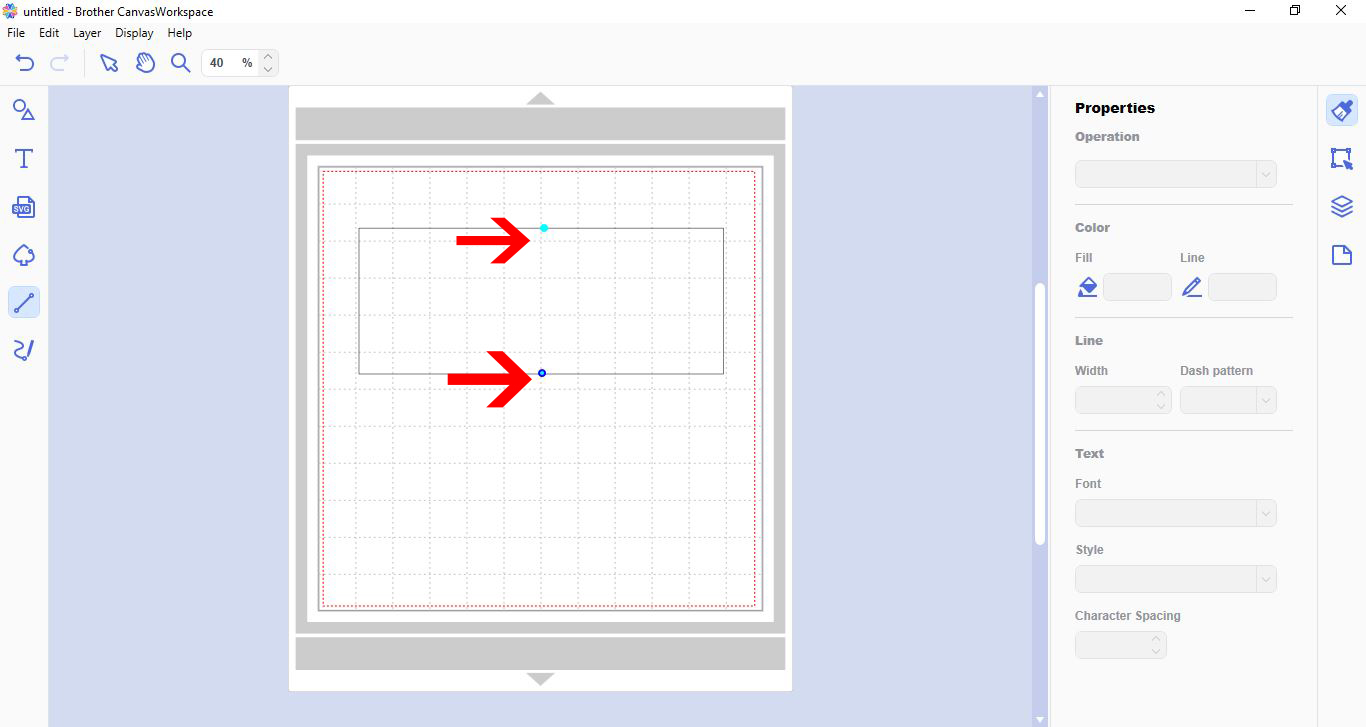
4- We now need to add a dash line/score line so we can bend in half. Click on the path tool.
5- Click on the top point of the shape. With the shift key held, click the bottom of the shape to create the line. *By holding the shift key when creating a path, it will keep the path straight.
6- Select the path you created.

7- In the drop down box of line style, select the dash line.
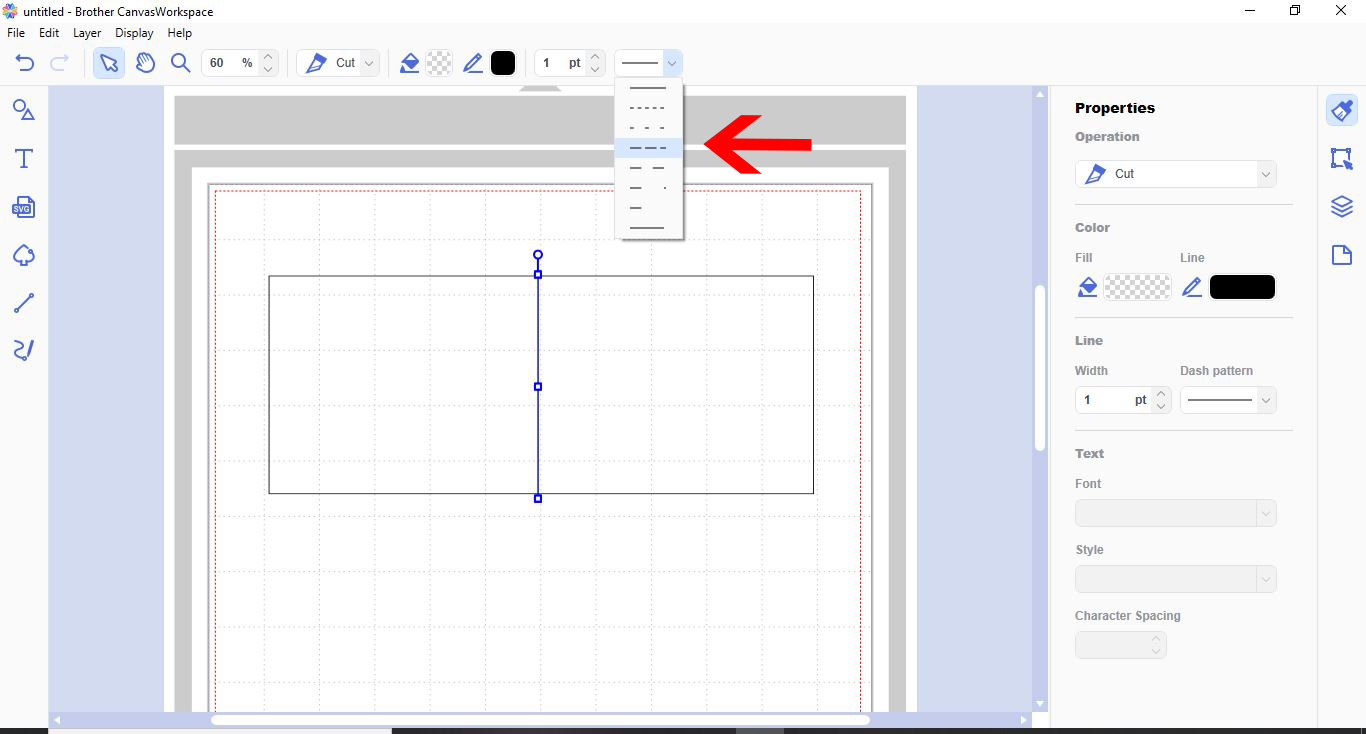
8- Your line is now perforated ready to use as a fold line.We still need to ensure that the line is in the middle of the shape so it create a even card blank.
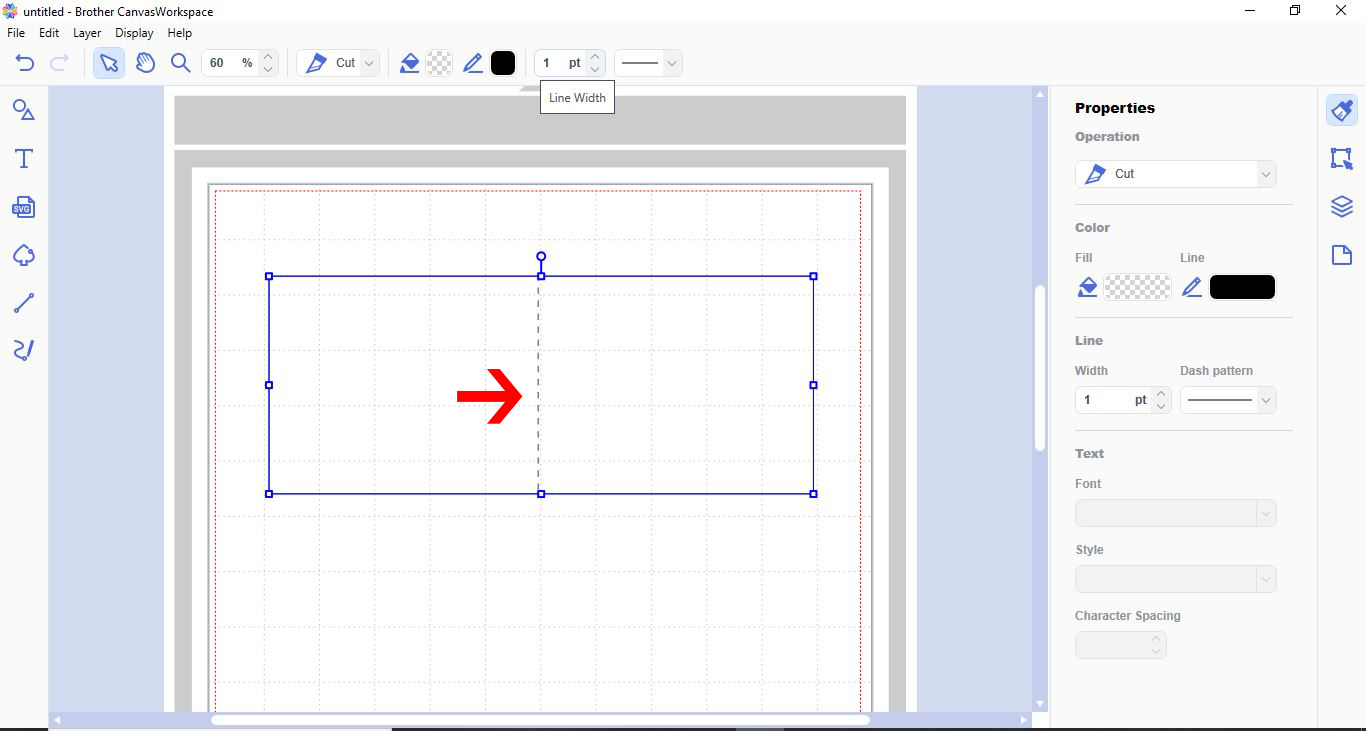
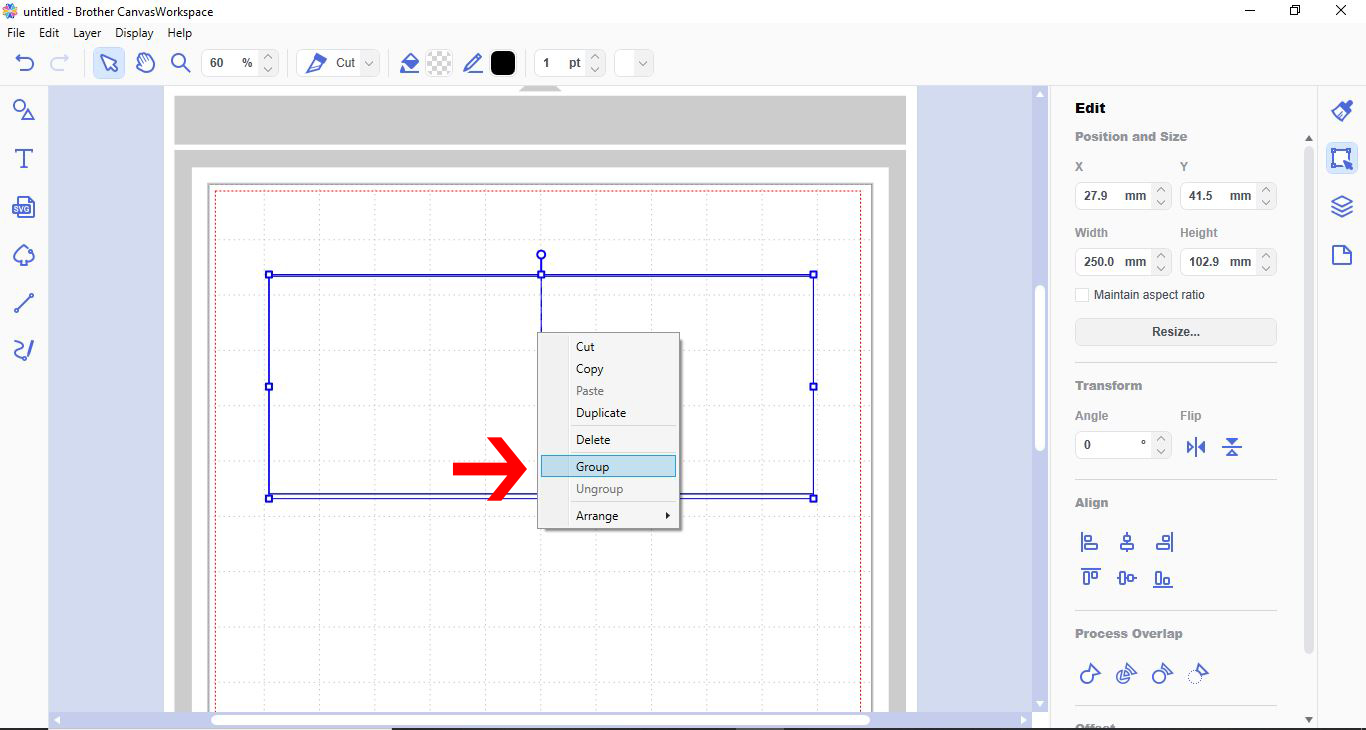
9- With the path selected, click on align tool and then centre alignment.

10- Now the path is aligned to the middle of the card, select both the path and the shape. Right click and group.
You now have a card blank to cut. This method can be used for all card blanks.