Color Groups, the Live Color Tool and Smart Objects in Illustrator and Photoshop
For this tutorial we are going to use some vector flowers from Designbundle.net. We are exploring two different options to create a “Color Group” to use with our artwork.
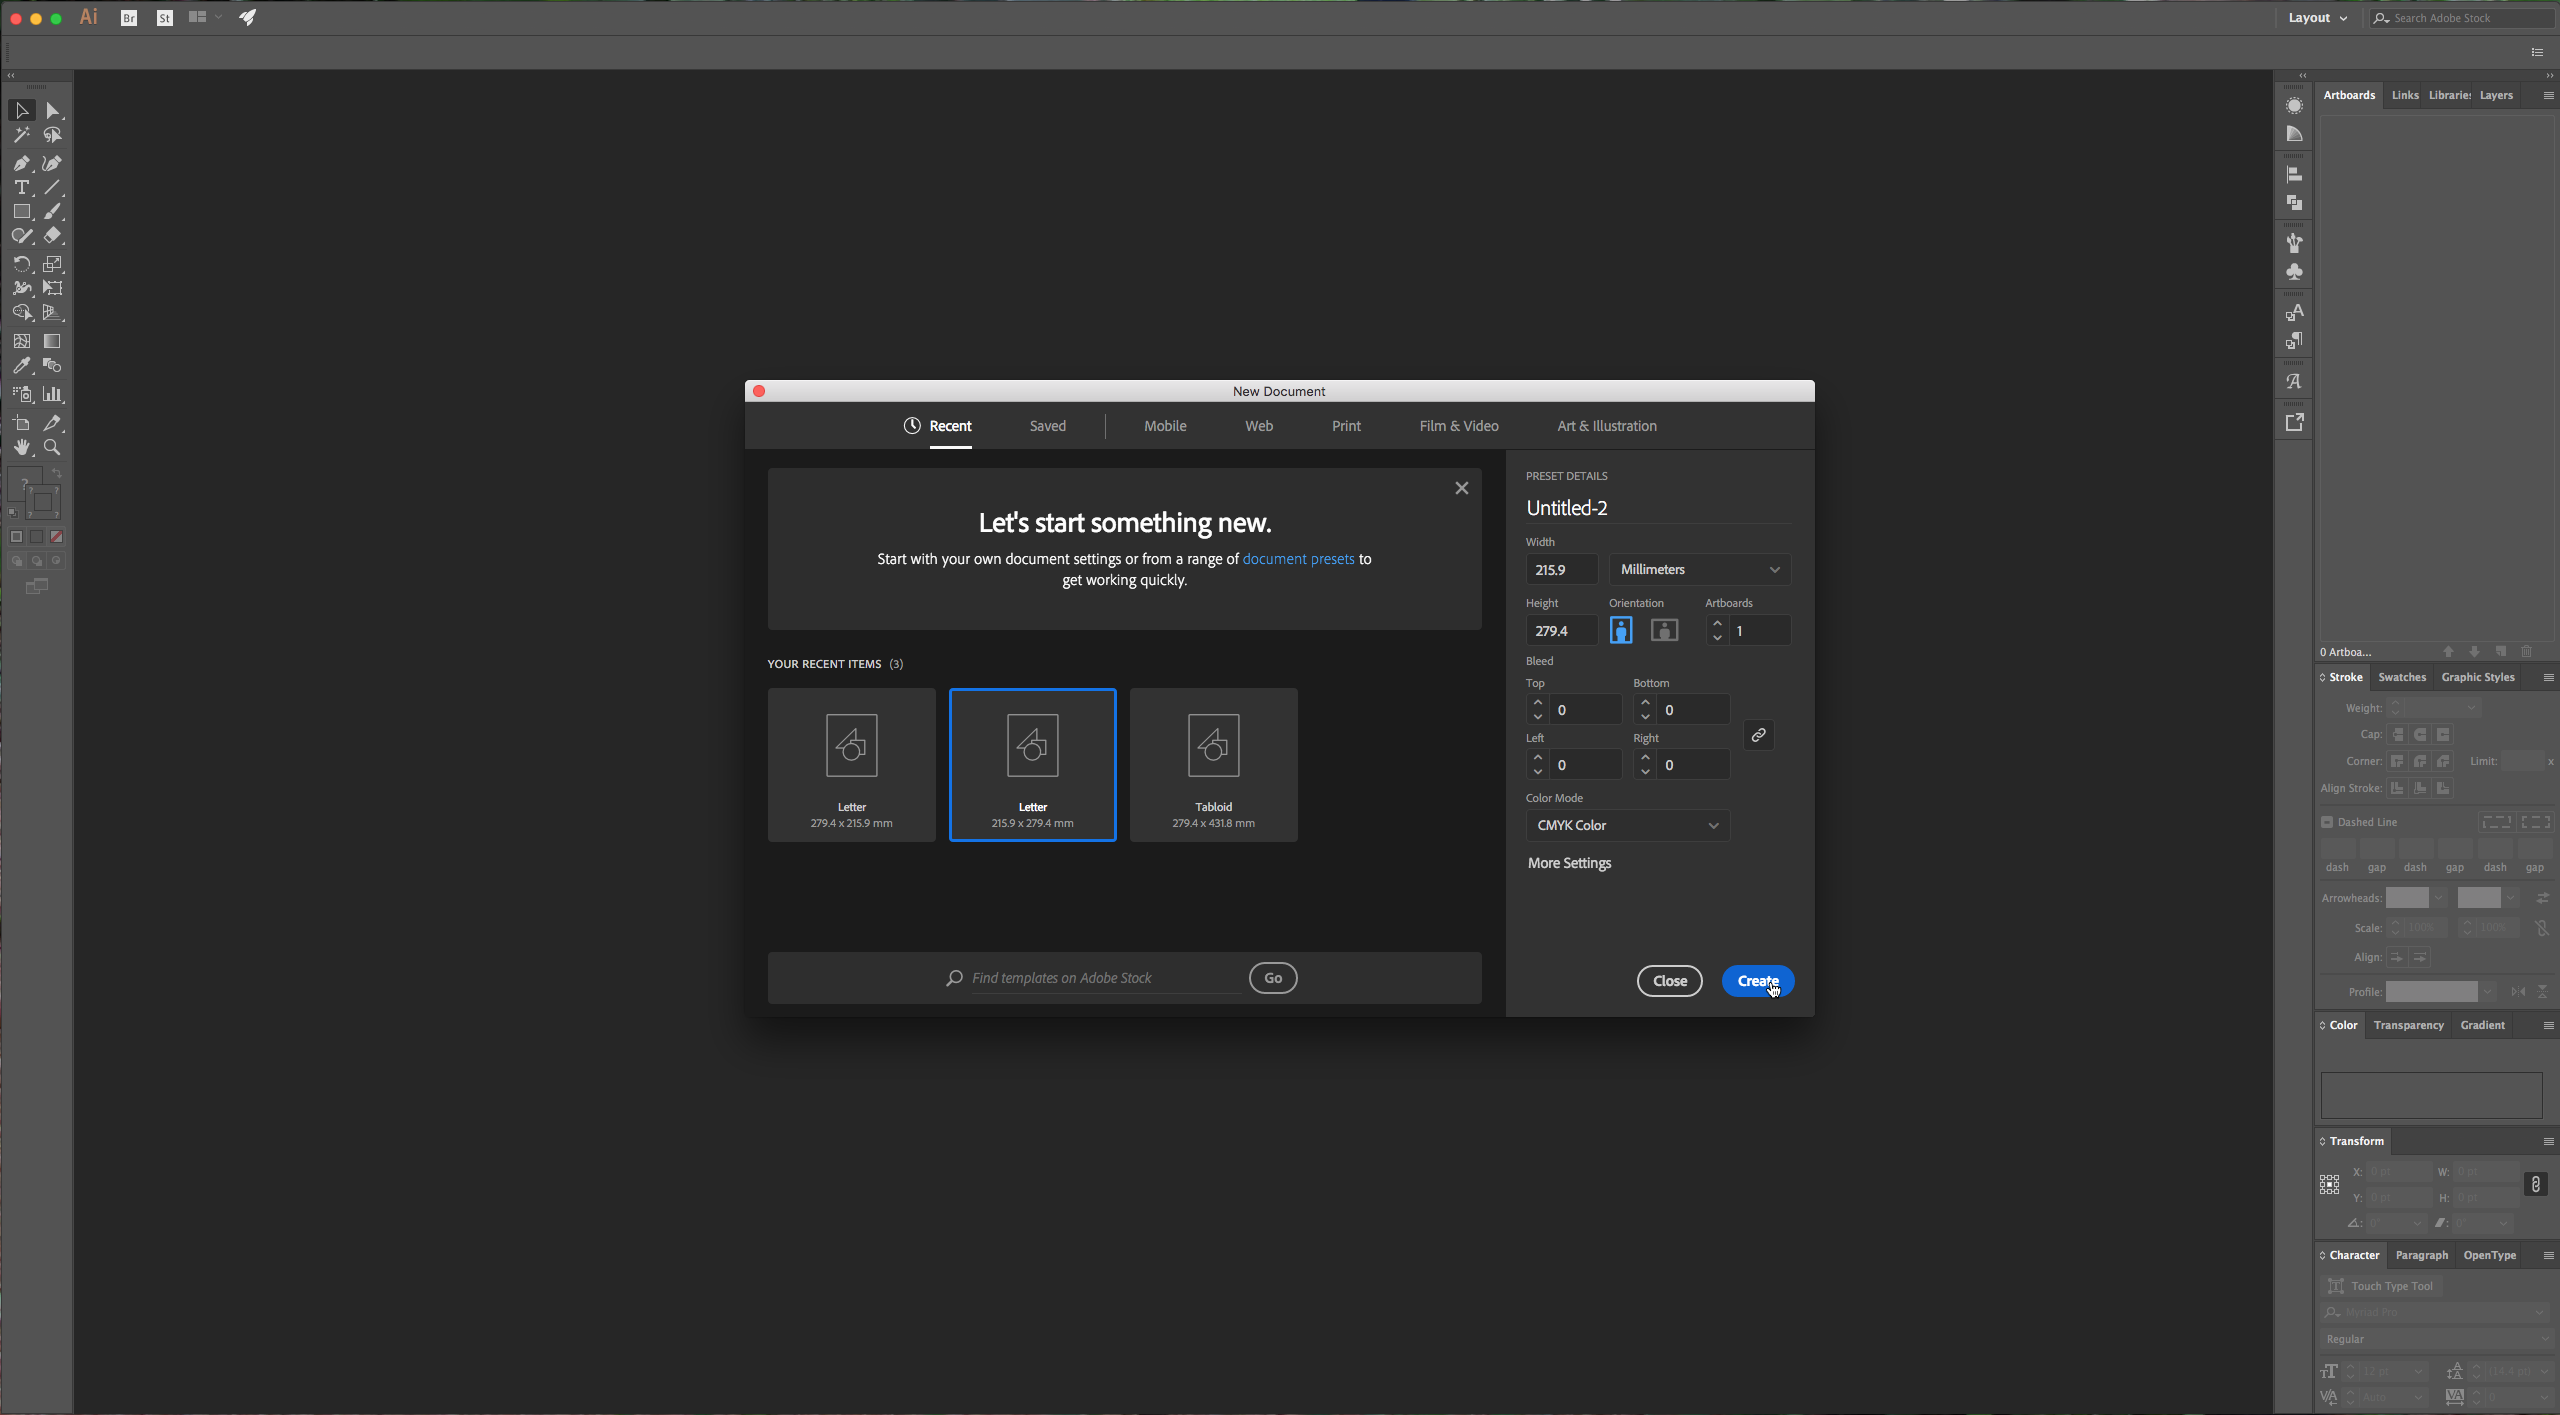
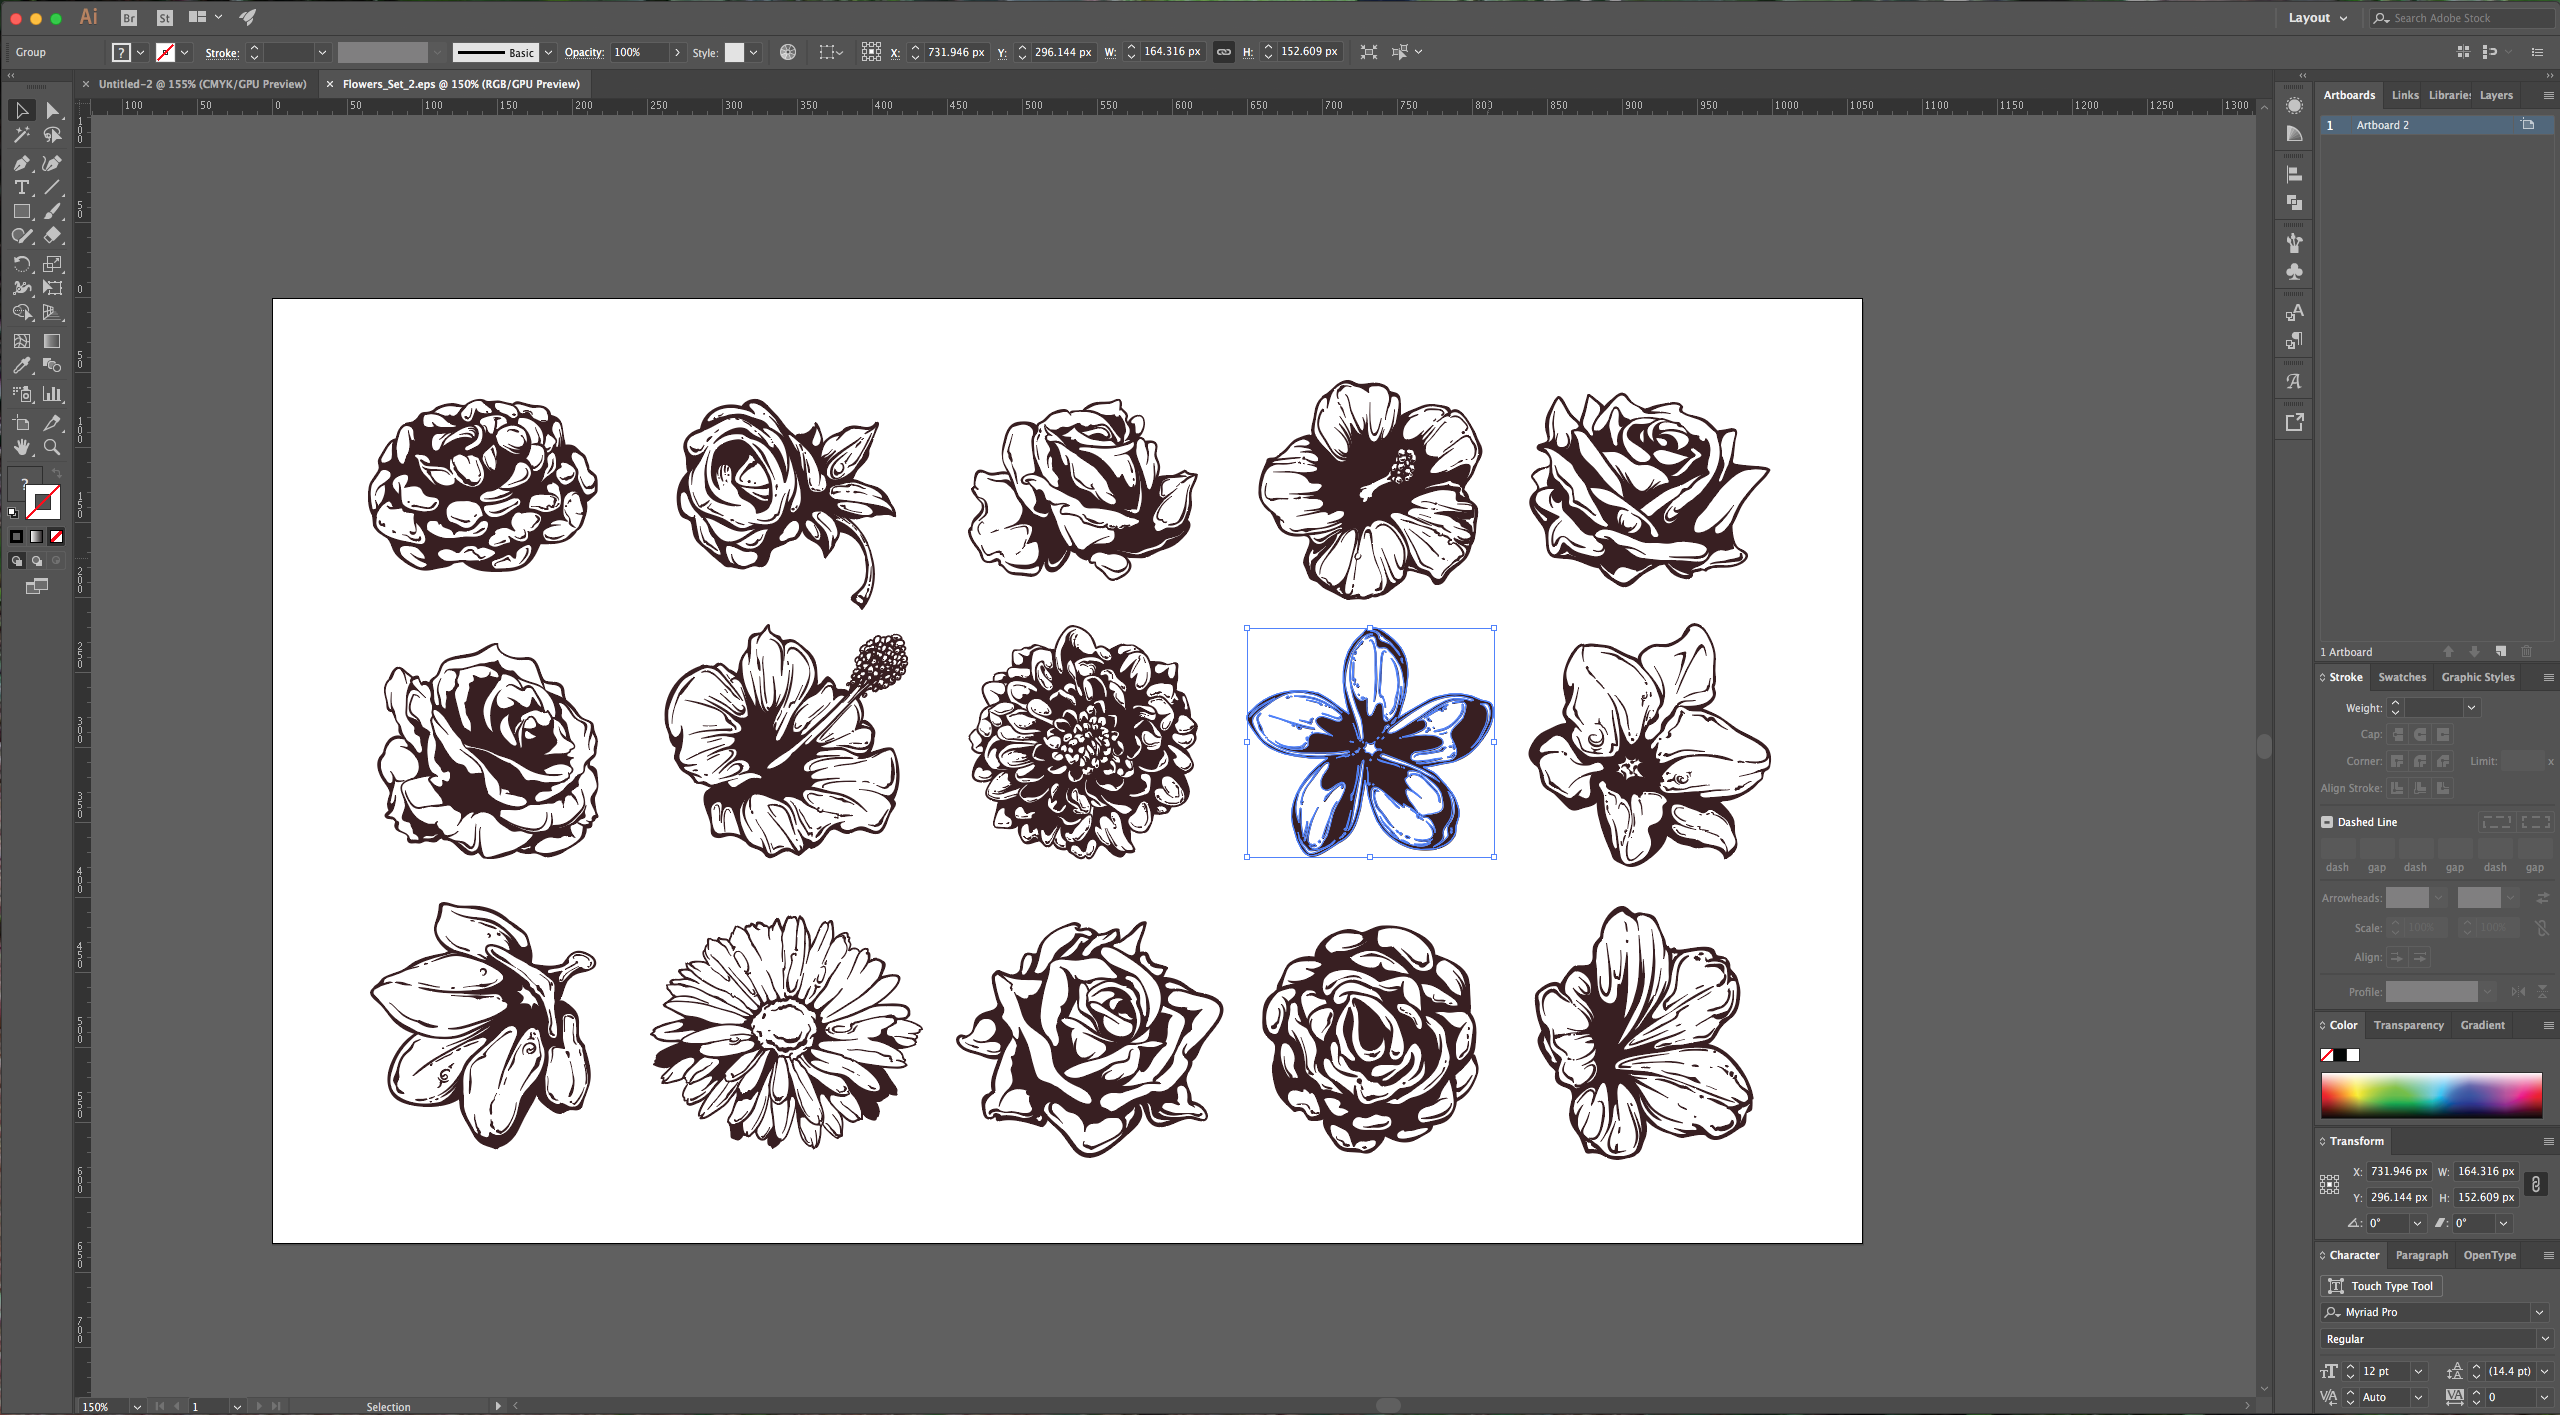
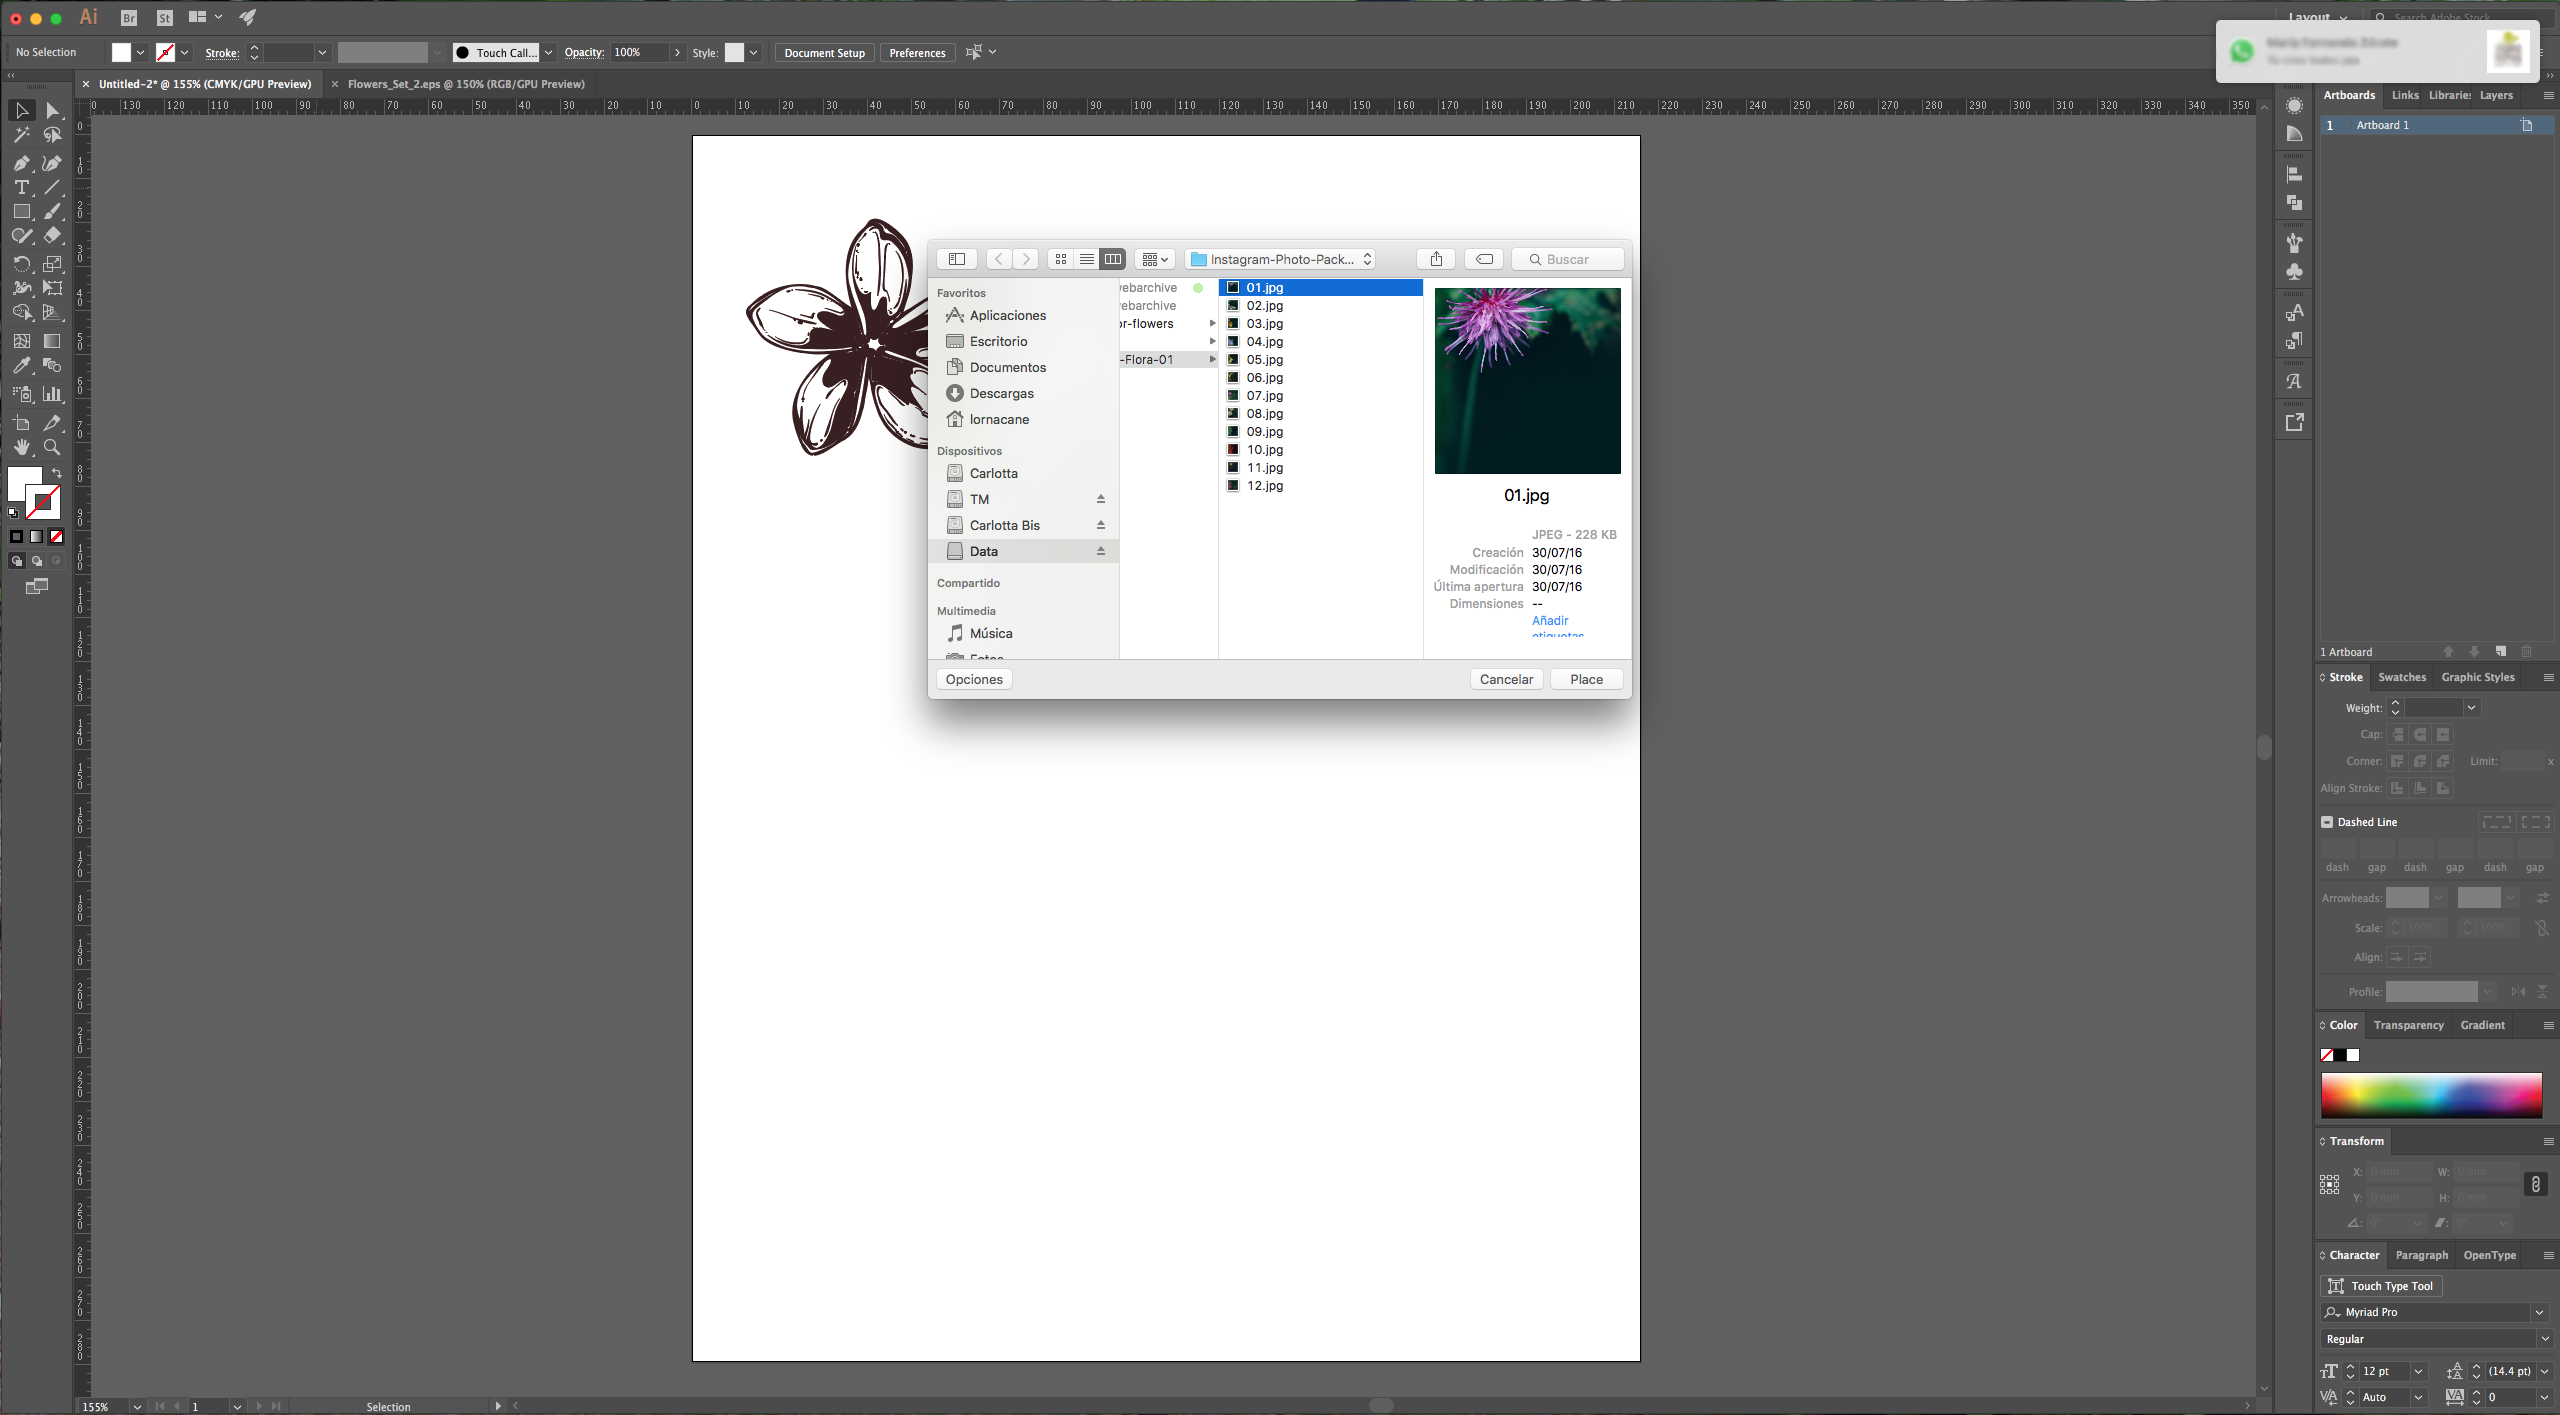
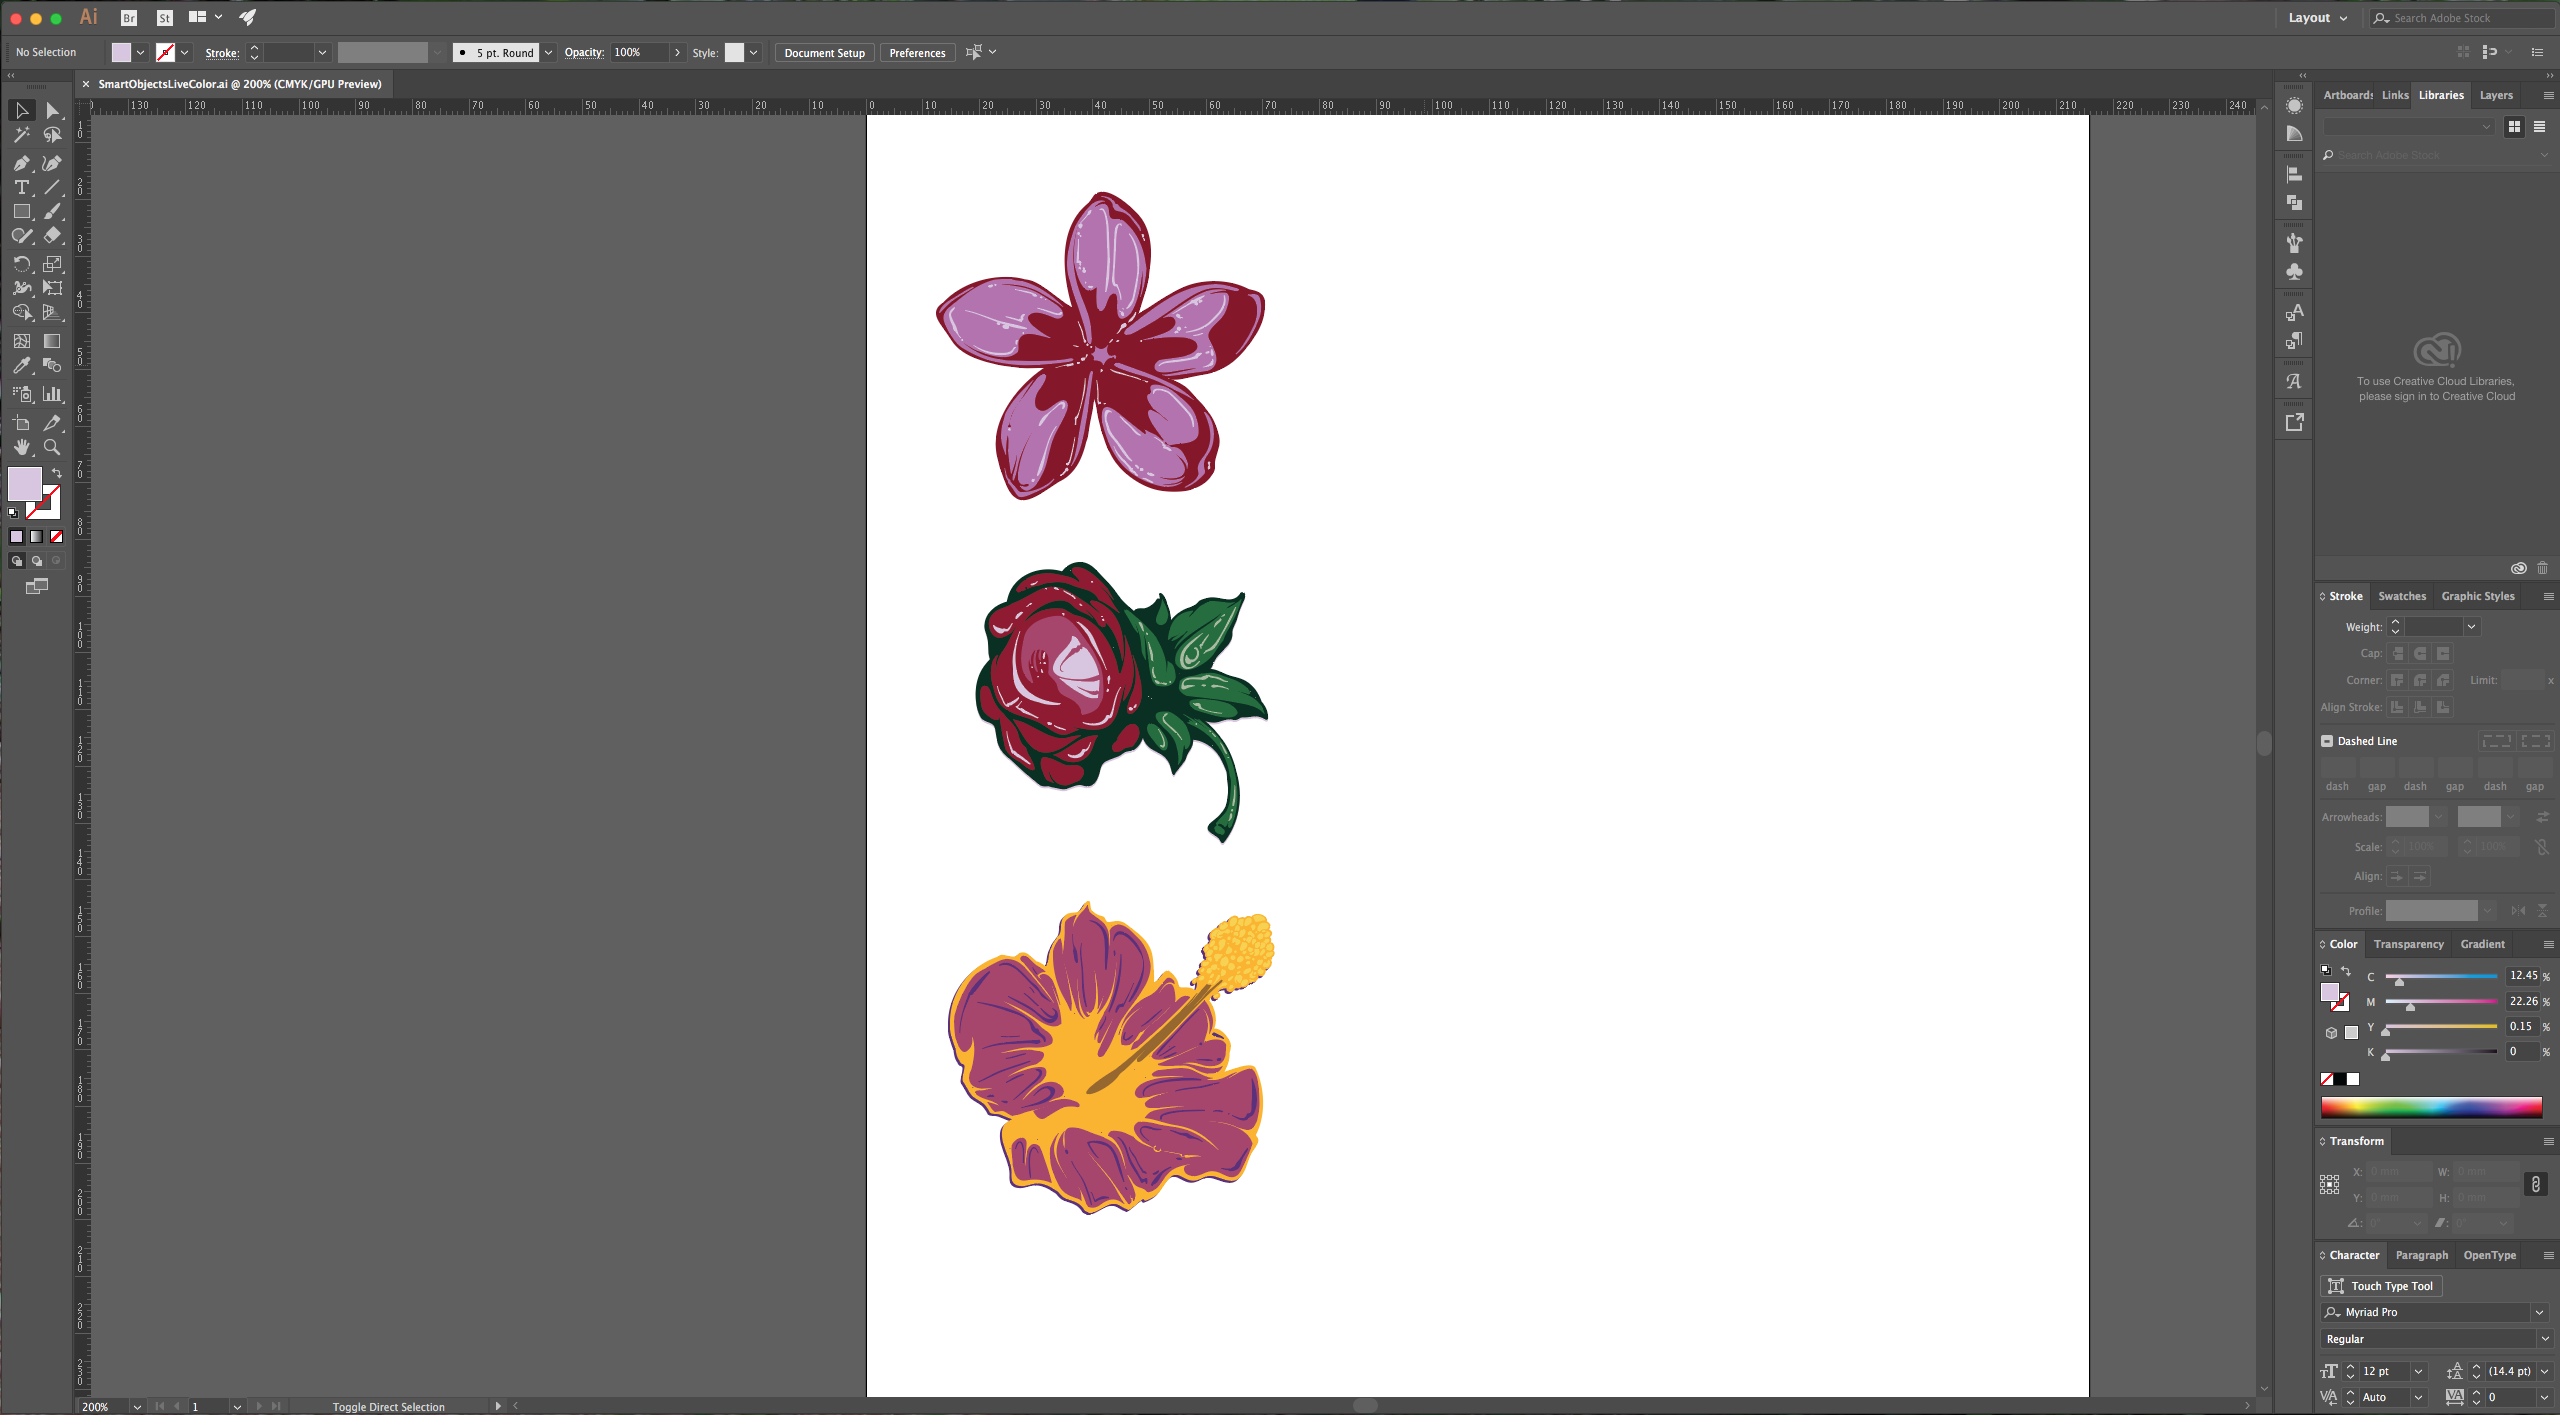
1 – In Illustrator create a new document, open the “Hand Drawn Flowers” file and copy (Command/Control + C) the flower or flowers you like. Paste them (Command/Control + V) in your blank document. Then go to File > Place (Shift + Command/Control + P) and bring in the image/s you want to use as a color reference (We chose 01.jpg, 03.jpg and 06.jpg from Instagram Photo Pack Flora vol. 1). If the image is too big, you can resize it.
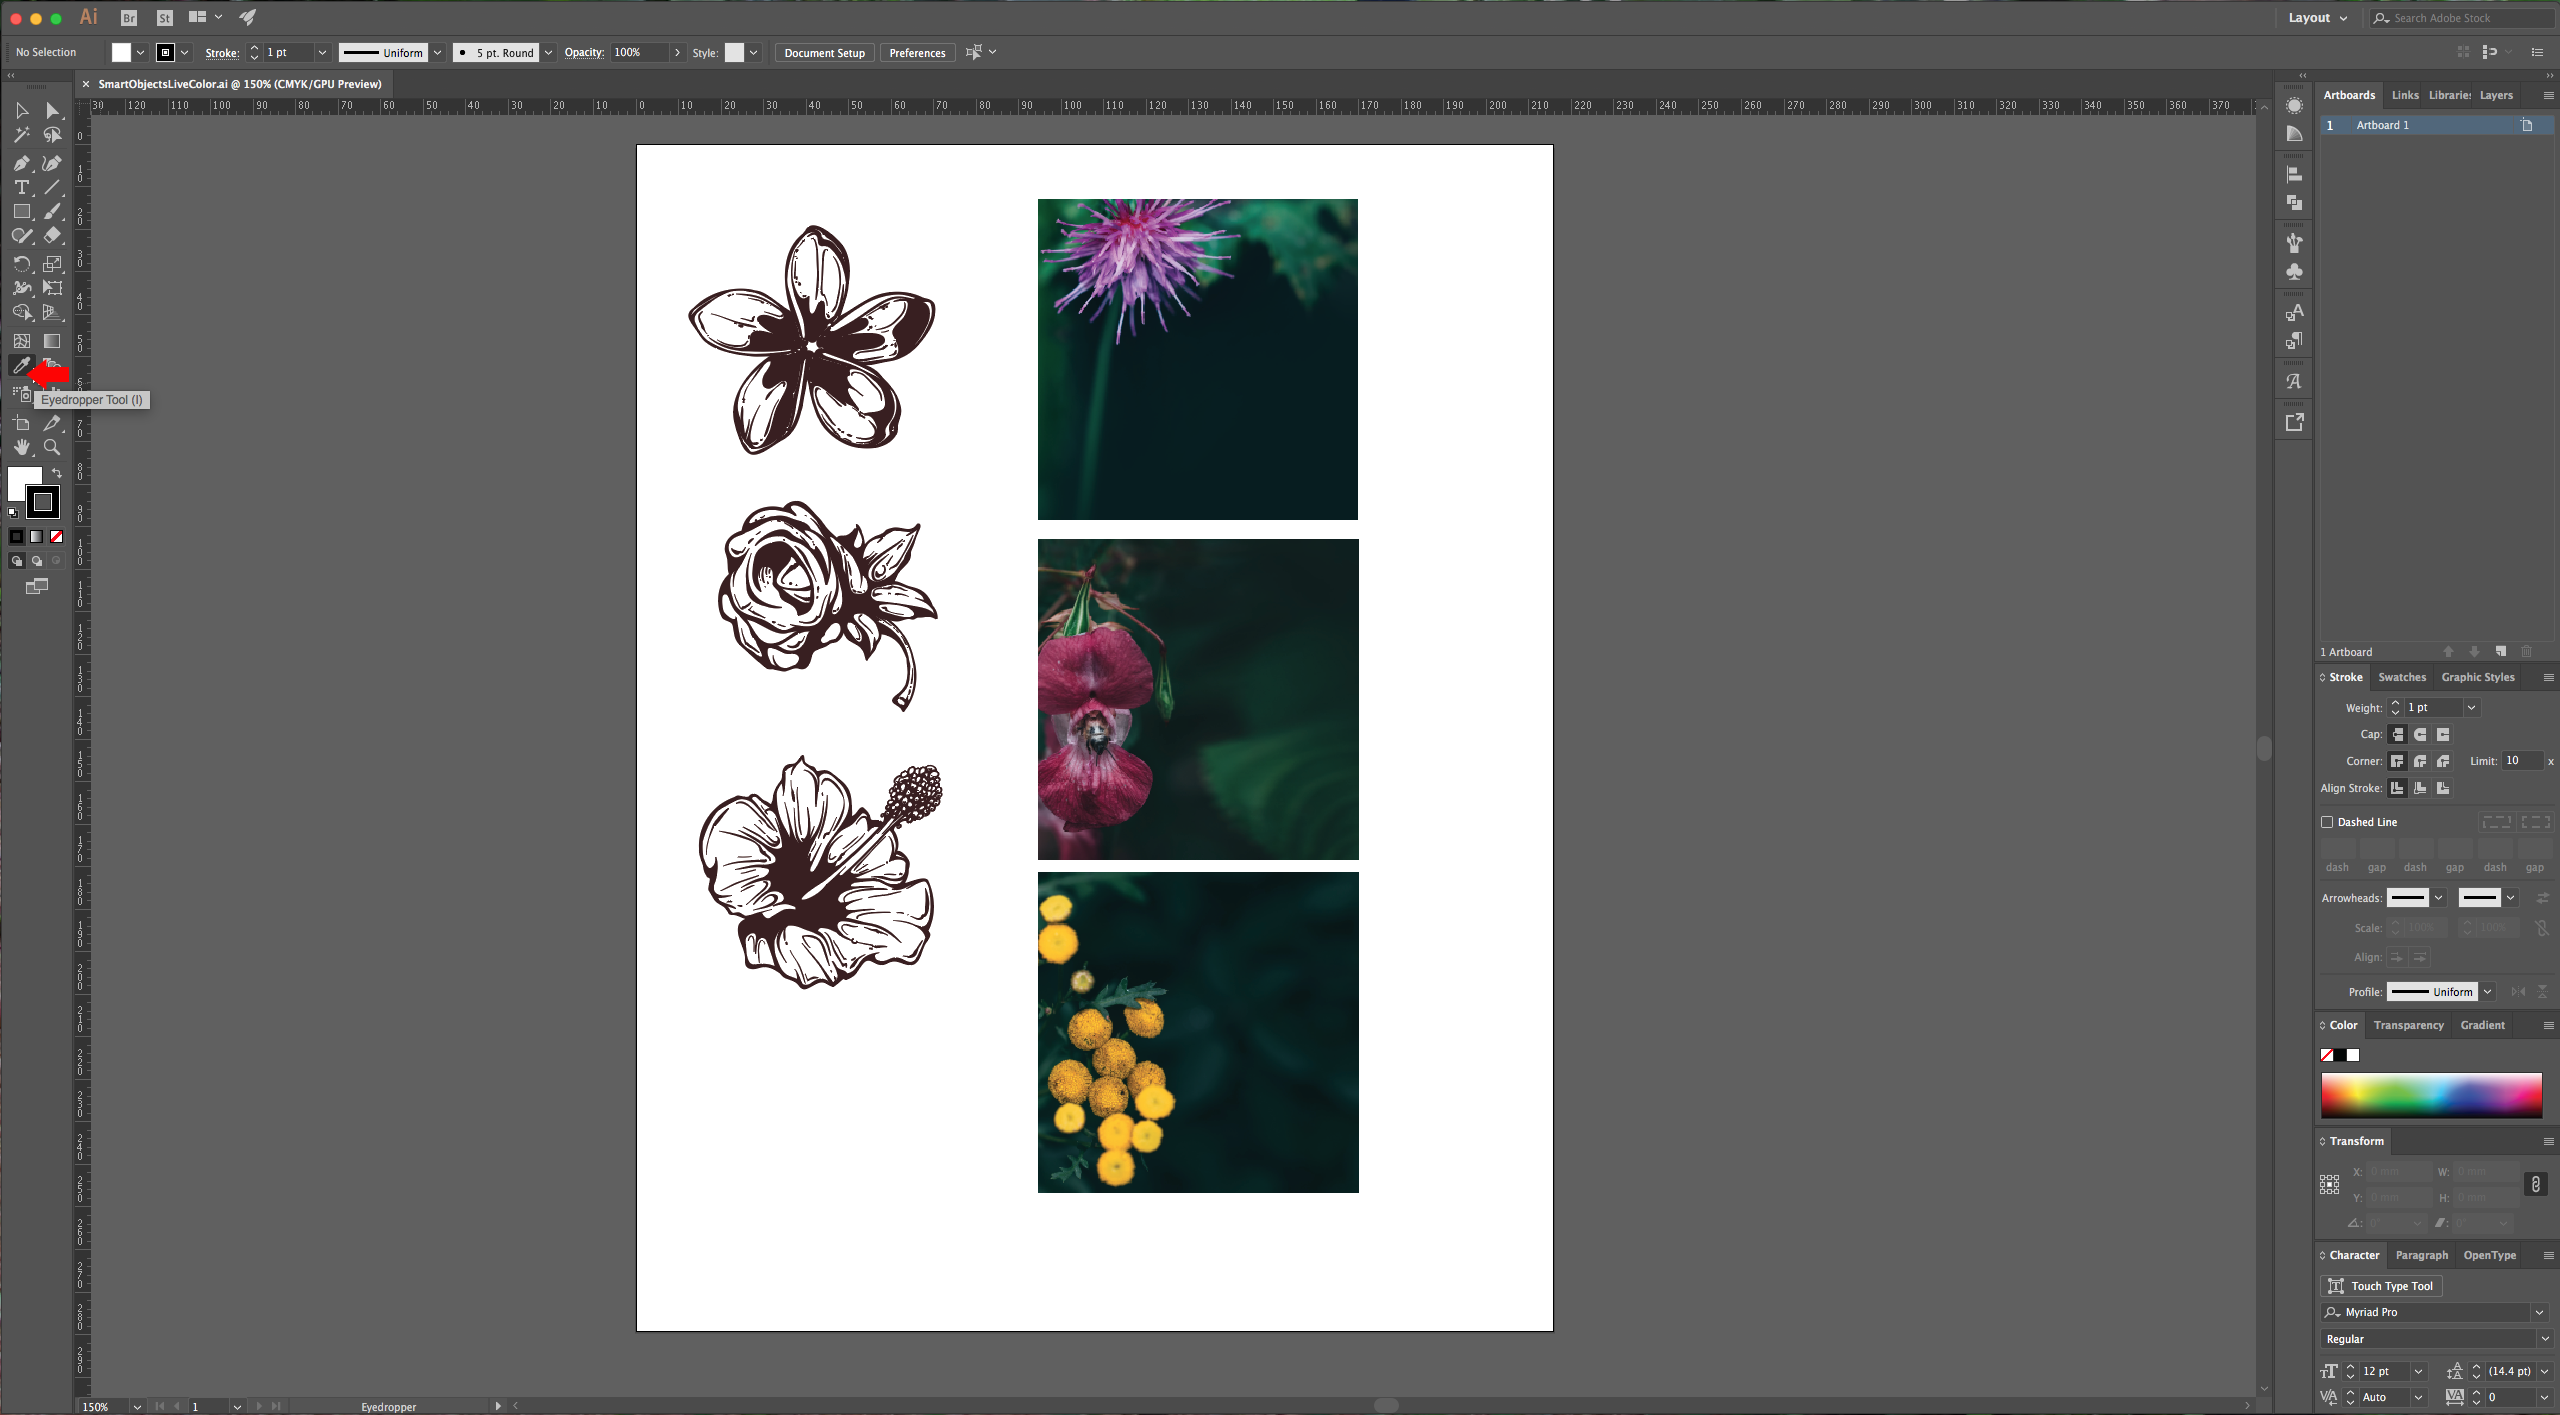
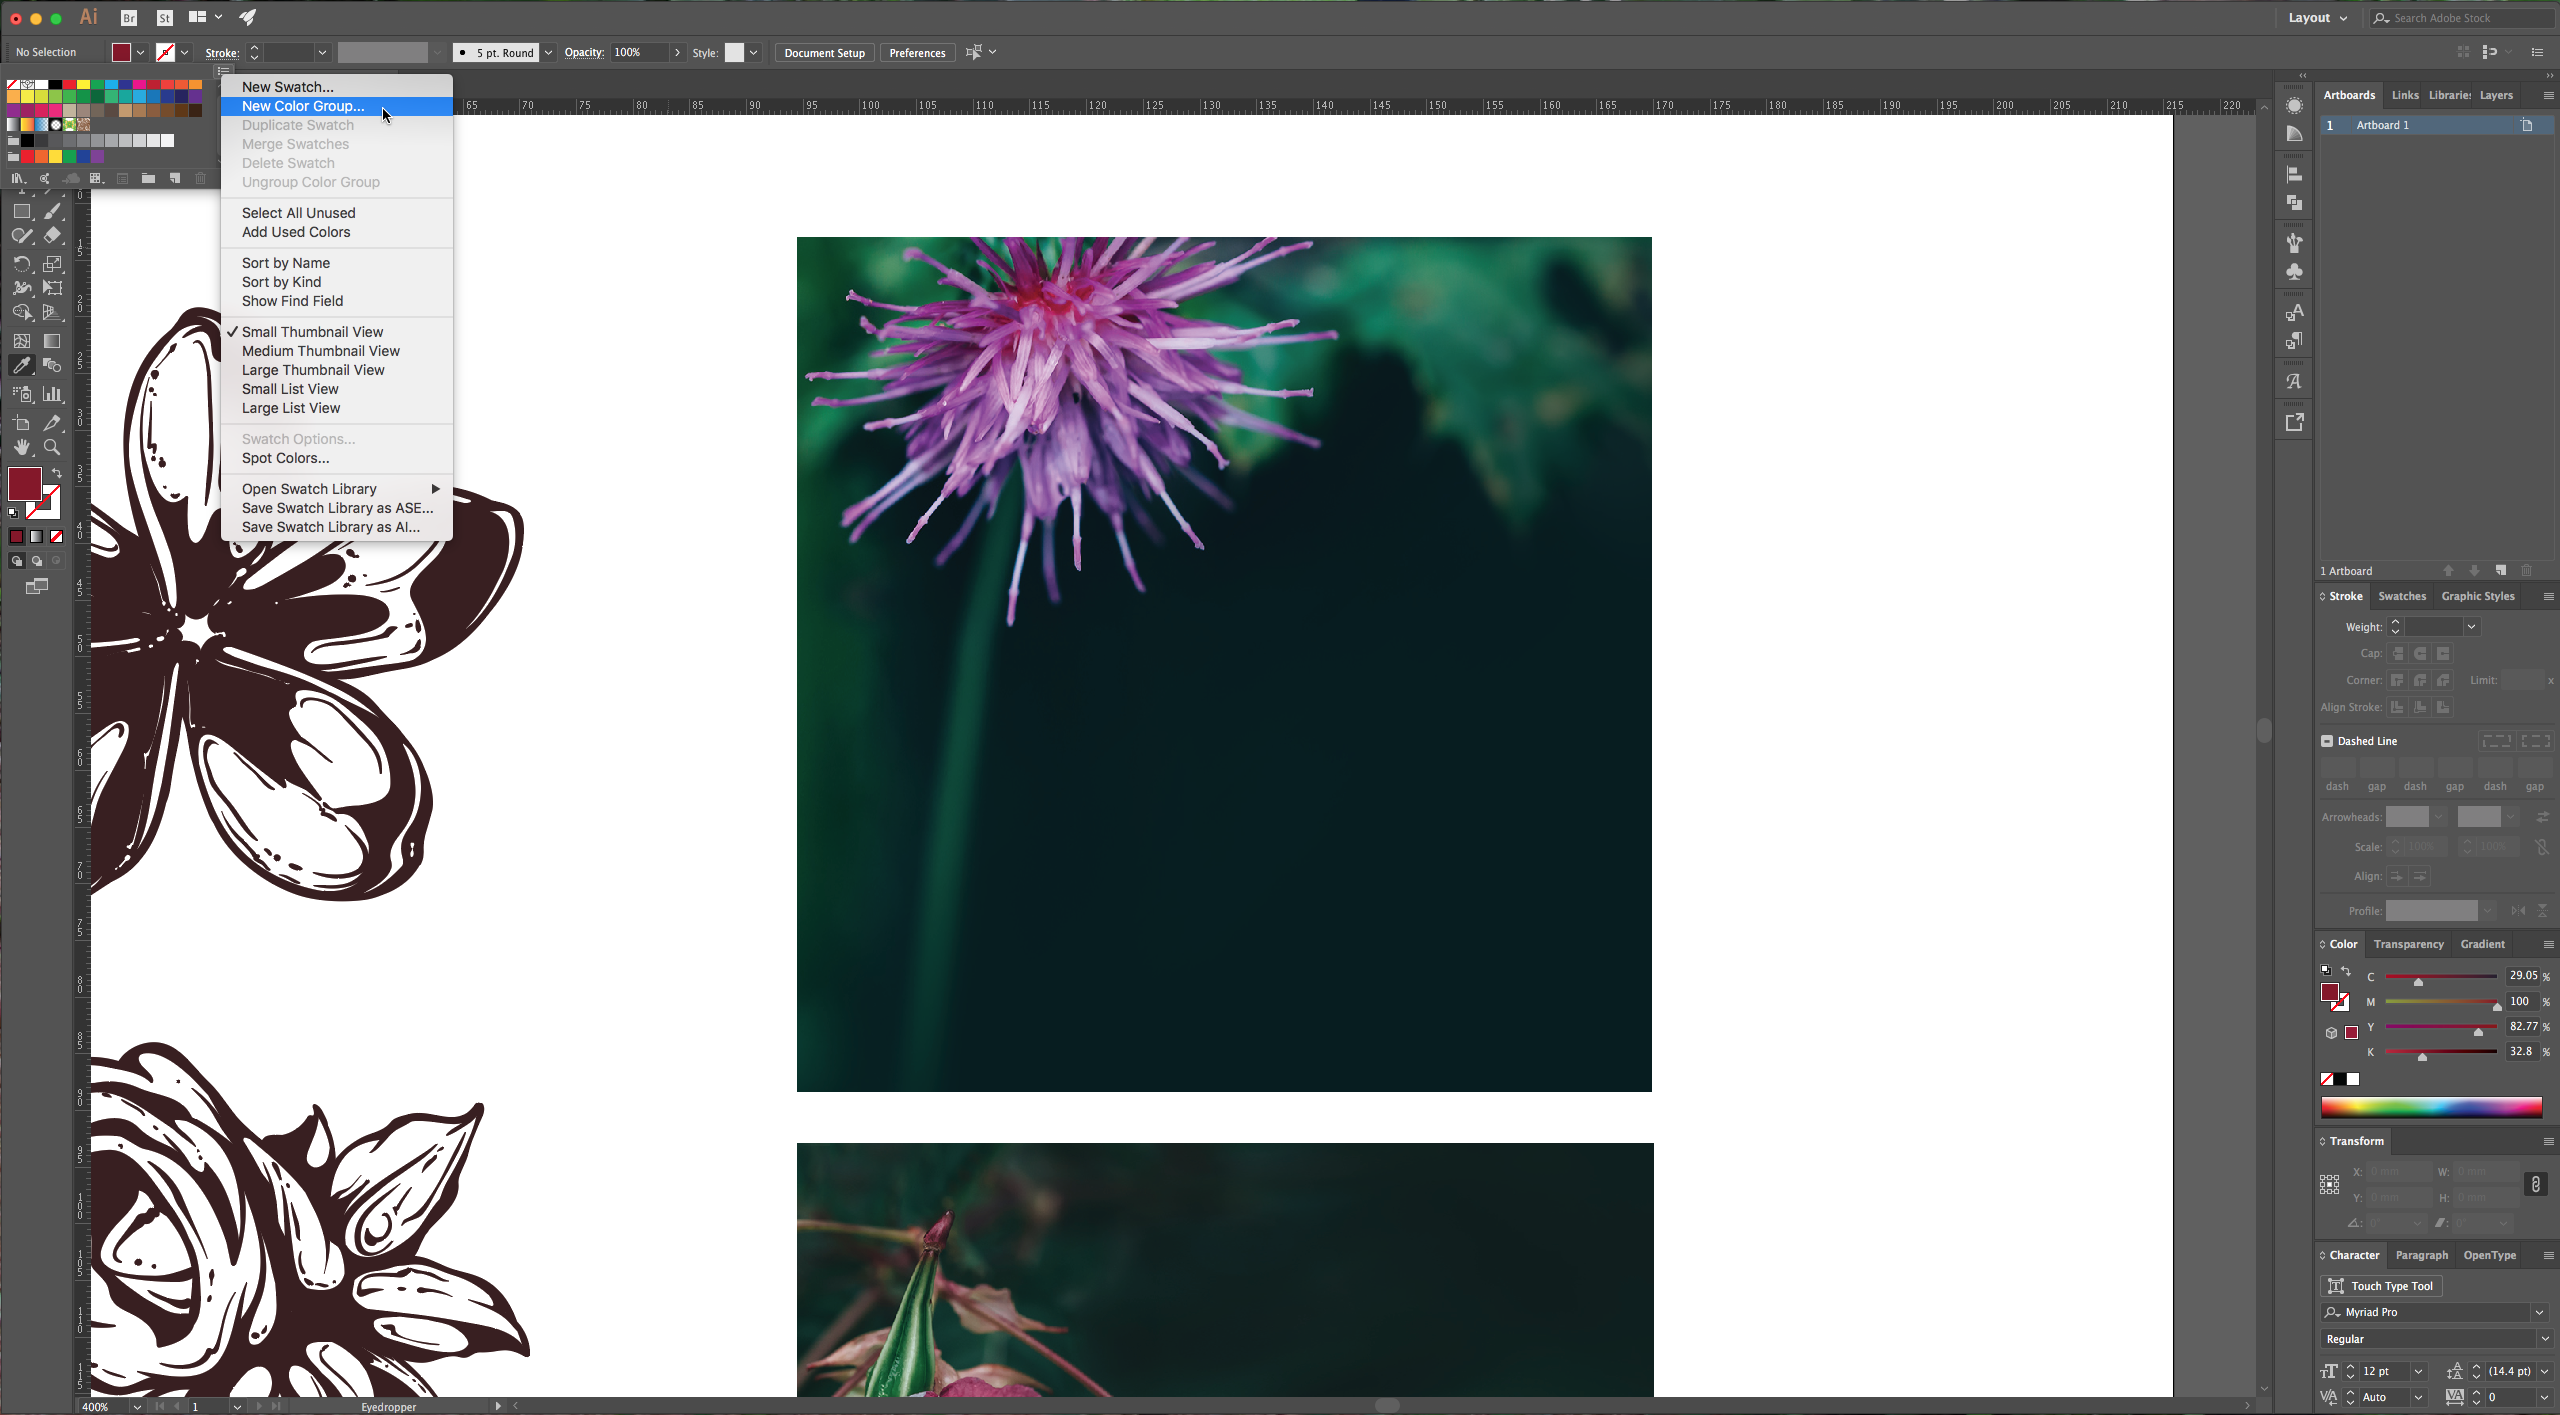
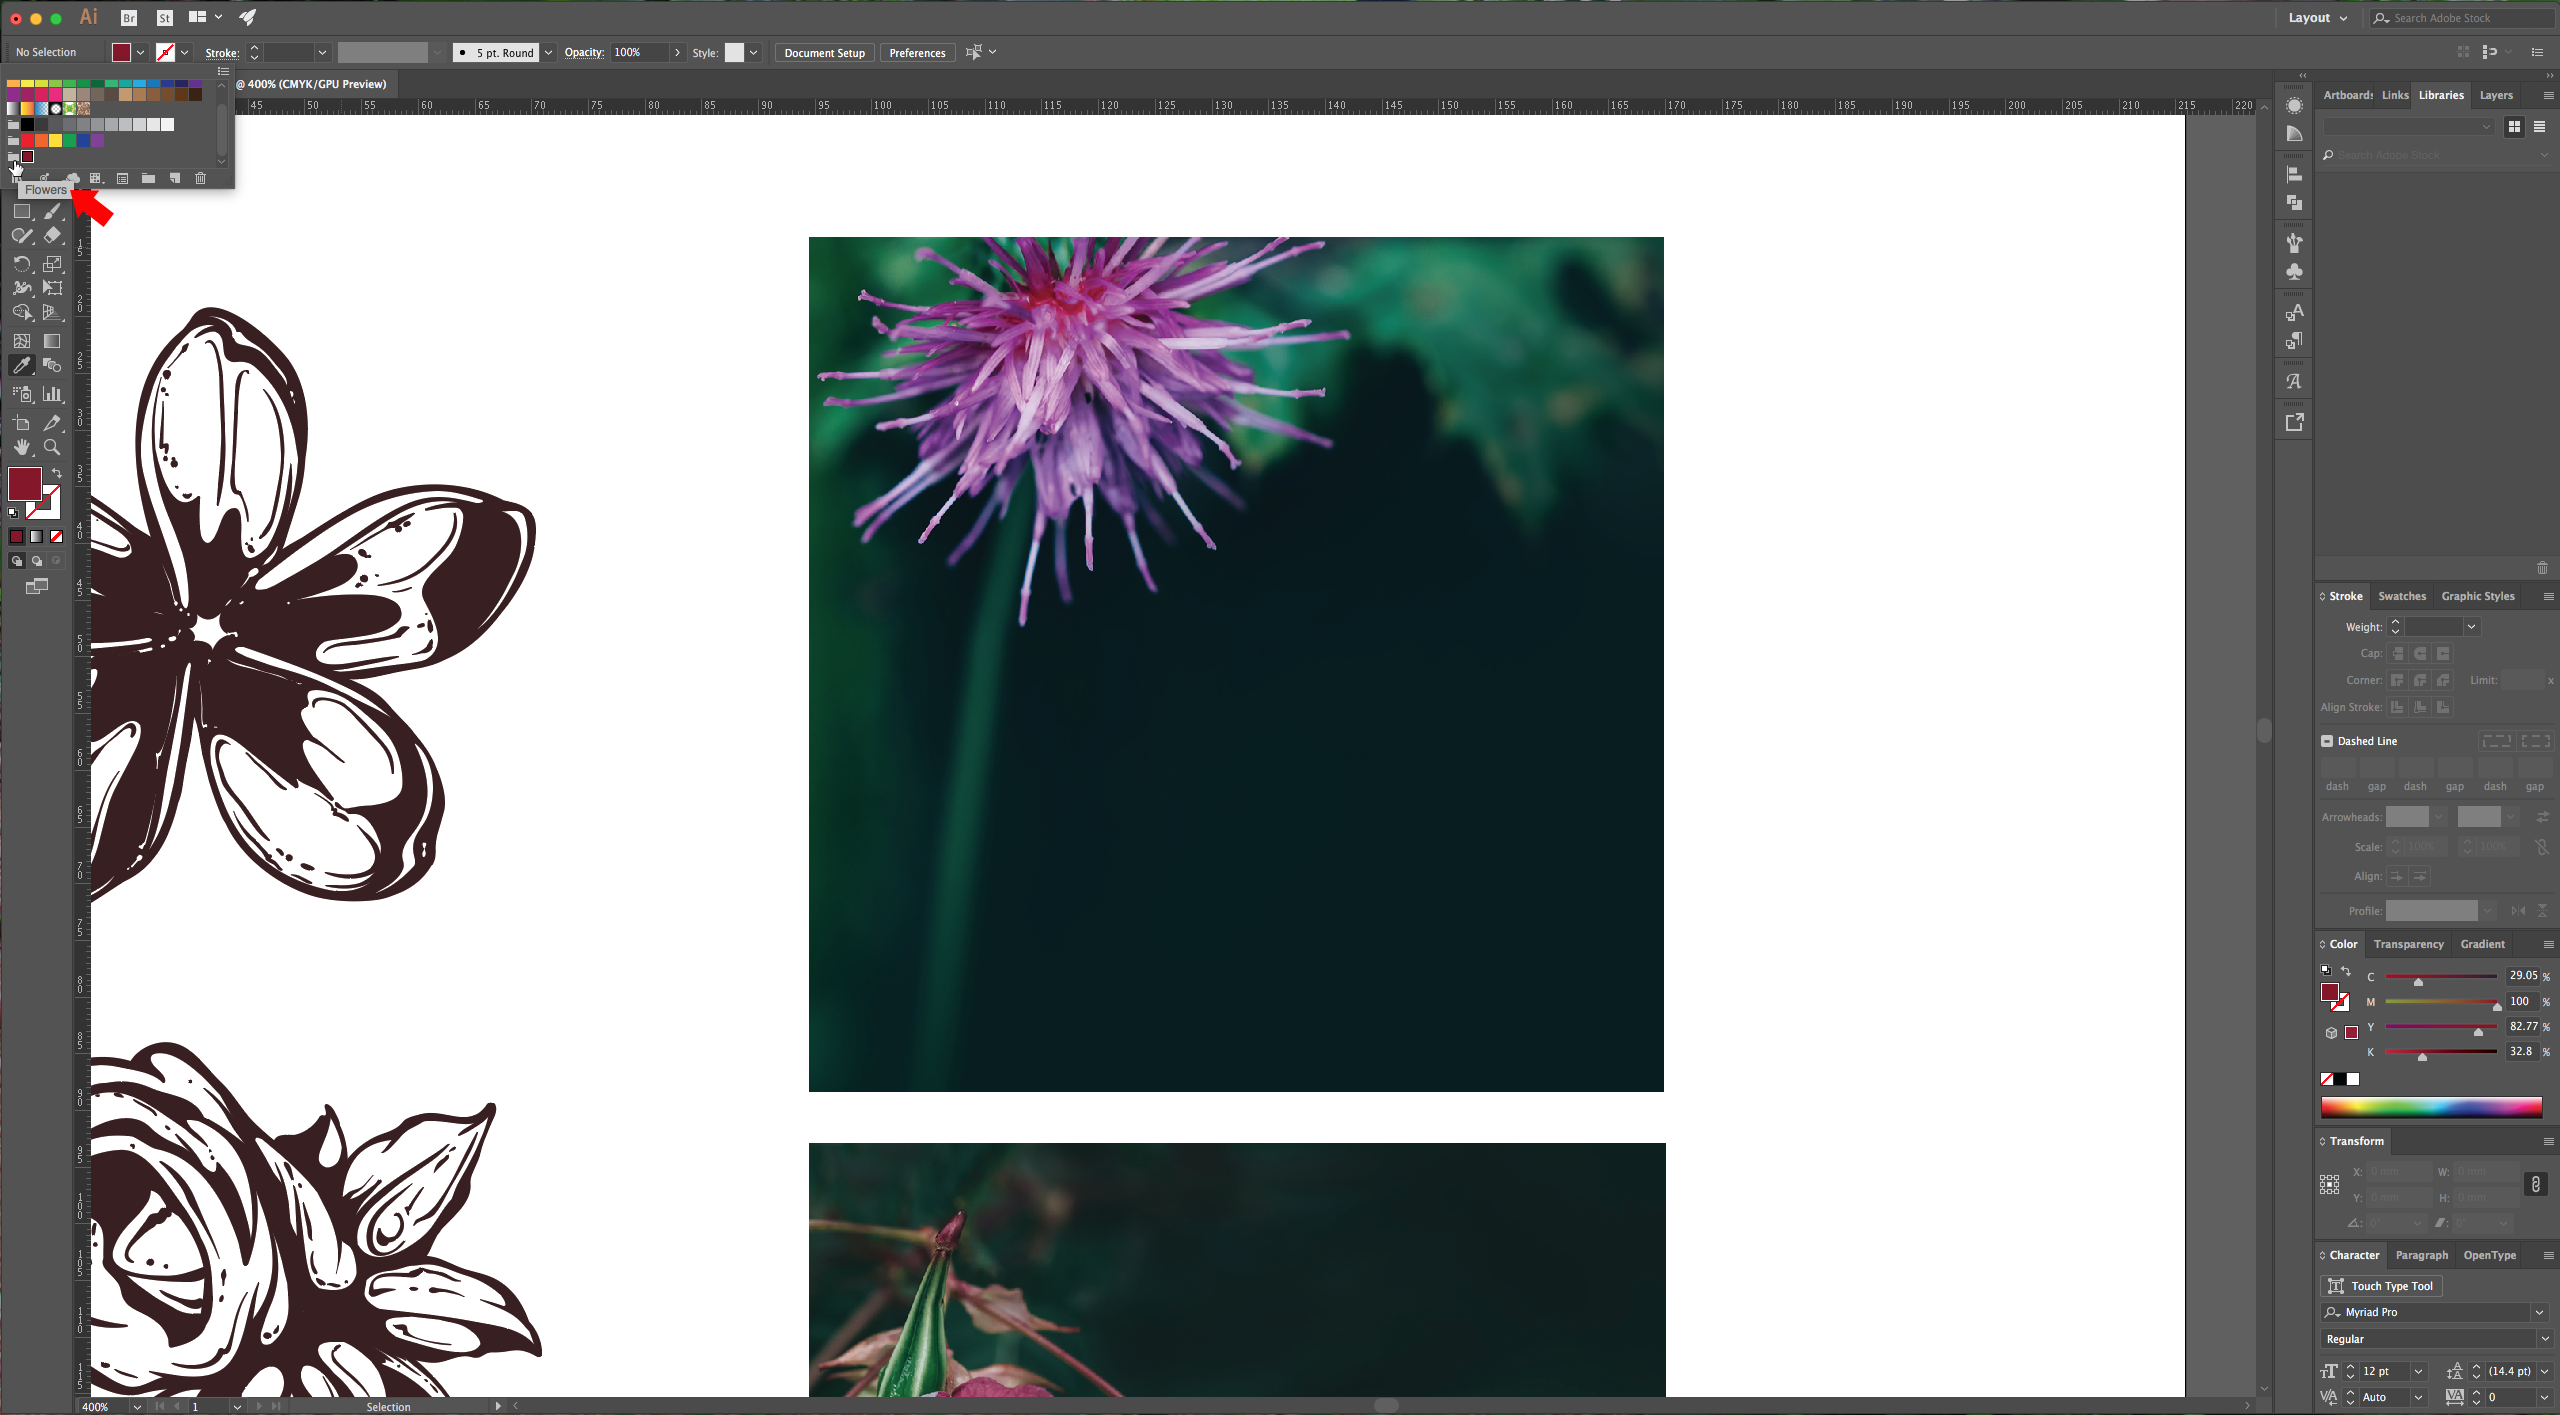
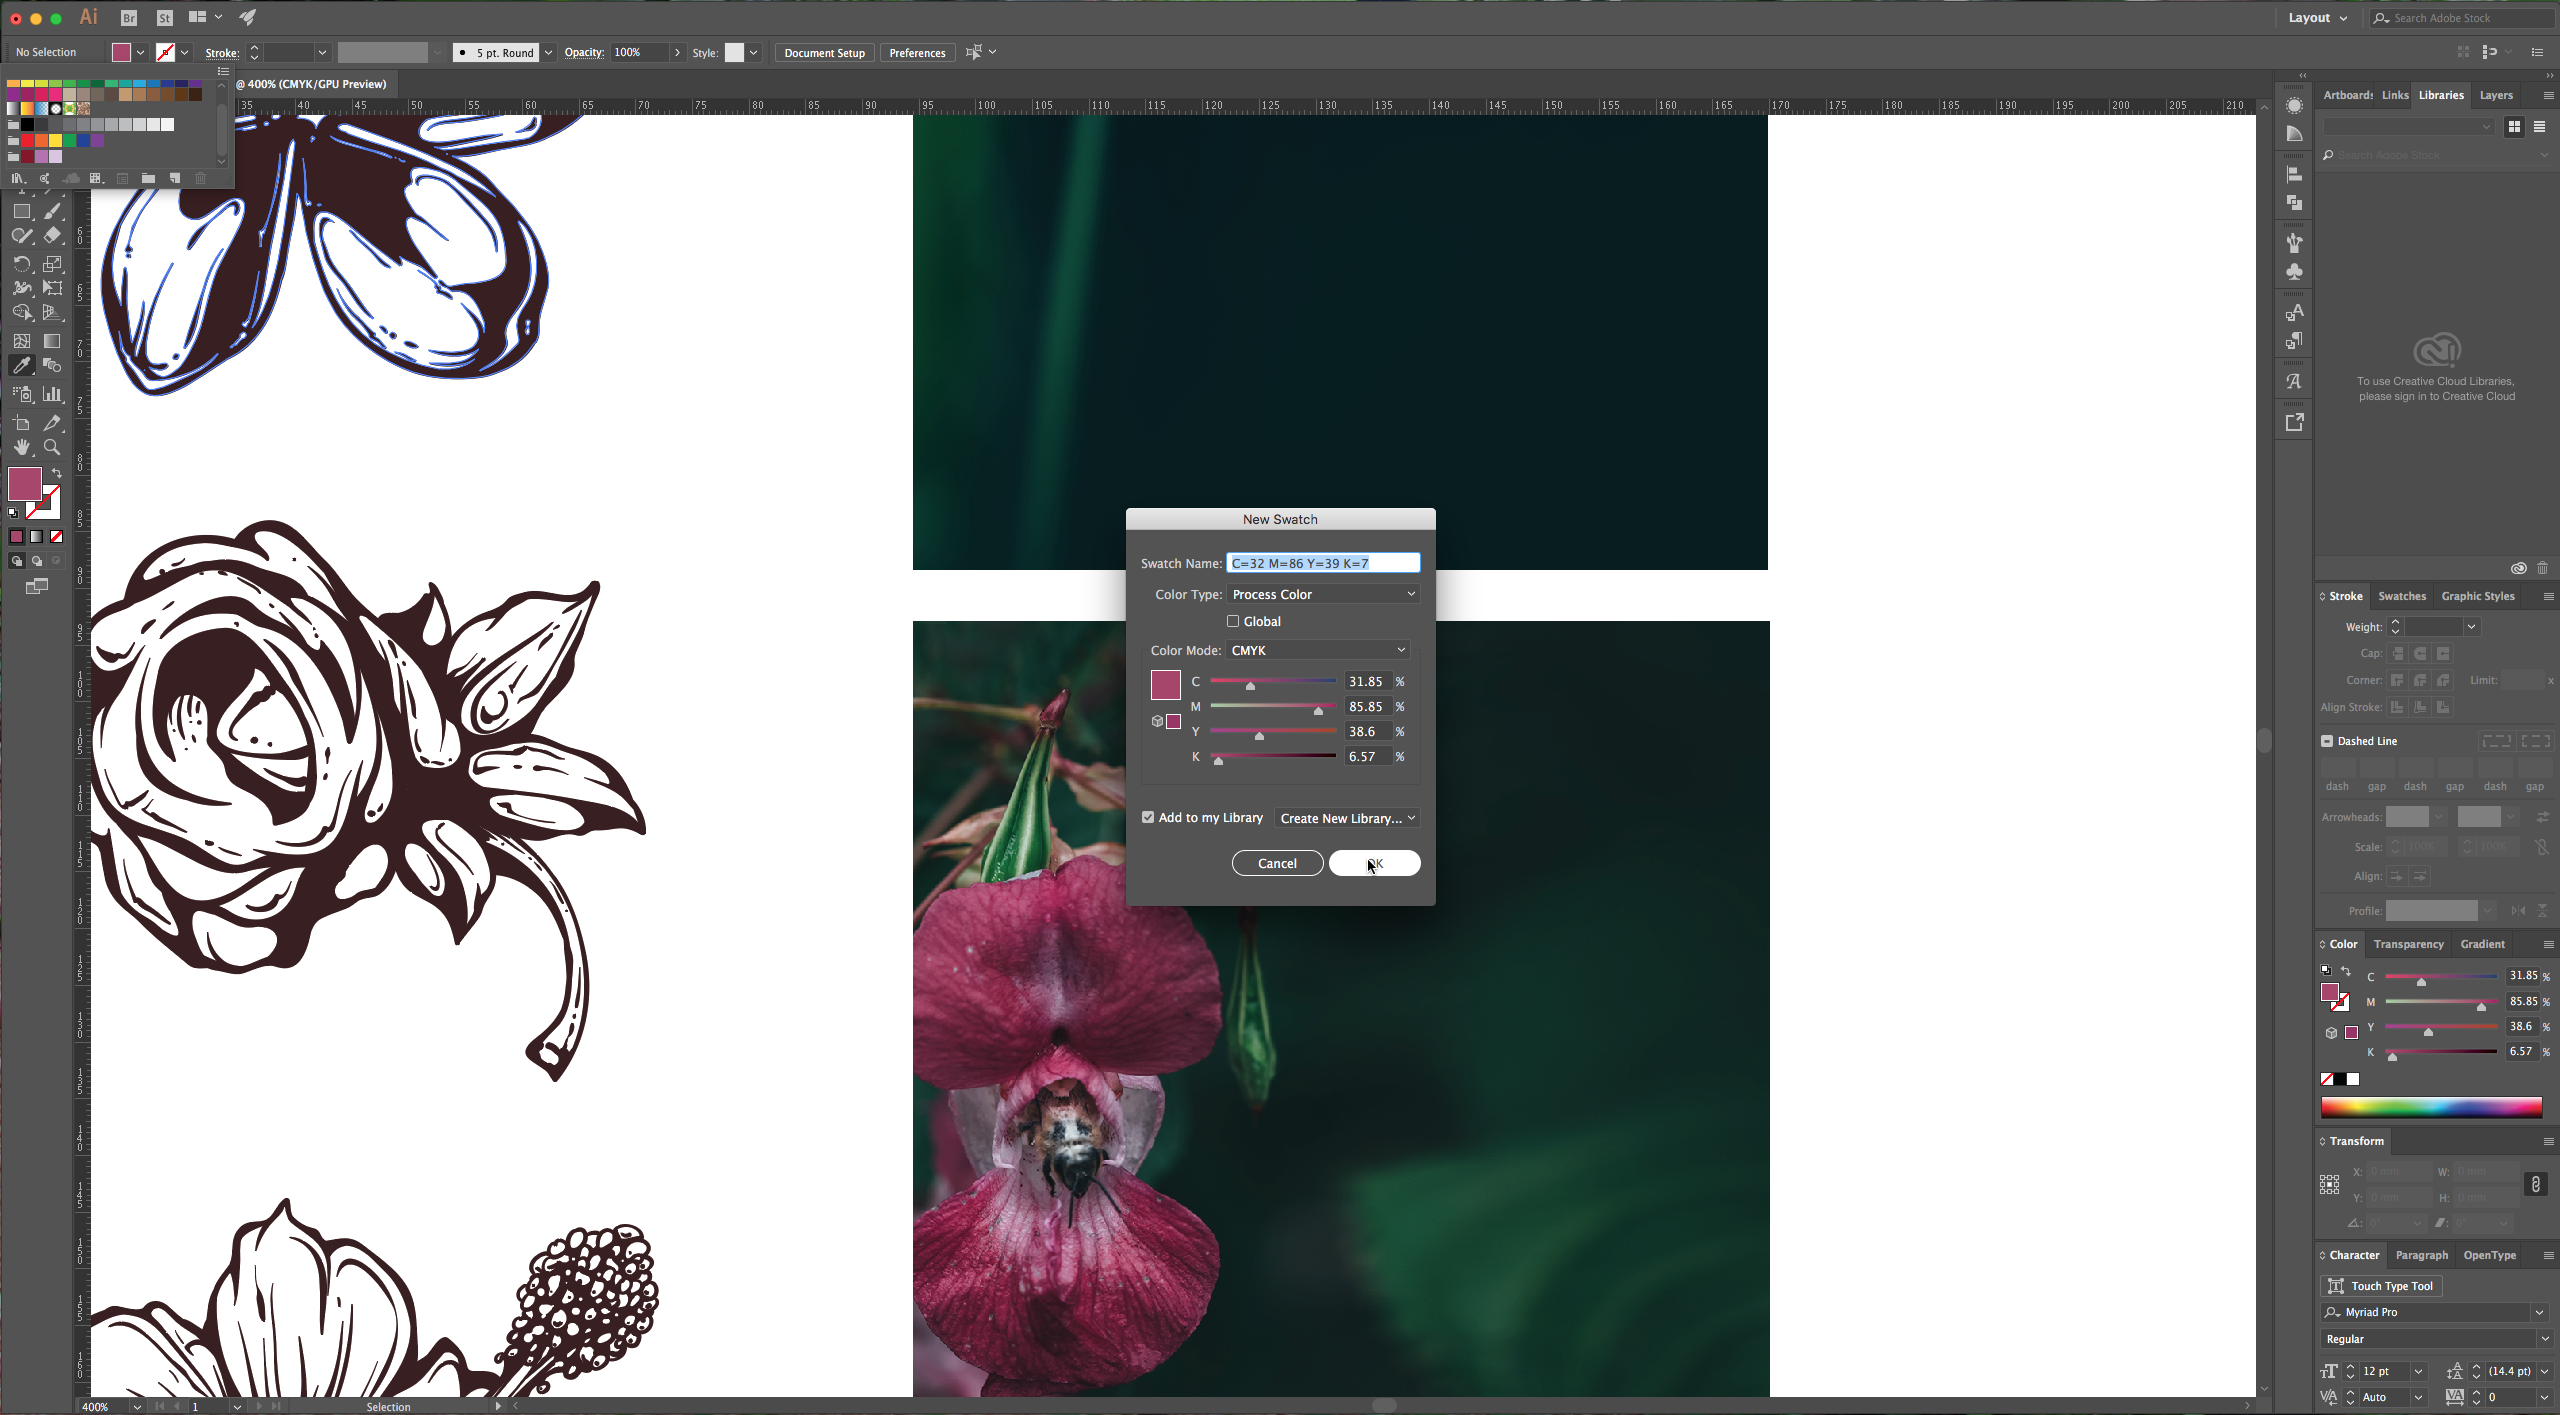
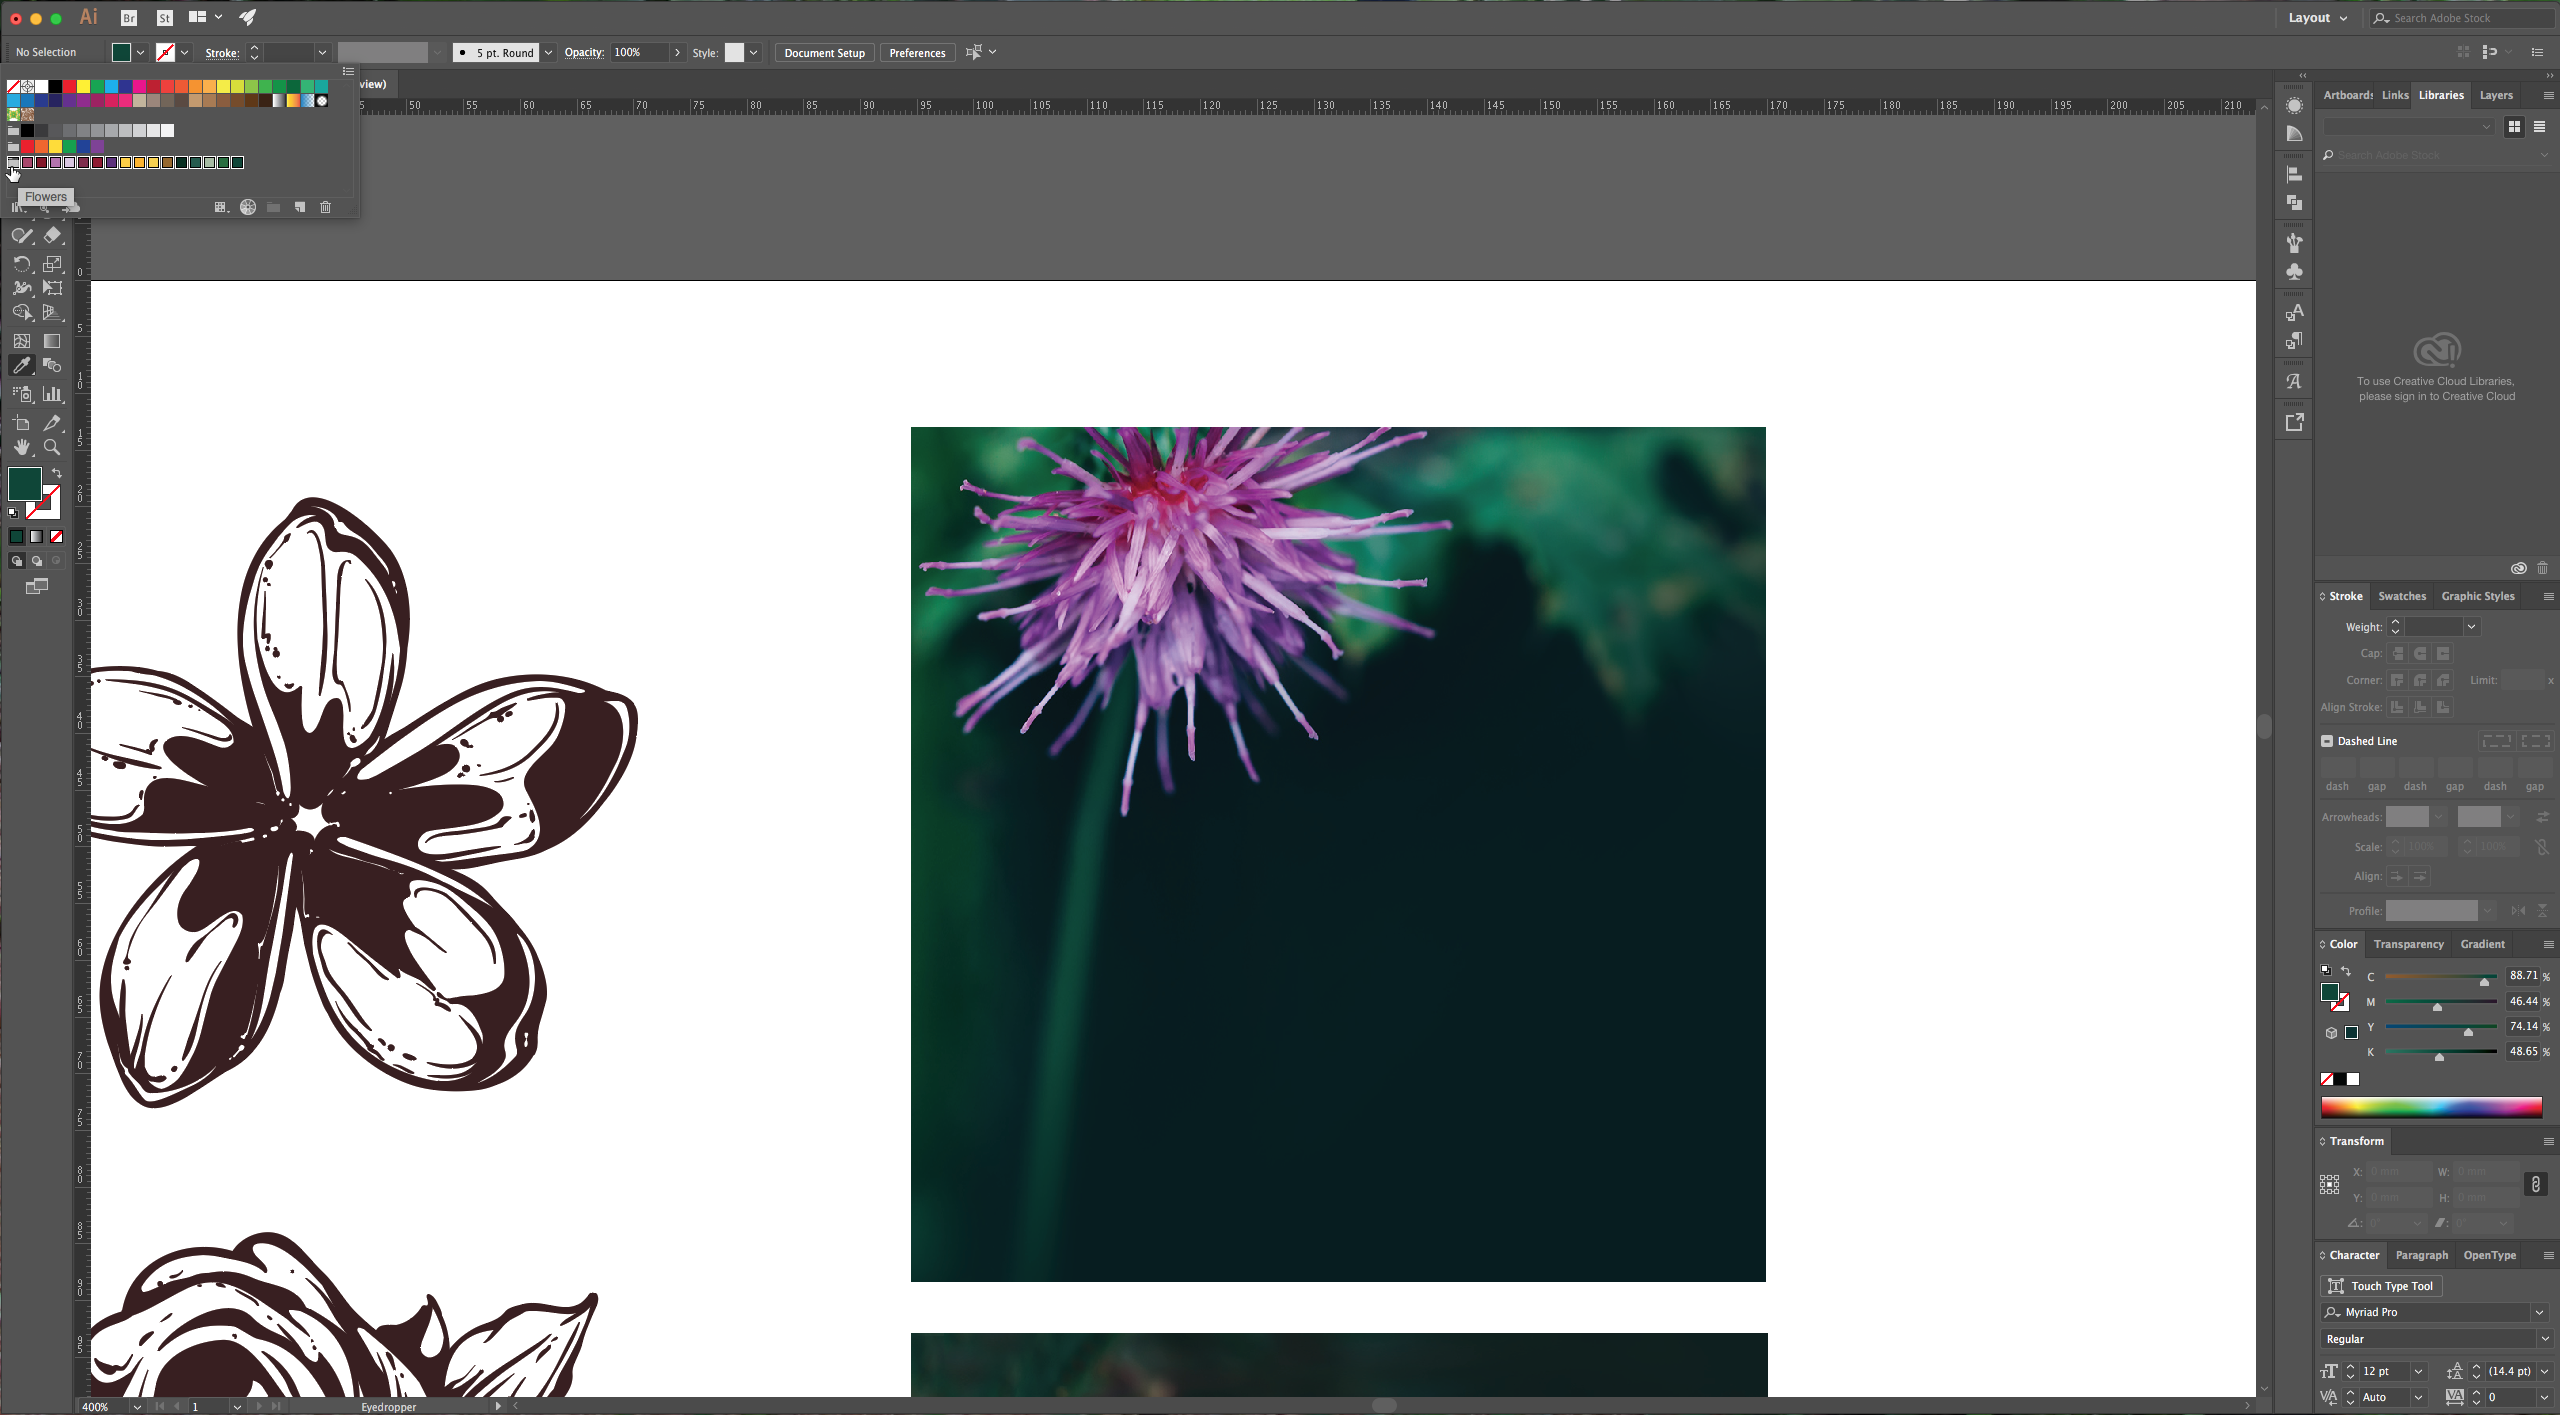
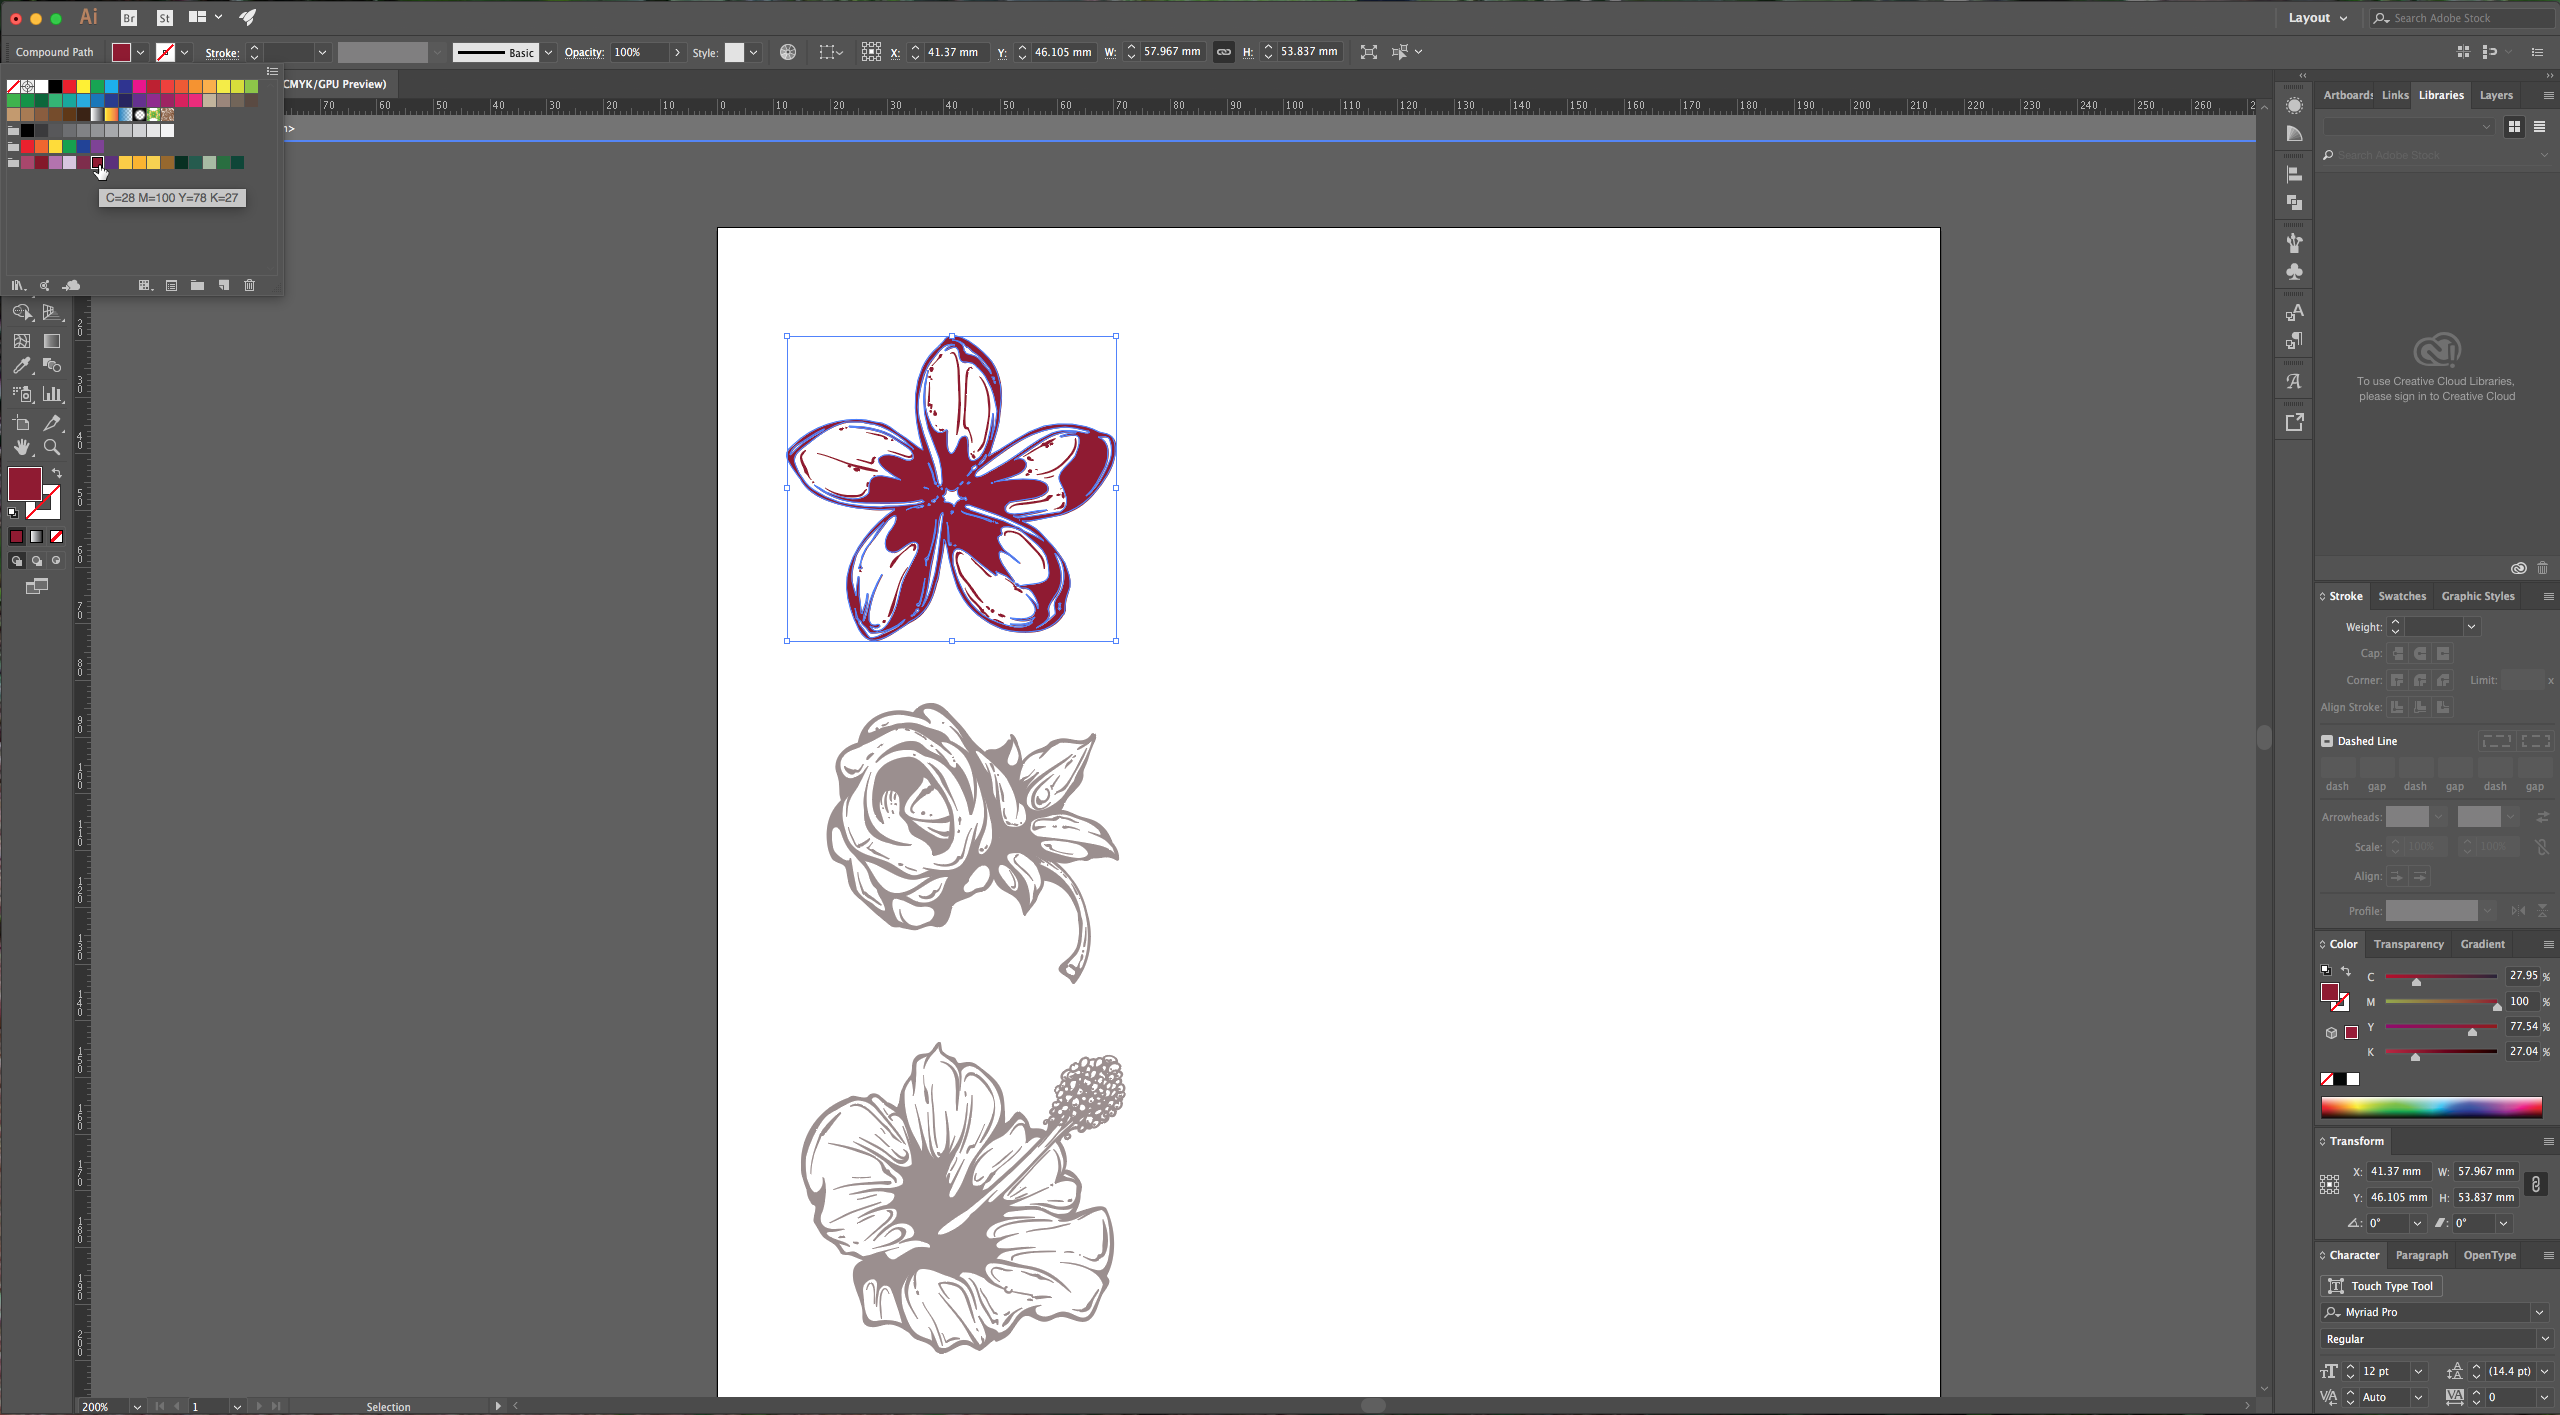
2 – (First technique) With the “Eyedropper Tool” (I) select the colors you want to add to your palette. In the “Color” menu select “New Color Group”, give it a name and then choose “New Swatch” to save it. Depending on where you wish to use your artwork use CMYK or RGB. Make sure you selected the Folder of your group or you can drag and drop the swatch into the desired folder.
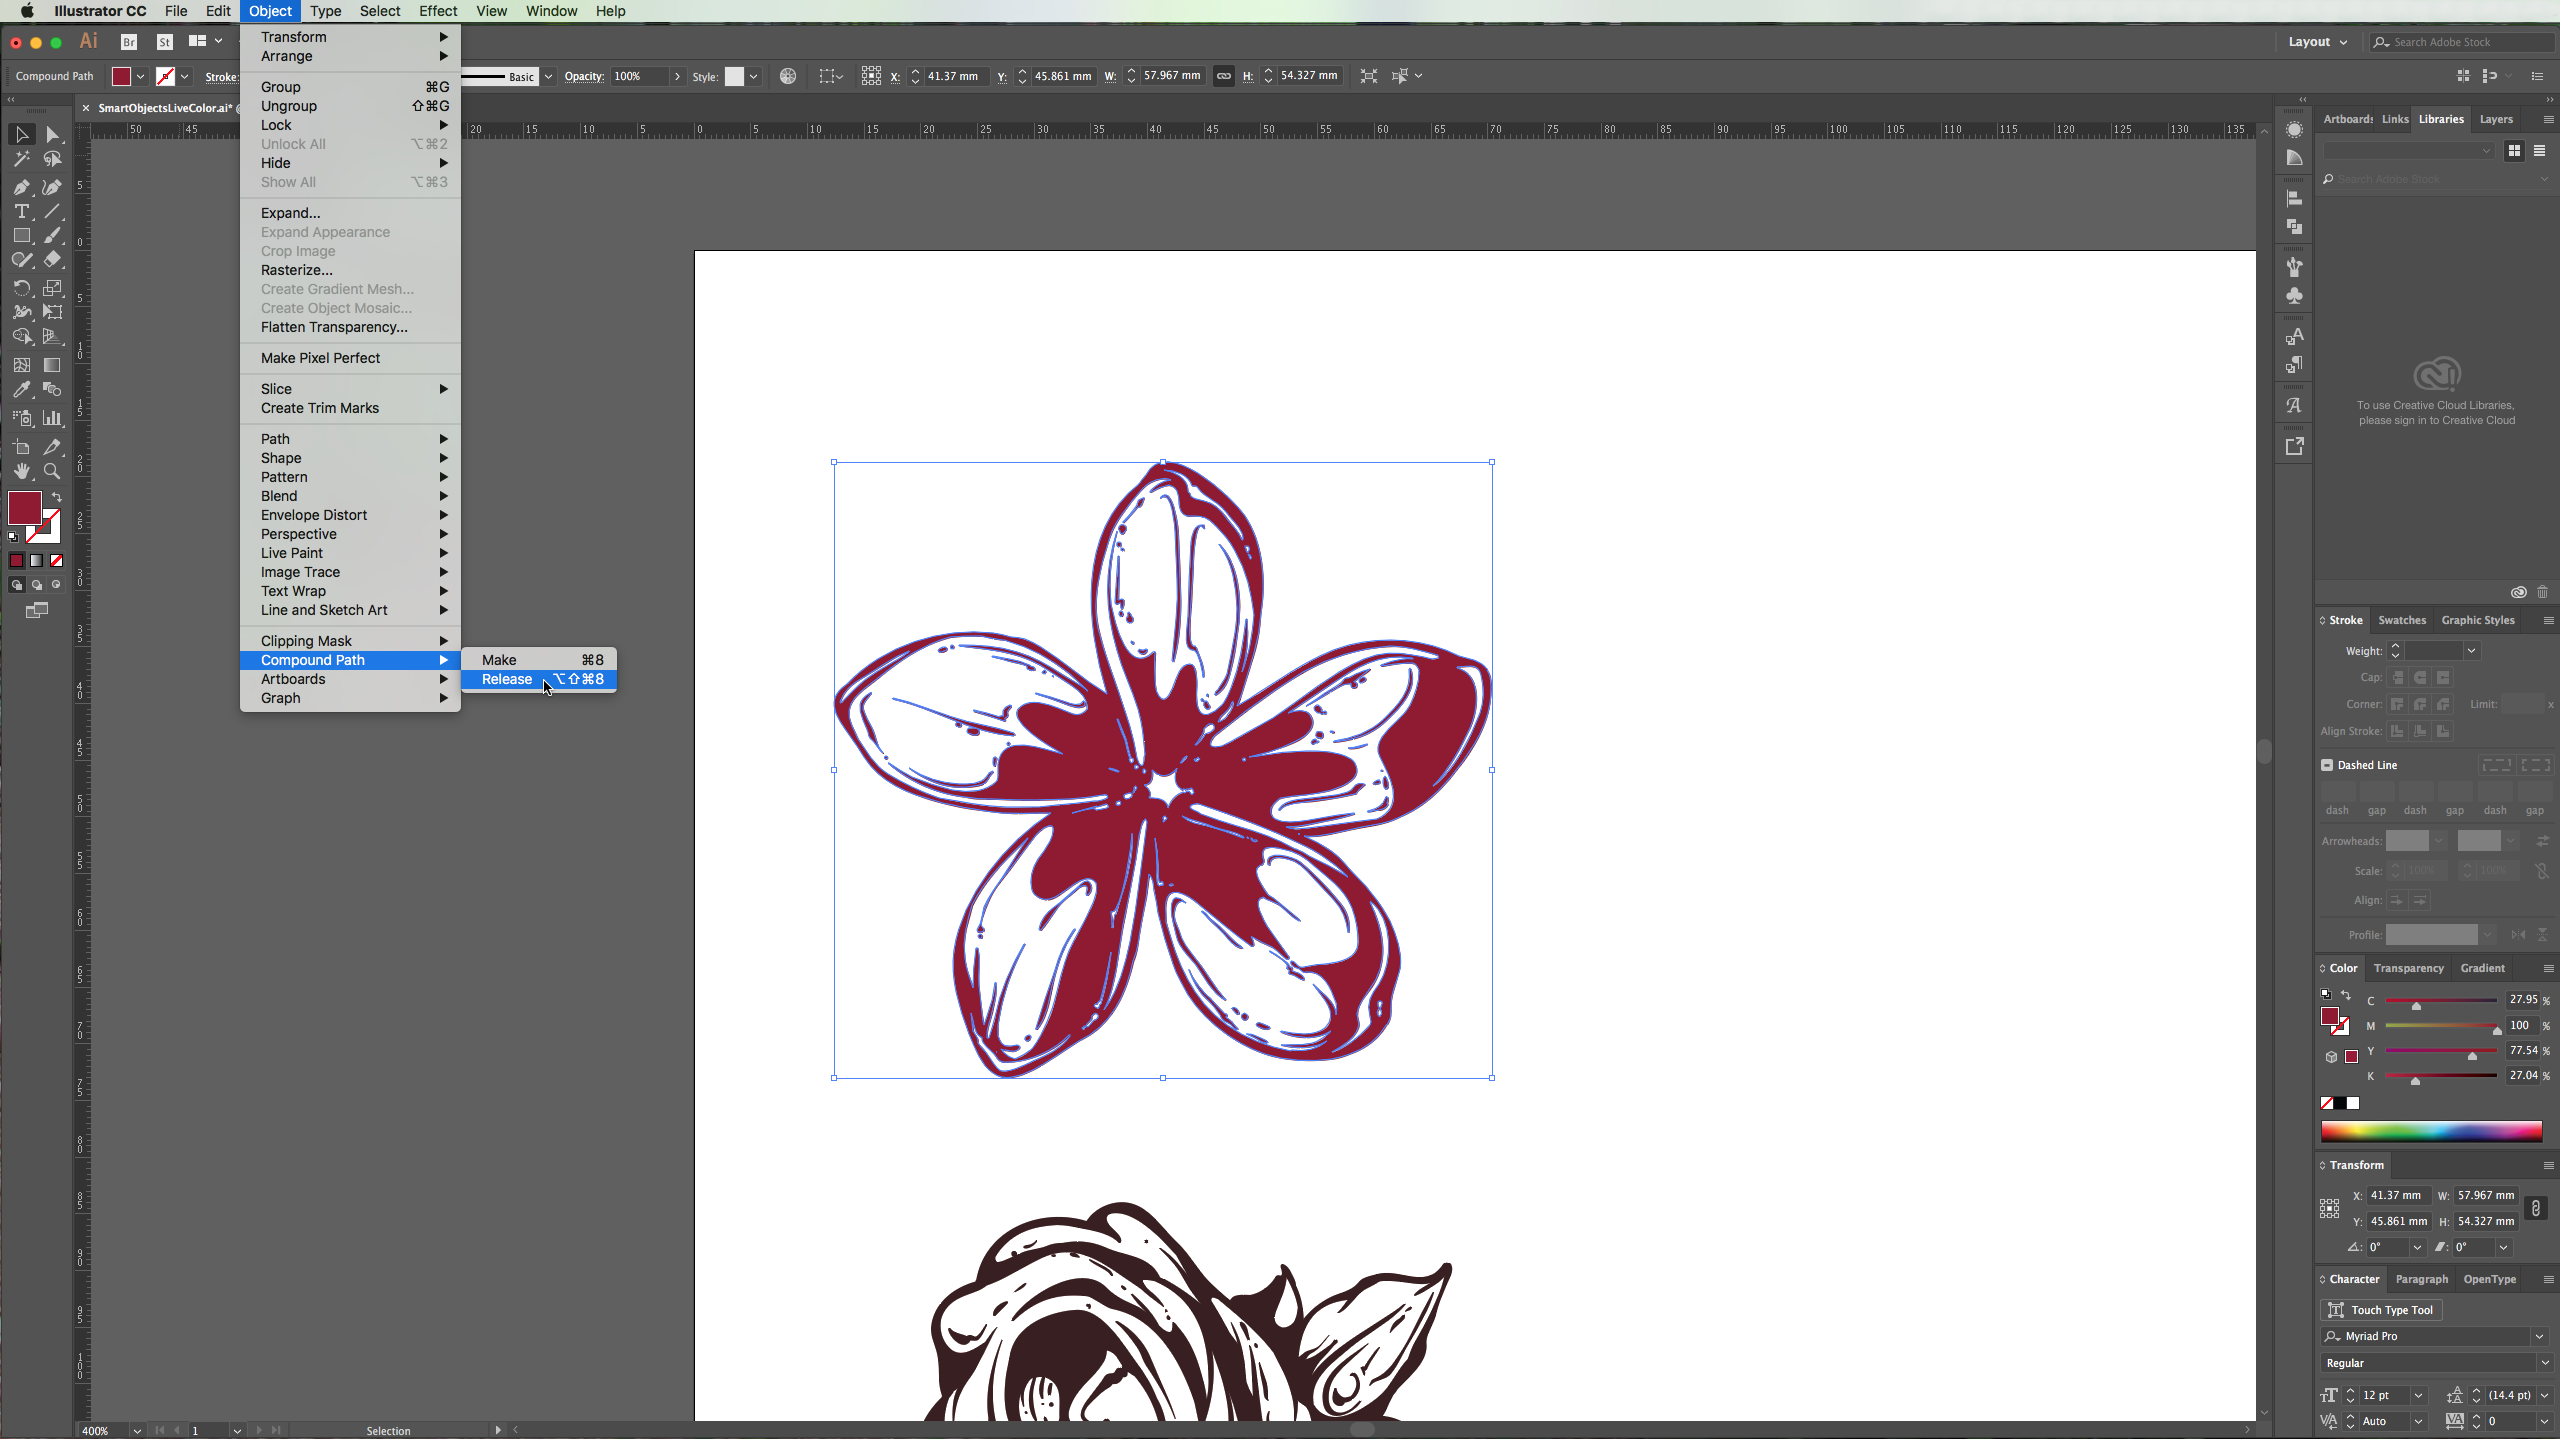
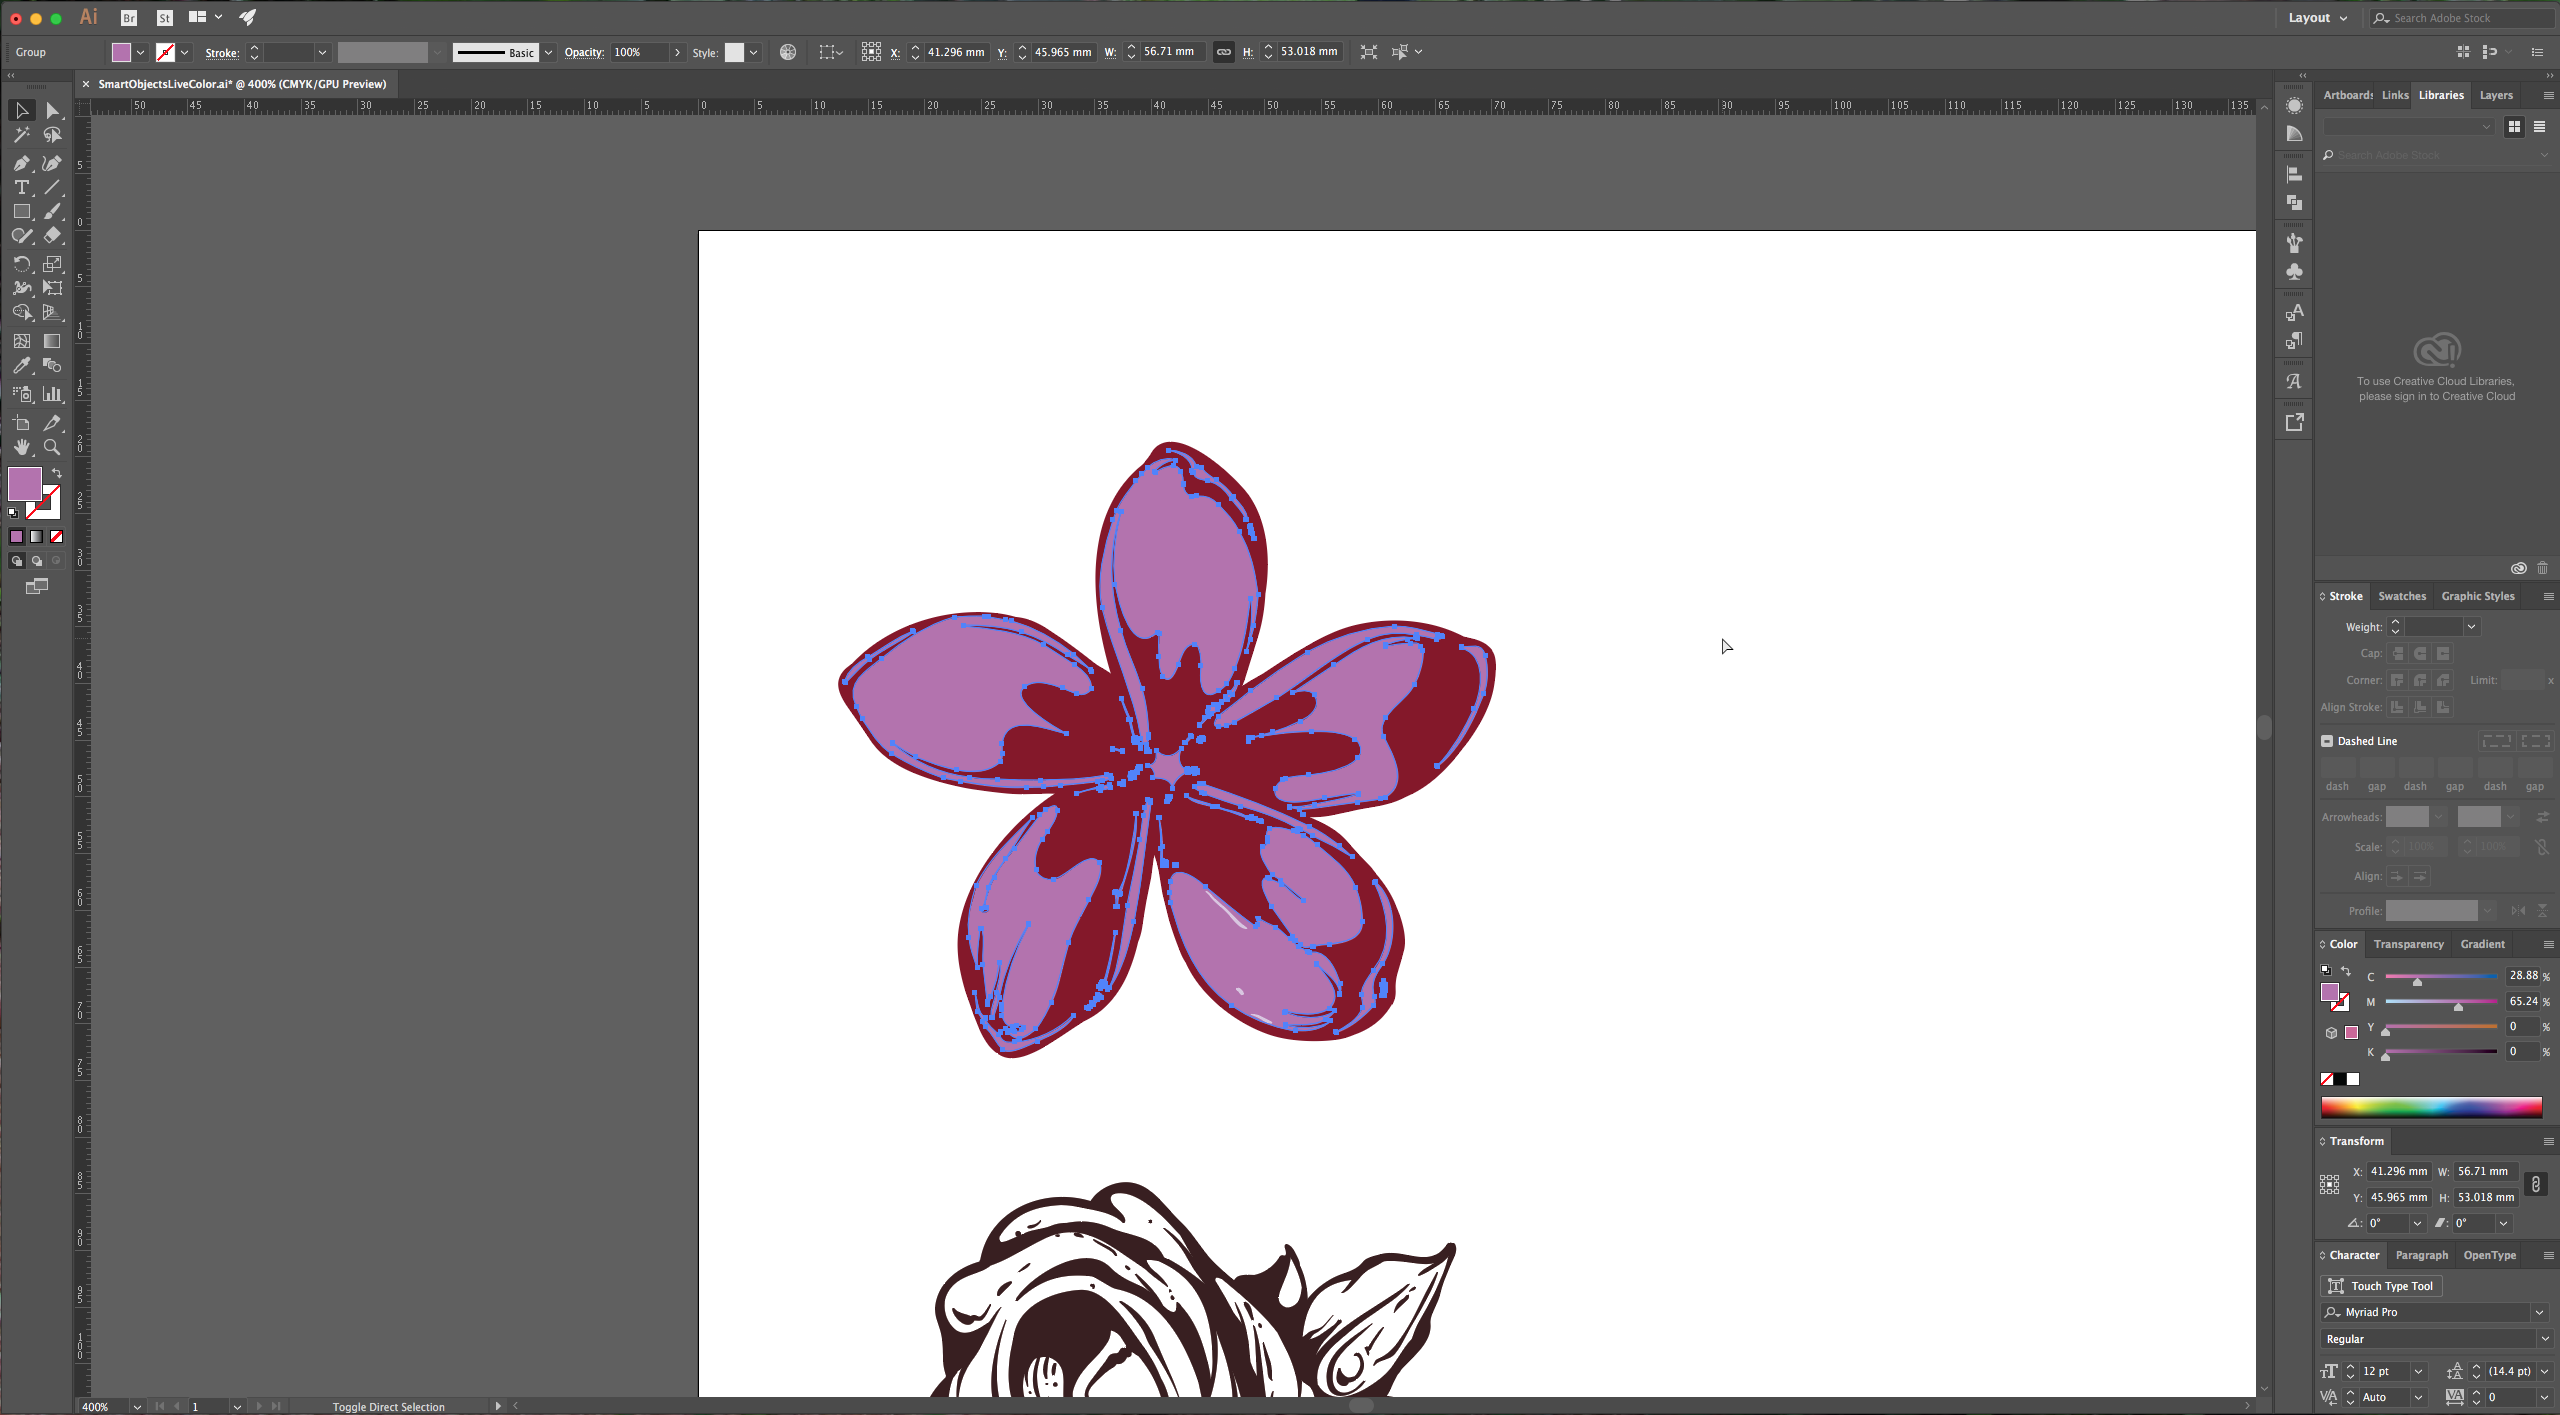
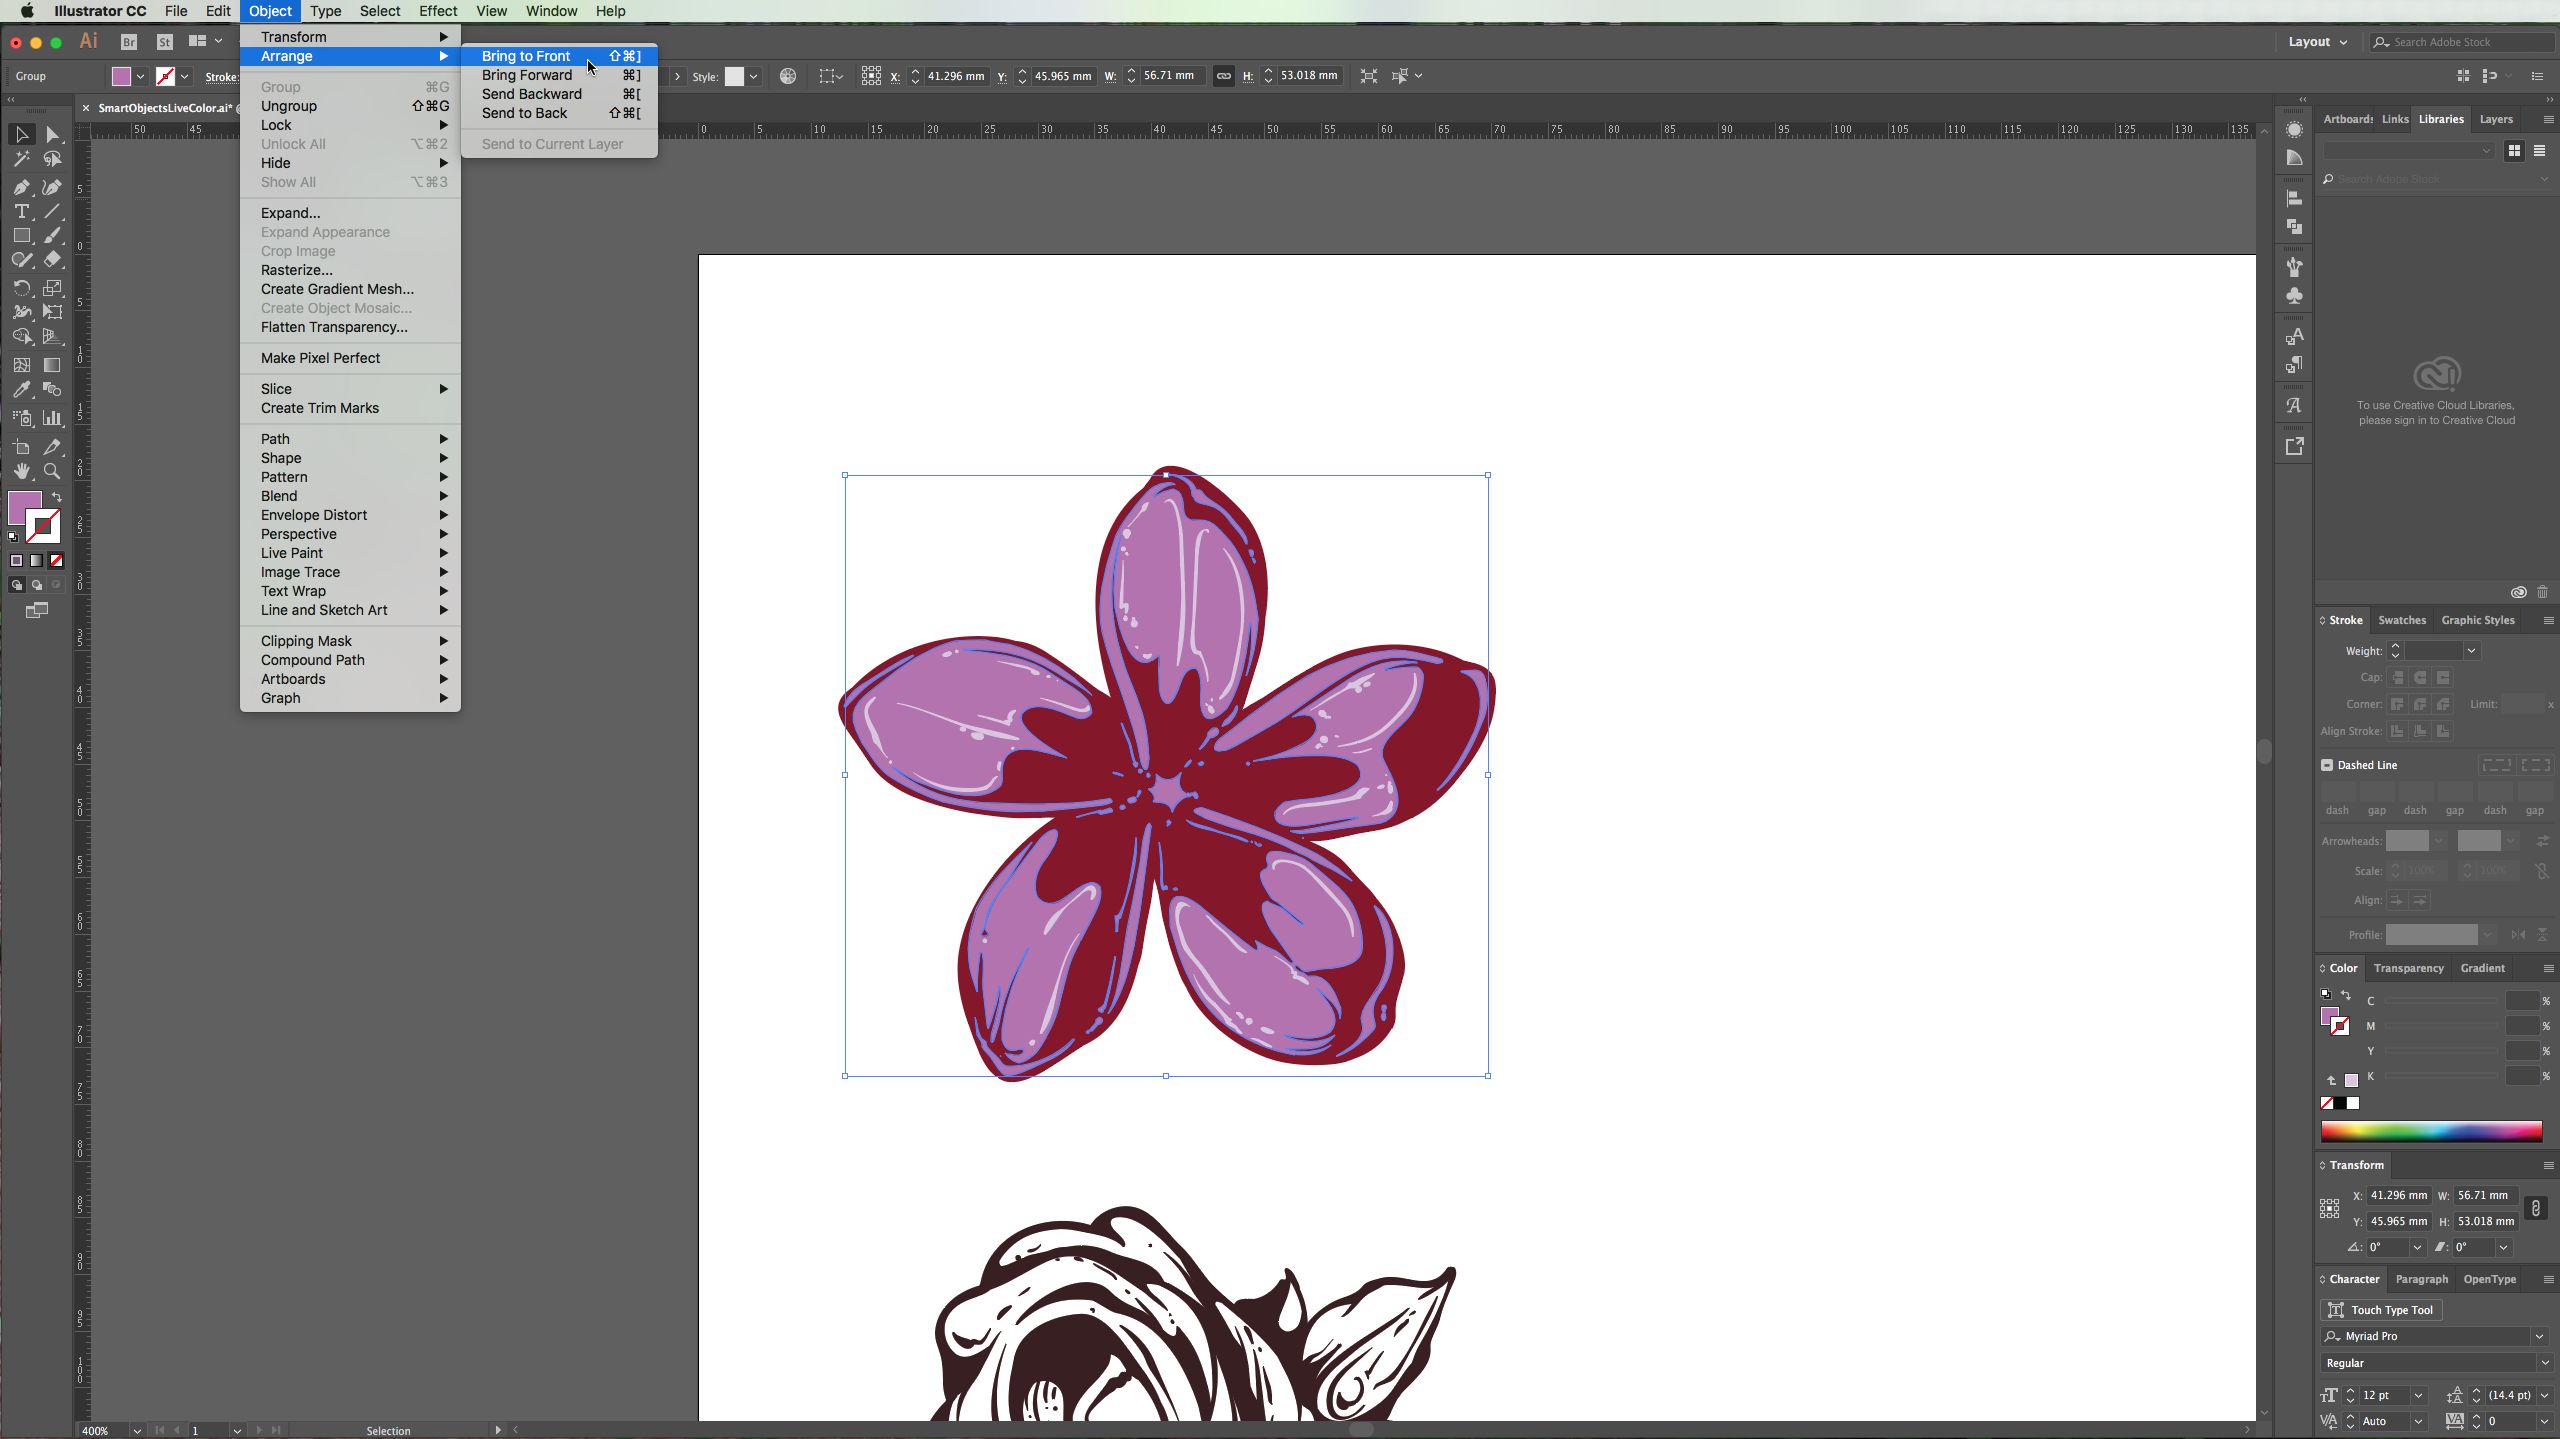
3 – Now you can delete your pictures if you want or keep them there for future reference. Ungroup your flowers (Shift + Command/Control + G) and start giving them the desired colors. Then go to Object > Compound Path > Release to separate the paths that are joined. Your object may become filled with the same color so you will need make sure that “Show Tooltips” is selected in Preferences > General. Then, it would be a good idea to group (Command/Control + G) the parts of the shape the are the same color. Sometimes you will need to bring a group to the front (Shift + Command/Control + ]) or send it backwards (Command/Control + [).
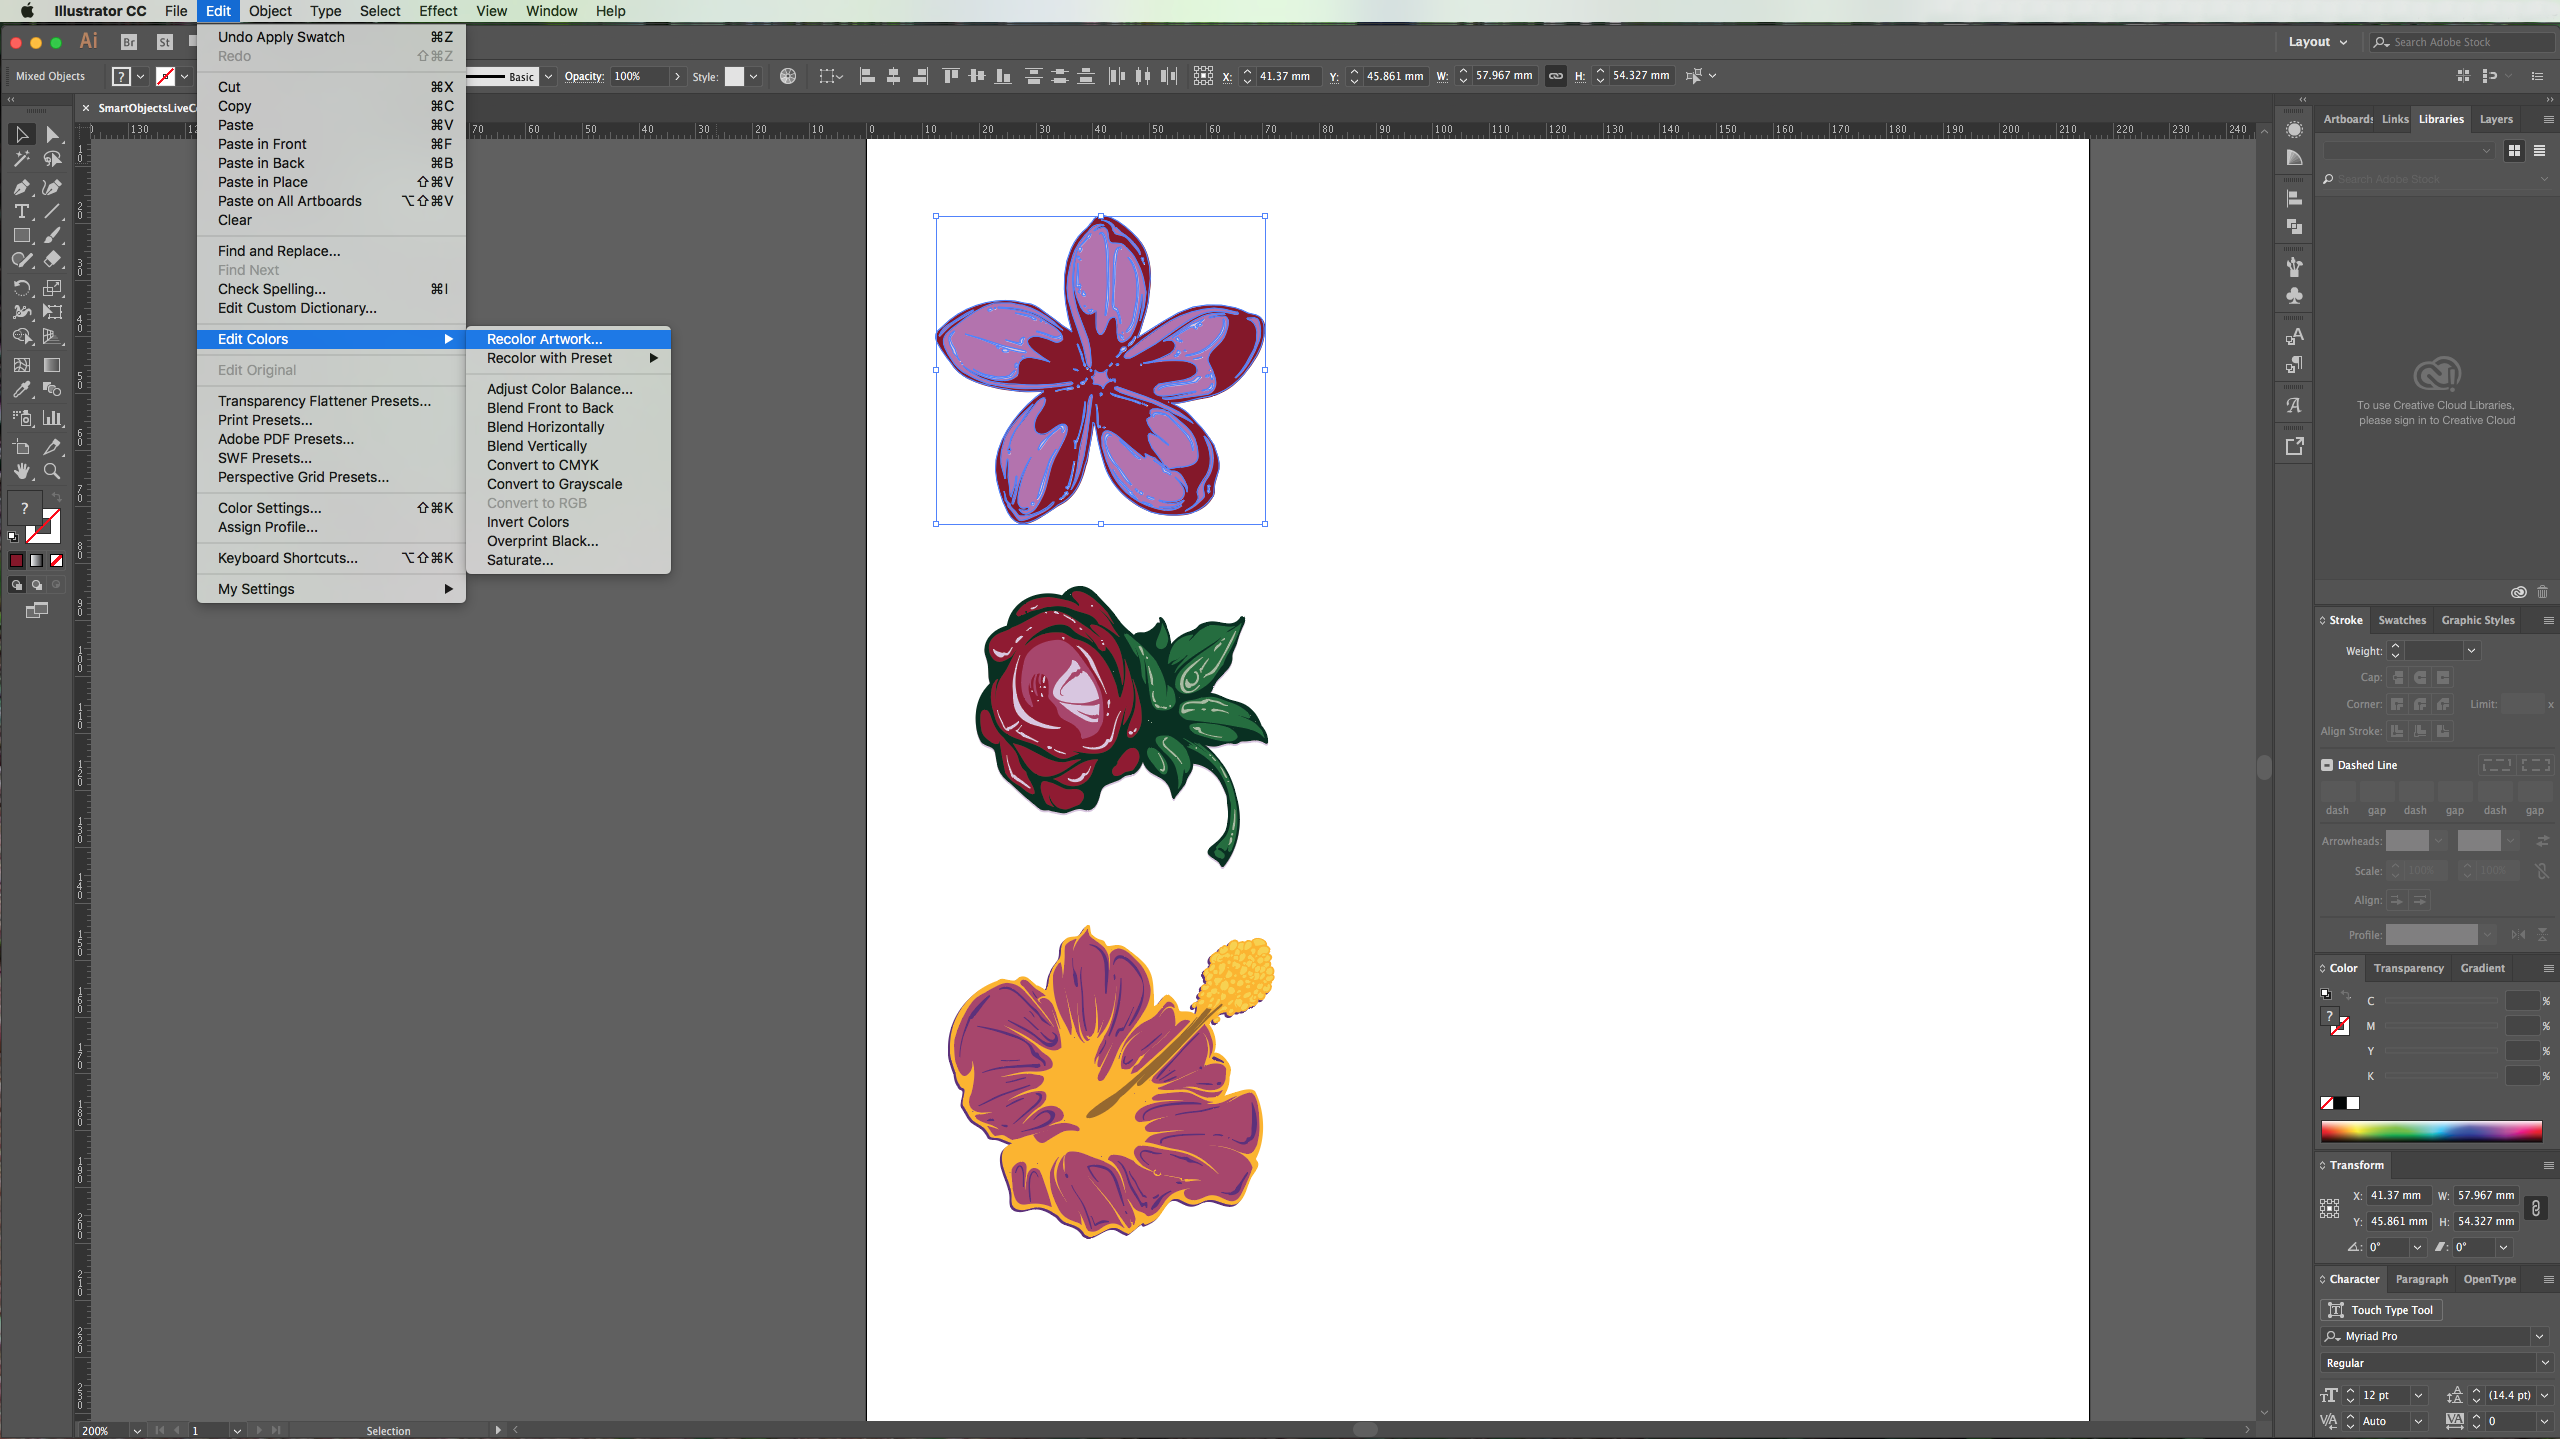
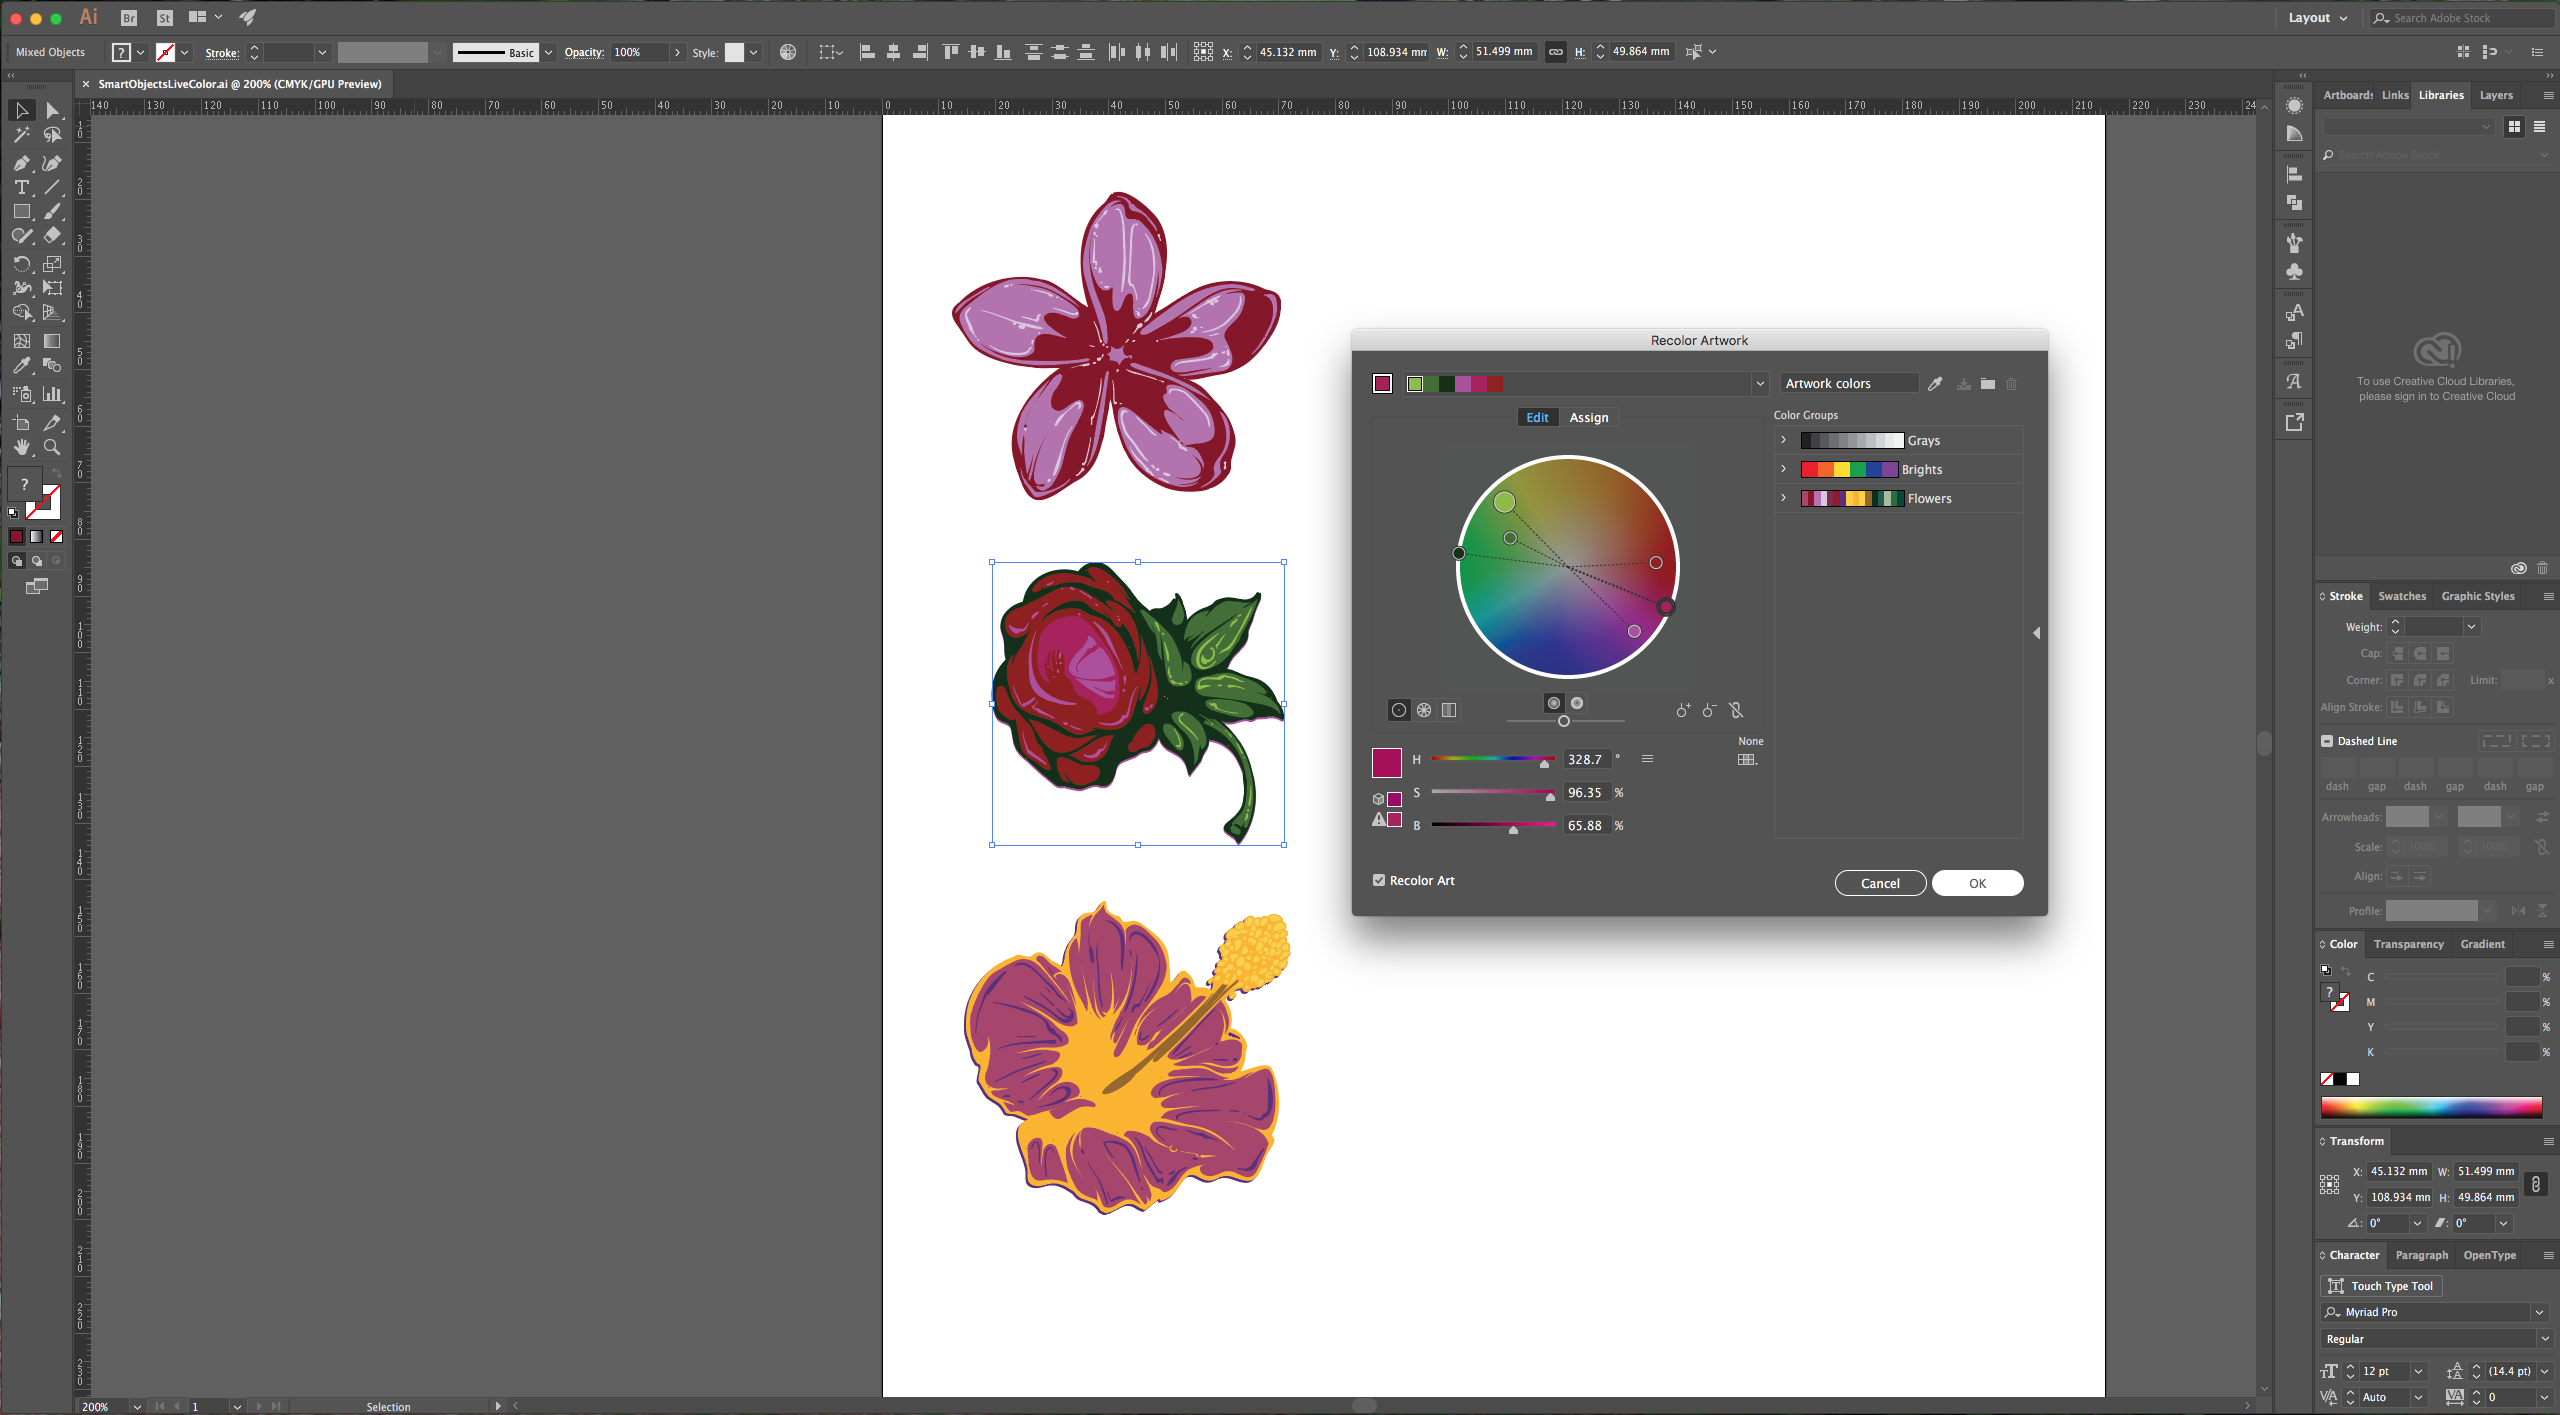
4 – (Second technique) We are going to use the Live Color Tool to adjust the colors of out artwork, one of the many benefits of doing this is that it will suggest colors that complement or contrast the ones you chose based on “color harmony rules”. Go to Edit > Edit Colors > Recolor Artwork. With the “Live Color” panel open, click the “Edit” tab to bring out the color wheel. You will see the colors in your group, the largest circular anchor indicates your “Base Color”. If you want to change it right-click on the color of your choice and select “Set Base Color”.

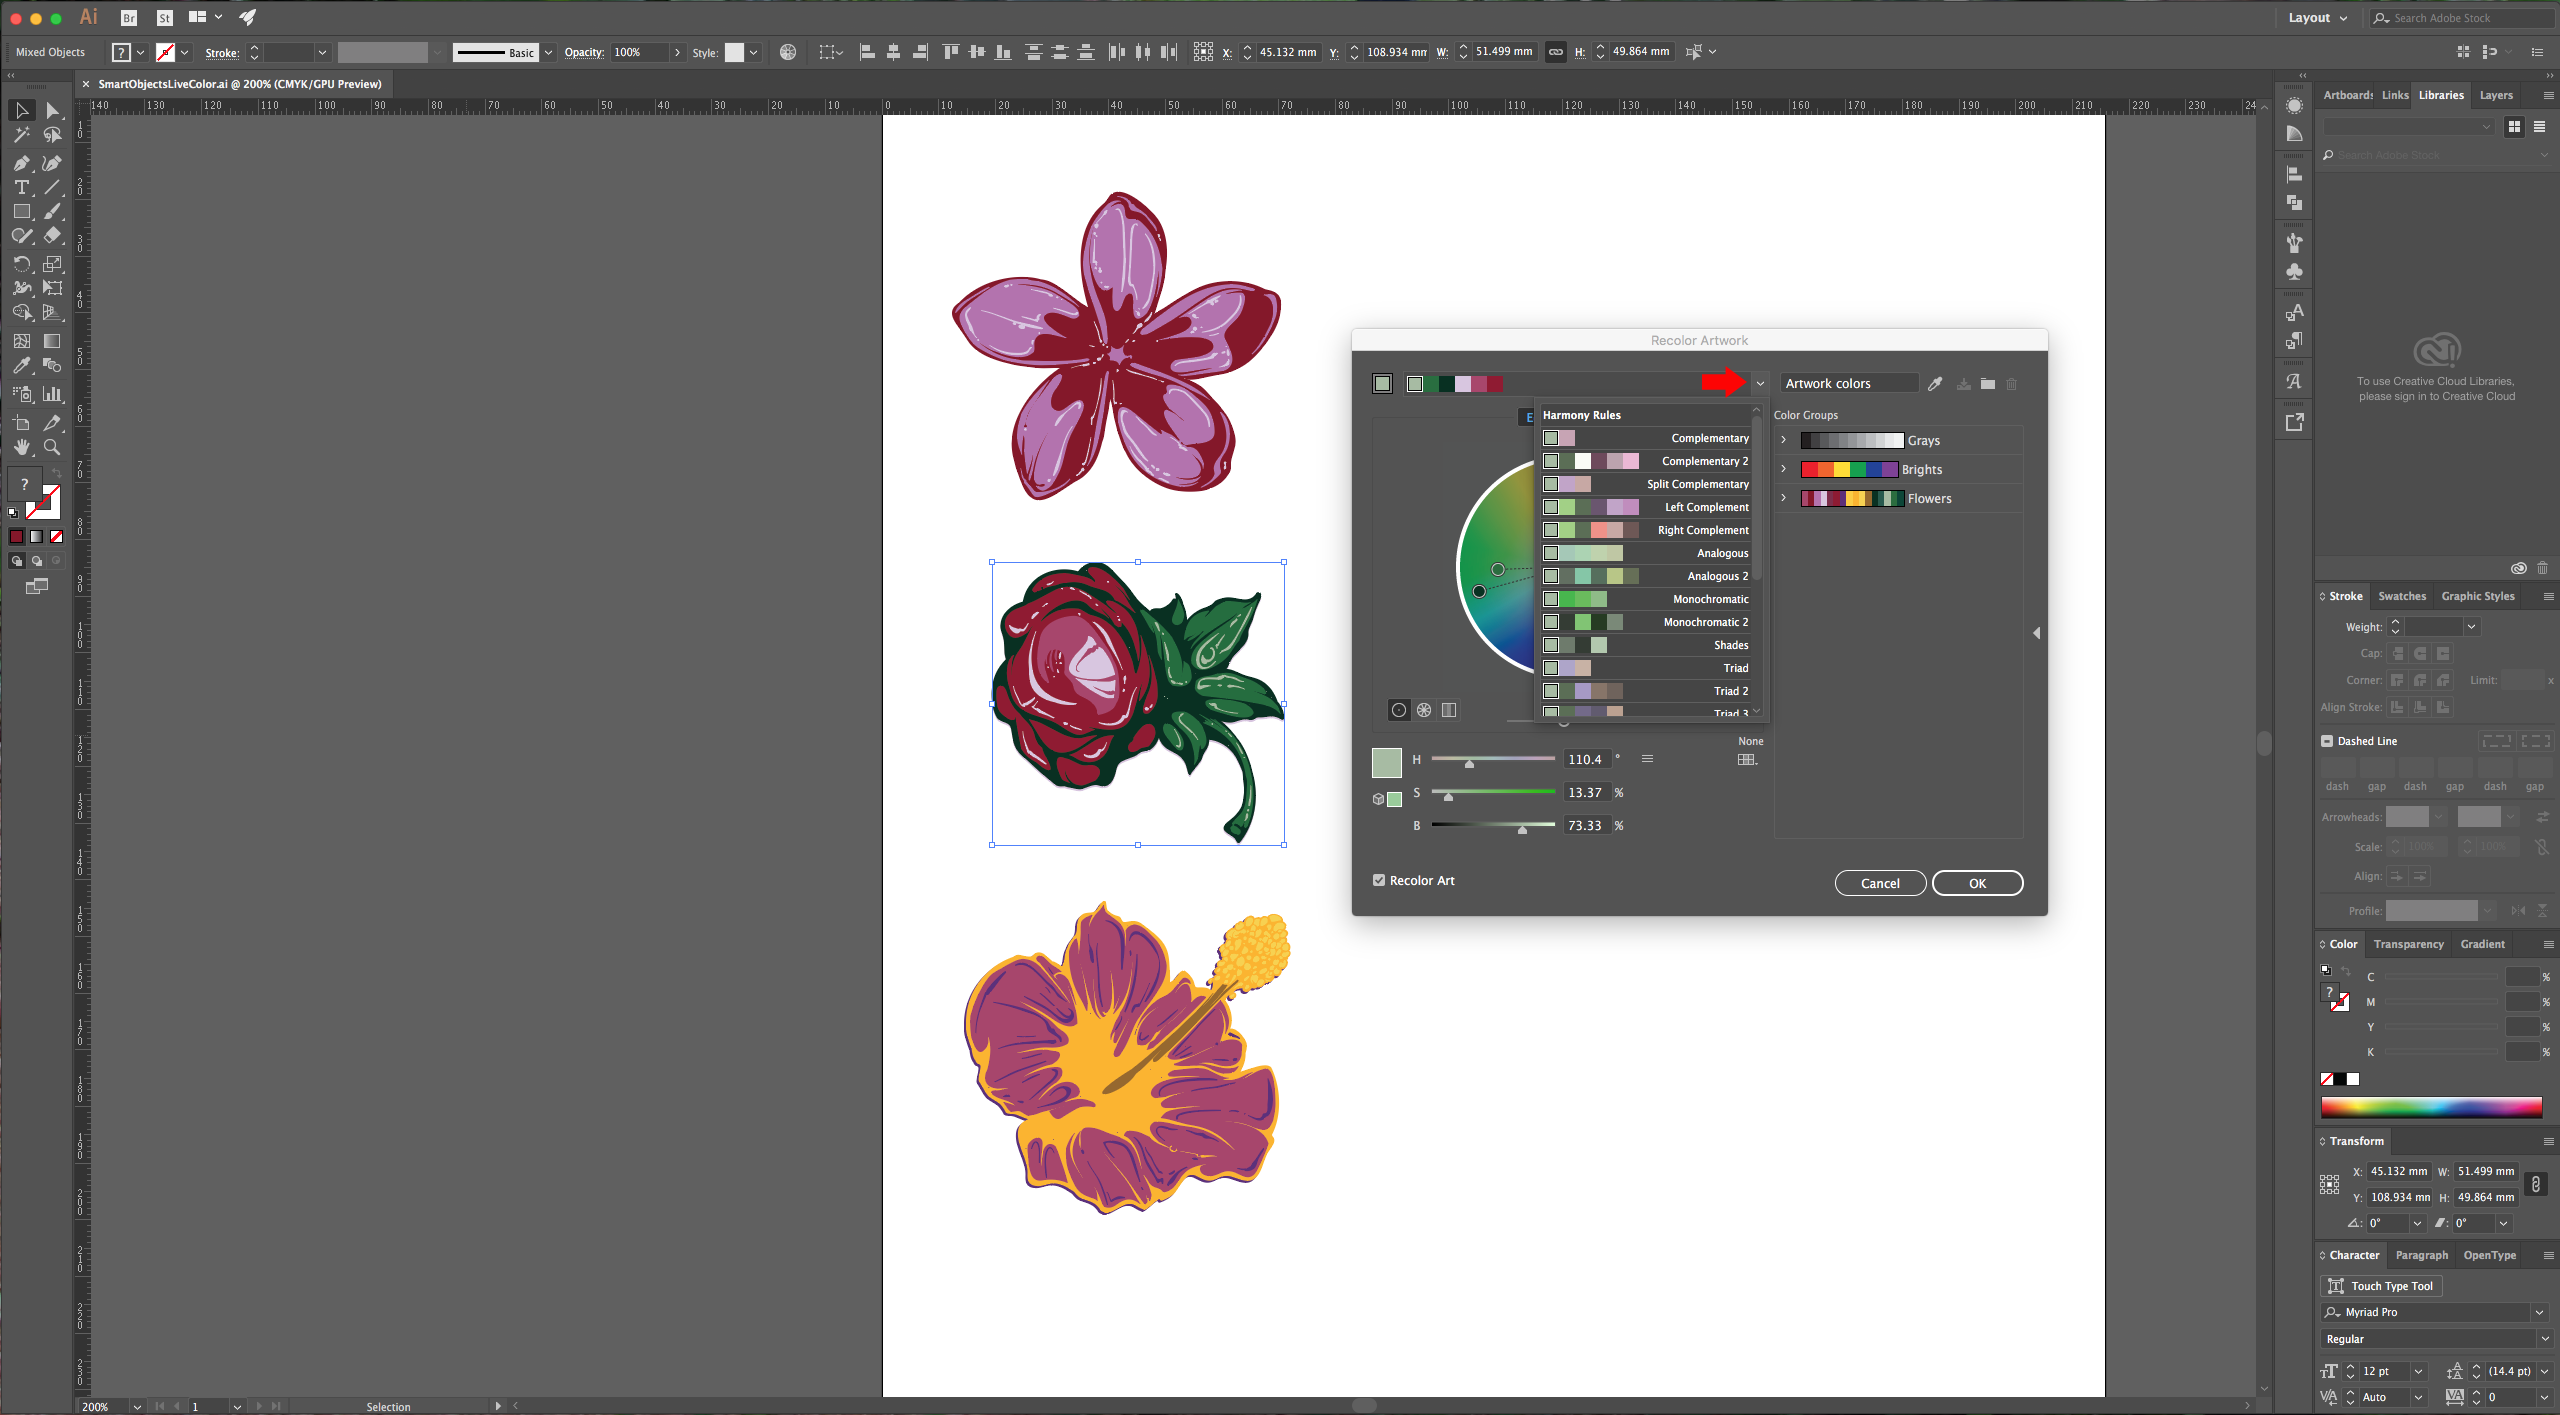
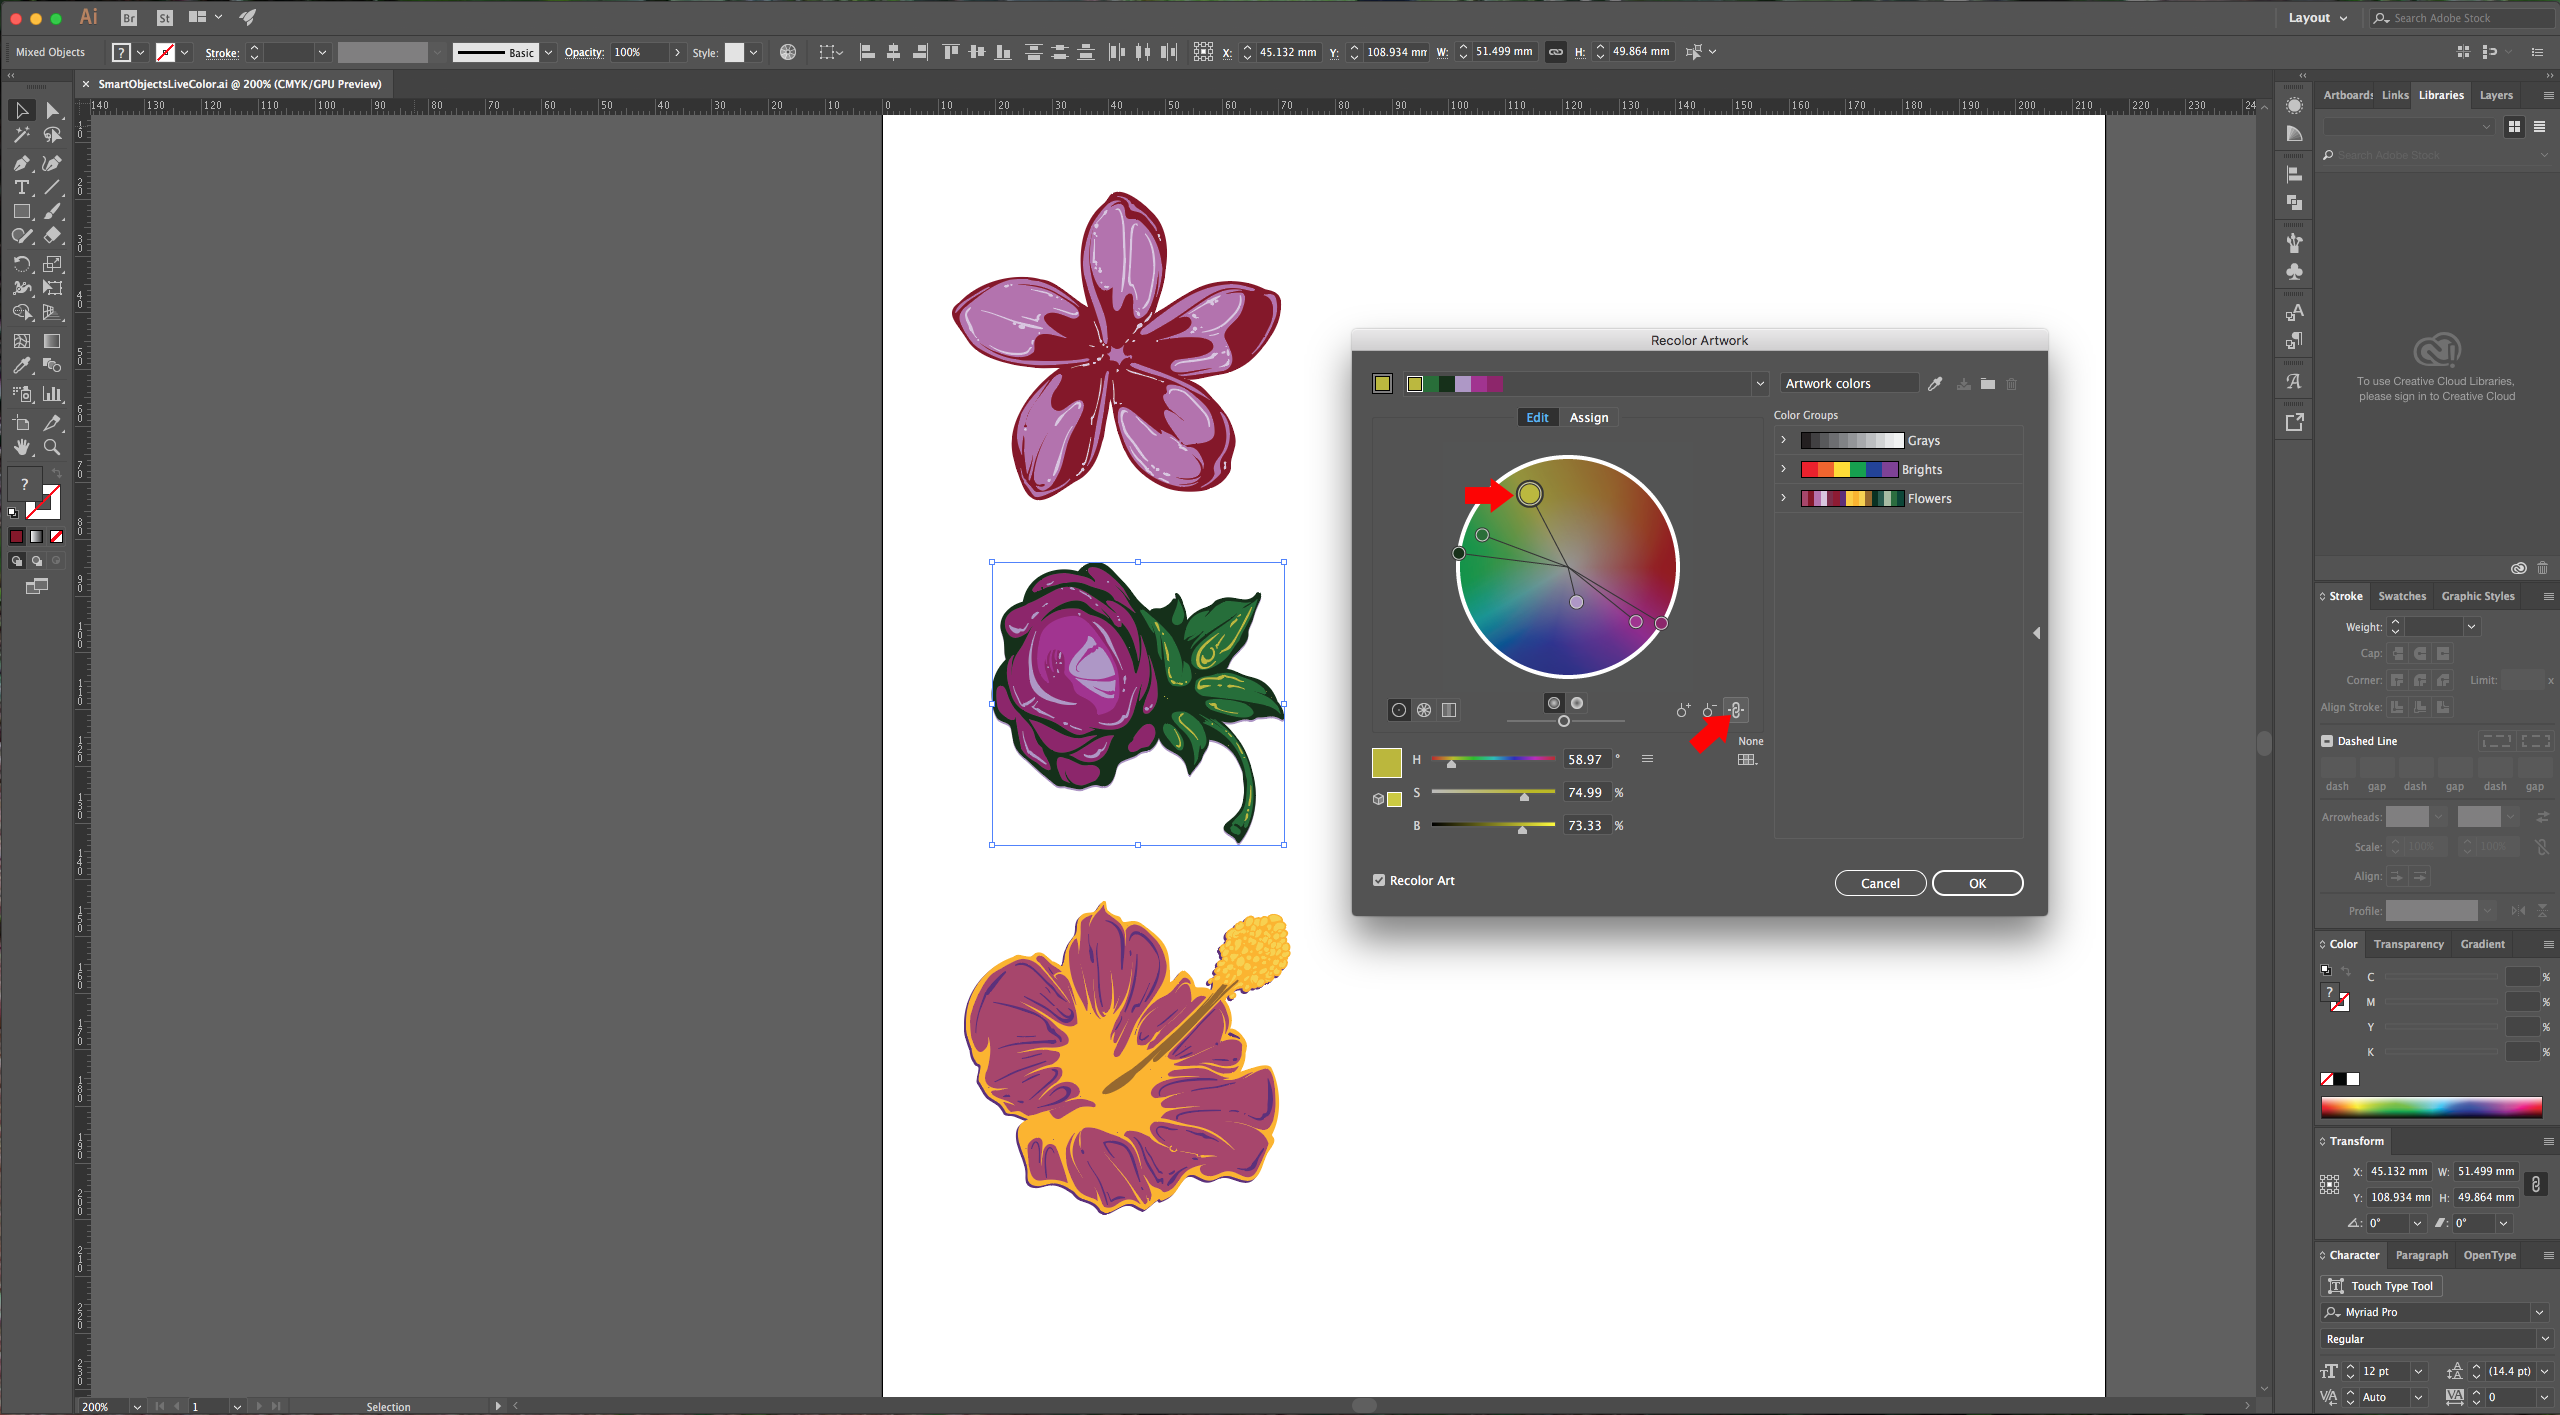
5 – With the “Base Color” selected click on the drop down arrow on top and check the different “Color Groups” suggested. You can select a group (and edit or tweak later) or create your own. After you selected the group you can edit the colors in several ways, you can click and drag the “Base Color” anchor to change the “Hue” and “Saturation” of the whole group or select colors individually and change them. (The other colors will change in accordance unless you select “Unlink Harmony Colors” box at the bottom right of the wheel. Once you are happy with your colors, click the “New Color Group” button and hit OK to apply the colors to your artwork. Now we know two different ways to create “Color Groups” to use with our artwork.
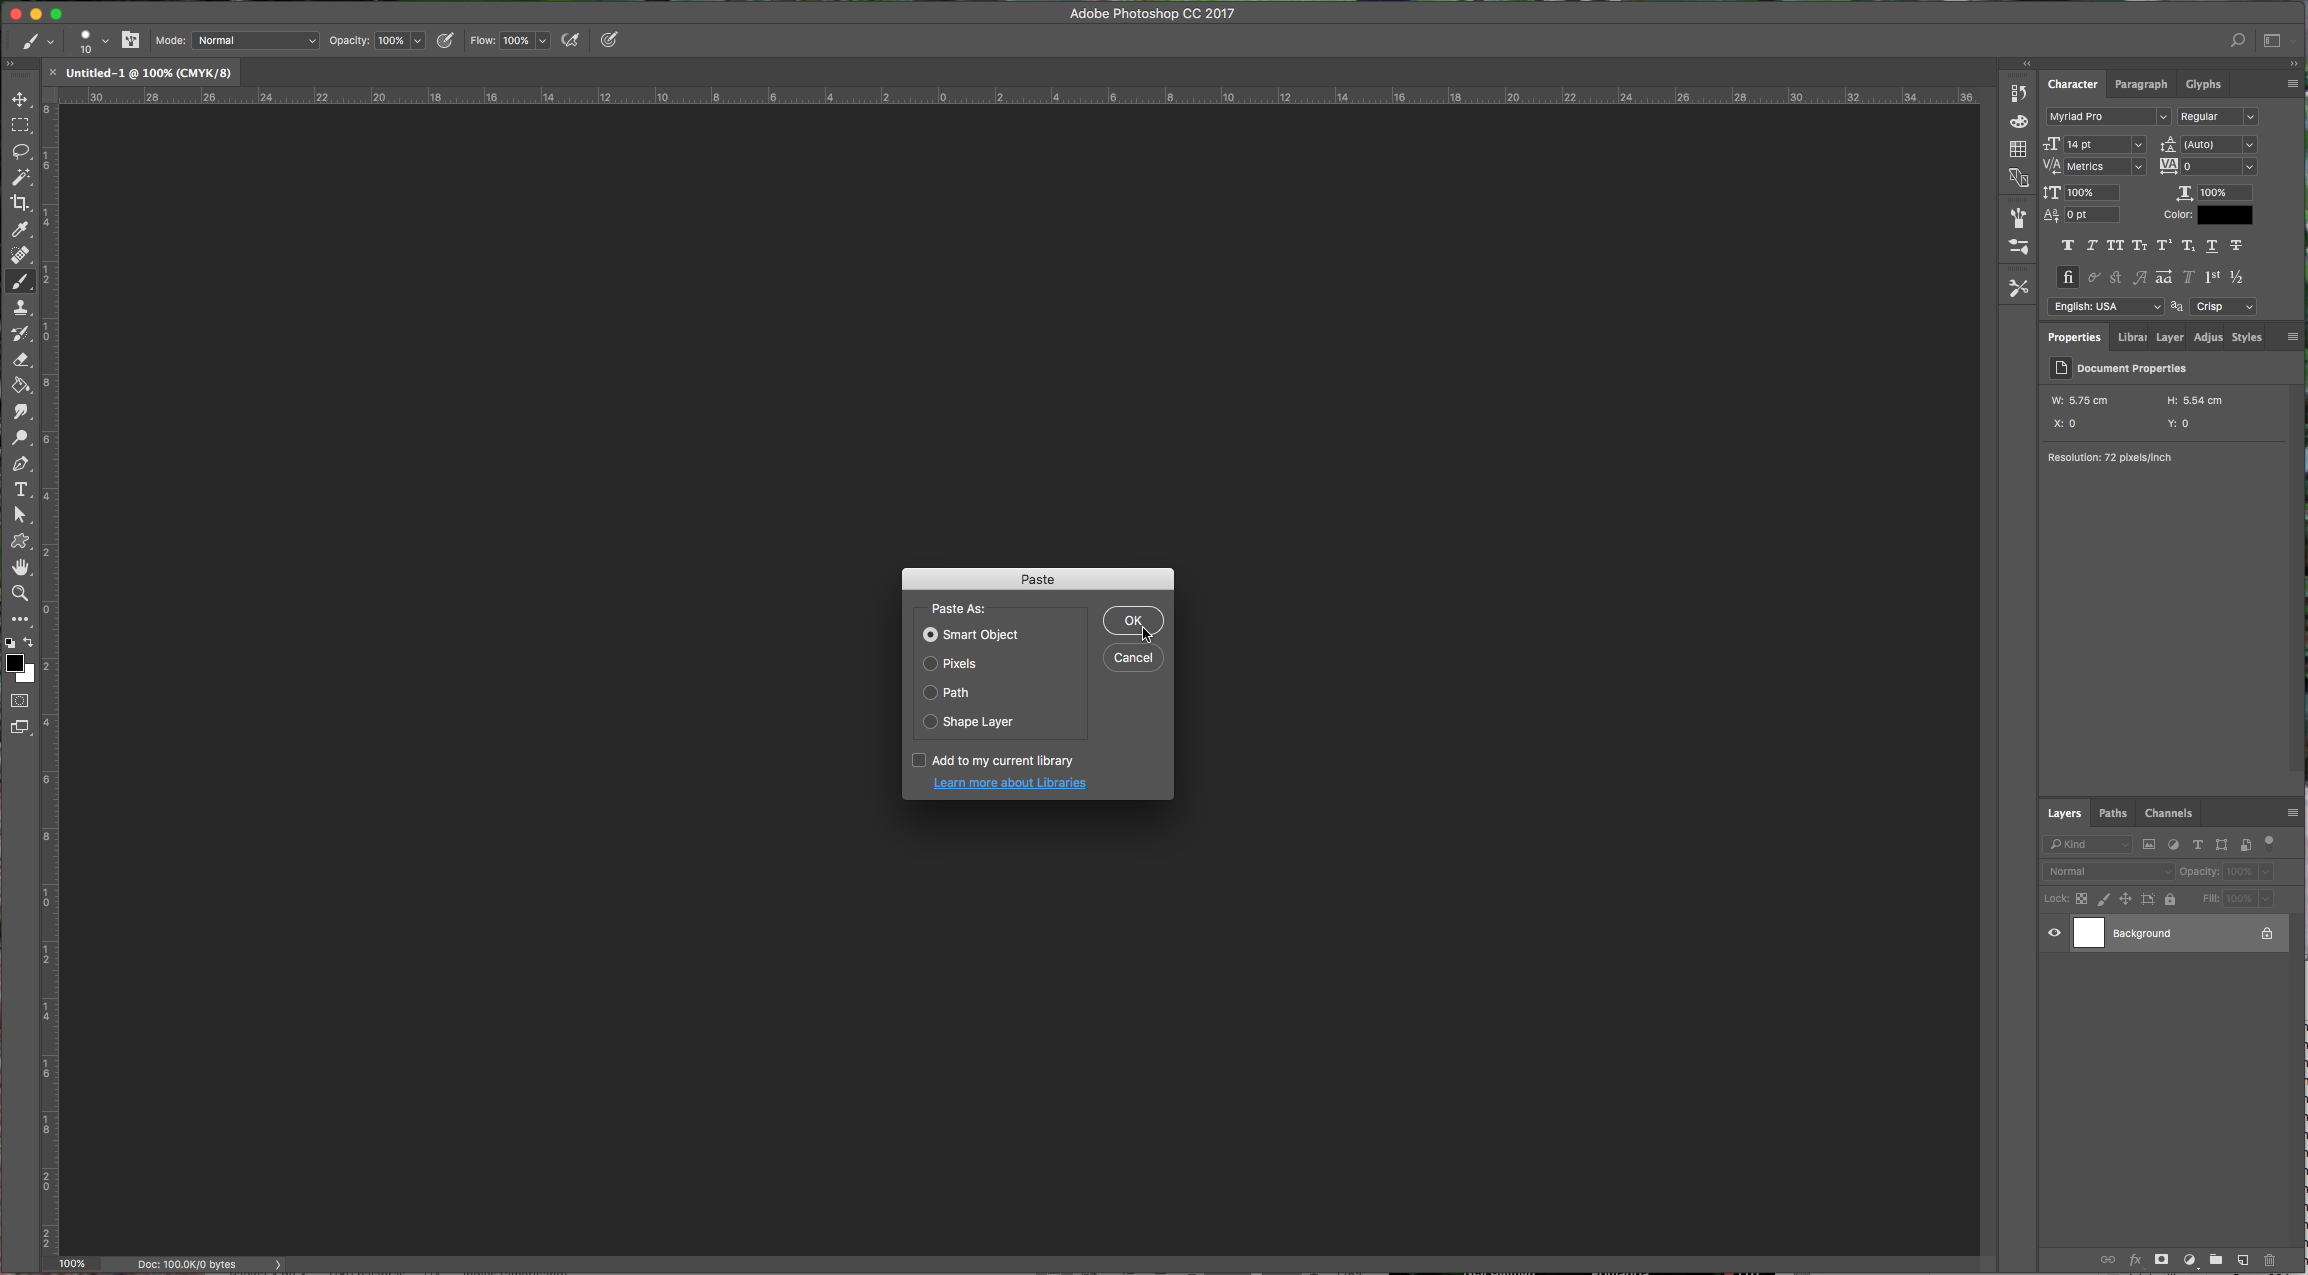
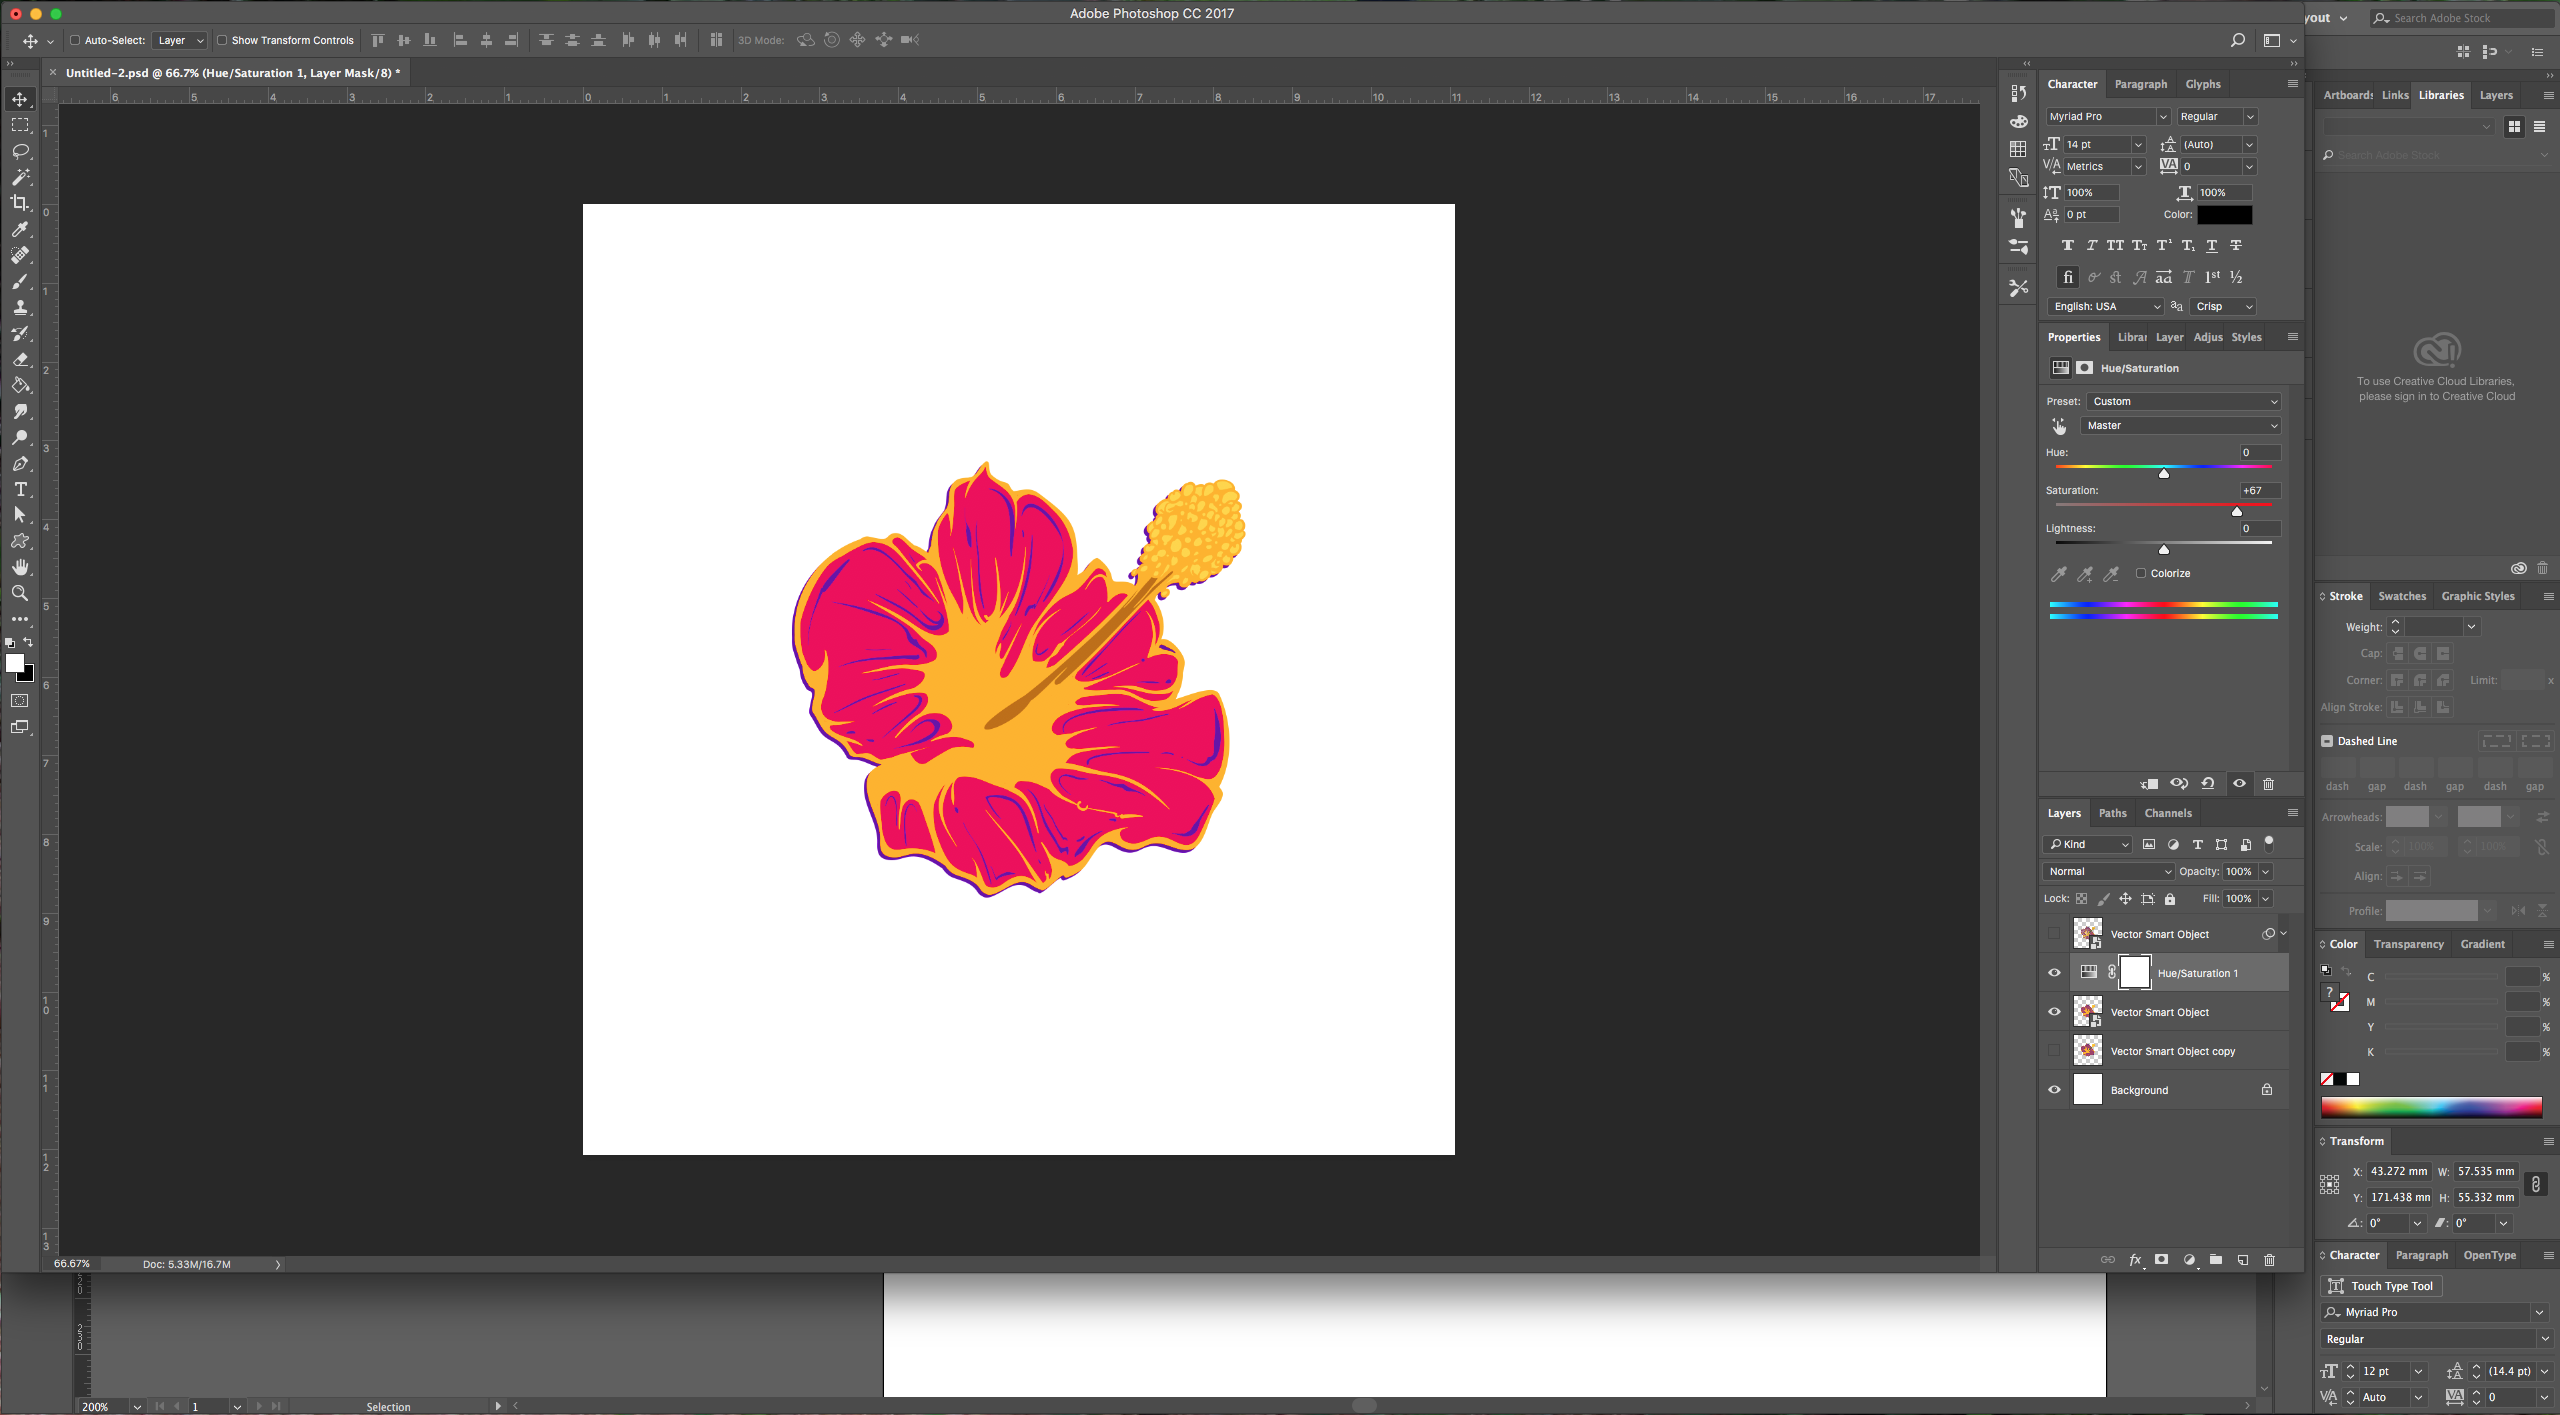
6 – Now, (don’t forget to save your work) copy (Command/Control + C) one of your flowers, open Photoshop, create a “New Document” and then paste /Command/Control + P) the contents of you “Clipboard” into your Photoshop file. A dialog will appear and you need to choose “Smart Object”, then click enter.
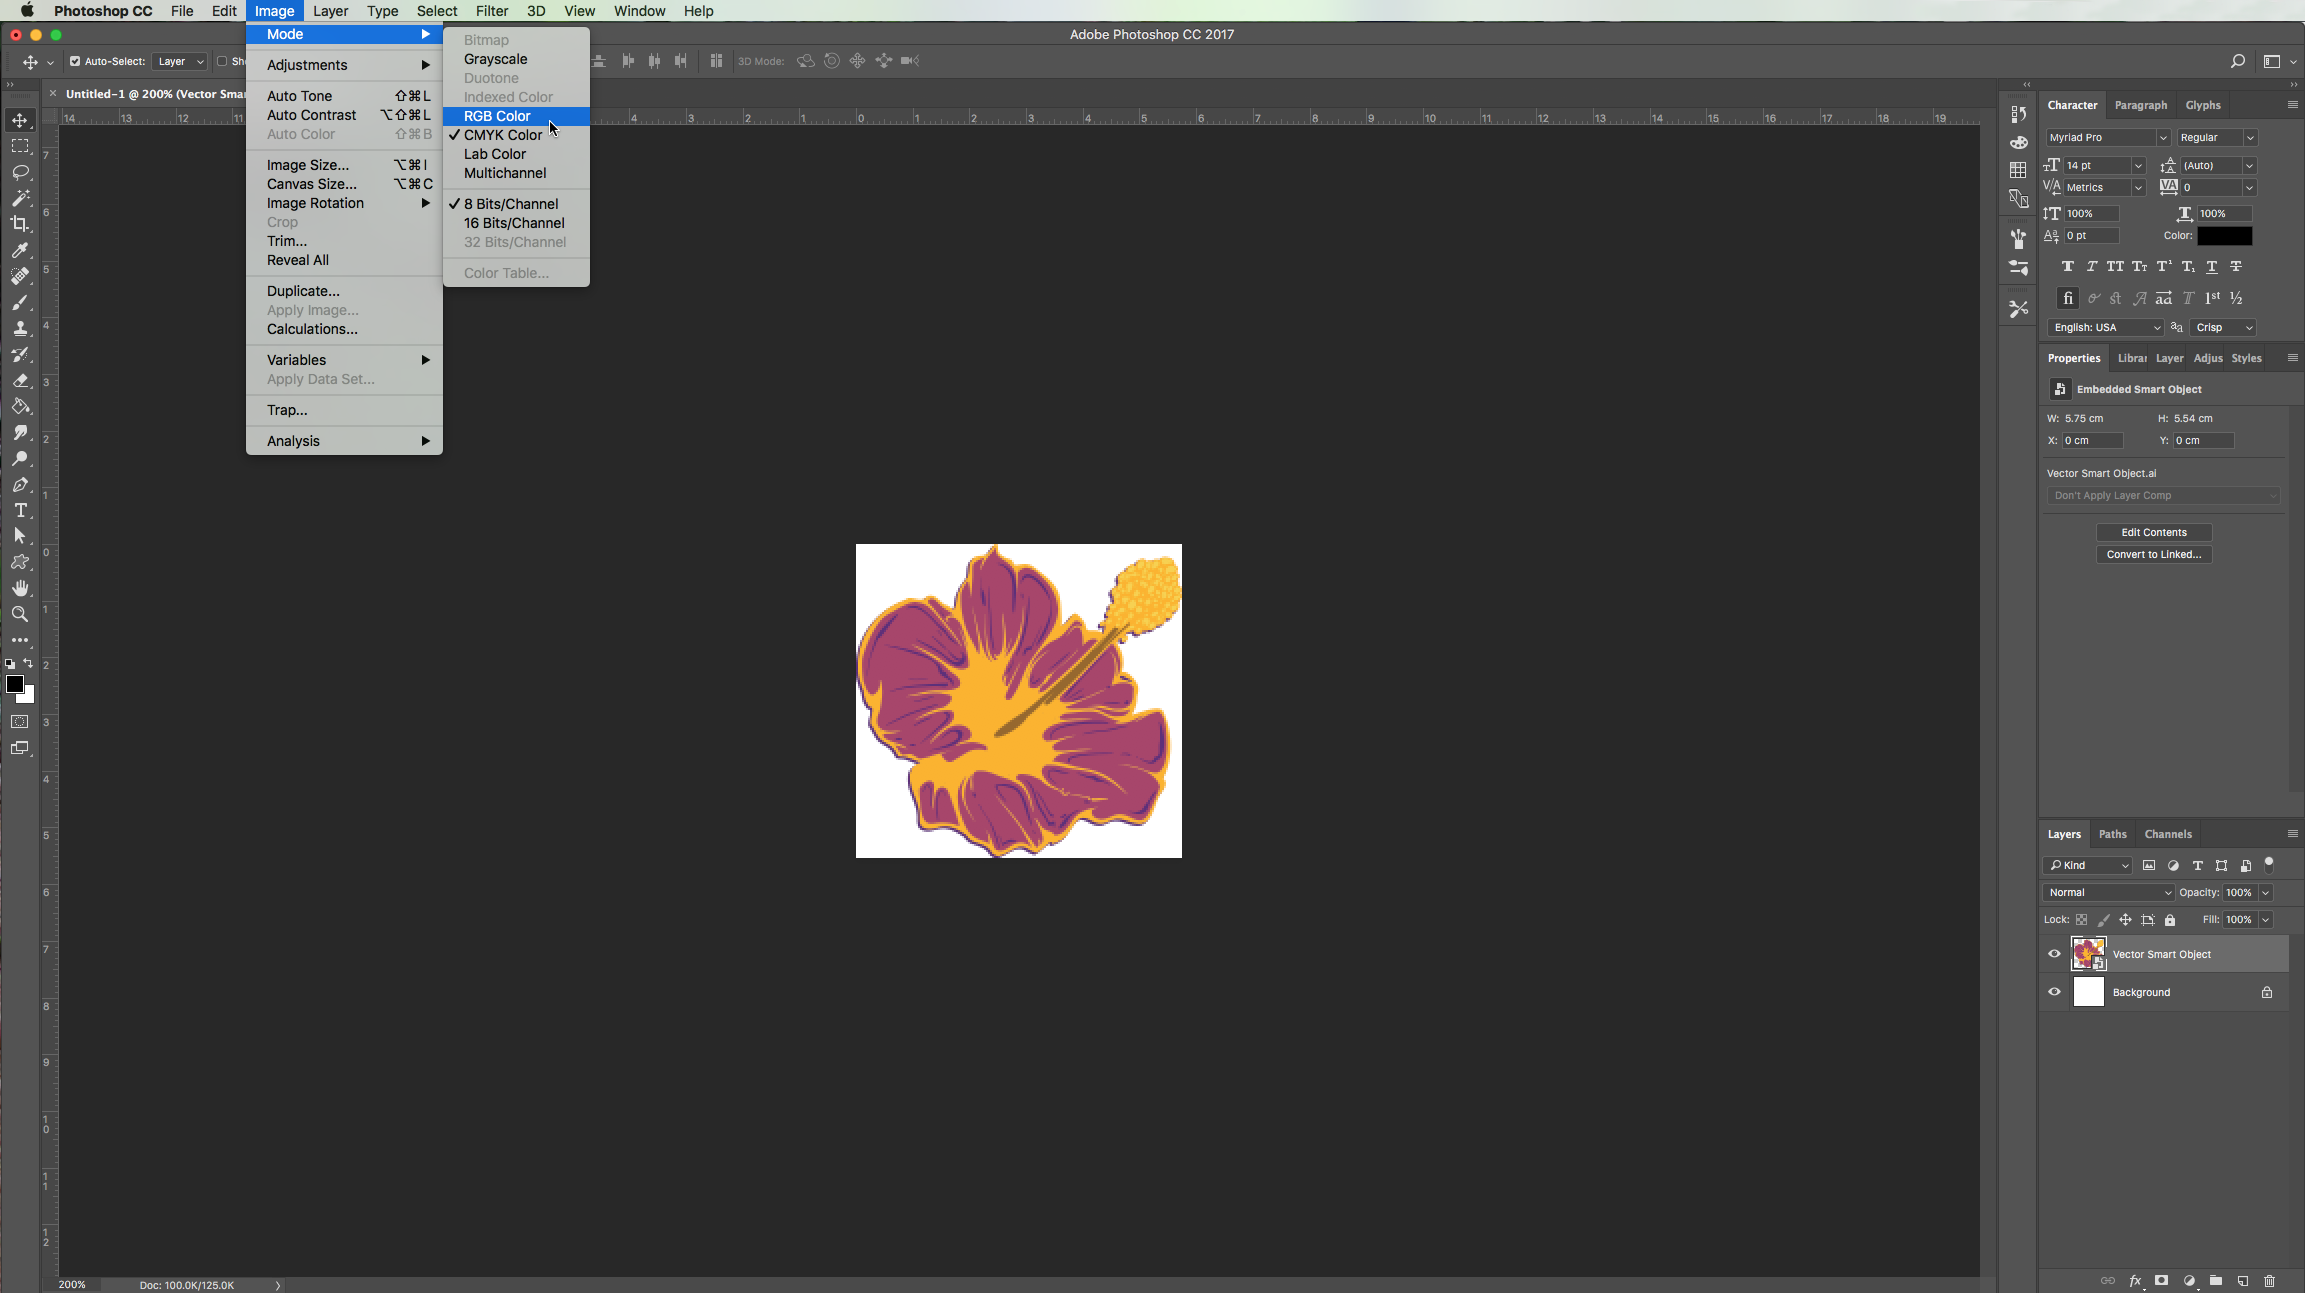
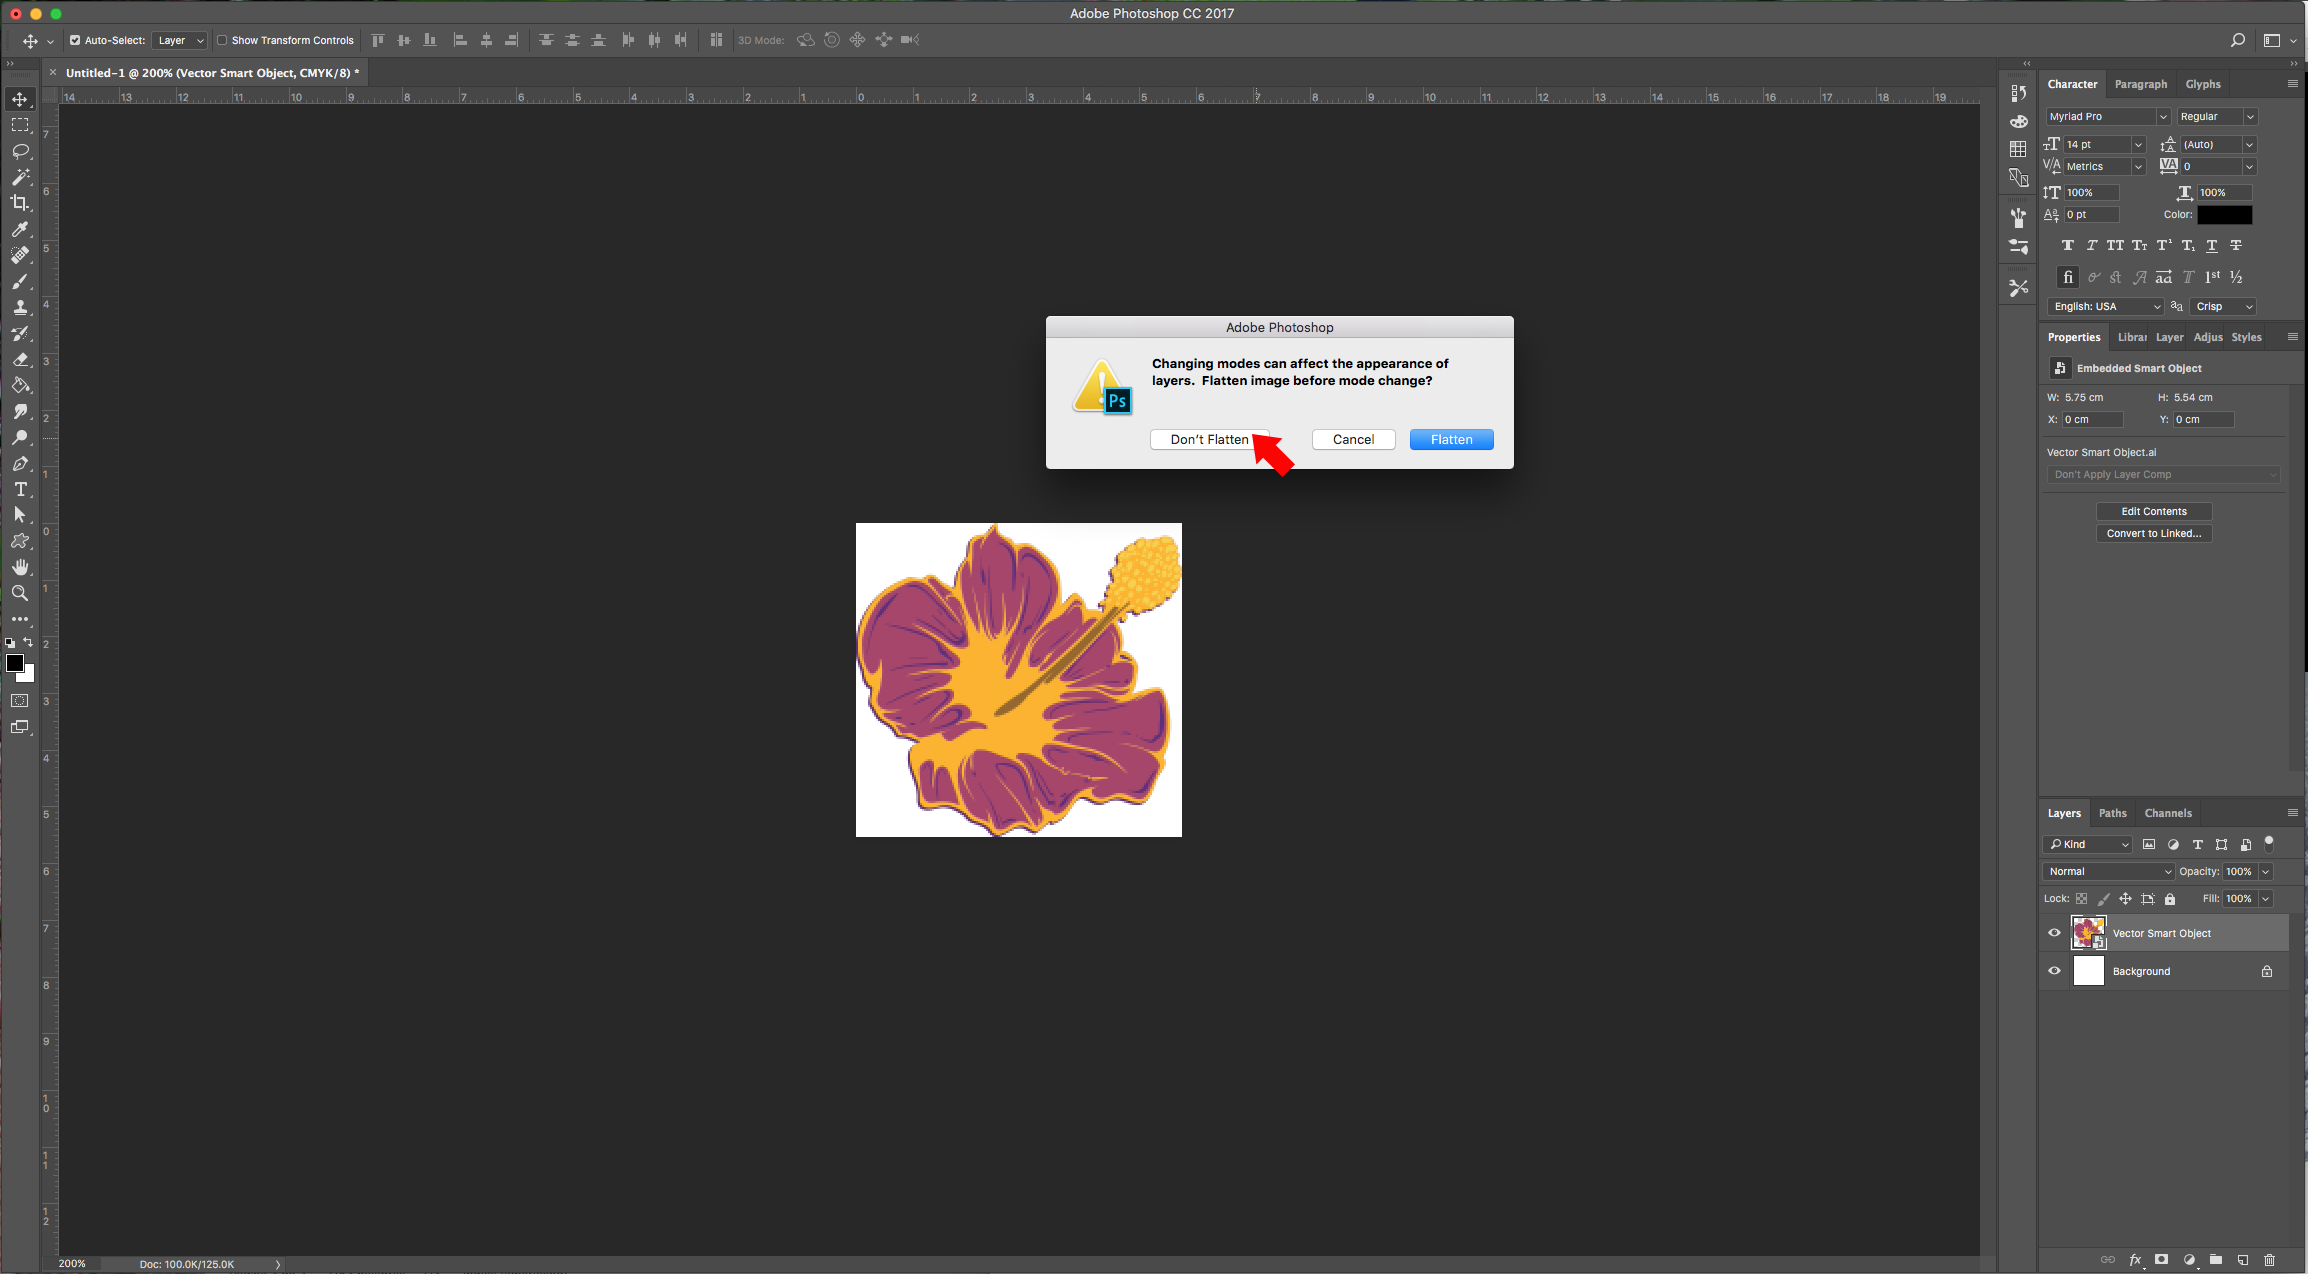
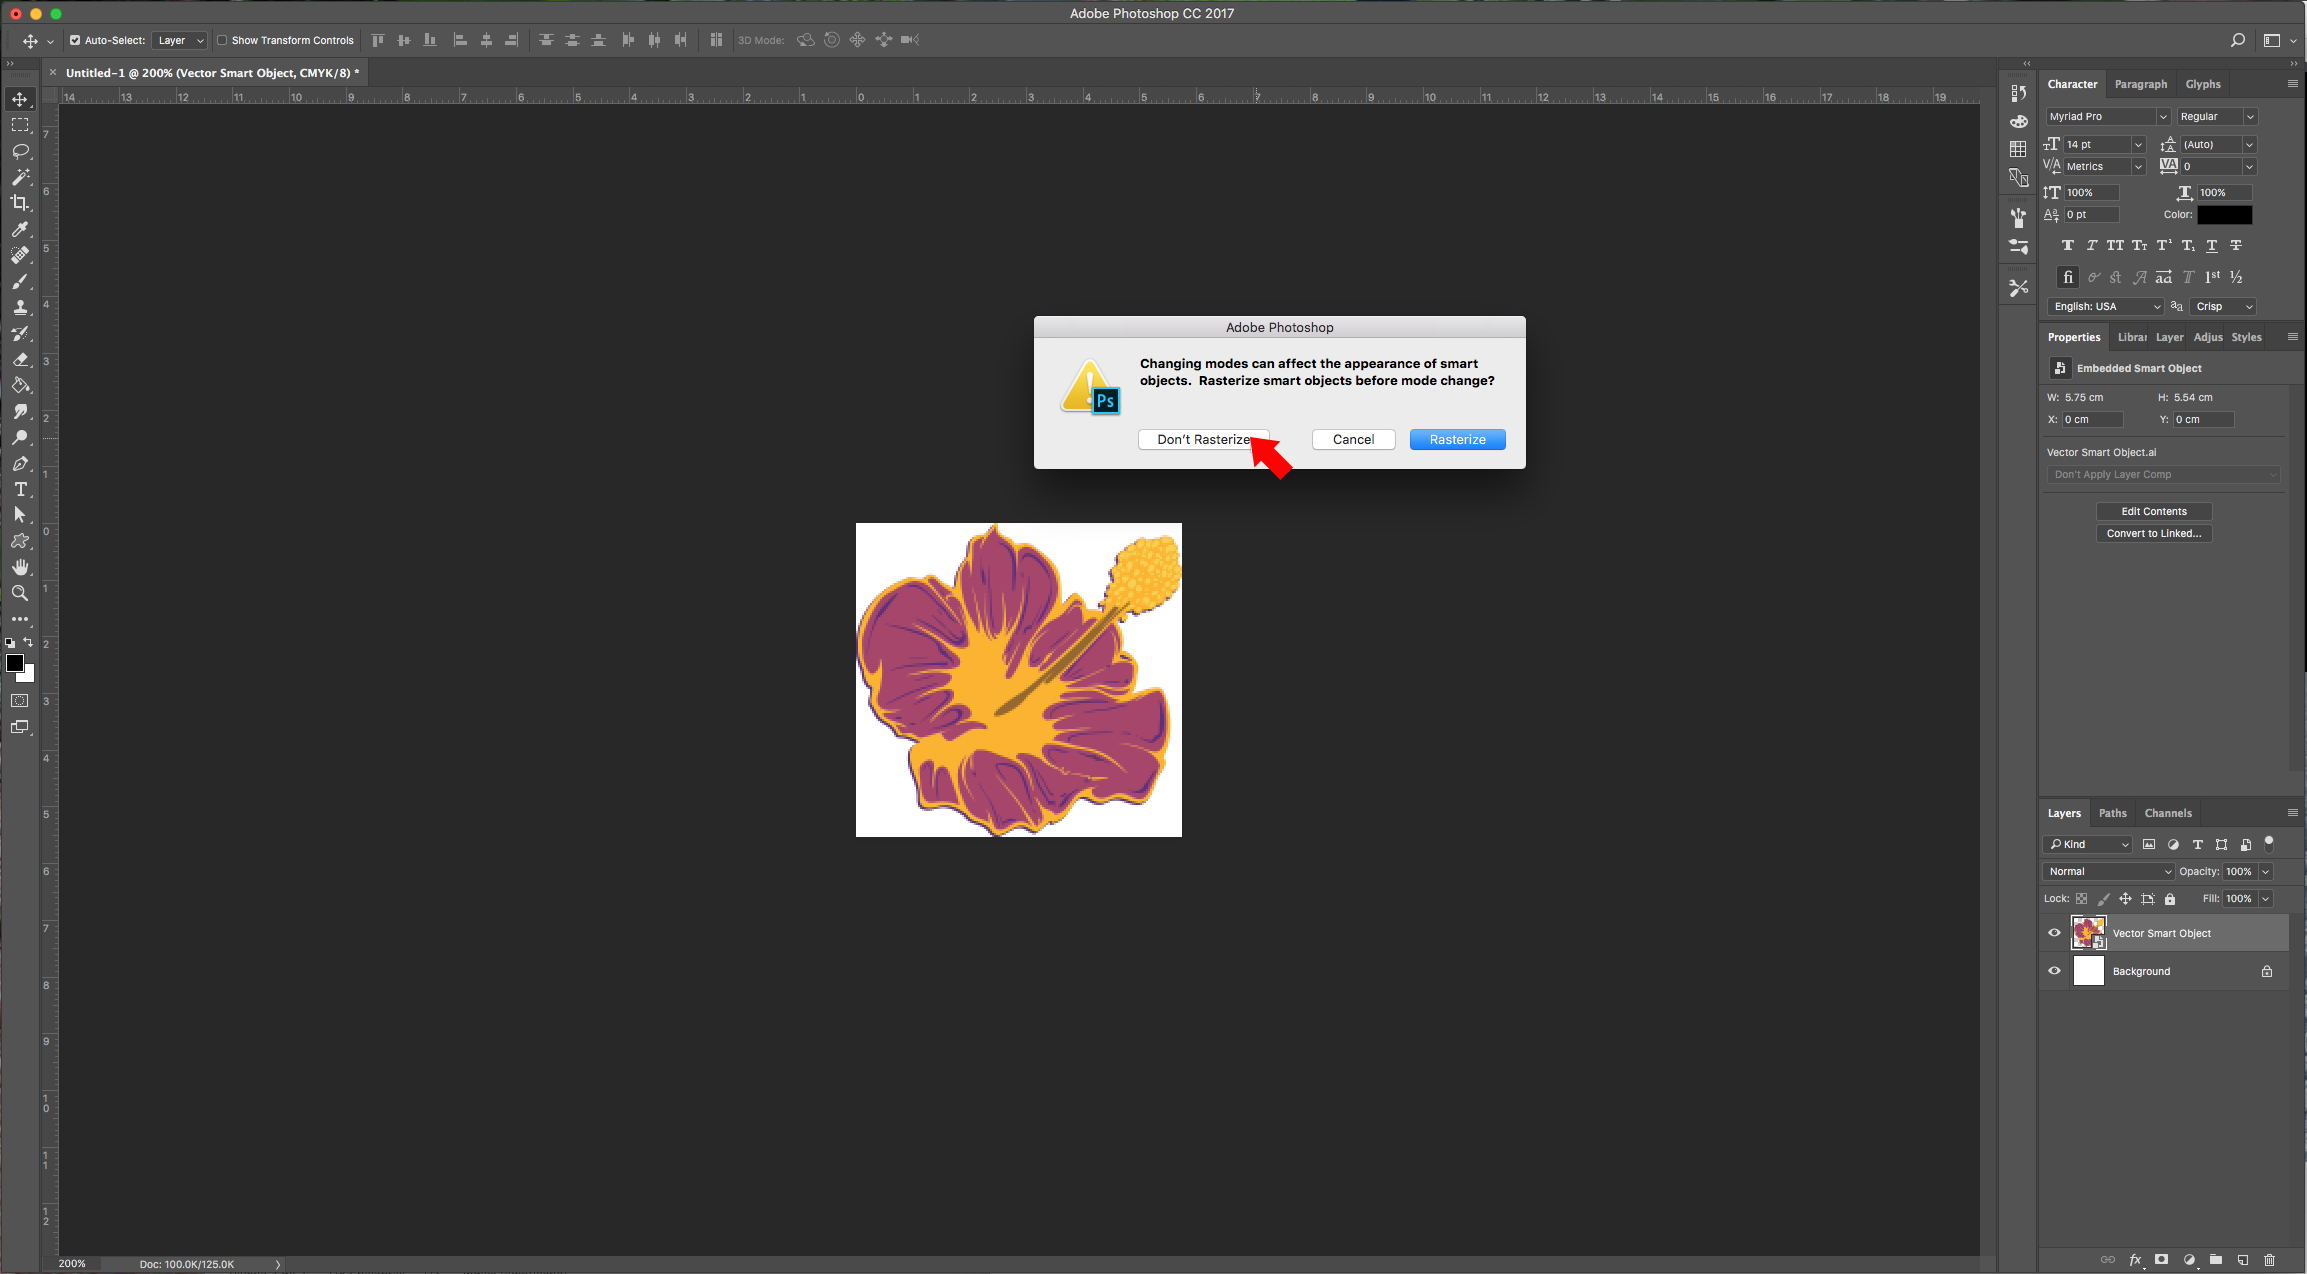
7 – If your “Color Mode” in Illustrator was CMYK you may need to convert it to RGB in order to apply some filters. Go to Image > Mode > RGB and choose “Don’t Flatten” and “Don’t Rasterize” when you are prompted.
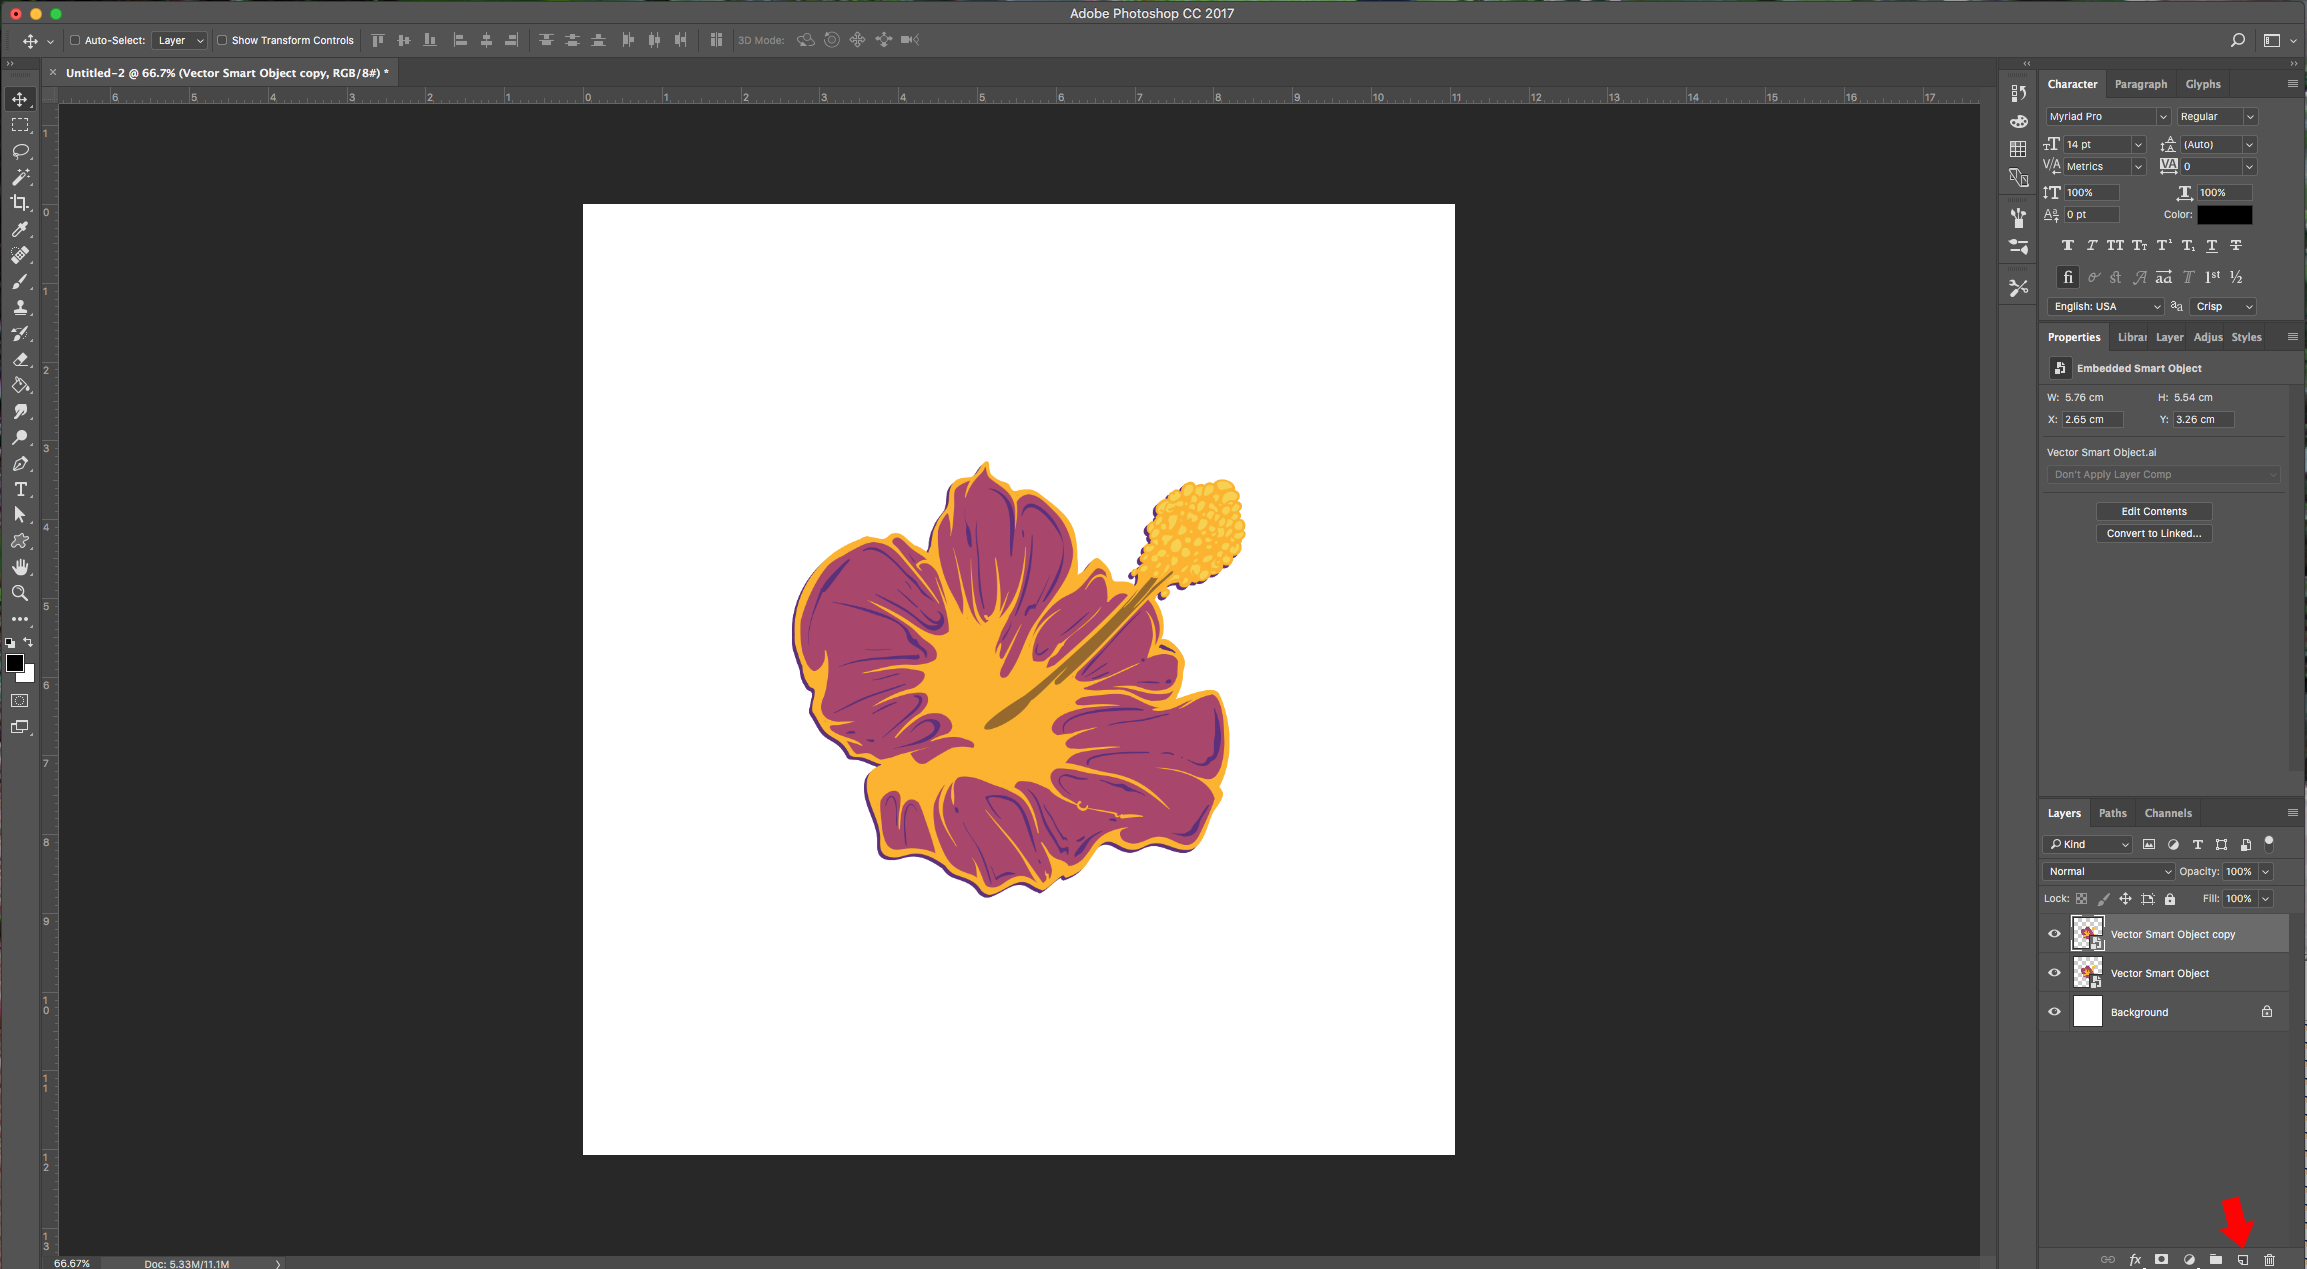
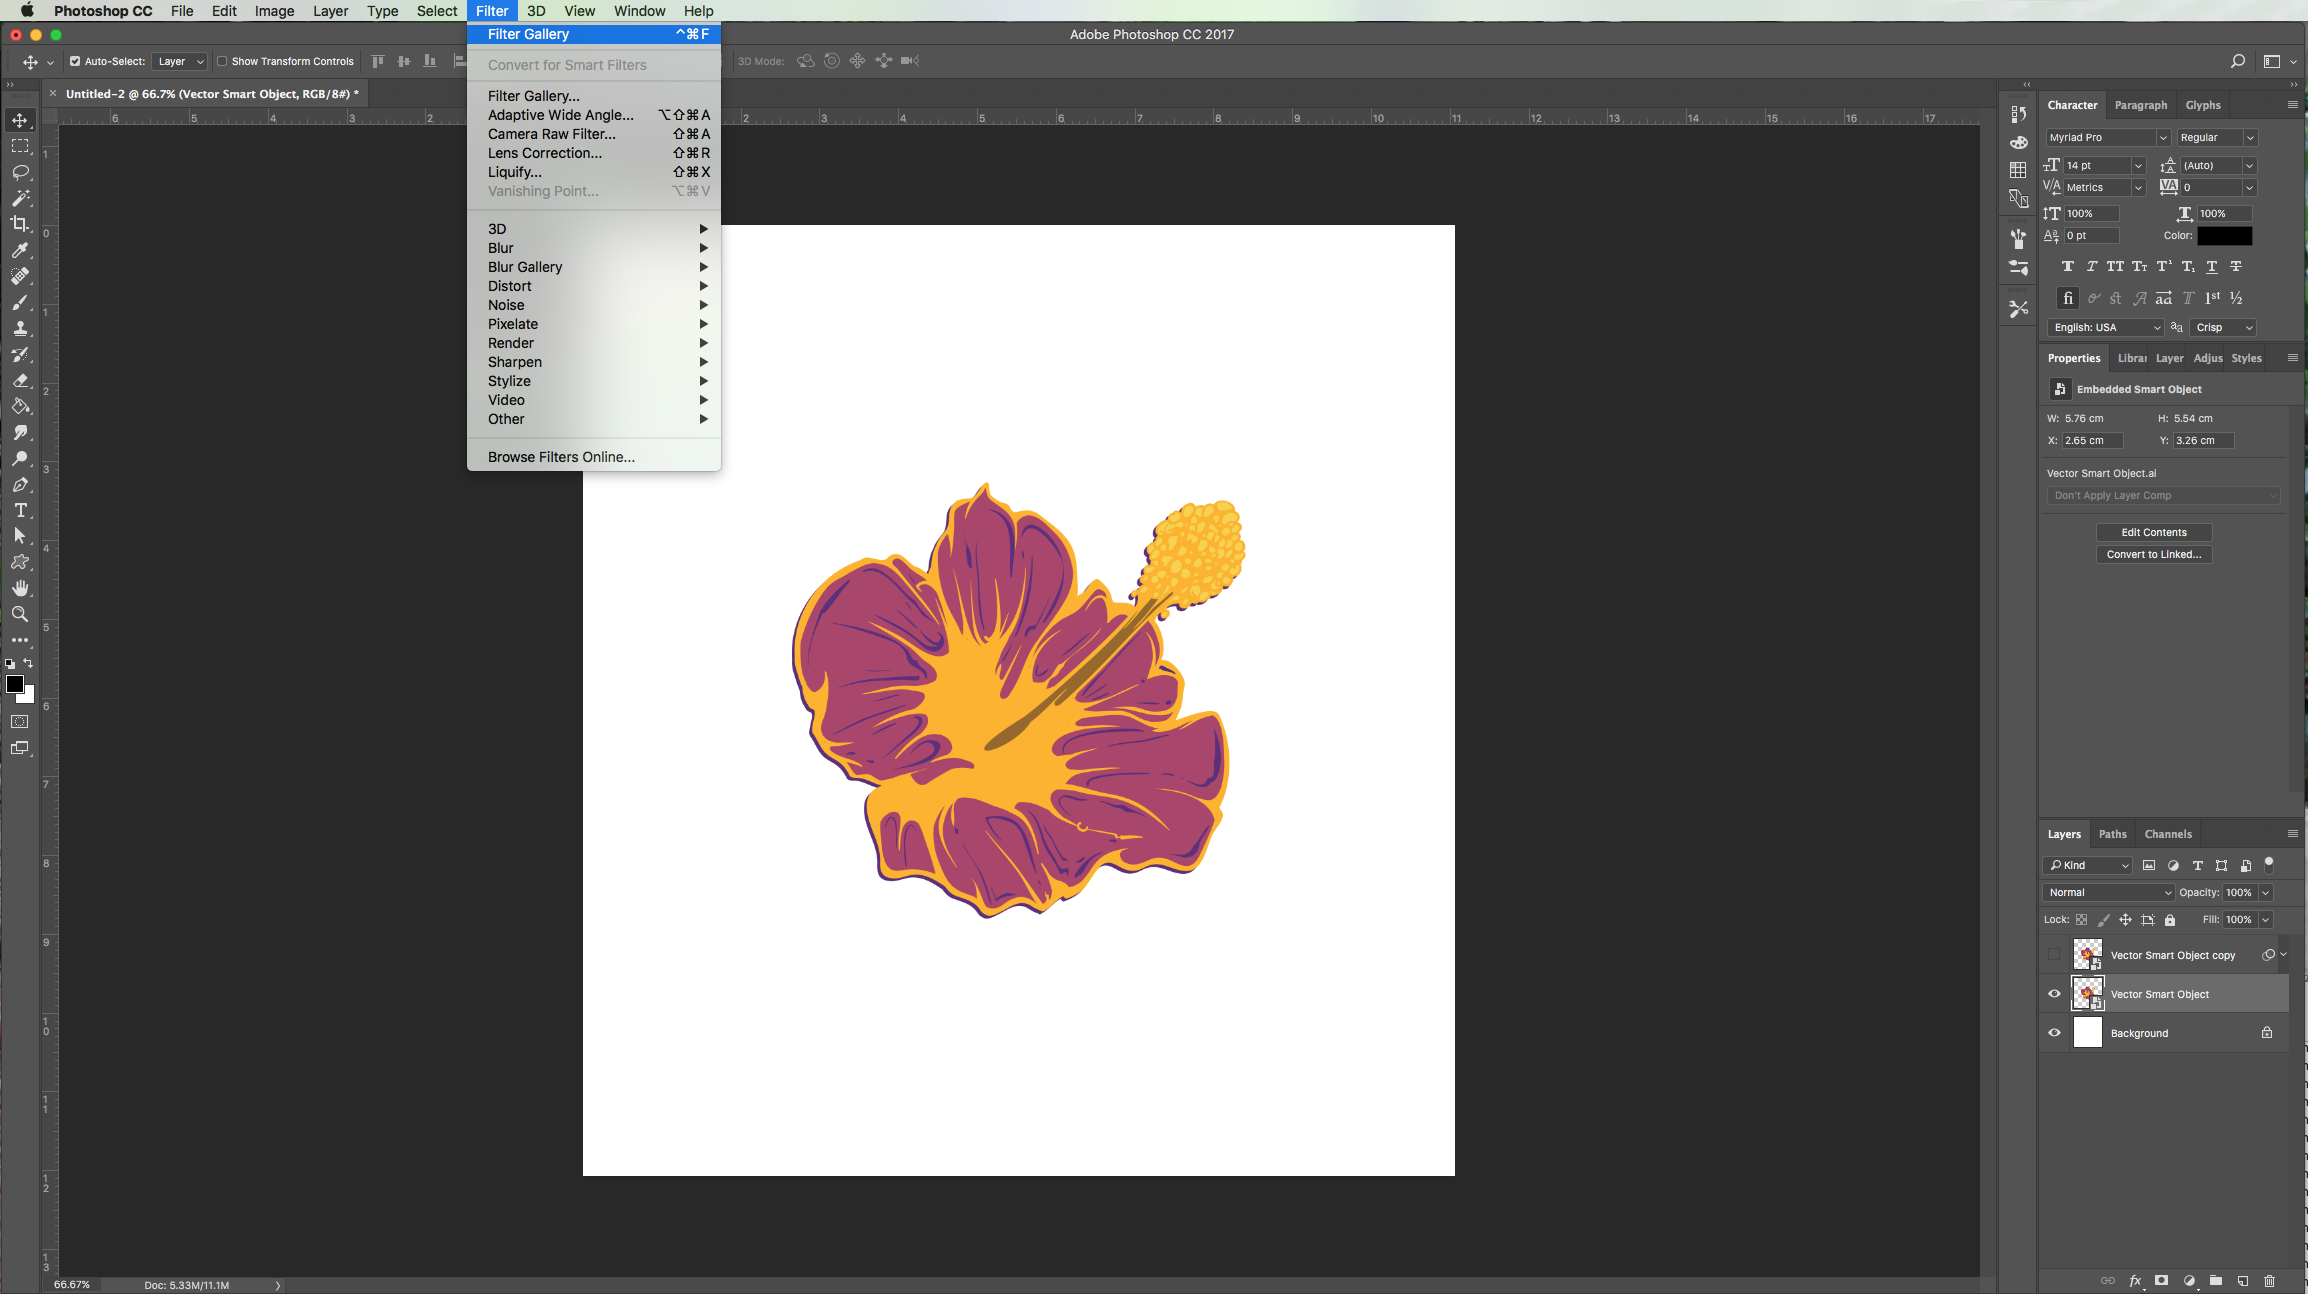
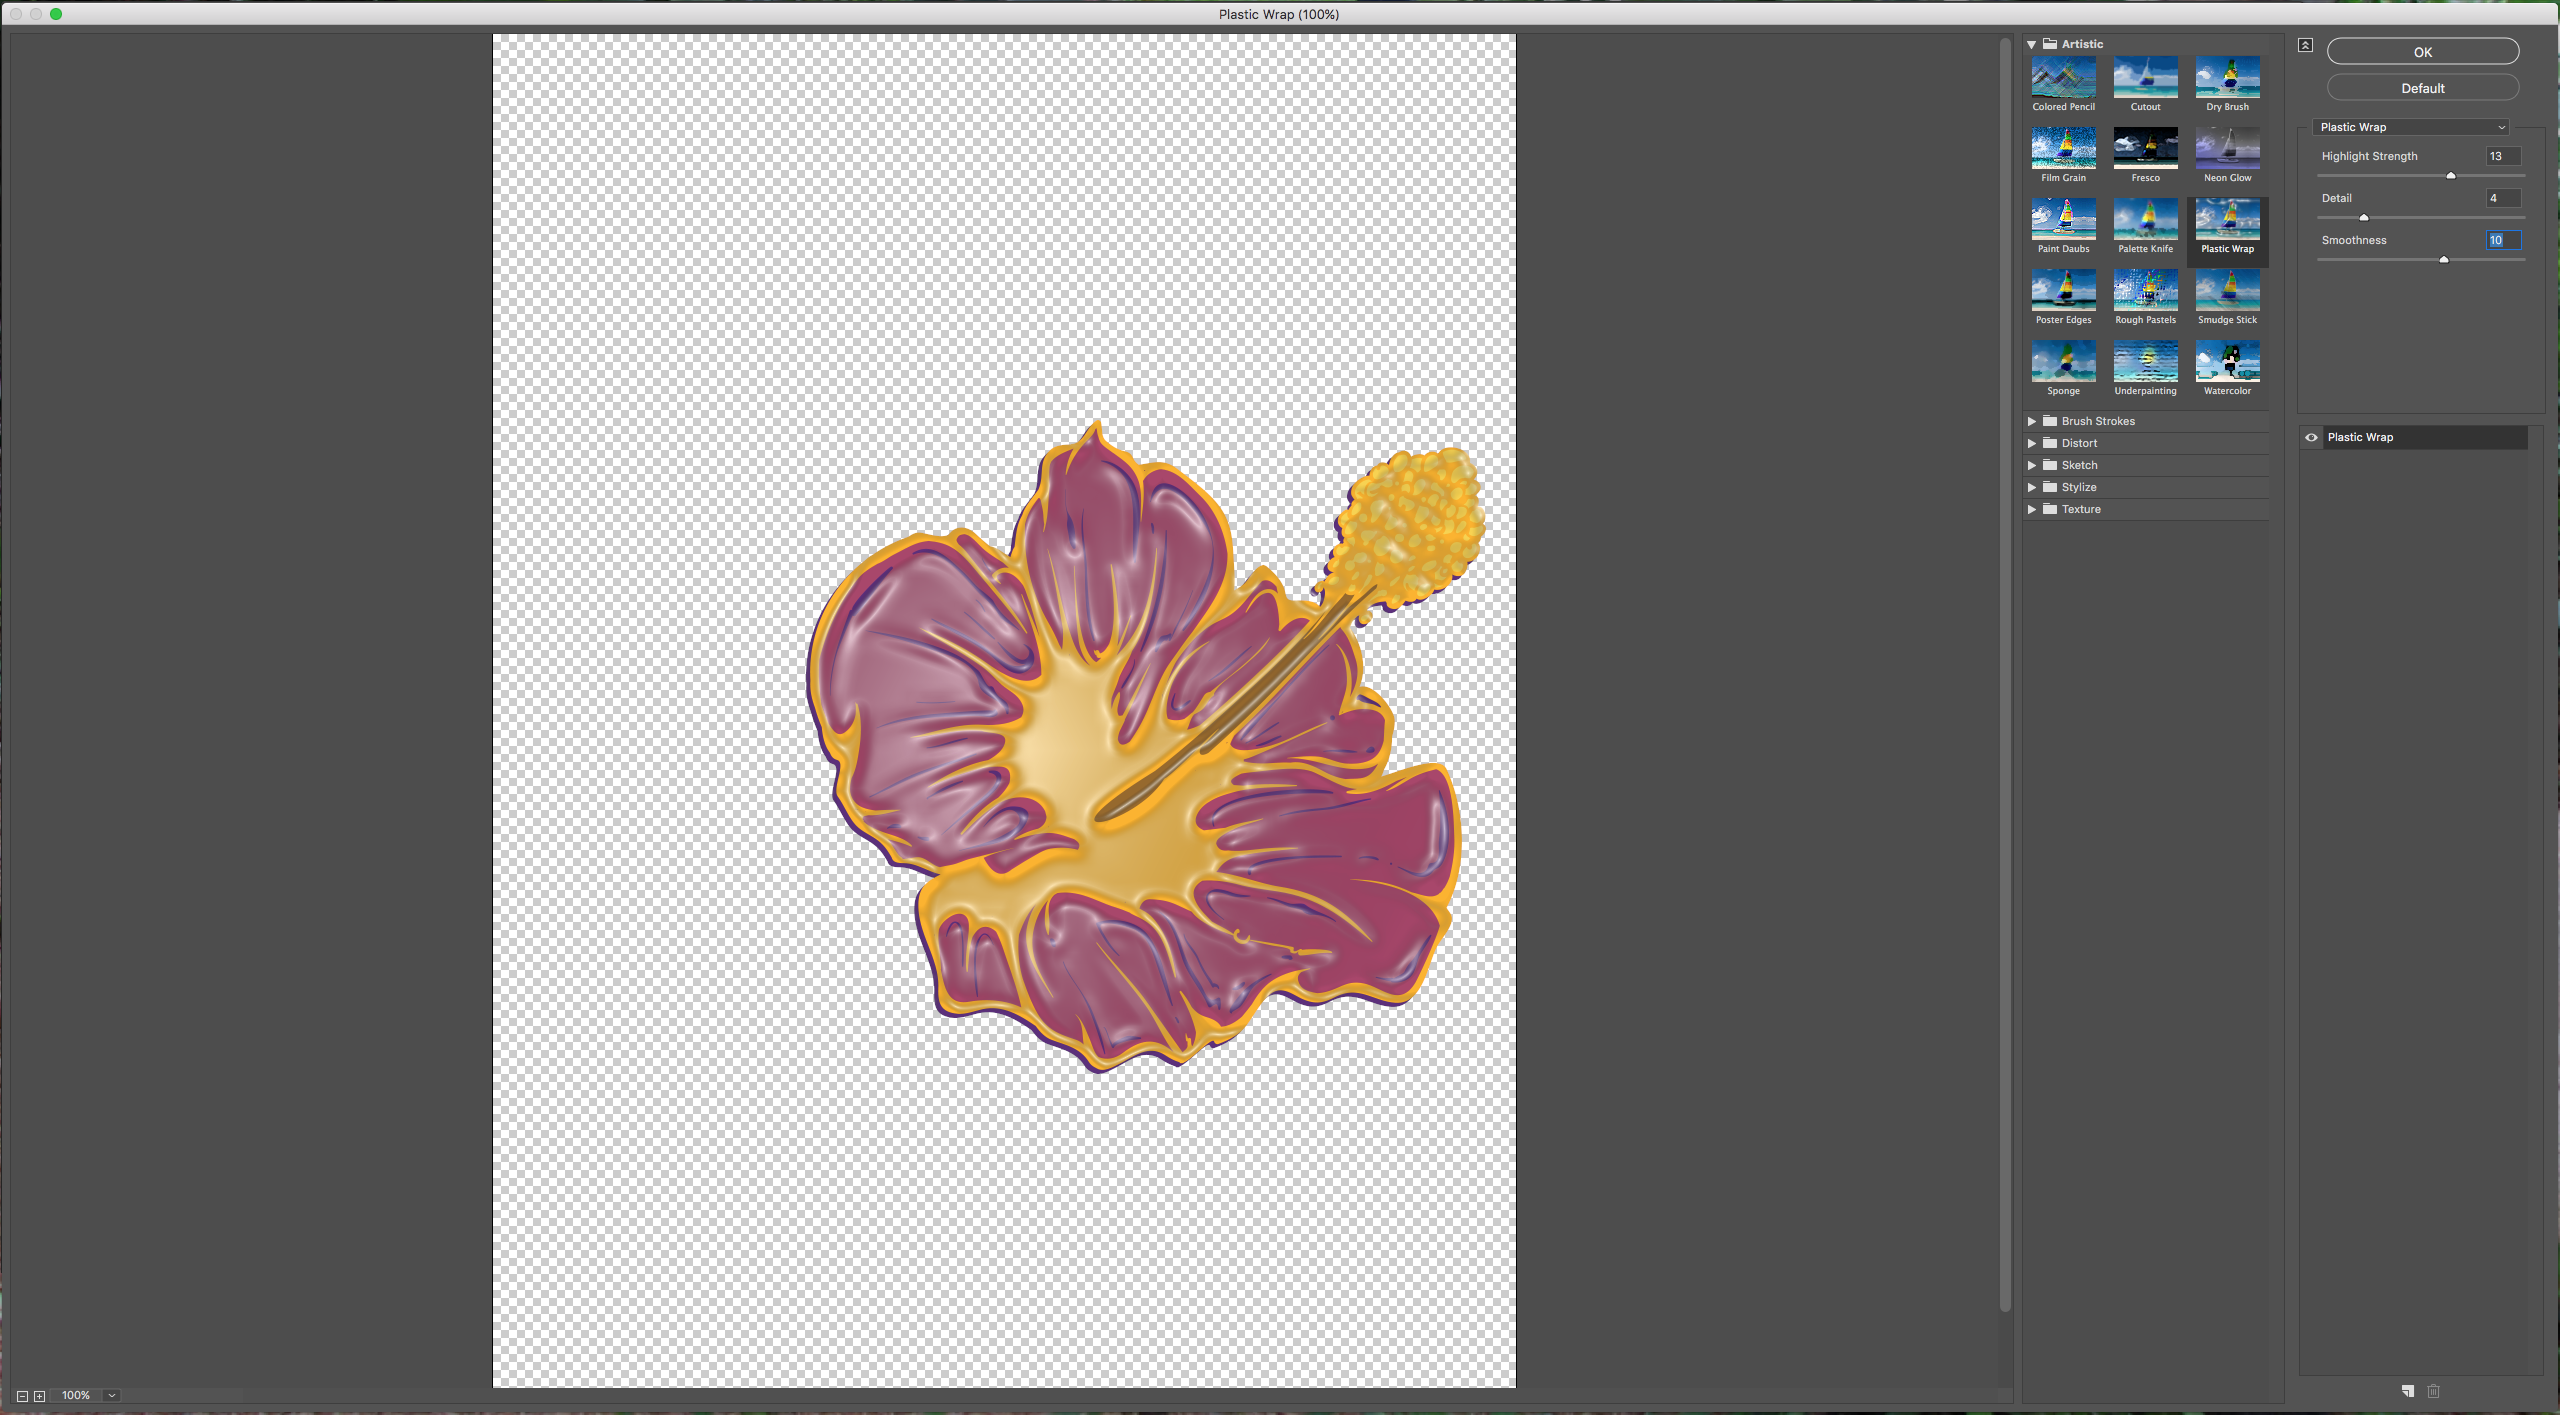
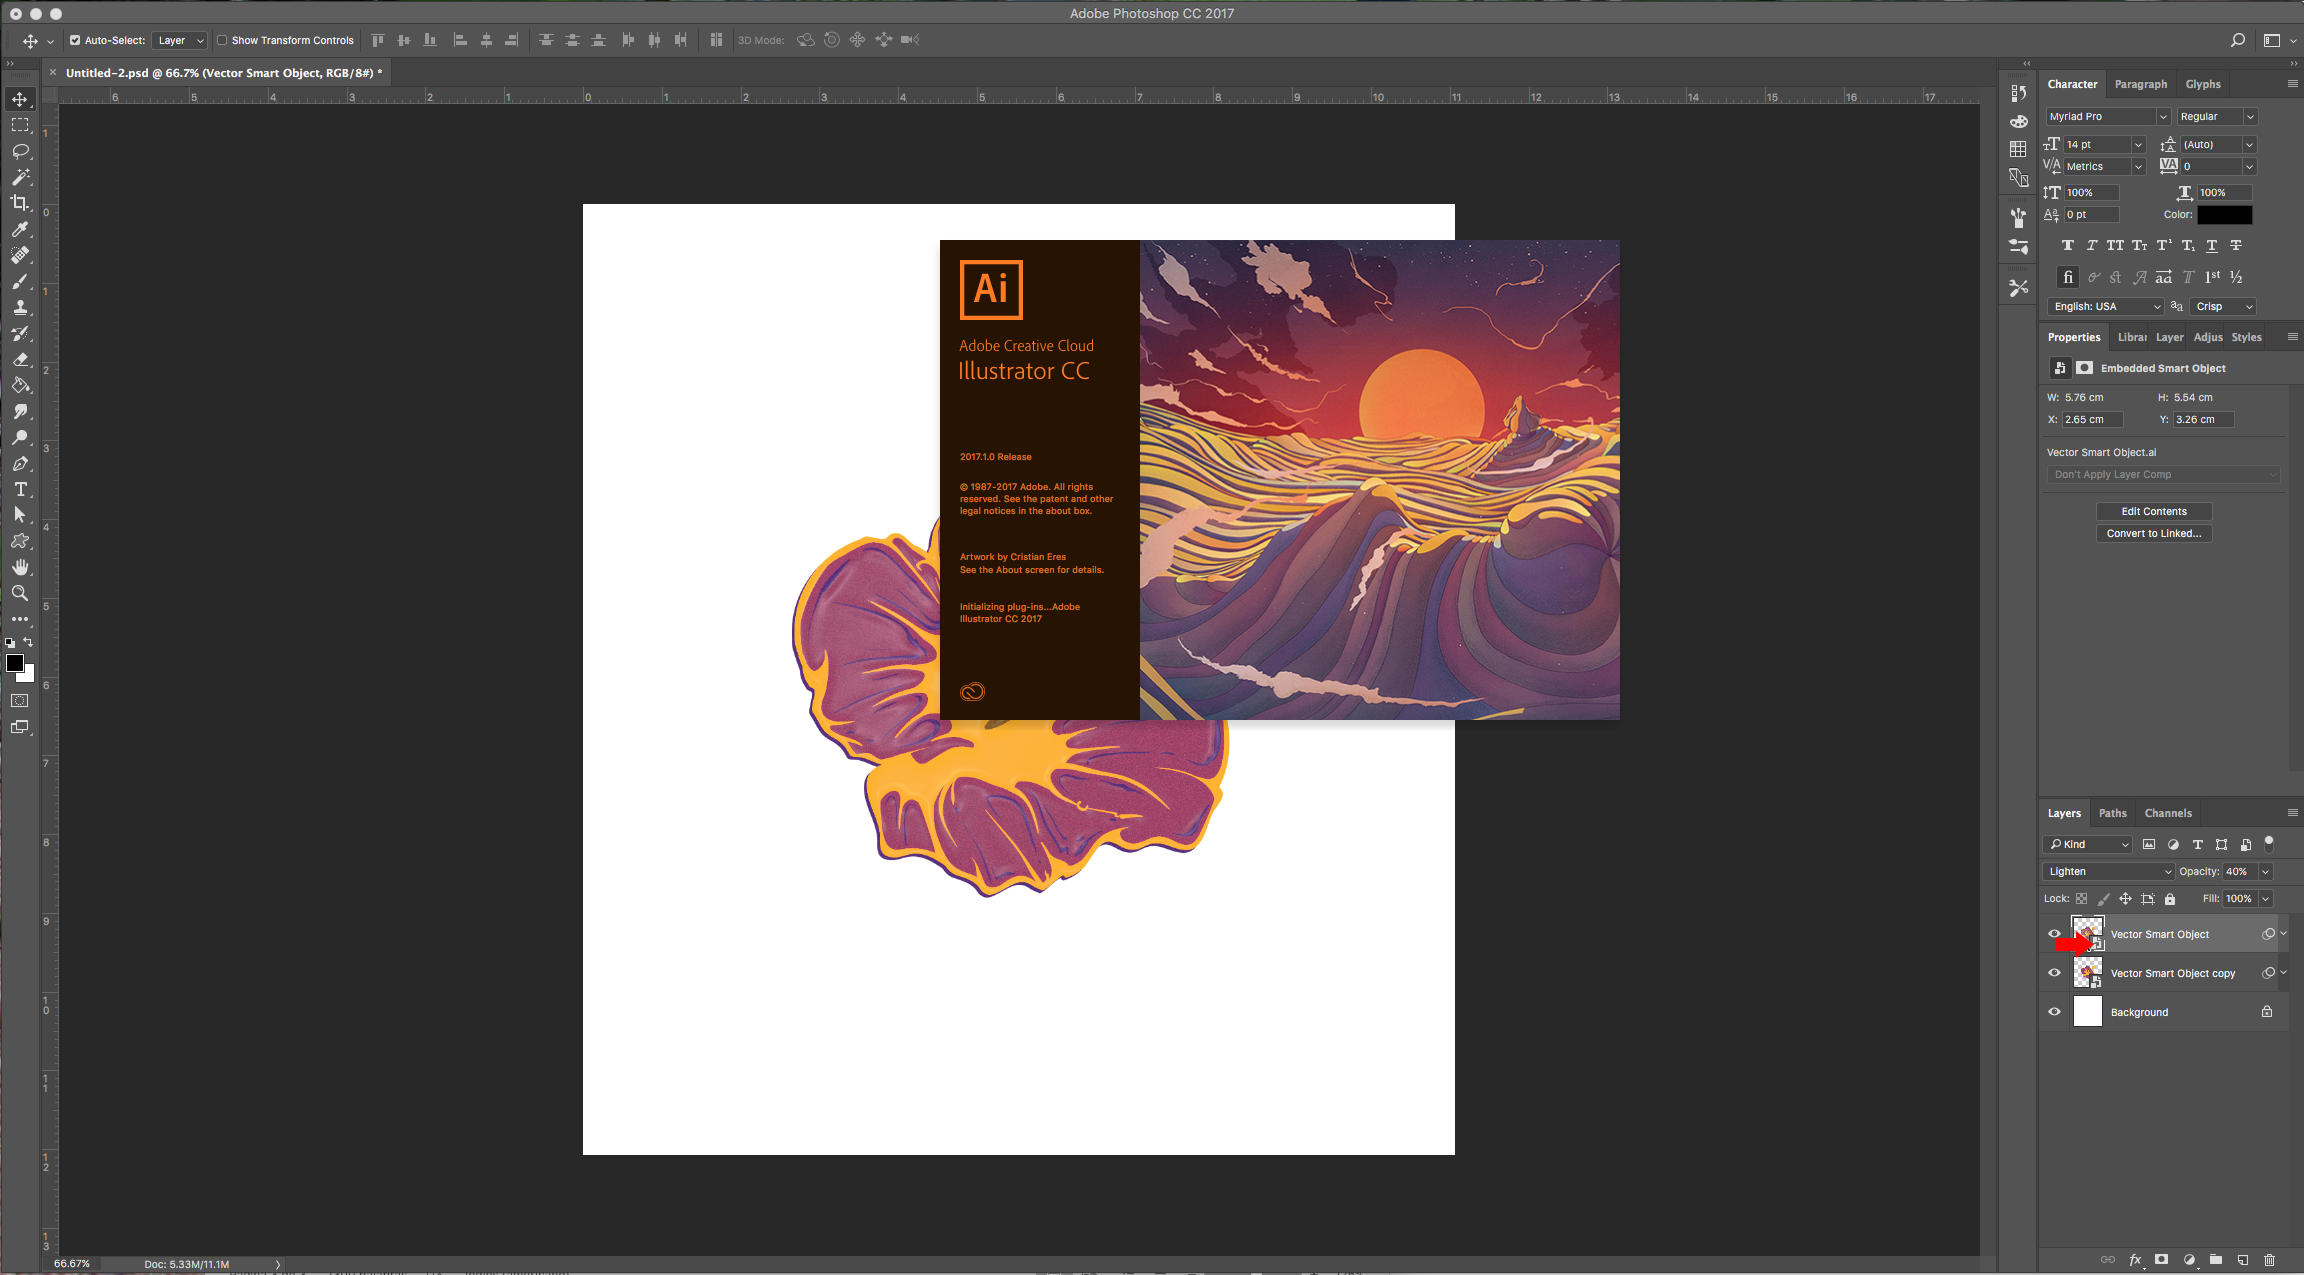
8 – You can play with your image and apply some filters and effects. First, we made a copy of our “Smart Object” by dragging the layer to the “New Layer” button at the bottom. Then, we applied some filters: (Filter > Filter Gallery and apply “Film Grain” then we applied “Plastic Wrap” to the duplicate layer, set the “Blending Mode” to “Lighten” and turn the “Opacity” to 40%. You can keep working in Photoshop with your artwork.

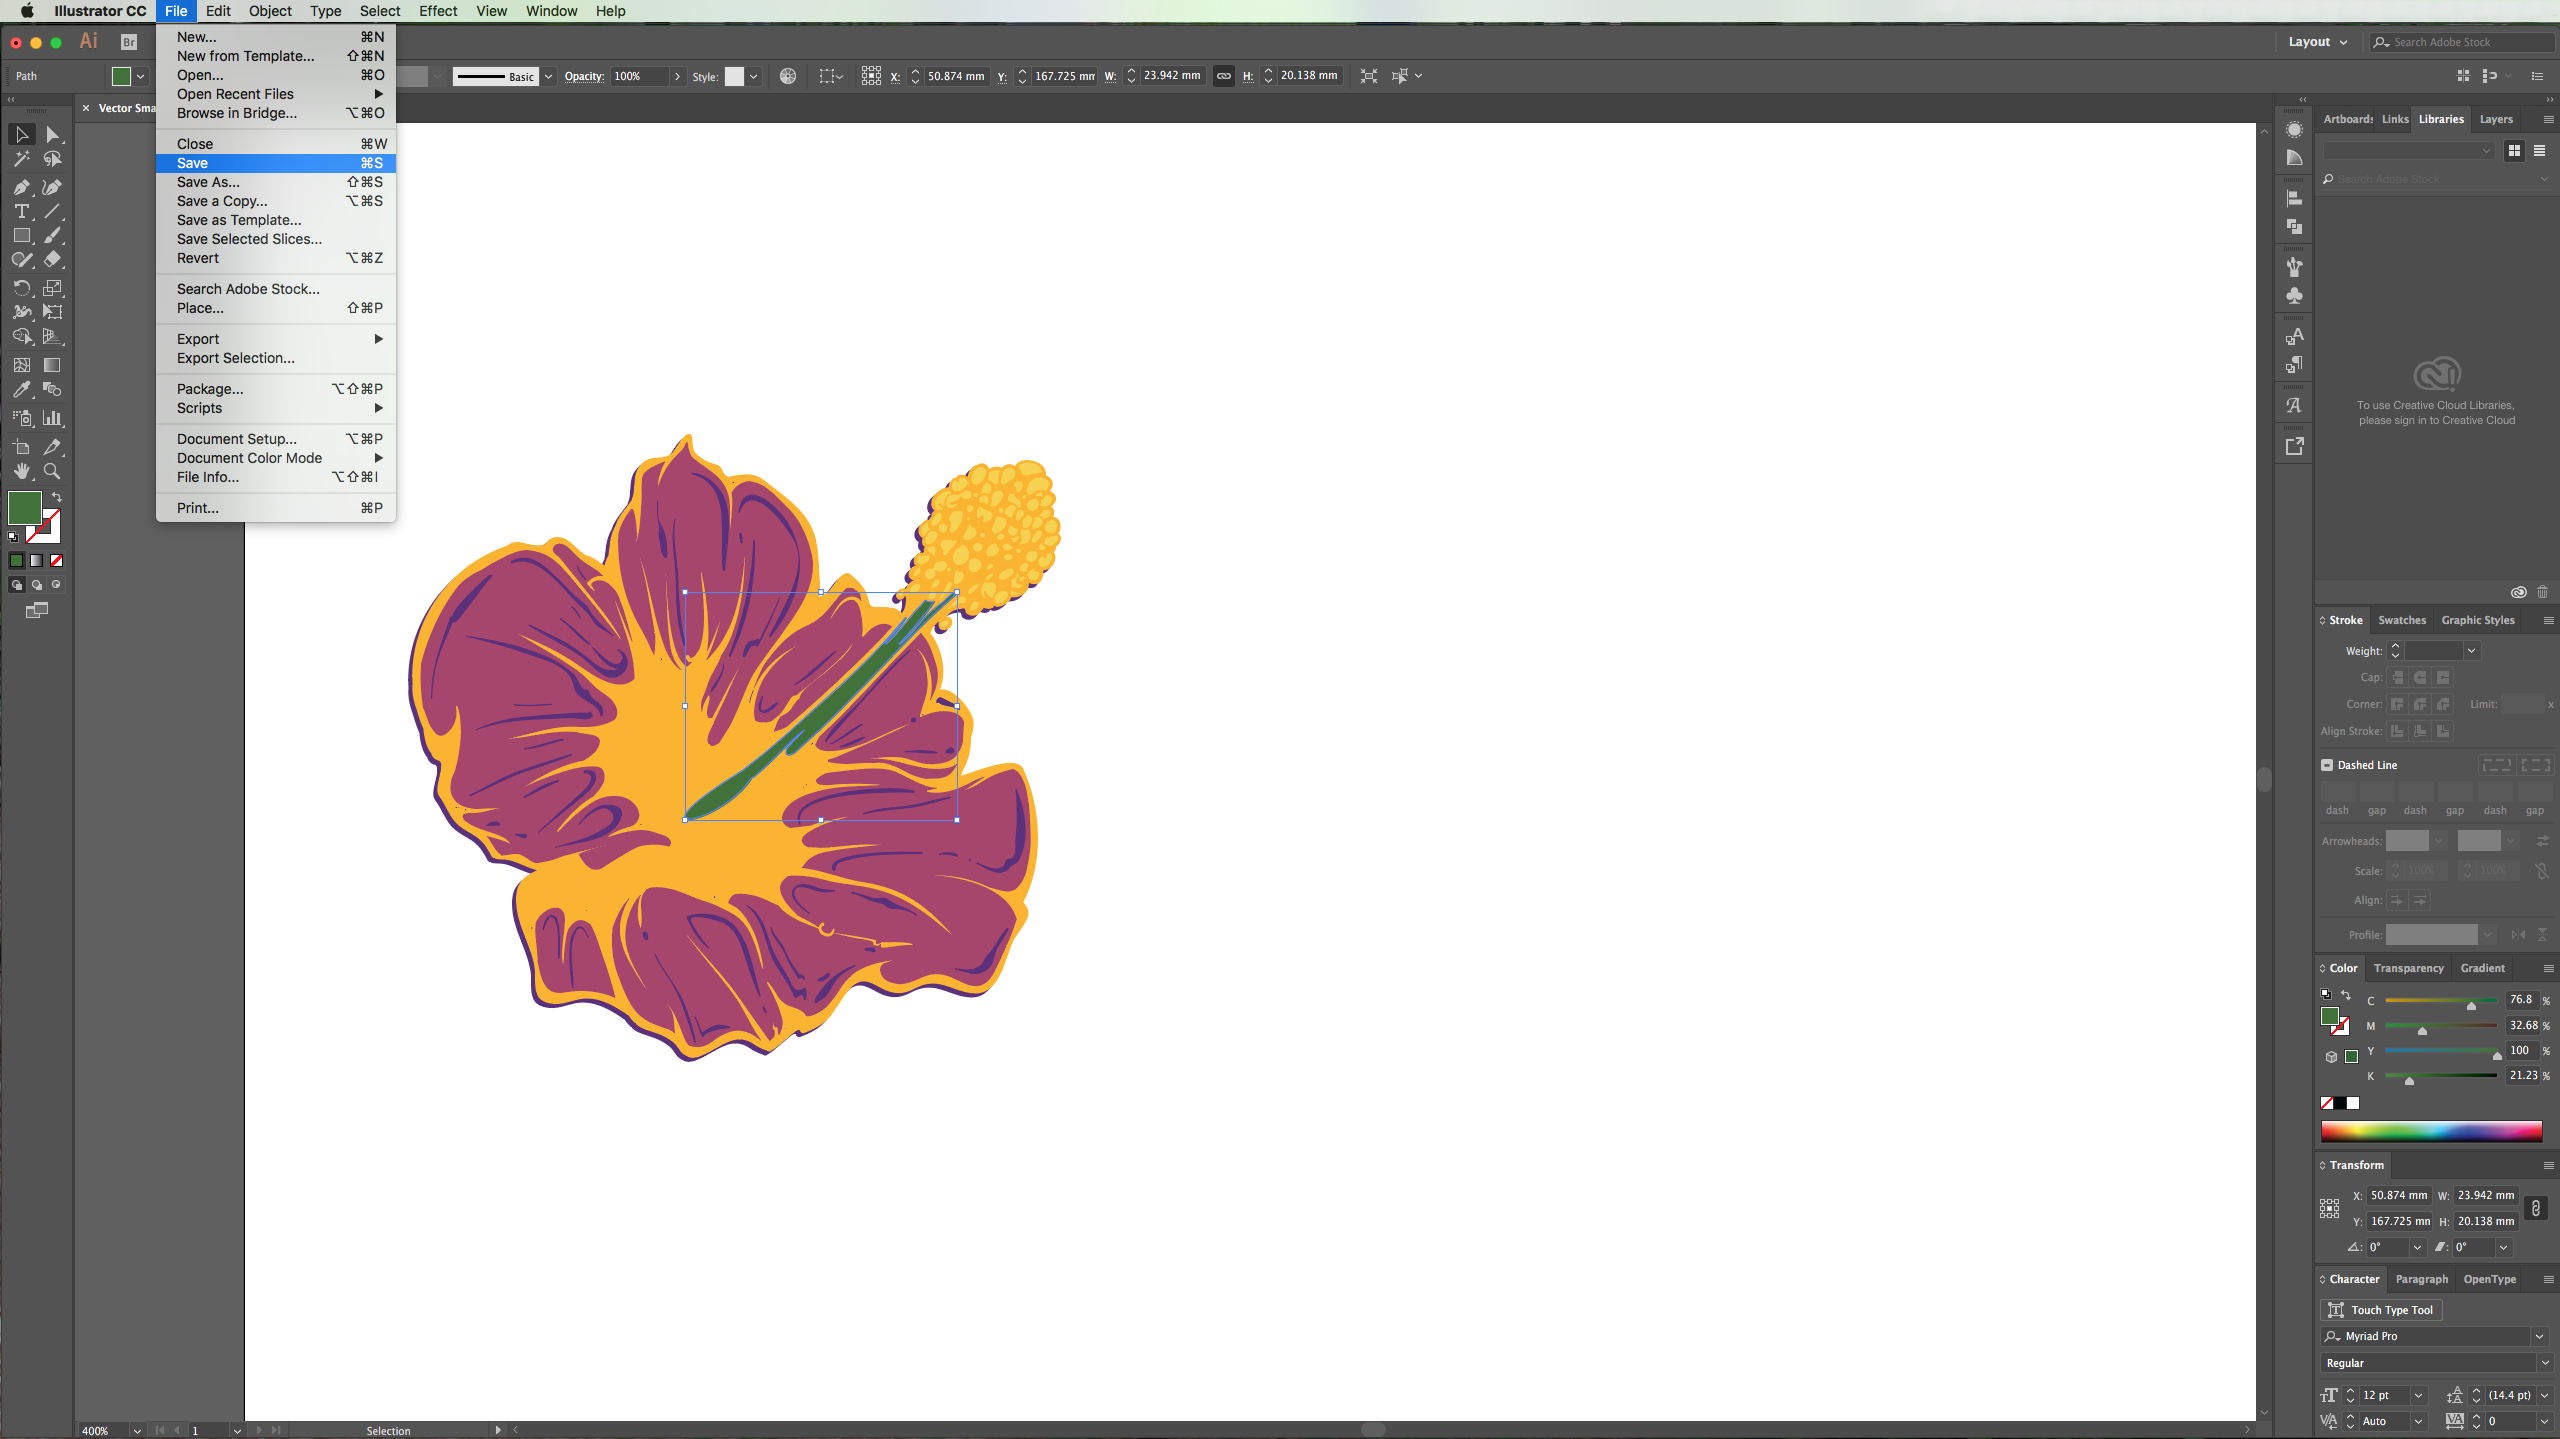
9 – Now, if you need to change something in the original vector you can double-click in the Smart Object in your Layers Panel. This will open the vector in Illustrator. Then you can make the changes and click “Save” (Command/Control + S). Go back to Photoshop and the changes will be applied to your Smart Object but the effects applied in Photoshop remain intact.
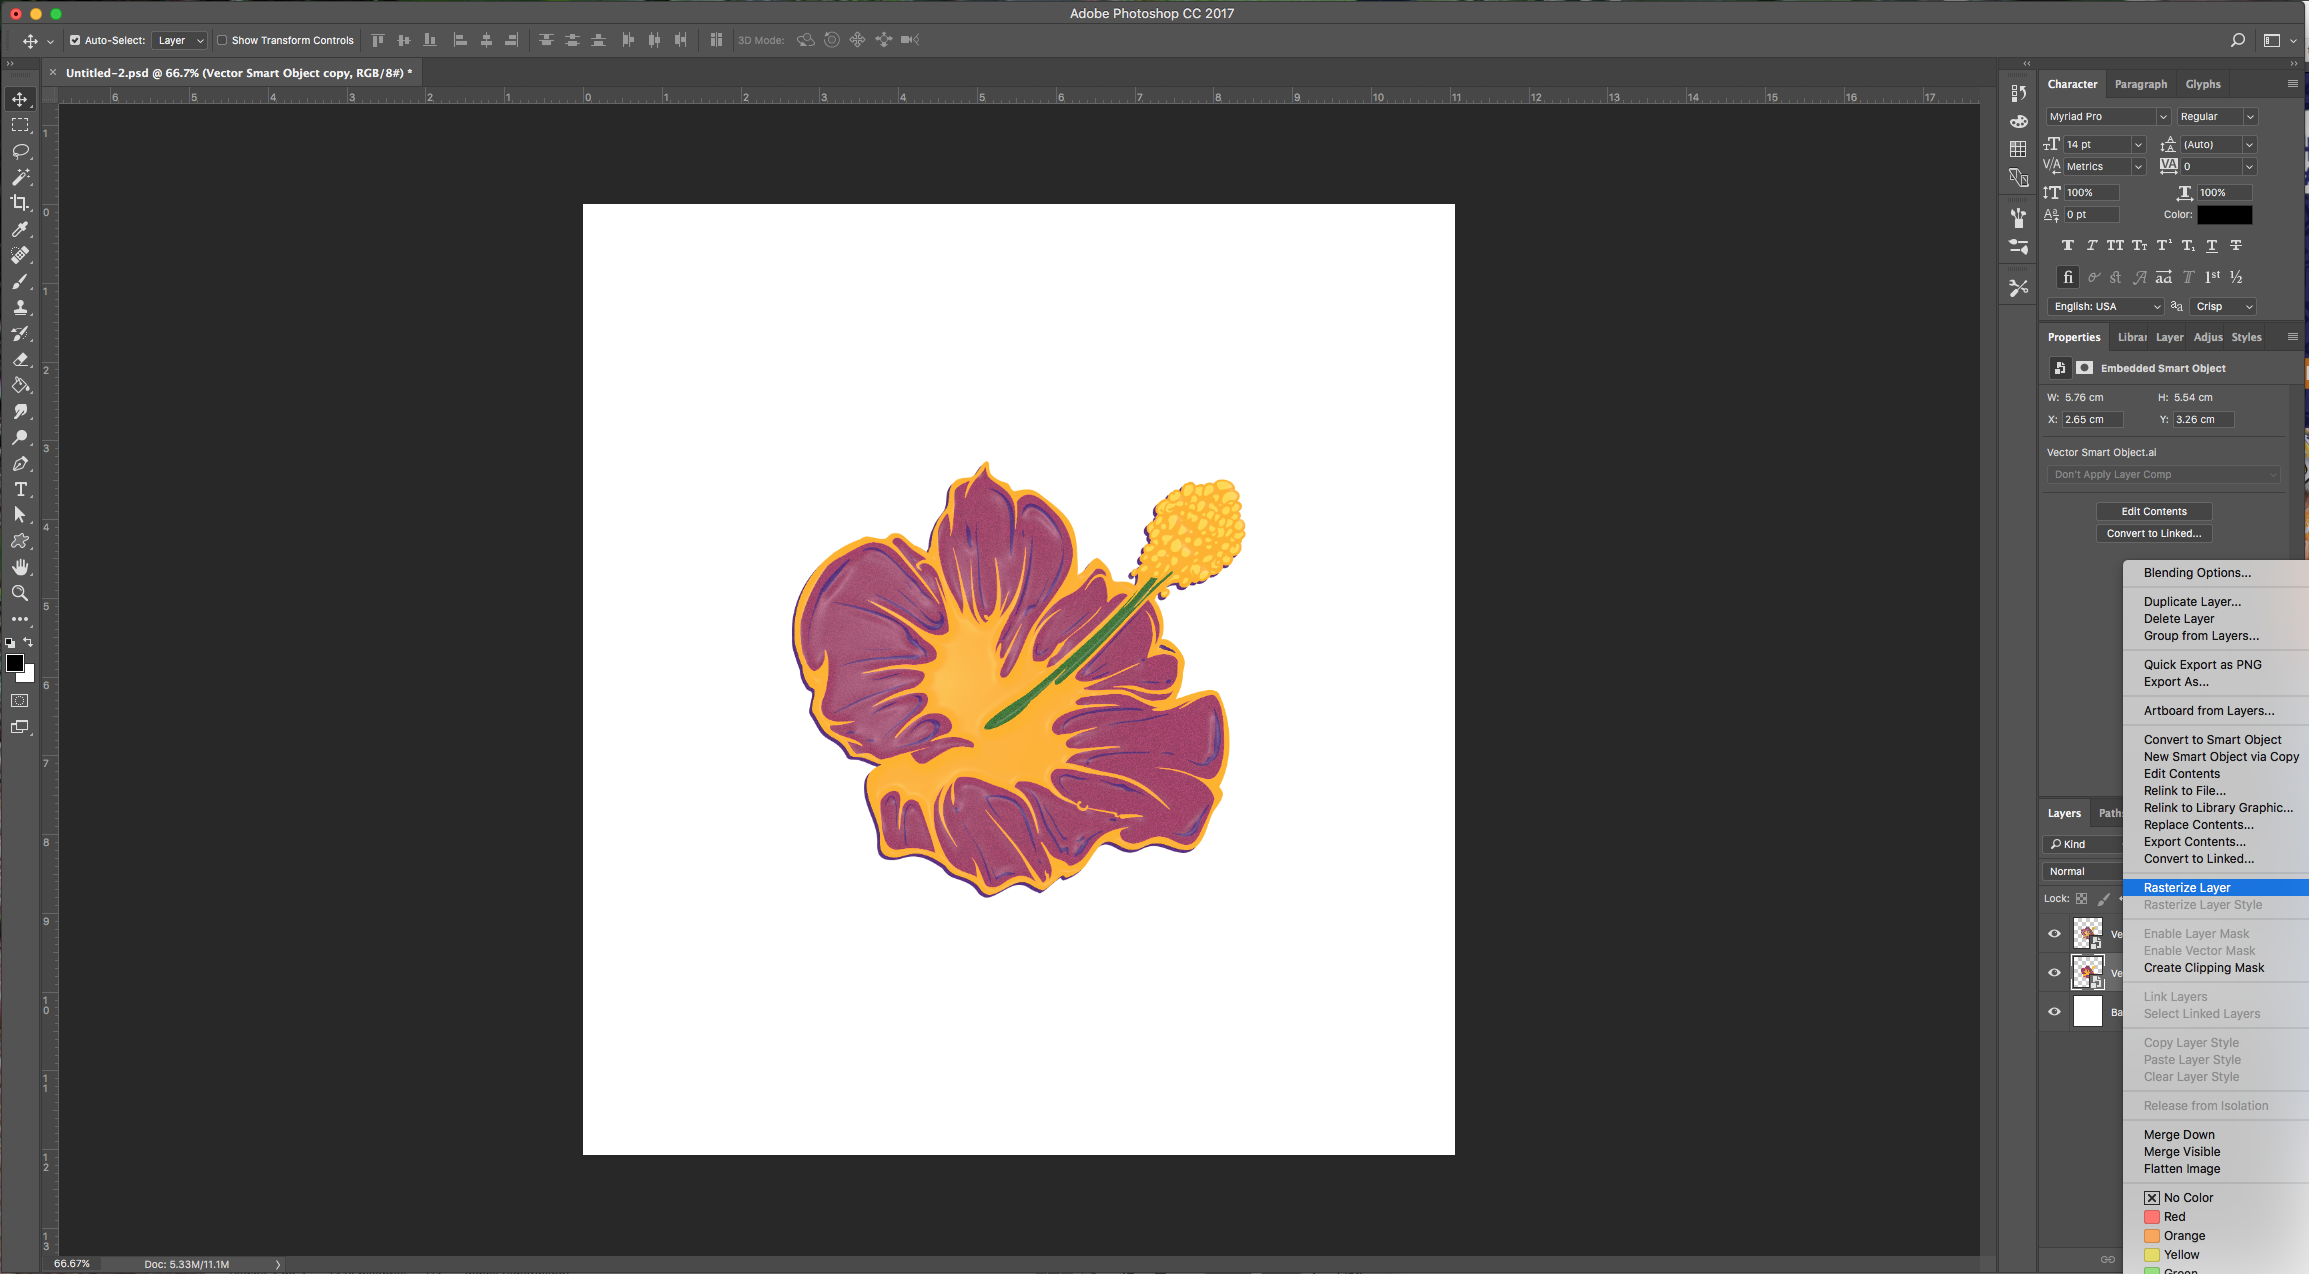
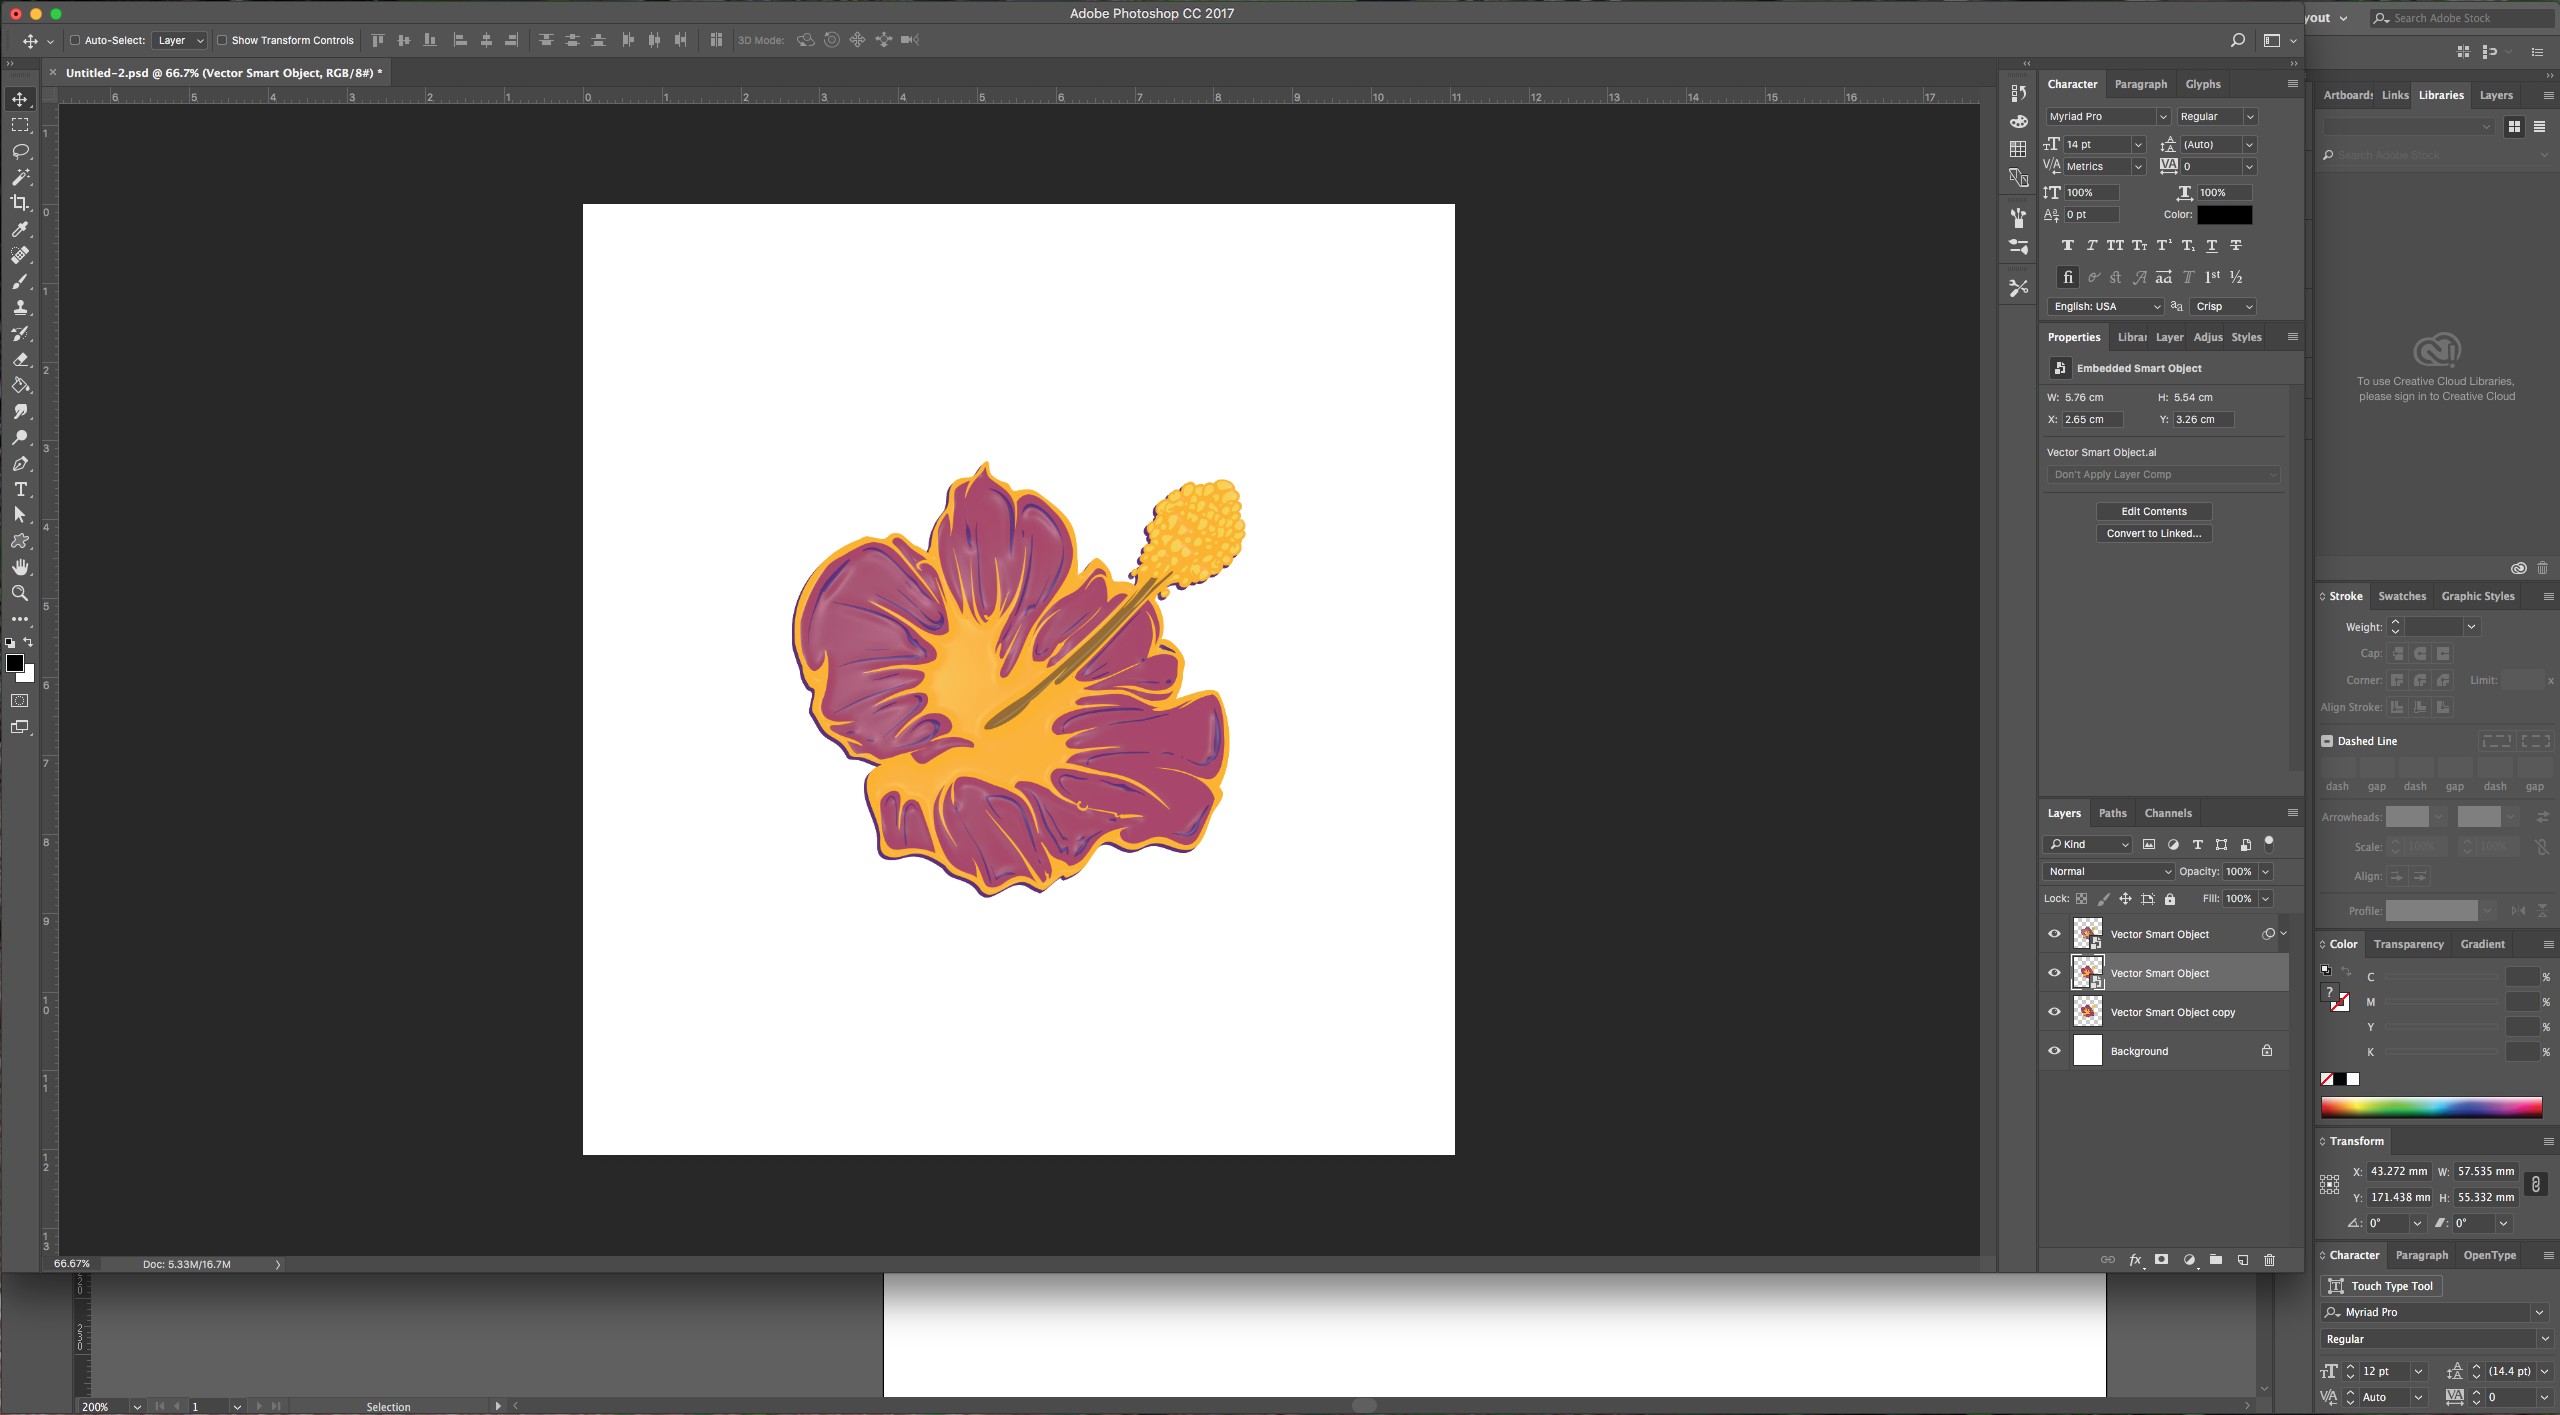
10 – Note that the changes will be reflected in both instances of your “Smart Object” since one is a copy of the other. If you don’t want this to happen you will need to Rasterize it but this will mean it is no longer a vector and you won’t be able to modify it. Or you can “Copy” another instance of the vector so it is a second “Smart Object”. Then you can keep applying affects to your artwork.


1 – In Illustrator create a new document, open the “Hand Drawn Flowers” file and copy (Command/Control + C) the flower or flowers you like. Paste them (Command/Control + V) in your blank document. Then go to File > Place (Shift + Command/Control + P) and bring in the image/s you want to use as a color reference (We chose 01.jpg, 03.jpg and 06.jpg from Instagram Photo Pack Flora vol. 1). If the image is too big, you can resize it.
2 – (First technique) With the “Eyedropper Tool” (I) select the colors you want to add to your palette. In the “Color” menu select “New Color Group”, give it a name and then choose “New Swatch” to save it. Depending on where you wish to use your artwork use CMYK or RGB. Make sure you selected the Folder of your group or you can drag and drop the swatch into the desired folder.
3 – Now you can delete your pictures if you want or keep them there for future reference. Ungroup your flowers (Shift + Command/Control + G) and start giving them the desired colors. Then go to Object > Compound Path > Release to separate the paths that are joined. Your object may become filled with the same color so you will need make sure that “Show Tooltips” is selected in Preferences > General. Then, it would be a good idea to group (Command/Control + G) the parts of the shape the are the same color. Sometimes you will need to bring a group to the front (Shift + Command/Control + ]) or send it backwards (Command/Control + [).
4 – (Second technique) We are going to use the Live Color Tool to adjust the colors of out artwork, one of the many benefits of doing this is that it will suggest colors that complement or contrast the ones you chose based on “color harmony rules”. Go to Edit > Edit Colors > Recolor Artwork. With the “Live Color” panel open, click the “Edit” tab to bring out the color wheel. You will see the colors in your group, the largest circular anchor indicates your “Base Color”. If you want to change it right-click on the color of your choice and select “Set Base Color”.
5 – With the “Base Color” selected click on the drop down arrow on top and check the different “Color Groups” suggested. You can select a group (and edit or tweak later) or create your own. After you selected the group you can edit the colors in several ways, you can click and drag the “Base Color” anchor to change the “Hue” and “Saturation” of the whole group or select colors individually and change them. (The other colors will change in accordance unless you select “Unlink Harmony Colors” box at the bottom right of the wheel. Once you are happy with your colors, click the “New Color Group” button and hit OK to apply the colors to your artwork. Now we know two different ways to create “Color Groups” to use with our artwork.
6 – Now, (don’t forget to save your work) copy (Command/Control + C) one of your flowers, open Photoshop, create a “New Document” and then paste /Command/Control + P) the contents of you “Clipboard” into your Photoshop file. A dialog will appear and you need to choose “Smart Object”, then click enter.
7 – If your “Color Mode” in Illustrator was CMYK you may need to convert it to RGB in order to apply some filters. Go to Image > Mode > RGB and choose “Don’t Flatten” and “Don’t Rasterize” when you are prompted.
8 – You can play with your image and apply some filters and effects. First, we made a copy of our “Smart Object” by dragging the layer to the “New Layer” button at the bottom. Then, we applied some filters: (Filter > Filter Gallery and apply “Film Grain” then we applied “Plastic Wrap” to the duplicate layer, set the “Blending Mode” to “Lighten” and turn the “Opacity” to 40%. You can keep working in Photoshop with your artwork.
9 – Now, if you need to change something in the original vector you can double-click in the Smart Object in your Layers Panel. This will open the vector in Illustrator. Then you can make the changes and click “Save” (Command/Control + S). Go back to Photoshop and the changes will be applied to your Smart Object but the effects applied in Photoshop remain intact.
10 – Note that the changes will be reflected in both instances of your “Smart Object” since one is a copy of the other. If you don’t want this to happen you will need to Rasterize it but this will mean it is no longer a vector and you won’t be able to modify it. Or you can “Copy” another instance of the vector so it is a second “Smart Object”. Then you can keep applying affects to your artwork.
by @lornacane


