
Create Color Schemes with Blend Tool in Illustrator
In this Tutorial, we are going to create a “Color Scheme” between two colors so you can use in your projects. We are using three different options available in the tool, the “Smooth Color”, Specified Steps” and the “Specified Distance” options.
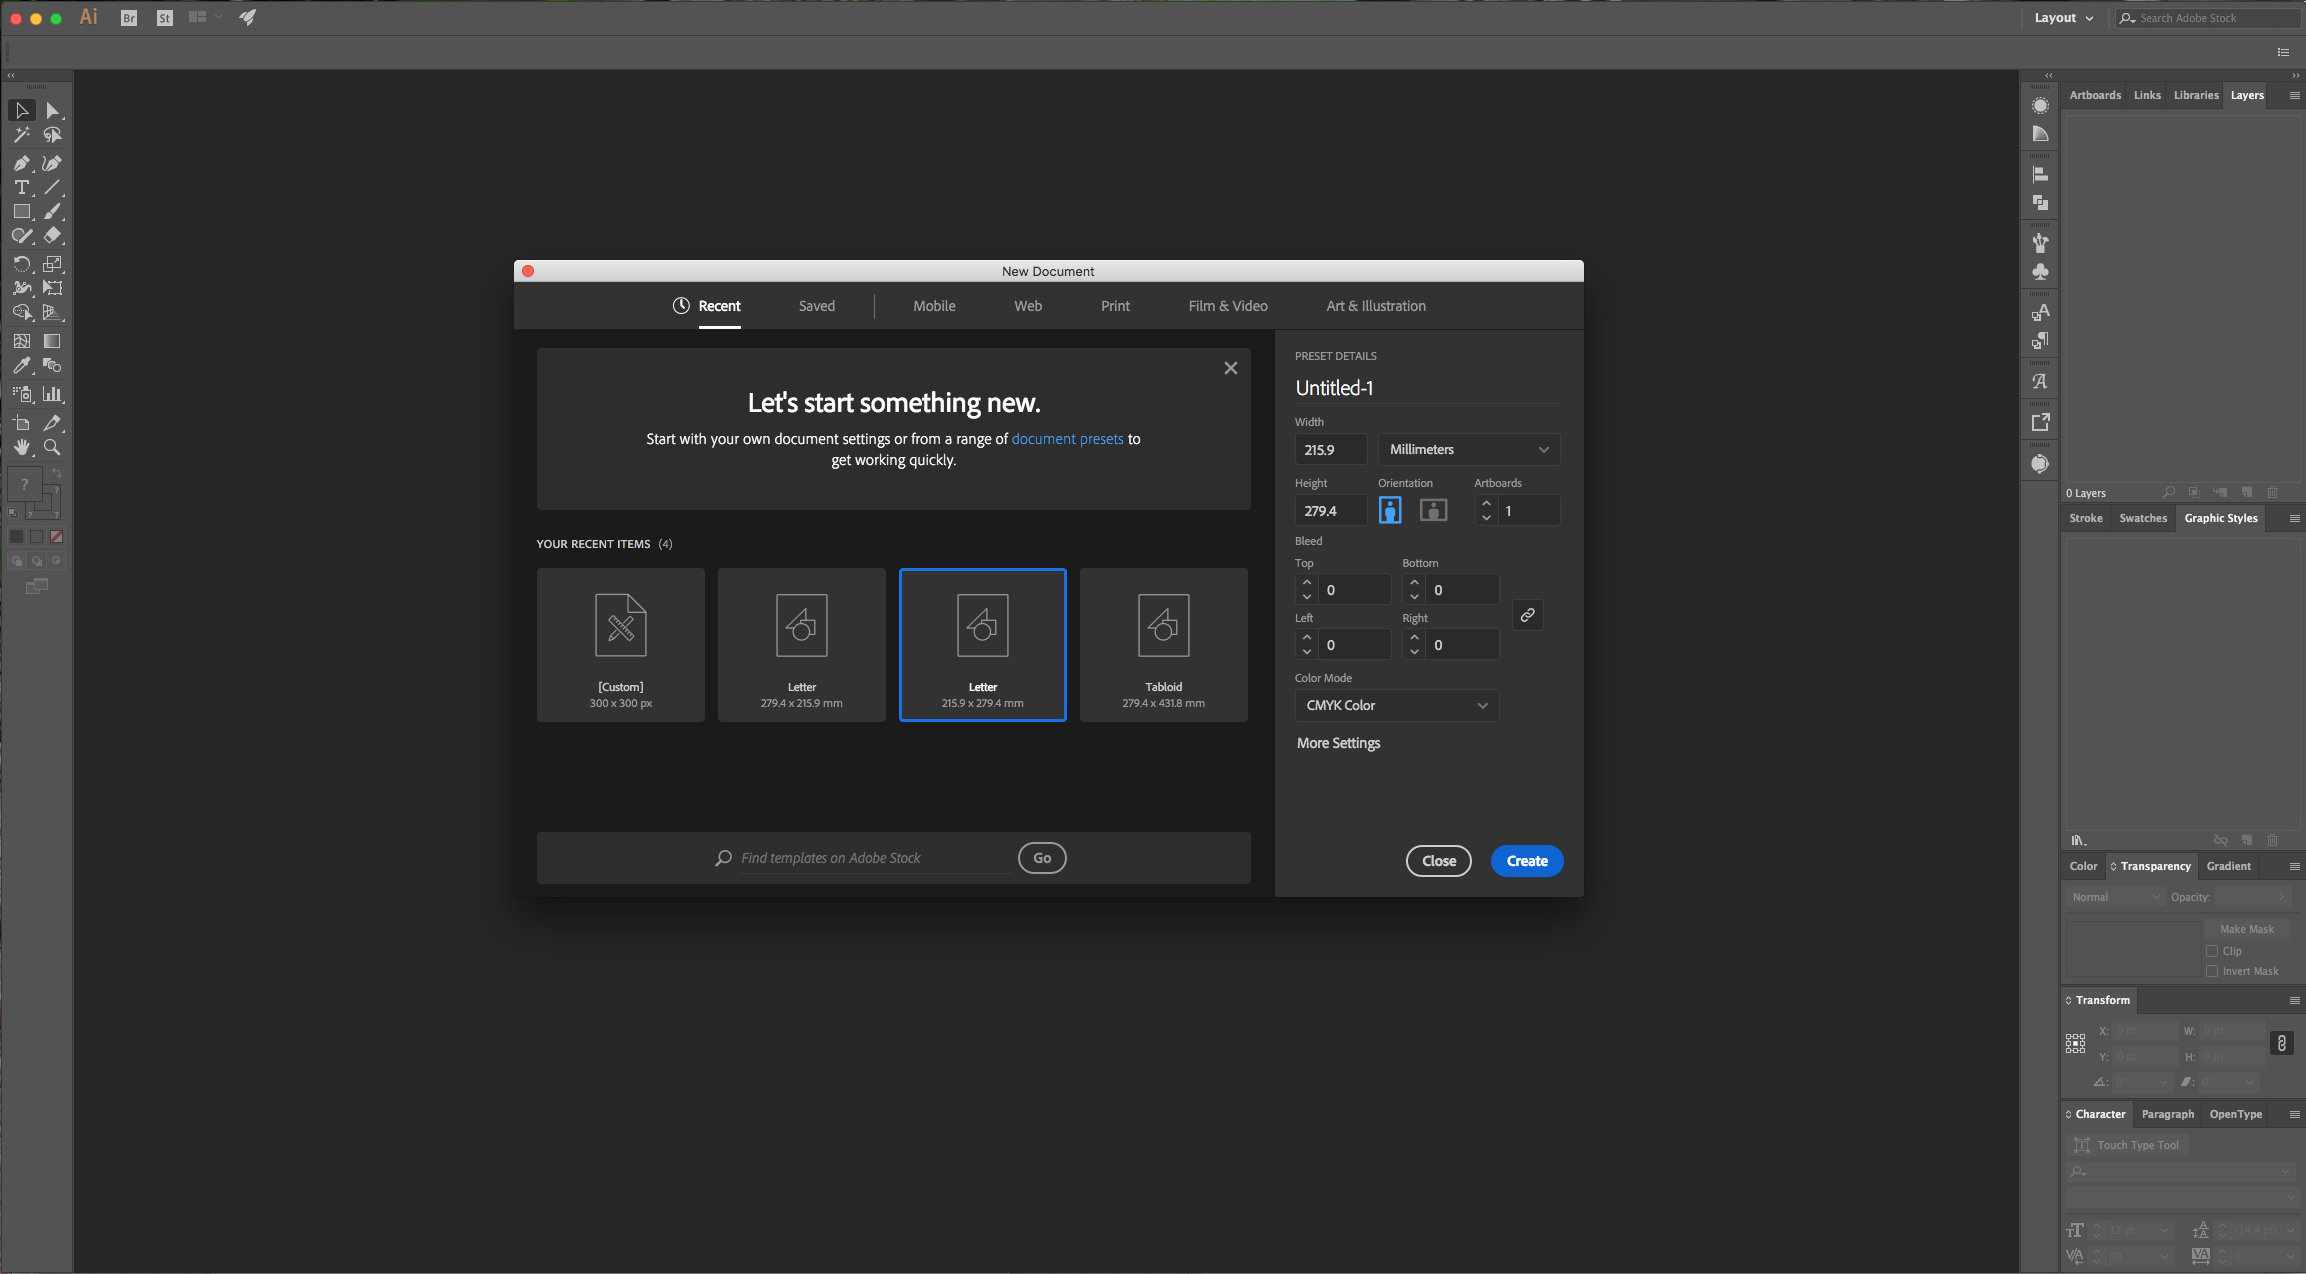
1 - In Illustrator, create a “New Document”.
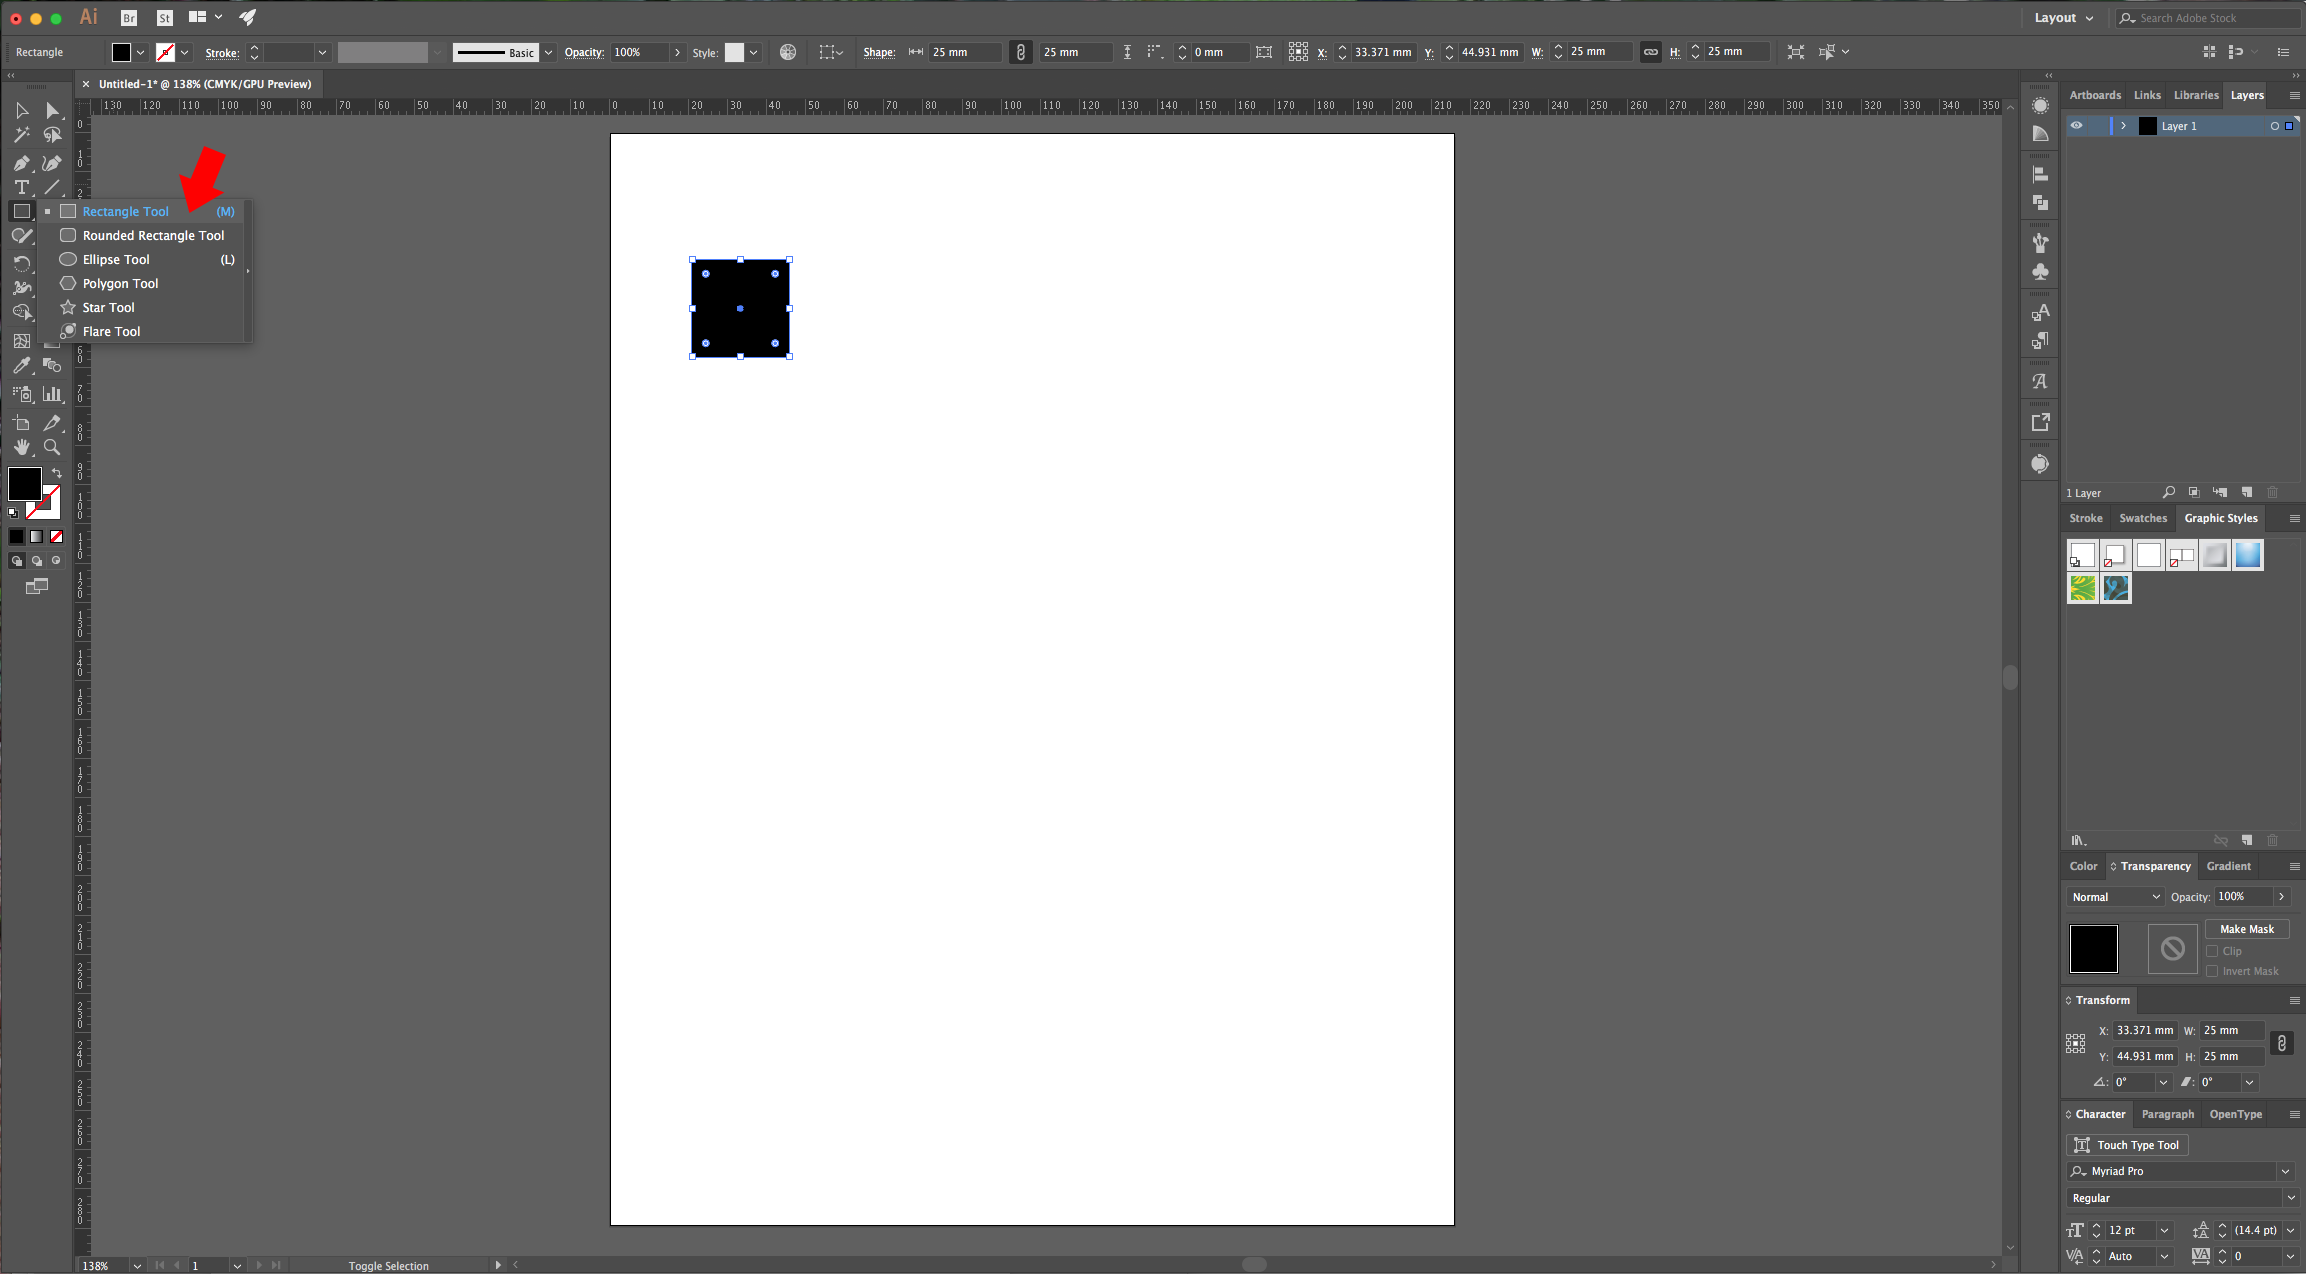
2 - Select the “Rectangle Tool” (M) and draw a square by dragging your cursor from the top-left to the lower right while holding the “Shift” key.
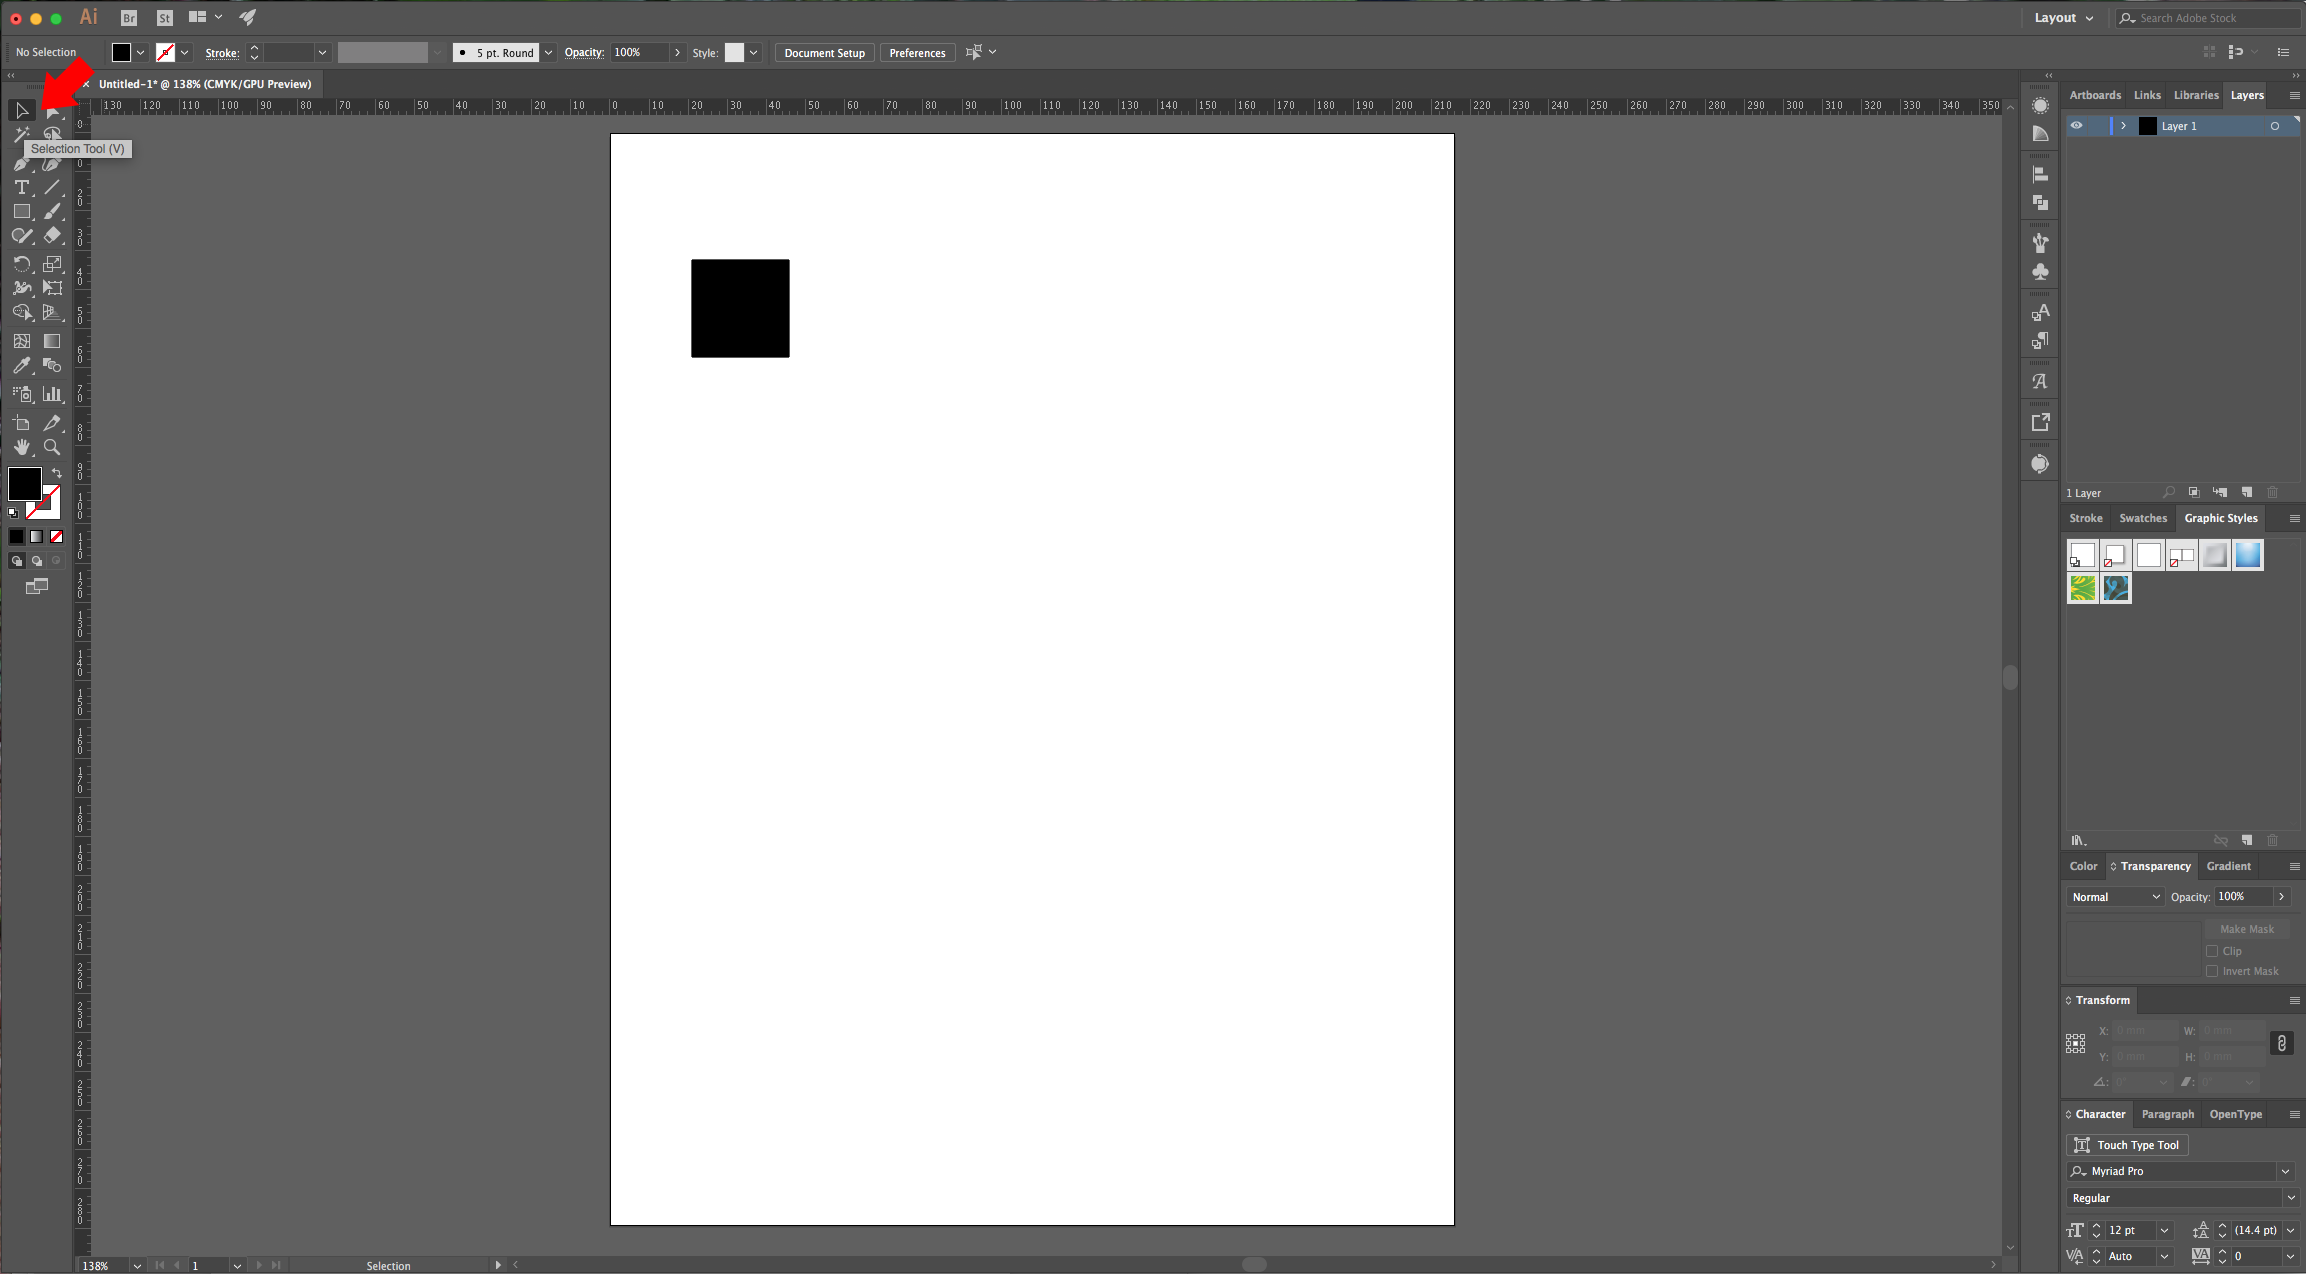
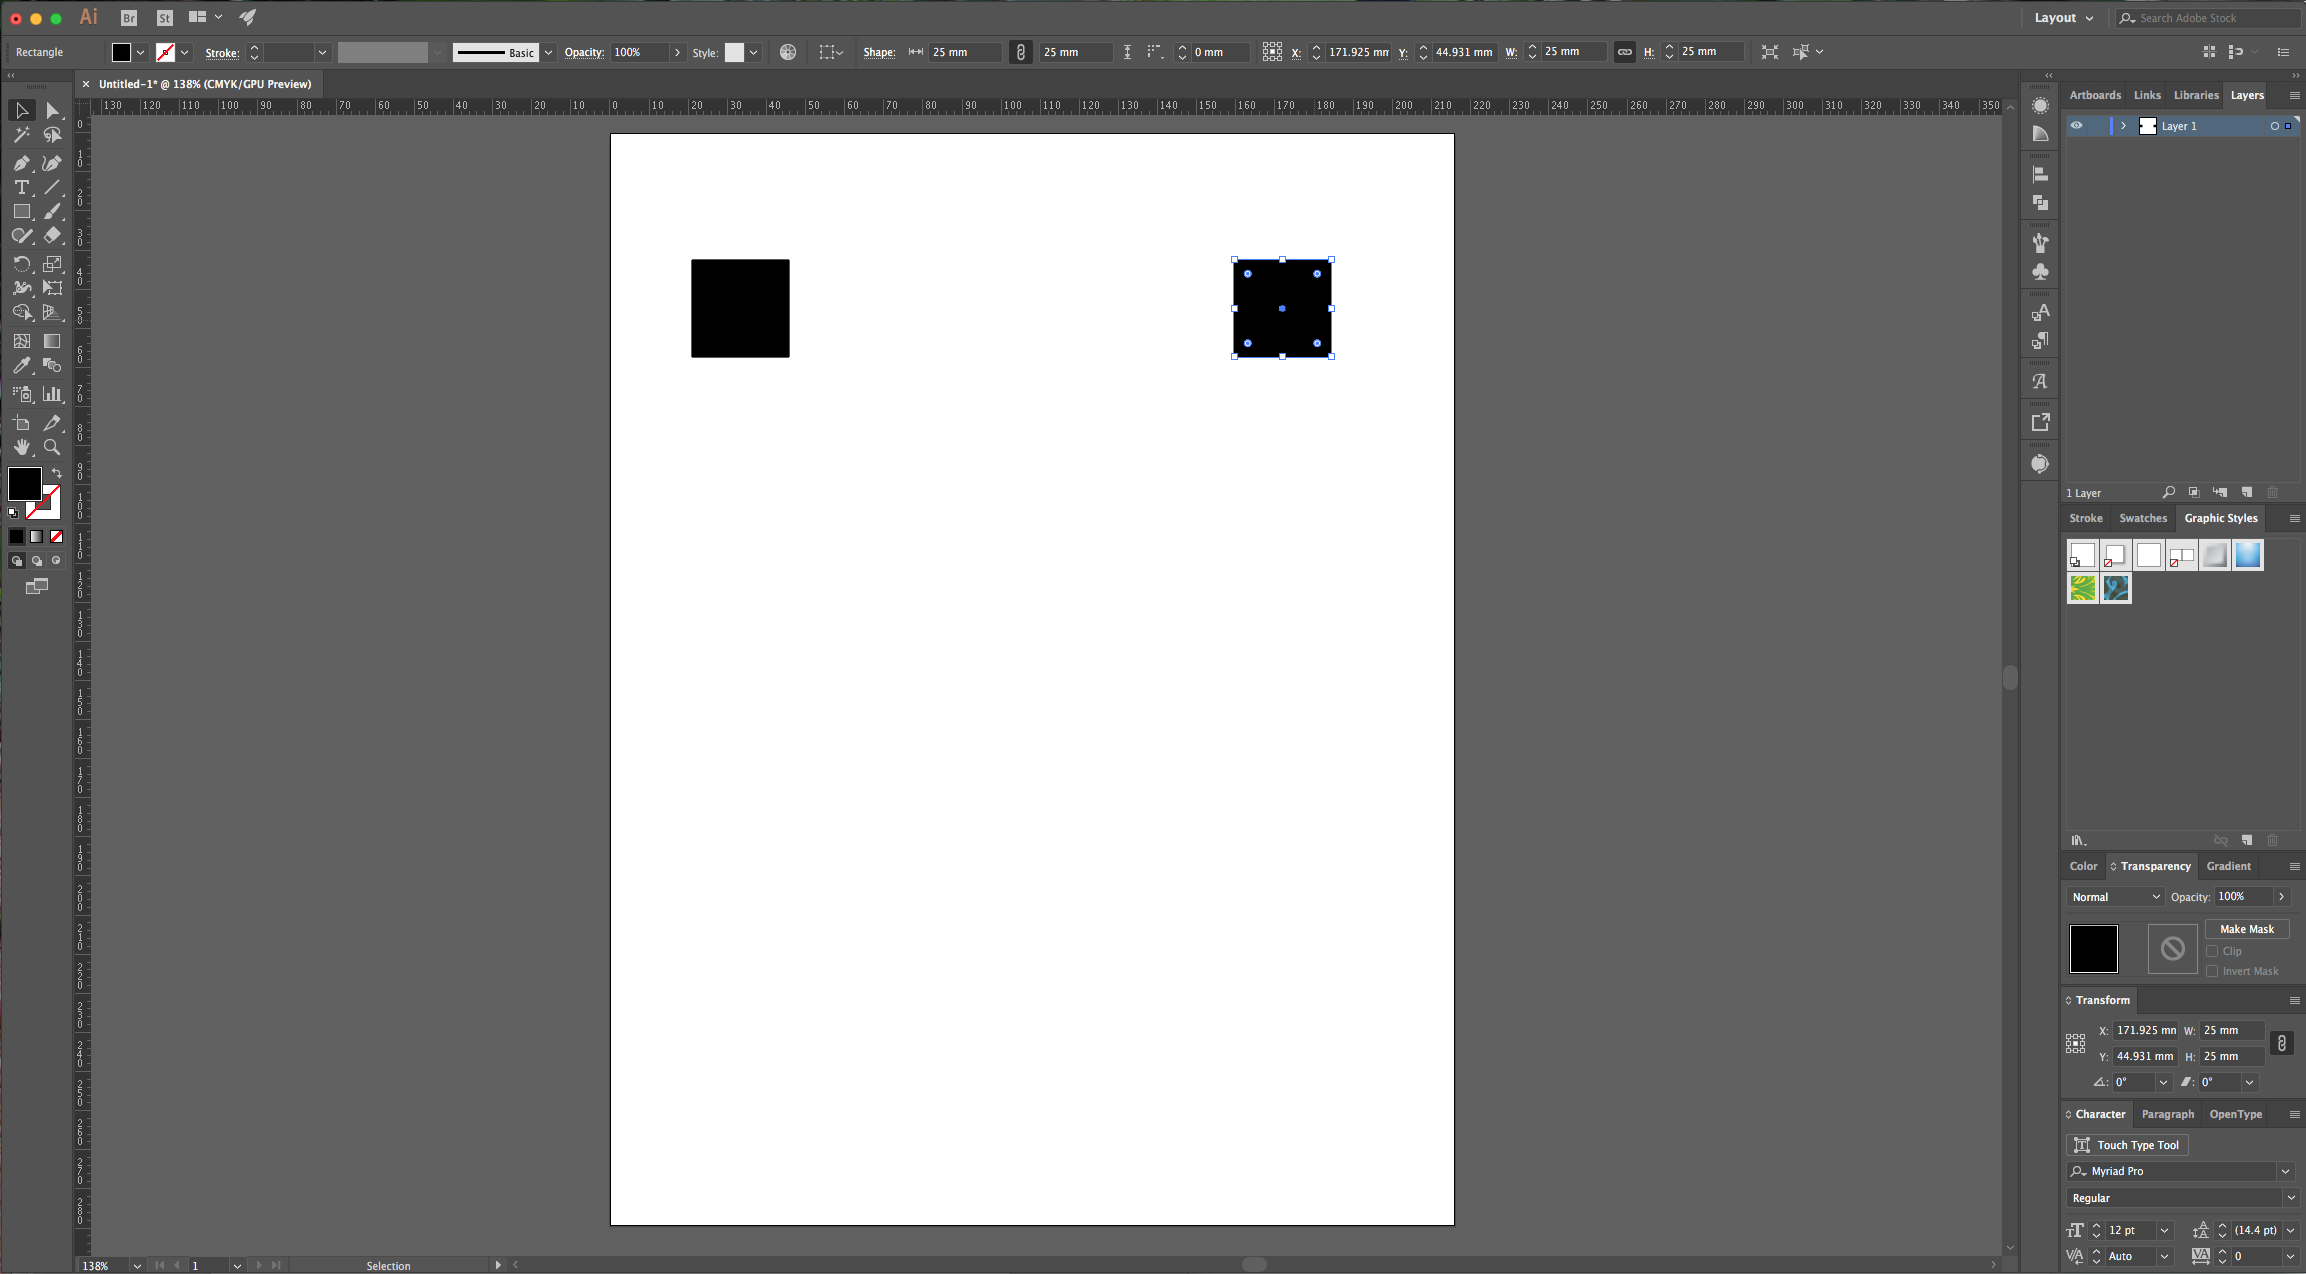
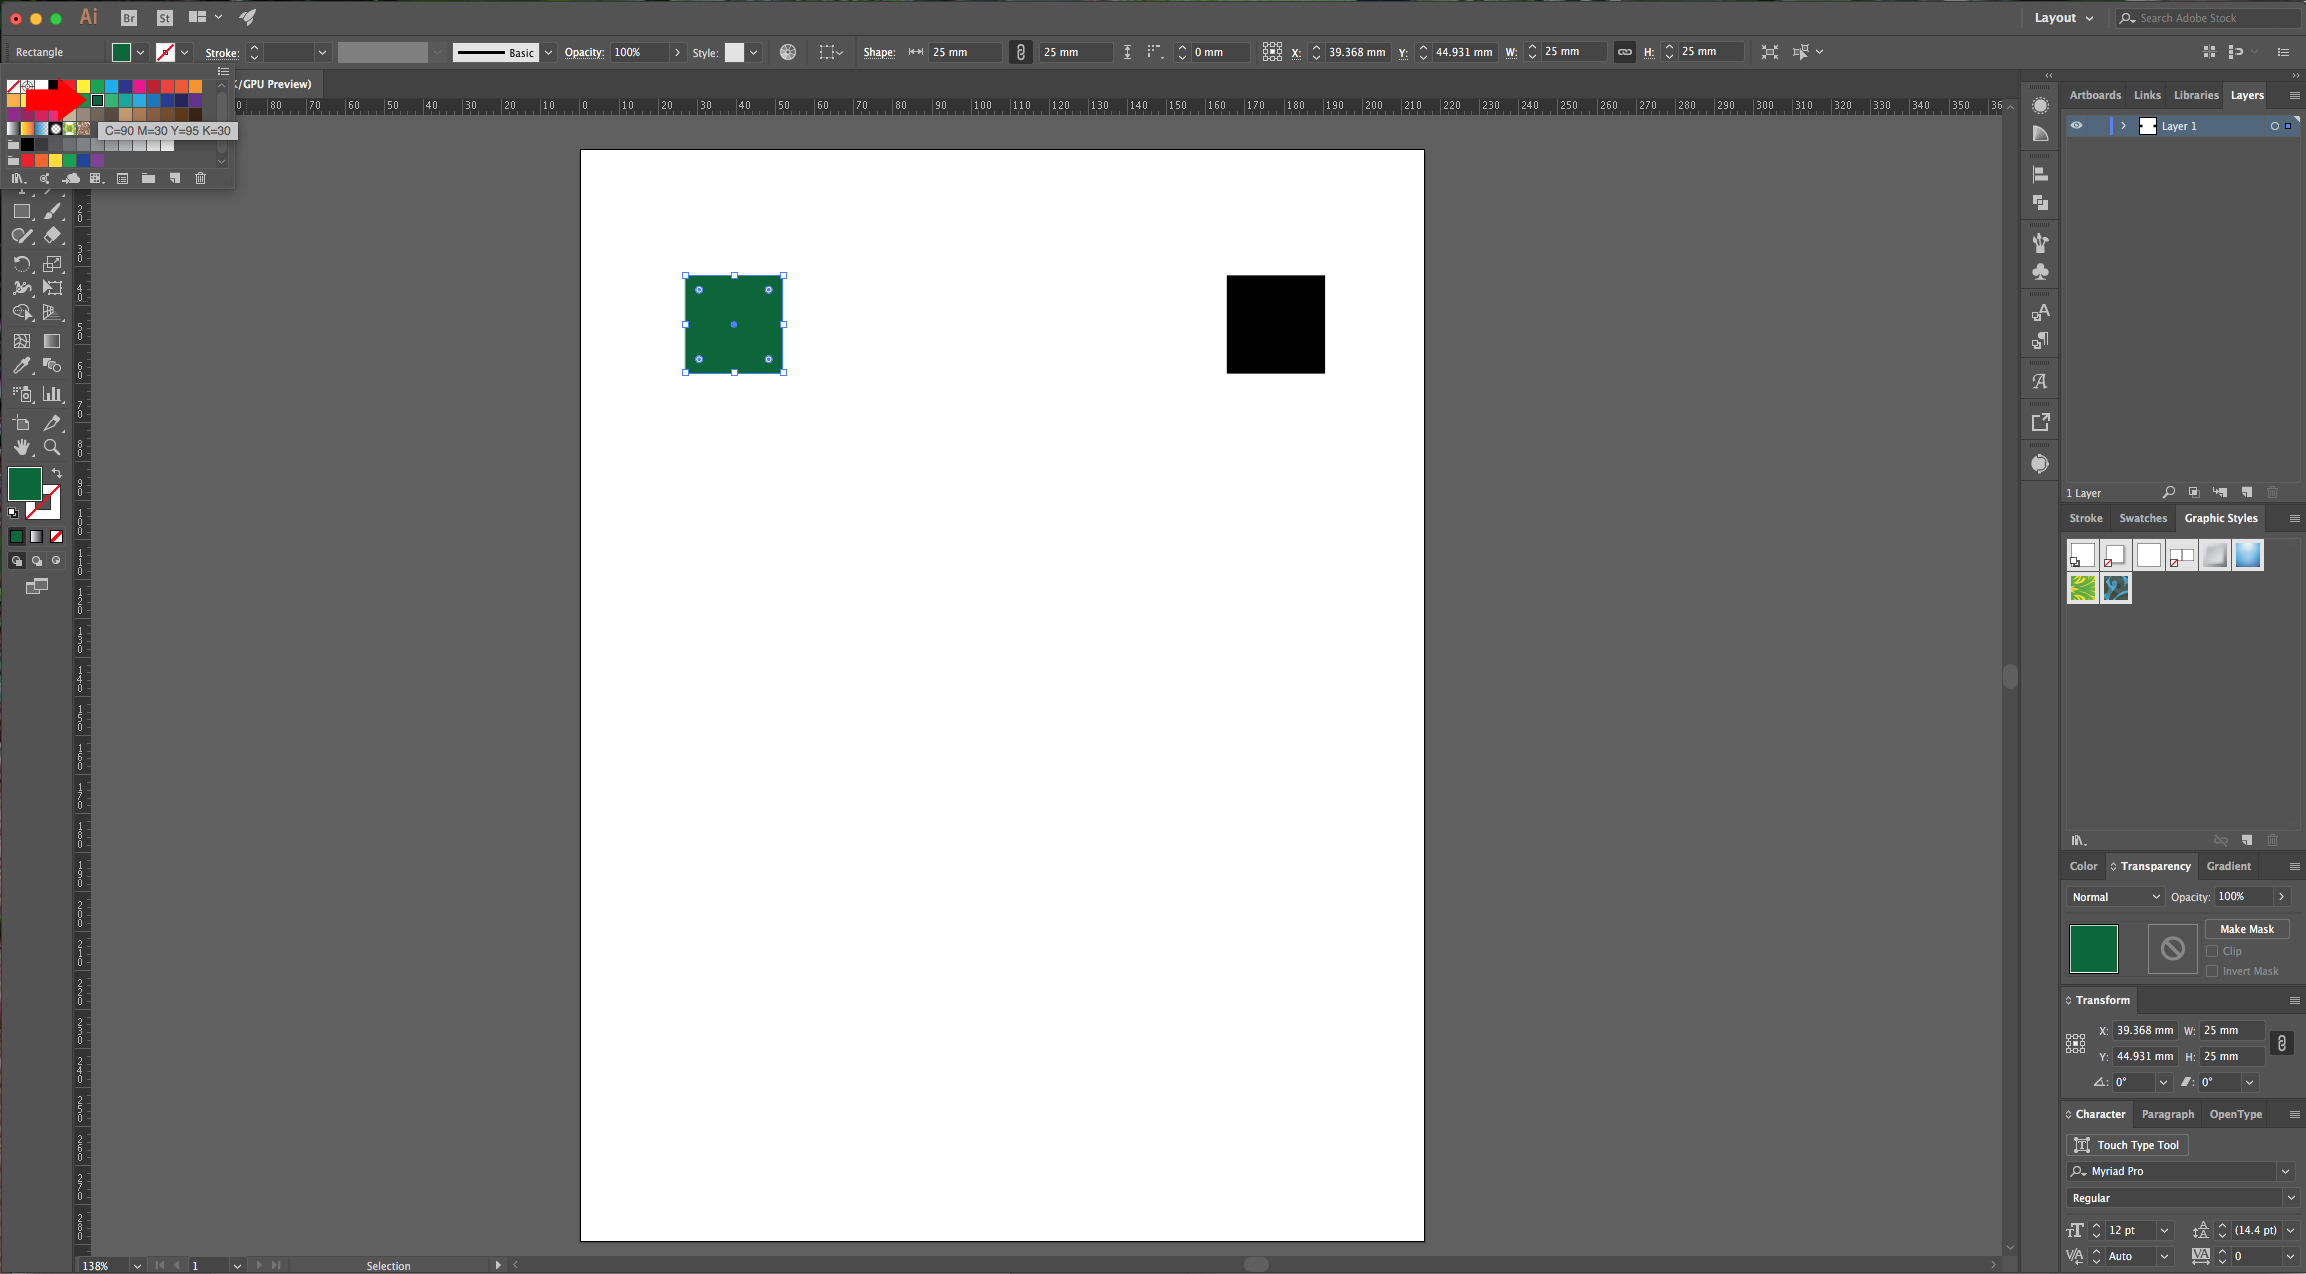
3 - Switch to the “Selection Tool”, hold the “Alt” key and click-drag the first square to the right to duplicate it. To keep the new square horizontally aligned with the first one, press the “Shift” key during the process. Leave enough space so you can fit about 5 or 6 squares between both.
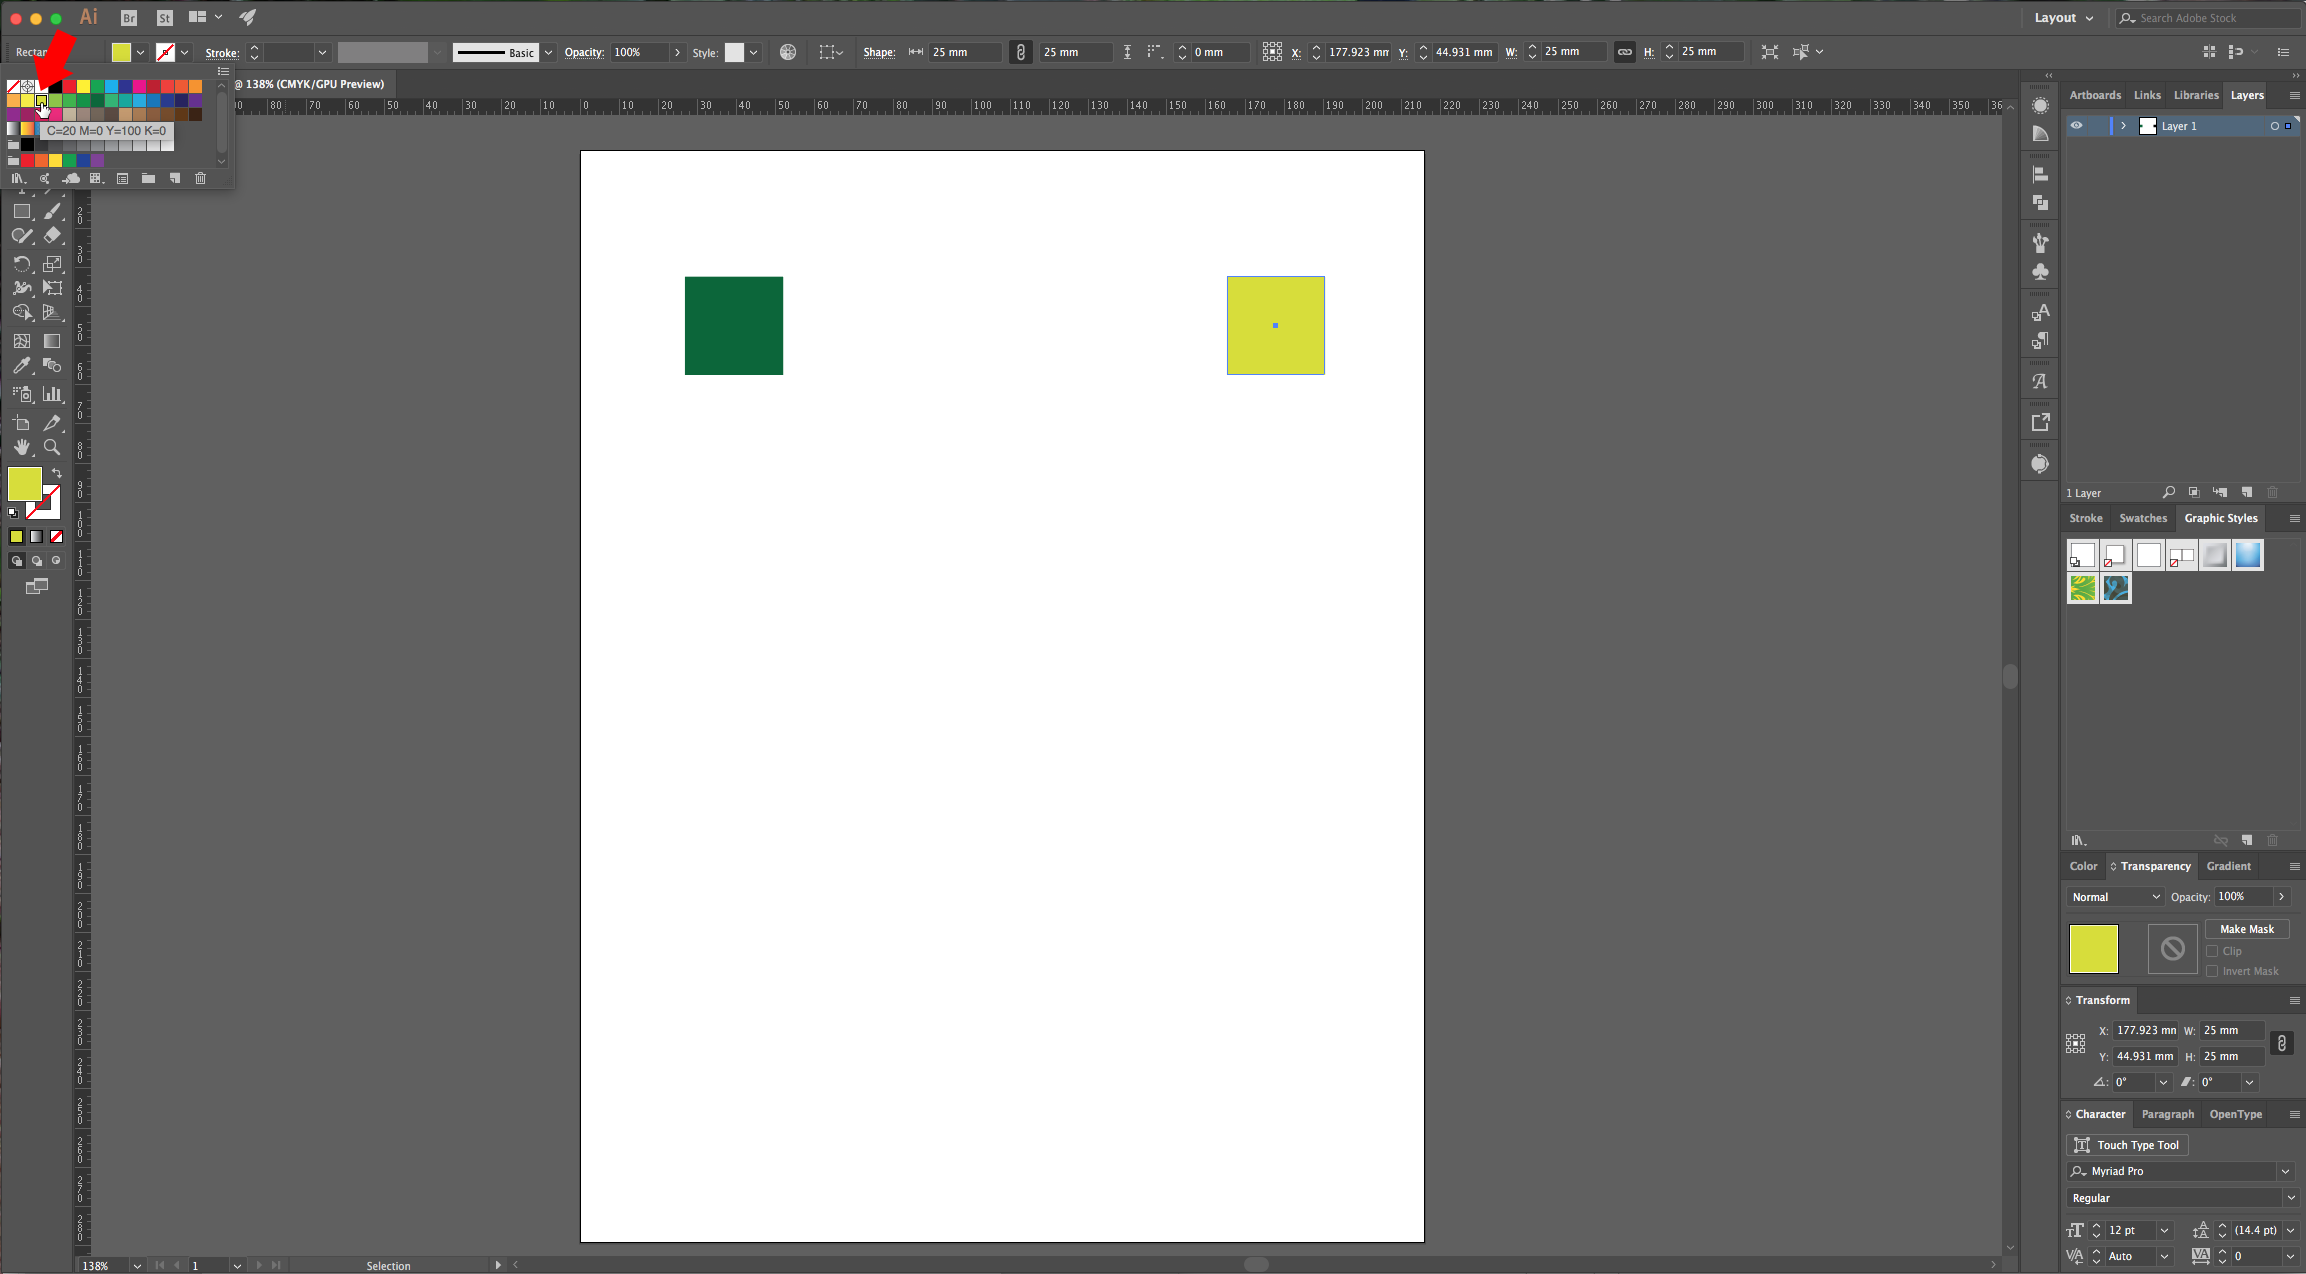
4 - Select the first square and fill it with your starting color (make sure that the “Stroke” is set to “None”). Then, select the second square and fill it with the other color you want to use in your Palette.
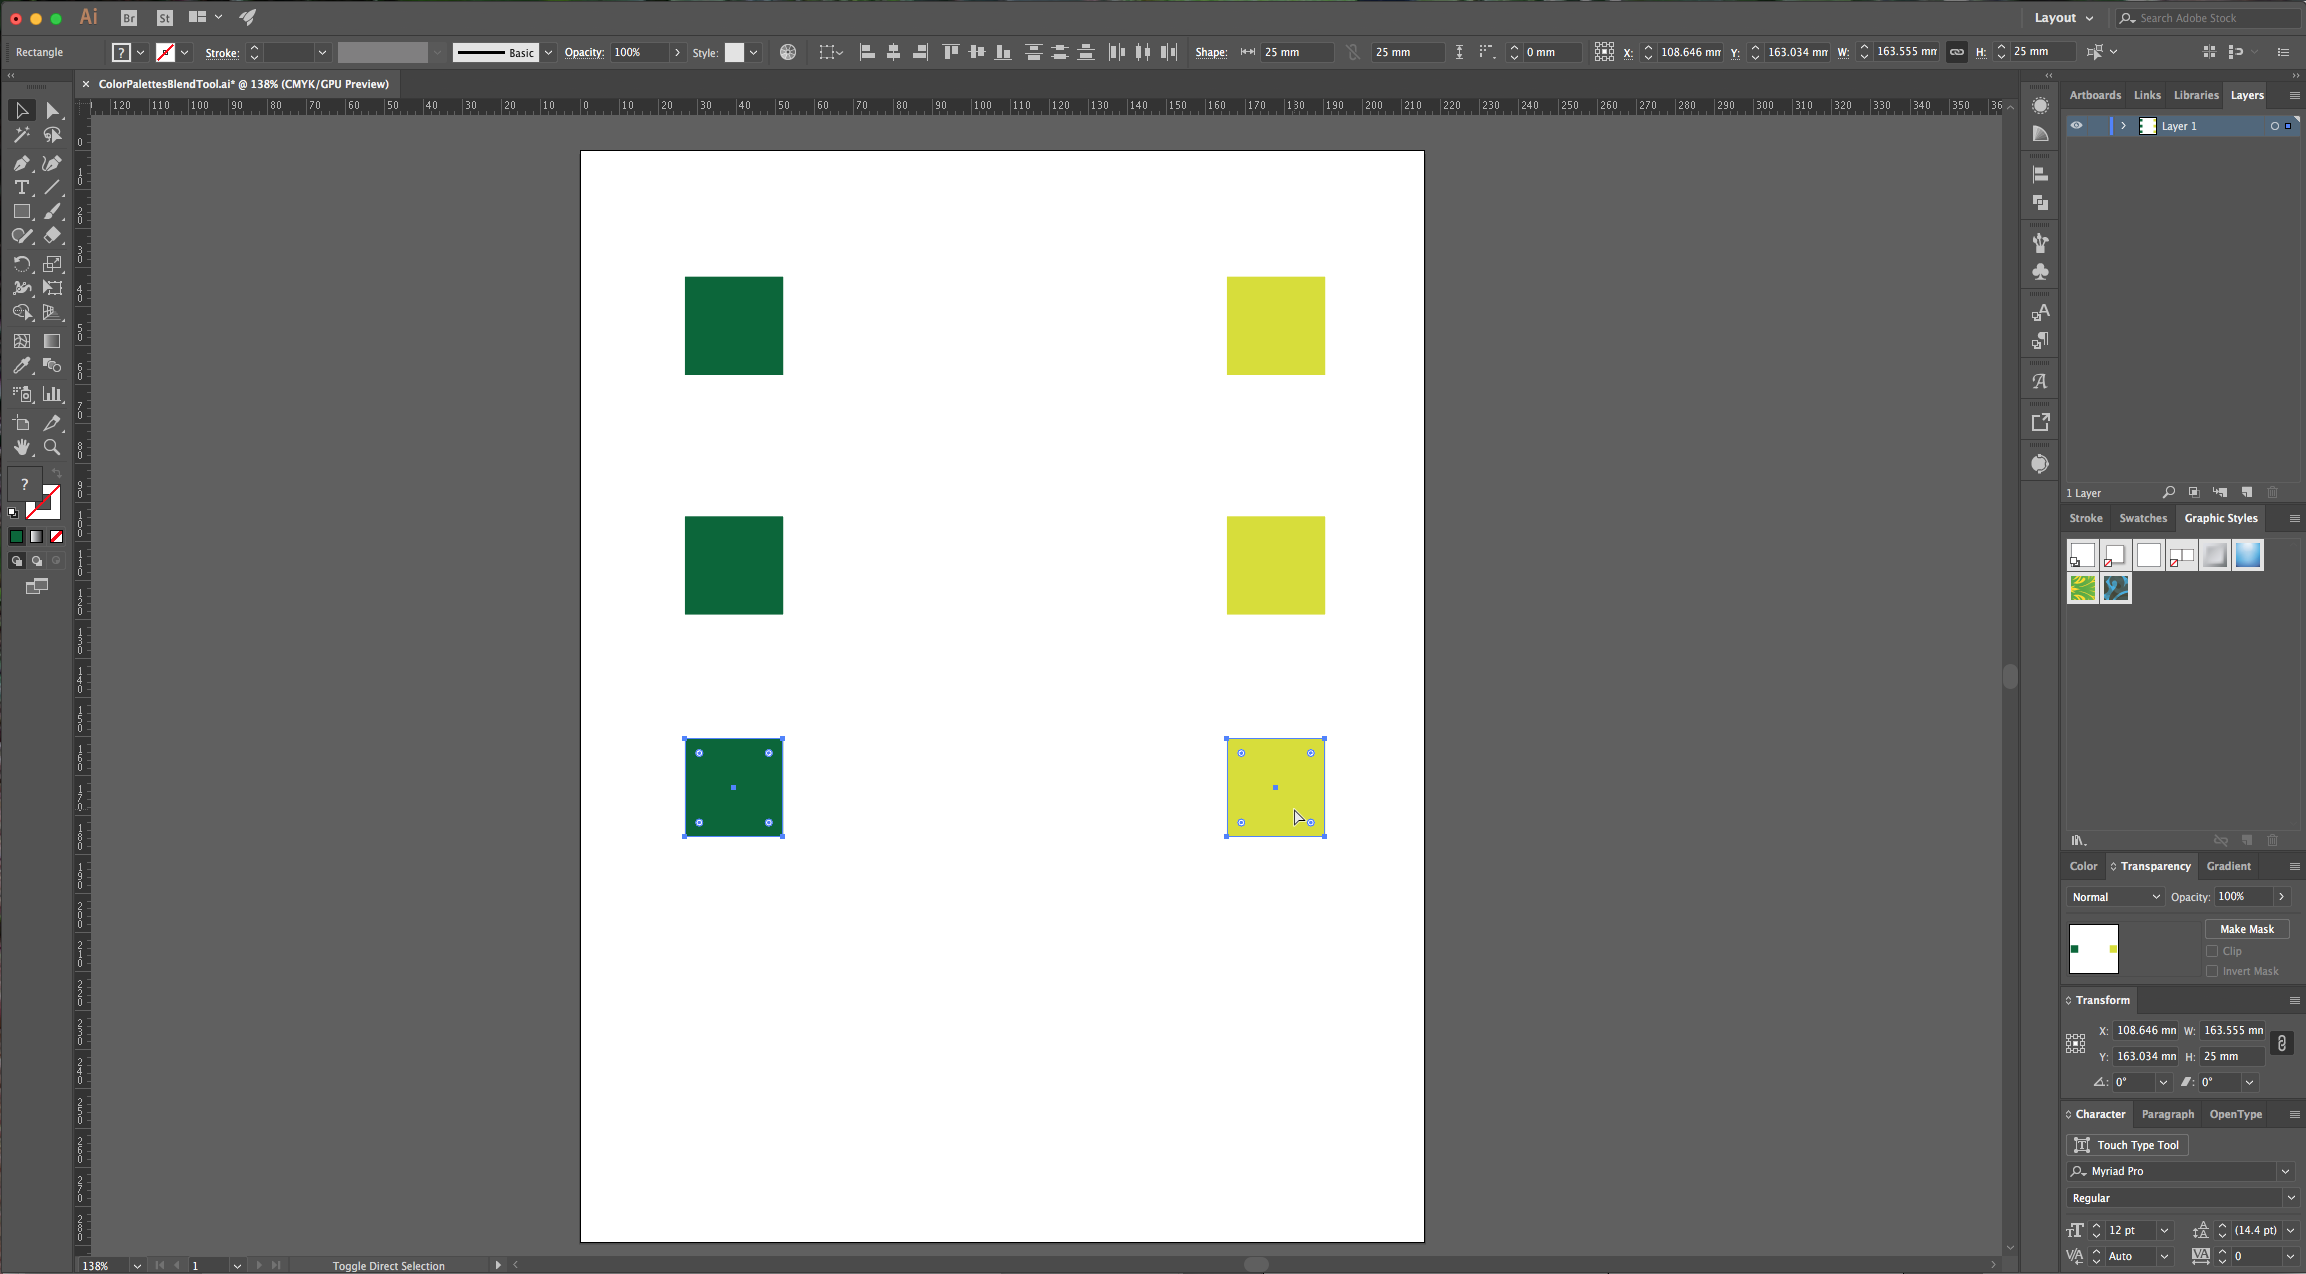
5 - Select both squares and duplicate them twice (using the same method used in “Step 3”), but drag them down to be used in the other examples.
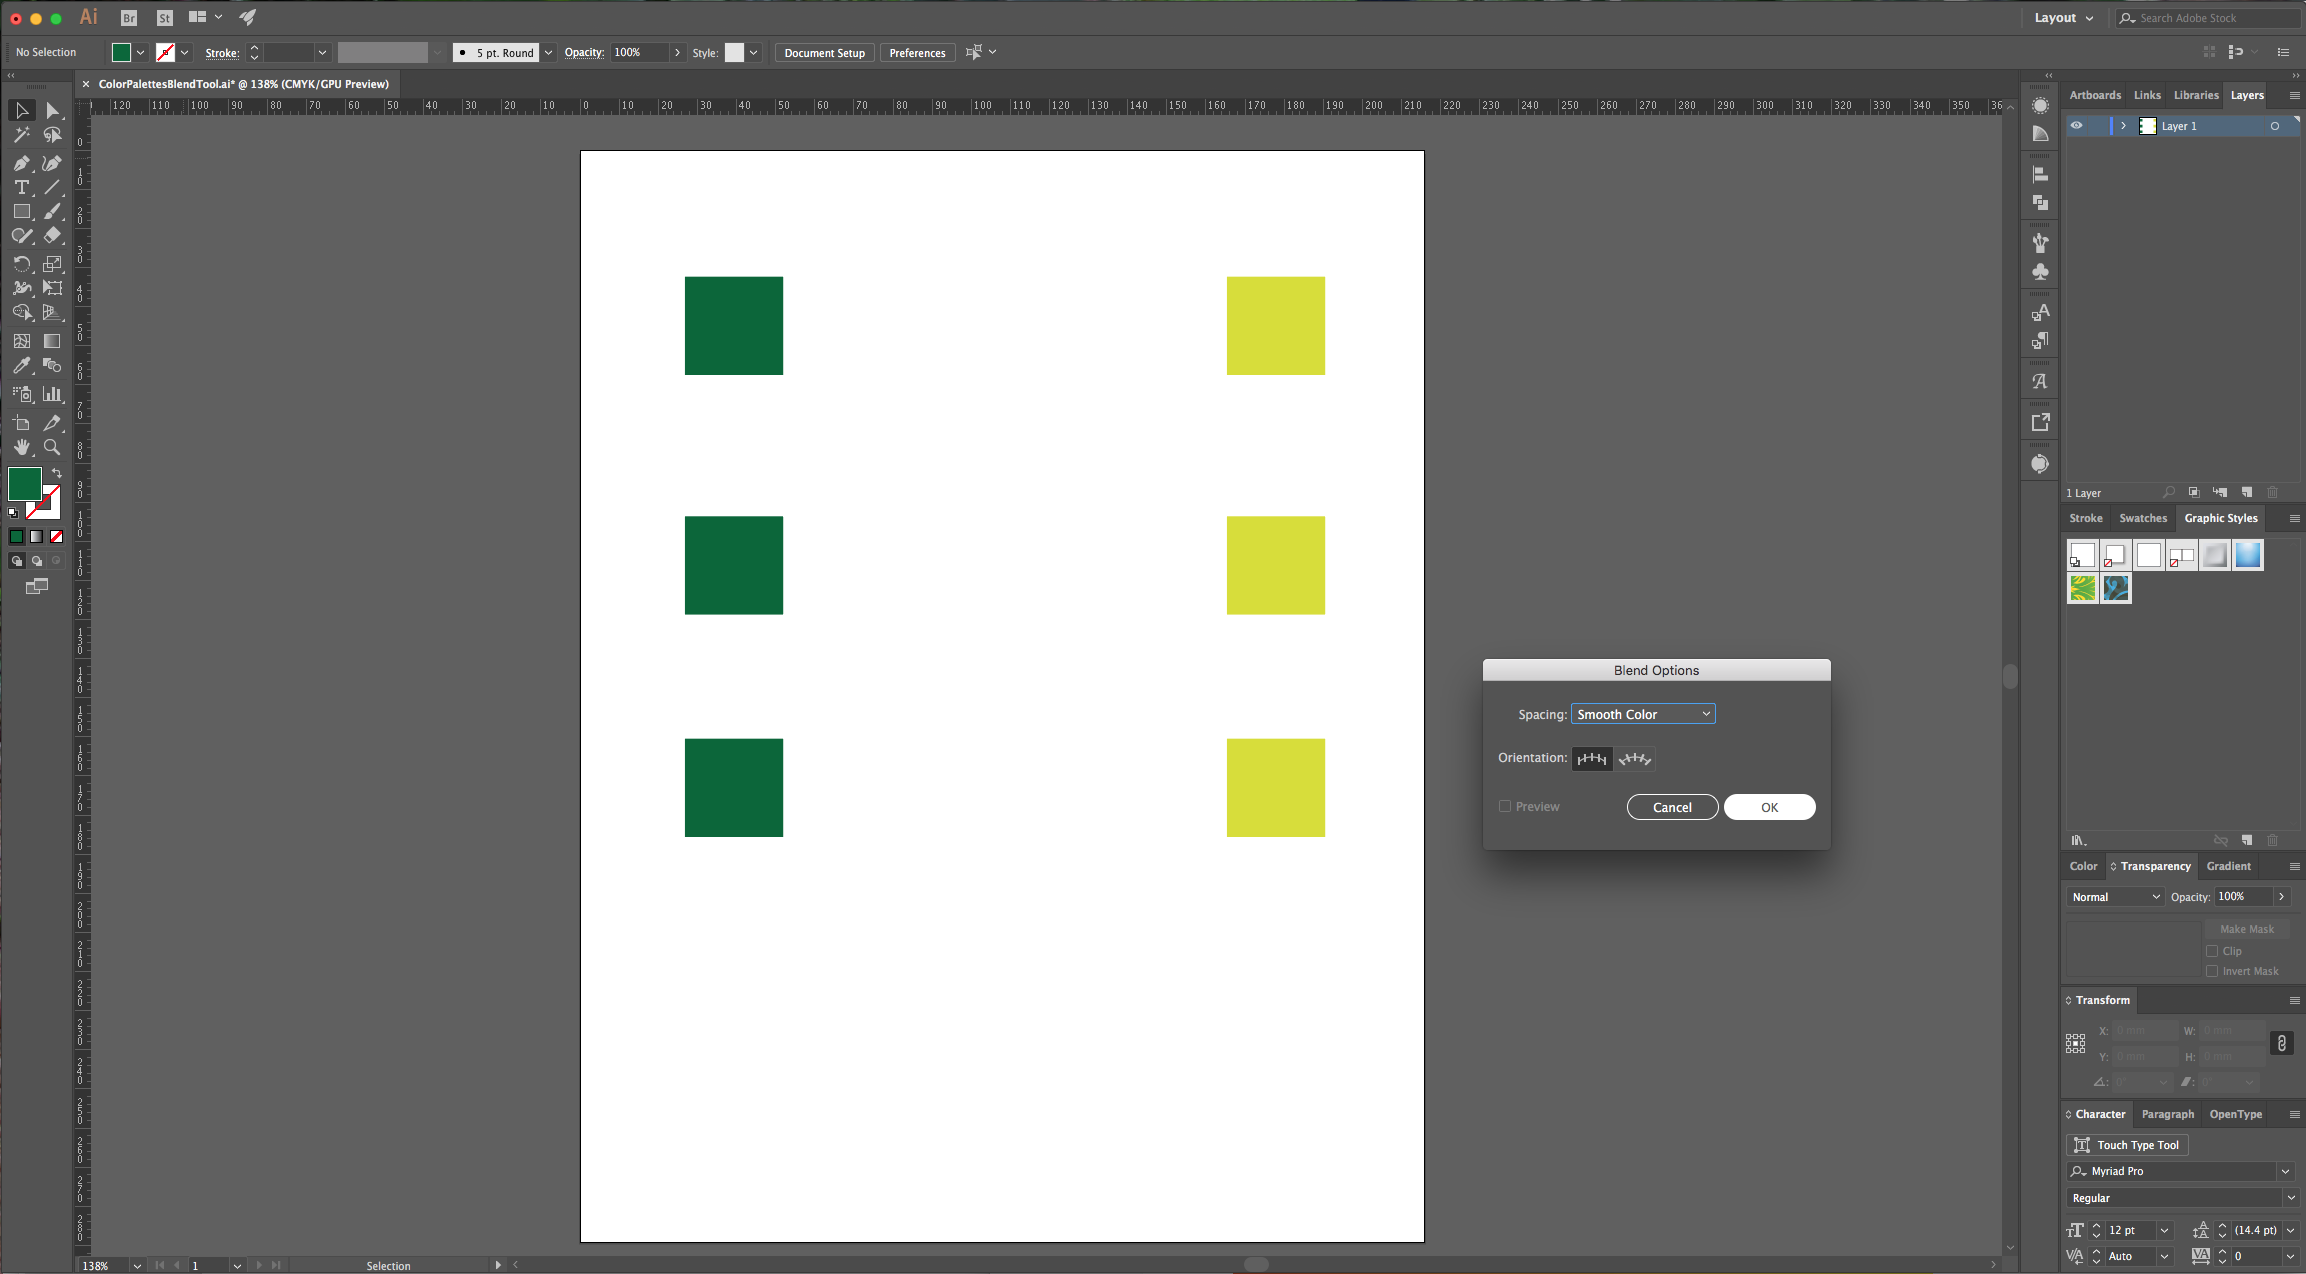
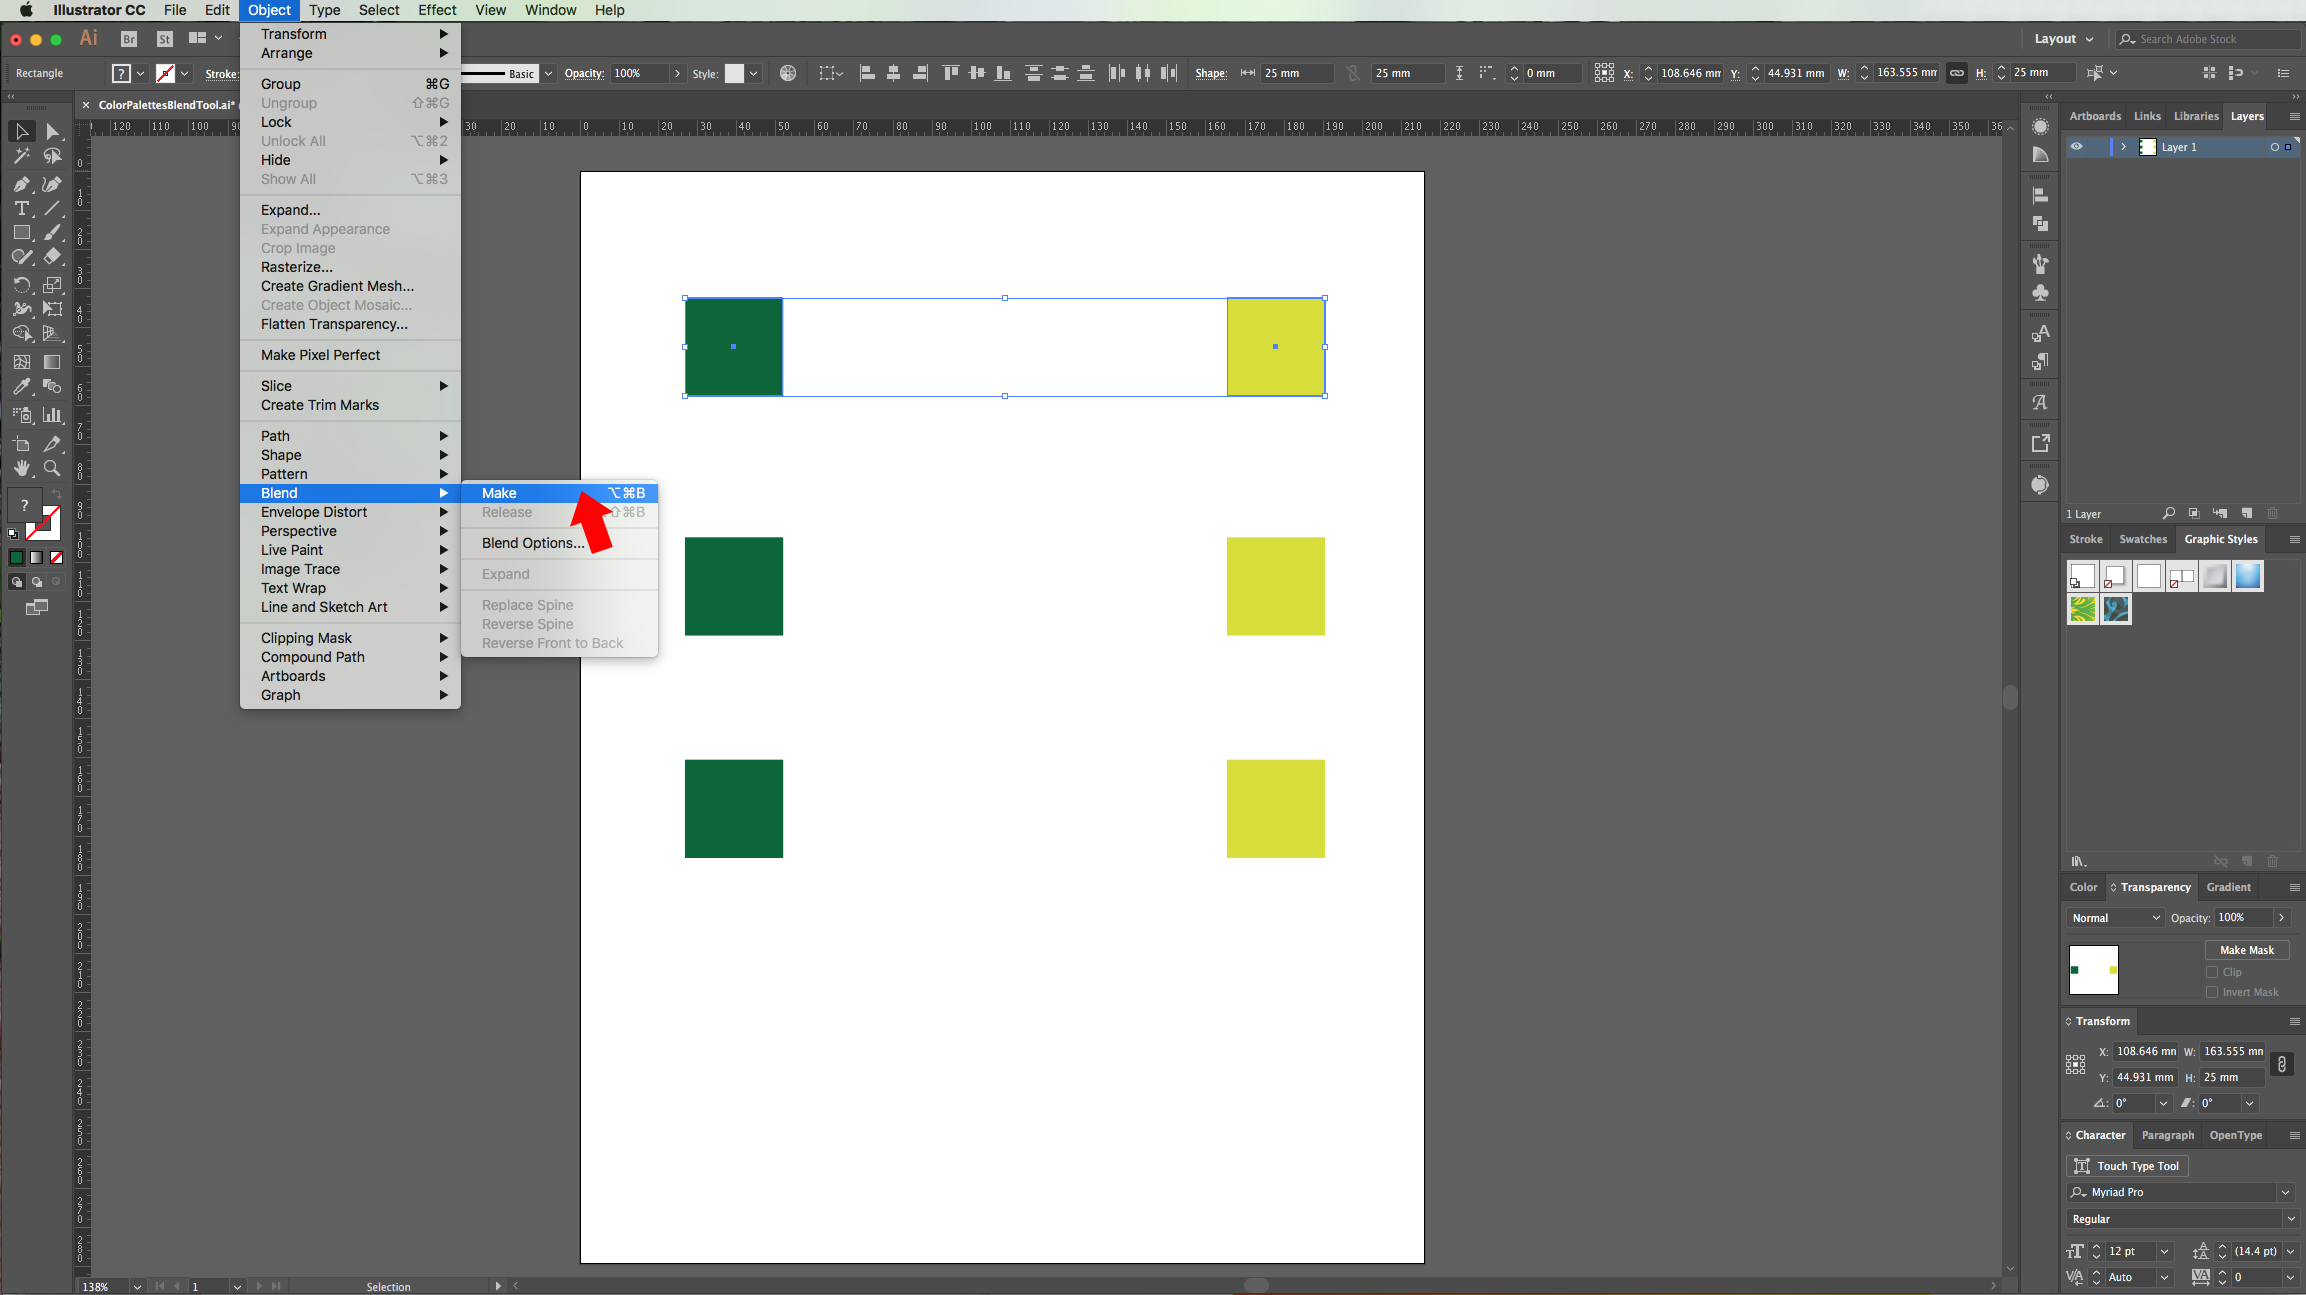
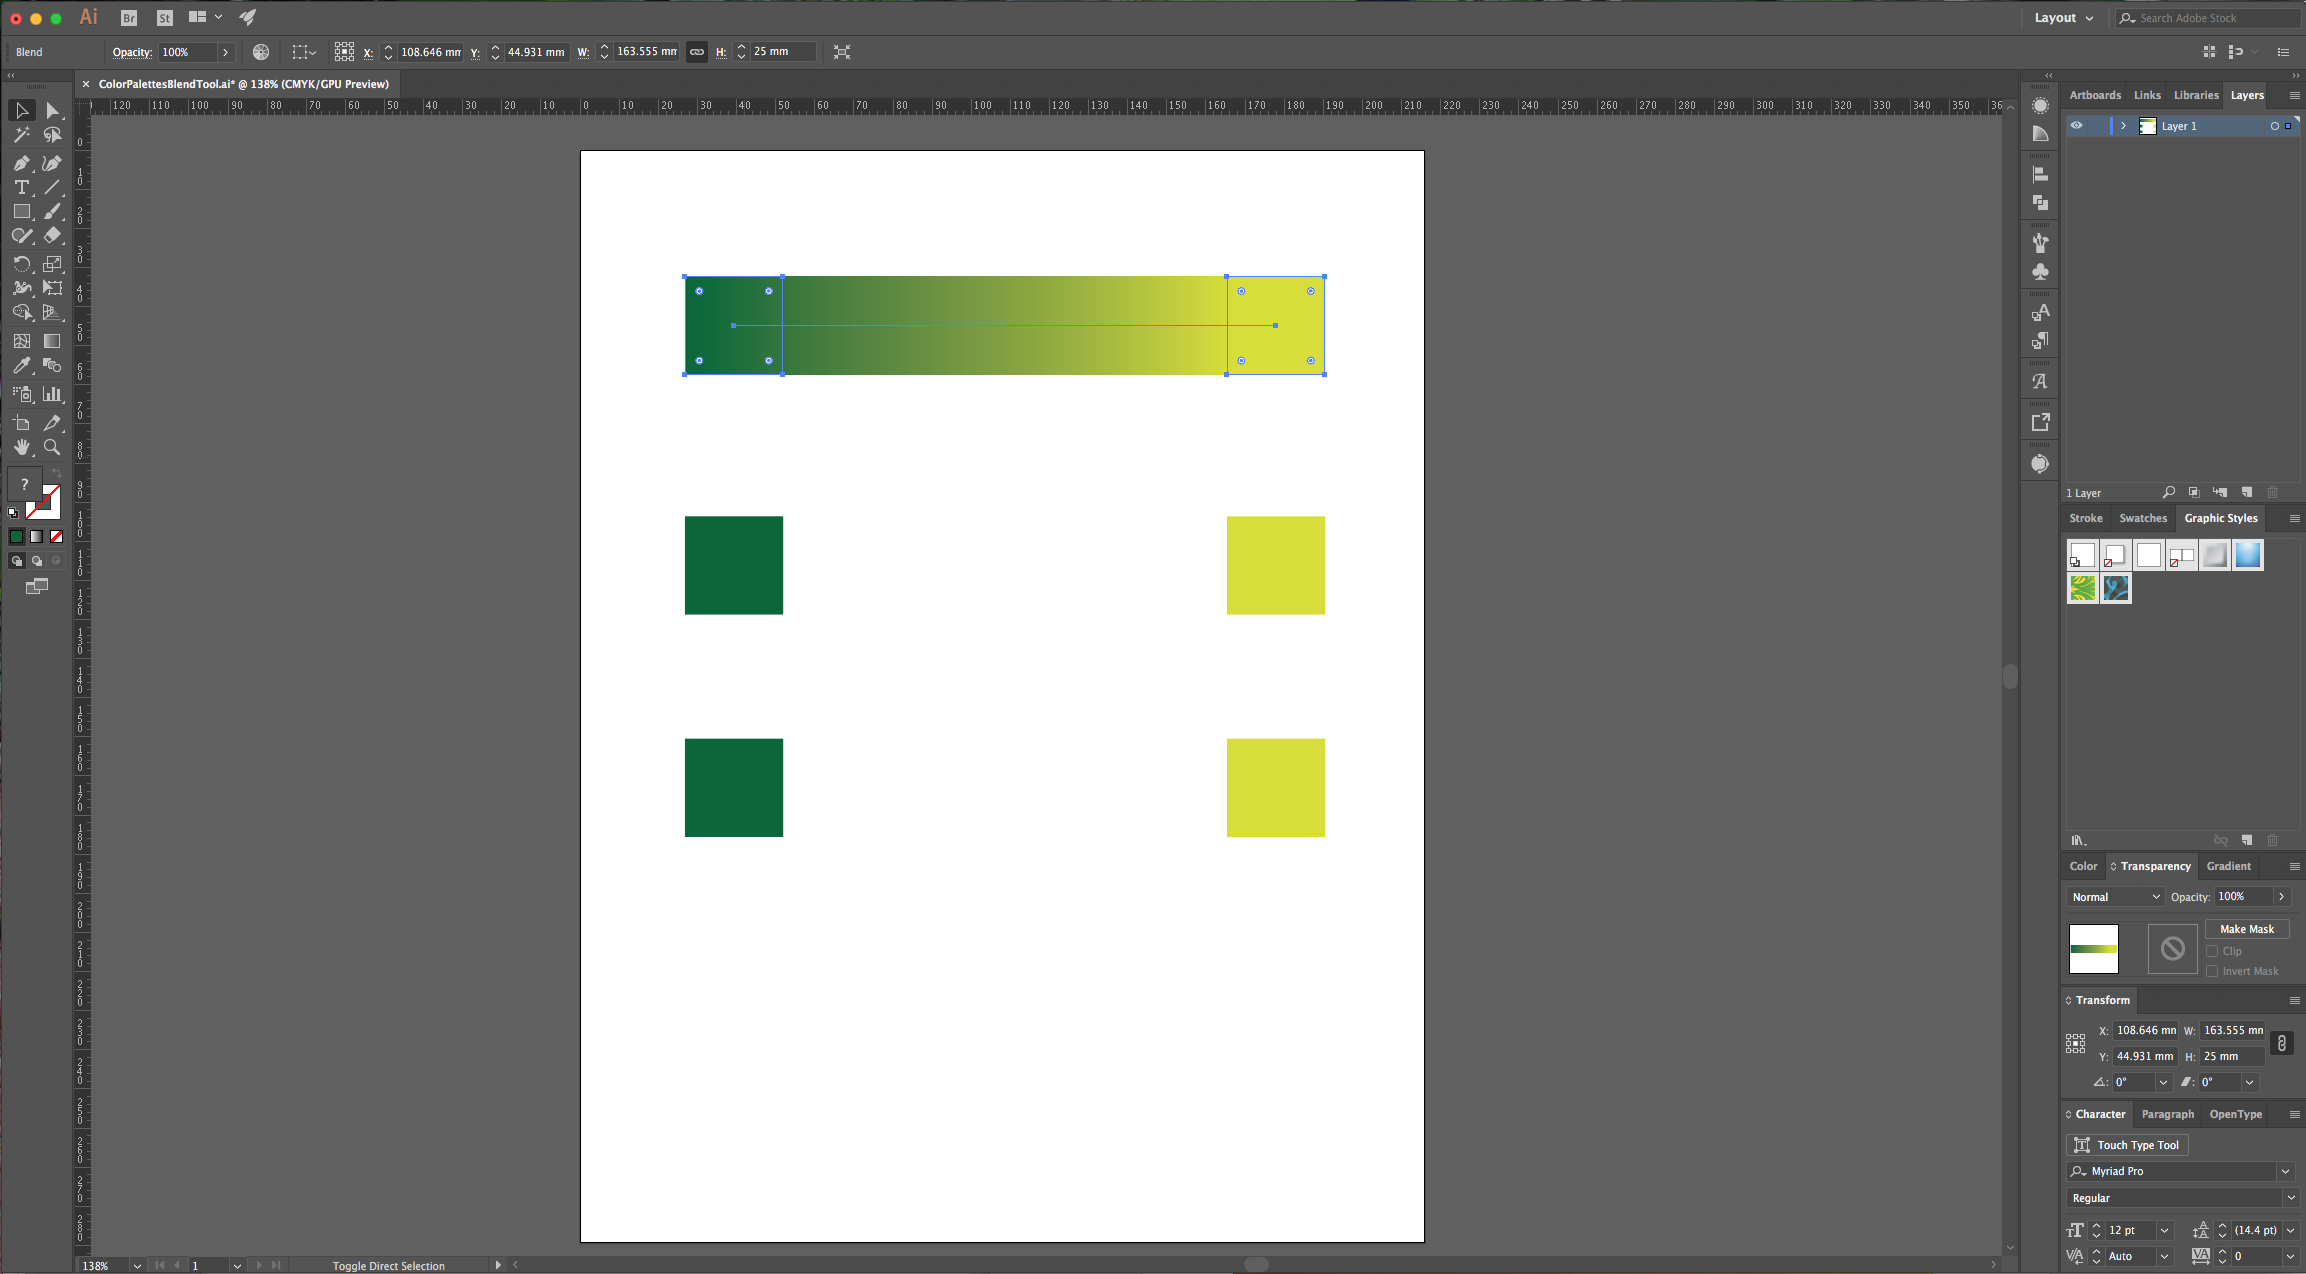
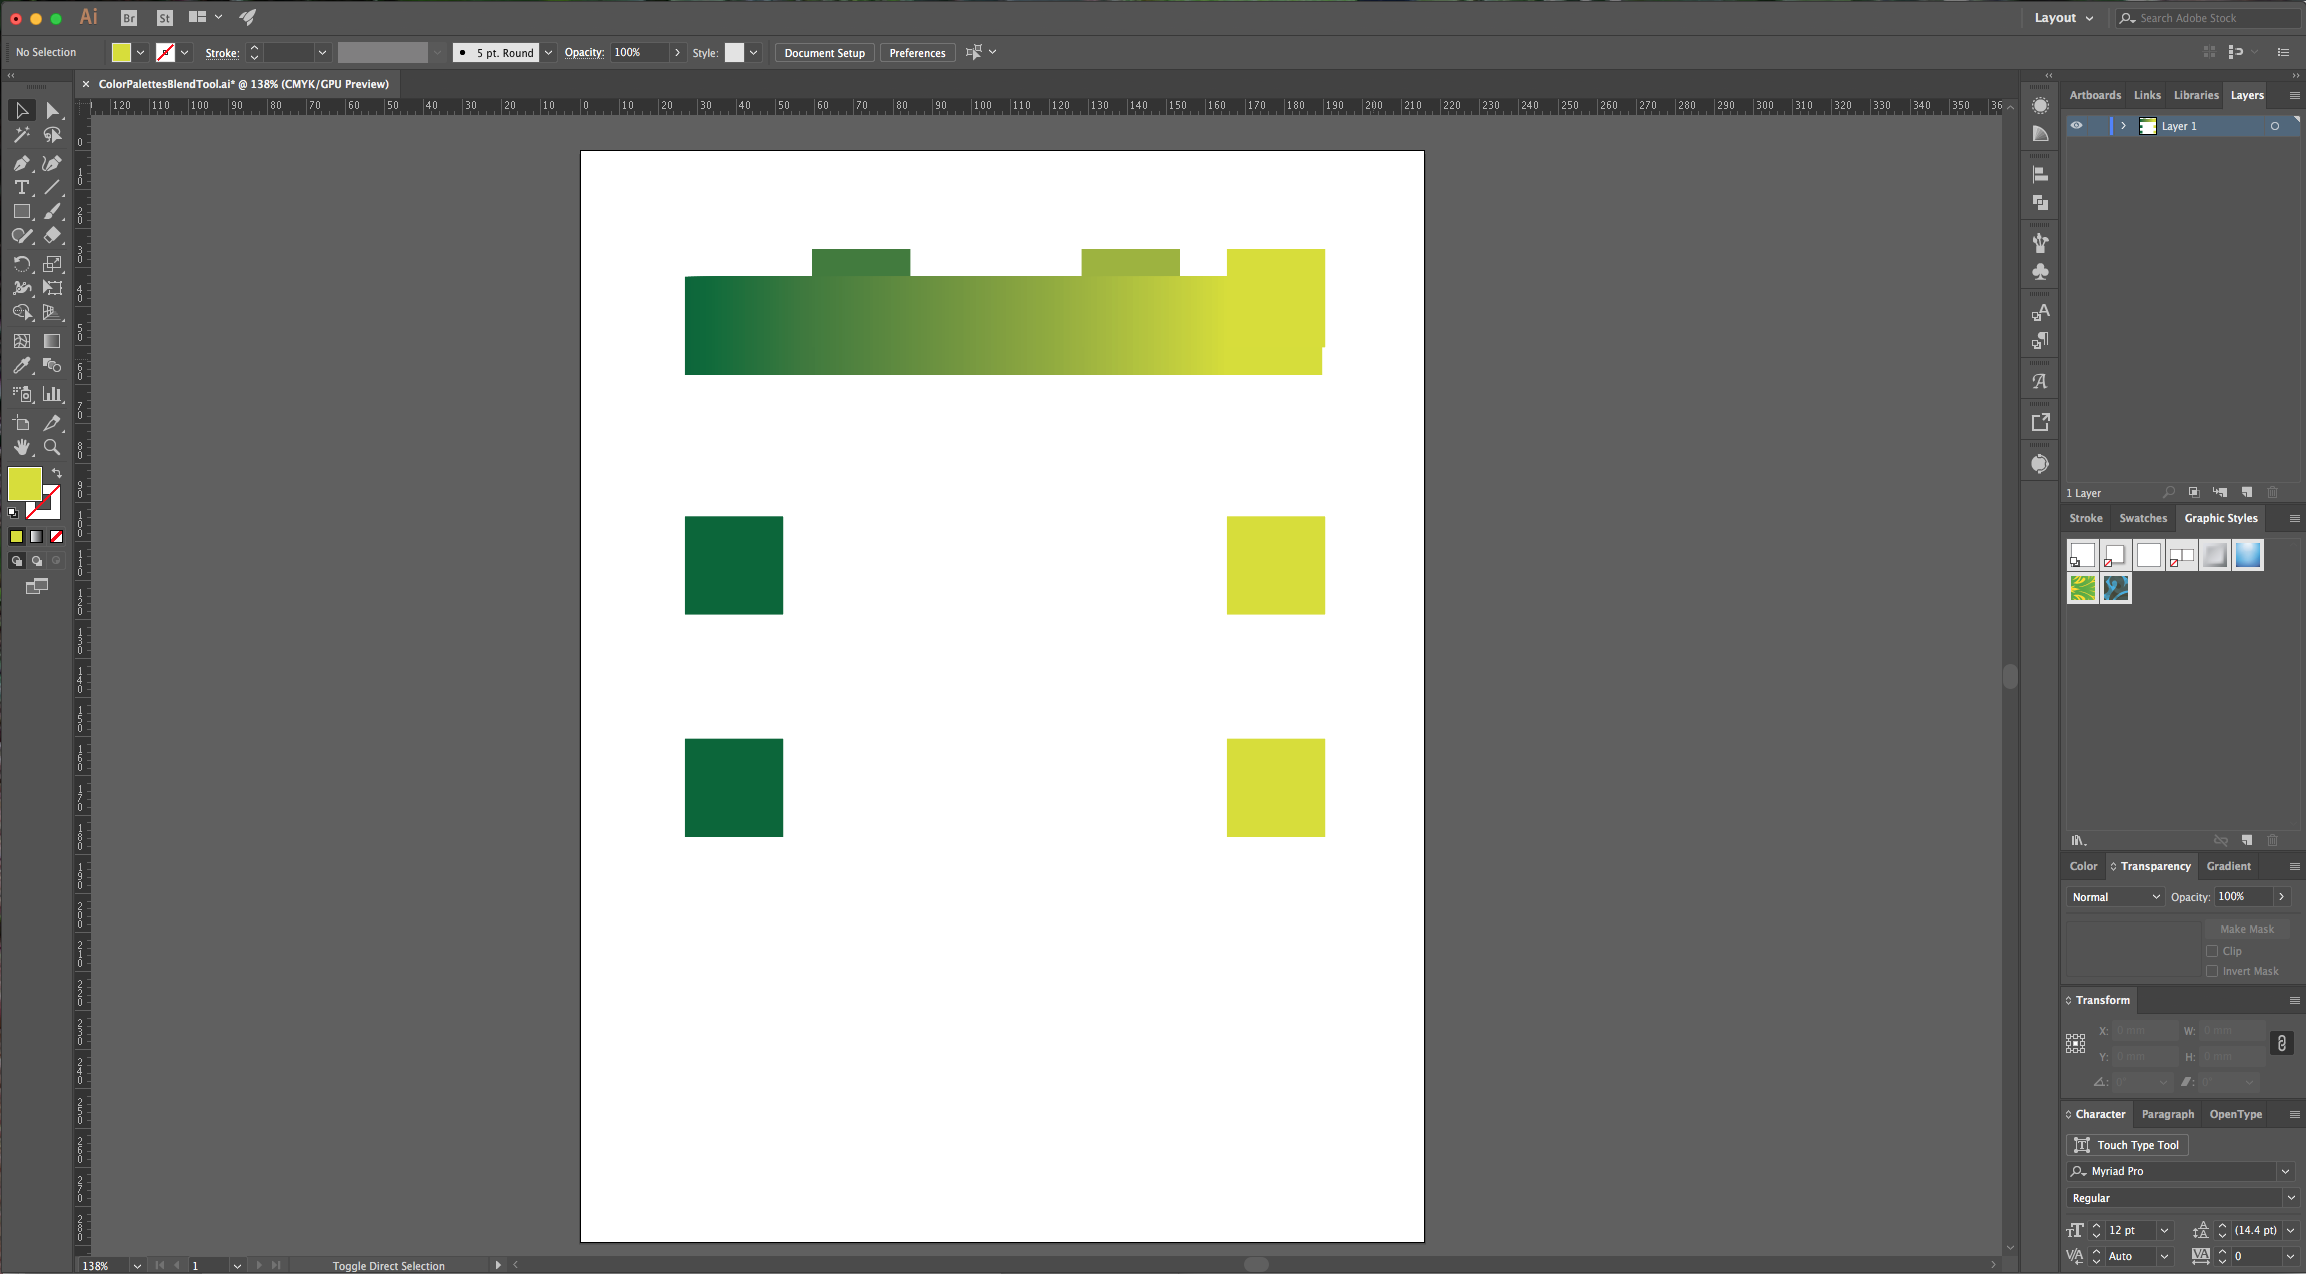
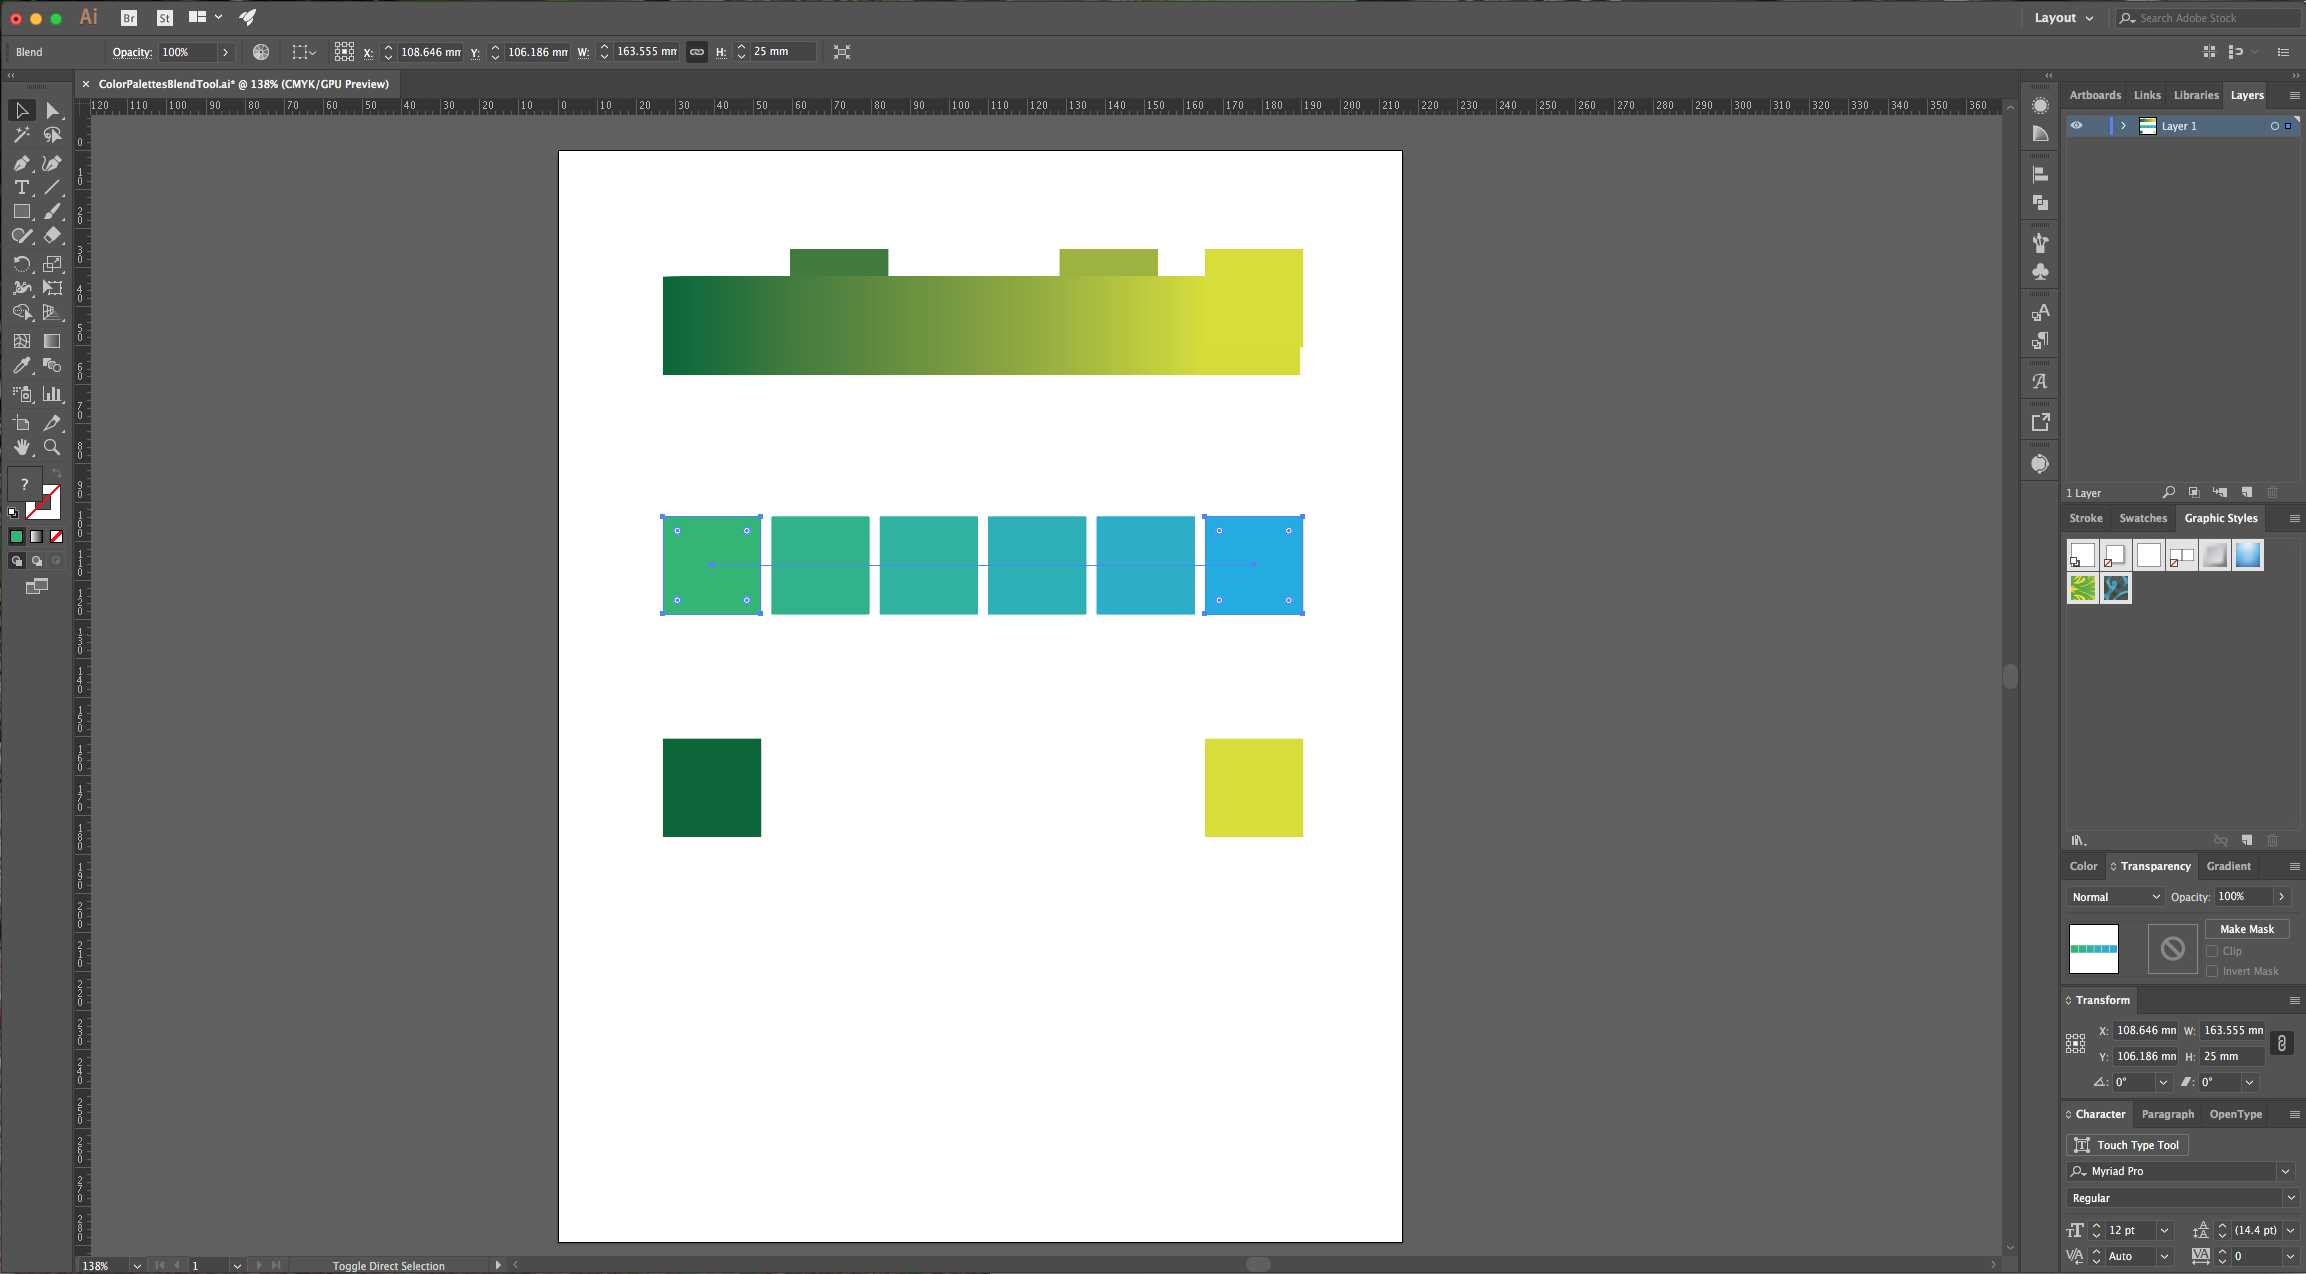
6 - Go to Object > Blend > Blend Options, and choose “Smooth Color” as your “Spacing” method. (Setting the “Blend” method is the first step every time).

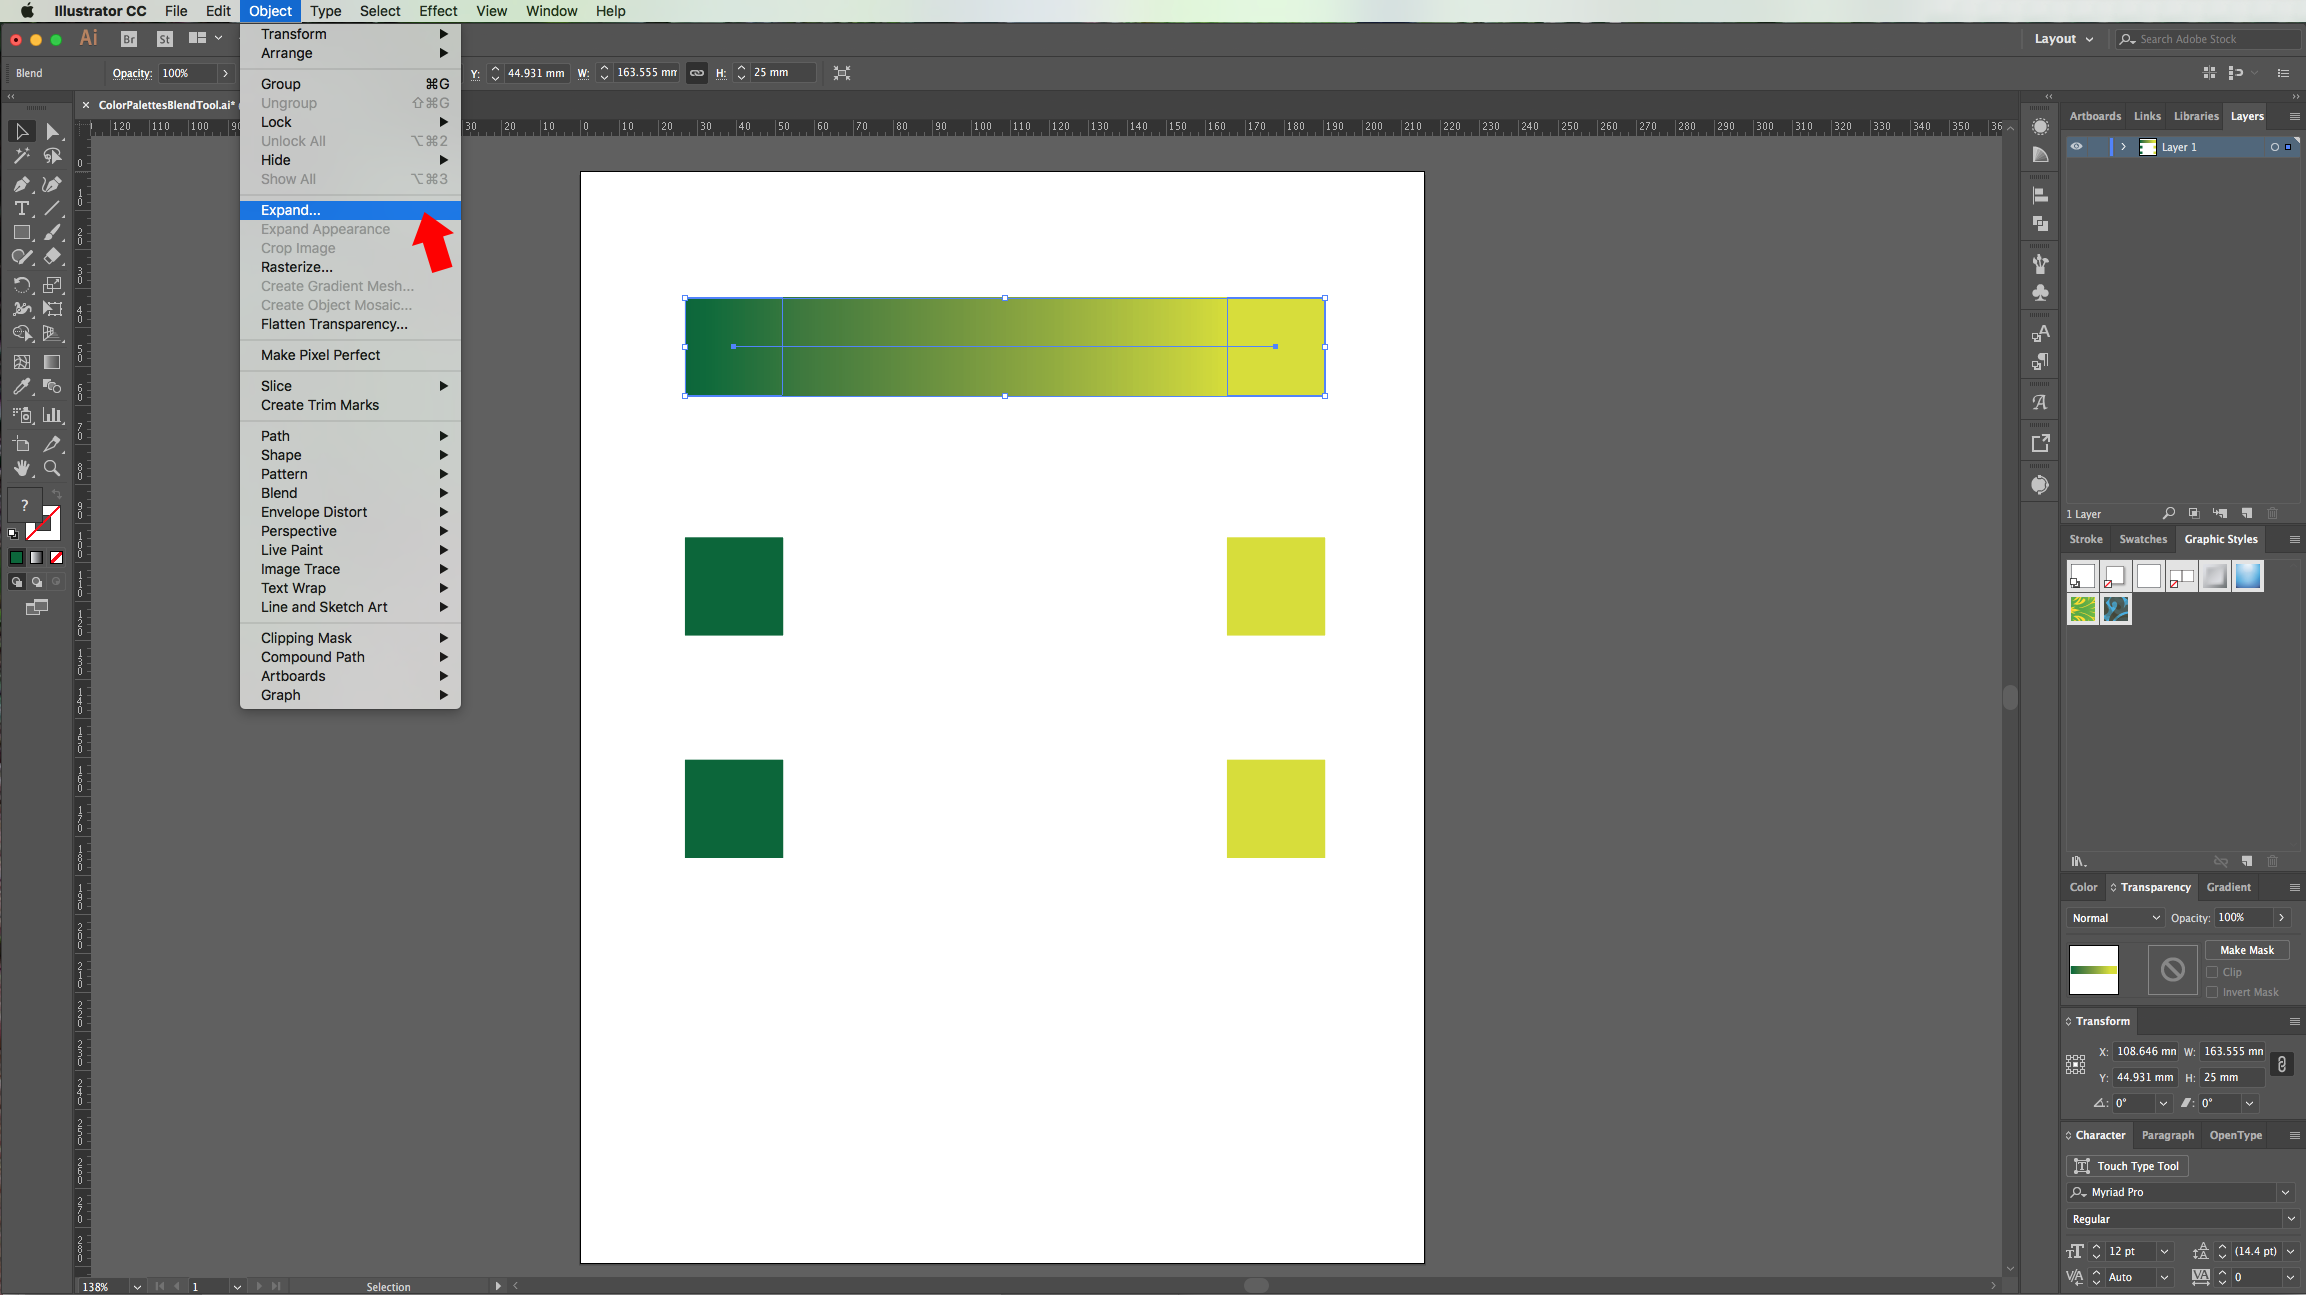
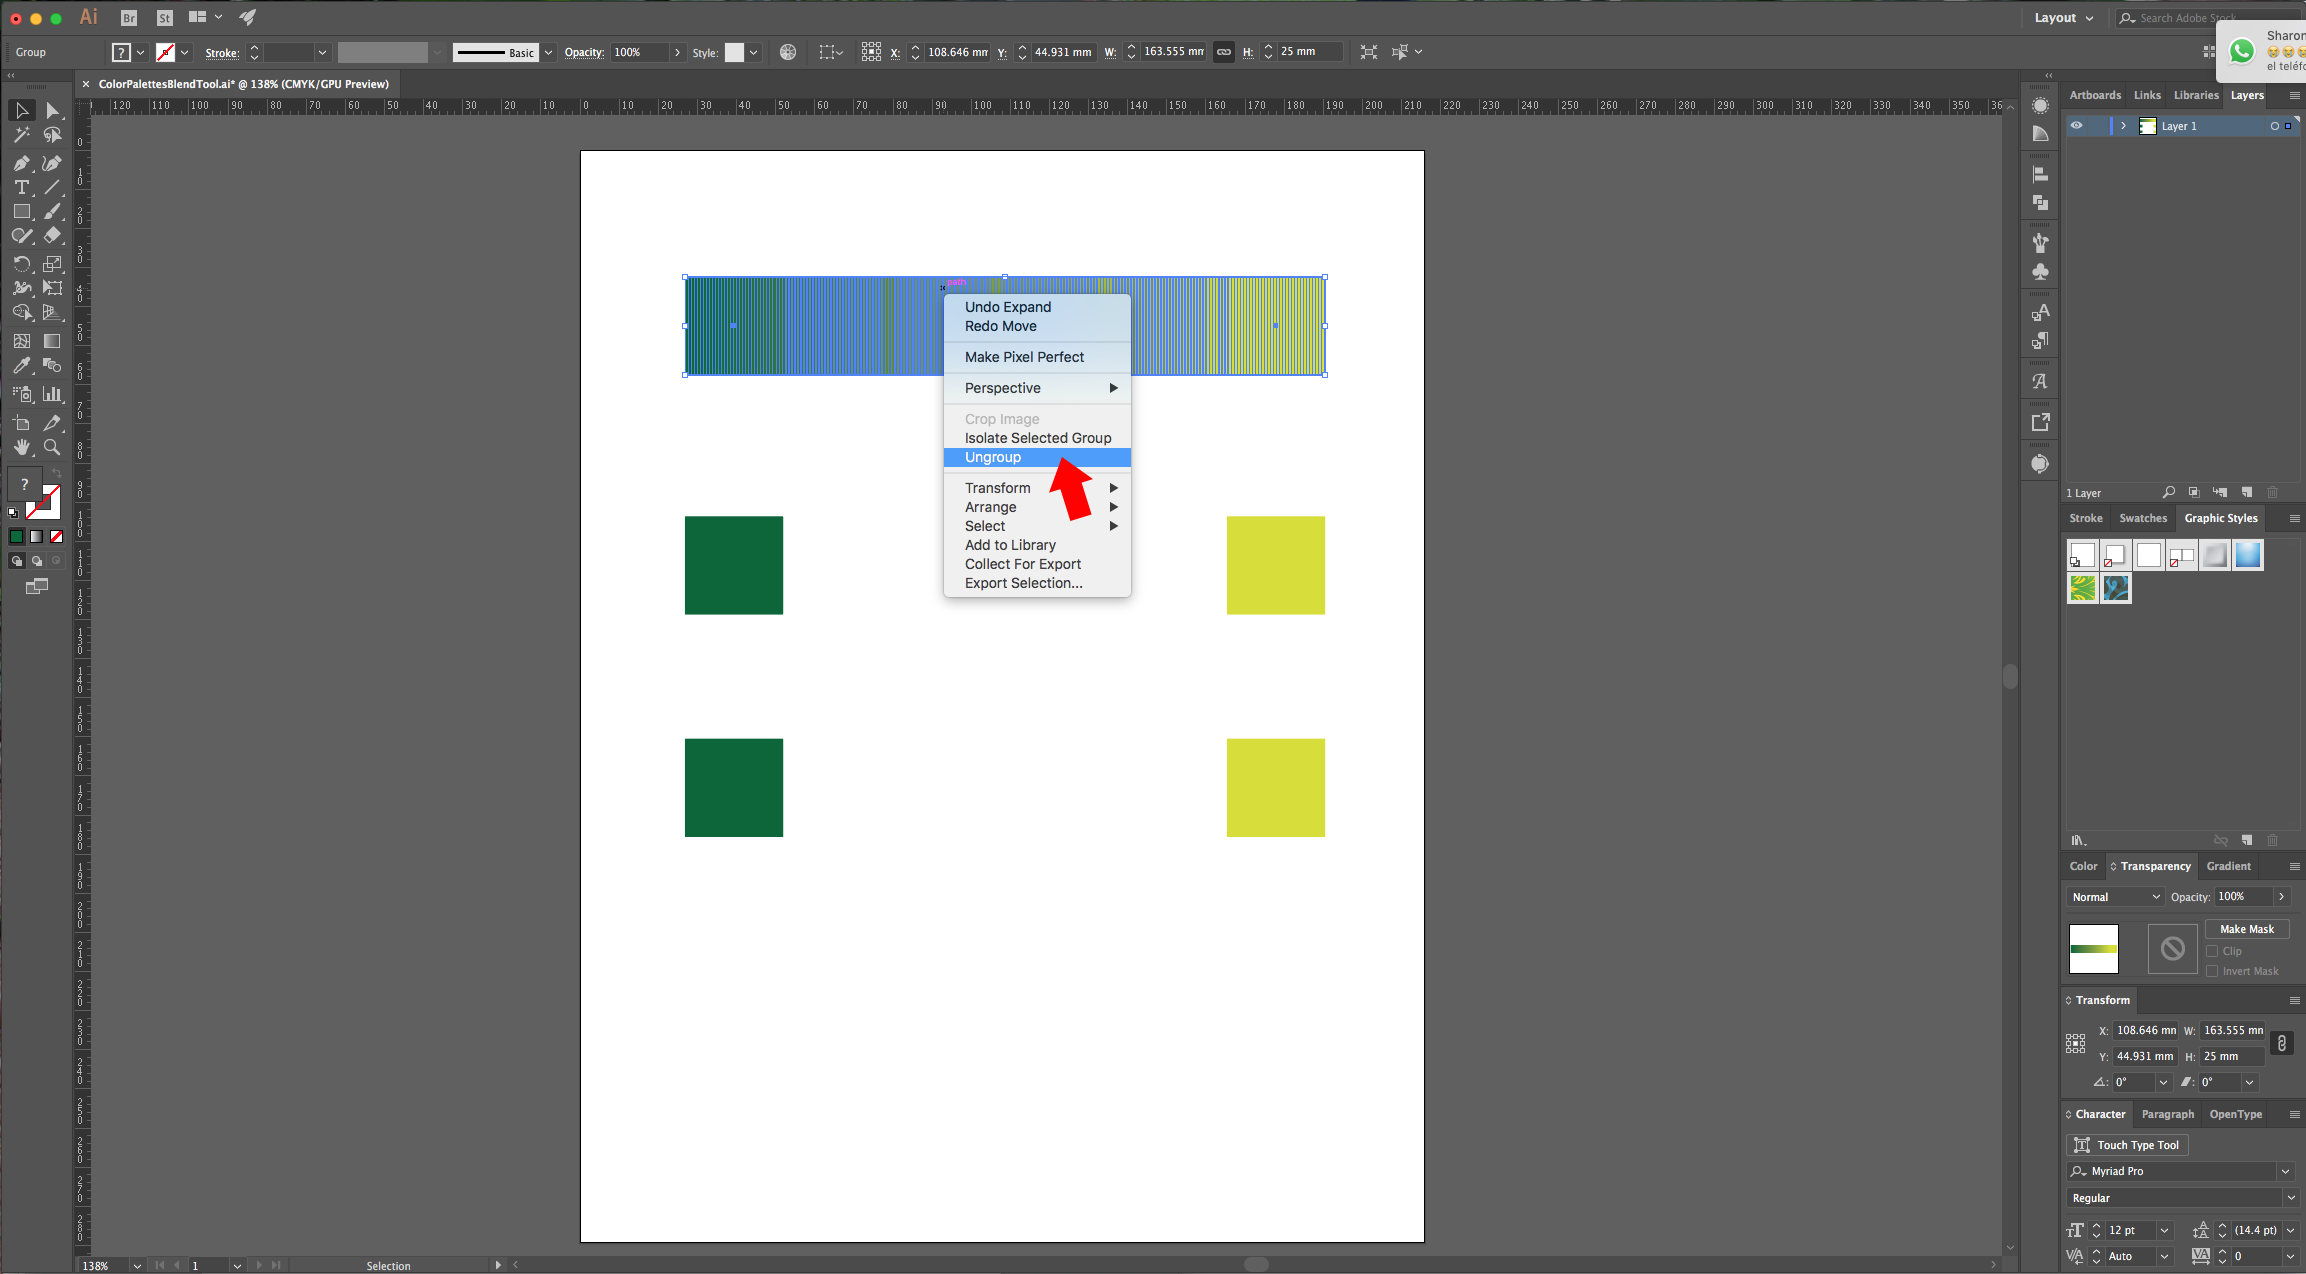
7 - Select your first two squares and go to Object > Blend > Make (Option/Alt + Command/Control + B). Go to Object > Expand to and then, right-click on your gradient and choose “Ungroup” to release every square.

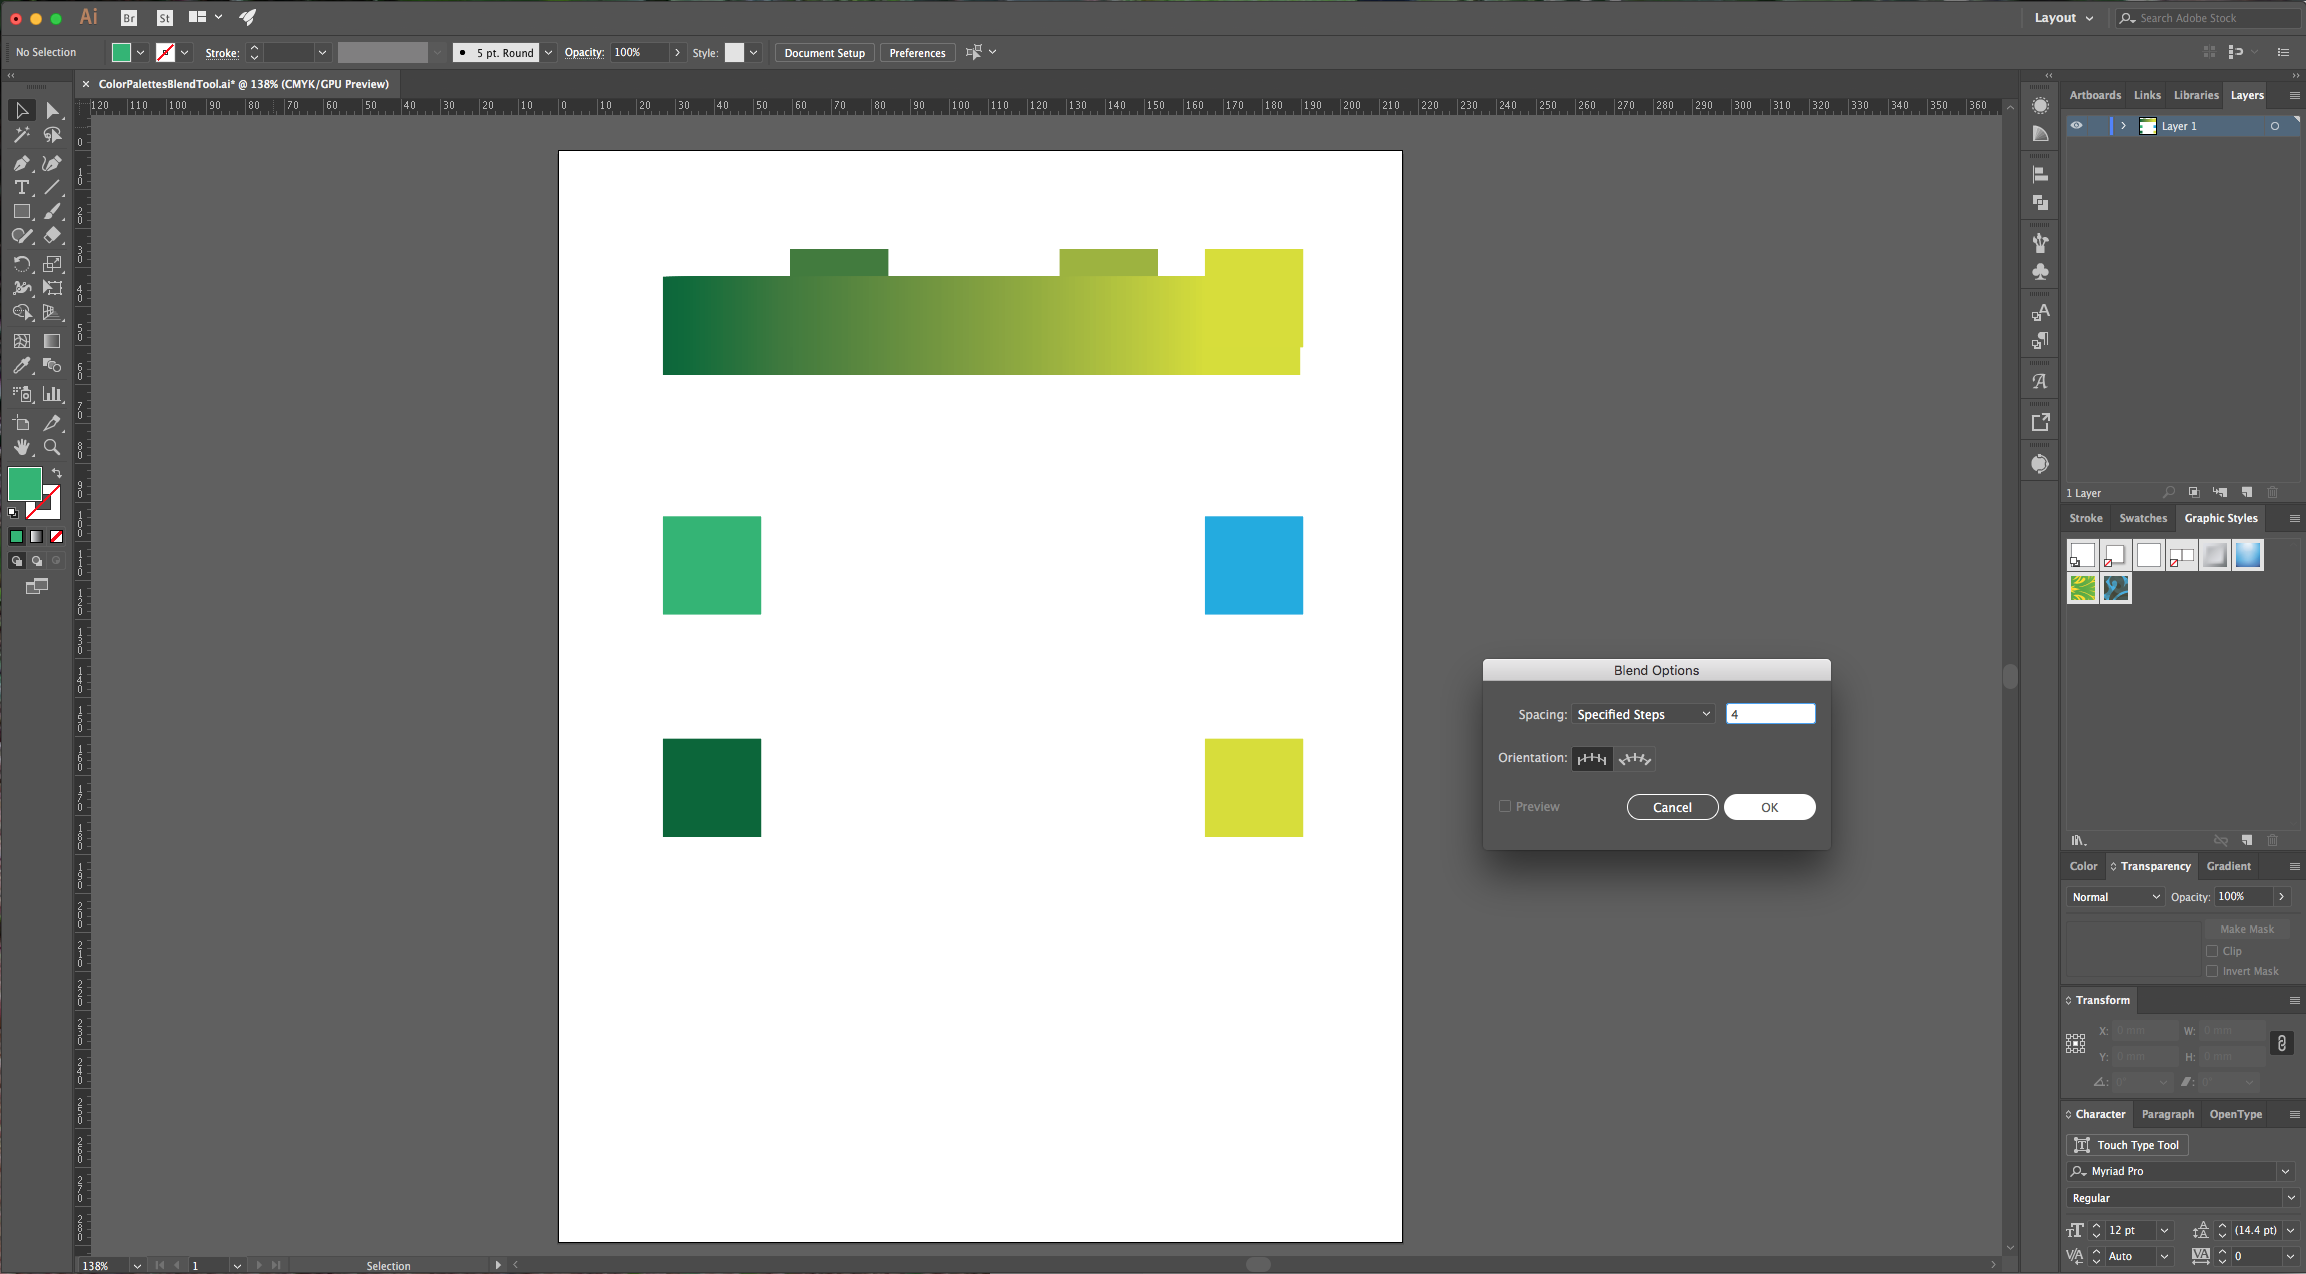
8 - Let’s change the colors of your second pair of squares. Then, change the “Blend Options” method to “Specified Steps” and input the number of steps you wish to have in the box to the right (we used 4). Select your squares and “Make” your blend. If the number of steps selected is too high the squares will overlap and it will seem that you have a gradient very similar to the one created with the “Smooth Color” method.
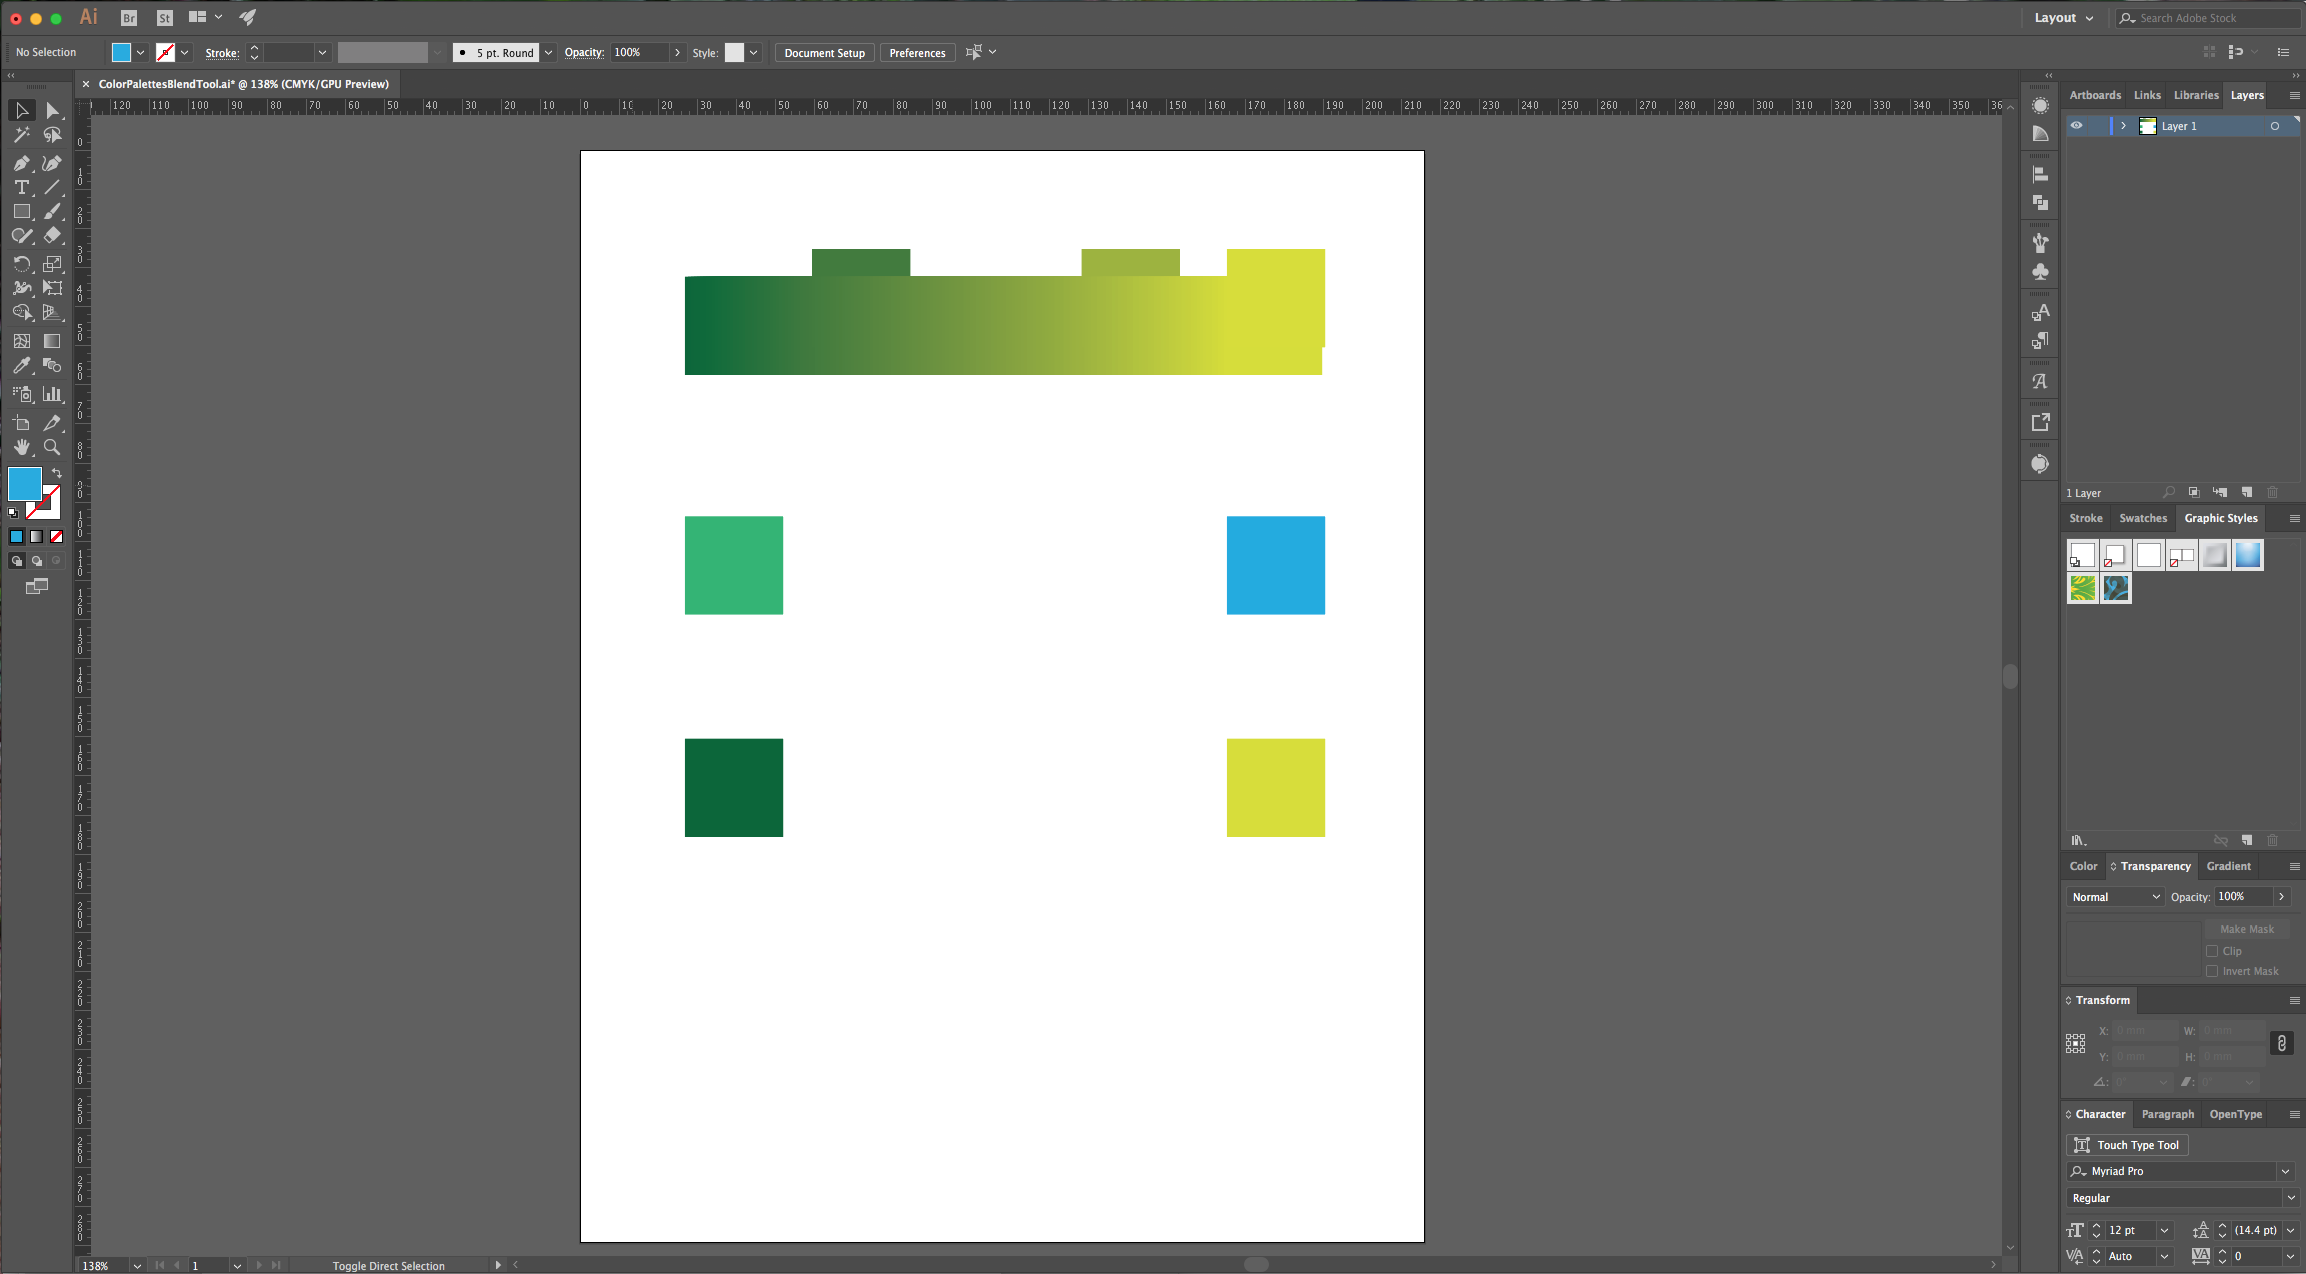
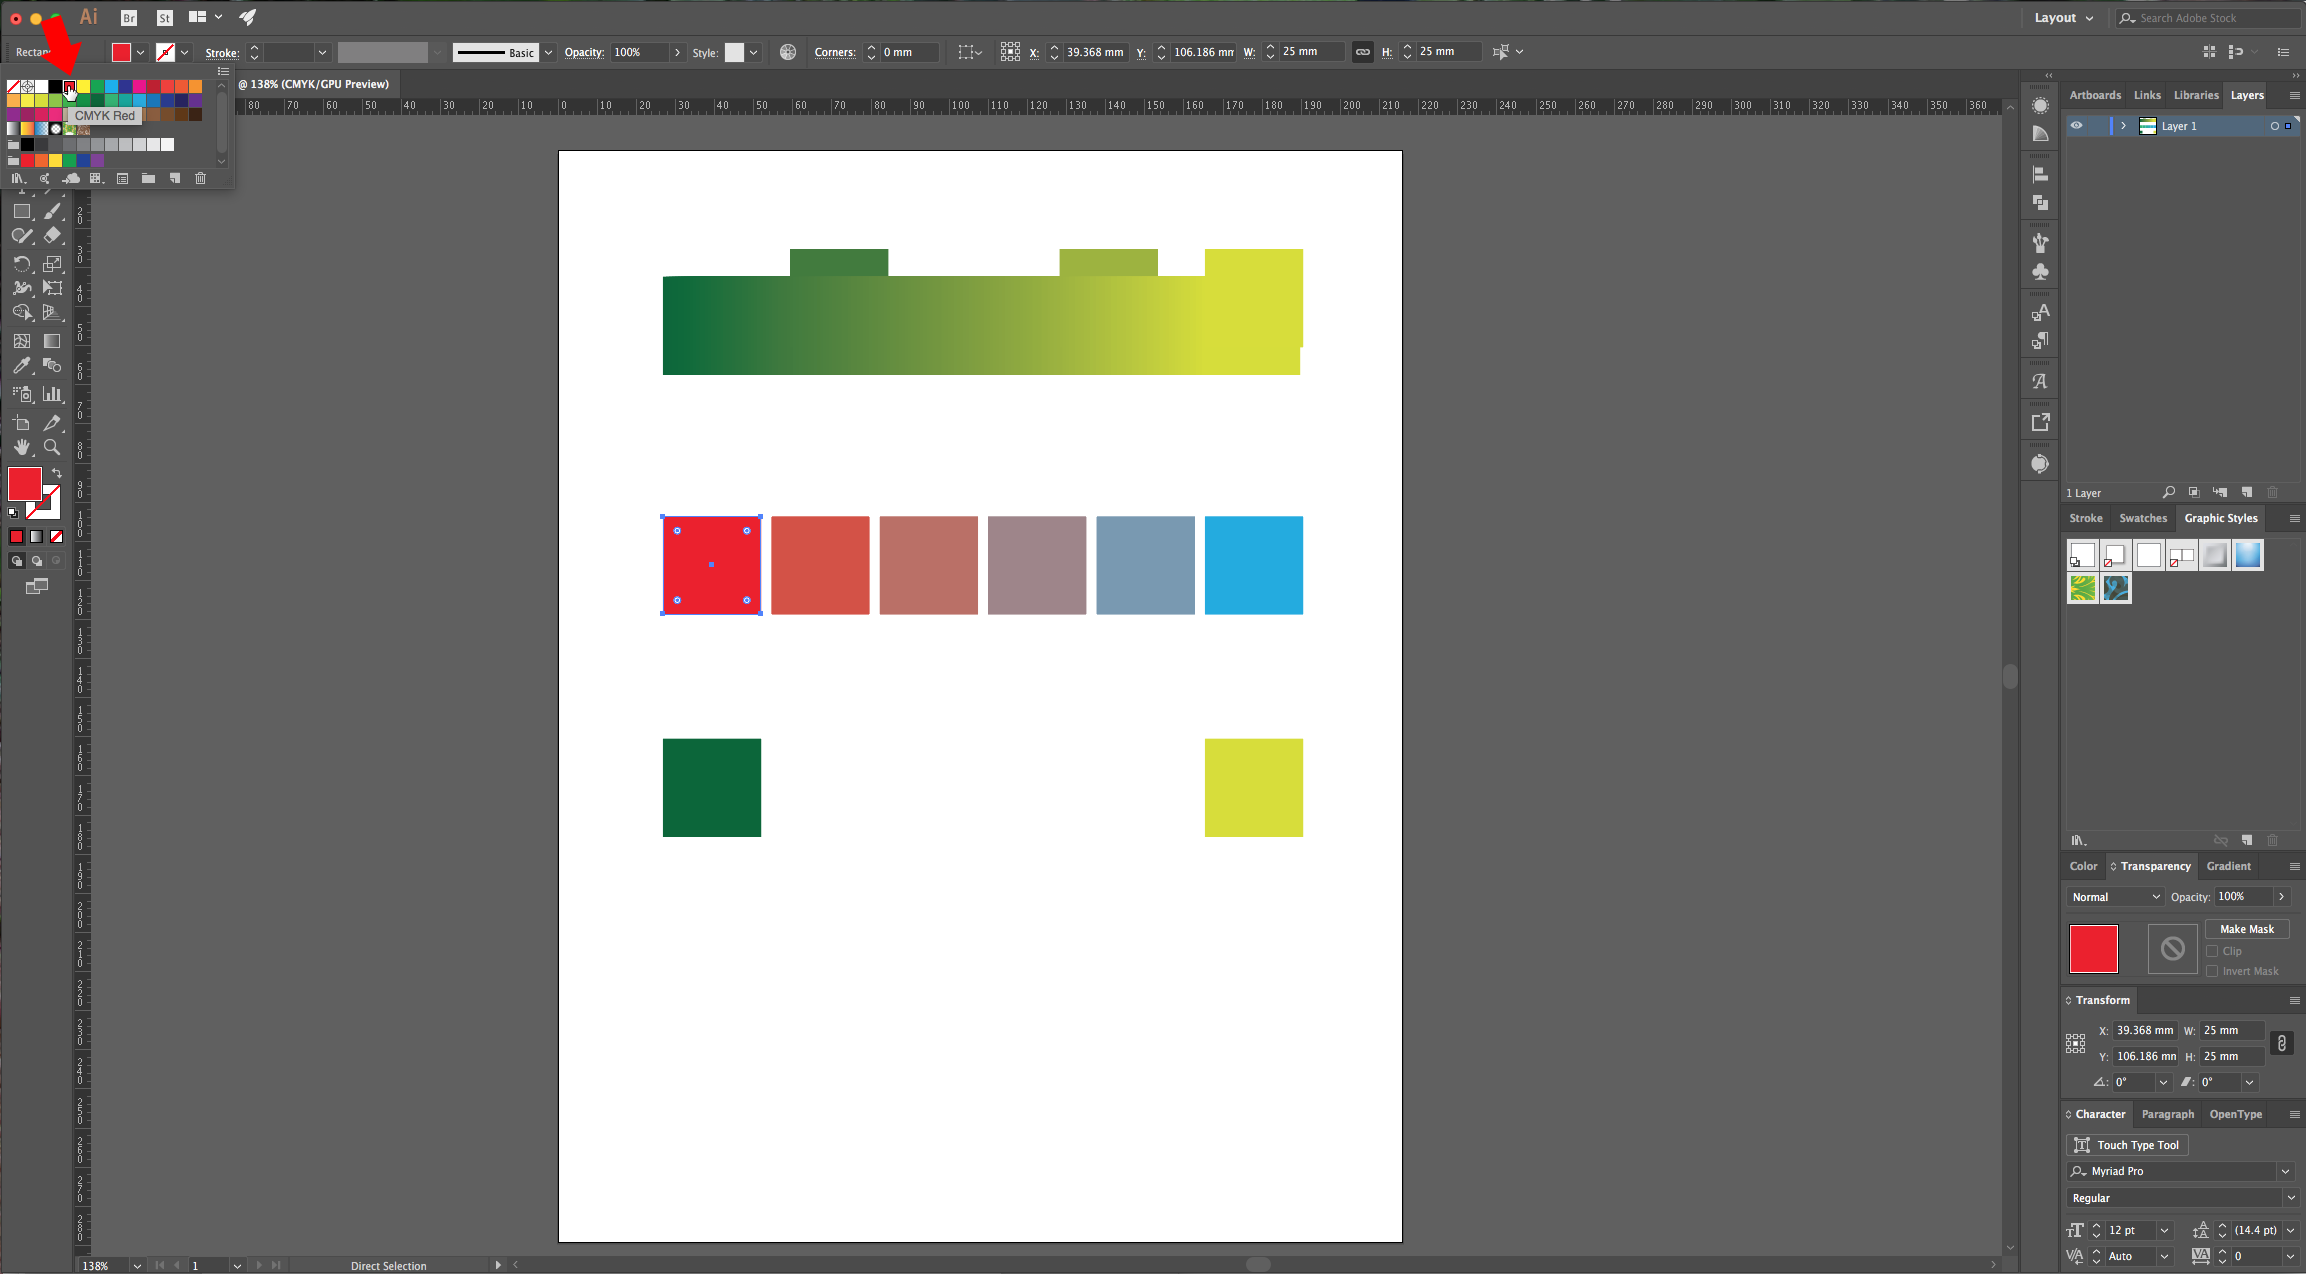
9 - With this method you can use the “Direct Selection Tool” (D) to pick one of the original squares and change the fill color and the color palette will change too. (If you “Expand” it you will lose this feature).

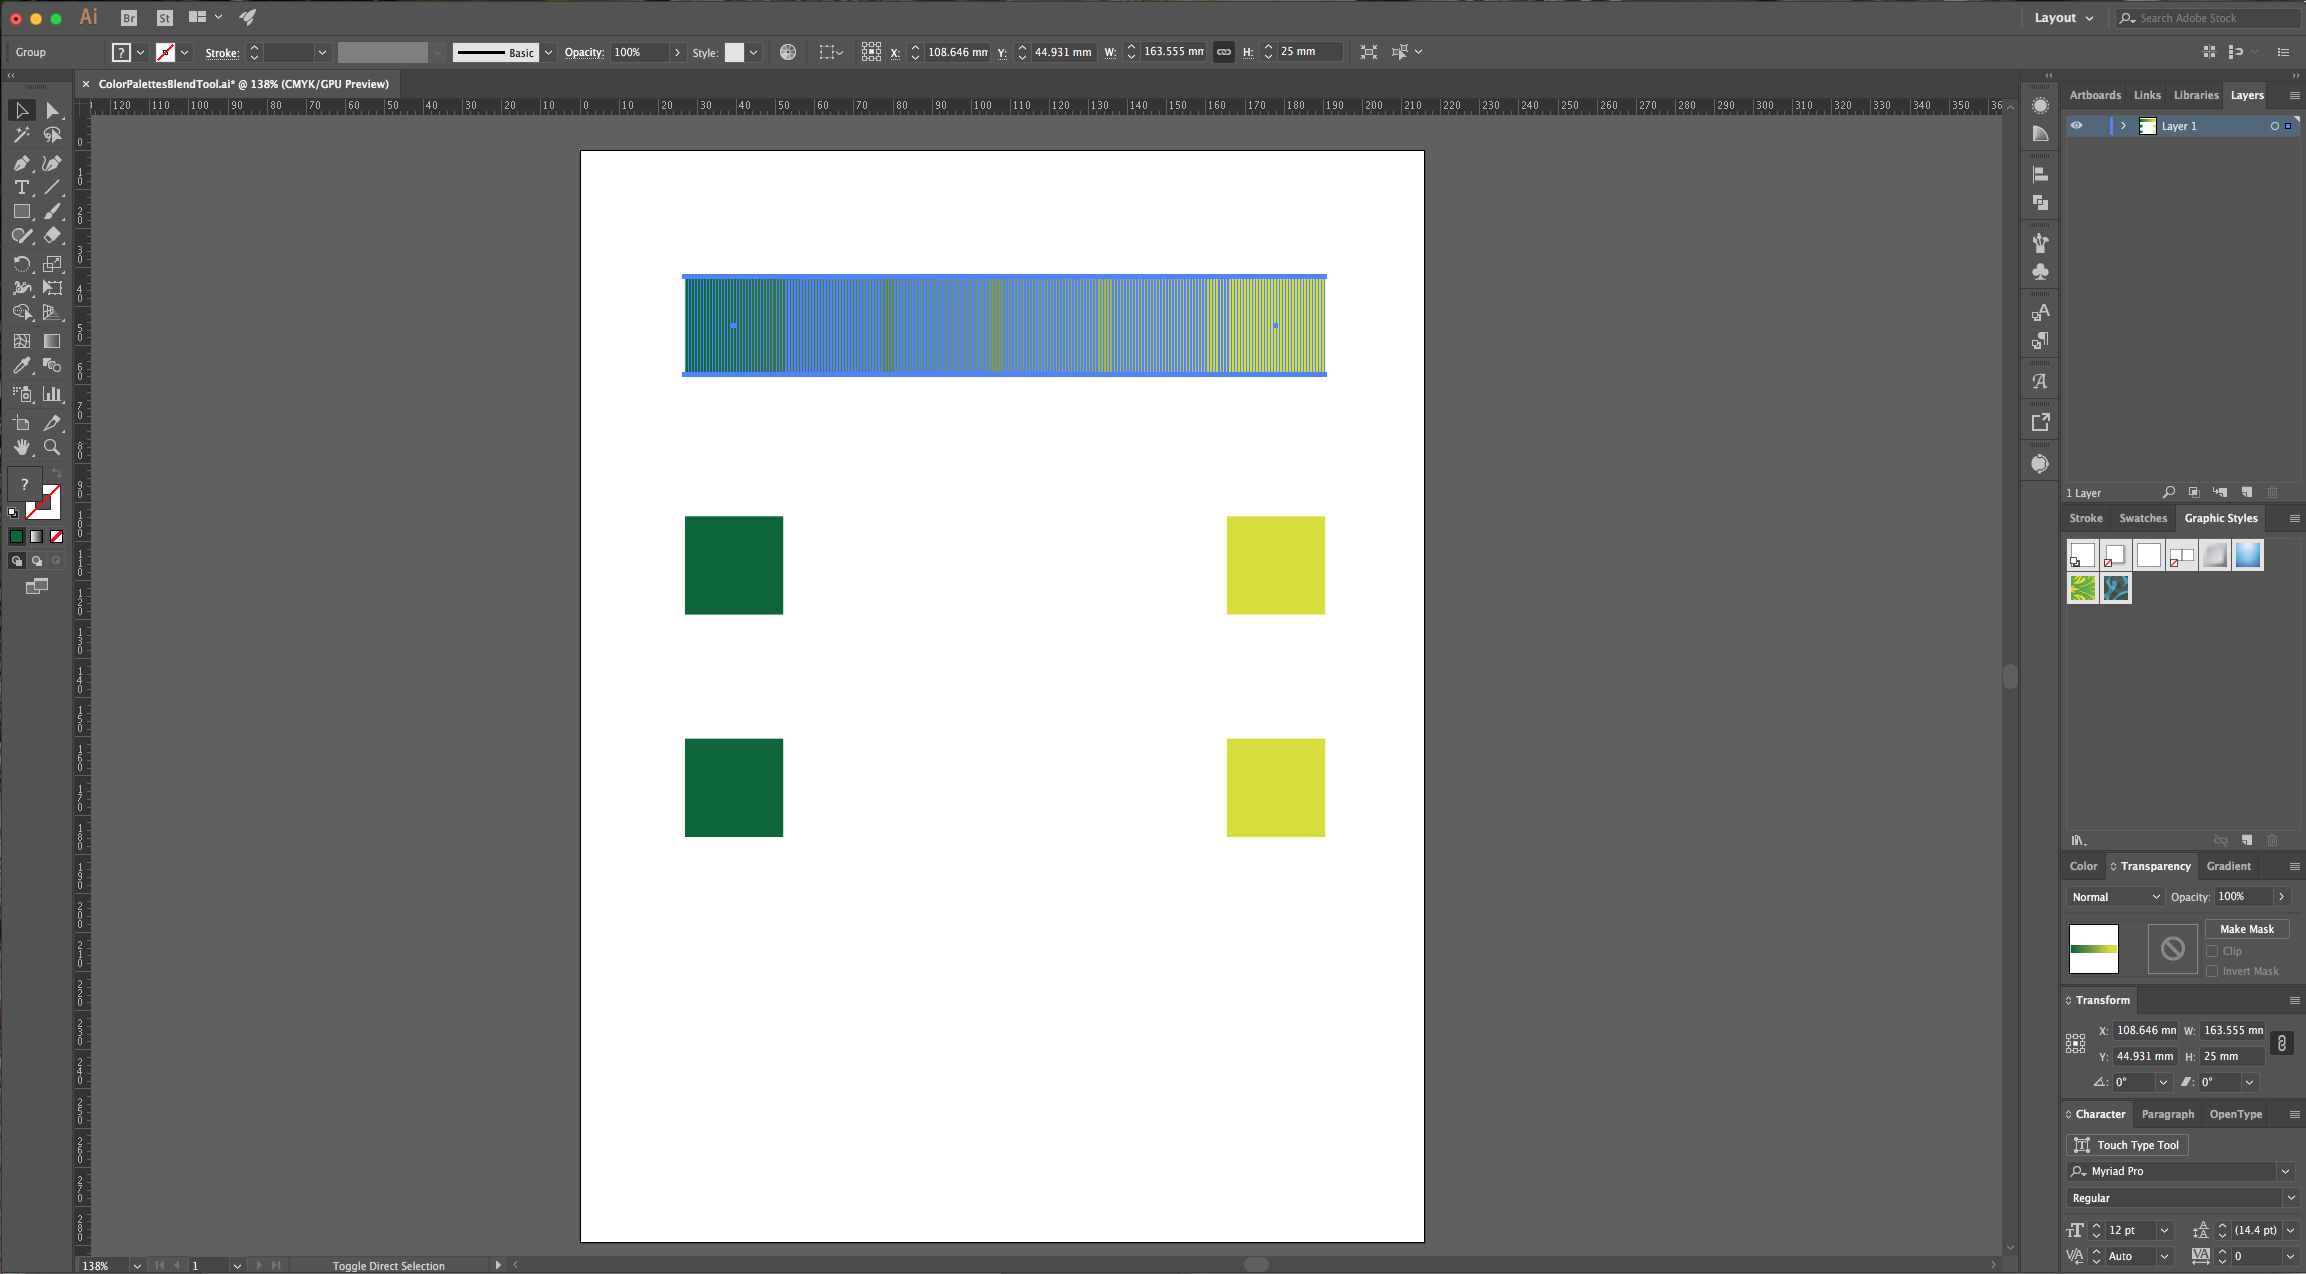
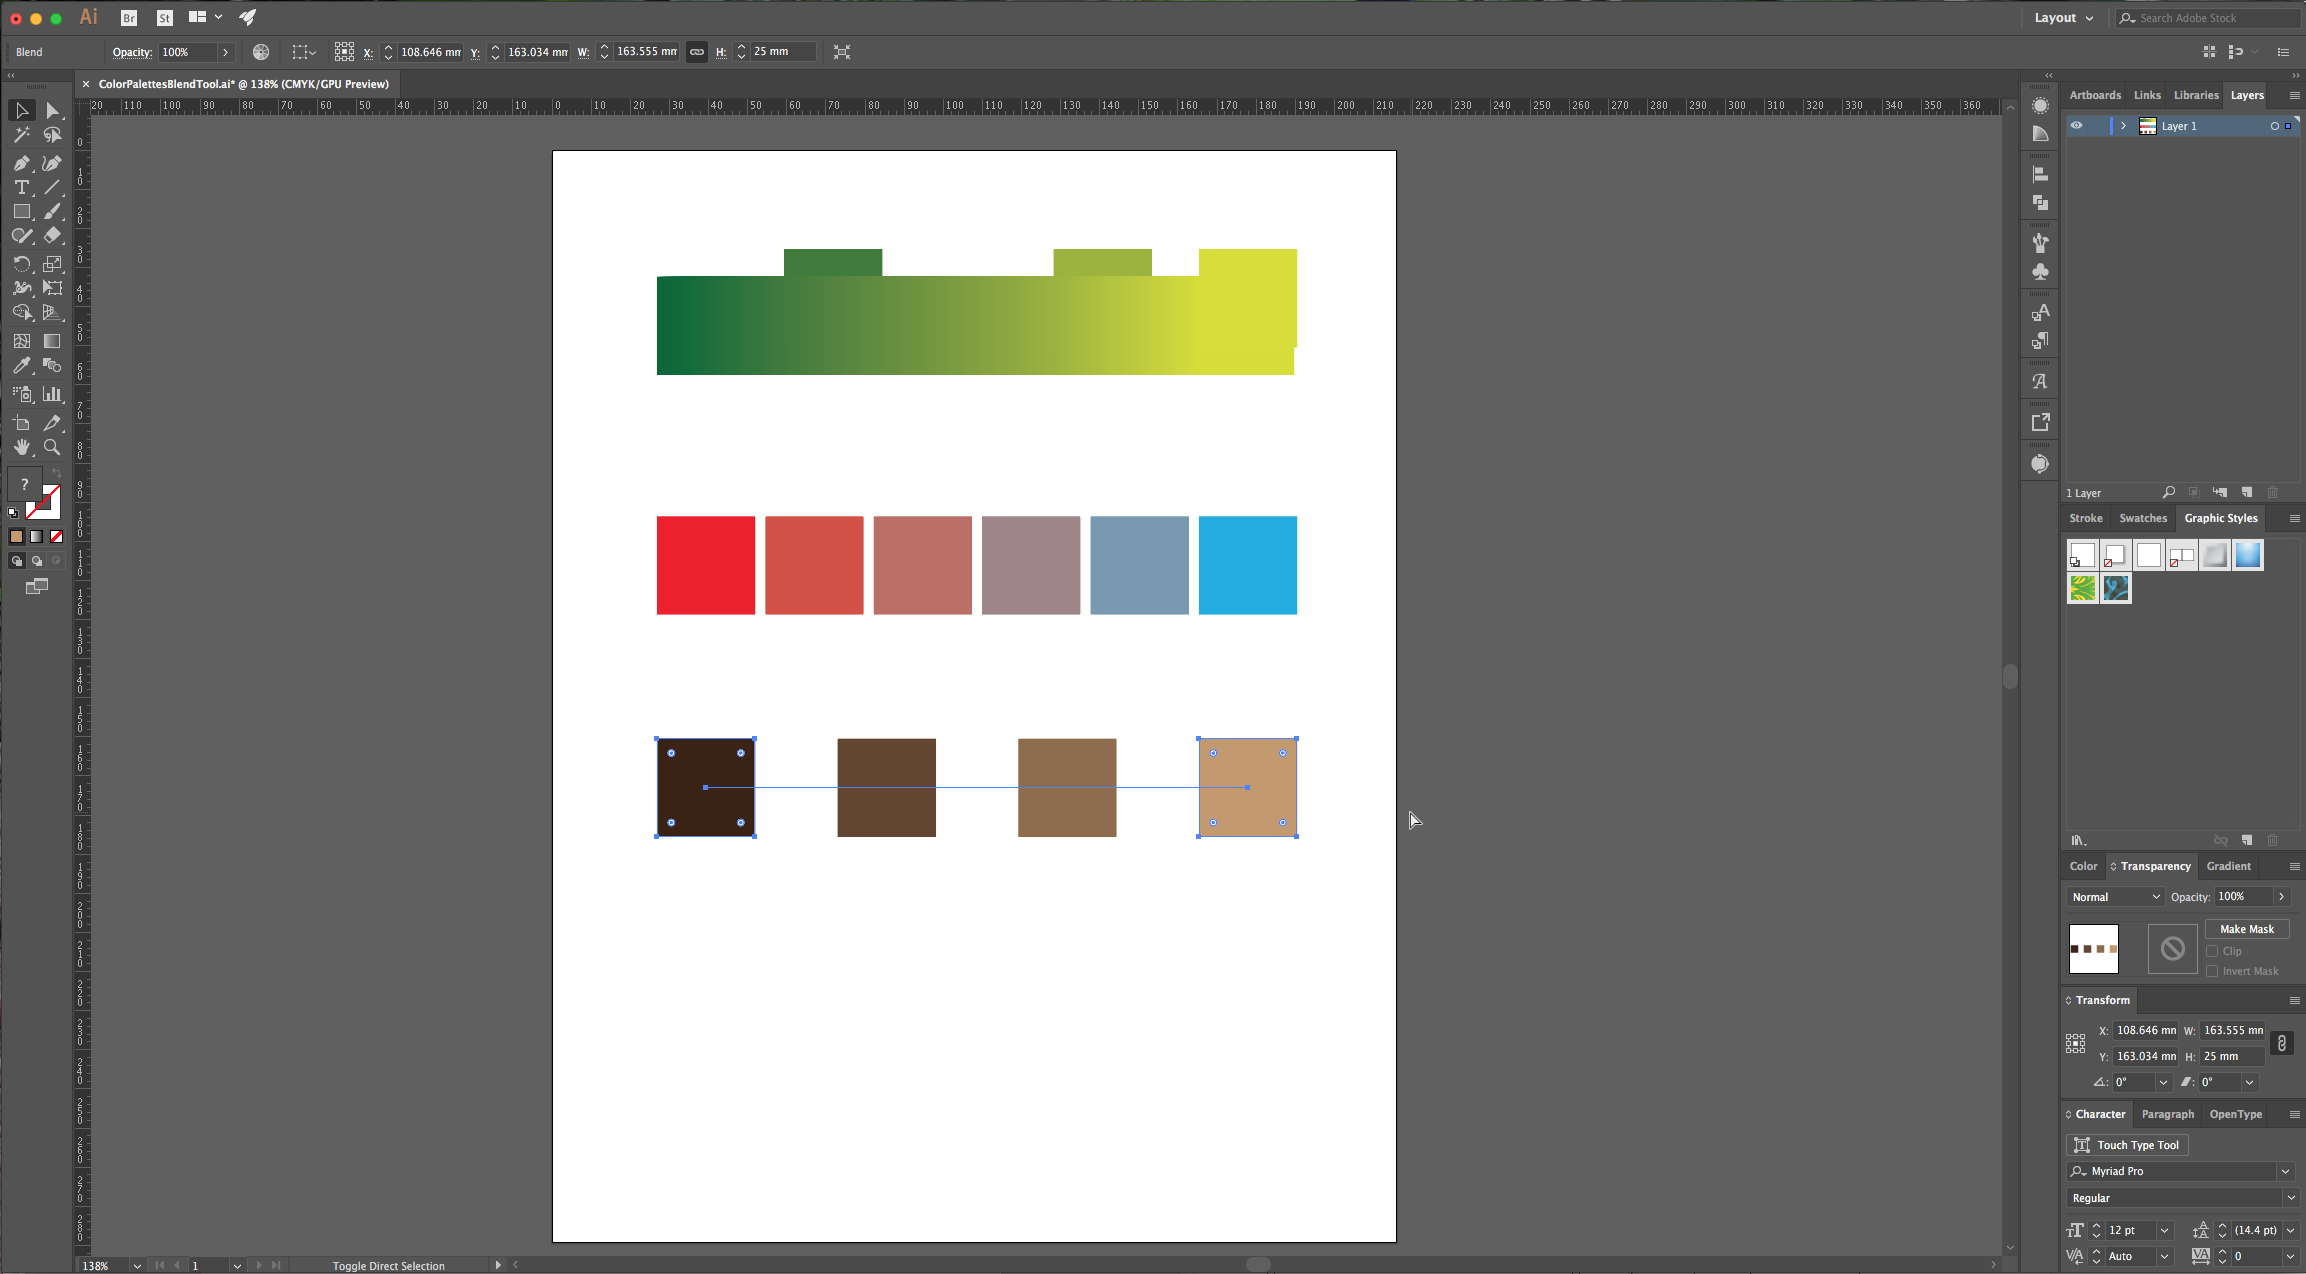
10 - Now, for the “Specified Distance” option. In this, the smaller the distance, the higher number of colors. And depending on the actual distance between your original squares Illustrator will only add as much colors as it can possibly fit in the space.

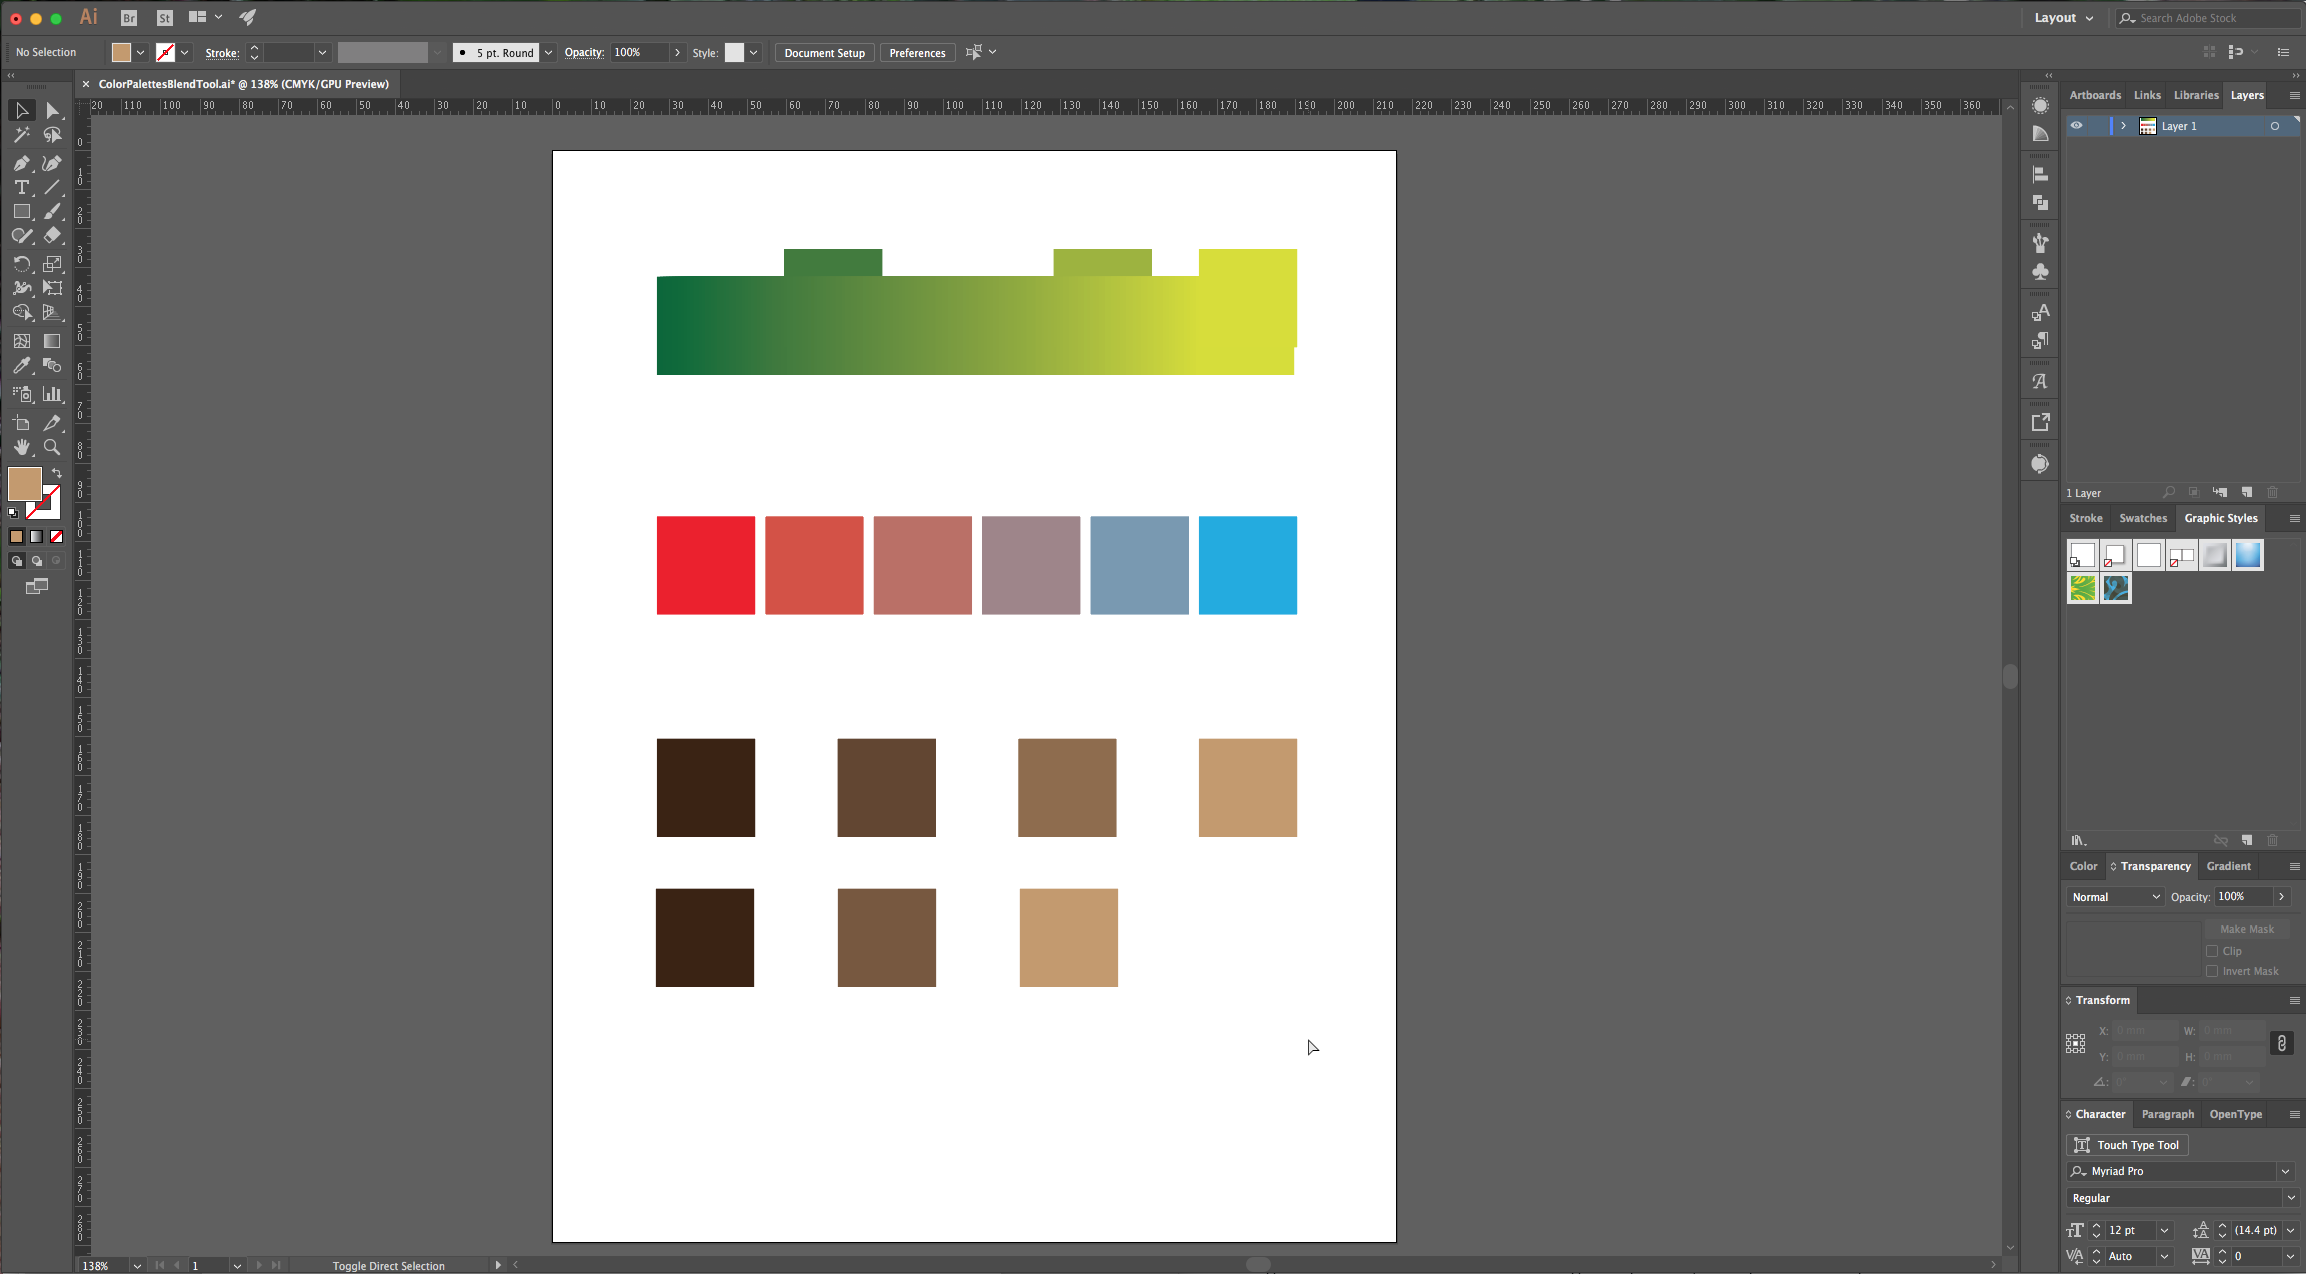
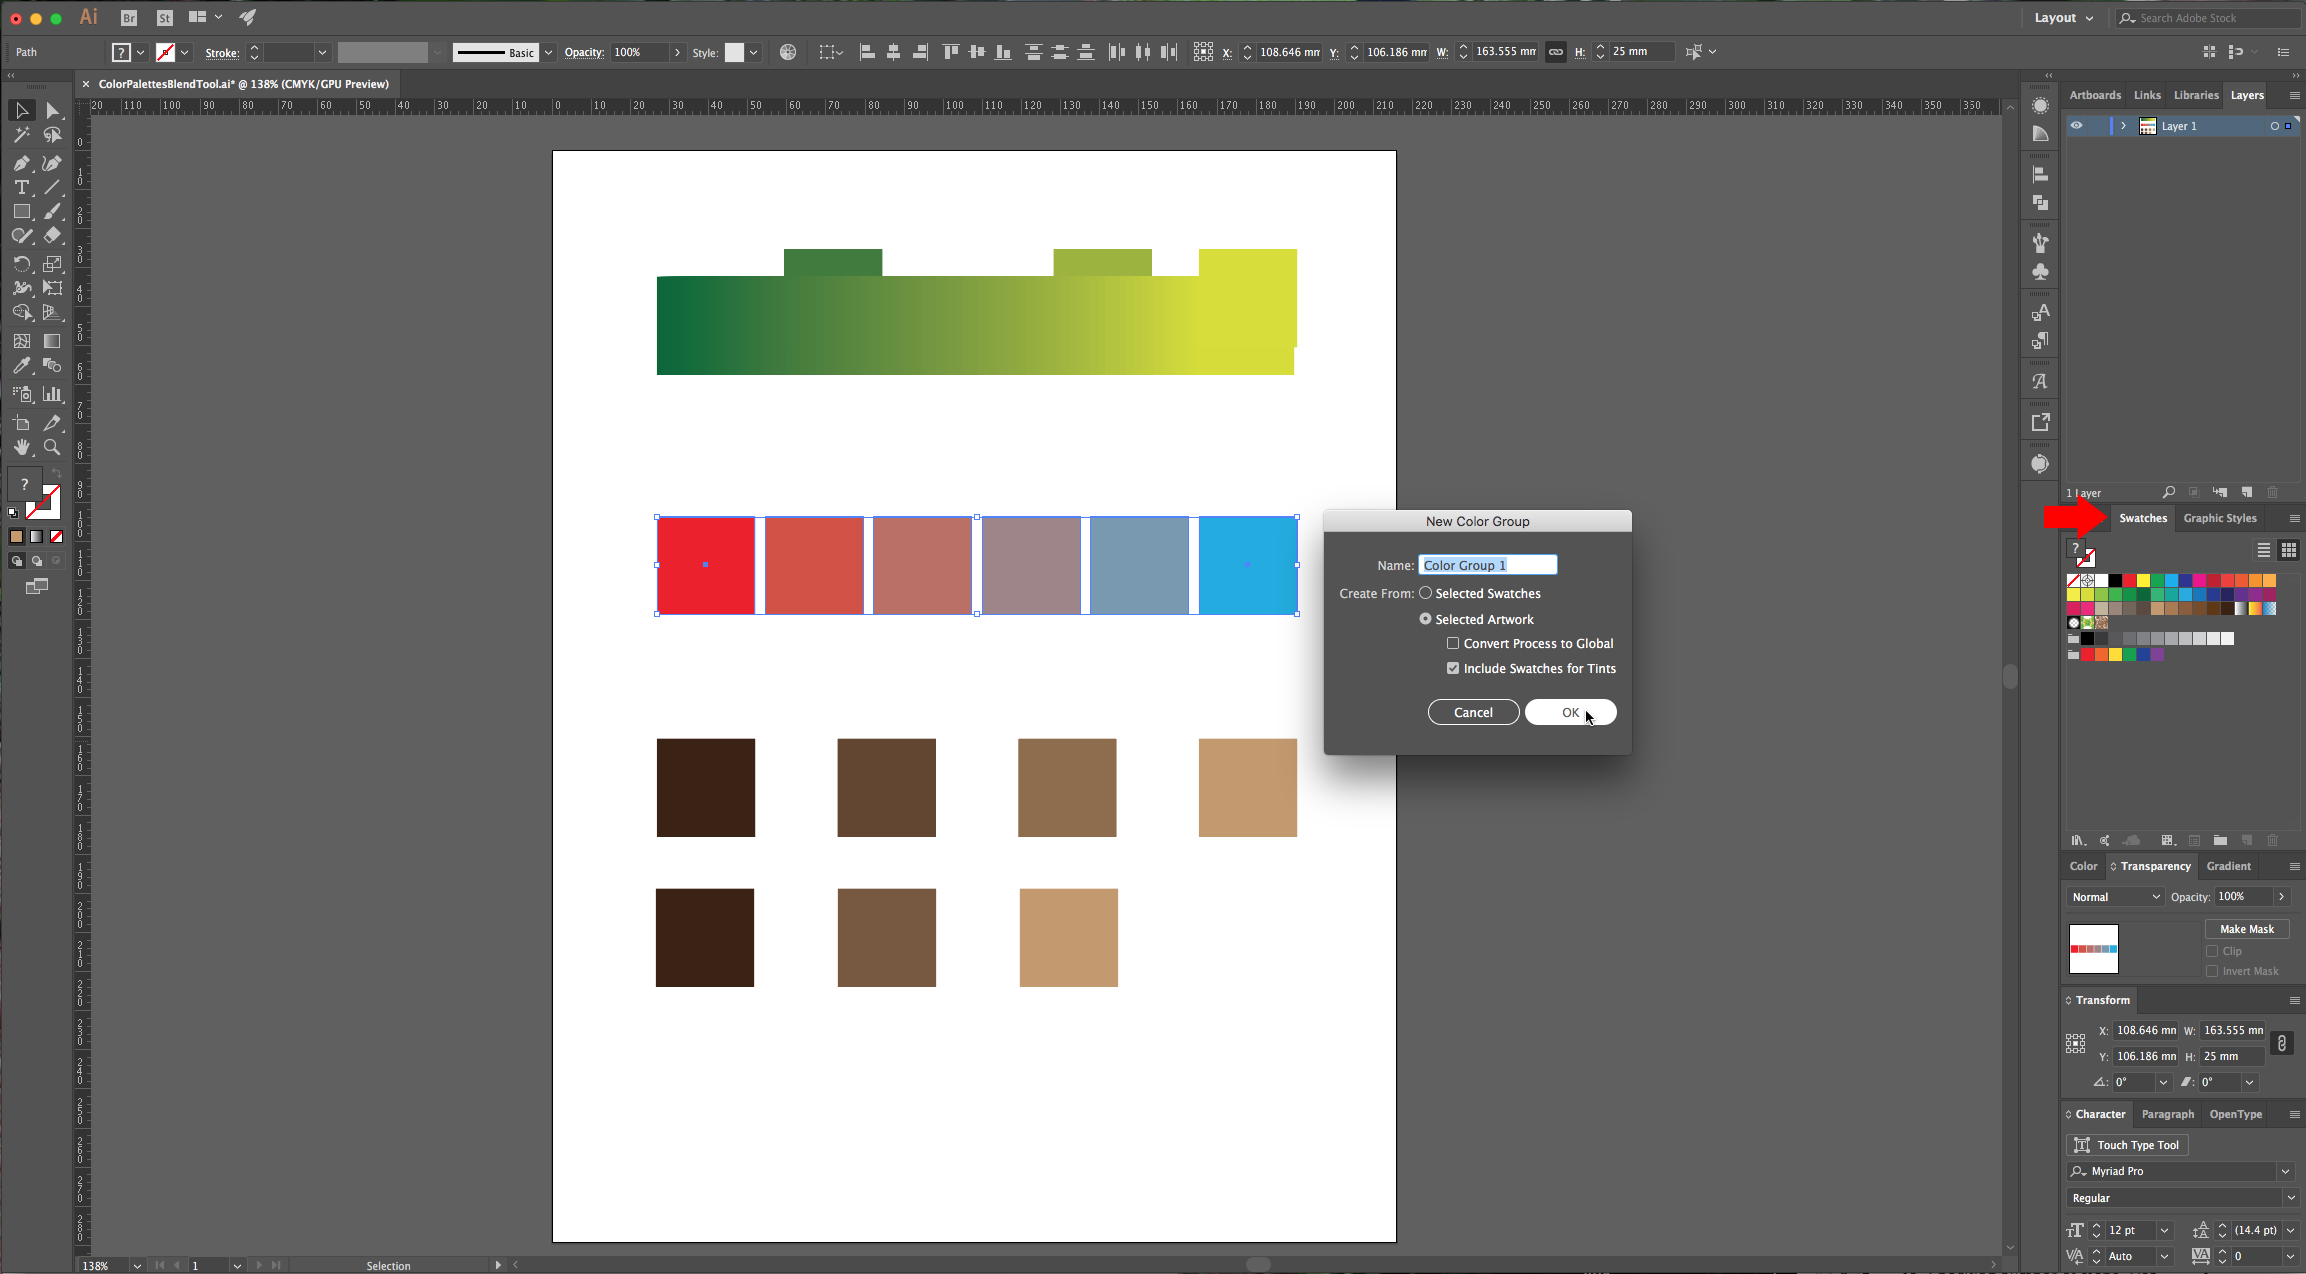
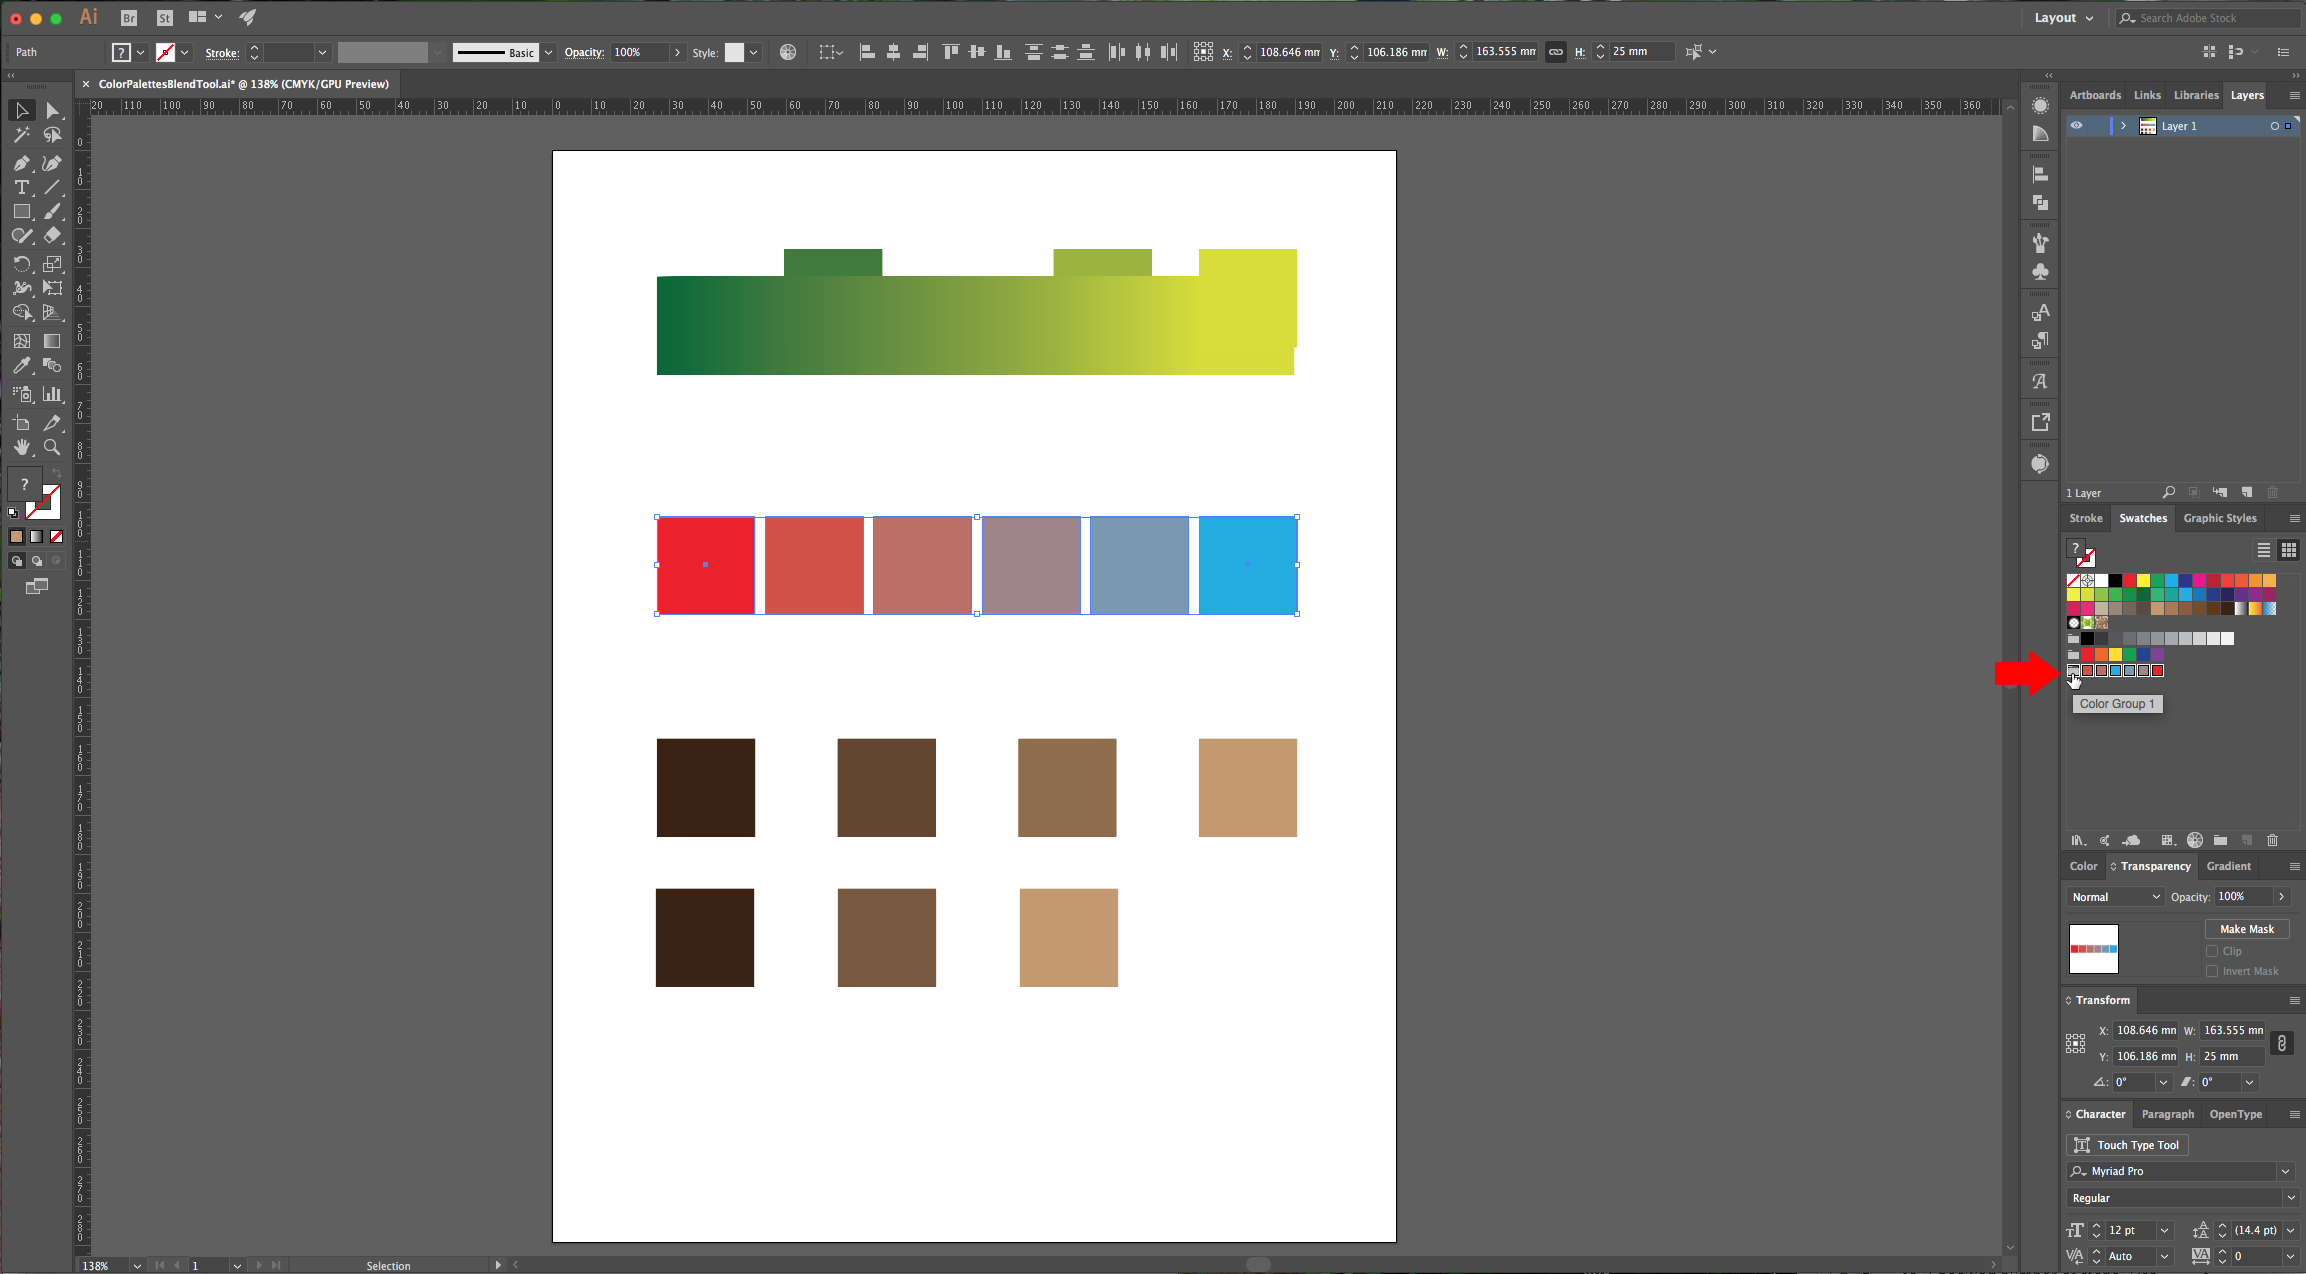
11 - To create a “Color Group” with your Palettes, select your group, “Expand” and “Ungroup” them and go to the “Swatches” Panel. Click the little folder icon to create a “New Color Group”, choose “Selected Artwork”, give it a name and make sure the “Include Swatches for Tints” box is checked.
1 - In Illustrator, create a “New Document”.
2 - Select the “Rectangle Tool” (M) and draw a square by dragging your cursor from the top-left to the lower right while holding the “Shift” key.
3 - Switch to the “Selection Tool”, hold the “Alt” key and click-drag the first square to the right to duplicate it. To keep the new square horizontally aligned with the first one, press the “Shift” key during the process. Leave enough space so you can fit about 5 or 6 squares between both.
4 - Select the first square and fill it with your starting color (make sure that the “Stroke” is set to “None”). Then, select the second square and fill it with the other color you want to use in your Palette.
5 - Select both squares and duplicate them twice (using the same method used in “Step 3”), but drag them down to be used in the other examples.
6 - Go to Object > Blend > Blend Options, and choose “Smooth Color” as your “Spacing” method. (Setting the “Blend” method is the first step every time).
7 - Select your first two squares and go to Object > Blend > Make (Option/Alt + Command/Control + B). Go to Object > Expand to and then, right-click on your gradient and choose “Ungroup” to release every square.
8 - Let’s change the colors of your second pair of squares. Then, change the “Blend Options” method to “Specified Steps” and input the number of steps you wish to have in the box to the right (we used 4). Select your squares and “Make” your blend. If the number of steps selected is too high the squares will overlap and it will seem that you have a gradient very similar to the one created with the “Smooth Color” method.
9 - With this method you can use the “Direct Selection Tool” (D) to pick one of the original squares and change the fill color and the color palette will change too. (If you “Expand” it you will lose this feature).
10 - Now, for the “Specified Distance” option. In this, the smaller the distance, the higher number of colors. And depending on the actual distance between your original squares Illustrator will only add as much colors as it can possibly fit in the space.
11 - To create a “Color Group” with your Palettes, select your group, “Expand” and “Ungroup” them and go to the “Swatches” Panel. Click the little folder icon to create a “New Color Group”, choose “Selected Artwork”, give it a name and make sure the “Include Swatches for Tints” box is checked.
by @lornacane


