
Cutting Functions with New Silhouette V4 Software
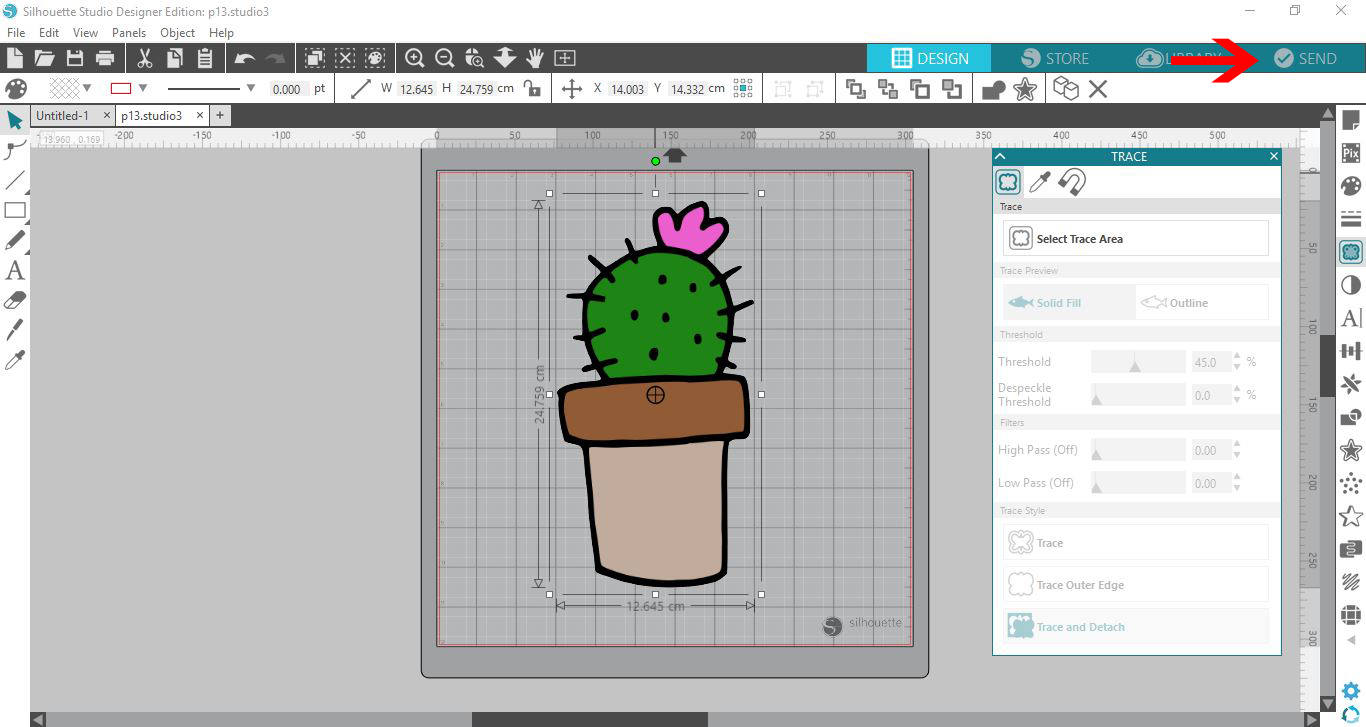
1- with the new V4 software the send to Silhouette icon is now on the right at the top toolbar. Rather than a little icon we now have a "send" text and tick icon.
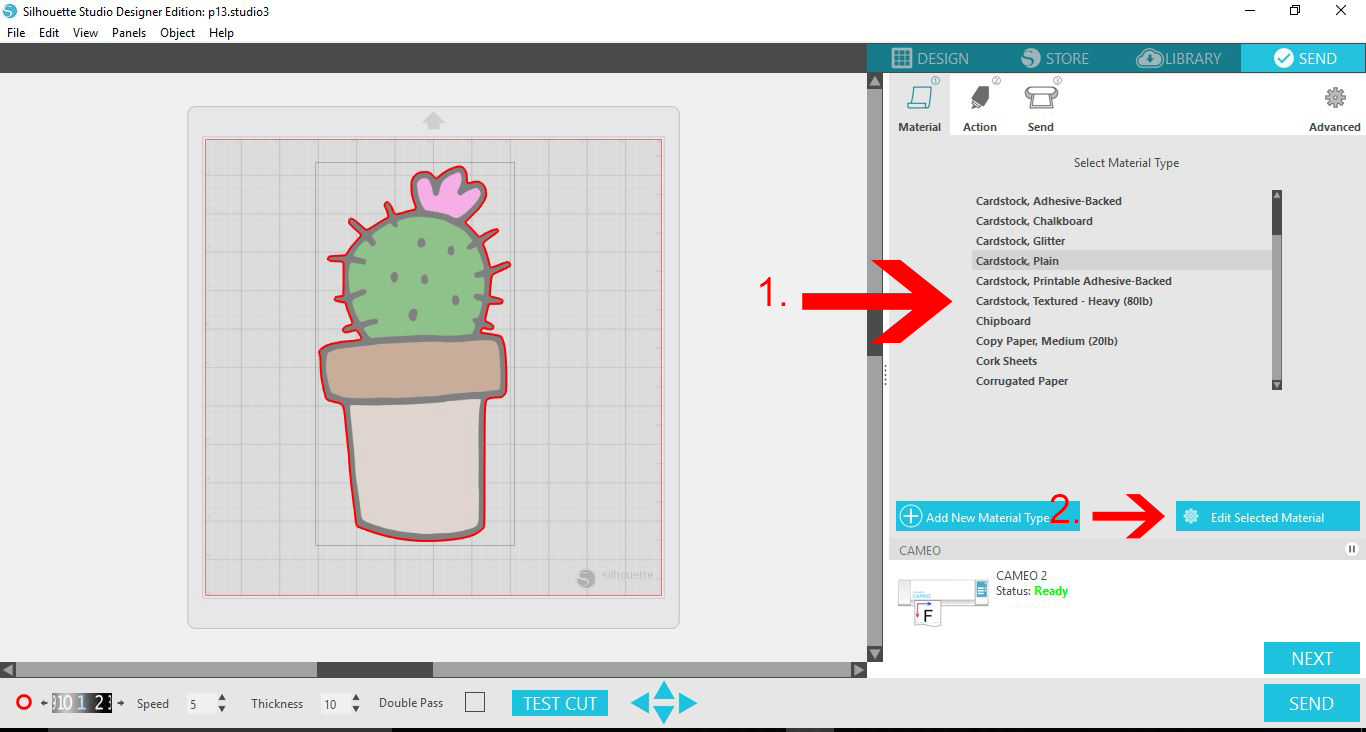
2- Once you select the send icon a new window will appear. This has changed dramatically from the old software. We now have have 3 icons. The first is Material.
When this is selected you will see a variety of medias to use. If you are using a silhouette branded product, it will be listed in this selected area.(1) There are also some generic cut settings like cardstock and vinyl.If your media is not listed you can select the closest media from the selection, then select edit selected material icon (2).
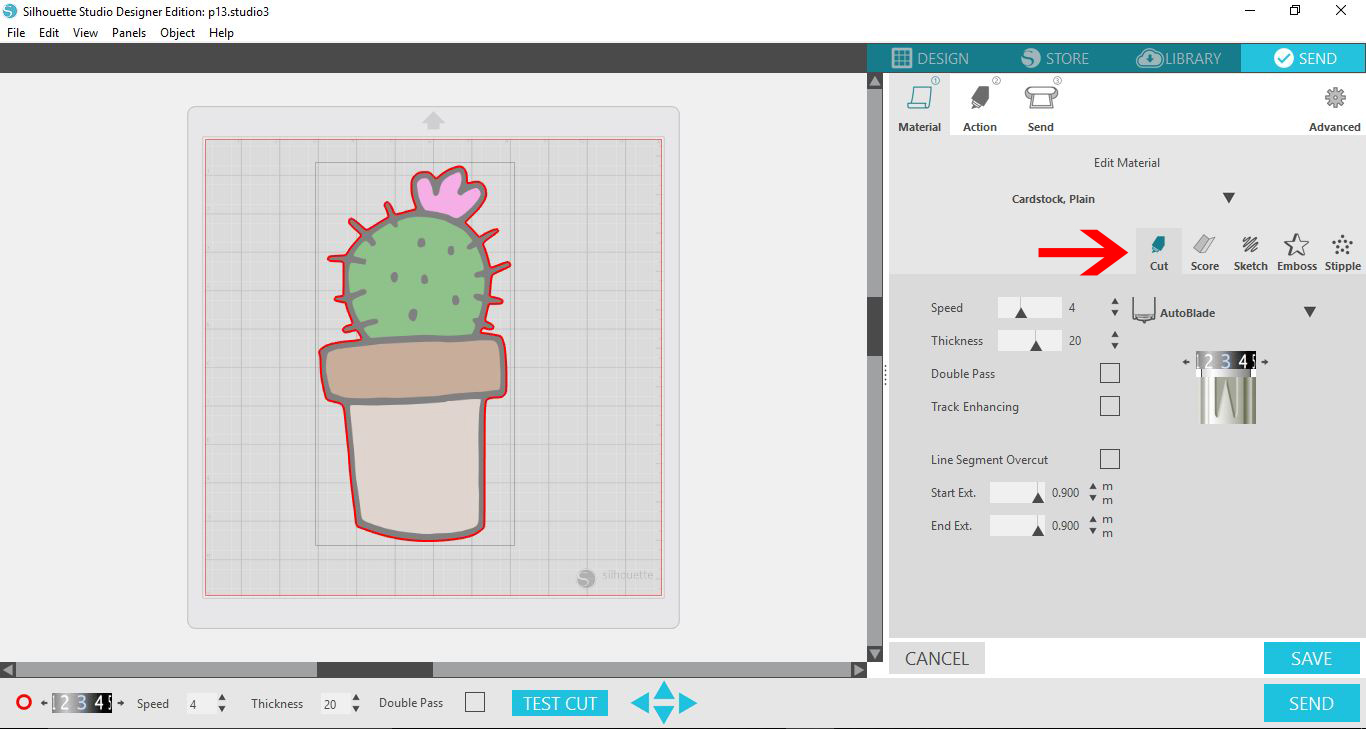
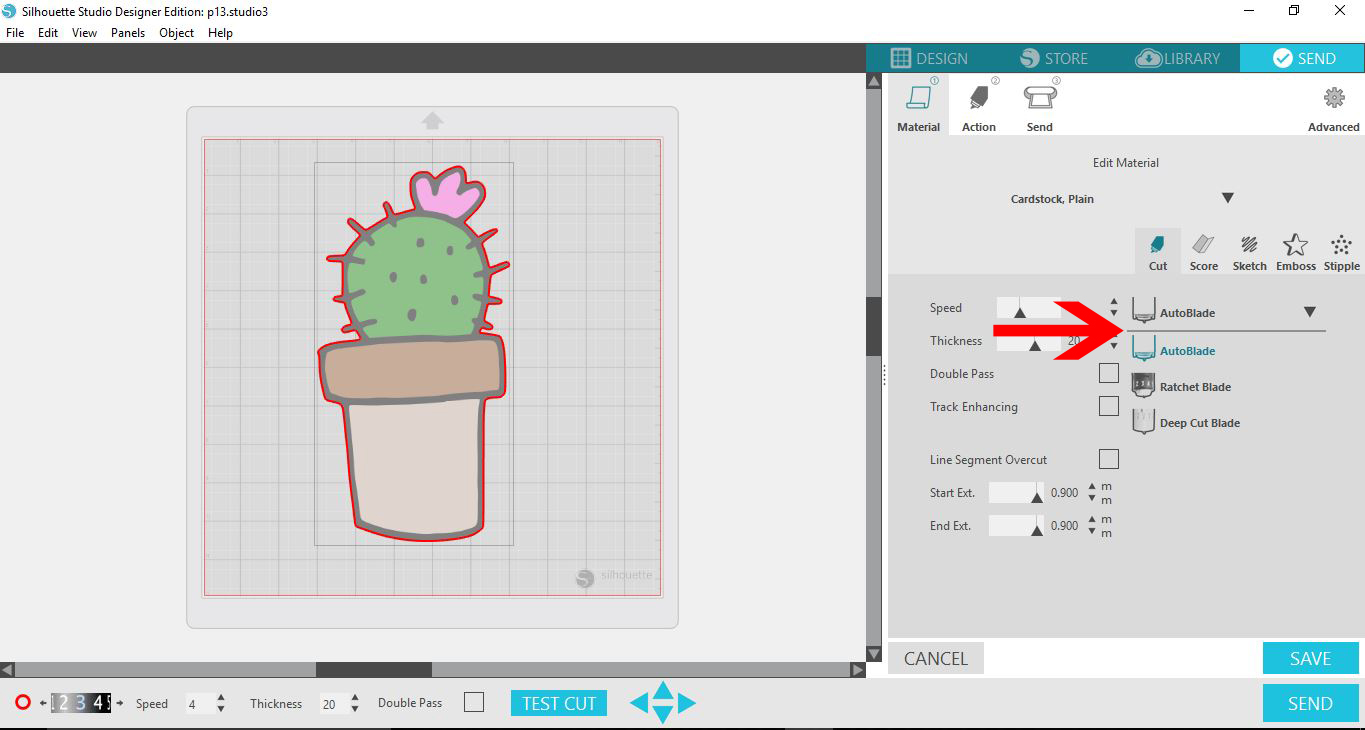
3-Once is the edit selected material option you can manually change the cut setting like in V3 software. It will automatically select the cut option.
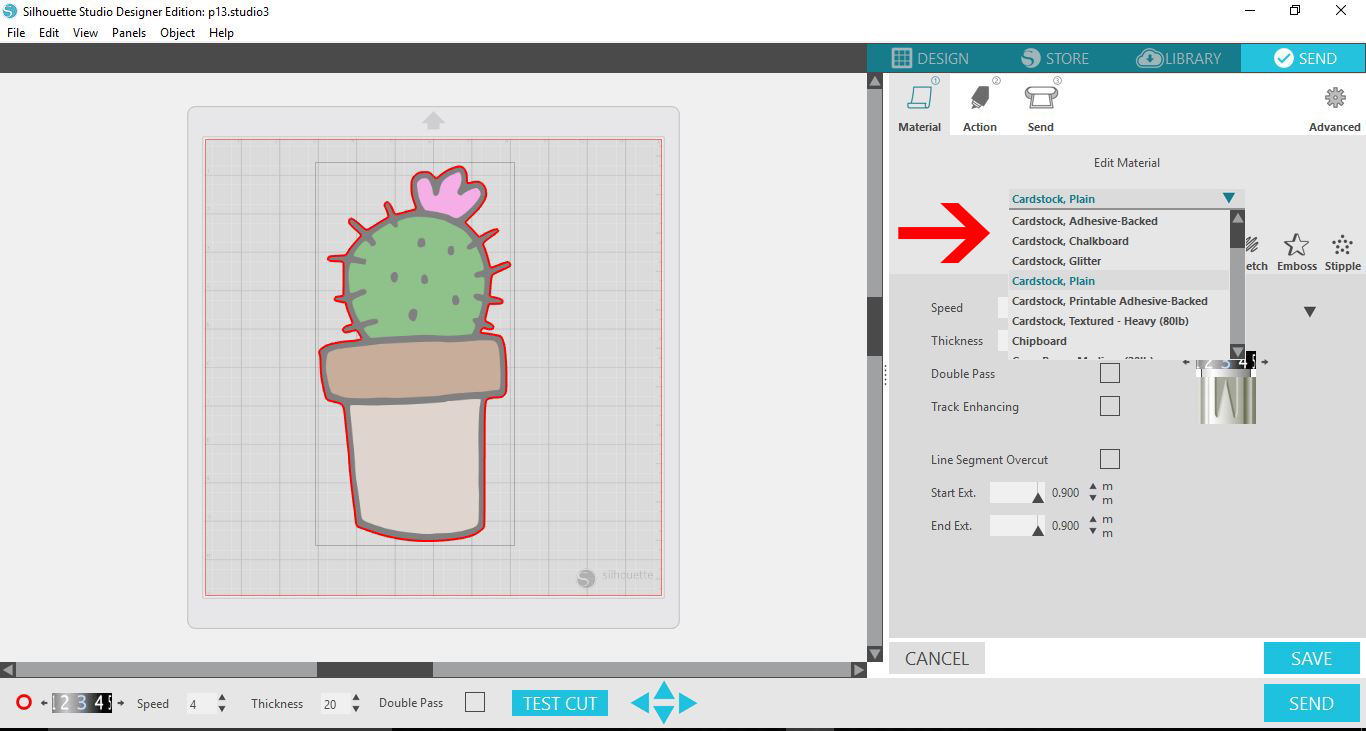
4-In this advanced setting you can still adjust the media choice from the dropdown box.
5- You can also adjust the blade type depending if you are using a regular ratchet blade, deepcut blade or the autoblade.
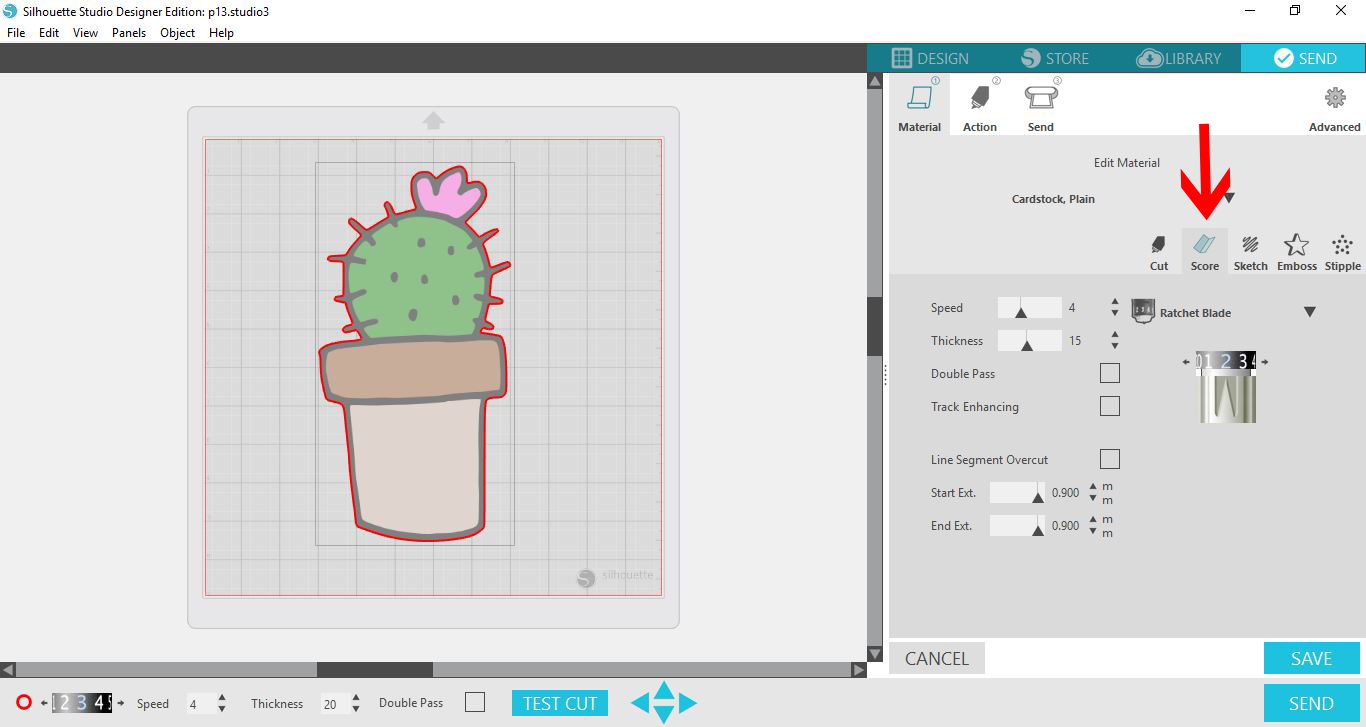
6- The next option you have is a score option. This is a great feature if you are making greeting cards or 3D items and only need to score the folds and not cut them.
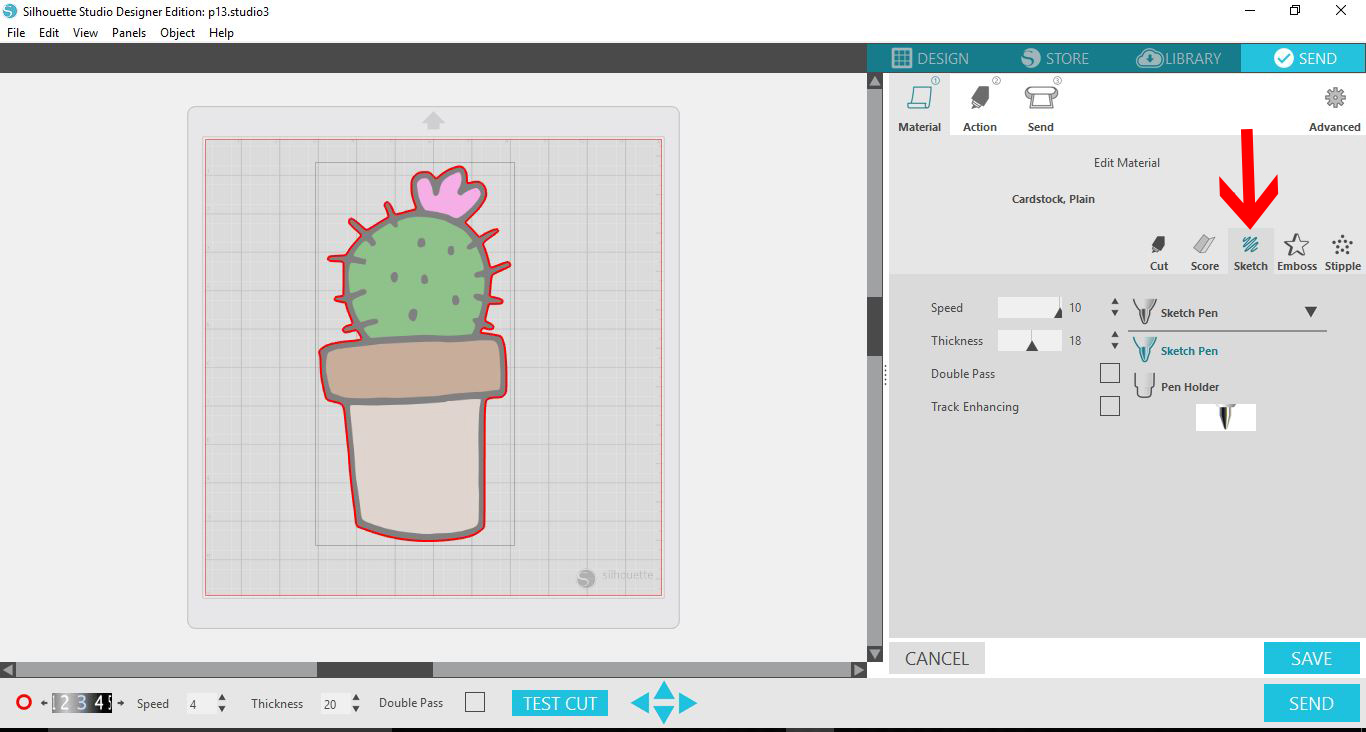
7-Sketch option is for when you use a silhouette brand sketch pen or the pen holder with your own pen.
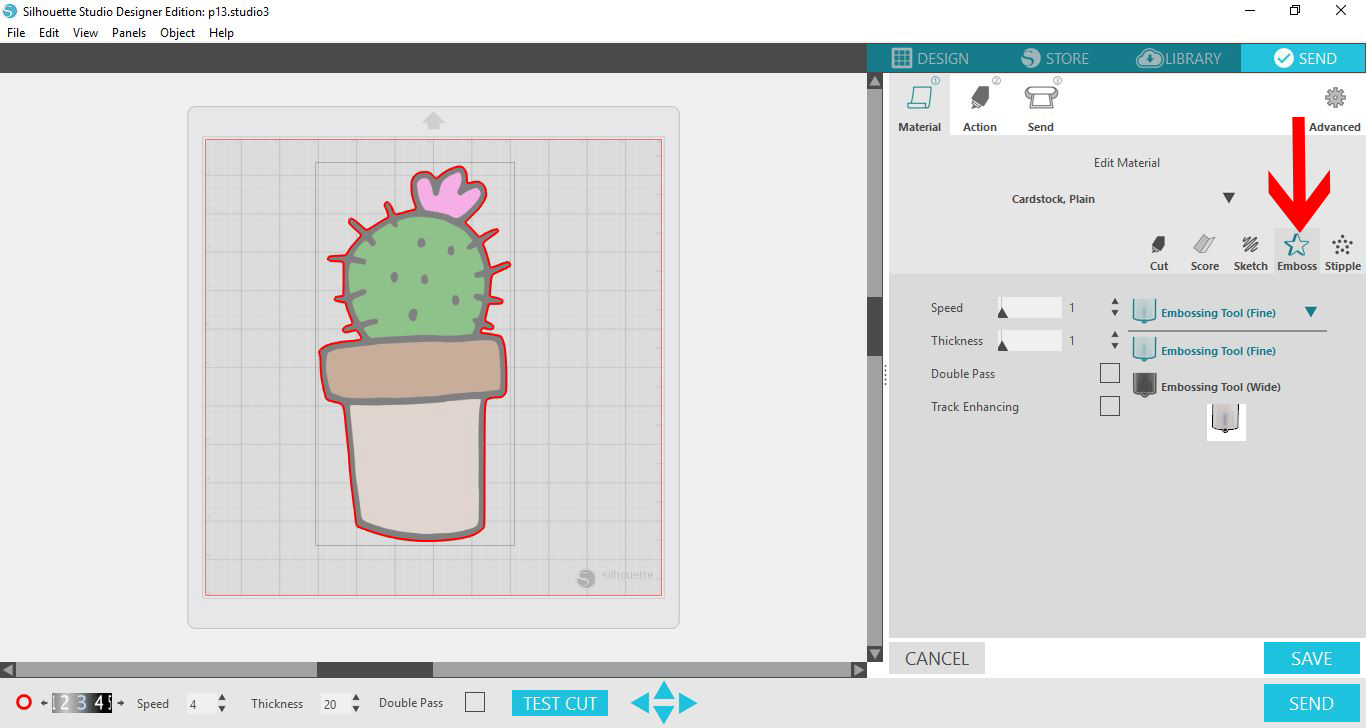
8-Emboss selection is for the curio machine only.
9-The stipple option is when you are using a curio machine or the silhouette V3 machine.

10- Once you have selected the media you are cutting you will need to select save to be forwarded on to the next part of the cutting process. If you do not select save the software will prompt you.
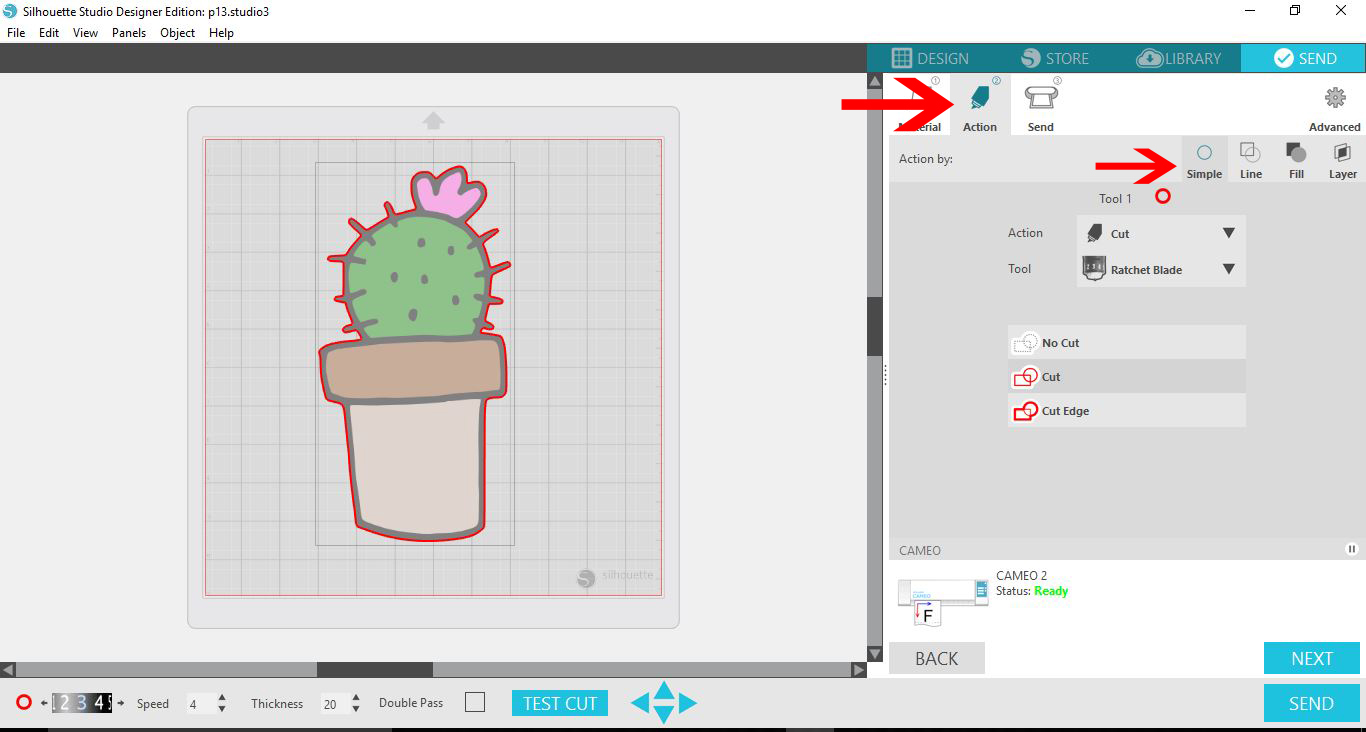
11- Next is the action option. Here you can choose how you cut your design and what you want to cut, and also check ensure the sections you want to cut are highlighted.
The simple option is where the silhouette will cut all cut lines you created in the software.
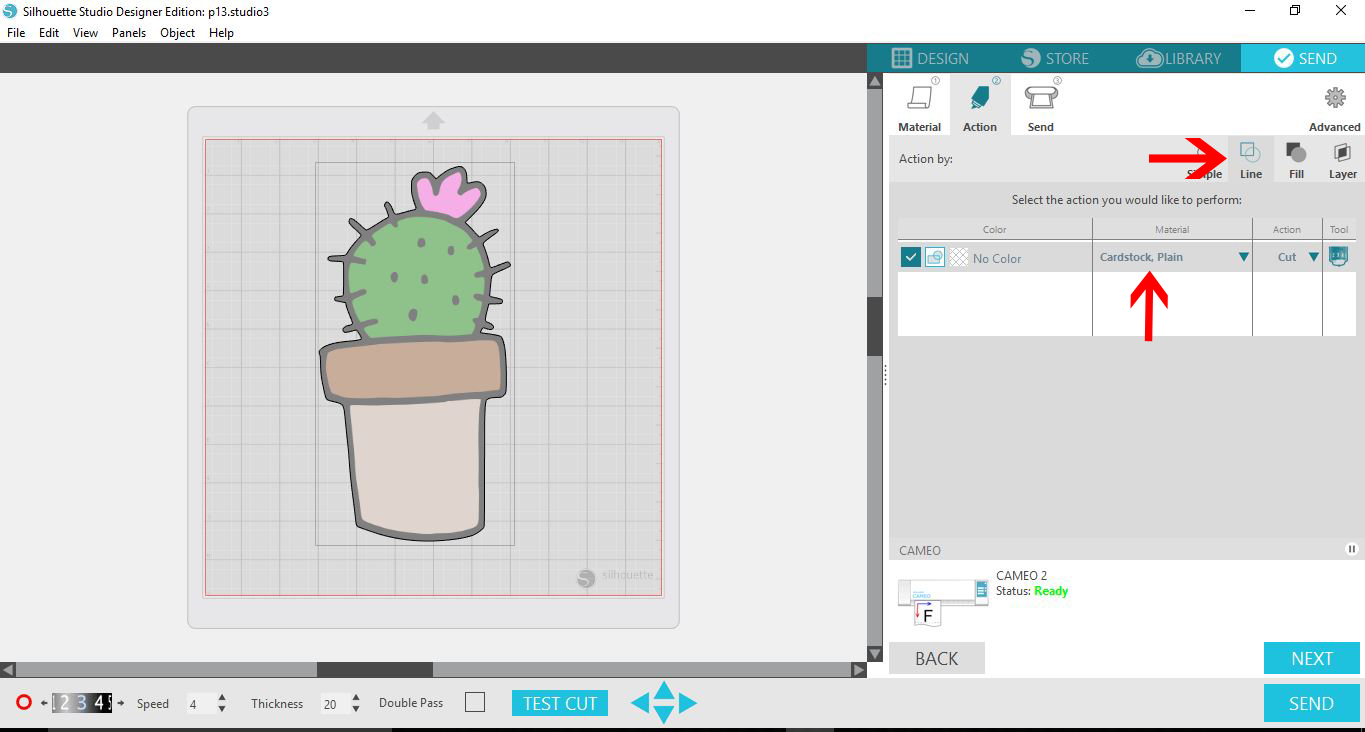
12- You can also cut your image via line colour. If you create your design with several different coloured cut lines you can select each colour and cut them individually. It is good to note that when using the line selection ensure that the material is selected correctly. You can change each line colour to cut a different media.
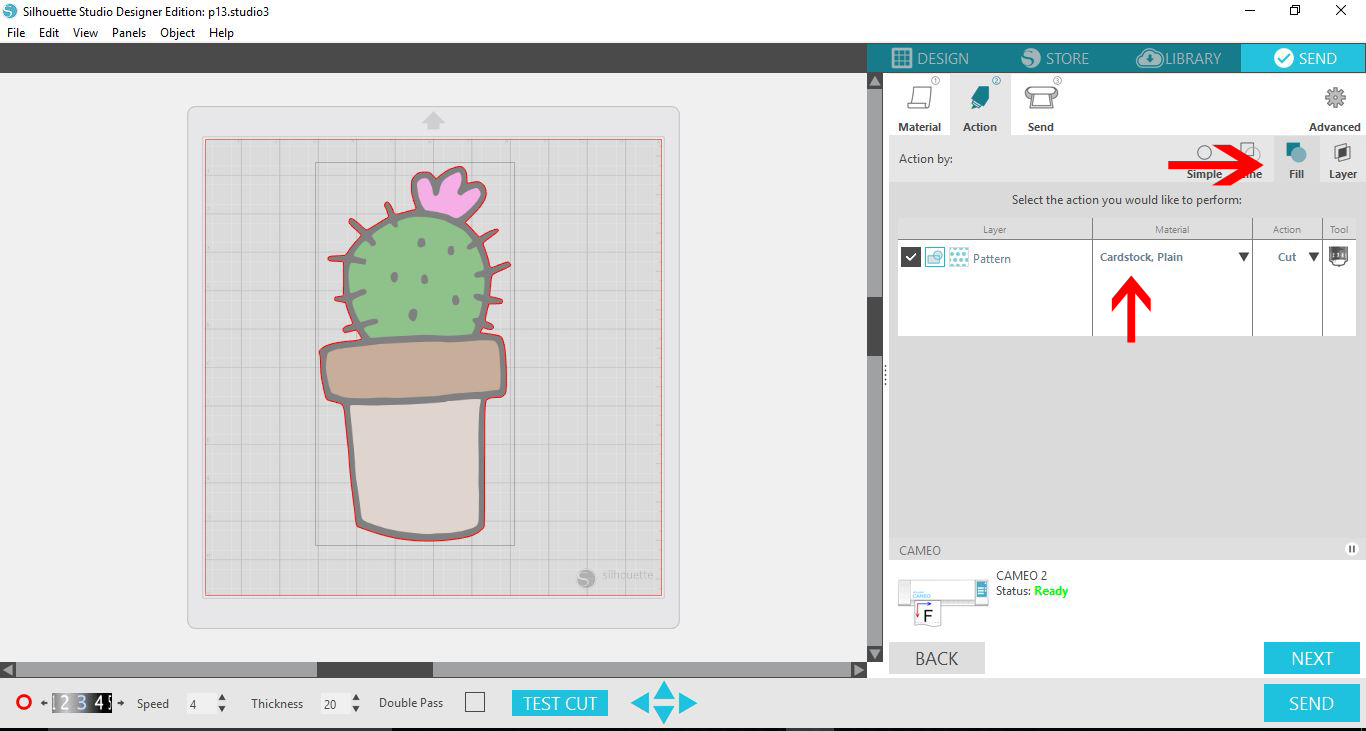
13-you can also cut with fill colour.If you create your design with several different colours you can select each colour and cut them individually. It is good to note that when using the fill selection ensure that the material is selected correctly. You can change each fill colour to cut a different media.
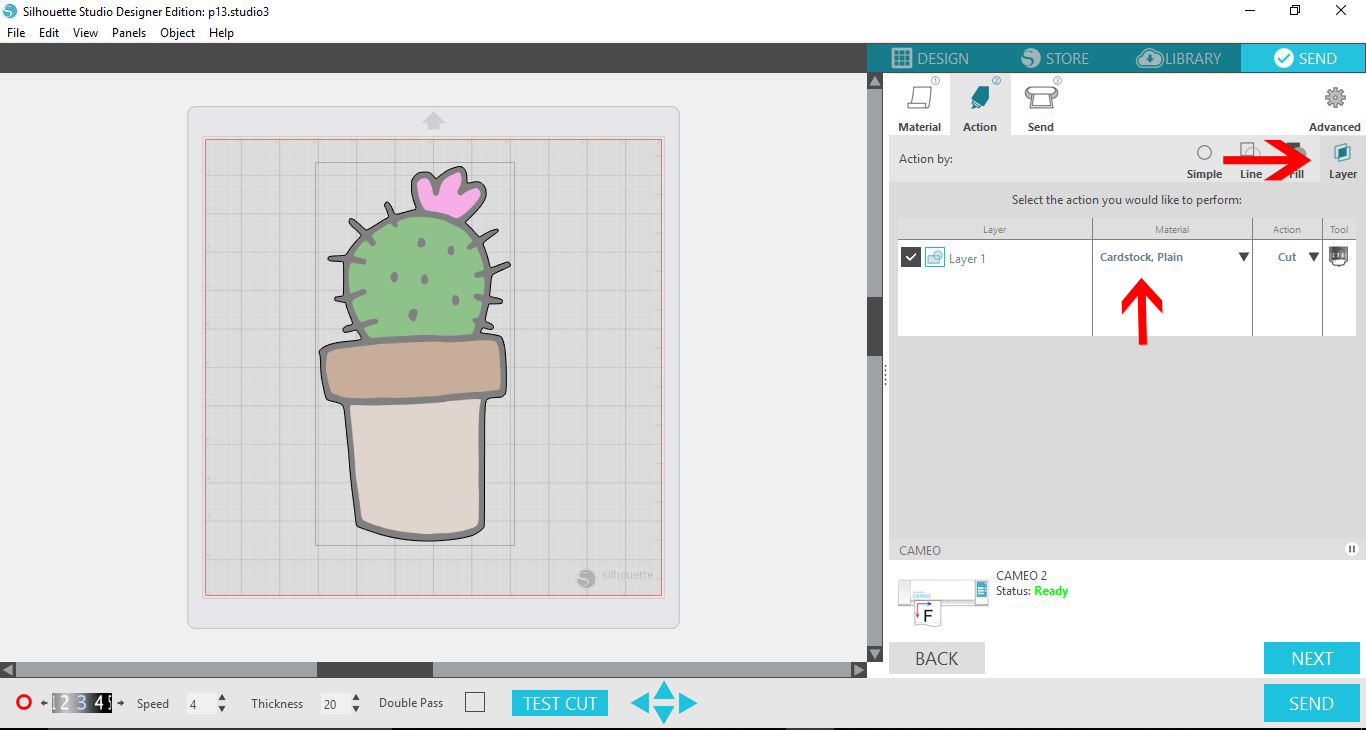
14-There is also a new option to cut via layer. Again ensure your media is selected correctly.
15- When you are happy with your selection click on the next icon. This will send you to the send window.
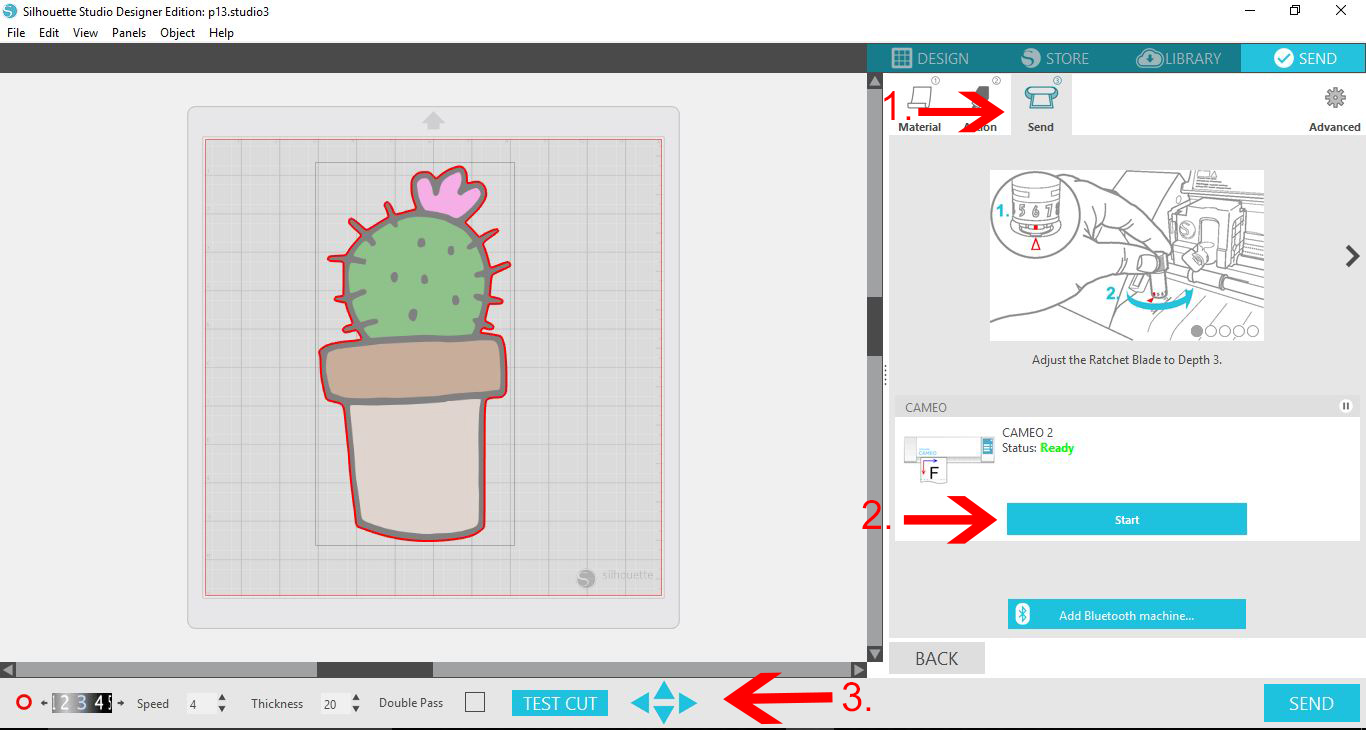
16- In the send window (1) there is a step by step panel on how to change your blade and depth. When you are happy with the settings click Send (2). At this point the machine will start and as a new feature there is a countdown timer which will tell you how long your image will take to cut.
Another great feature is while you are in the send window you can see at the bottom of your screen a quick option to adjust your settings (3). You can also do a text cut from here.
I have used thedesignPatches- Badgesby Tabitazn.


