Unlimited Downloads 15% off Marketplace Purchases Exclusive Software Access Unlimited Downloads
15% off Marketplace Purchases
Exclusive Software Access
Go Unlimited Maybe Later
How to Add a New Cutting Material to Silhouette Studio
  • By Design Bundles
  • 05 Feb 2018
  • 2 Mins
  • Silhouette Tutorials

How to Add a New Cutting Material to Silhouette Studio

1- Open silhouette Studio.

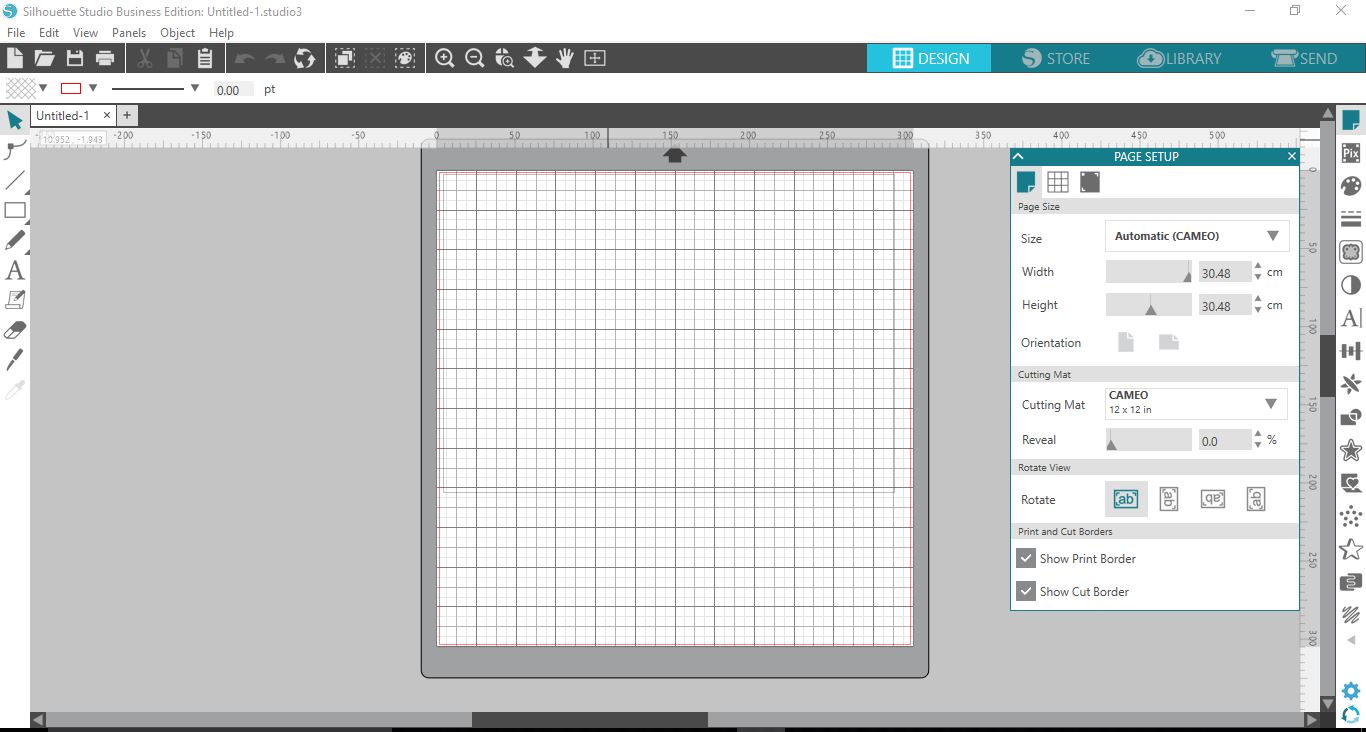
2- Create a design, then click on Send as you would normally do to cut your design.

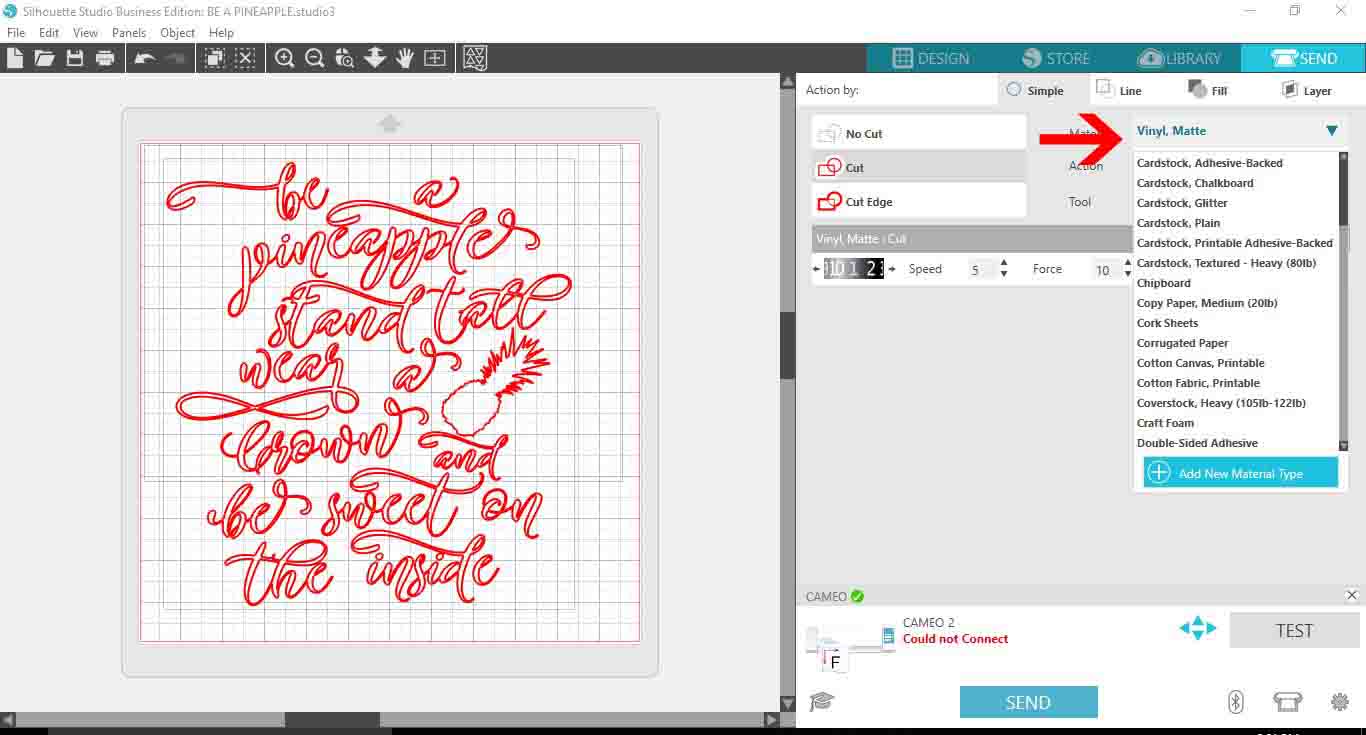
3- In the material drop down menu, there is an 'add new material' option. click on it.

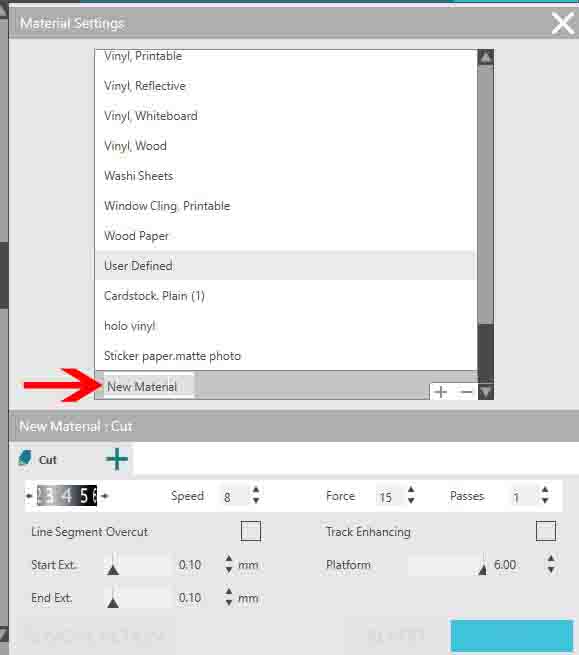
4- A new part of a window will appear and this will give you the option to change the material settings. you can change the depth(1), the speed(2), the force(3), and how many passes you would like it to do(4).

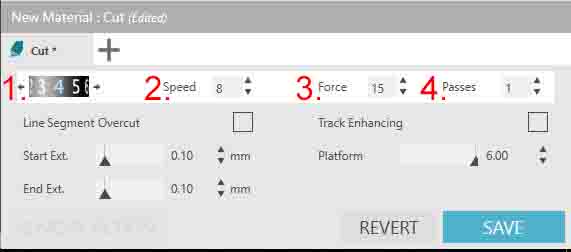
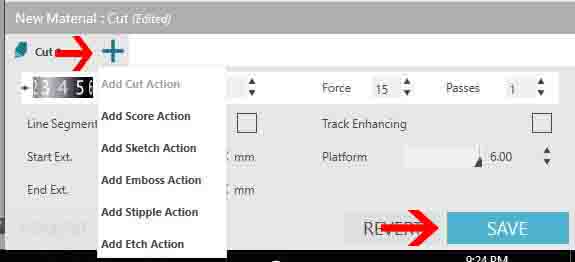
5- If you click on the+ icon a new drop down option will appear, so you can add different types of cuts like scoring or embossing(if you have a curio).

Finally when you are happy with your settings, click save.

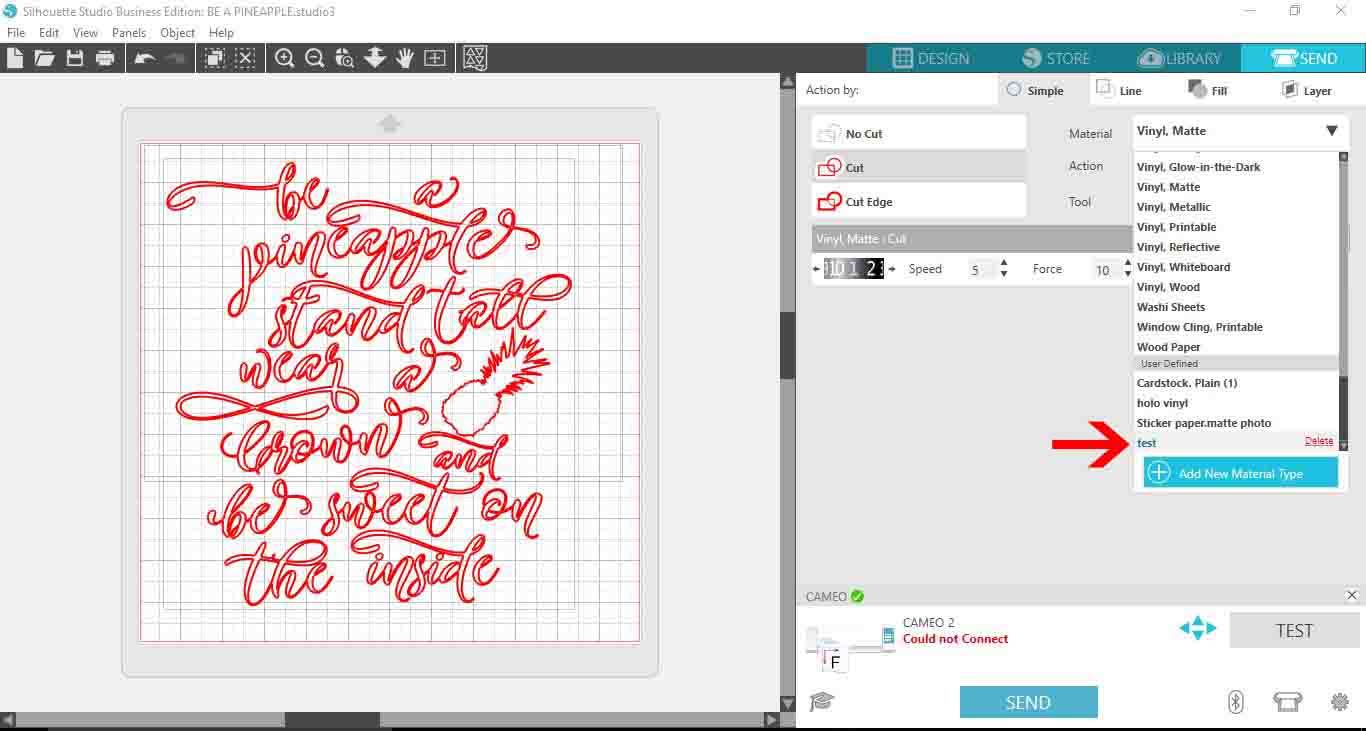
6- If you scroll down in the material setting above the cut settings, you can find a user defined option and your new material will be found there. Double click on it and rename to what you would like to call your new material.

Click on the X when finished.

7- Now when you go back to the material drop down box your new material will be found at the bottom of the drop down list for you to use.


6 Related Silhouette Tutorials

Do you want to learn how to make cookie embossers with your Silhouette Alt 3D Printer? Then we have a sweet tutorial for you. Use a SVG file to create a cookie cutter with Silhouette Studio and the Alta software. So let’s get started.We will be using a ...

In this tutorial you will learn how to add an outline around any text using Silhouette Studio. Adding an outline creates impact and makes the text stand out. It works especially well for t-shirts, decals, signage and much more.For this tutorial we are using this sans serif font duo ...

1- Open silhouette studio. Click on the file drop down box.2- In file files click open.3- Select your image.4- Some images will be in different parts (usually by color). Check to see if they are. Right click and see if you can ungroup. If this is possible ...

Today we are going to be creating a design utilizing a decorative add-on from aswashes and flourish pack.VIDEO (Mac Version)TUTORIAL (PC Version)Start by downloading the Swashes kit, it will come as a ZIP file named 'Swashes-kit.zip'.2. Double click the ZIP file to extract it, a folder ...

Today you will learn how to create a Kawaii candy in Silhouette Studio. Kawaii designs are sweet little characters that light up your day. In this tutorial we will specifically make a cut file with our design. Simple, easy and fun to create, you will be making Kawaii candies in ...

Coloring books are a fun way to create designs for cut files. In Silhouette Studio you can convert a coloring page into a cut file using the Trace panel. You can then add color and cut the design. In our tutorial we will show you how to use a coloring ...

You may also like

Help Center
ol image