Fireworks in Photoshop
For this tutorial, we will need a background image with a night sky and some images of fireworks to apply.
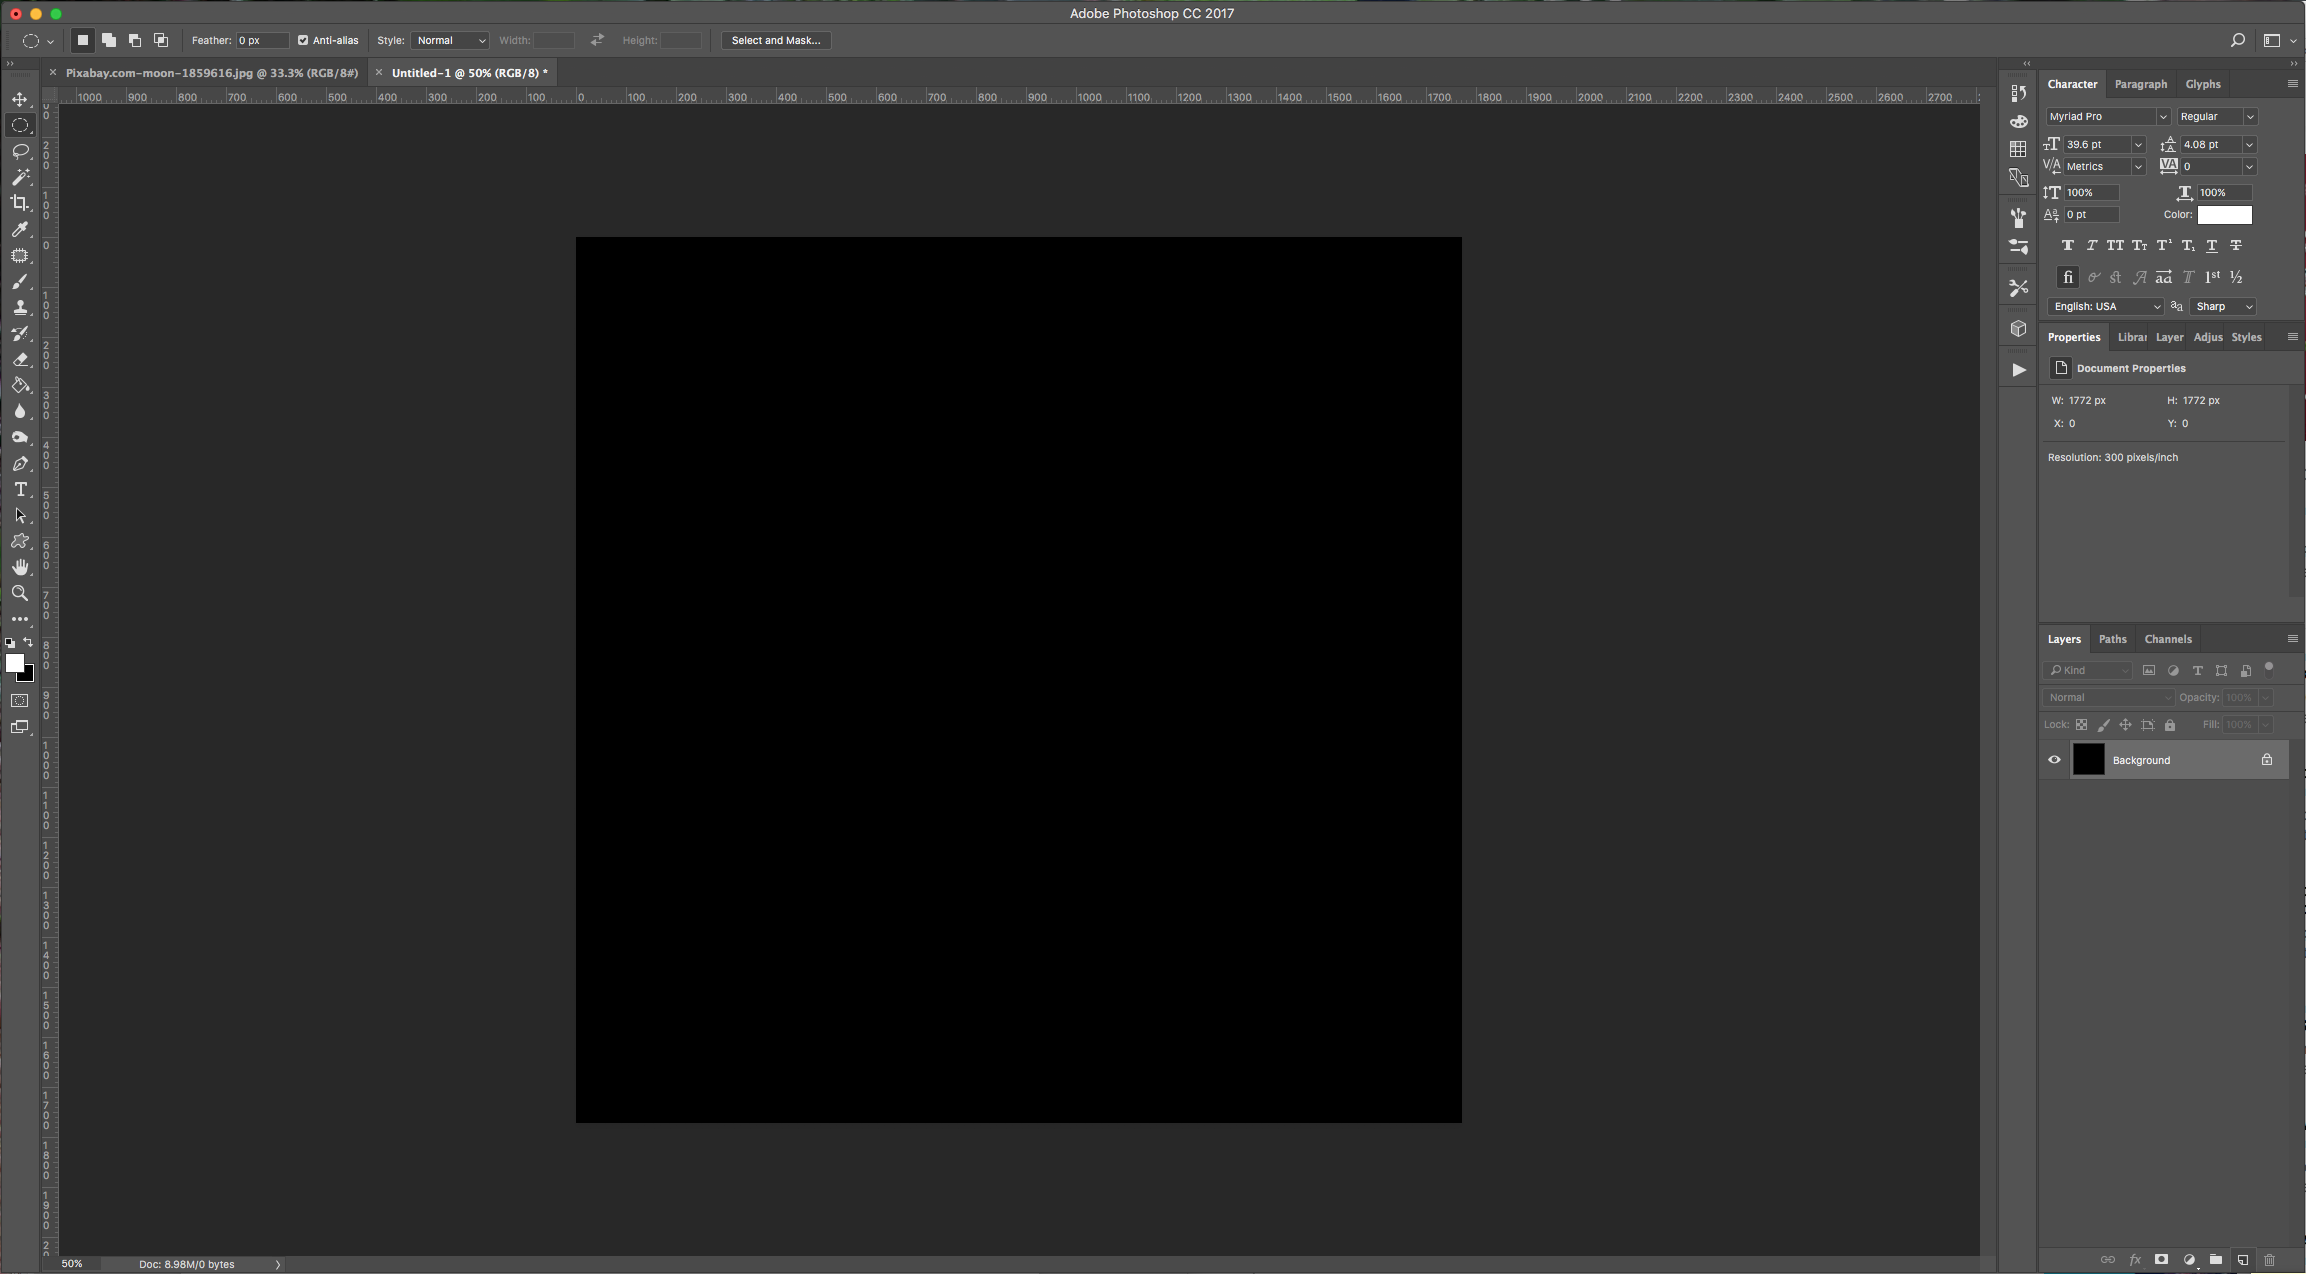
1 - Create a New Document, make it 10 x 10 centimeters (about 1772 pixels) at 300 dpi and use Black as your “Background” color.

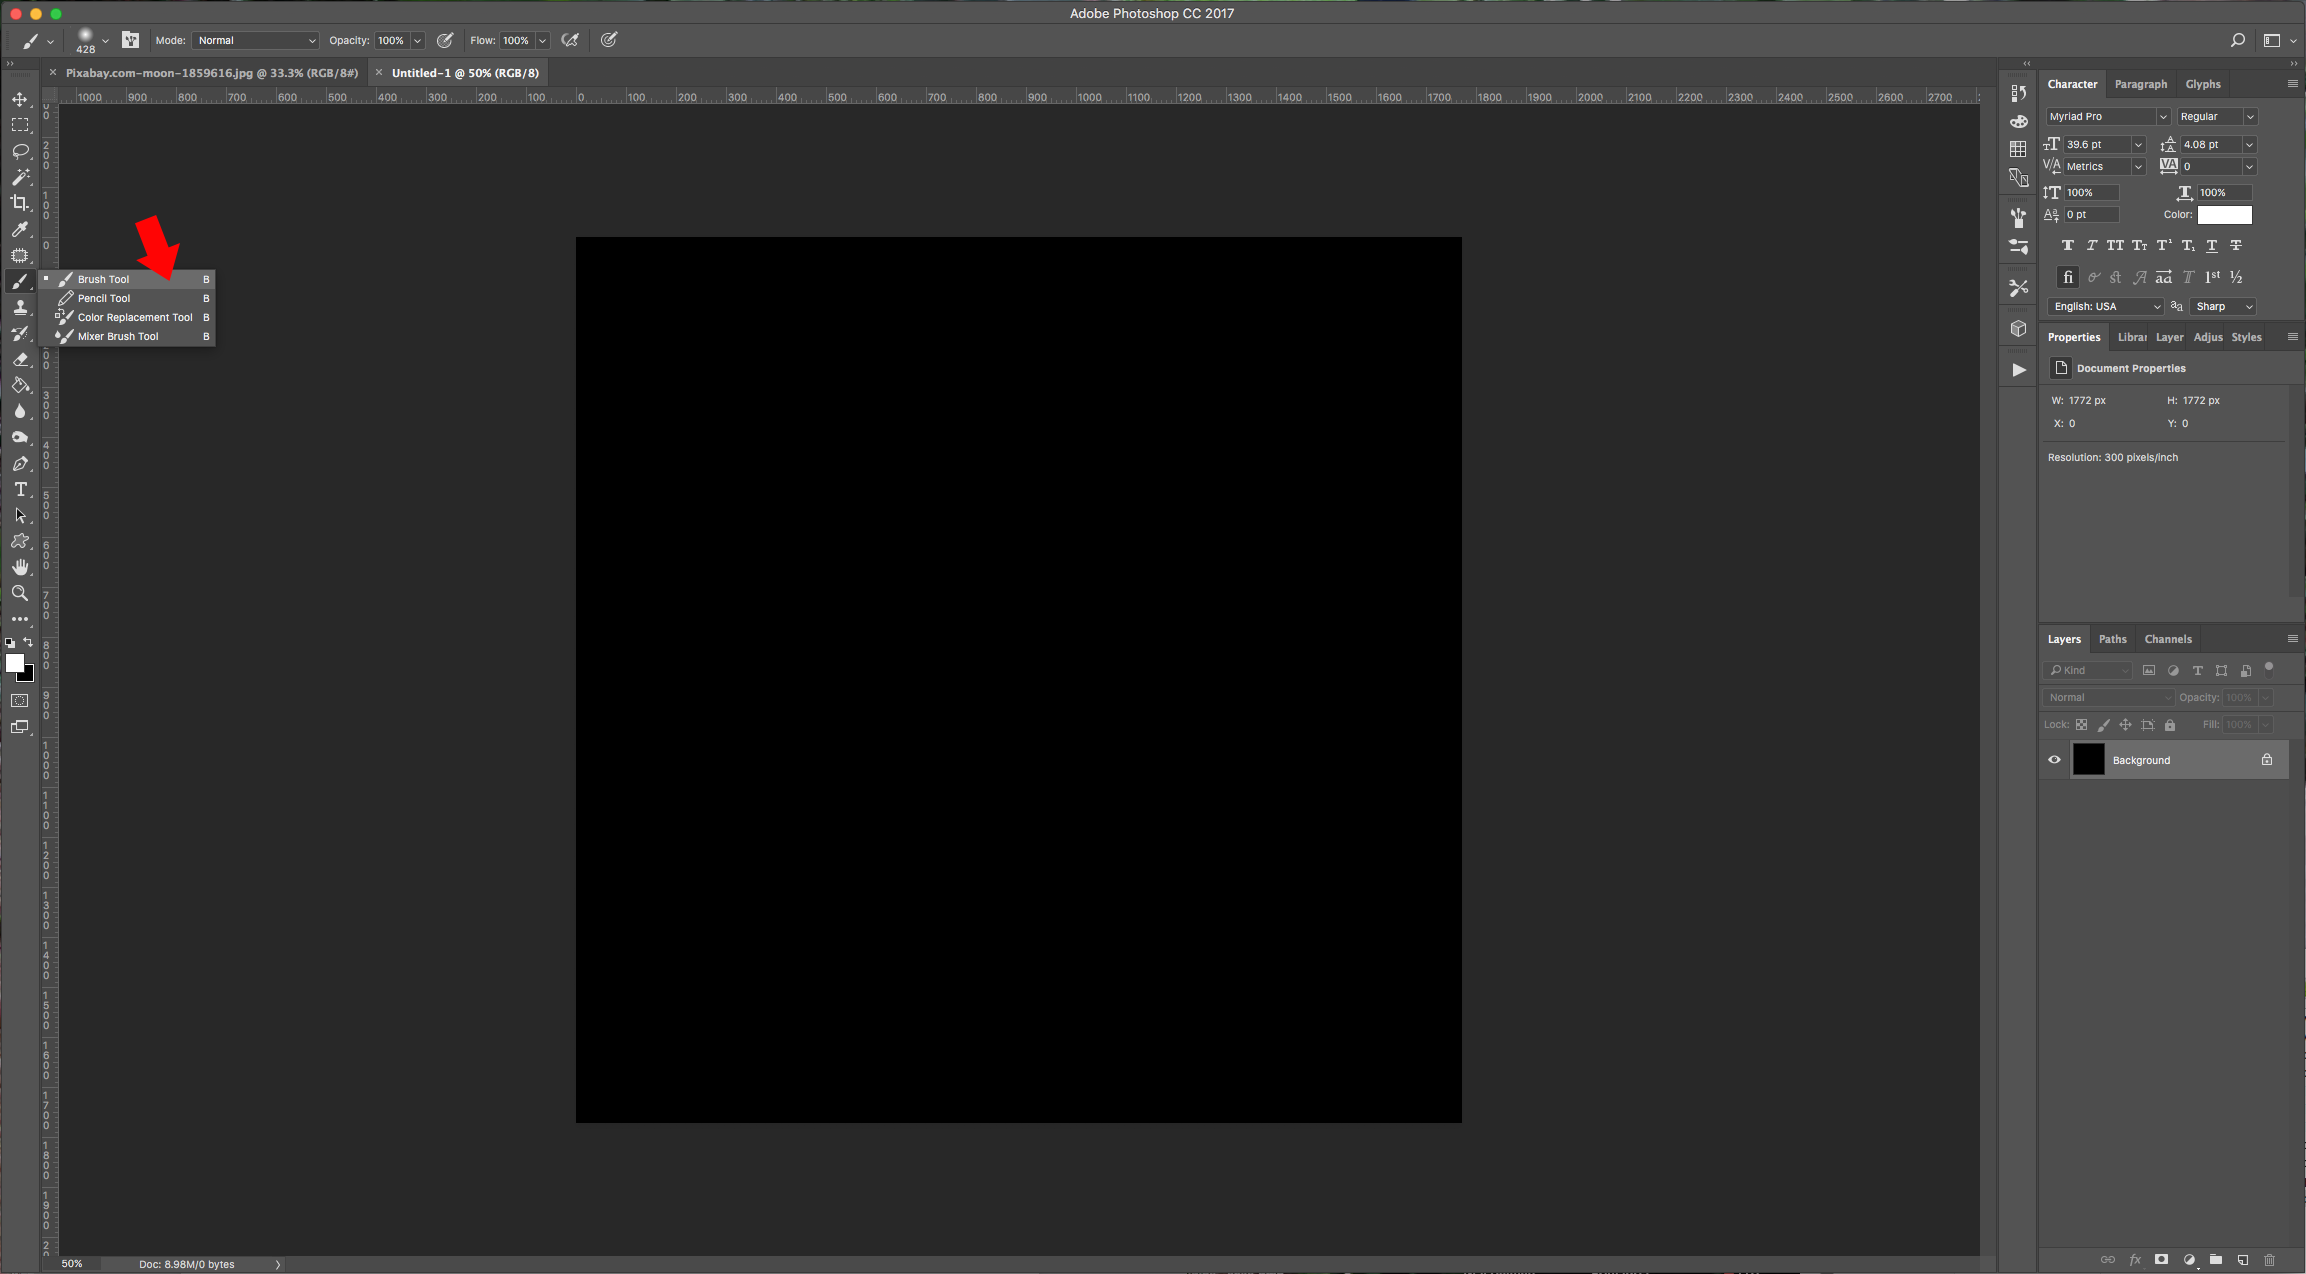
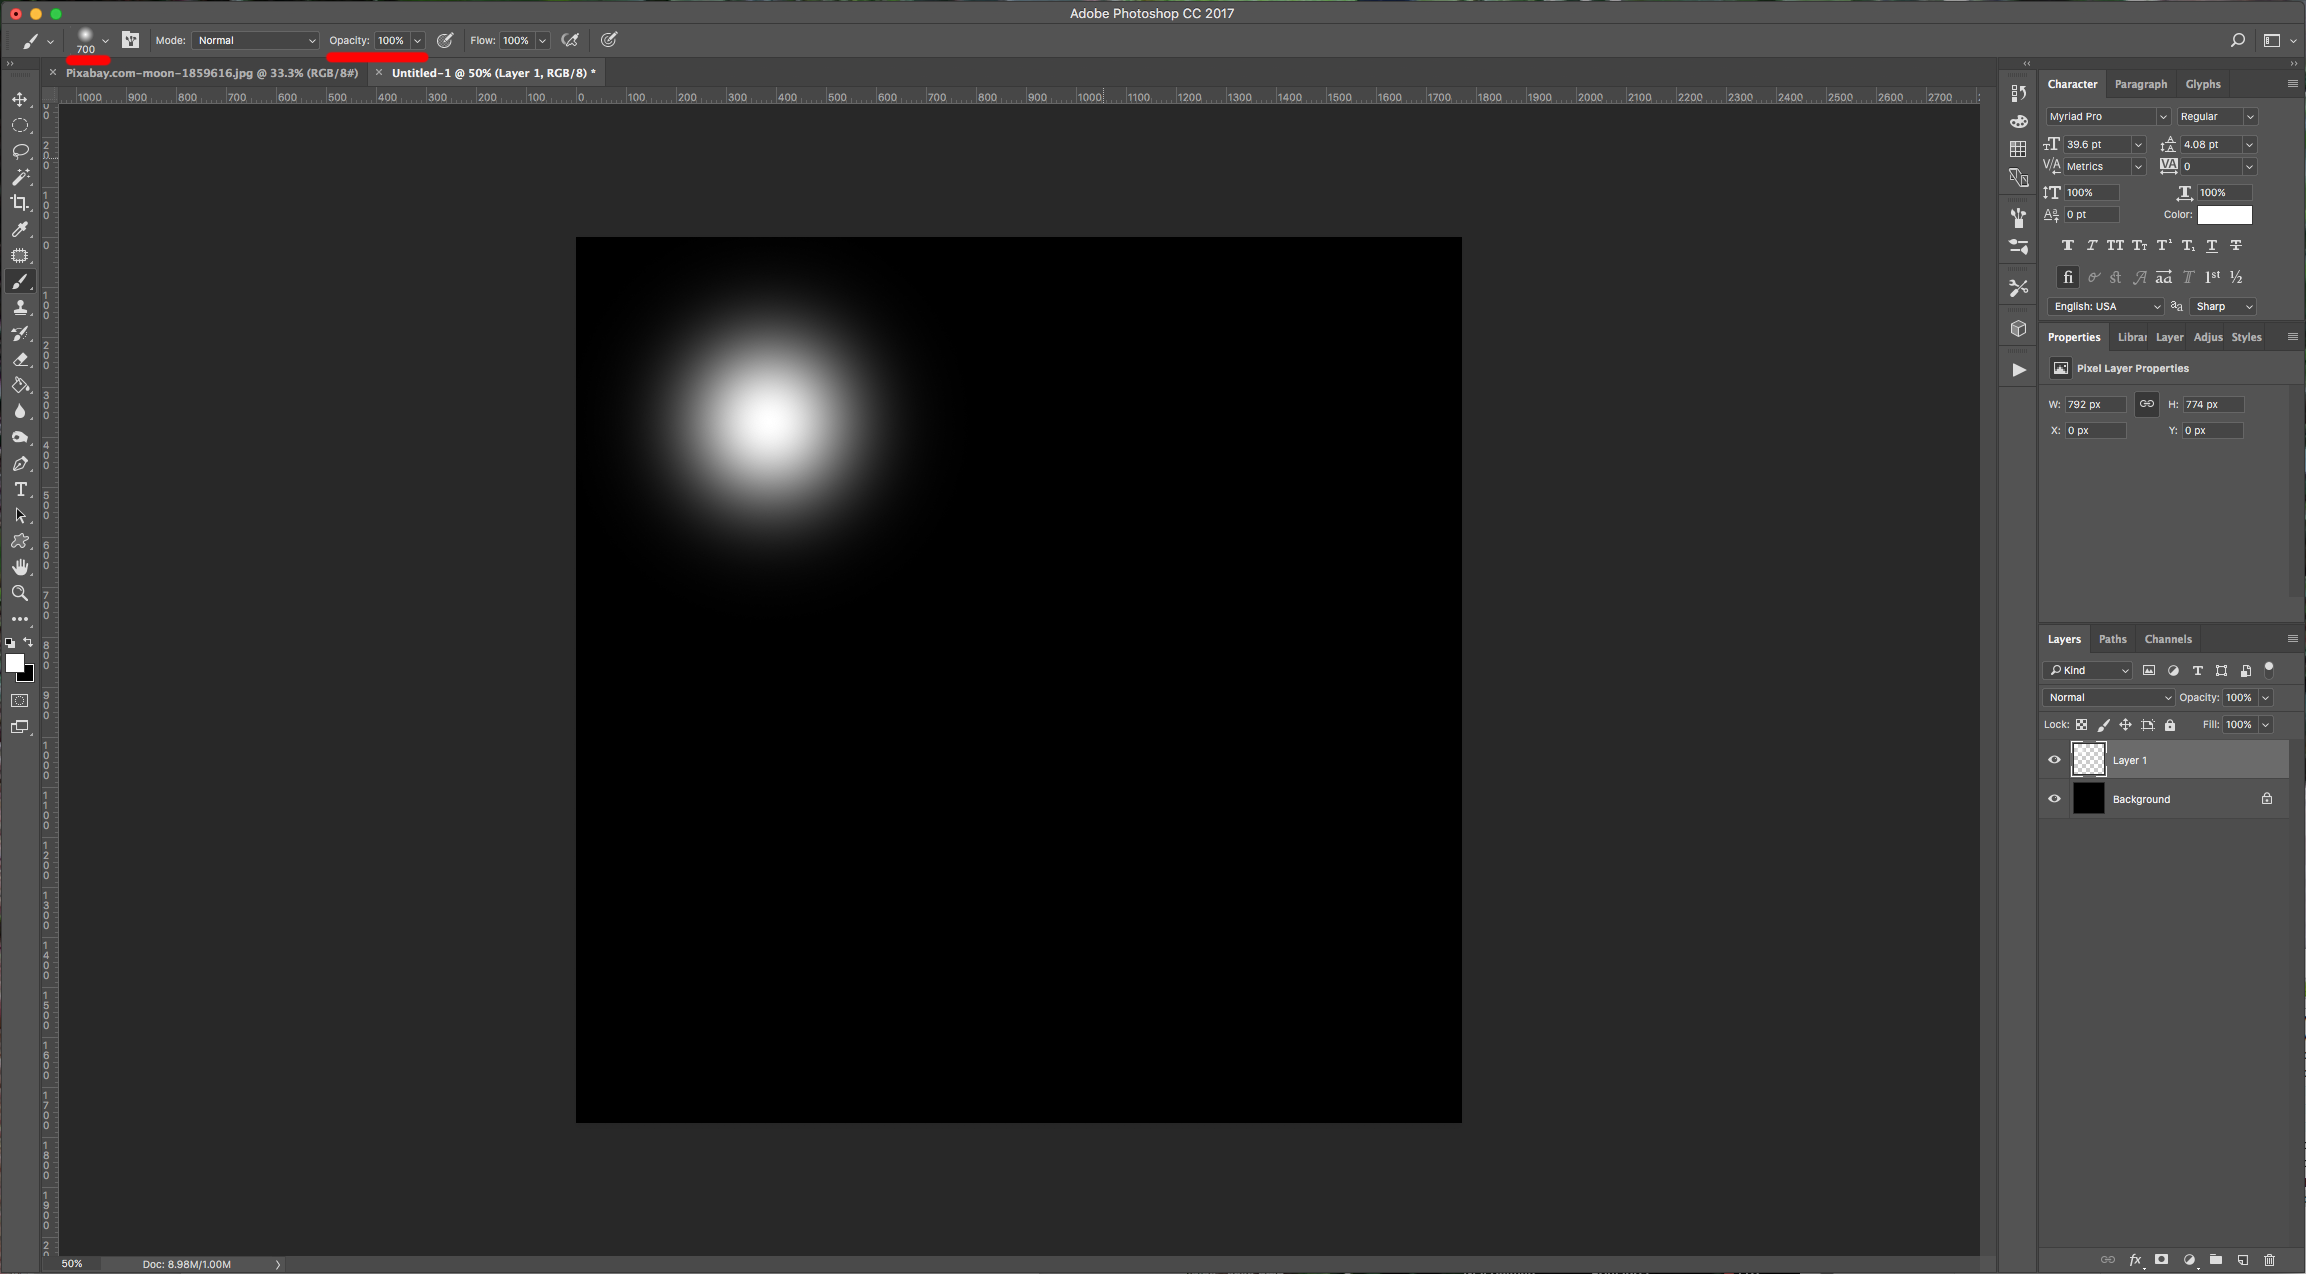
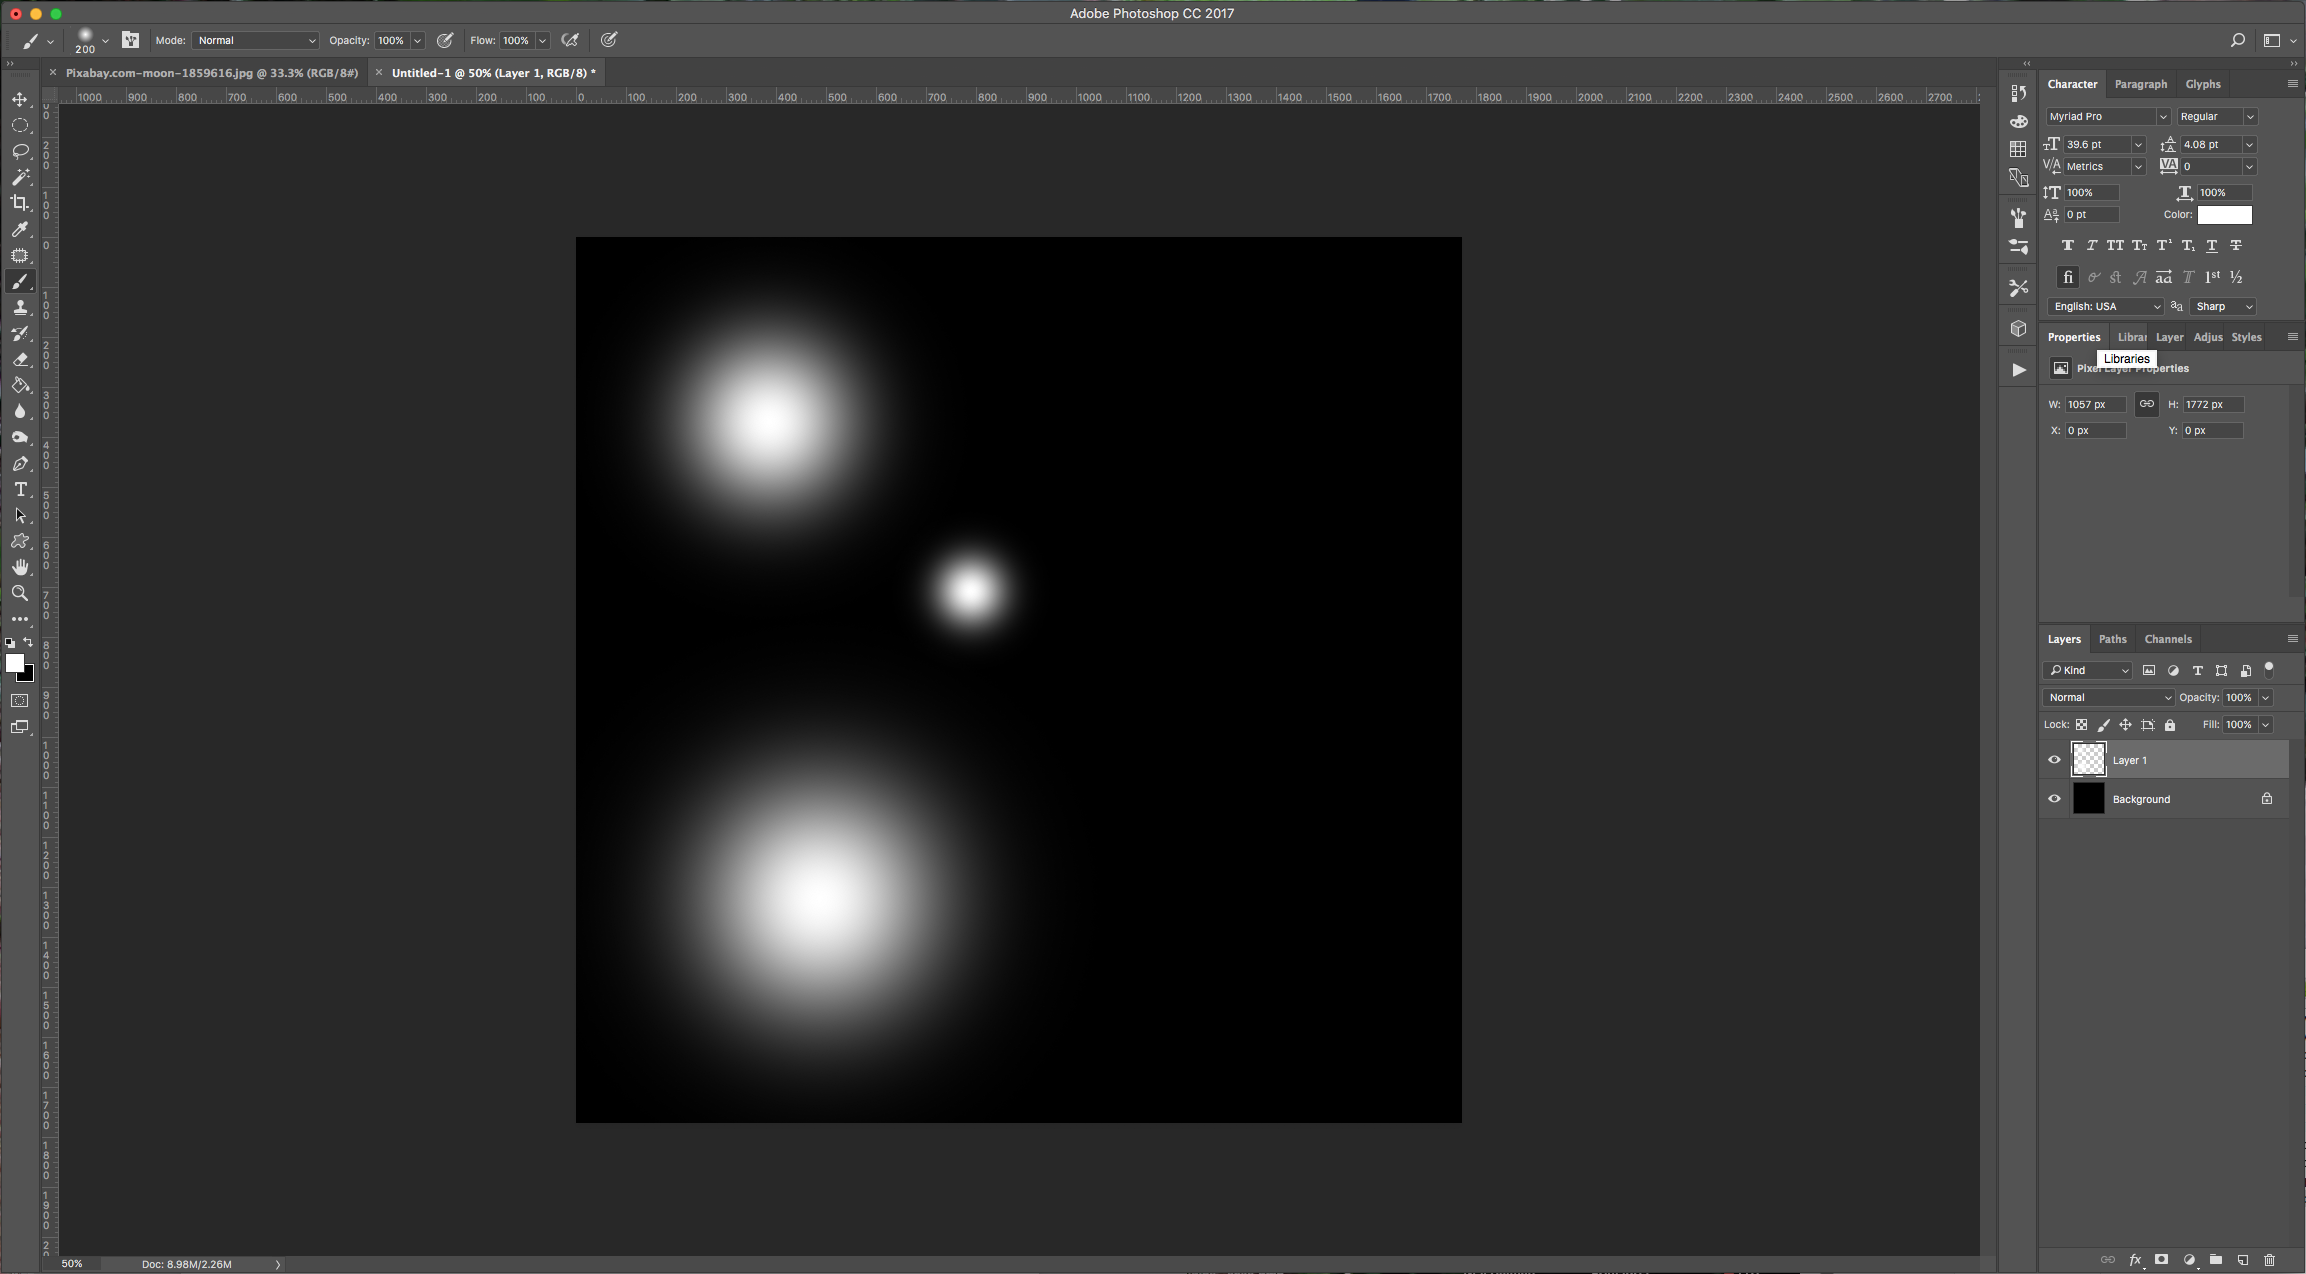
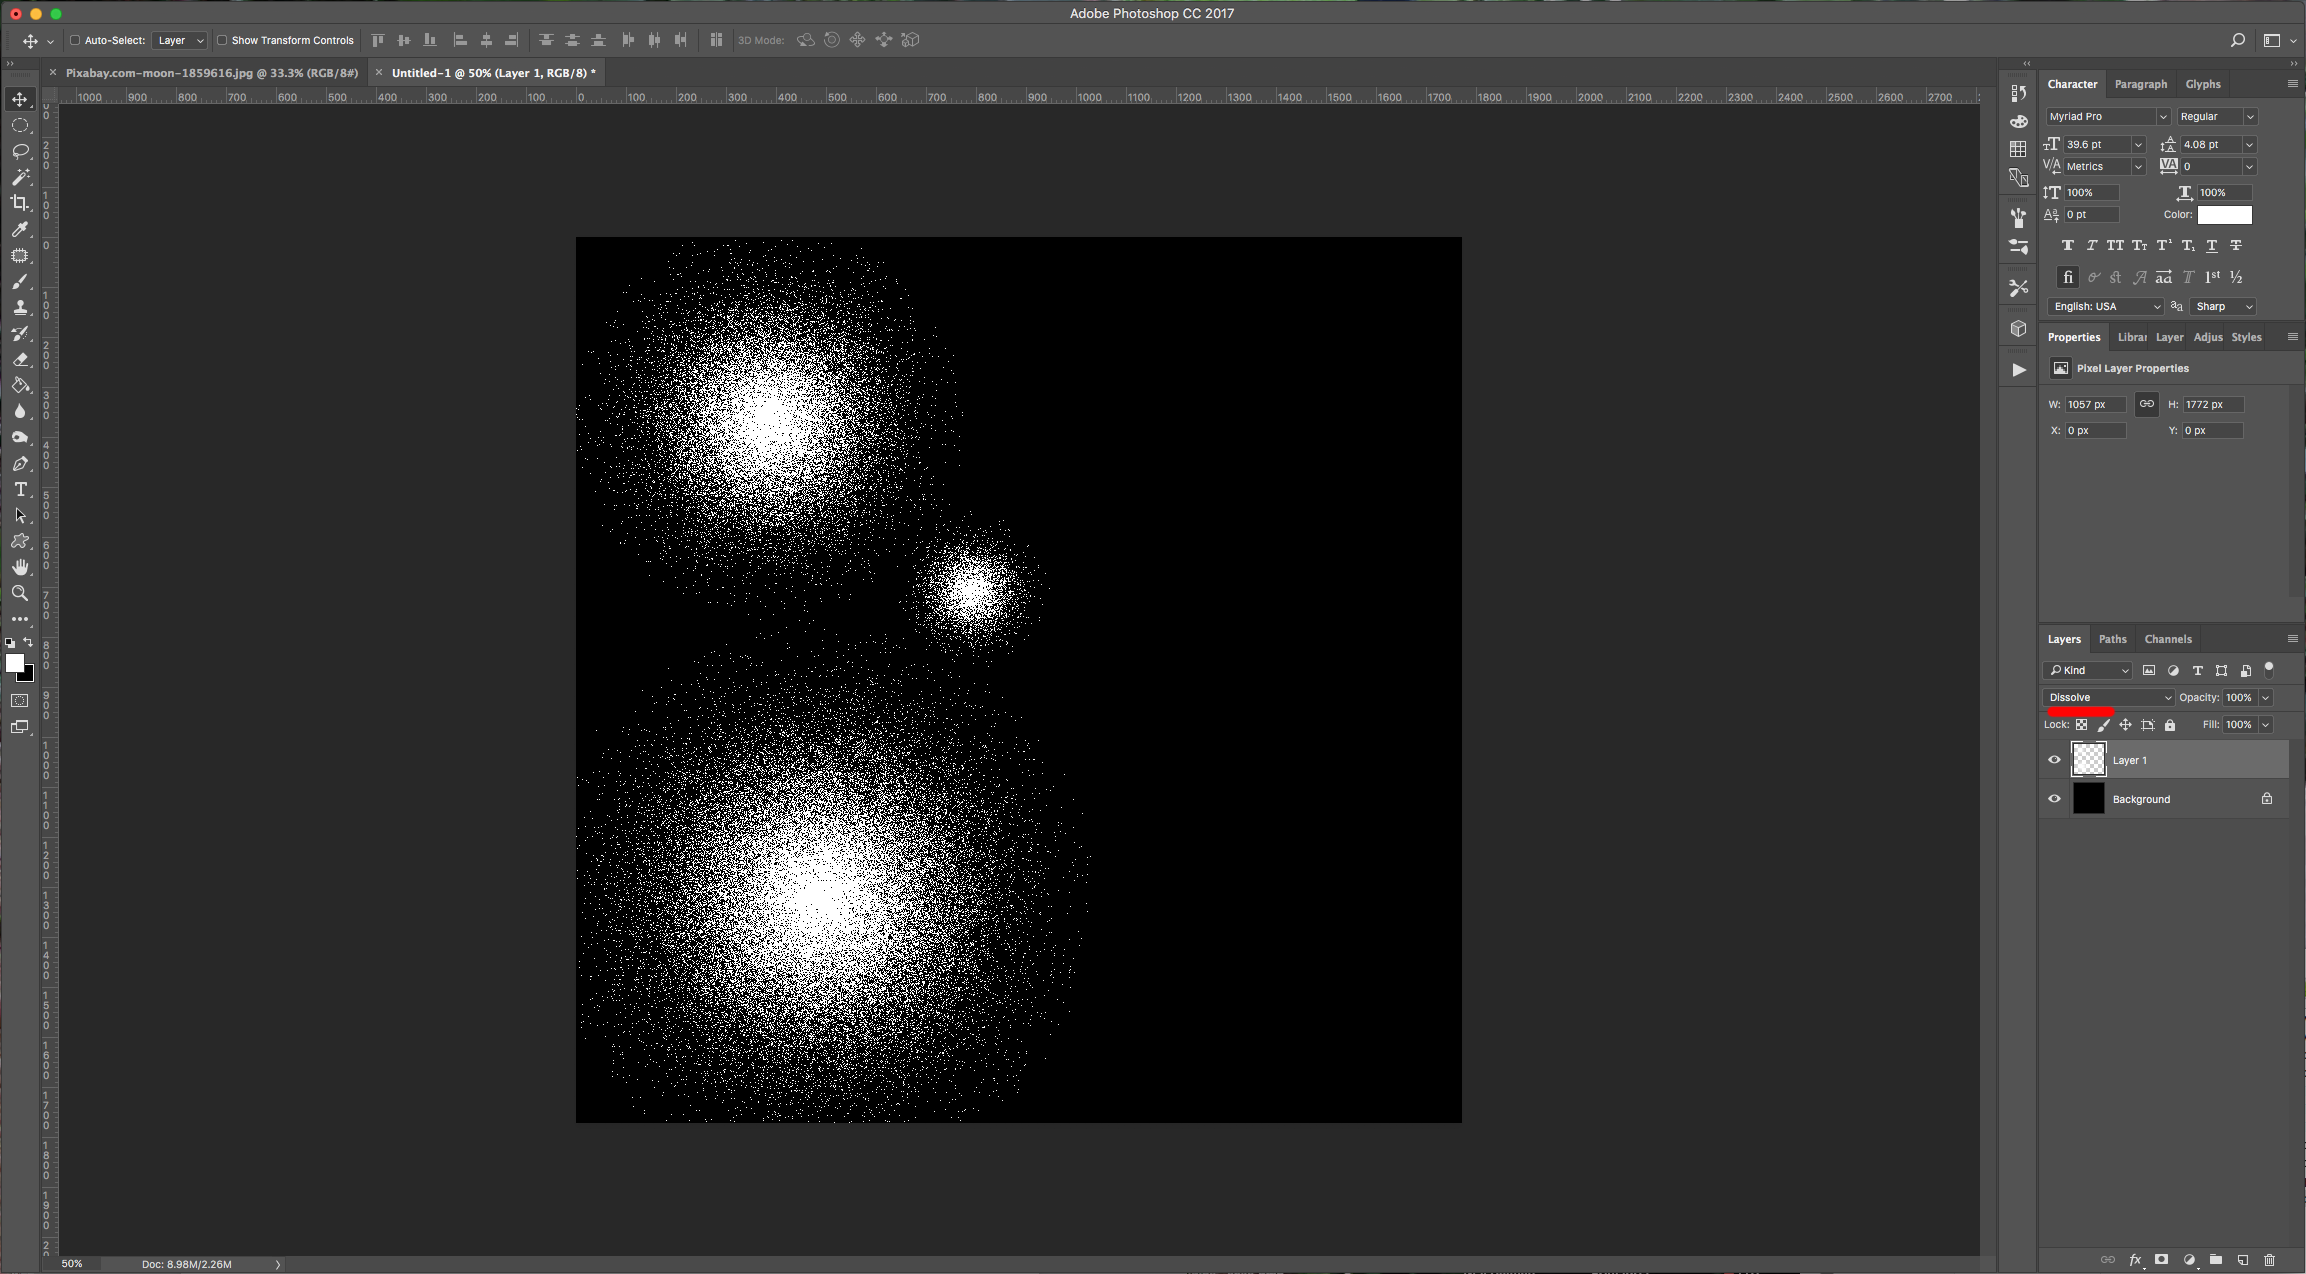
2 - Create a “New Layer” by clicking on the icon at the bottom of the “Layers” menu. Select your “Brush Tool” (B), choose white as “Fill” color and use a soft (0% Hardness) and big (about 500 pixels) brush to draw some circles in your document. Resize the brush and make a couple of circles. (we used 200, and 700 pixels).
3 - Change the “Blending Mode” of the layer to “Dissolve”. Then, select both layers, right-click on the thumbnails and choose “Merge Layers”.

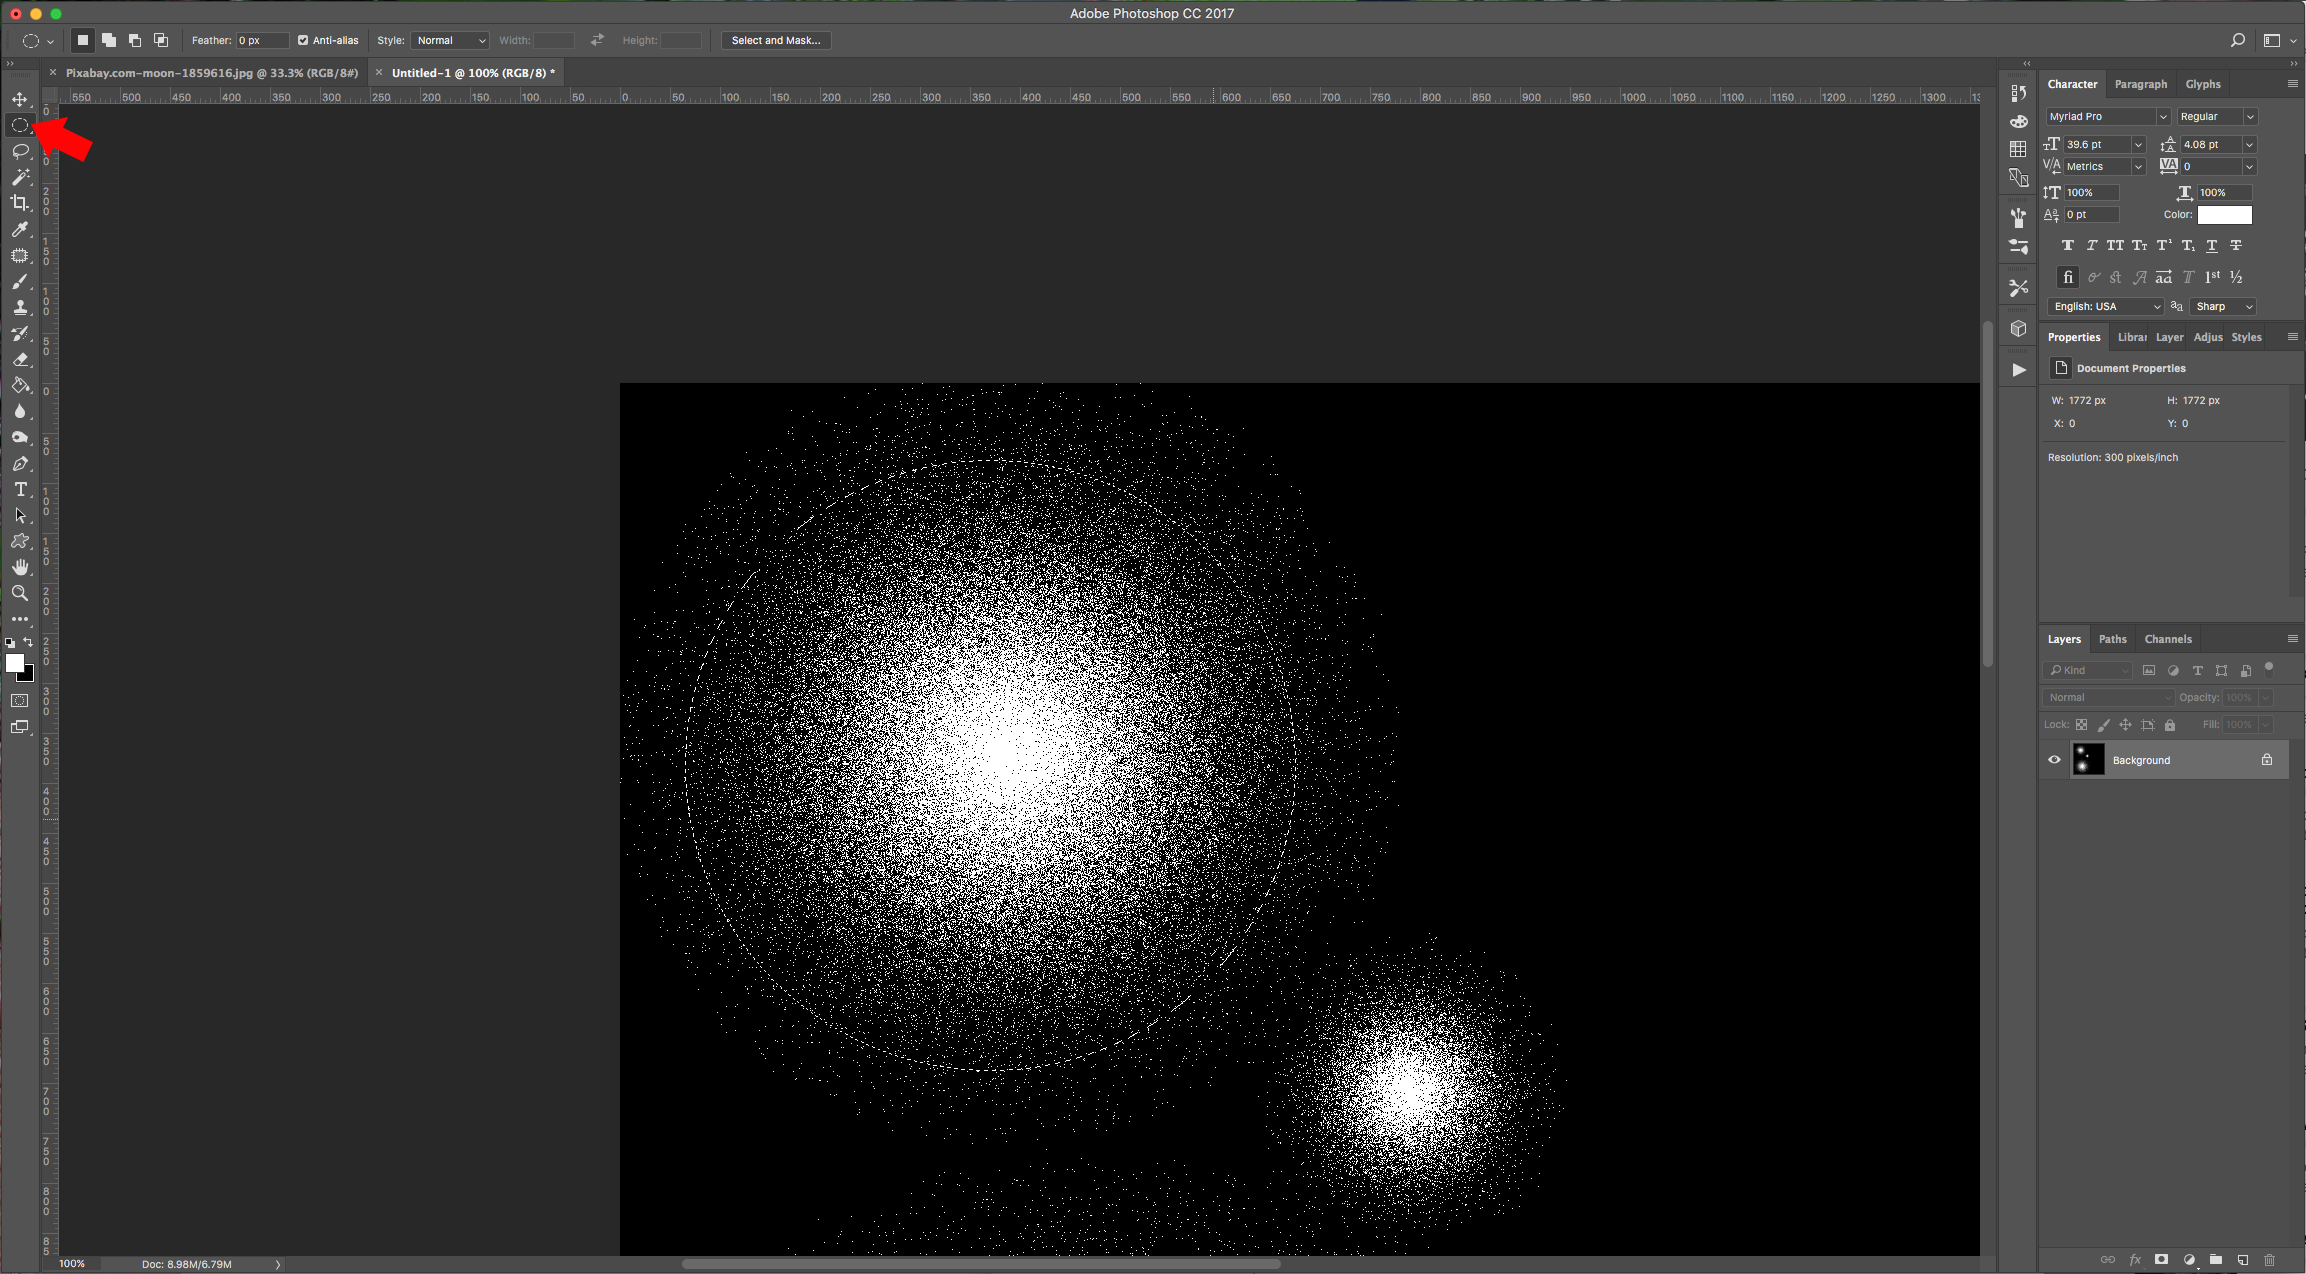
4 - Select the “Elliptical Marquee Tool” (M) and make a circle that covers almost all the center of one of your white bursts (to make the circle proportionate draw it while holding the “Shift” key).
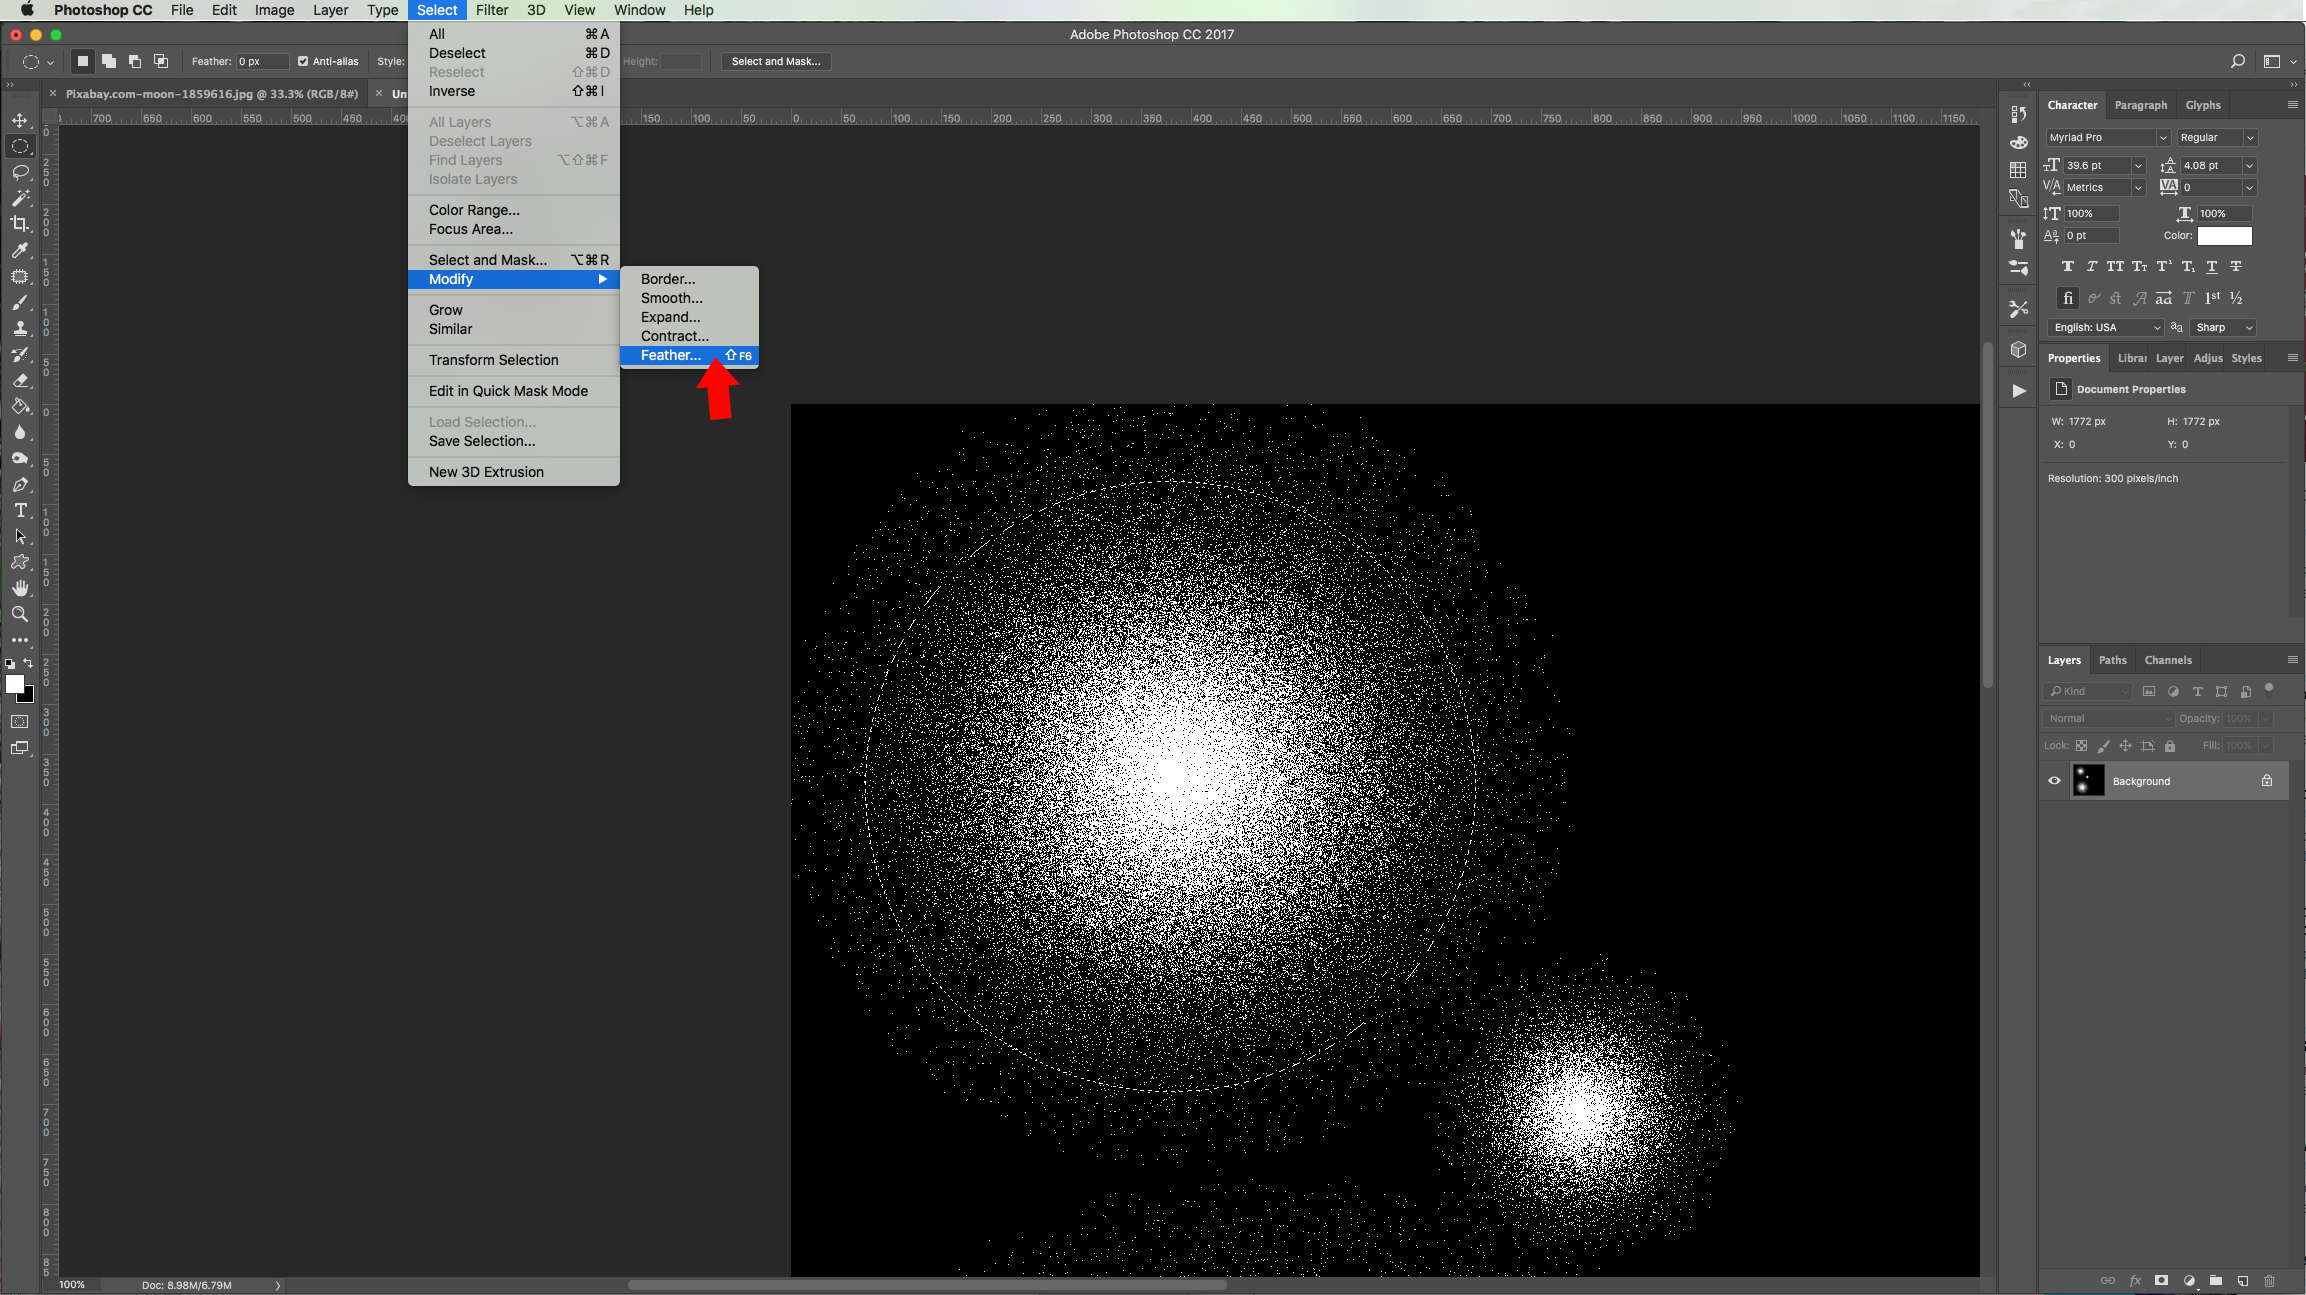
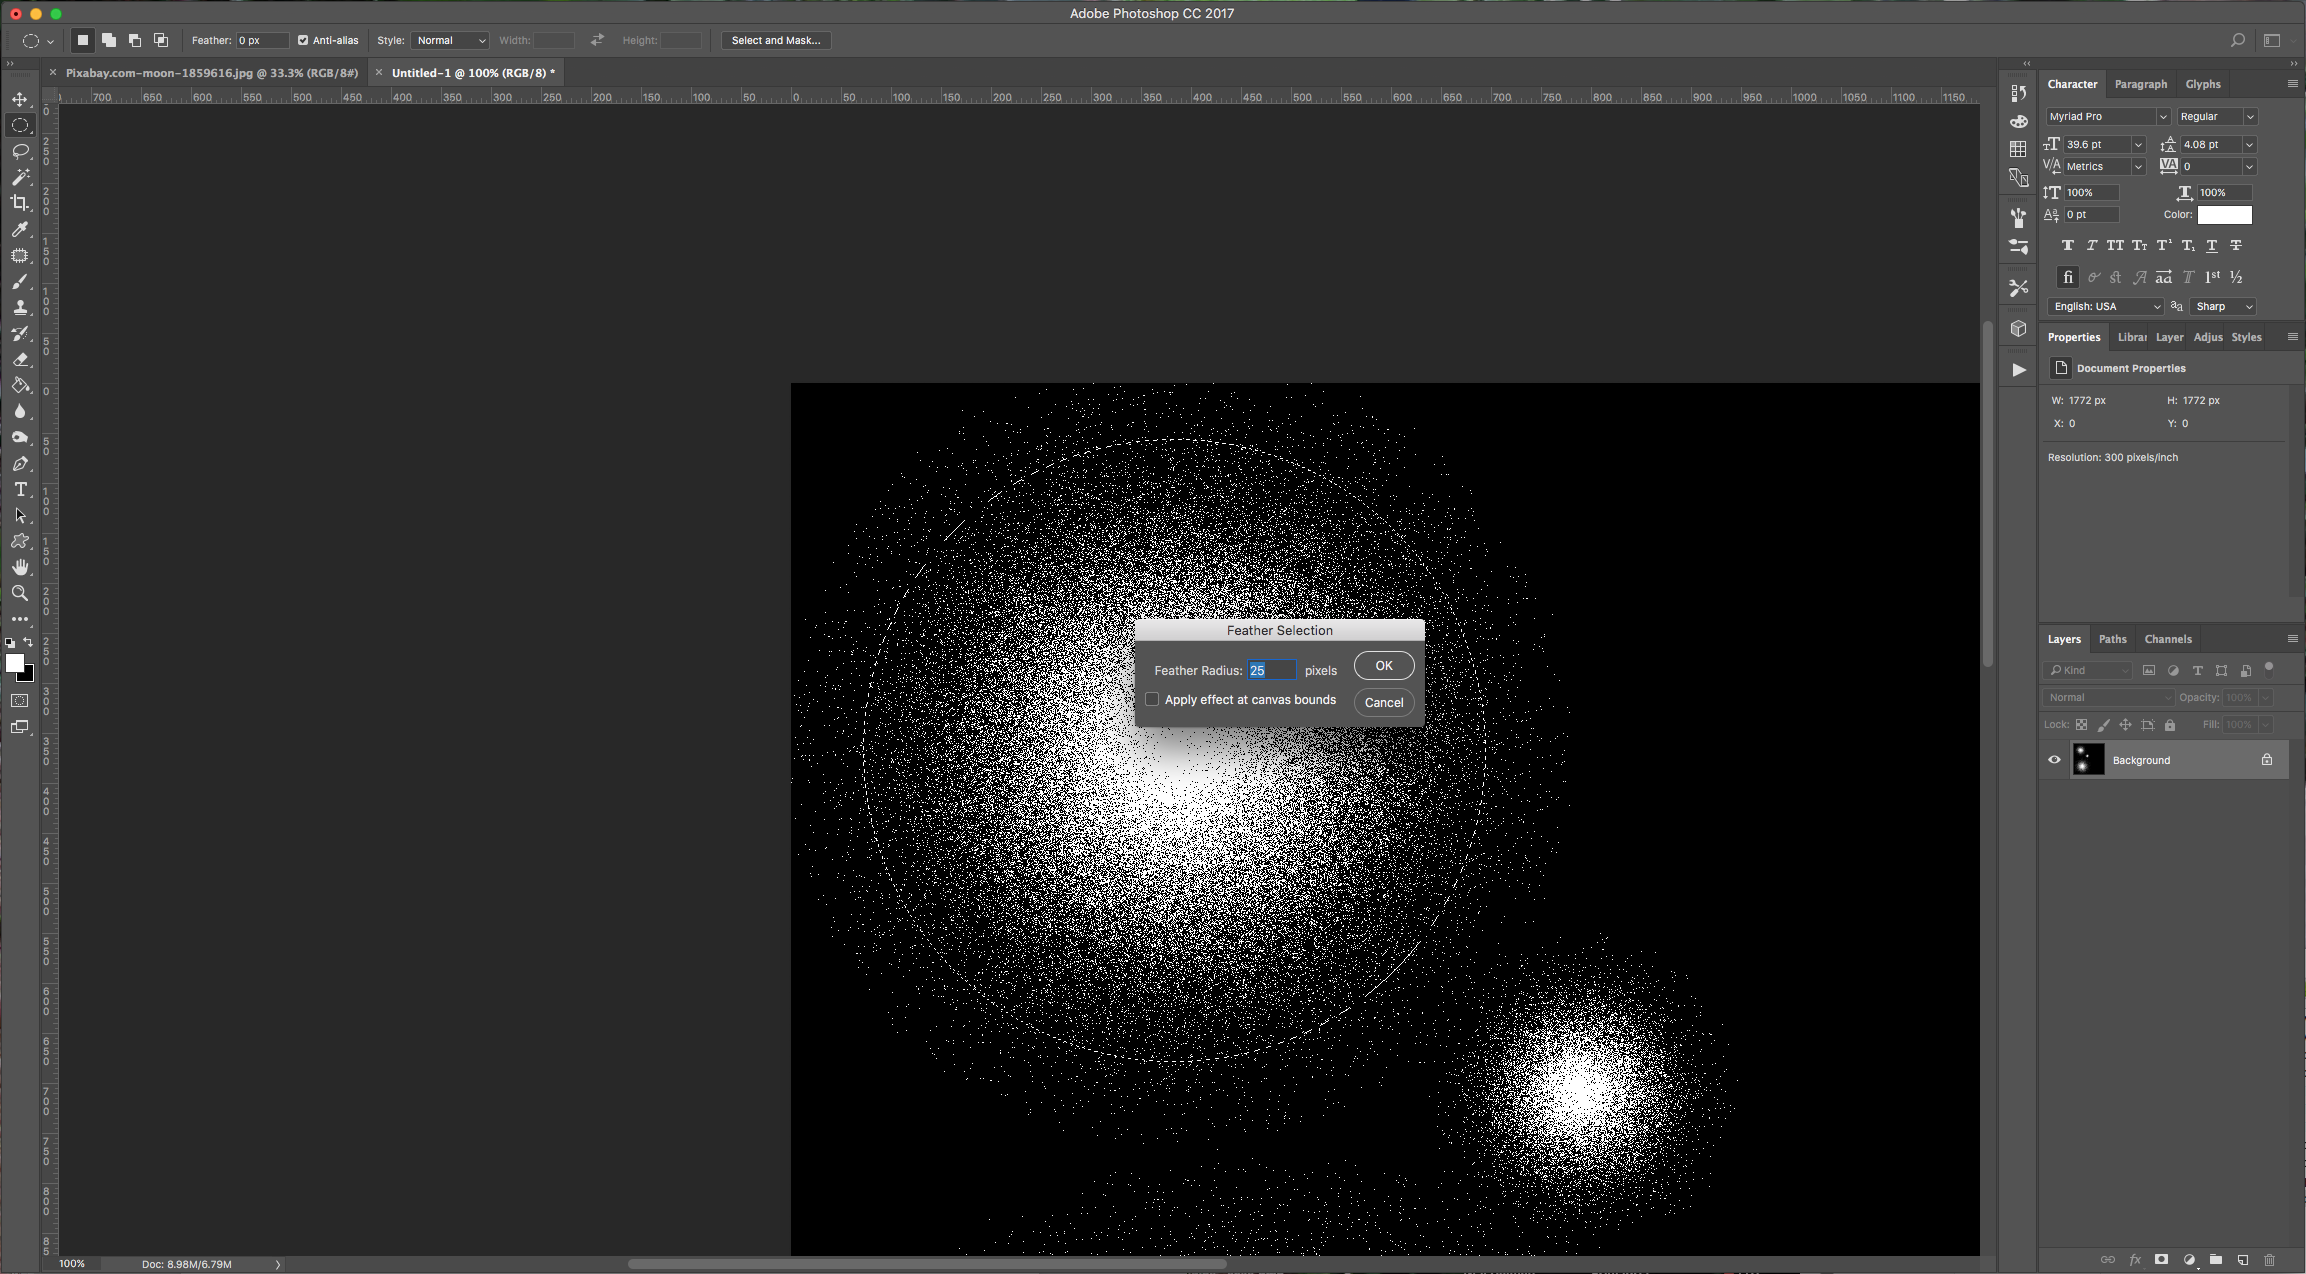
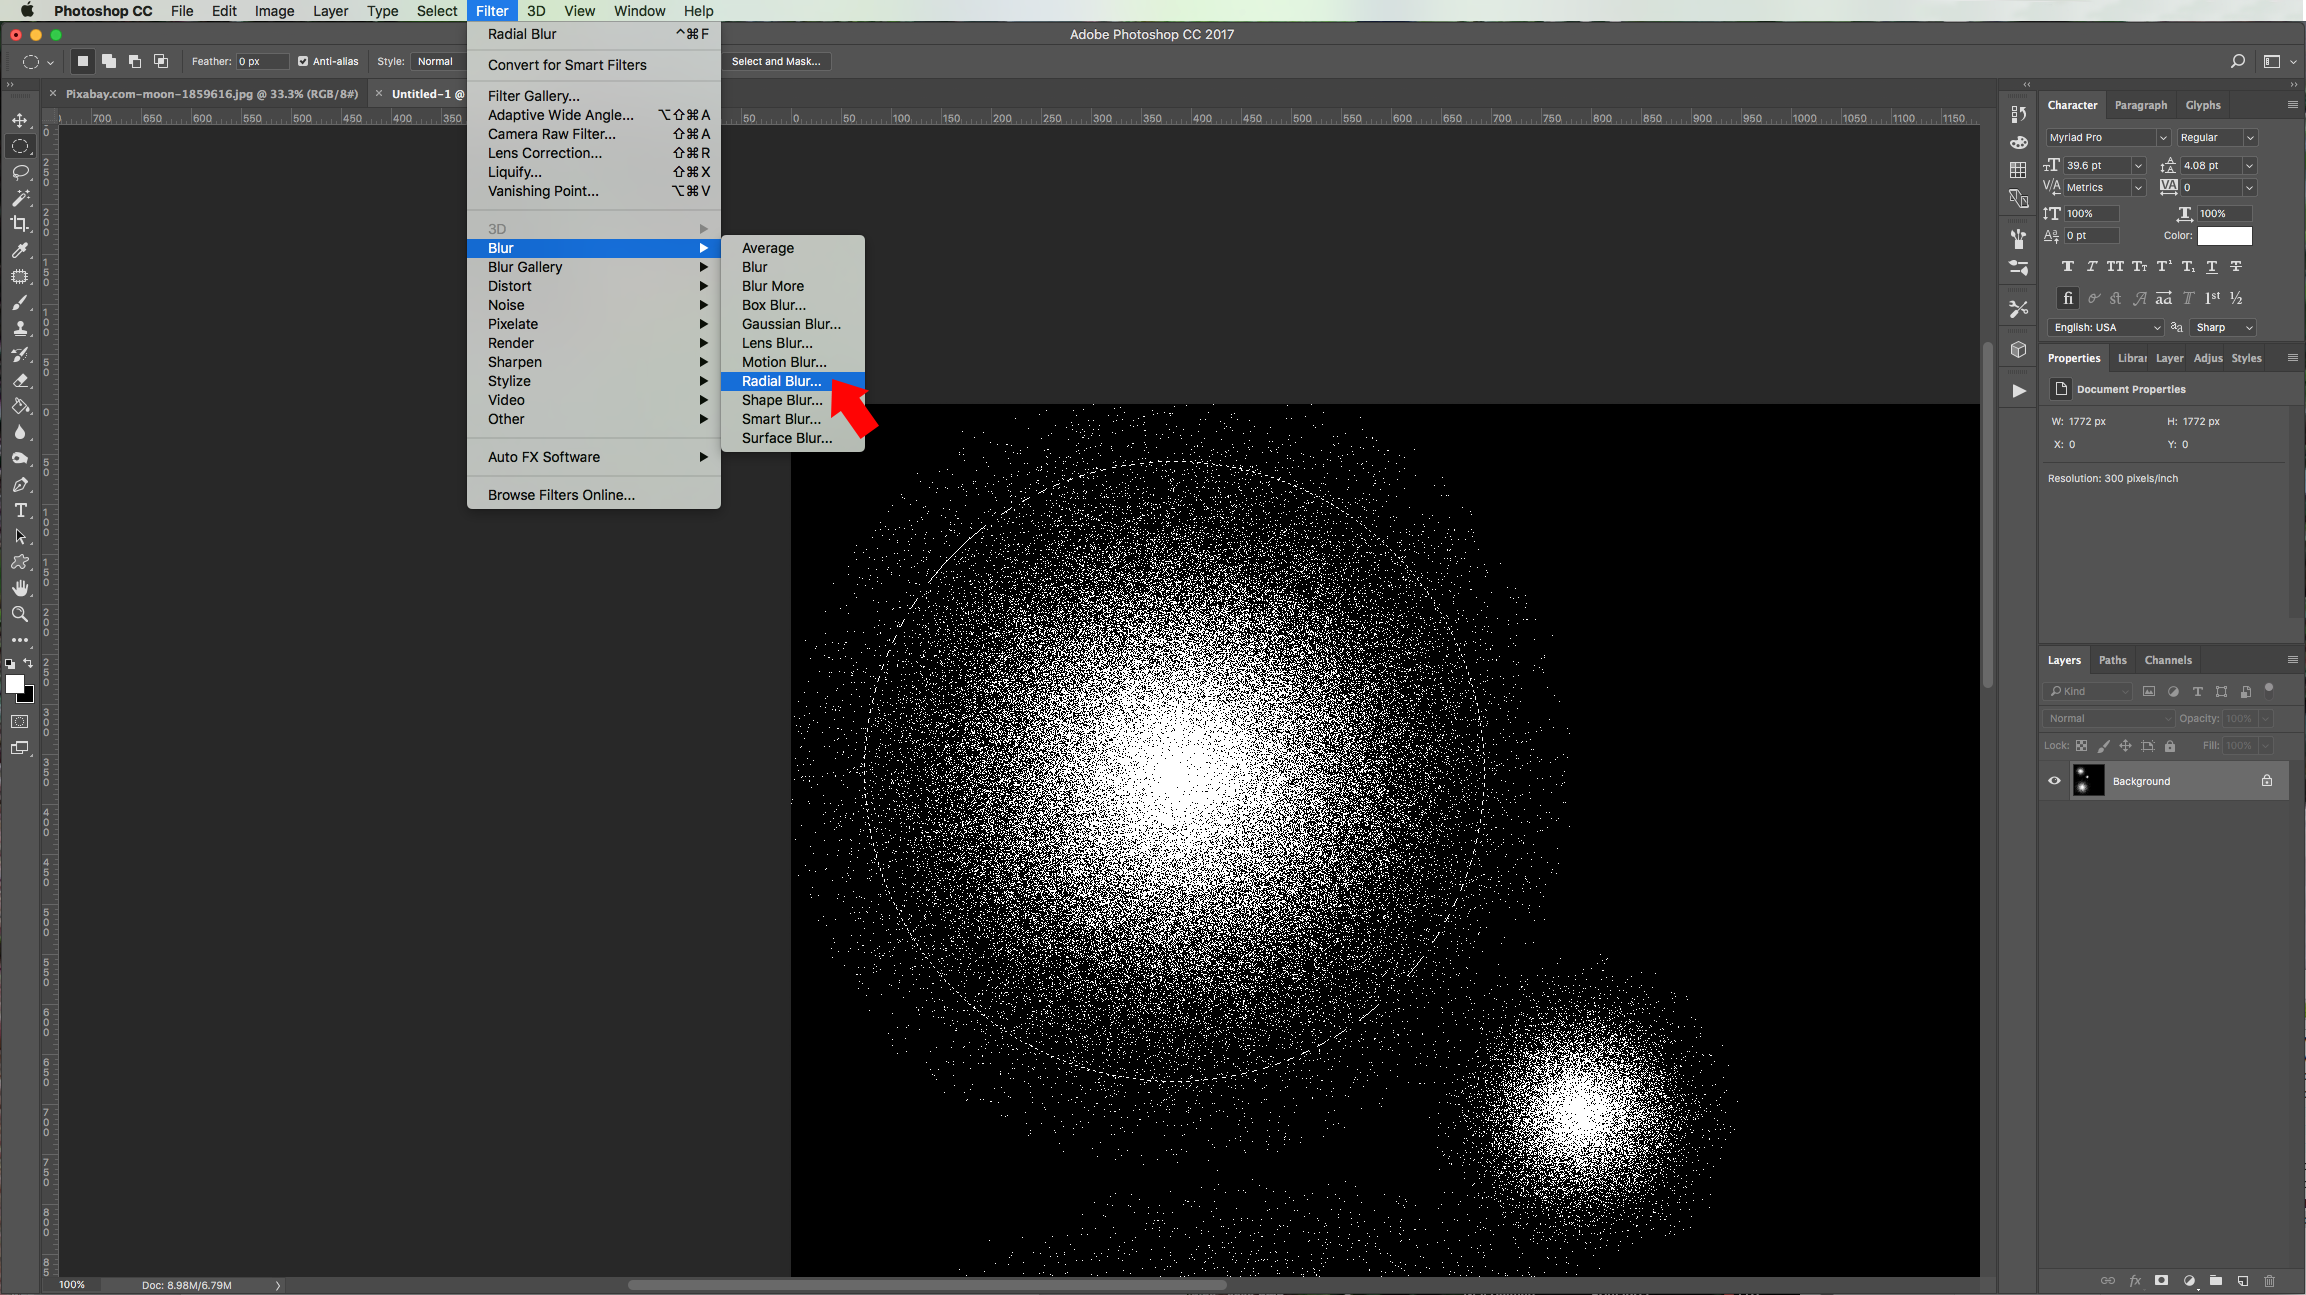
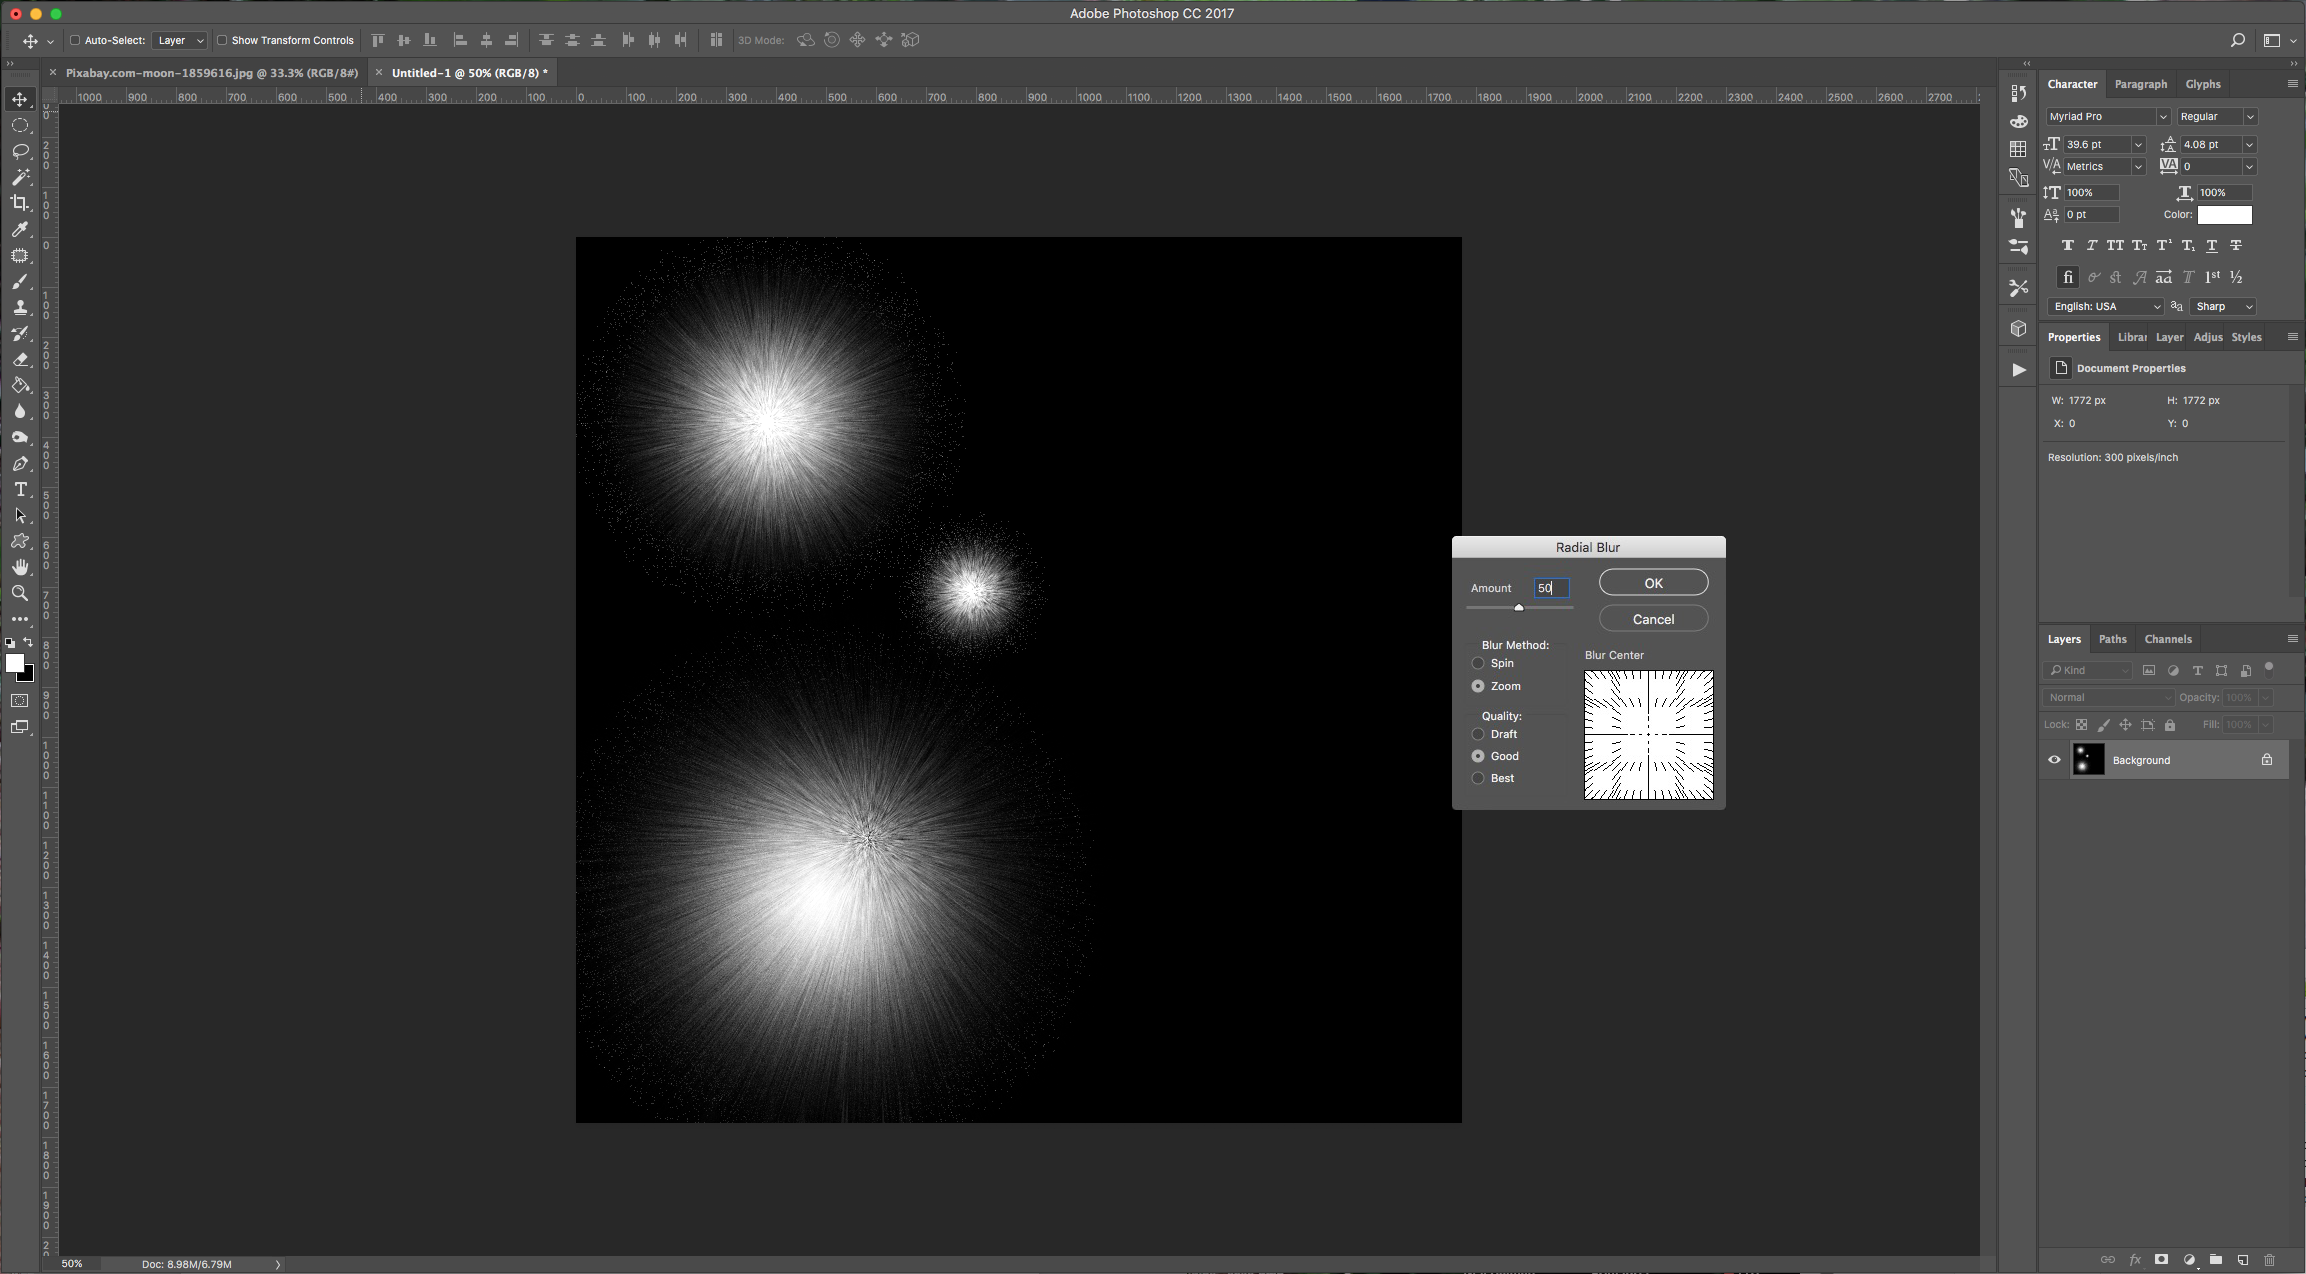
5 - Go to Select > Modify > Feather (Shift + F6) and input a 25 pixels “Radius”. Then, go to Filter > Blur > Radial Blur, input 50% in “Amount”, use “Zoom” as “Blur Method” and a “Good Quality”. You can hide and unhide your selection using Command/Control + H. Repeat for each burst.
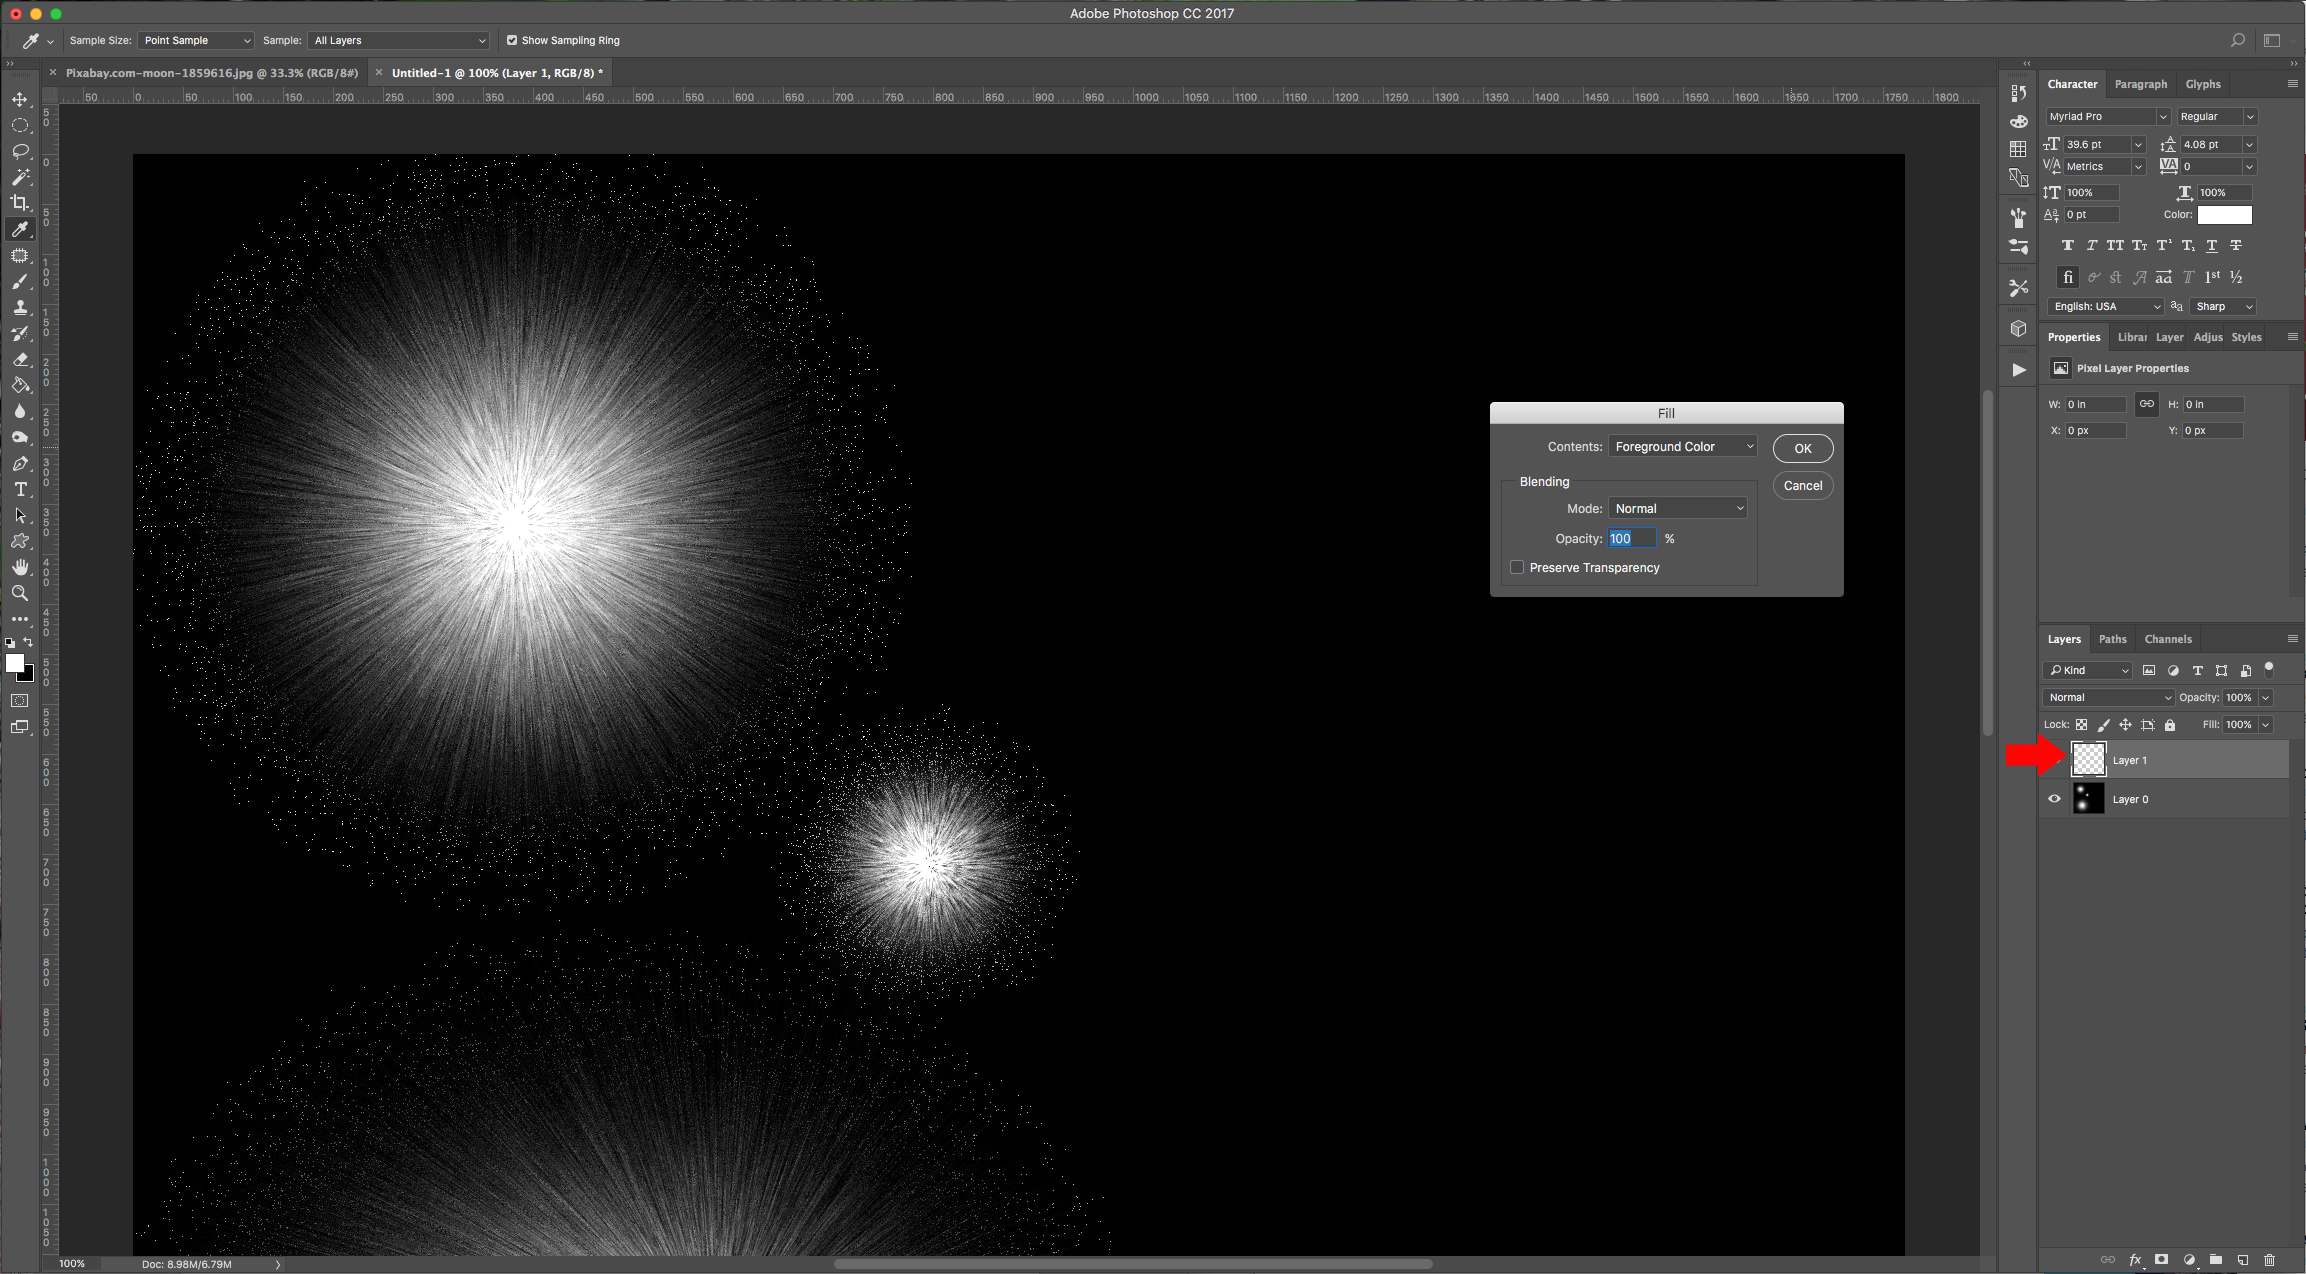
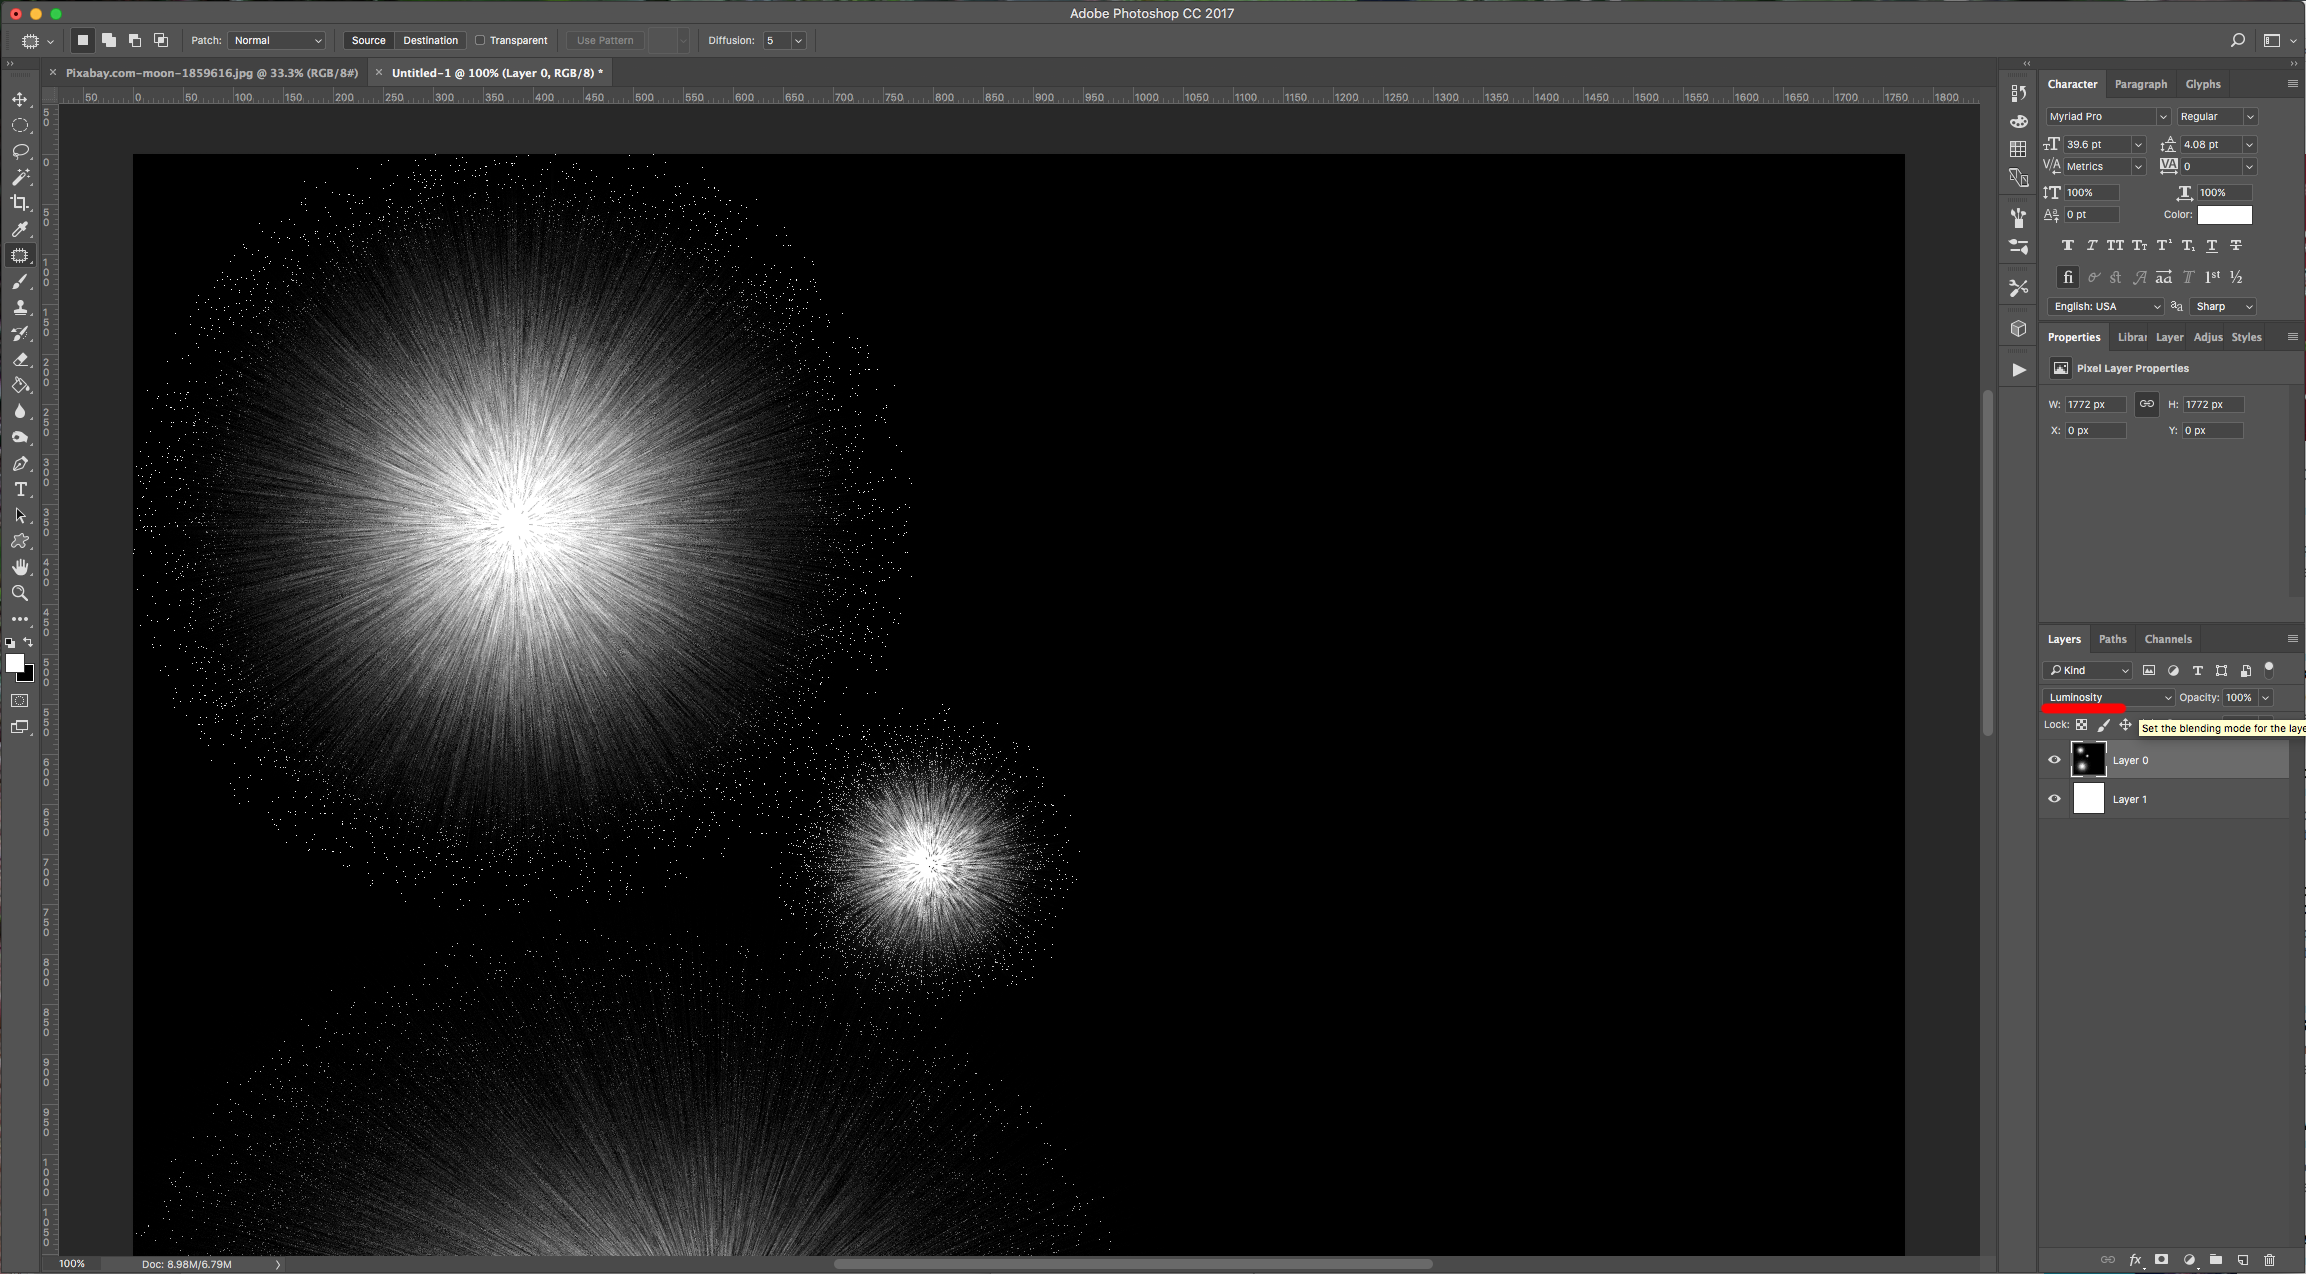
6 - Create a “New Layer” fill it with white (Shift + F5), and place it under your first layer. Double-click on the “Background” layer to make it editable and change the “Blending Mode to” Luminosity”.
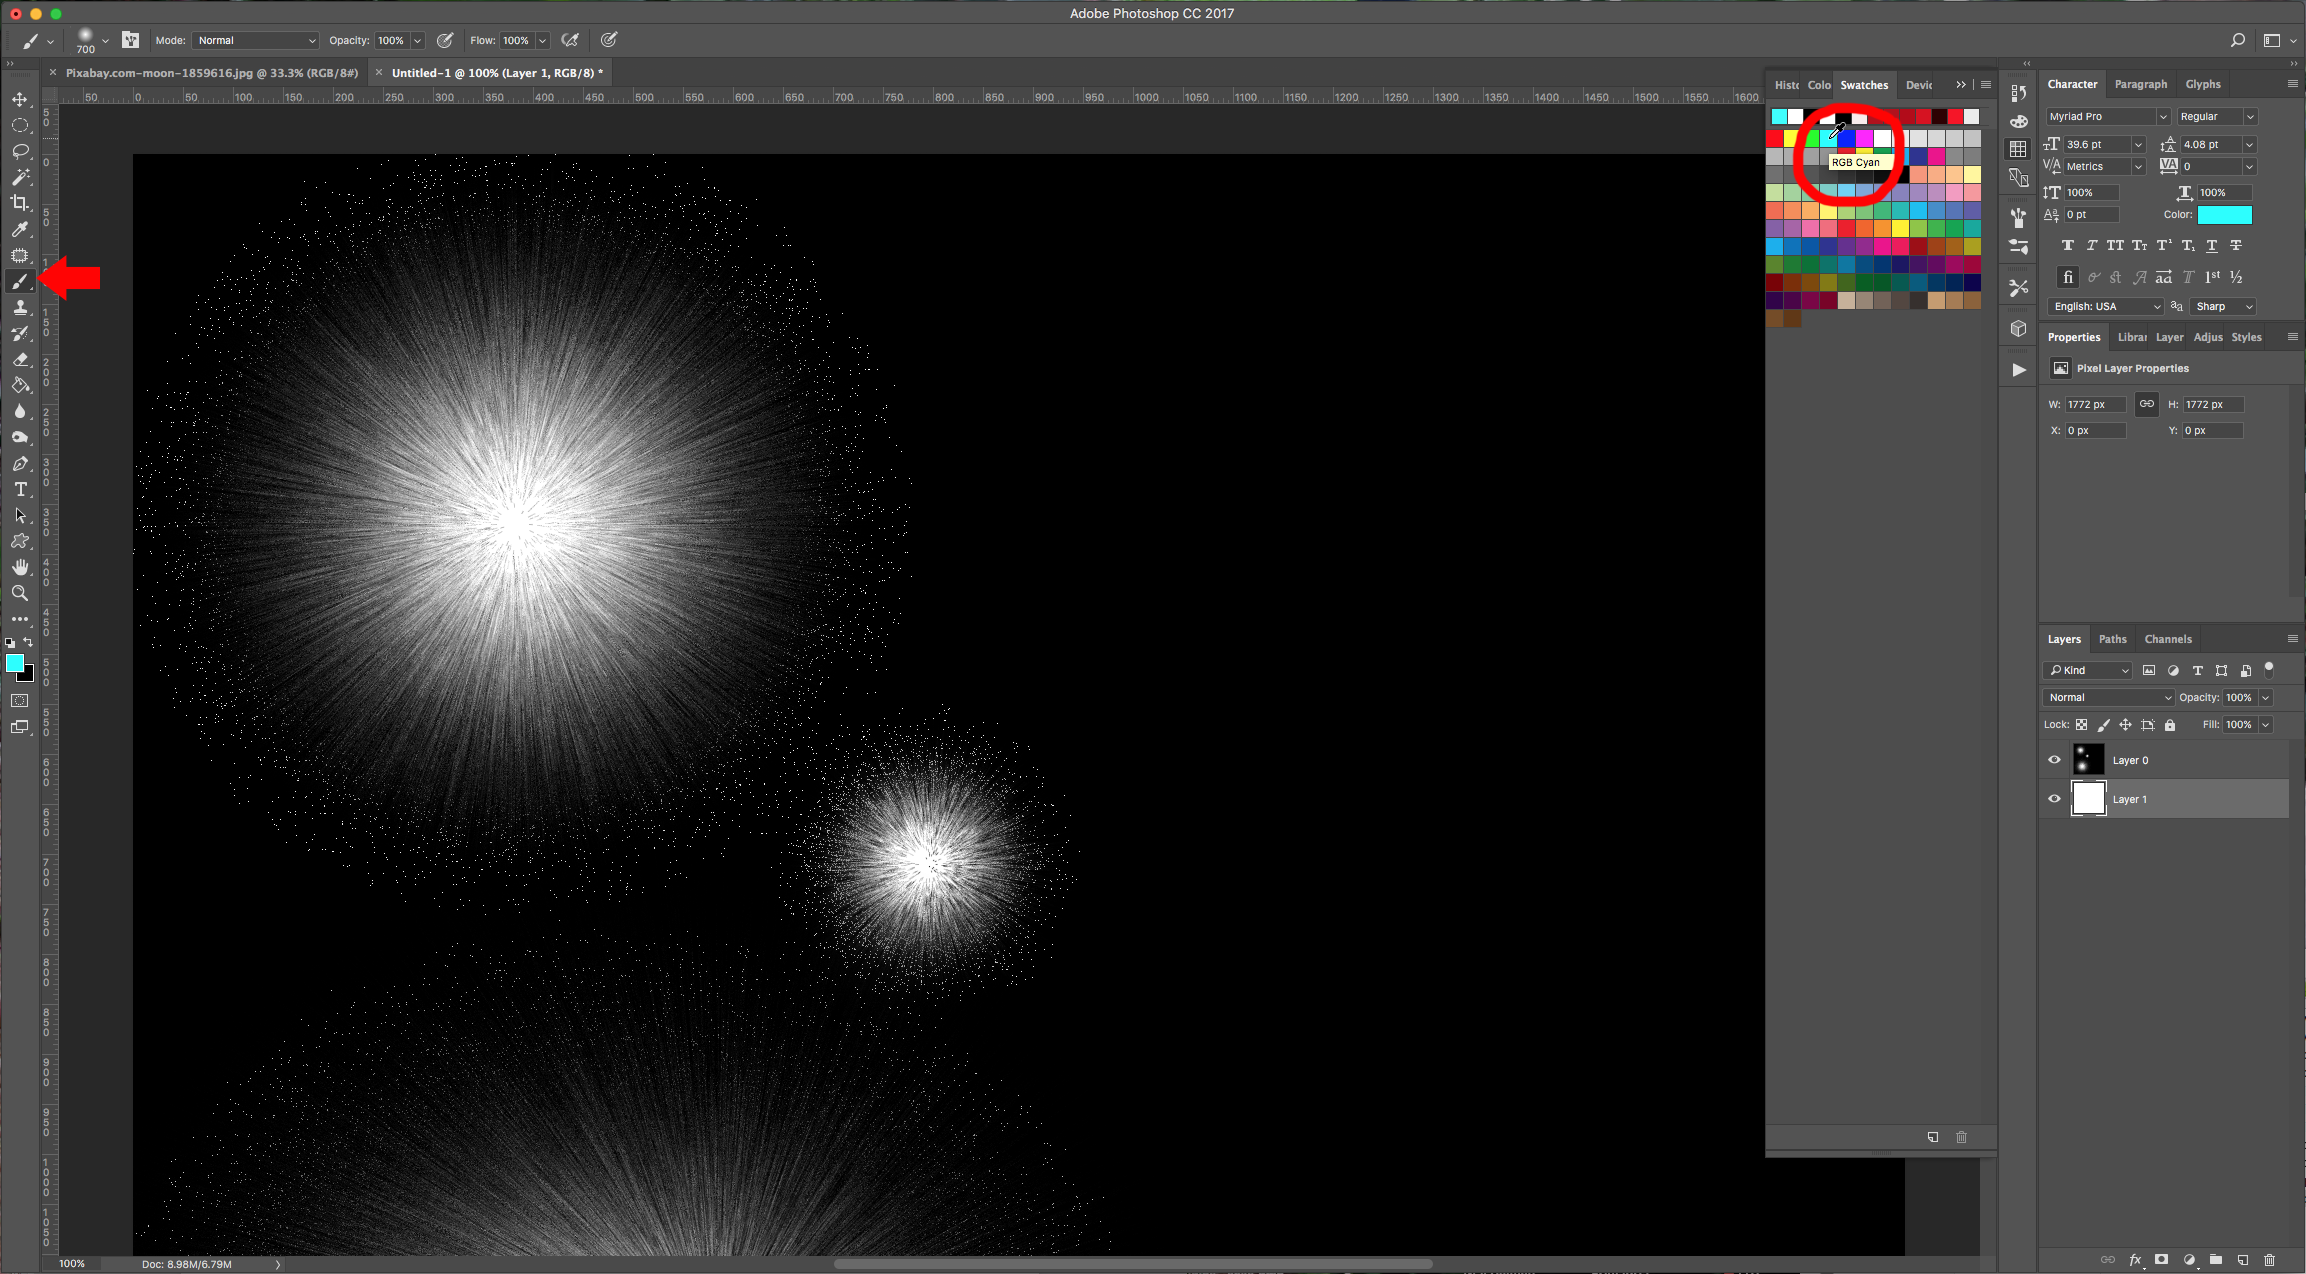
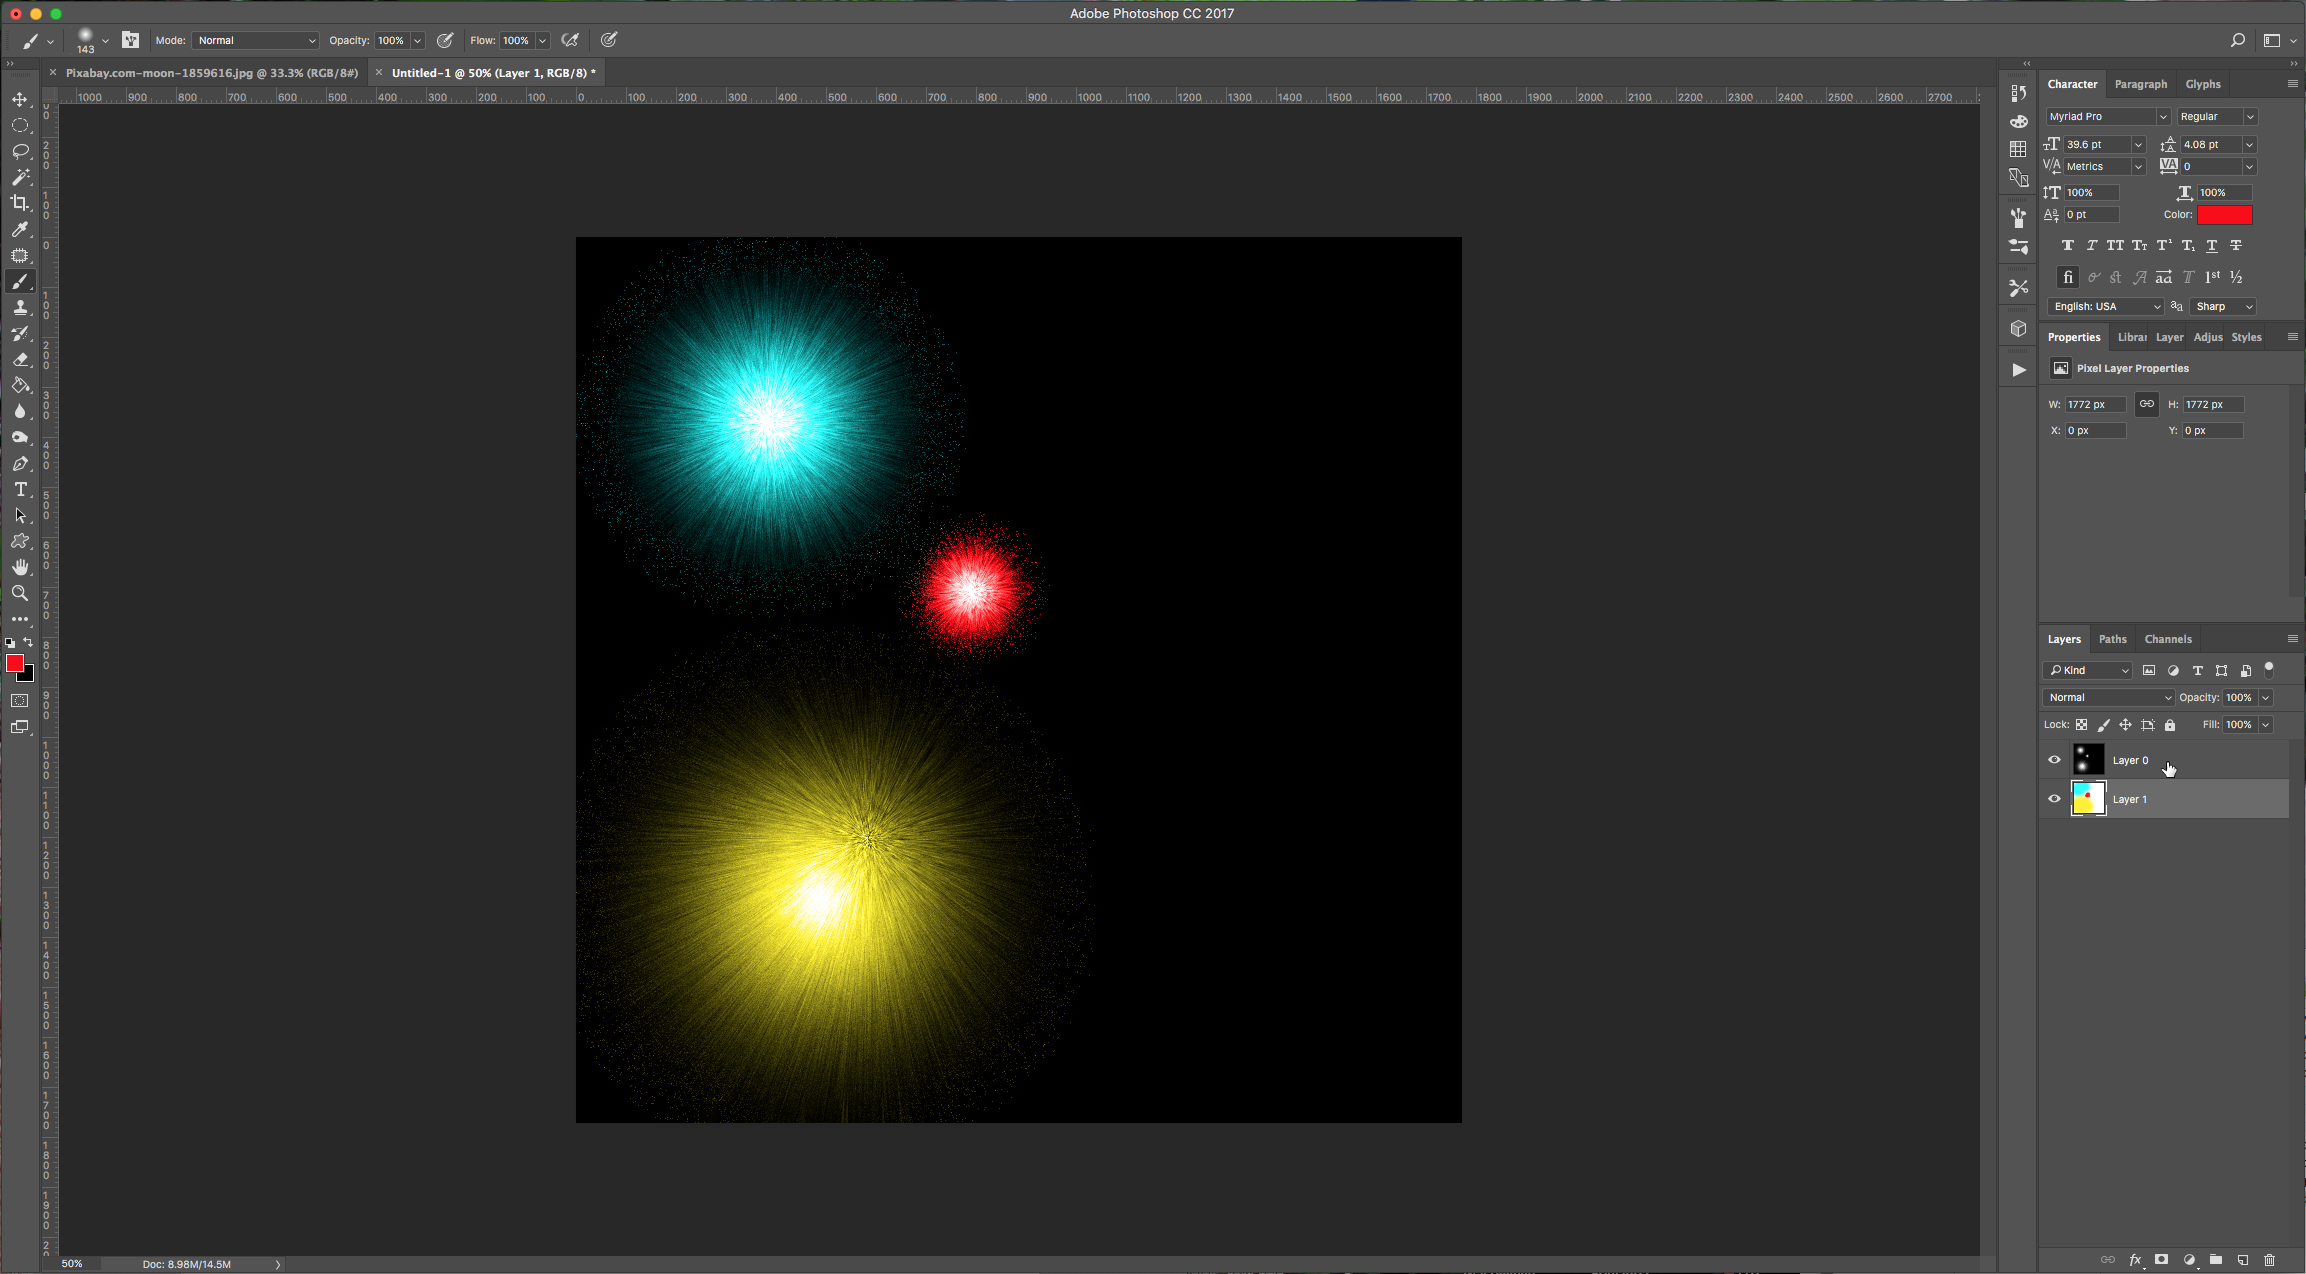
7 - Select your “Brush Tool” (B) and choose a bright color and paint with it to make your fireworks pop. Change the color and brush size for each burst.
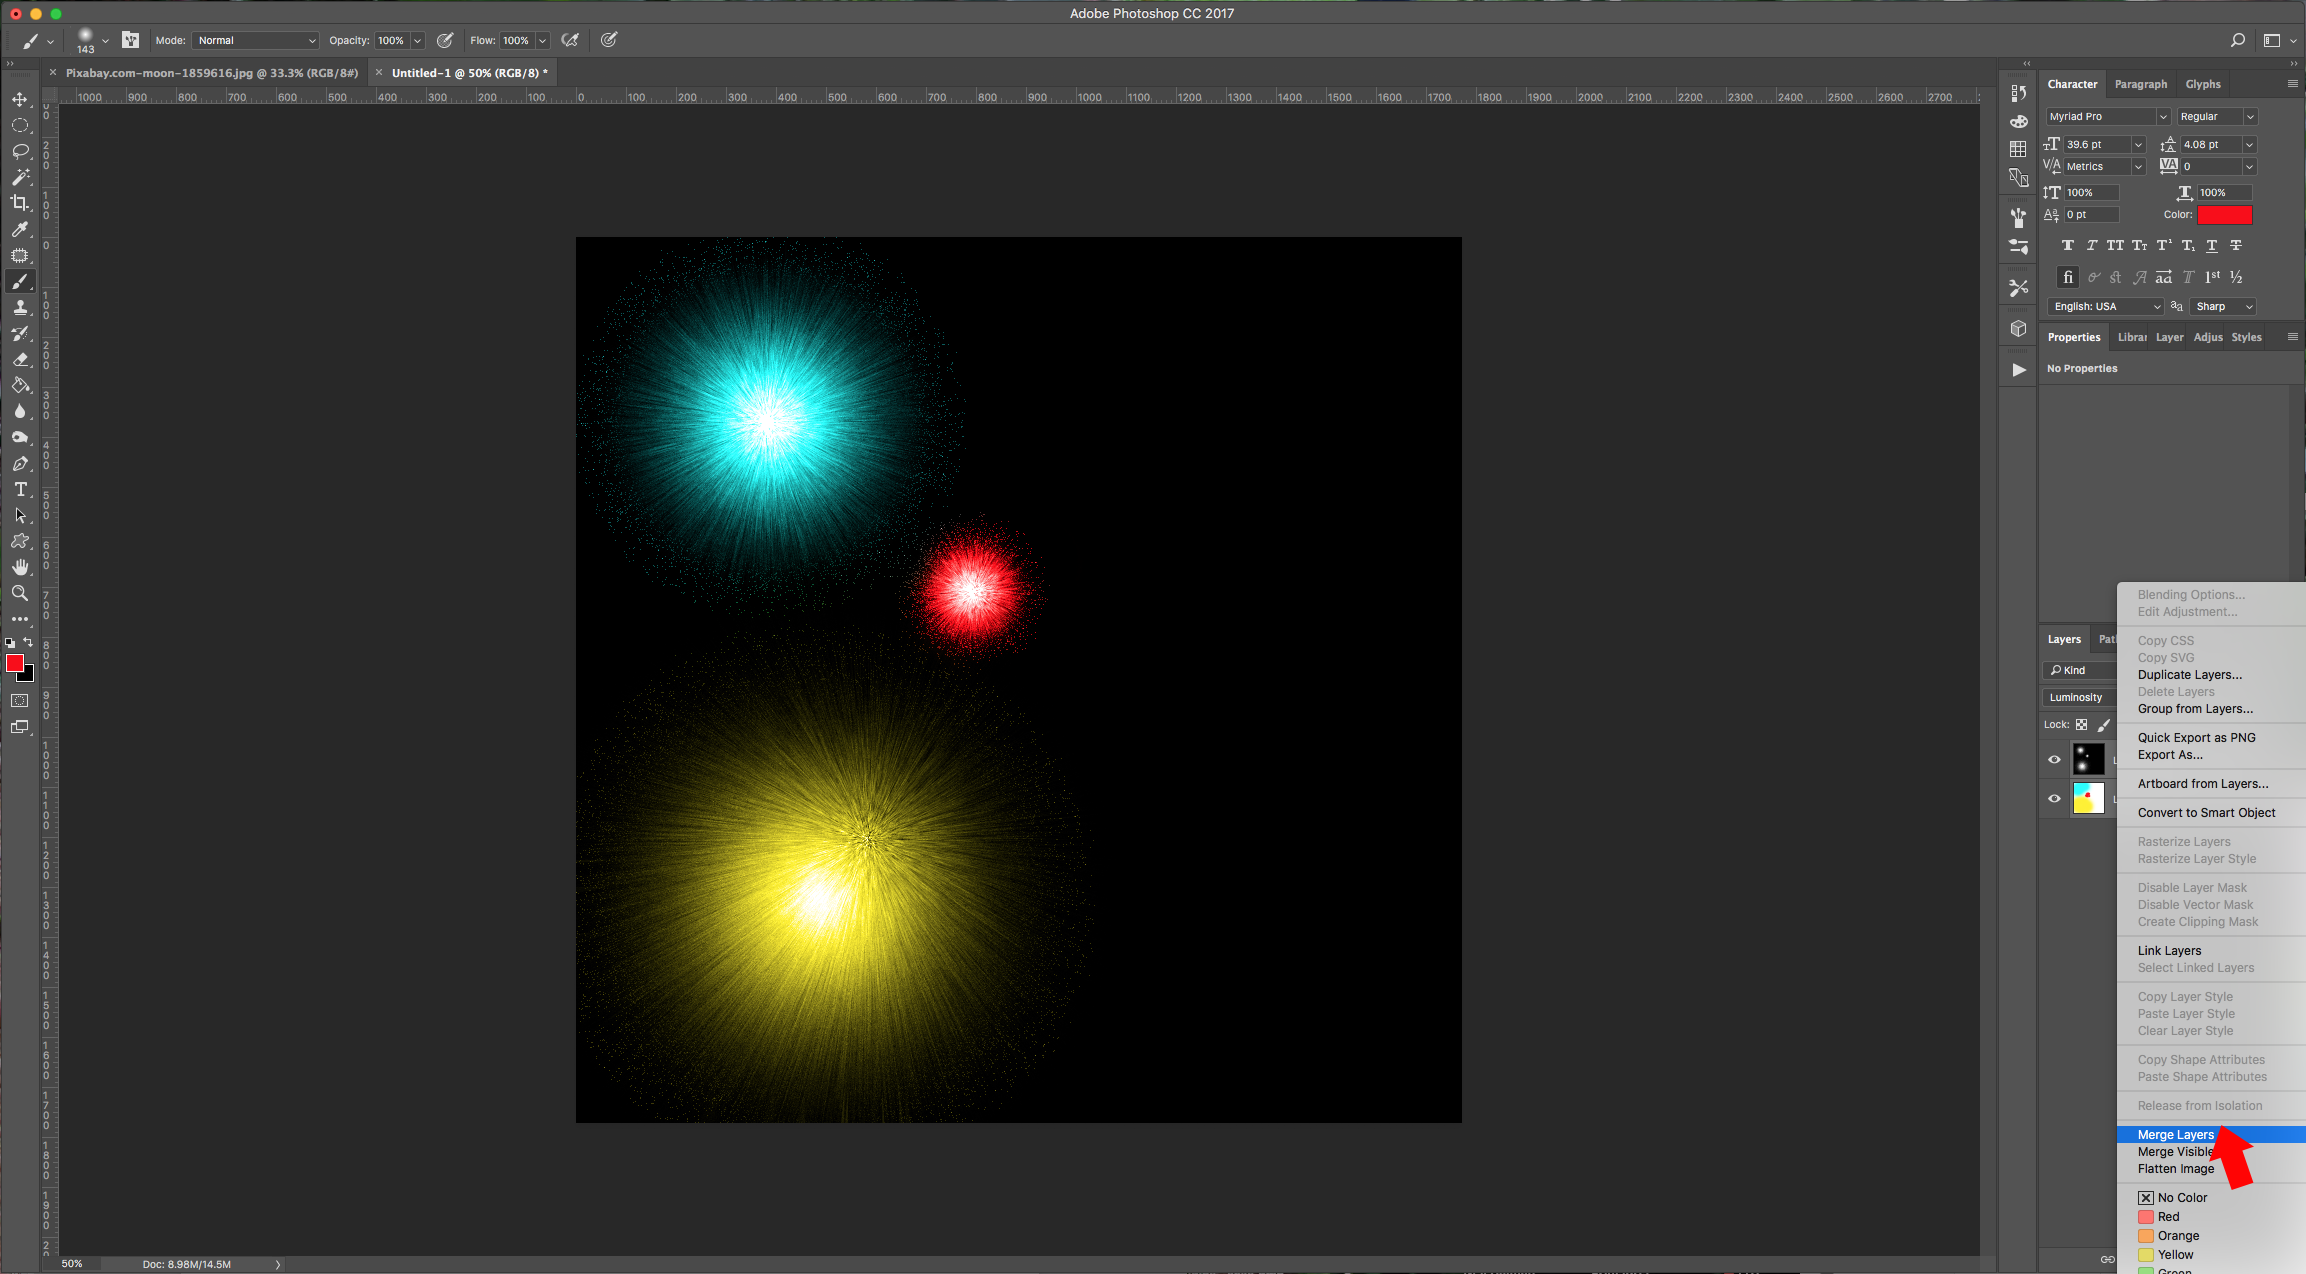
8 - When you are finished, select your layers and merge them. Save your file.
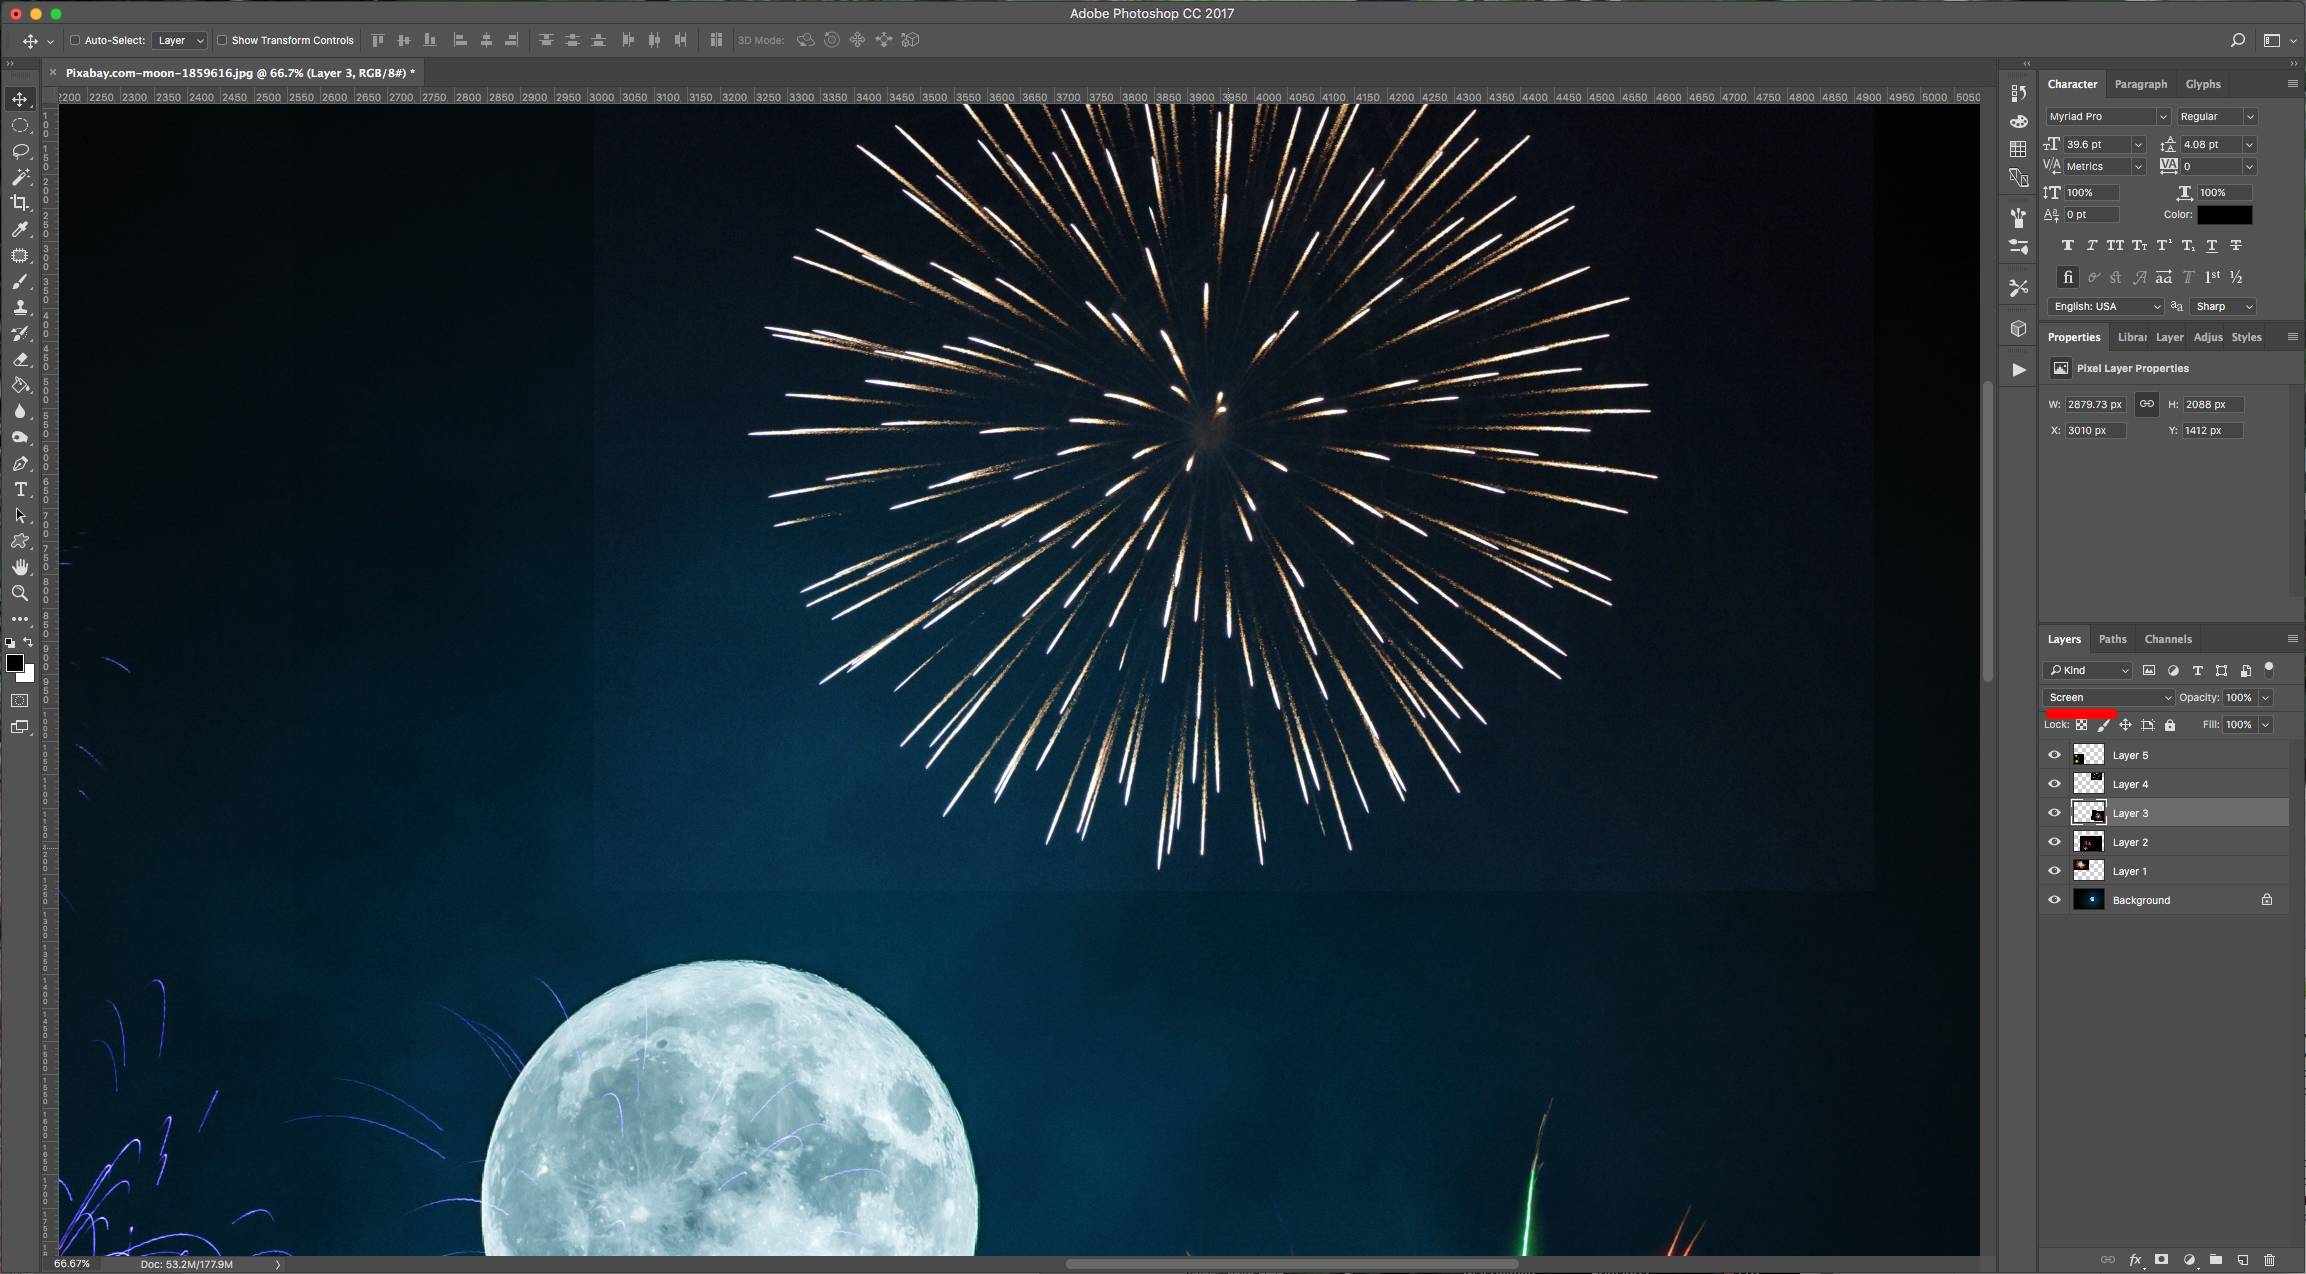
9 - Now, open your background image in Photoshop. Open the Fireworks images and copy them (Command/Control + C and Command/Control + V) into your “Background” file. Copy your newly created fireworks too.
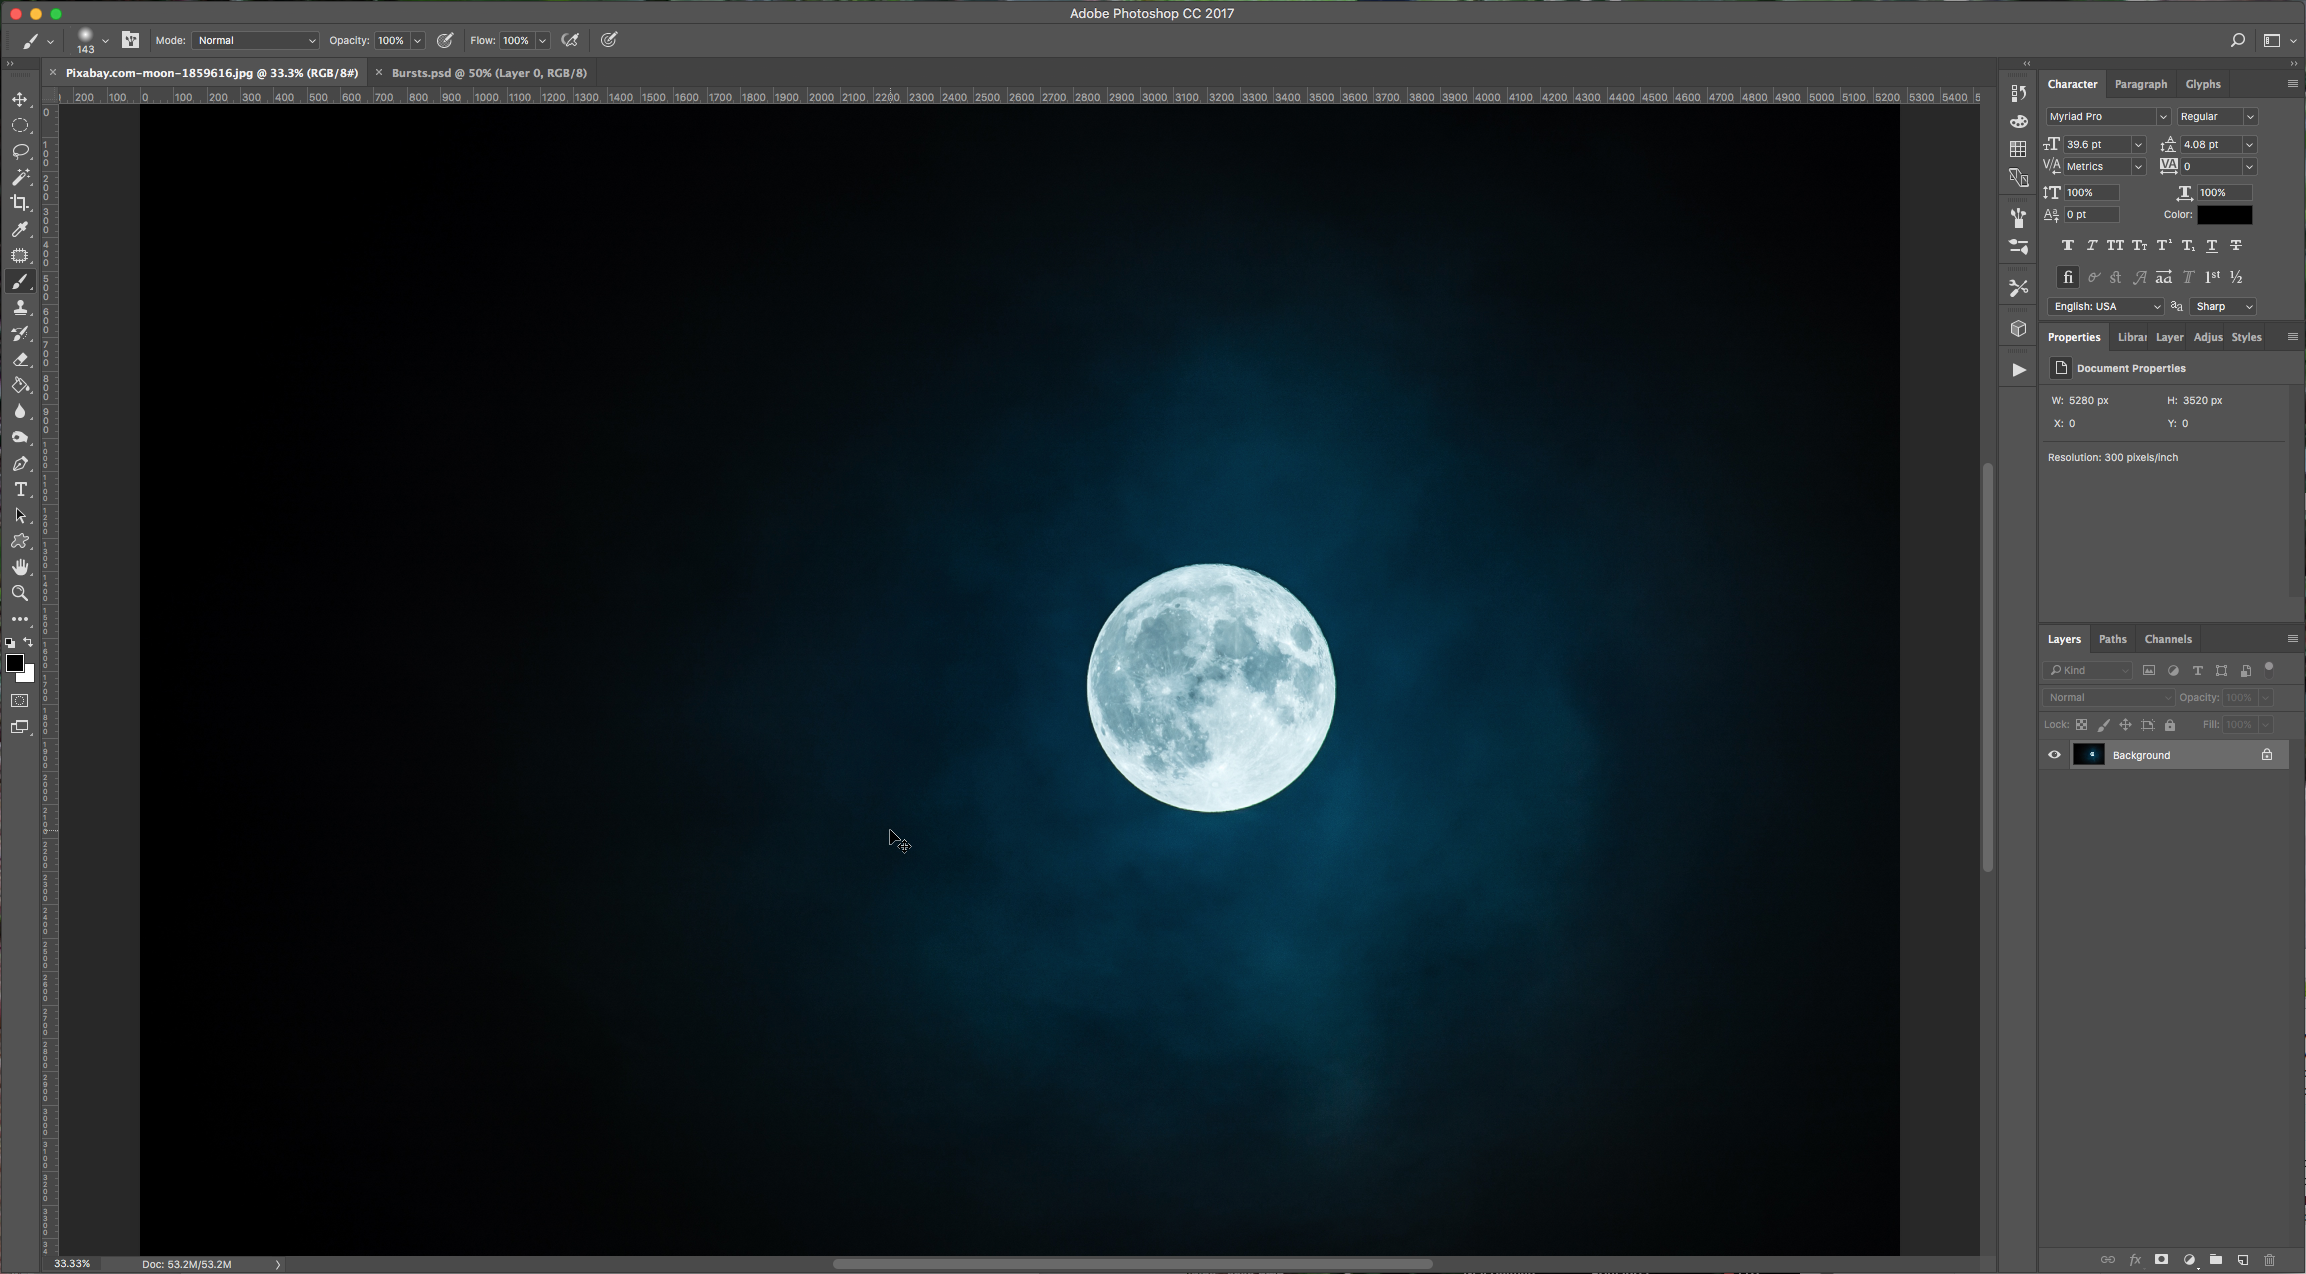
10 - Change the “Blend Mode” of the fireworks layers to “Screen” and place them around your image using the “Move Tool” (V).
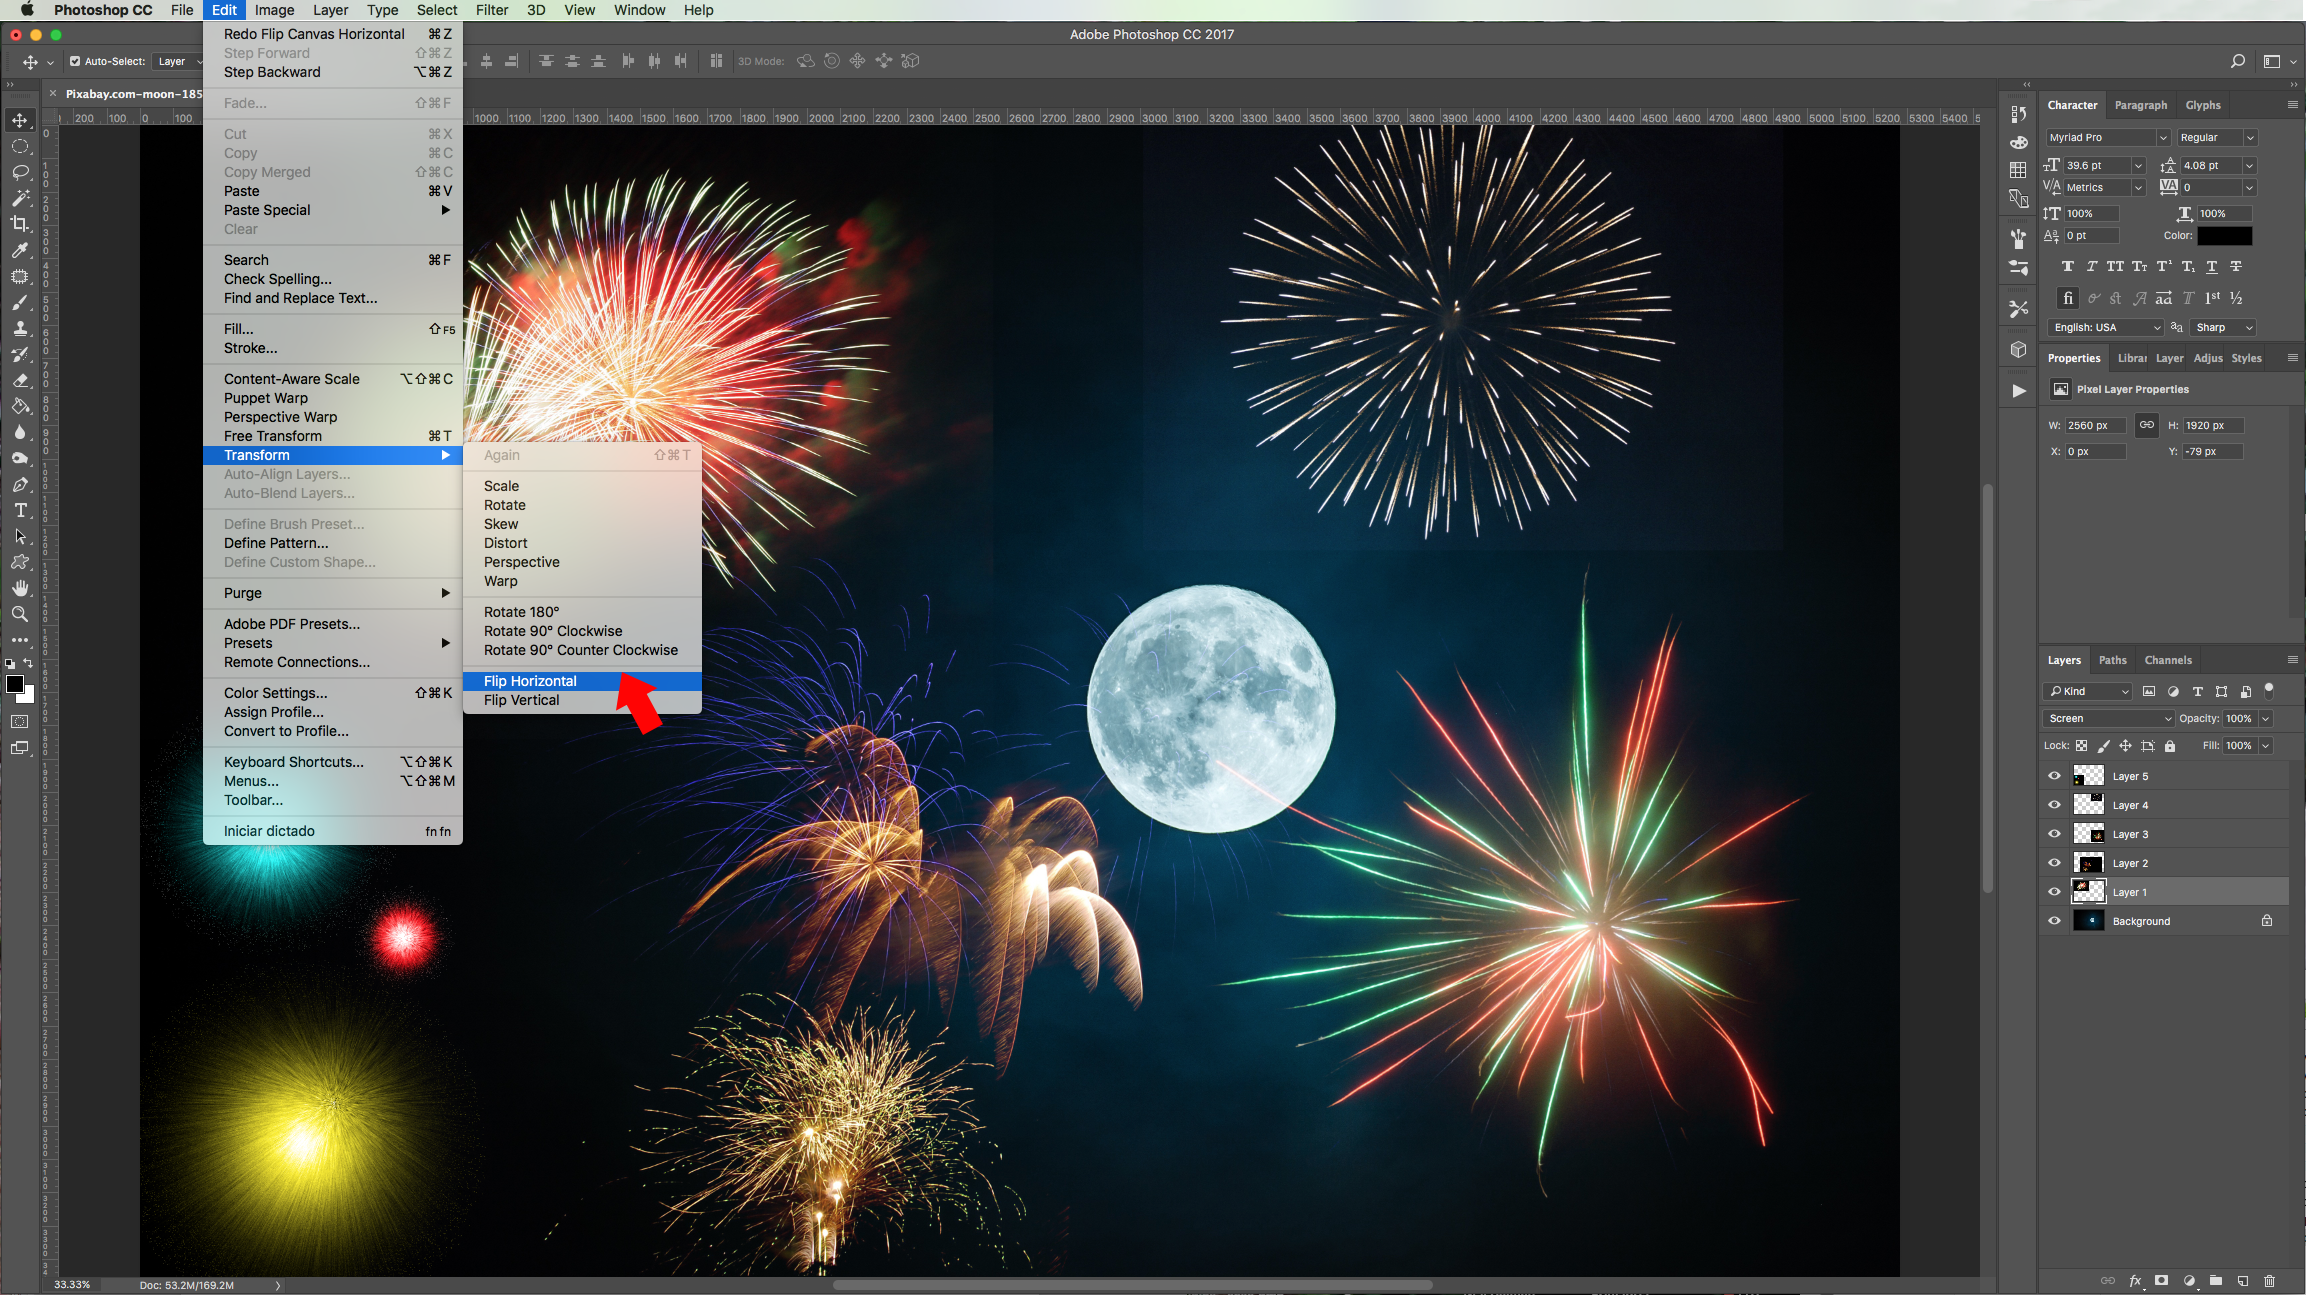
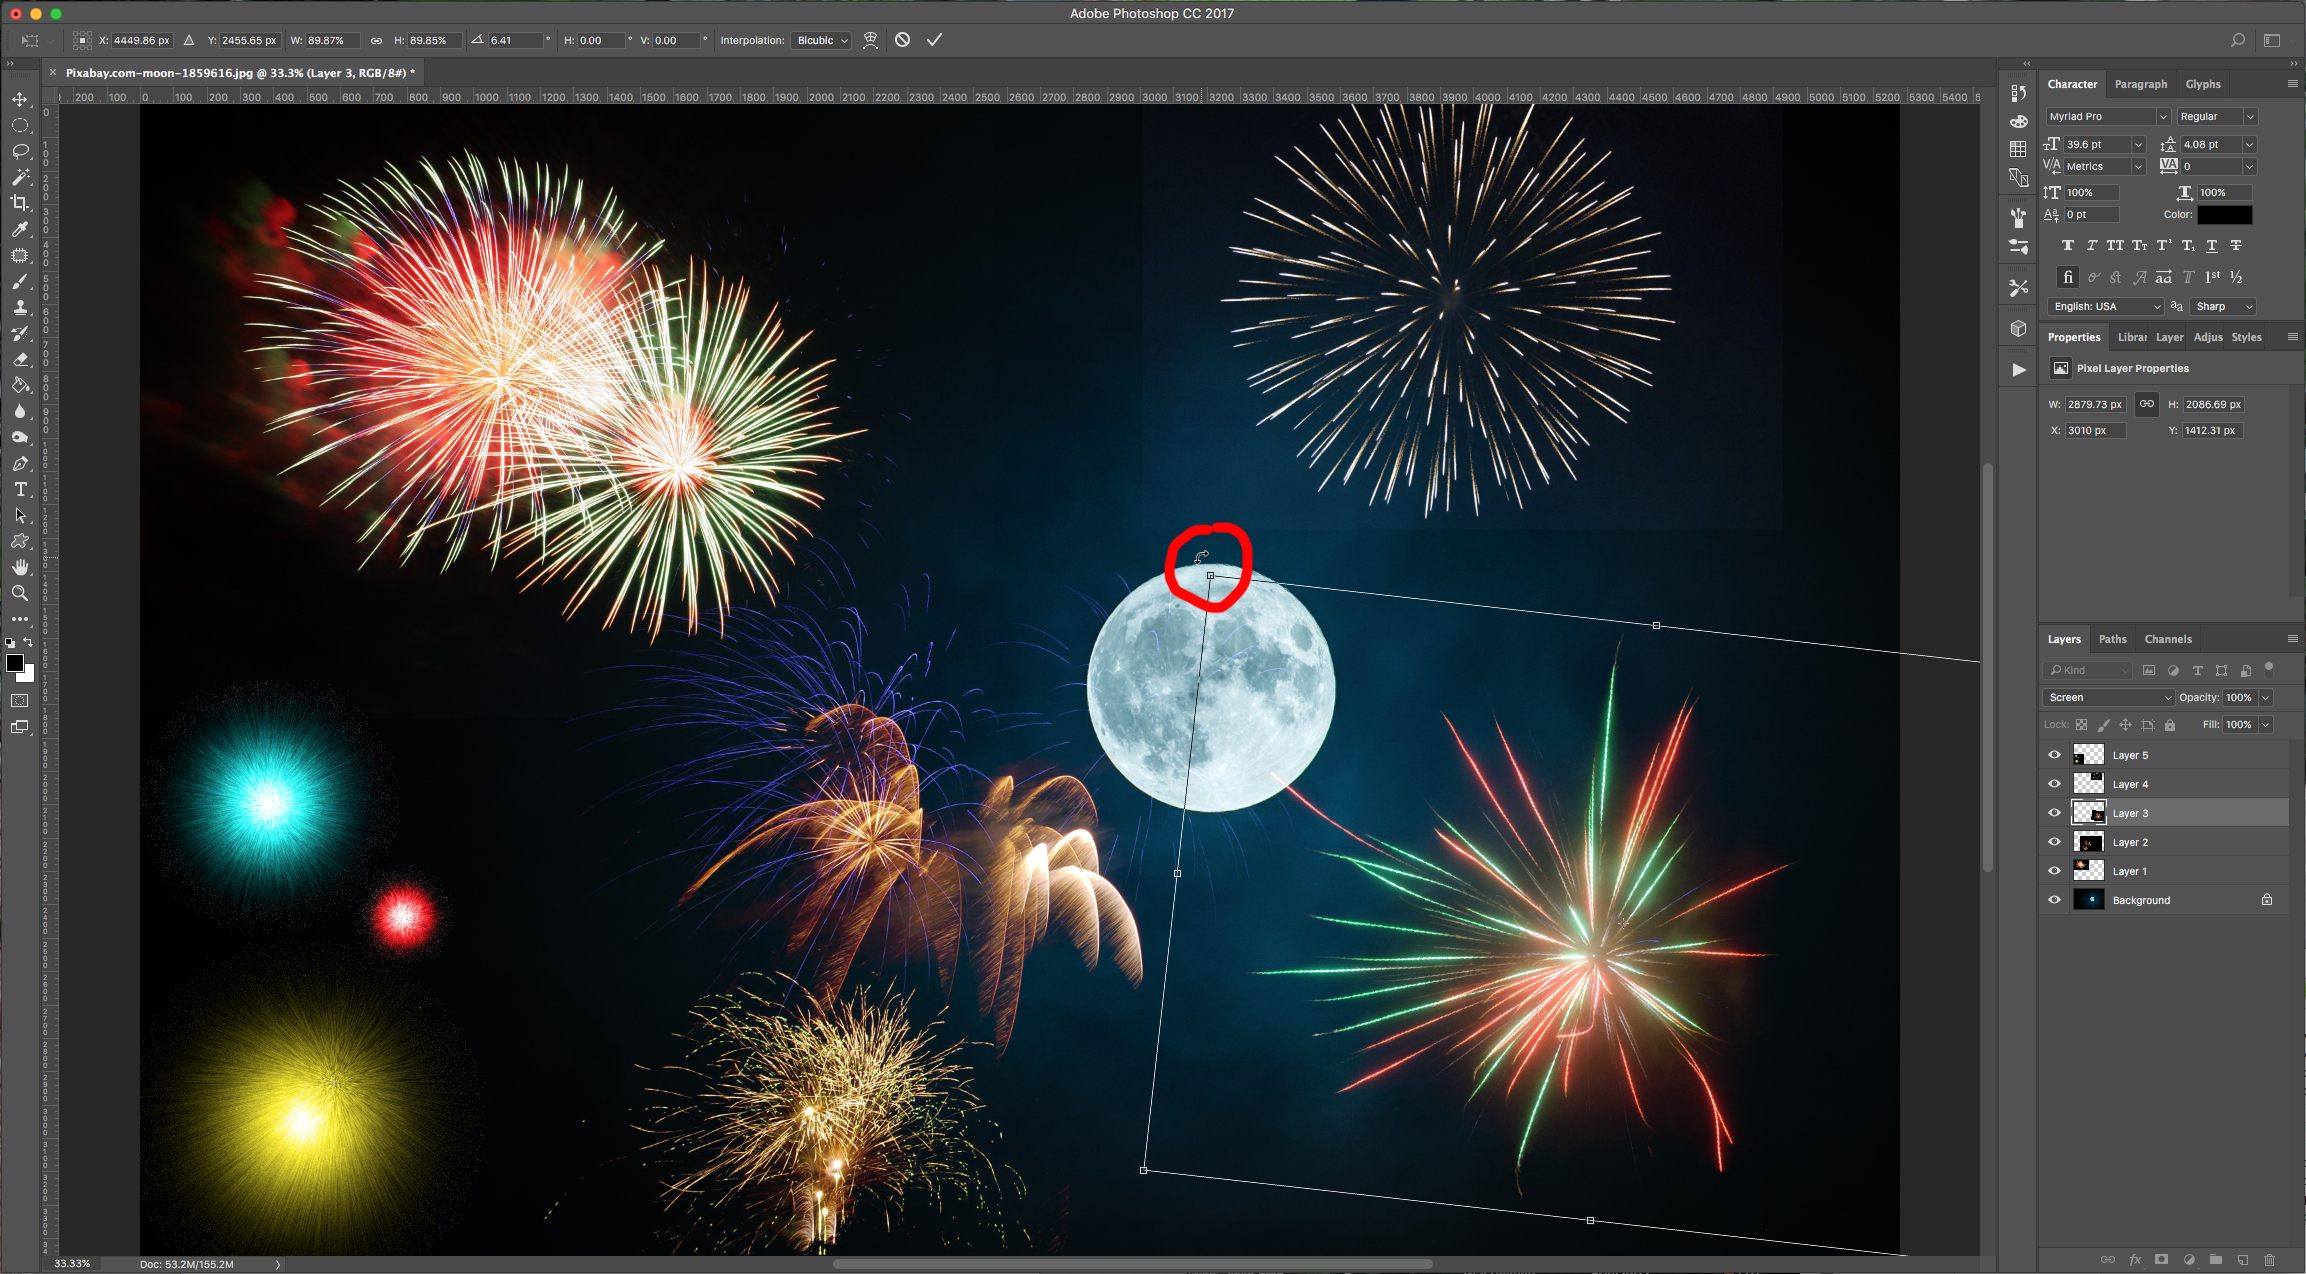
11 - You can go to Edit > Transform and “Scale”, “Distort”, “Flip”, etc. your layer.
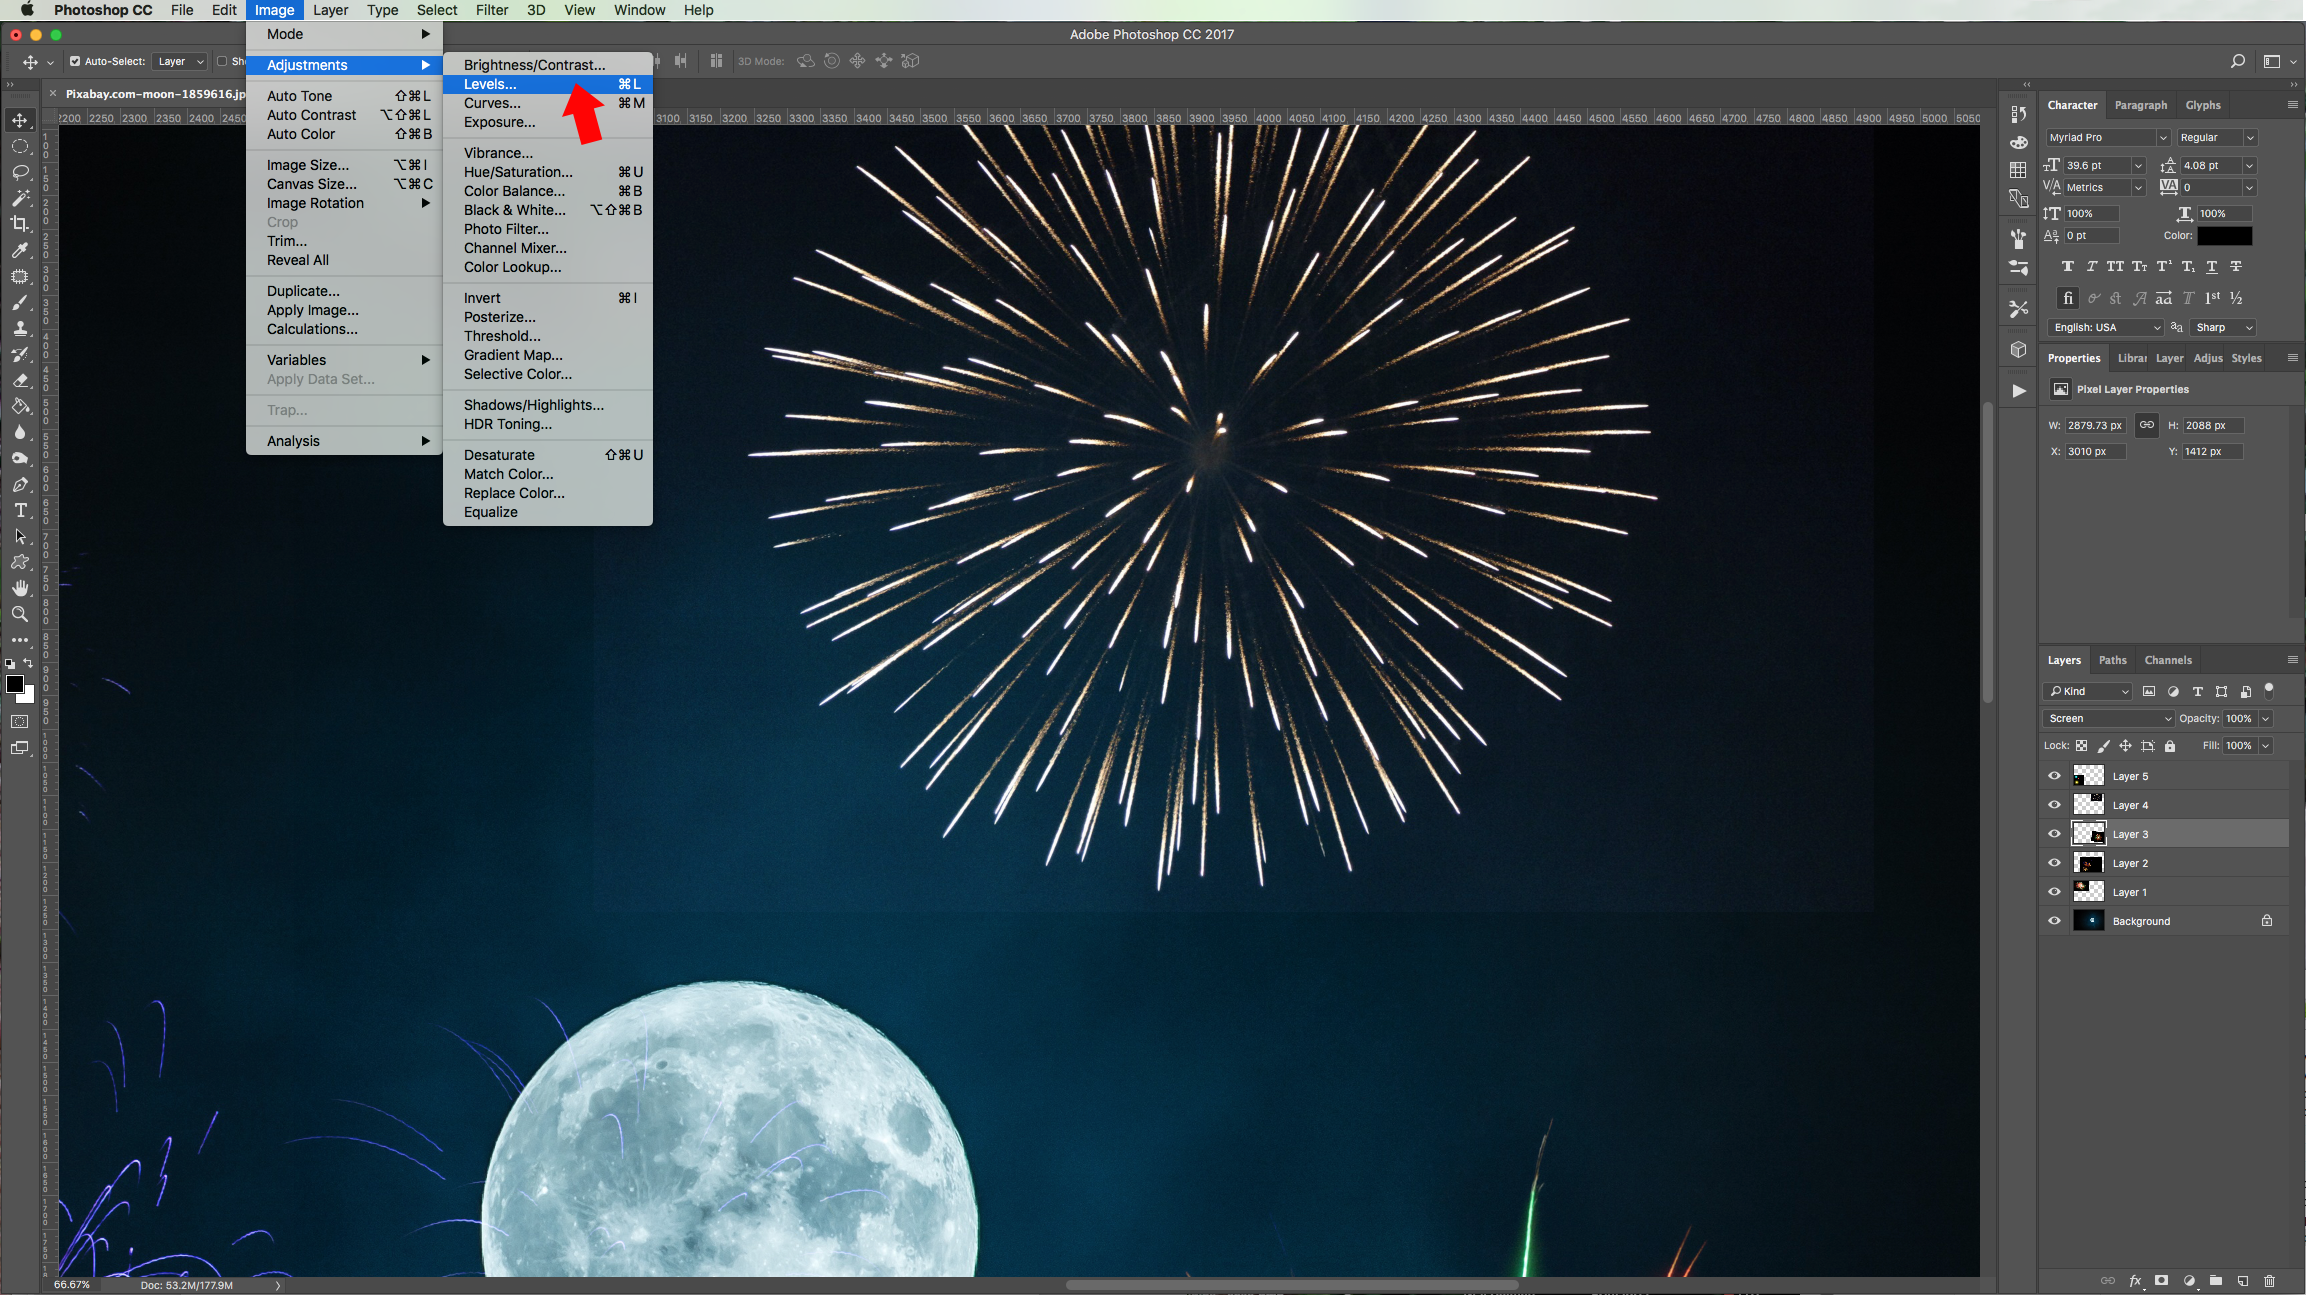
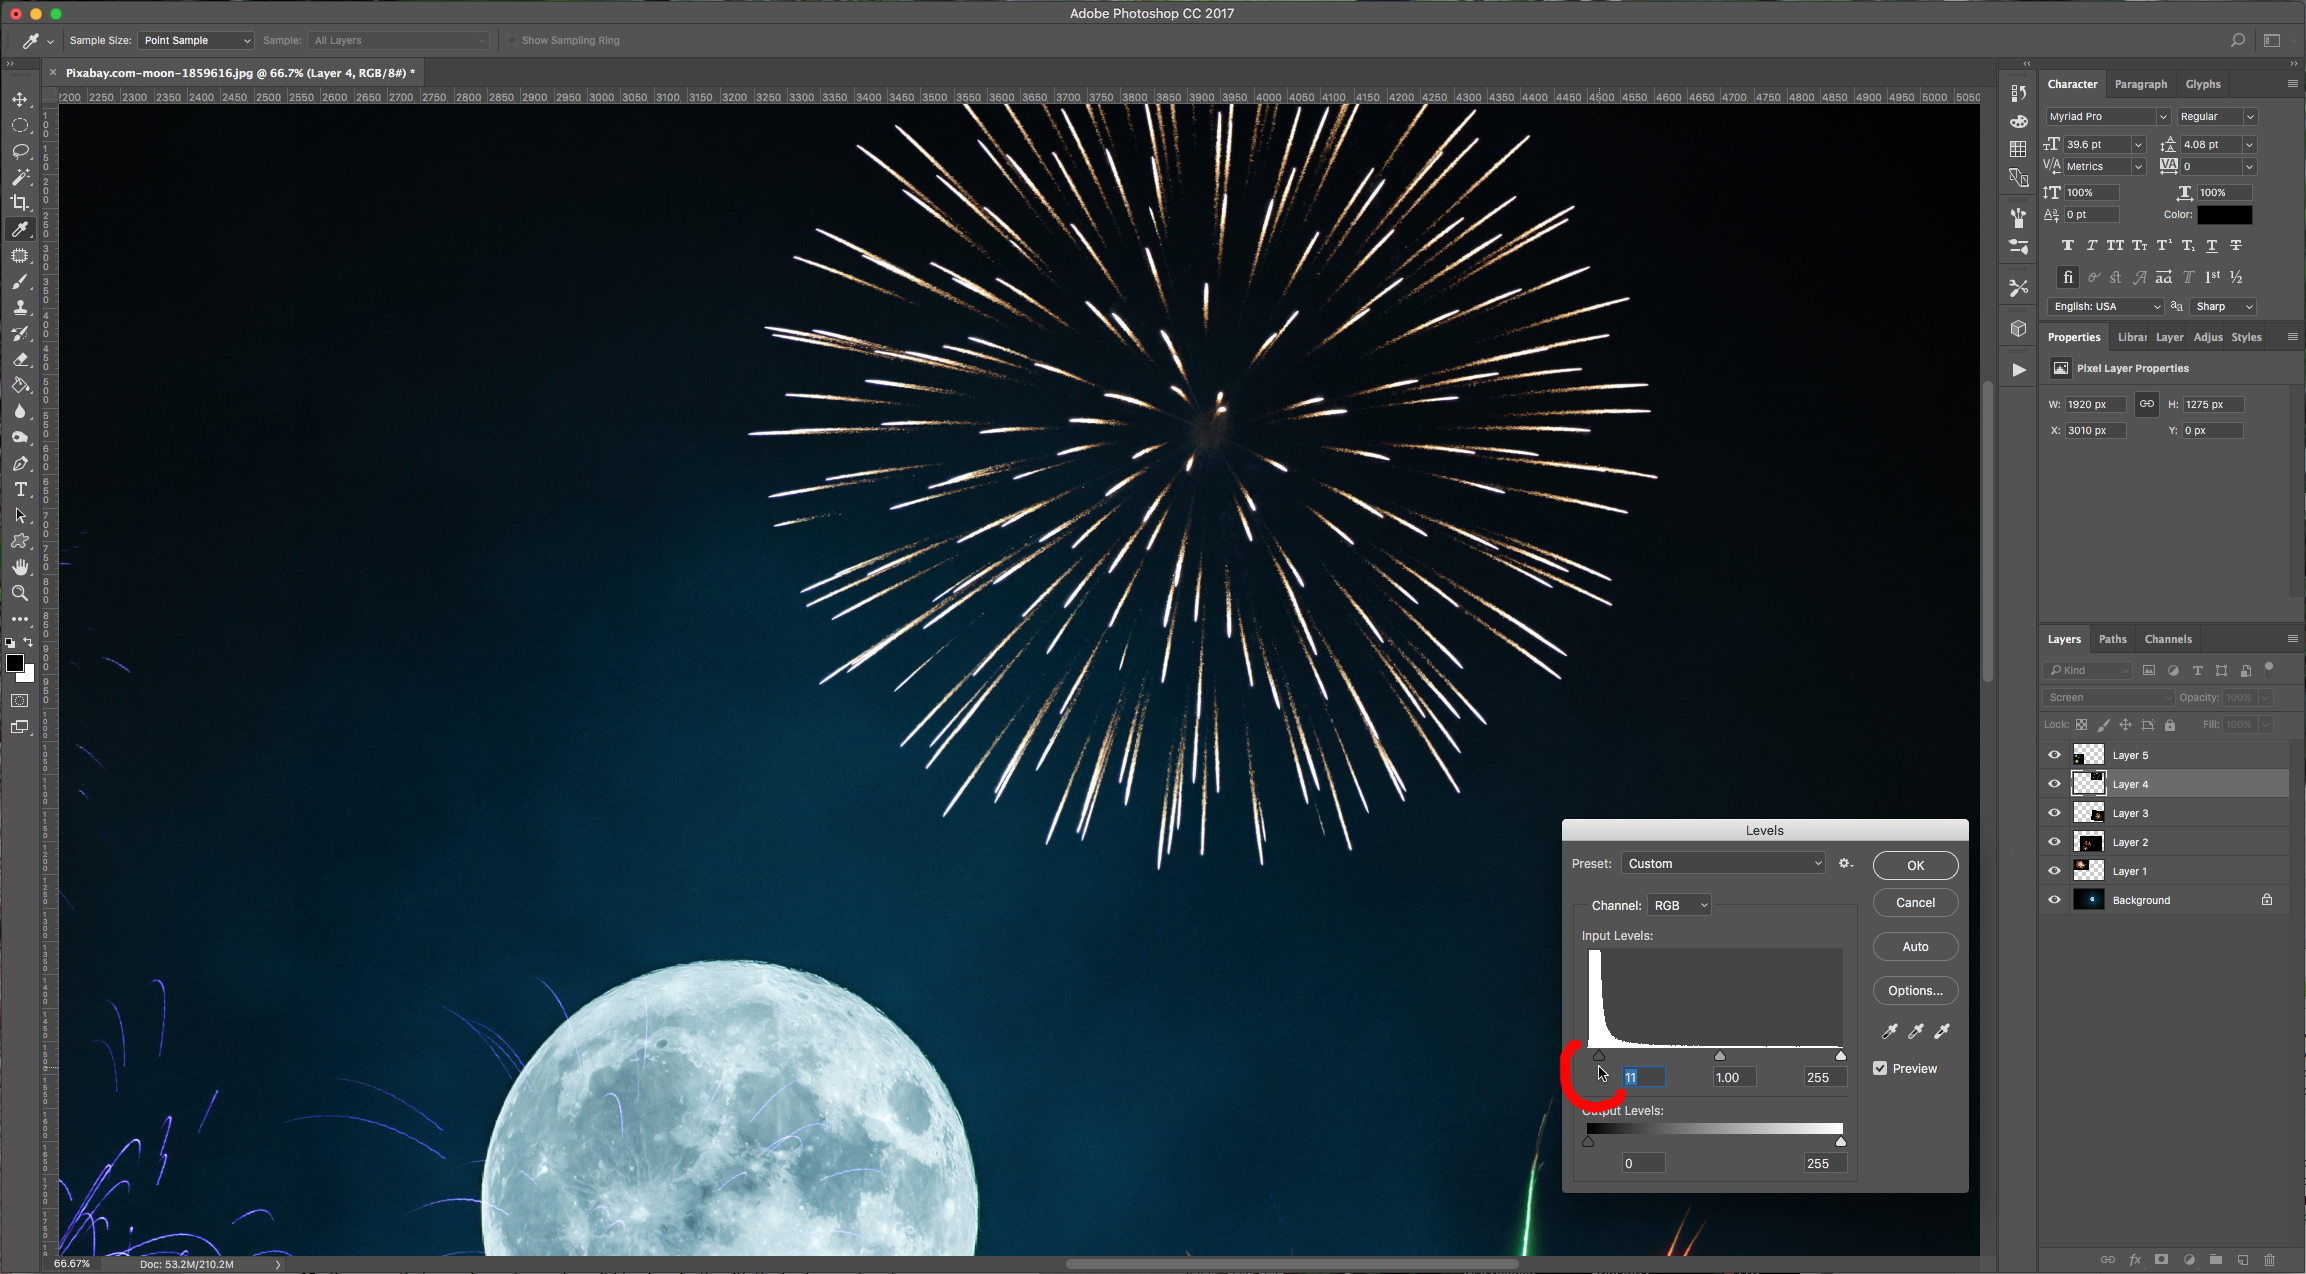
12 - If you see that one of your layers doesn’t blend perfectly with the background, go to Image > Adjustments > Levels (Command/Control + L) and move the left lever (Shadows) slightly to the right to fix it.
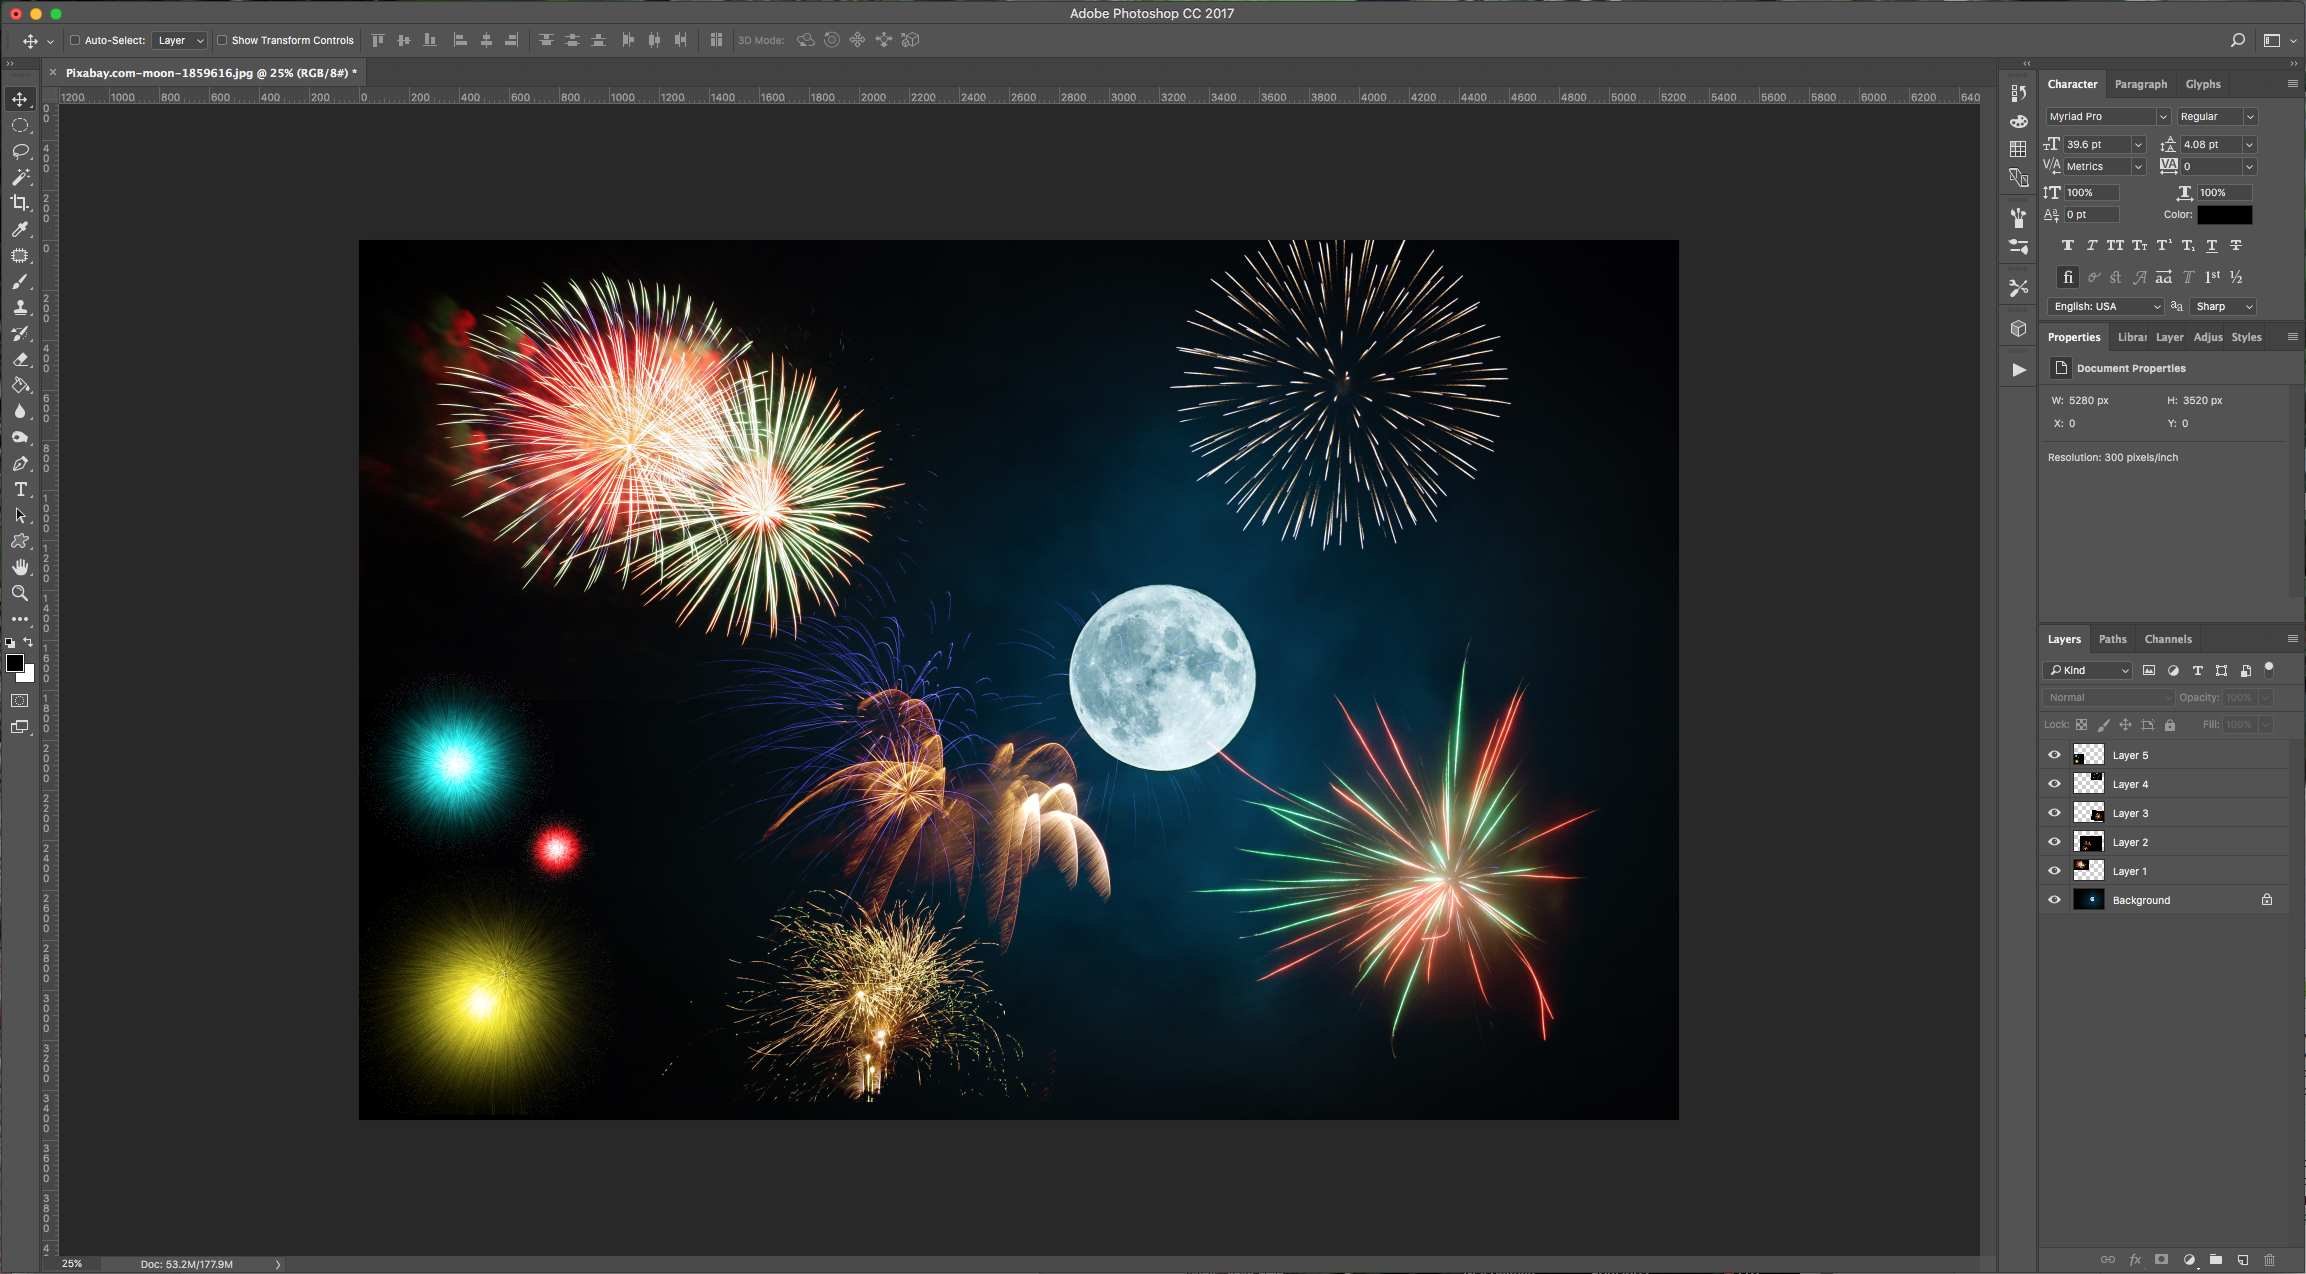
13 - Check out your work.
1 - Create a New Document, make it 10 x 10 centimeters (about 1772 pixels) at 300 dpi and use Black as your “Background” color.
2 - Create a “New Layer” by clicking on the icon at the bottom of the “Layers” menu. Select your “Brush Tool” (B), choose white as “Fill” color and use a soft (0% Hardness) and big (about 500 pixels) brush to draw some circles in your document. Resize the brush and make a couple of circles. (we used 200, and 700 pixels).
3 - Change the “Blending Mode” of the layer to “Dissolve”. Then, select both layers, right-click on the thumbnails and choose “Merge Layers”.
4 - Select the “Elliptical Marquee Tool” (M) and make a circle that covers almost all the center of one of your white bursts (to make the circle proportionate draw it while holding the “Shift” key).
5 - Go to Select > Modify > Feather (Shift + F6) and input a 25 pixels “Radius”. Then, go to Filter > Blur > Radial Blur, input 50% in “Amount”, use “Zoom” as “Blur Method” and a “Good Quality”. You can hide and unhide your selection using Command/Control + H. Repeat for each burst.
6 - Create a “New Layer” fill it with white (Shift + F5), and place it under your first layer. Double-click on the “Background” layer to make it editable and change the “Blending Mode to” Luminosity”.
7 - Select your “Brush Tool” (B) and choose a bright color and paint with it to make your fireworks pop. Change the color and brush size for each burst.
8 - When you are finished, select your layers and merge them. Save your file.
9 - Now, open your background image in Photoshop. Open the Fireworks images and copy them (Command/Control + C and Command/Control + V) into your “Background” file. Copy your newly created fireworks too.
10 - Change the “Blend Mode” of the fireworks layers to “Screen” and place them around your image using the “Move Tool” (V).
11 - You can go to Edit > Transform and “Scale”, “Distort”, “Flip”, etc. your layer.
12 - If you see that one of your layers doesn’t blend perfectly with the background, go to Image > Adjustments > Levels (Command/Control + L) and move the left lever (Shadows) slightly to the right to fix it.
13 - Check out your work.
by @lornacane


