- By Design Bundles
- 10 Mins
- Font Tutorials
How to Access and Use Font Glyphs on a Windows PC
Learn how to access and use font glyphs on a Windows PC with this tutorial.
Did you know that you can access and use fonts with glyphs on a Windows PC? Extra glyphs, or alternate characters, can contain swirls, doodles, or ligatures that enhance the look of your text. Sometimes theses are also known as Fonts with Swashes. For the majority of programs, glyphs can be accessed by using the Character Map in Windows. In this tutorial we will guide you on how to use glyphs with your software on a Windows PC.

Accessing the glyphs will depend on the application. You can use glyphs in Silhouette Studio and the Adobe Suite, but other programs like Cricut Design Space will require you to use the Character Map on your PC.
Need an upgrade to your Cricut font library? Font Bundles has a fantastic selection of FREE Fonts for Cricut that you can download right now! You got that right! FREE!
We will be using a font called Heart You, but there are tons of great Heart Fonts available on Font Bundles.
Before getting started using your font glyphs, ensure that you have installed the fonts on your PC. Then close out any programs that will be using the font, and reopen after installing. If the font is installed while the program is open, it may not show until the program is reopened.
Canva users, don't forget to check out these premium Canva Fonts. Make your projects stand out and grab the viewer's attention. You can never have too many fonts!
Step 1 - Open Character Map
Accessing the Character Map is quite easy and you can also pin it to your taskbar. This will make it easier to find and use in the future.
Next, depending on your system, go to the Windows menu icon and click on Search. Type in “charmap”. Alternatively press the Windows icon + R to bring up the Run command box. Then type in “charmap” and click Ok.

Once the Character Map is open, you will want to create a taskbar shortcut for easier access. At the bottom of your screen, right click the Character Map icon and select “Pin this program to taskbar”.

Step 2 - Select the Font Glyphs
With the Character Map open, click on the Font drop down menu and choose your font. The letters and glyphs will show in the blocked area below. To make it easier to work with glyphs, we will group them first.
Click on Group By and choose Unicode Subrange. A small window will pop up. Scroll down to the bottom and click on Private Use Characters.

You may not see anything in the blocked area so you will need to scroll down until you see the glyphs.
Step 3 - Use Font Glyphs in Your Software
Now that you have located the Character map, open the software that you want to use the glyphs in. Using the Text Tool in your software, type out the text and change the font. For our example we are using Affinity Photo.
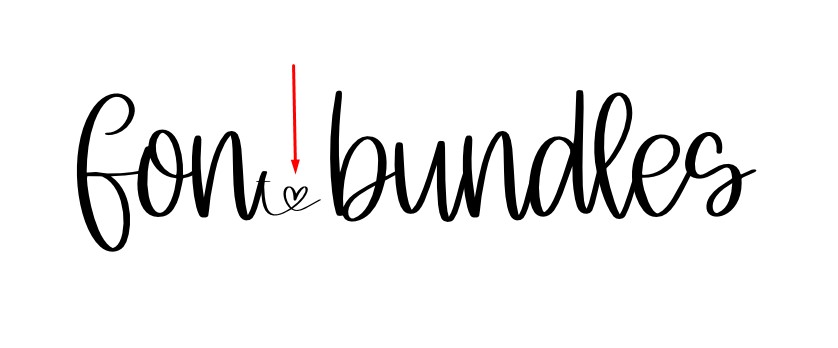
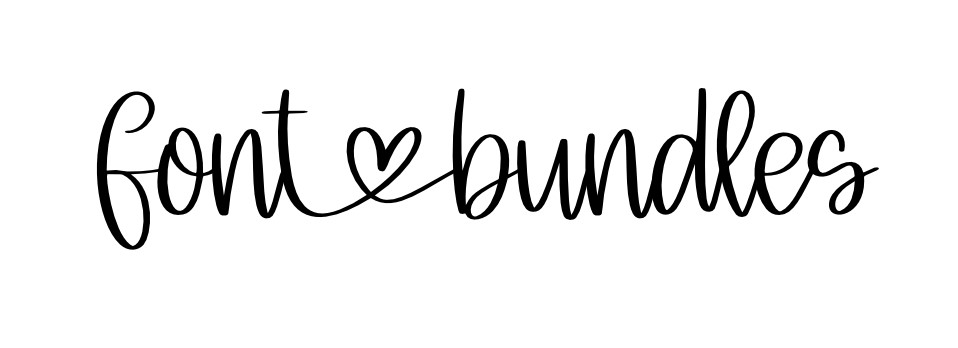
Go back to the Character Map and click on one of the glyphs to bring up a larger preview. We chose the letter T with a heart on the end.

When you double click on a glyph, it will be added to the Characters to copy box. Alternatively, click once on the glyph then click on the Select button to add it.
Add more glyphs to the Characters to the copy box by double clicking each one. You can also click then Select as shown below. All glyphs in this box will be copied over when you click on Copy.
If you need to remove a selected glyph, click on the box containing the glyphs and use the backspace button. With our glyph selected we then clicked Copy.
Go back to your software and click on the text to select it. If you are replacing a letter, delete it and press Ctrl + V to paste.
When you paste the glyph into the text object, it might be far smaller than the text. This may only happen in certain programs as can be seen in the image below. We faced this issue when simply using copy and past while adding glyphs in Affinity Designer.

Not to worry, this is an easy fix. In Affinity Designer we used the Paste Special option instead of just using copy and paste. This adjusted the glyph to the text size.
If your program doesn’t have a Paste Special, then simply change the font size. Highlight the text then go to where the font size is located. Choose a size, which will then be applied to all of the selected text.

Now you know how to access and use font glyphs on a Windows PC. Why not give it a try by using glyphs in PaintShop Pro to personalize projects? You can also access glyphs in Inkscape to make your text stand out. Explore the many fun and stylish glyphs that come with your free fonts, while adding that extra something special to your text.
6 Related Font Tutorials
Follow our easy to use tutorial for using Font Glyphs on the iPad with the Cricut Design Space app.
Many font designers these days are filling their fonts full of ligatures, alternate characters, and more. These extra characters help make your designs more unique and sometimes give it a more hand lettered feel.Today we will be showing you how to access and use font glyphs on Mac, using ...
With so many amazing fonts available on Font Bundles it's easy to get swept away and go on a downloading spree! I mean, have you taken a look at all the free fonts?!Sometimes though, you may need to save space and uninstall fonts. In this tutorial we will show ...
Fonts are a great asset to all of your design needs. Use commercial use fonts in your branding, digital design projects, websites, and more. But before we can start using fonts, we need to learn how to install the fonts to your device.How to Install Fonts on Windows1. Download ...
Ensure that your file has been downloaded and unzipped to use.1- Open the program you want to use. I am using Silhouette Studio, but the following procedure to use the Character Map app to access your Glyphs will be the same in most programs.2- Type your text in ...
Many fonts now come with extra swirls and text known as glyphs. These glyphs can be used to add flair and style to an already beautiful design. However, accessing glyphs in Inkscape may be difficult for someone who is just starting out. So today, we will walk through the steps ...

 All your Font Needs


