How to Make a Text Stencil in Silhouette Alta
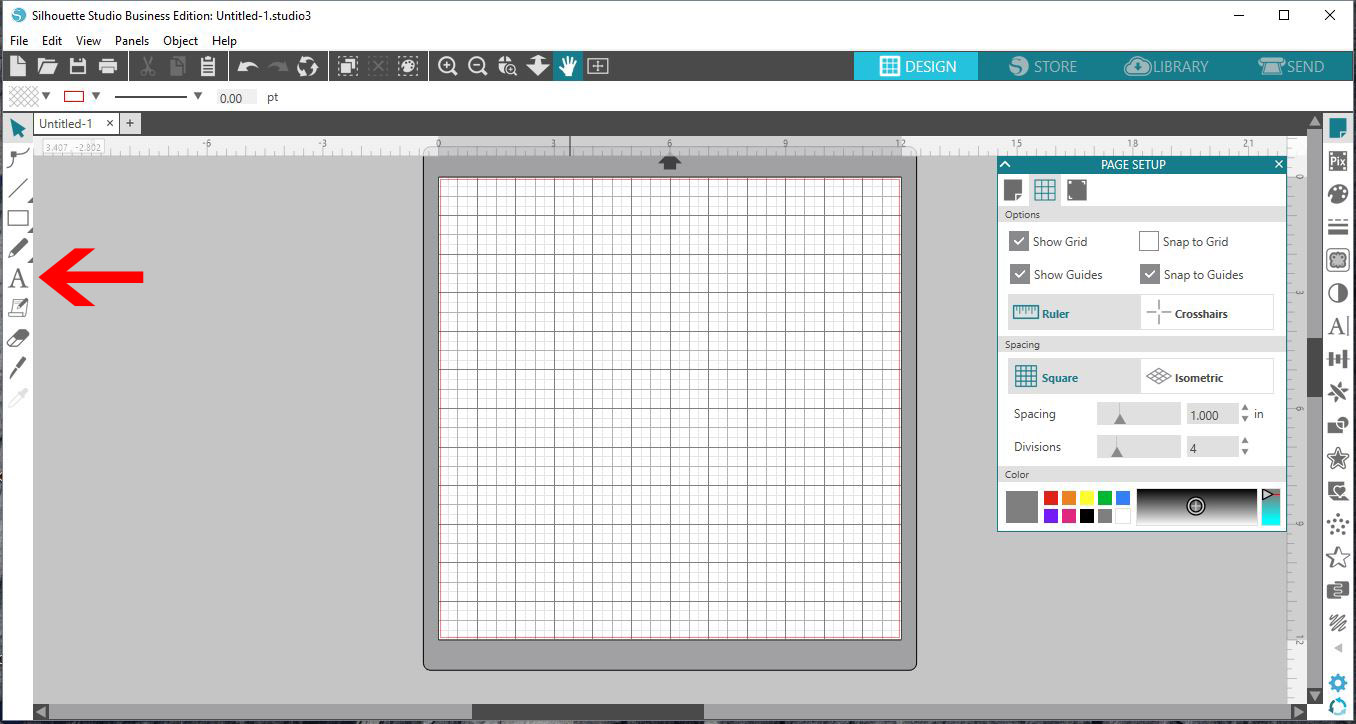
1- Open Silhouette Studio (free edition) Click on the text icon.
2- Type your text. then click on the right text icon.
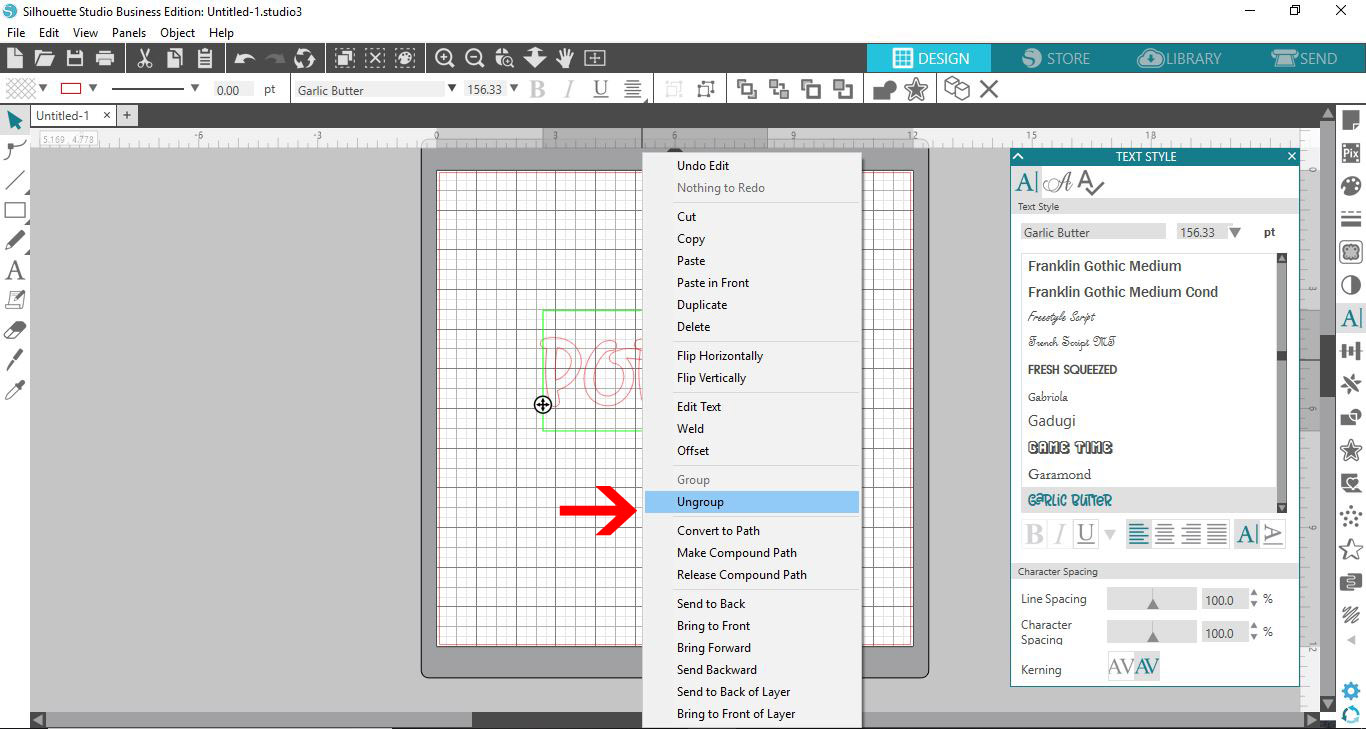
3- Change your text to the desired font. I am using Garlic Butter from fontbundles.net
4- Select the text, then right click and ungroup the text.
5- Click on the shape tool.
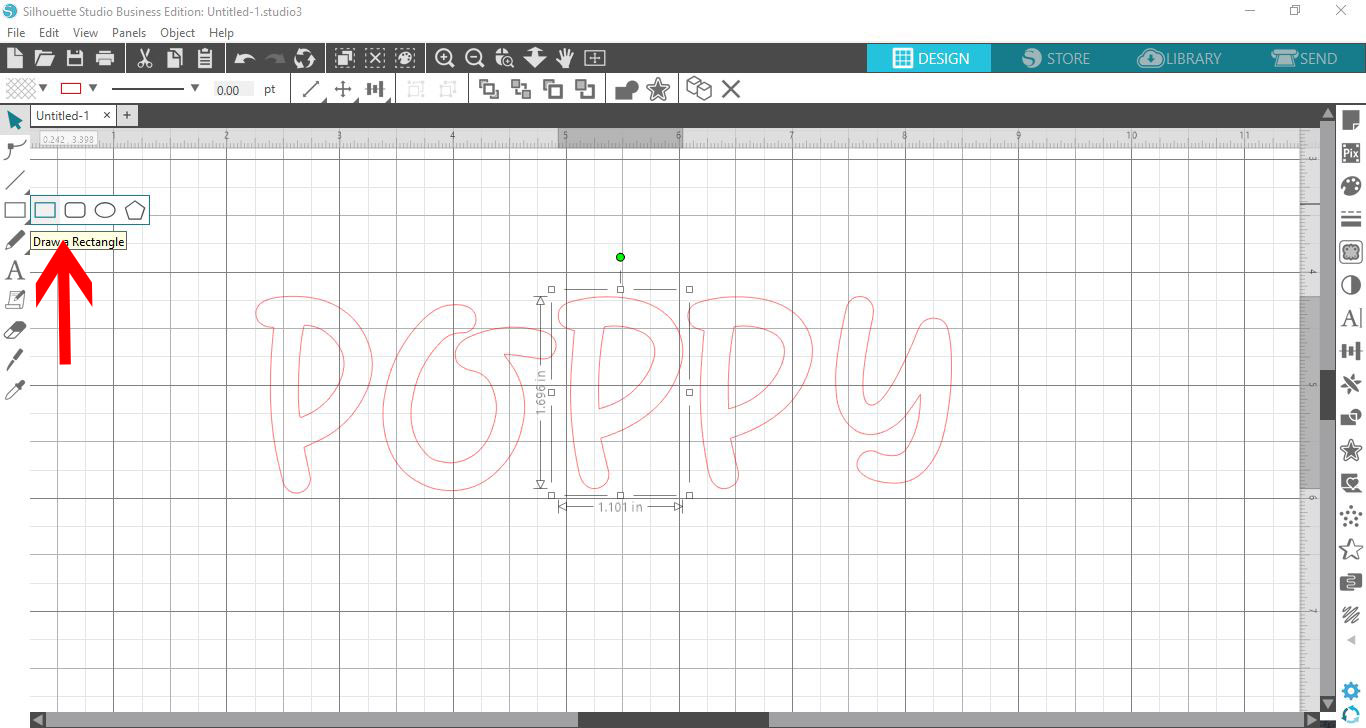
6- Select the rectangle icon.
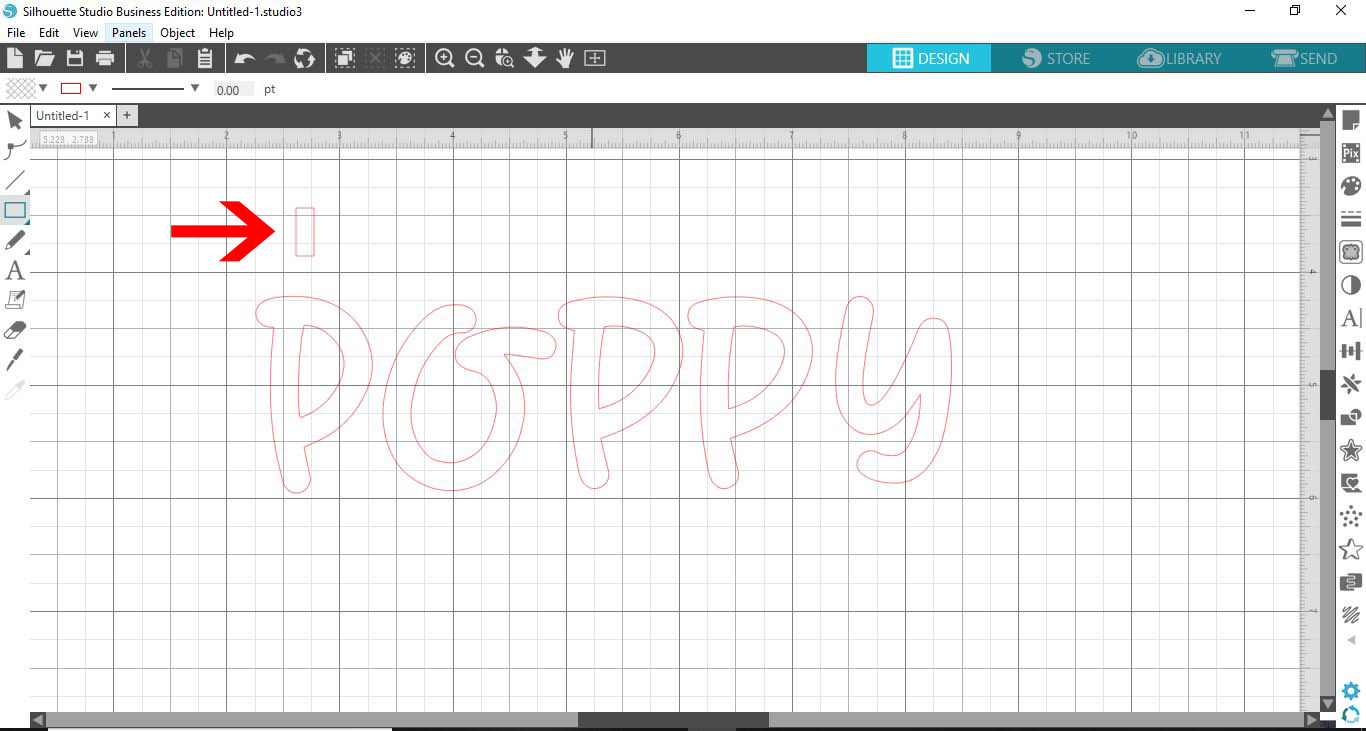
7- Draw a small rectangle. This will be our stencil bridge to keep all the text attached to the stencil when we print.
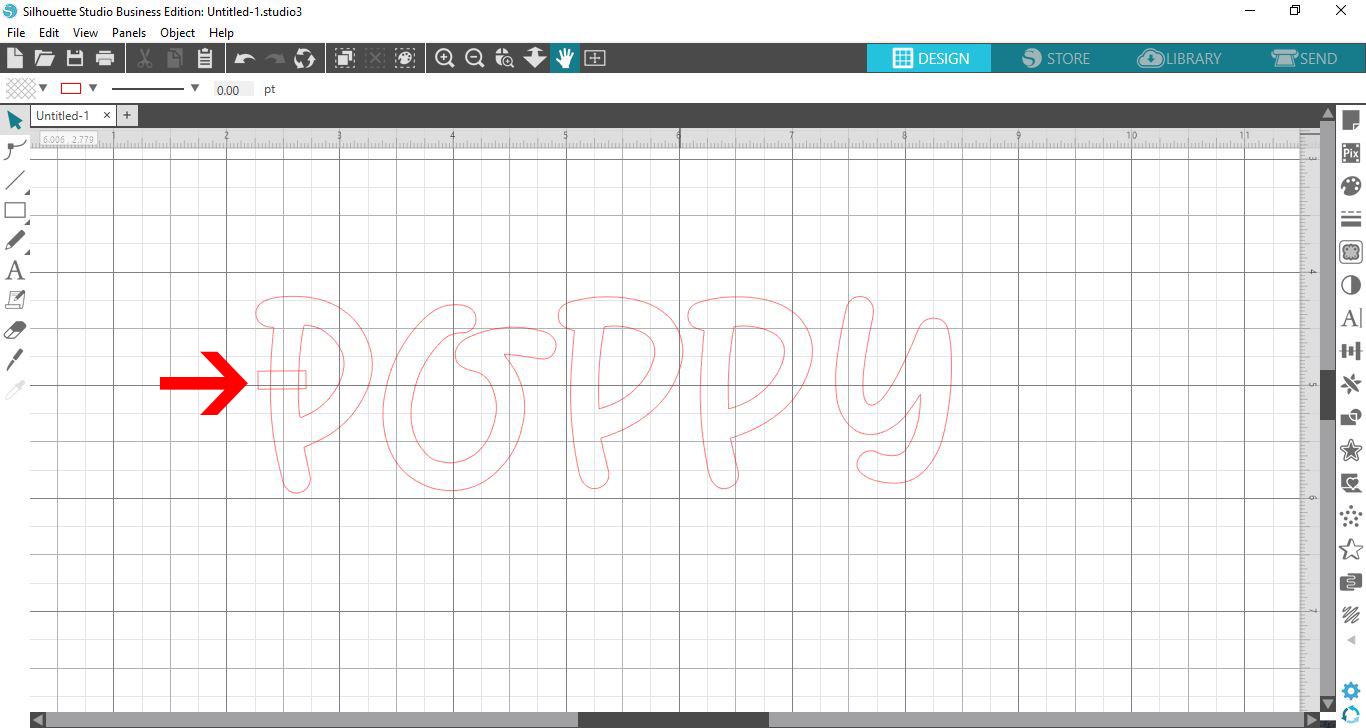
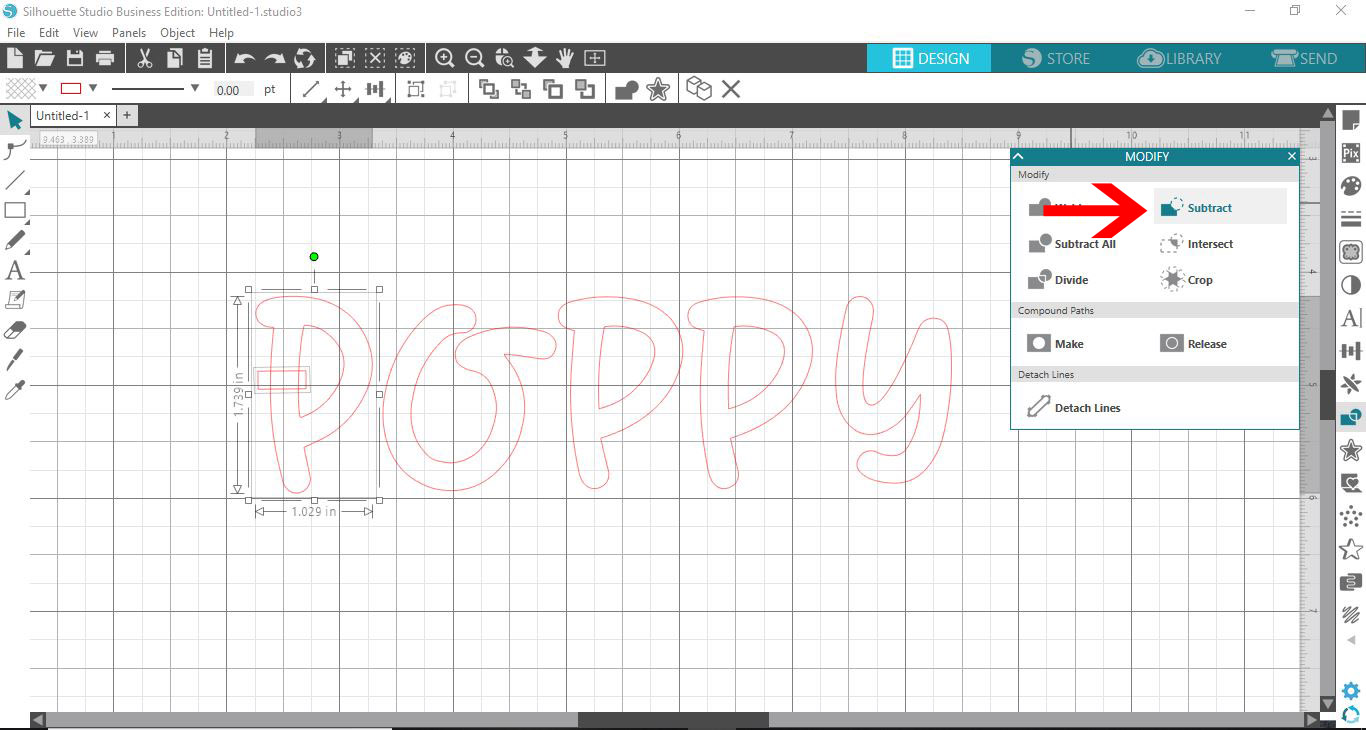
8- Place the stencil bridge(rectangle) over a letter with a middle (eg- Q,R,O,P etc)
9- Click on the modify tool and with the letter and the stencil bridge(rectangle) selected, click on subtract.
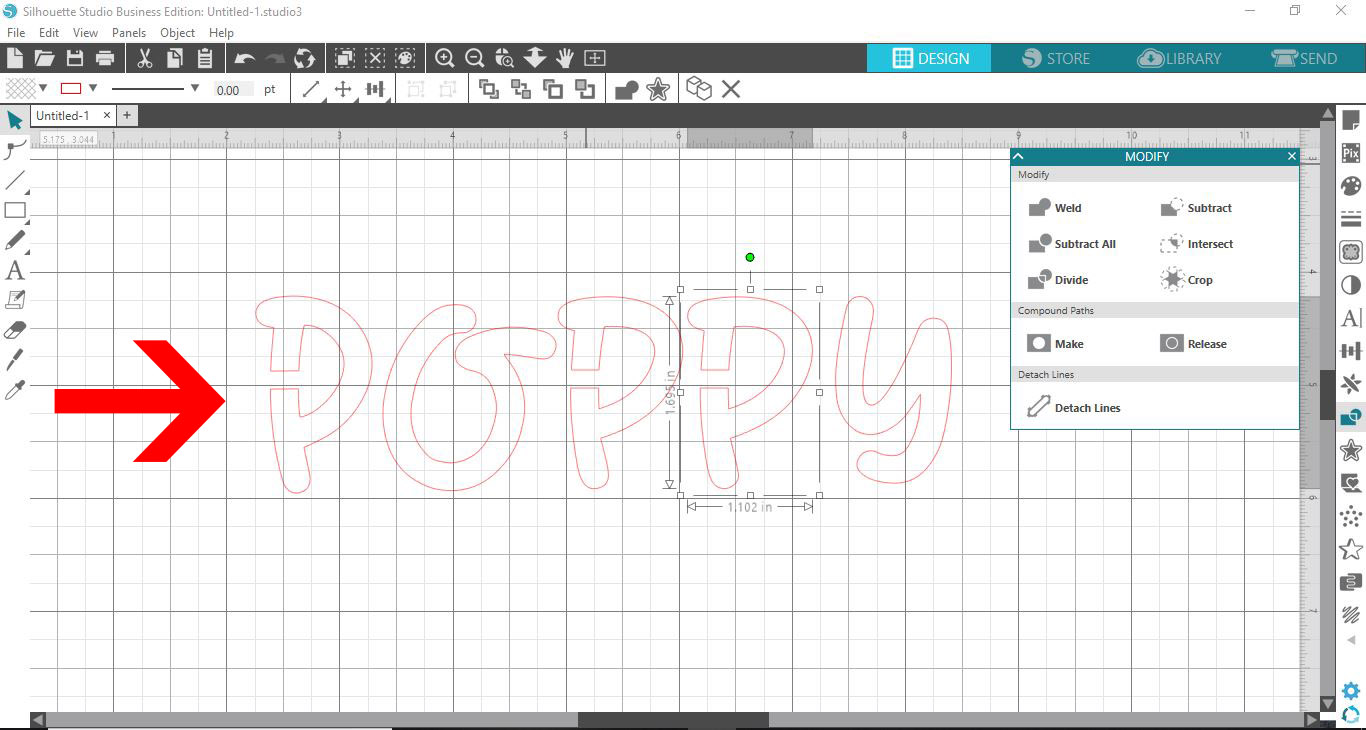
10- You can now see that there is a missing part of the letter. this will keep the design together as a whole when printing.
11- Repeat the process with all other letters that have a middle.
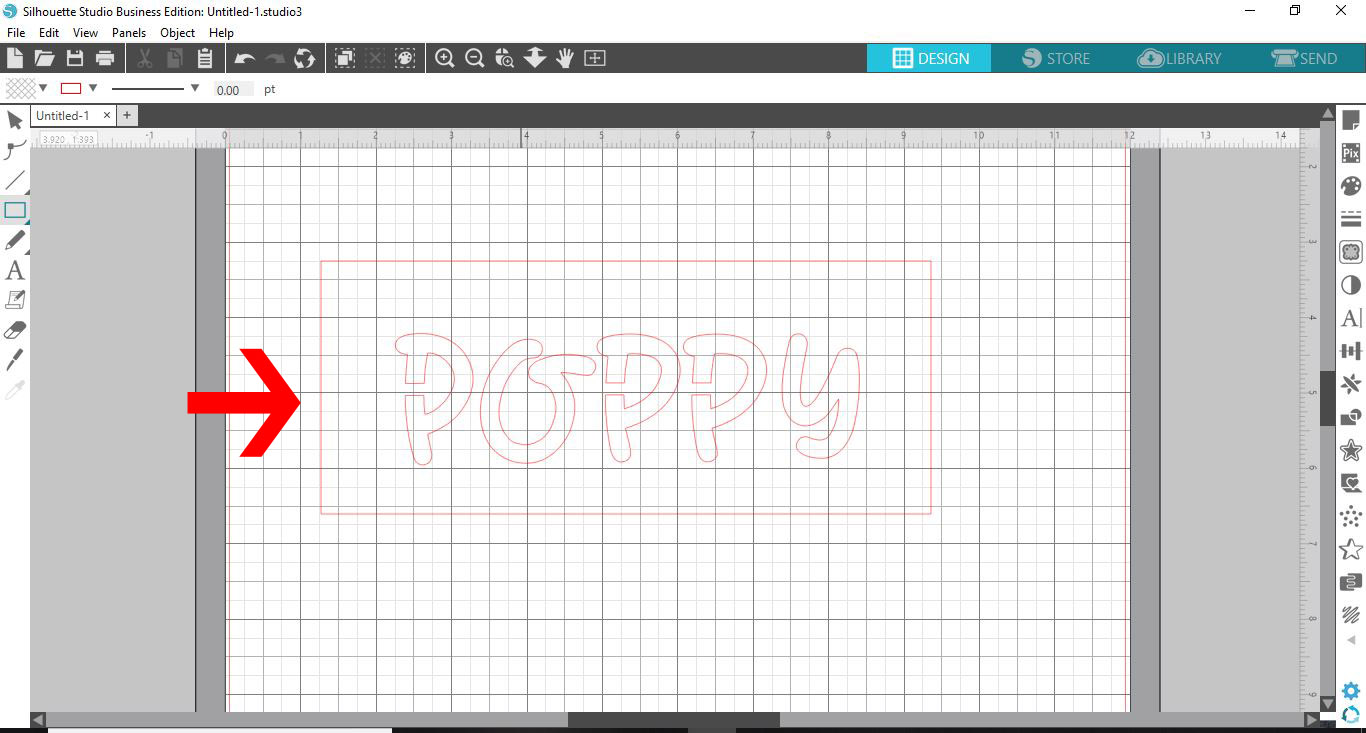
12- Next select the shapes icon and click the rectangle.
13- Draw a rectangle around your text. this will be the outline of your printed stencil.
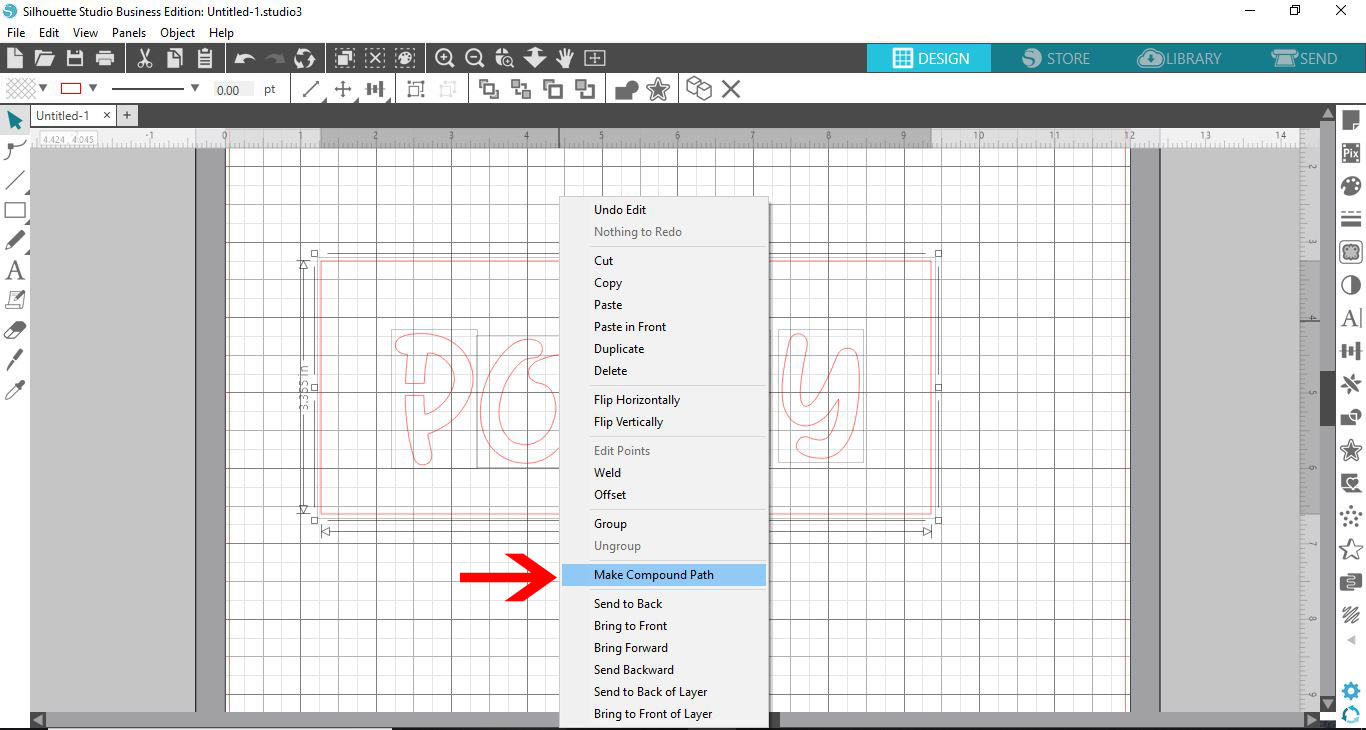
14- Select all and the right click. Select - make compound path.
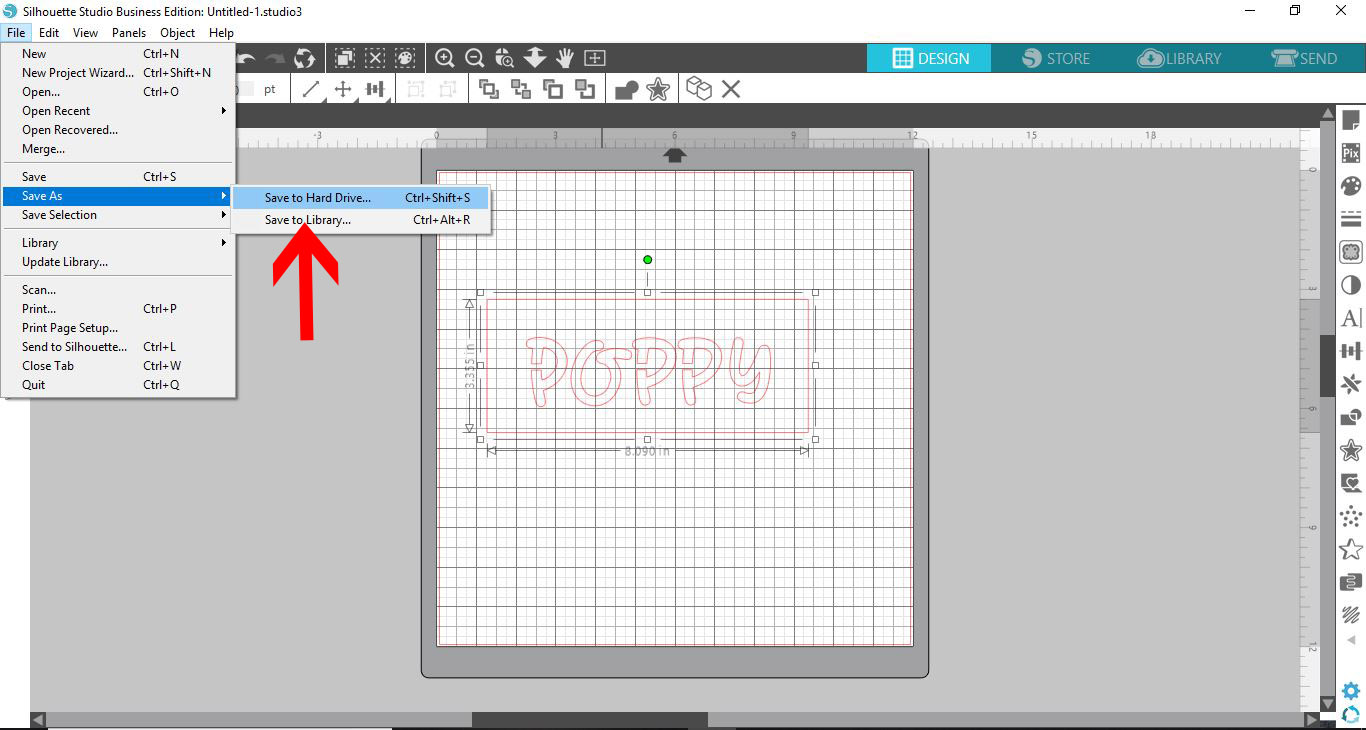
15- Click on File - Save as - Save to hard drive. Make sure you save as a .studio file.
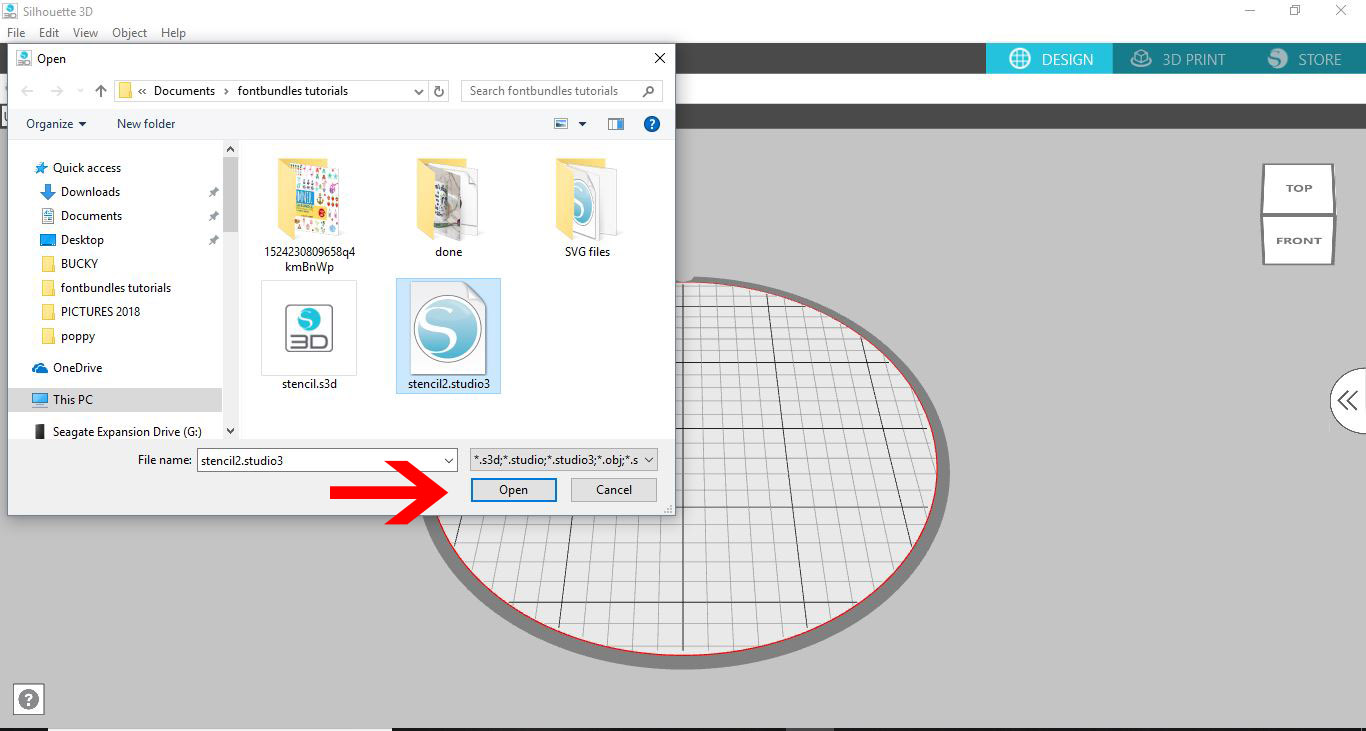
16- Open the Silhouette Alta software, then click on the open icon.
17- Select your studio file.
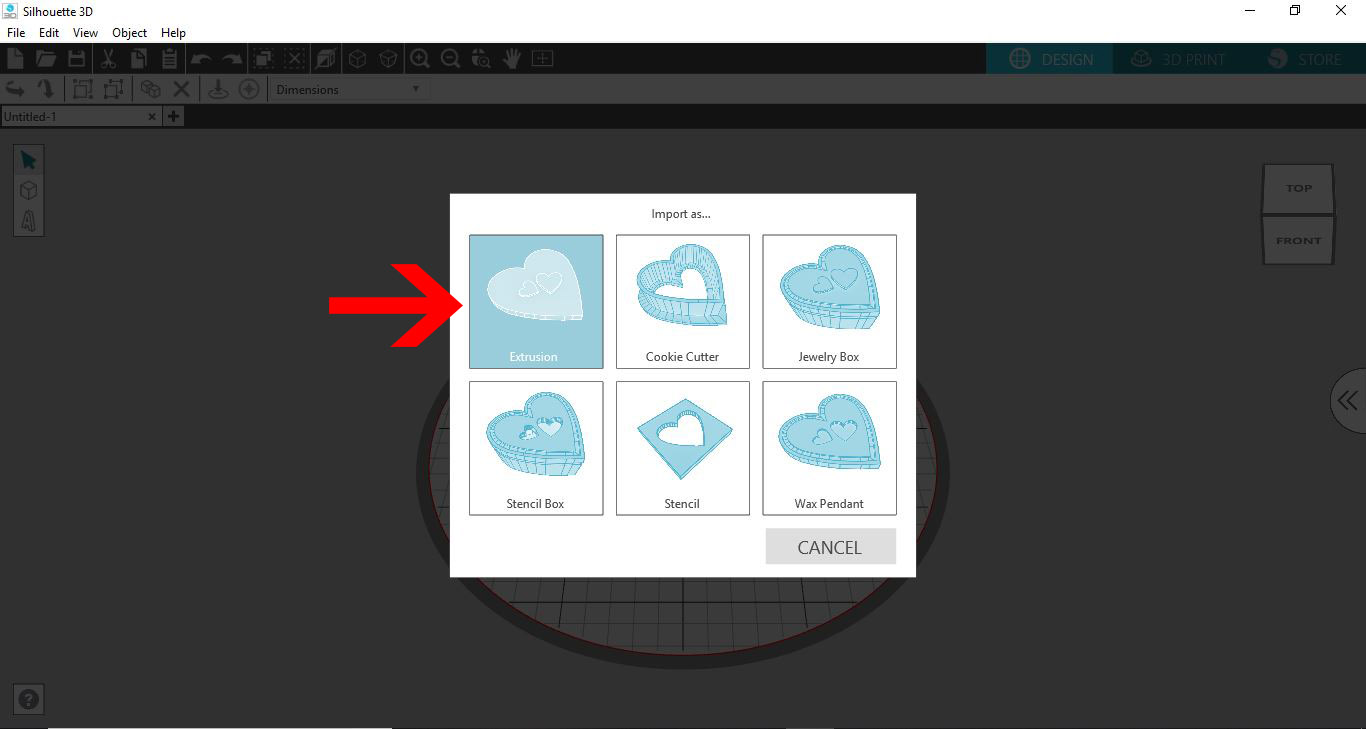
18- A new window will appear. Even tho we want to create a stencil, if we select stencil we will end up with the text to be printed and the rectangle blank. As we want the text as the stencil we need to click on extrusion.
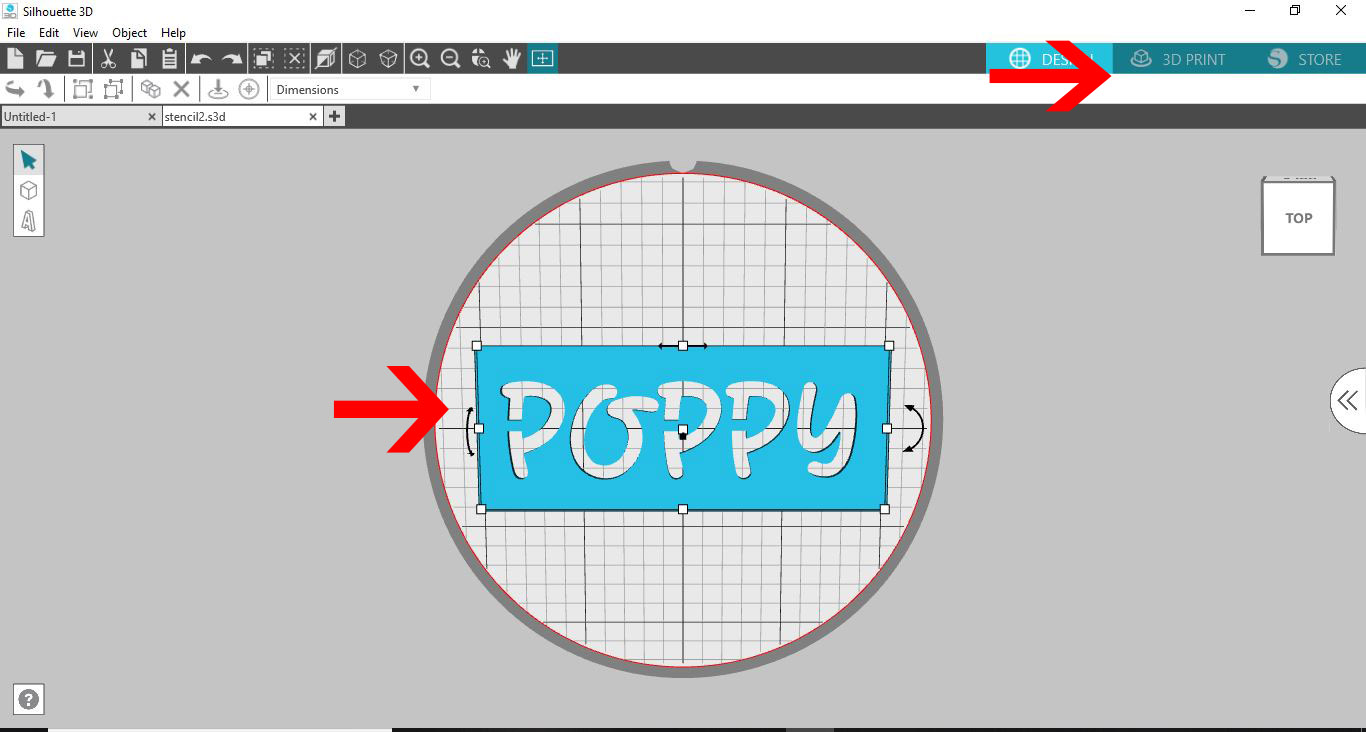
19- Your design is now a stencil. Adjust the size then click on the 3D print icon.
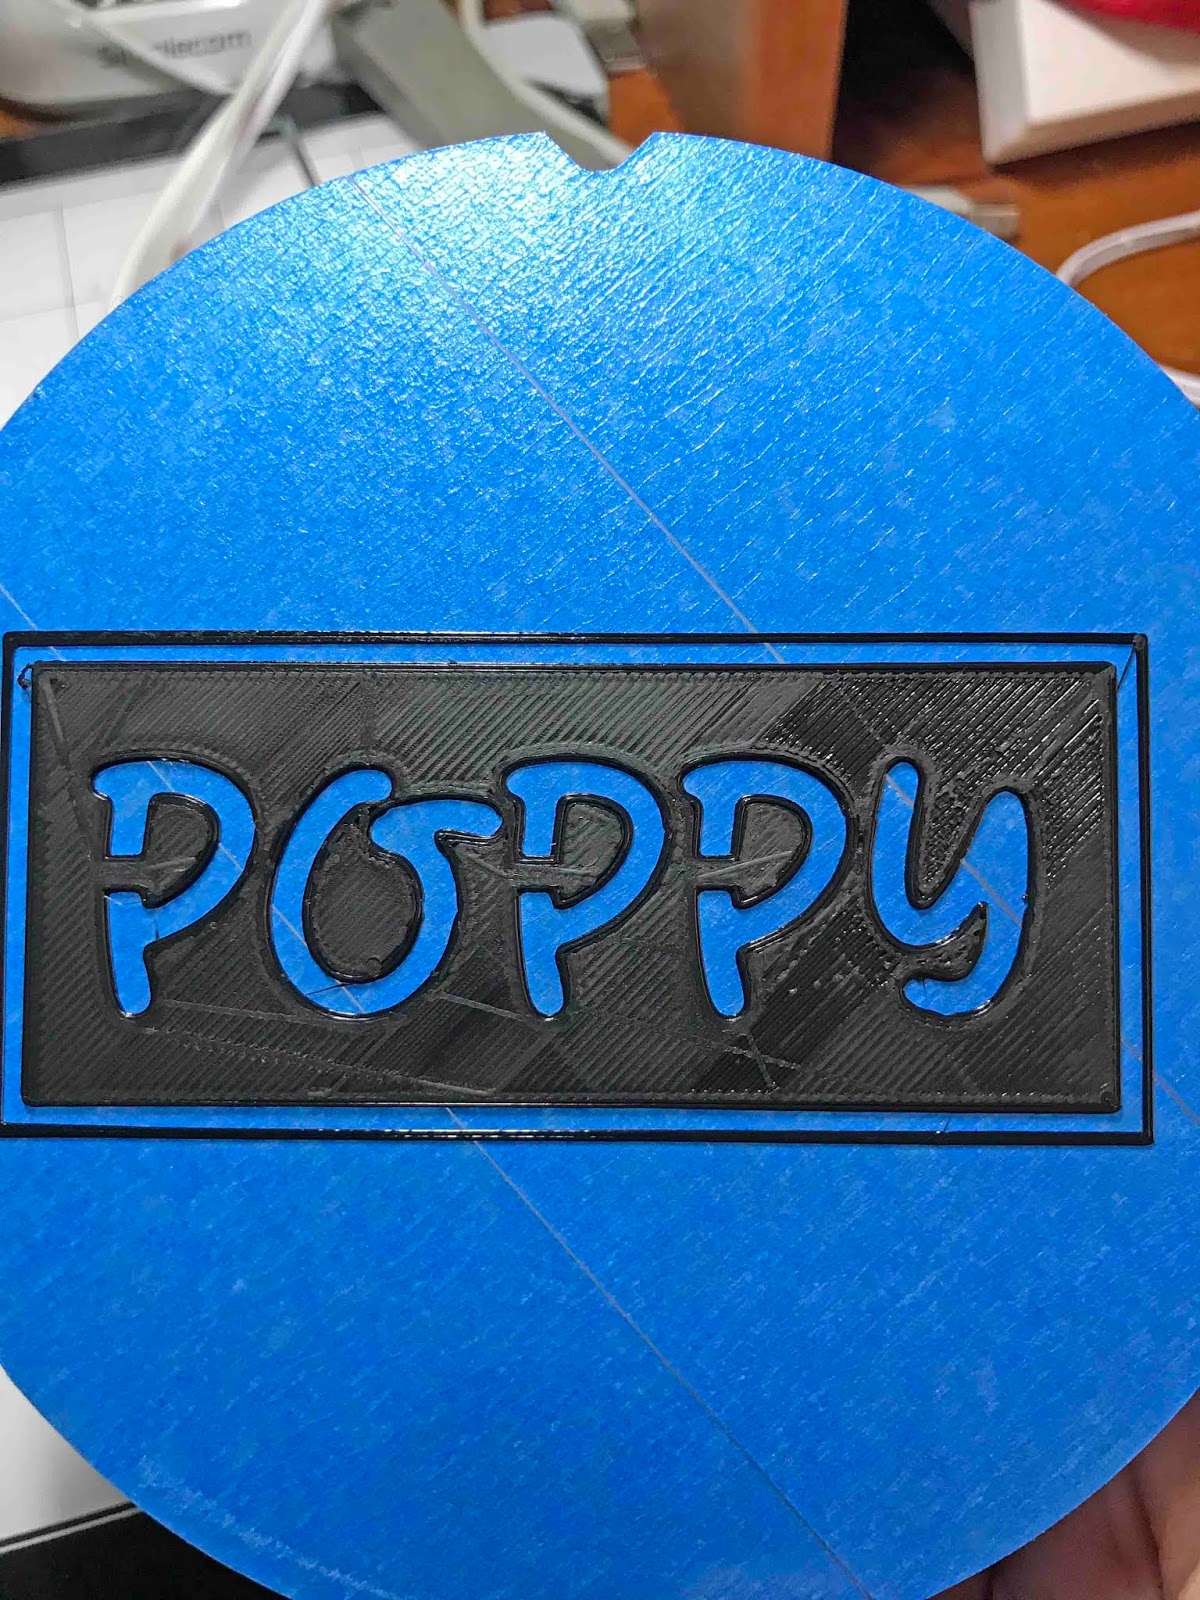
20- Print the design. The finished print will be able to use for painting or spraying, or even can be used as dry embossing.
2- Type your text. then click on the right text icon.
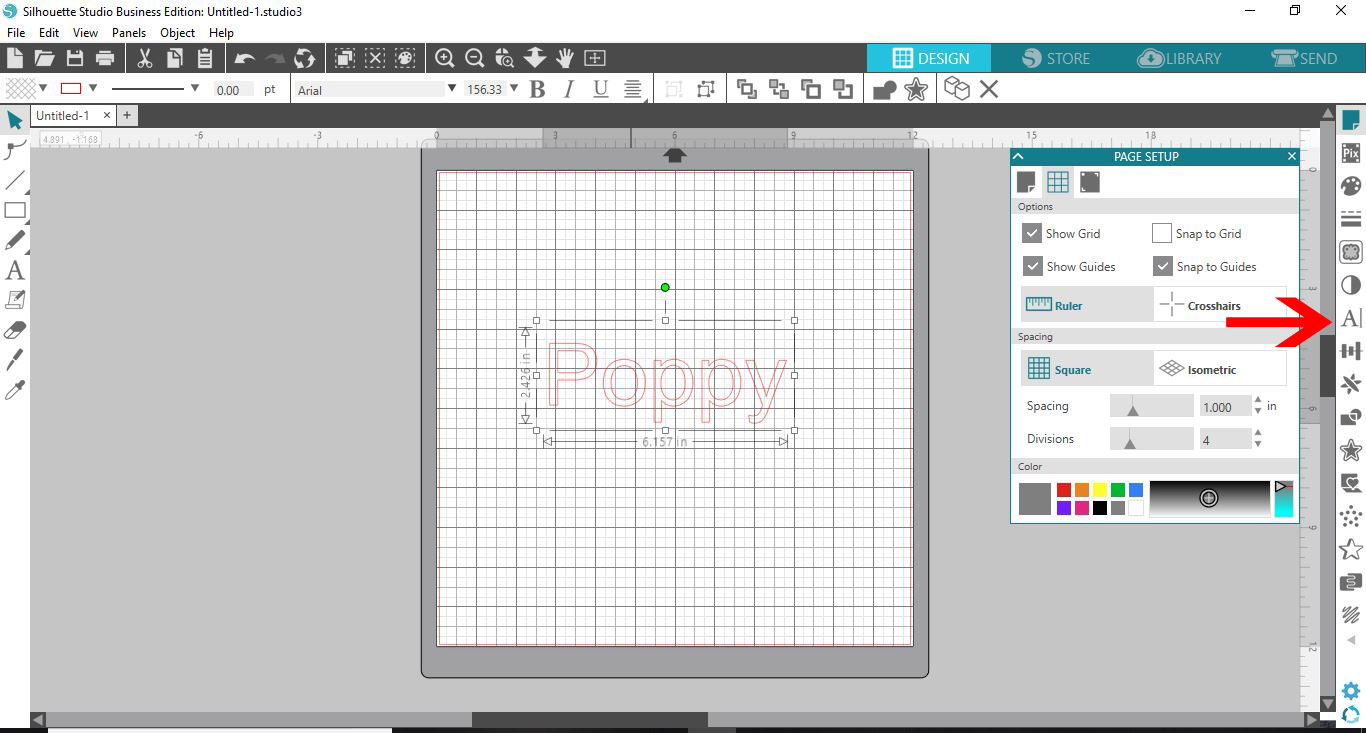
3- Change your text to the desired font. I am using Garlic Butter from fontbundles.net

4- Select the text, then right click and ungroup the text.
5- Click on the shape tool.
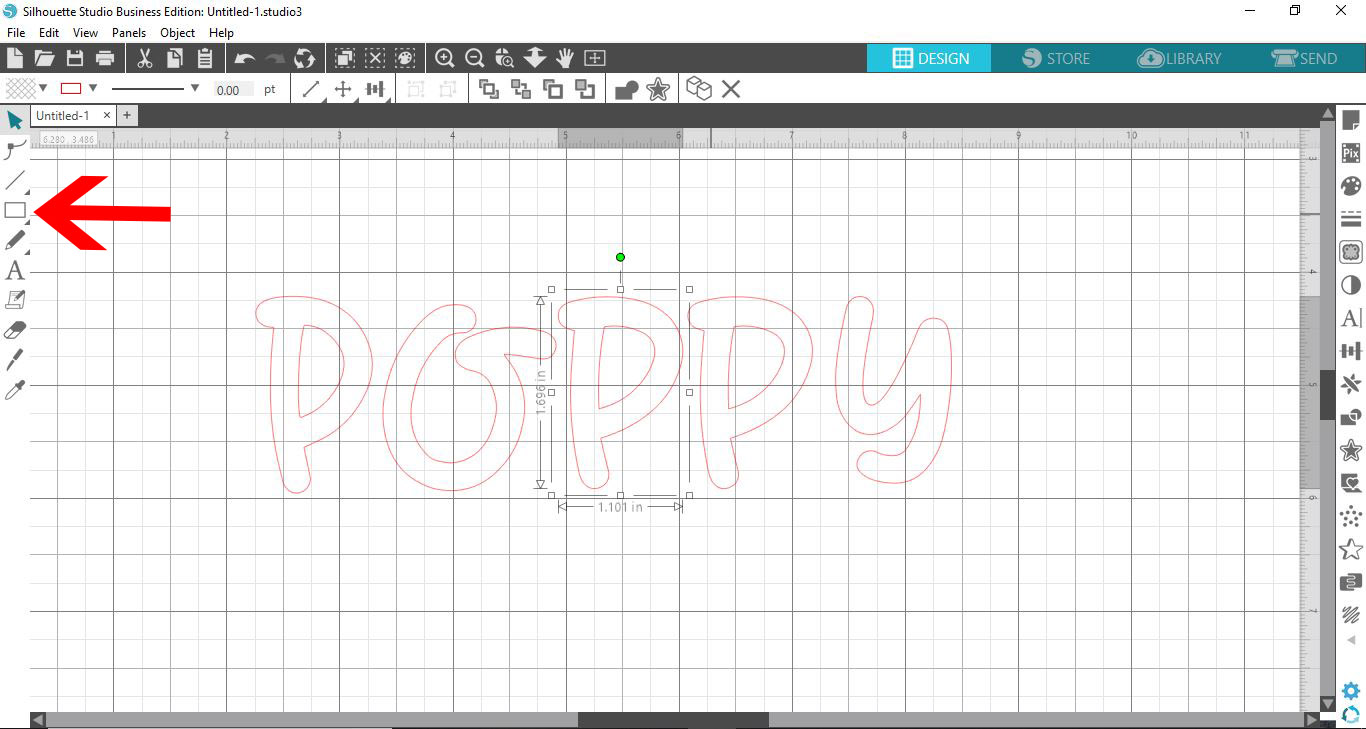
6- Select the rectangle icon.
7- Draw a small rectangle. This will be our stencil bridge to keep all the text attached to the stencil when we print.
8- Place the stencil bridge(rectangle) over a letter with a middle (eg- Q,R,O,P etc)
9- Click on the modify tool and with the letter and the stencil bridge(rectangle) selected, click on subtract.
10- You can now see that there is a missing part of the letter. this will keep the design together as a whole when printing.
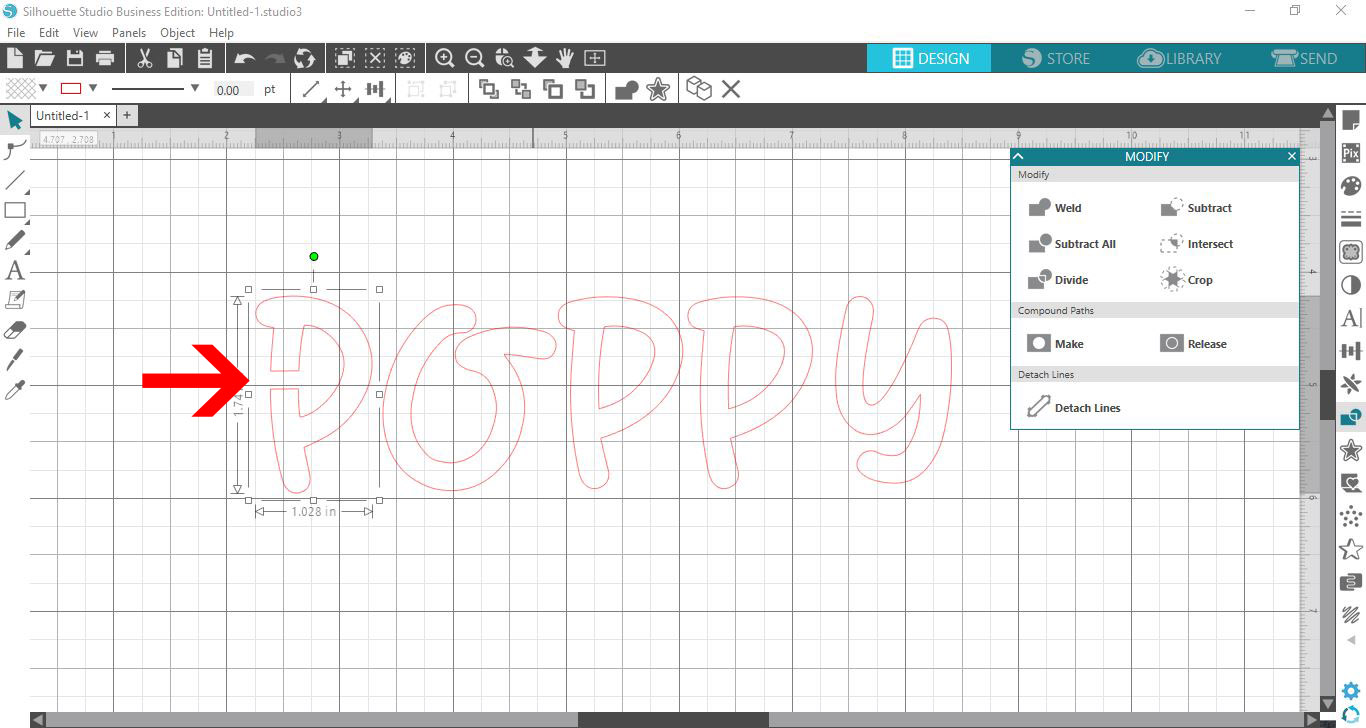
11- Repeat the process with all other letters that have a middle.
12- Next select the shapes icon and click the rectangle.
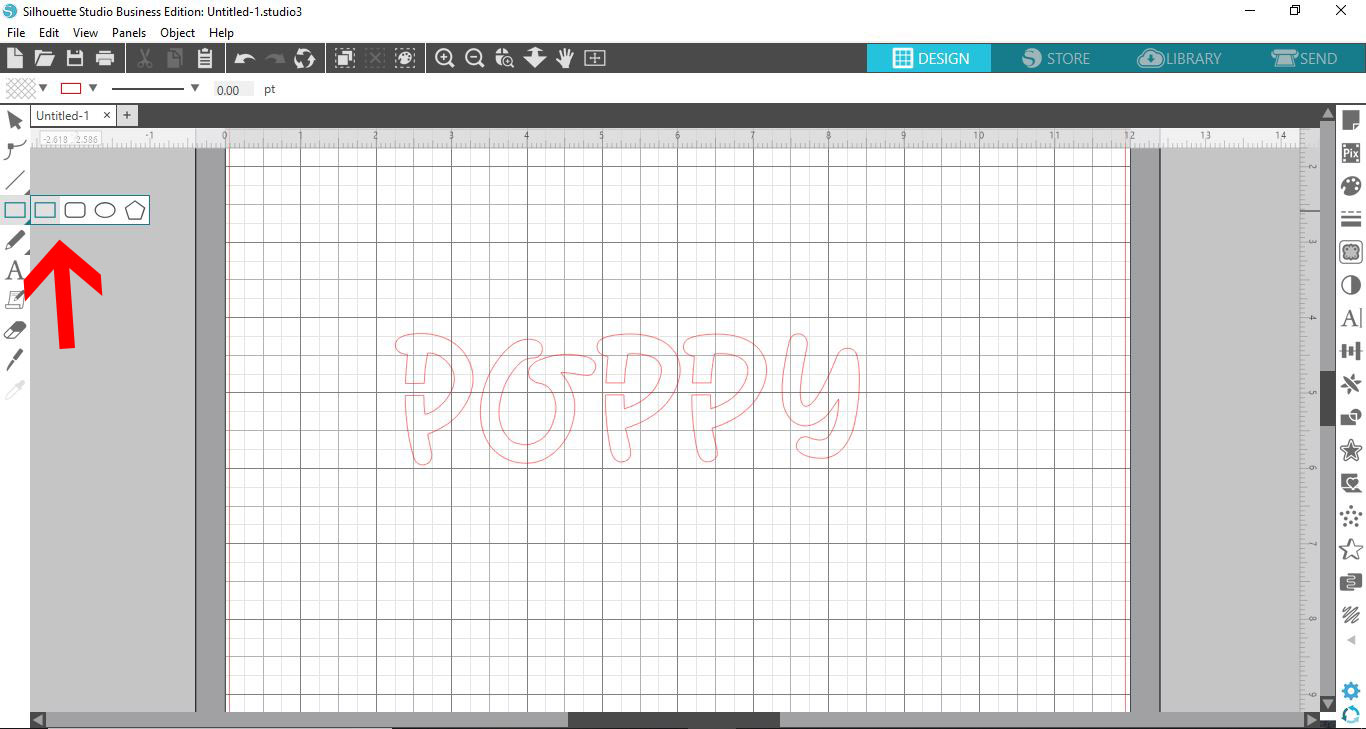
13- Draw a rectangle around your text. this will be the outline of your printed stencil.
14- Select all and the right click. Select - make compound path.
15- Click on File - Save as - Save to hard drive. Make sure you save as a .studio file.
16- Open the Silhouette Alta software, then click on the open icon.
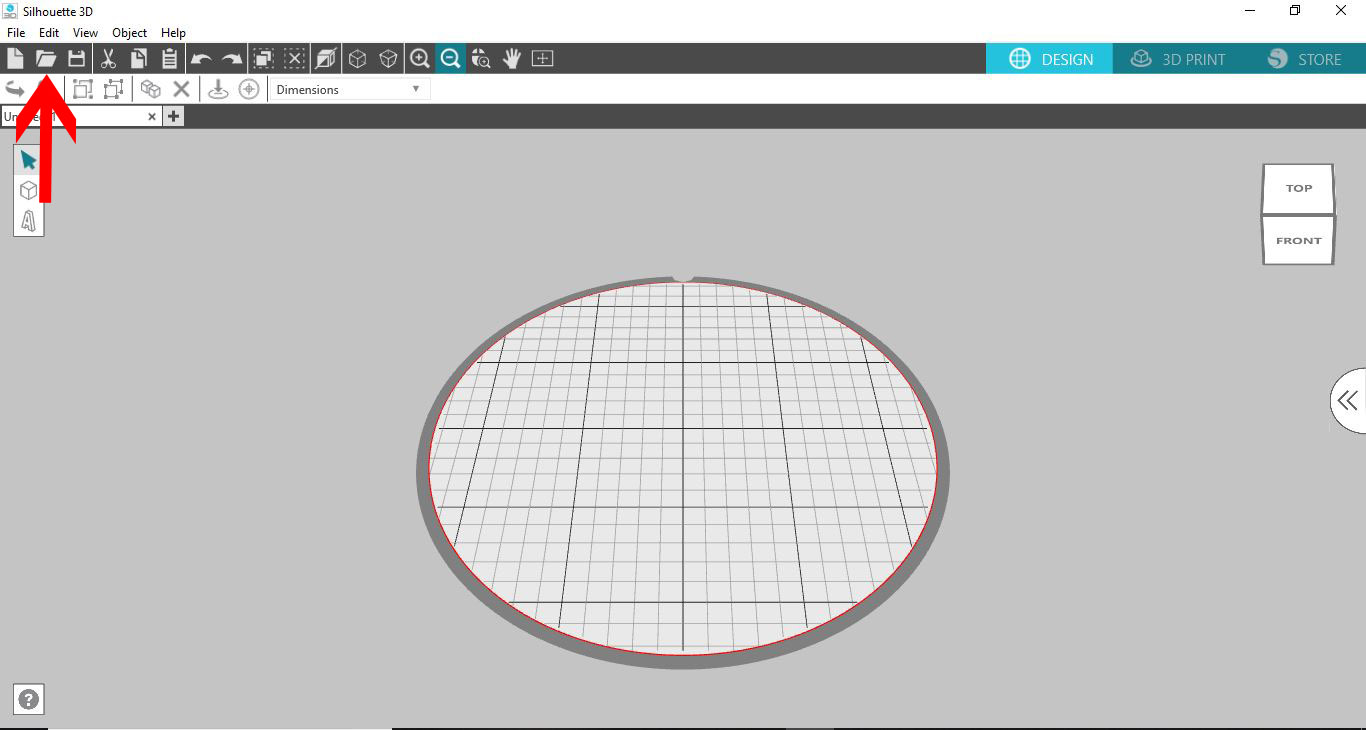
17- Select your studio file.
18- A new window will appear. Even tho we want to create a stencil, if we select stencil we will end up with the text to be printed and the rectangle blank. As we want the text as the stencil we need to click on extrusion.
19- Your design is now a stencil. Adjust the size then click on the 3D print icon.
20- Print the design. The finished print will be able to use for painting or spraying, or even can be used as dry embossing.