How to thicken fonts in SCAL4 for using the foil quill
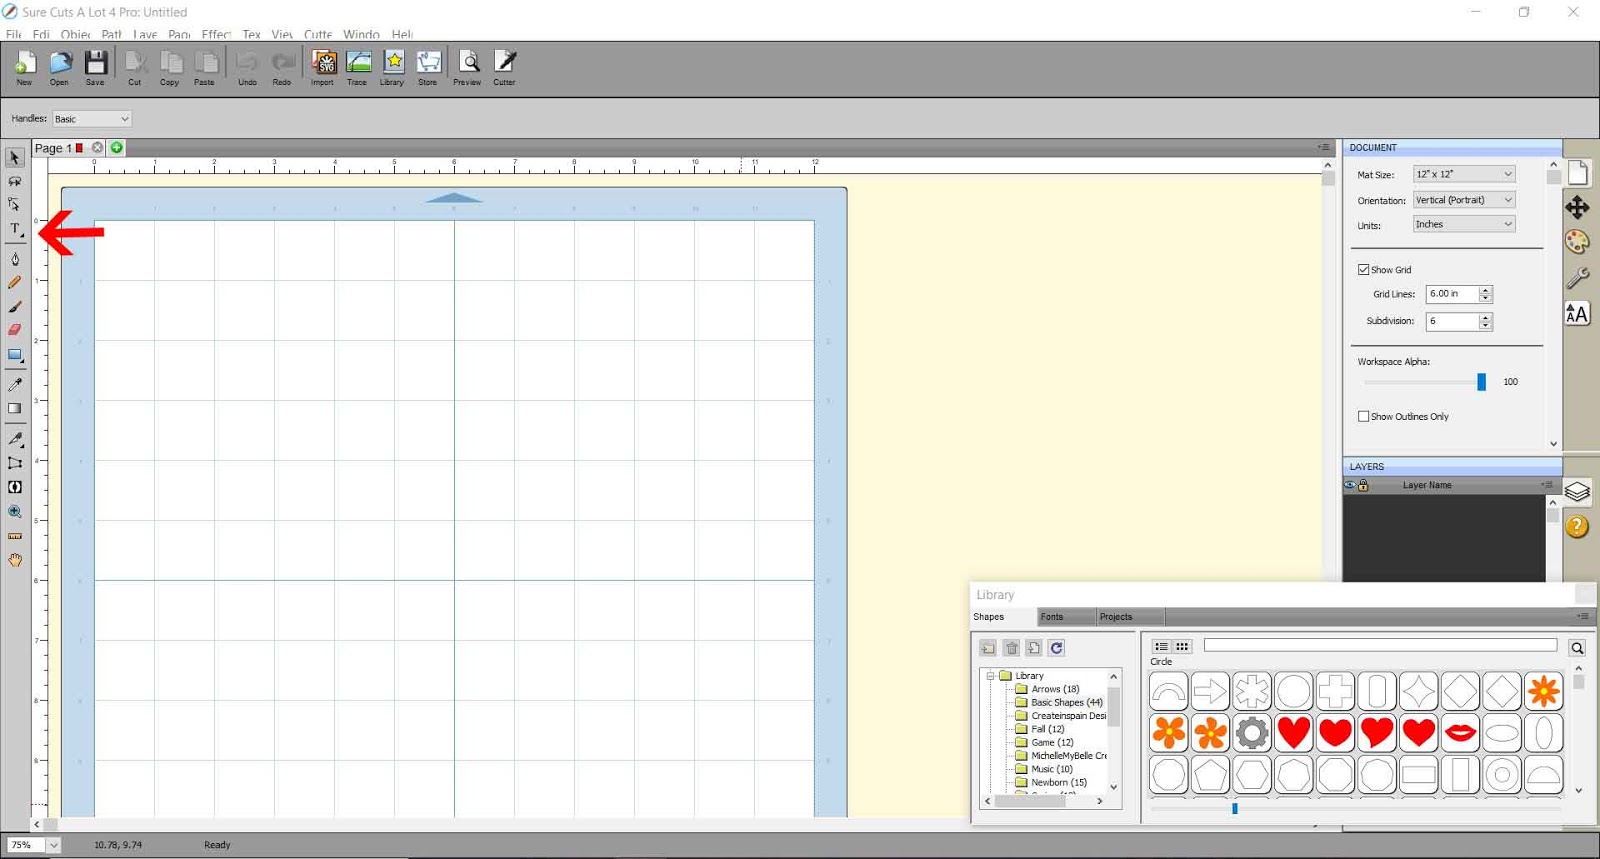
1- Open SCAL4. Click on the text type tool.
2- Type your text.
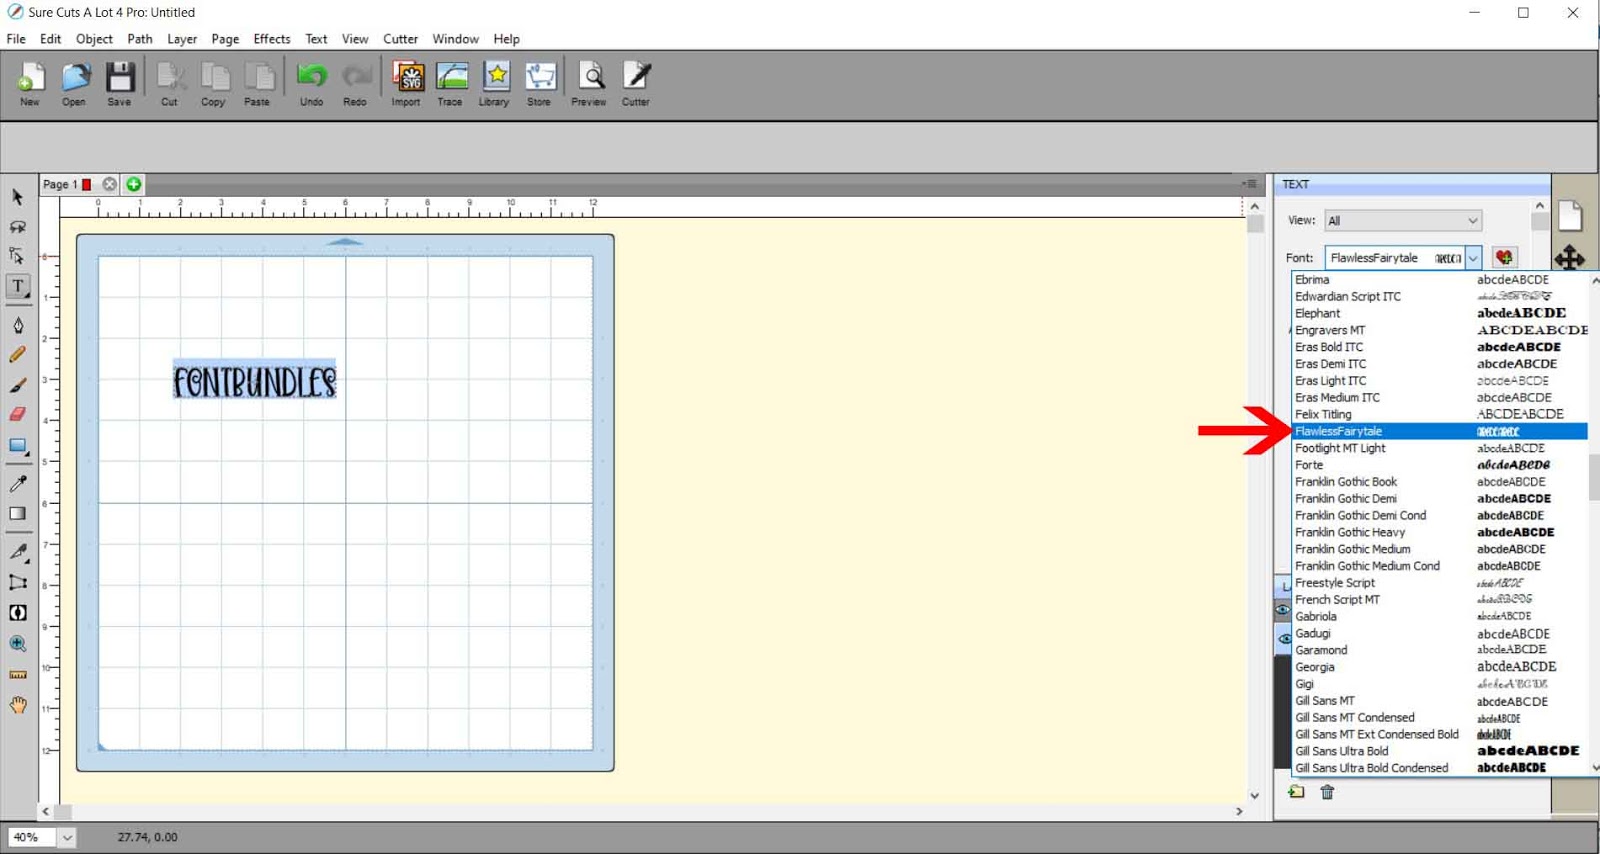
3- Using the text tool change the font to the one you need to make slightly thicker. I am using the font flawless fairytale from designbundles.net
4- Resize the text. Hold the shift key to keep the aspect ratio.
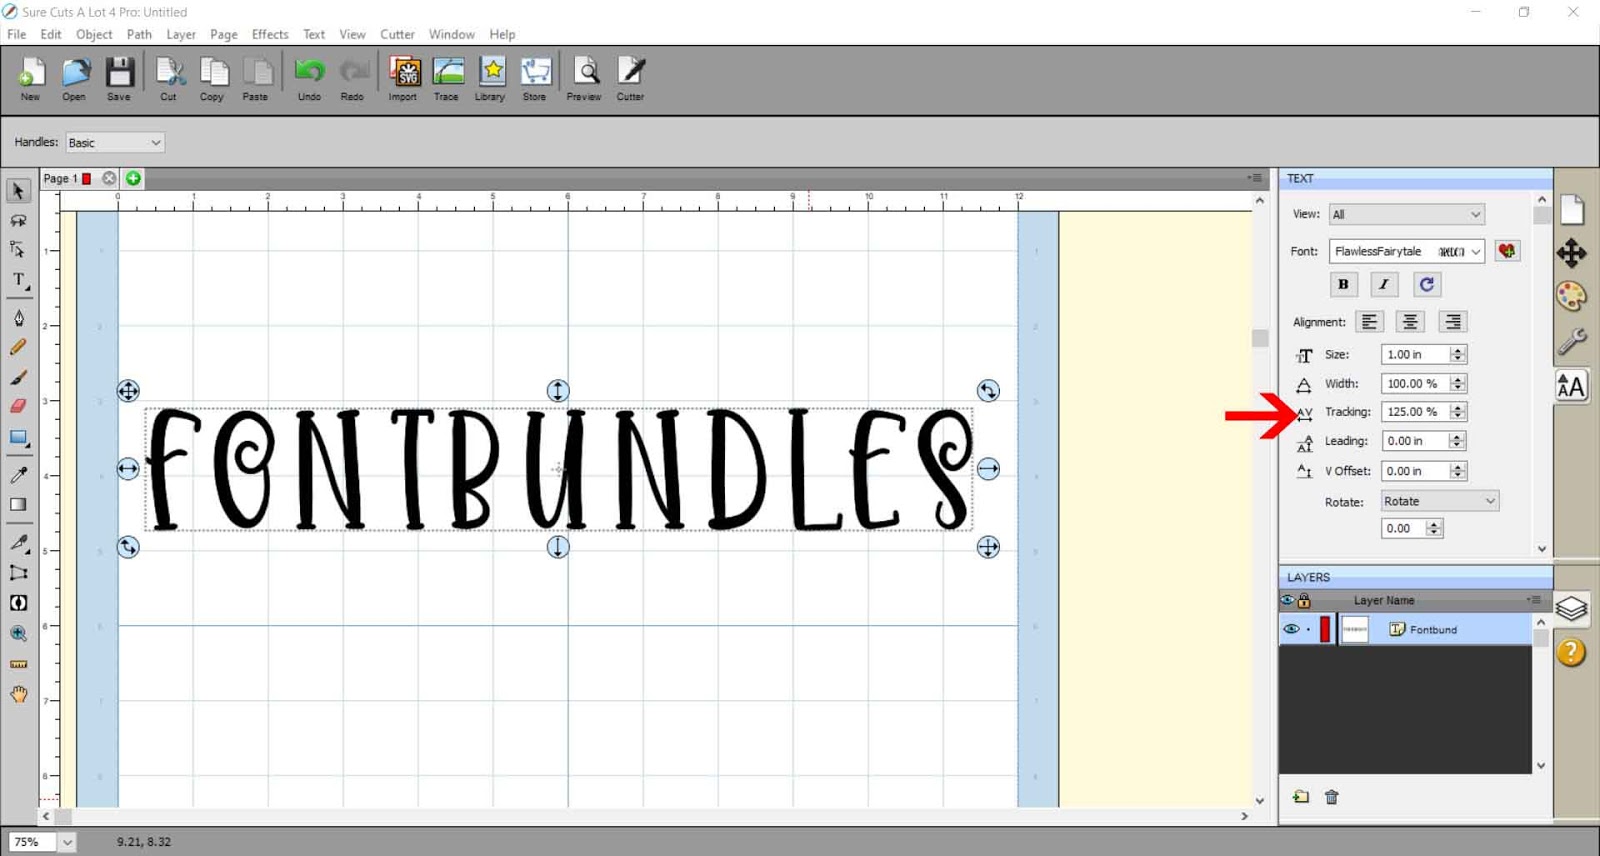
5- When you thicken fonts you may need to create a little more space inbeween each letter, so when you make it thicker they do not touch. Use the tracking tool to make the gap larger.
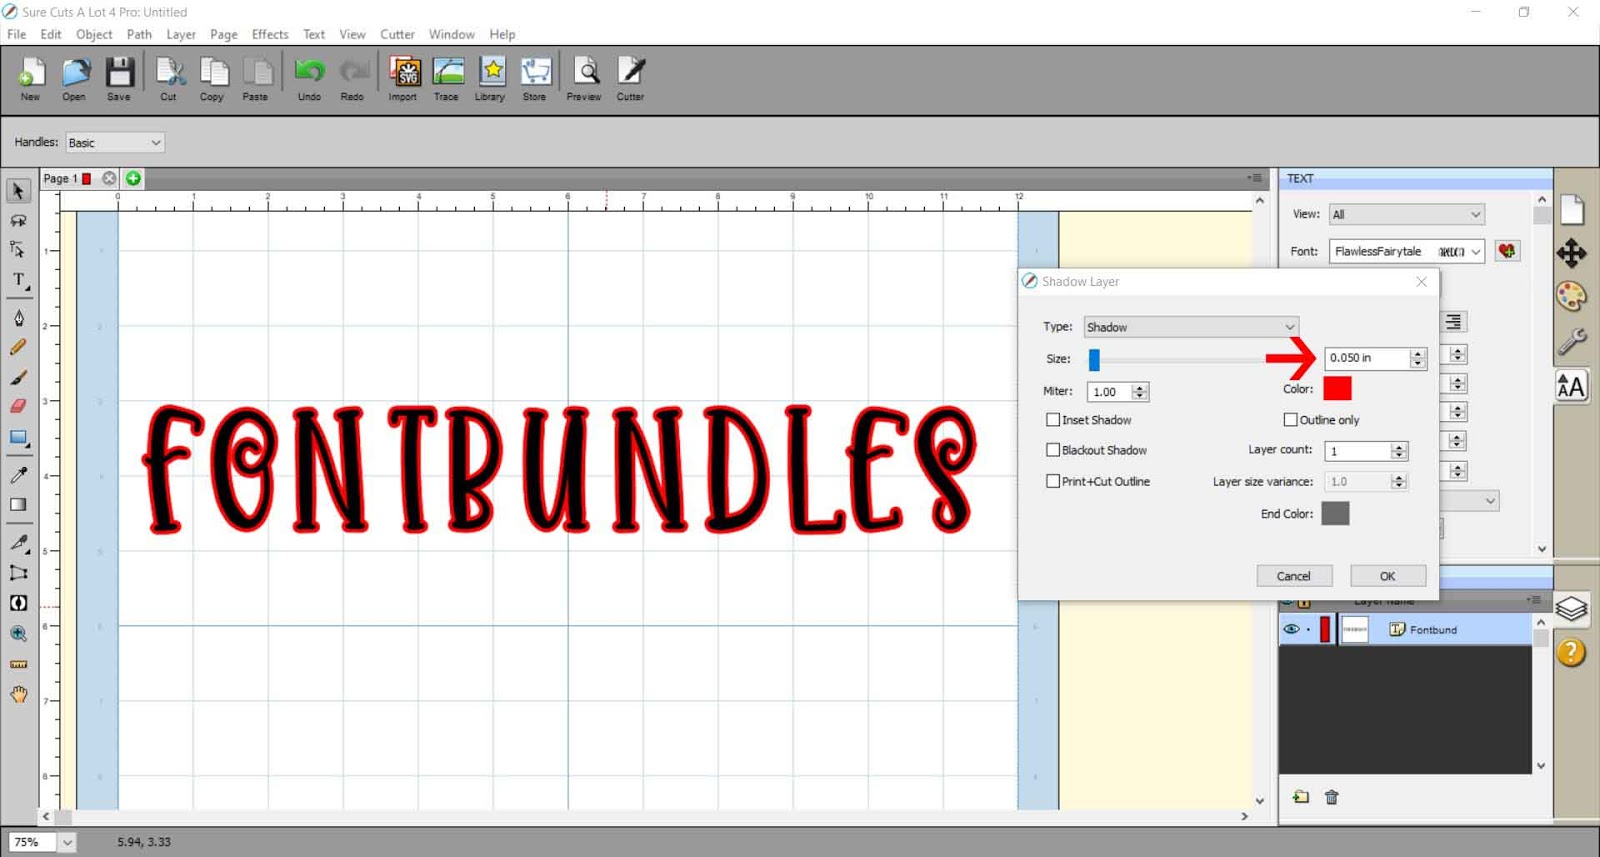
6- With the text selected, right click and go to appearance - add shadow layer.
7- A new box will appear. here you can change the size of your shadow layer. The shadow layer will be what we use as the thickened version of the text. You only need a small amount of width to make a font just a little bit thicker. Once you have the thickness right, click OK.
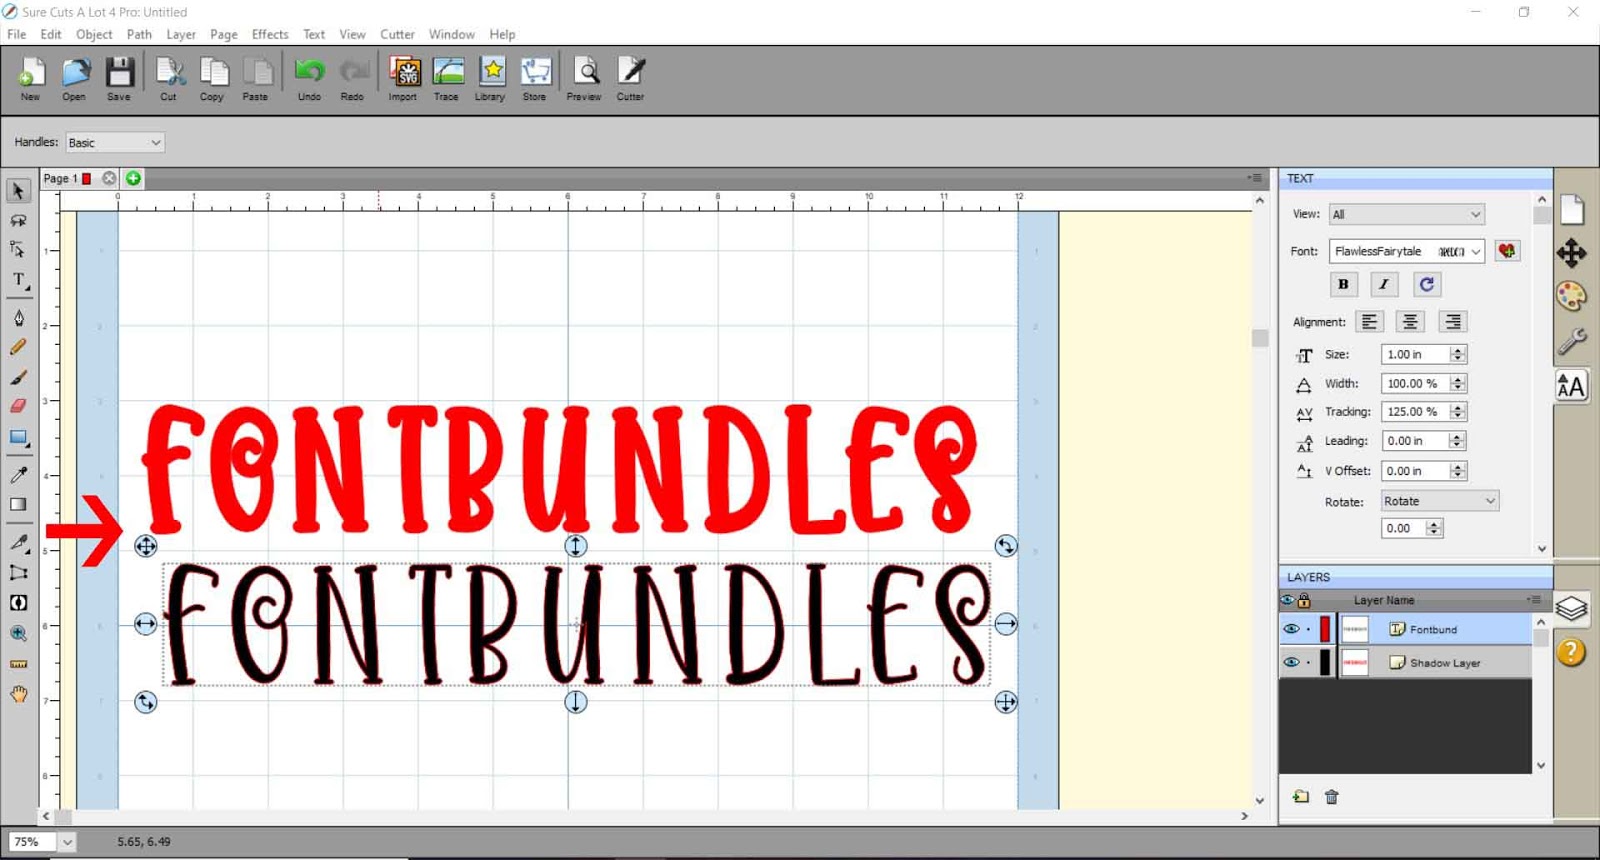
8- You can drag your original text off the shadow layer. you can see how the shadow layer is slightly thicker but still looks just like the original text. This effect is great to use with the foil quill as you can make the text a little bit wider so you can put a fill in the text to color in in with the foil quill.
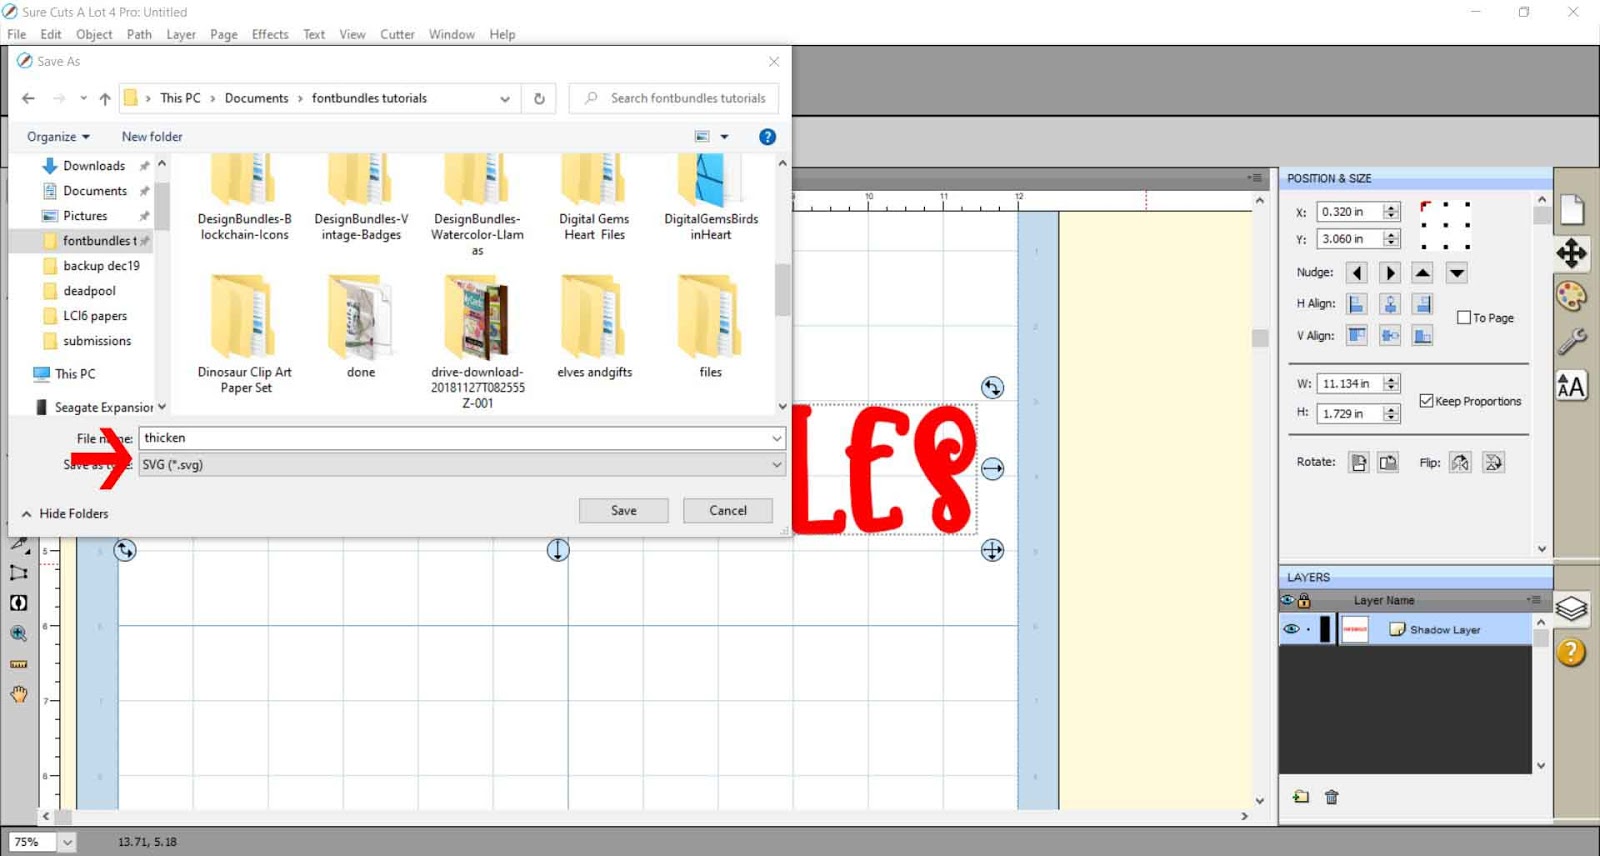
9- To save as a SVG file, go to file - export.
10- When you save make sure SVG is selected.
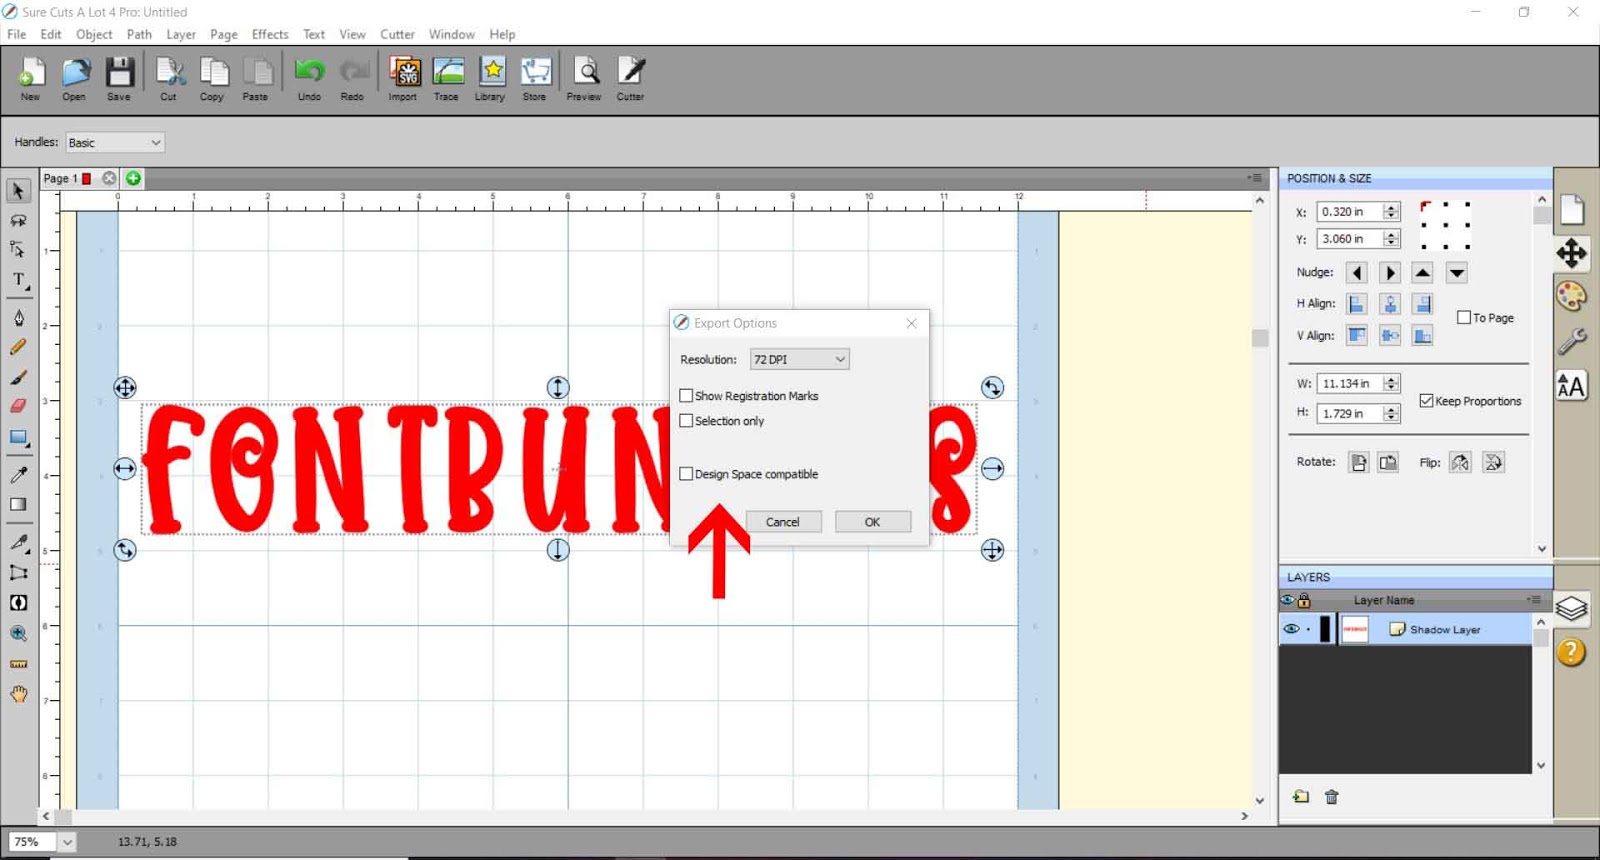
11- In the pop up box save as 72dpi. if saving to use with cricut design space, make sure you check design space compatible. Click OK. You will now be able to insert the svg file to your cutter software.
2- Type your text.

3- Using the text tool change the font to the one you need to make slightly thicker. I am using the font flawless fairytale from designbundles.net
4- Resize the text. Hold the shift key to keep the aspect ratio.
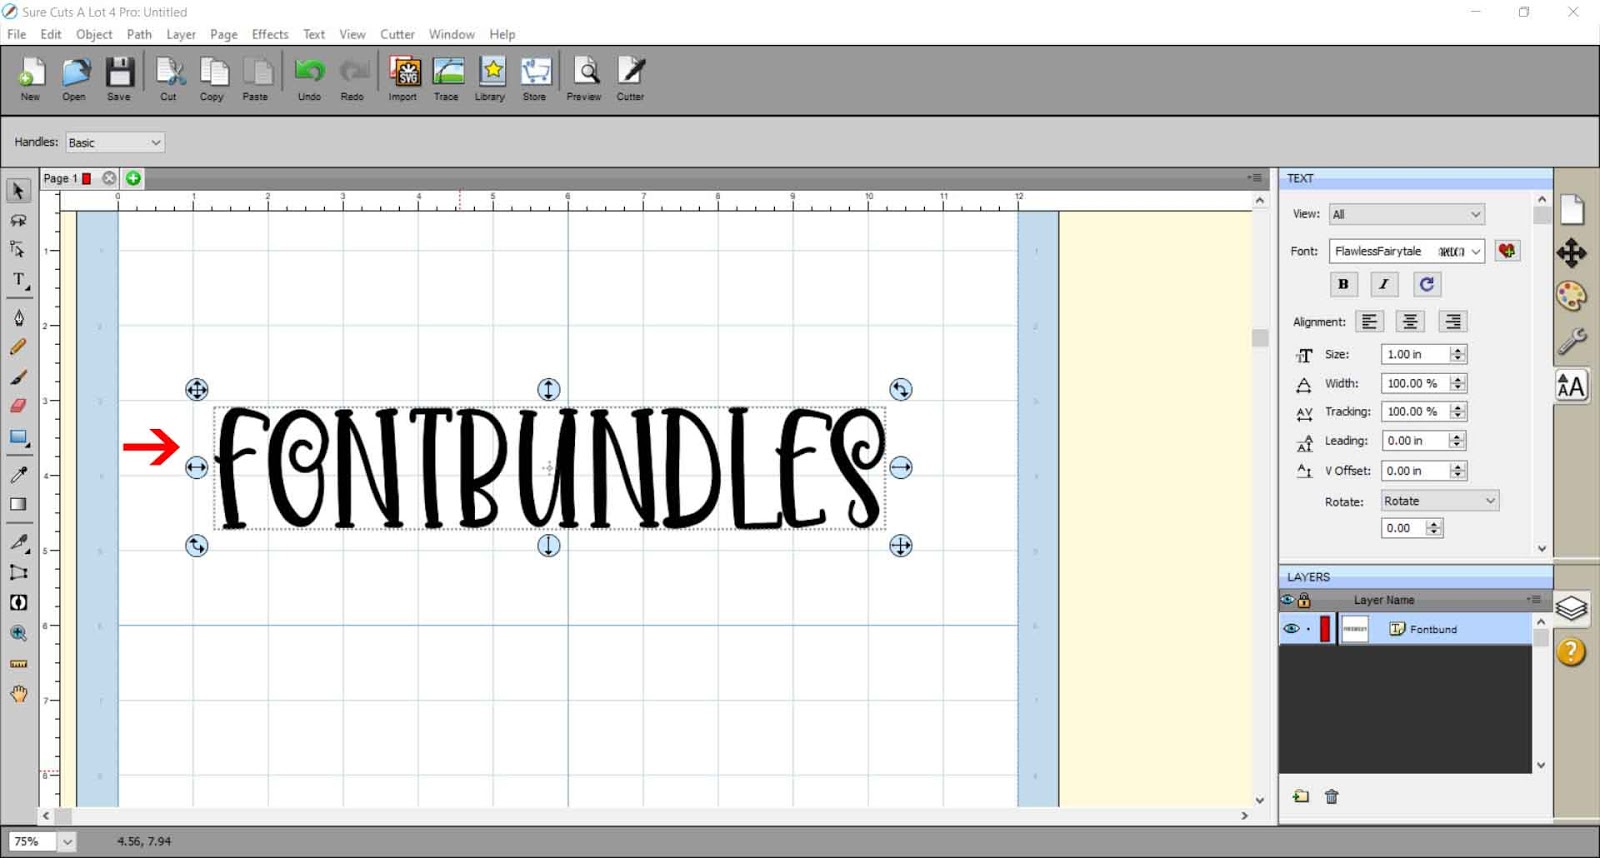
5- When you thicken fonts you may need to create a little more space inbeween each letter, so when you make it thicker they do not touch. Use the tracking tool to make the gap larger.
6- With the text selected, right click and go to appearance - add shadow layer.

7- A new box will appear. here you can change the size of your shadow layer. The shadow layer will be what we use as the thickened version of the text. You only need a small amount of width to make a font just a little bit thicker. Once you have the thickness right, click OK.
8- You can drag your original text off the shadow layer. you can see how the shadow layer is slightly thicker but still looks just like the original text. This effect is great to use with the foil quill as you can make the text a little bit wider so you can put a fill in the text to color in in with the foil quill.
9- To save as a SVG file, go to file - export.
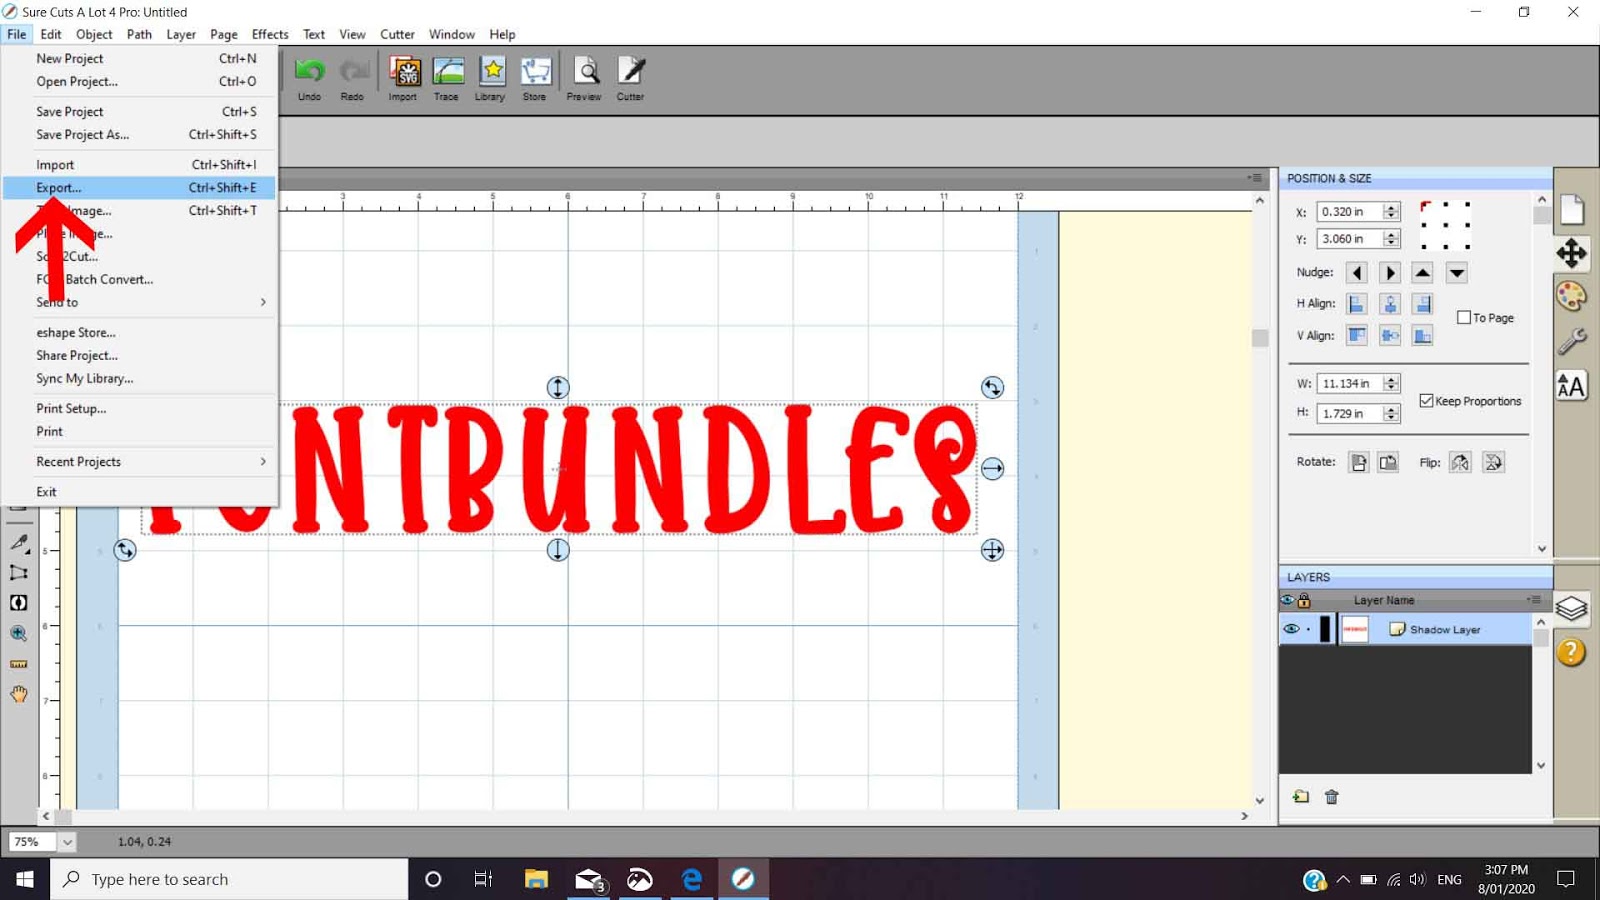
10- When you save make sure SVG is selected.
11- In the pop up box save as 72dpi. if saving to use with cricut design space, make sure you check design space compatible. Click OK. You will now be able to insert the svg file to your cutter software.