Unlimited Downloads 15% off Marketplace Purchases Exclusive Software Access Unlimited Downloads
15% off Marketplace Purchases
Exclusive Software Access
Go Unlimited Maybe Later
How to thicken text for foiling using Inkscape and Cricut design space
  • By Design Bundles
  • 17 Dec 2019
  • 4 Mins
  • Cricut Tutorials

How to thicken text for foiling using Inkscape and Cricut design space

Learn to thicken text for foiling using Inkscape and Cricut Design Space.

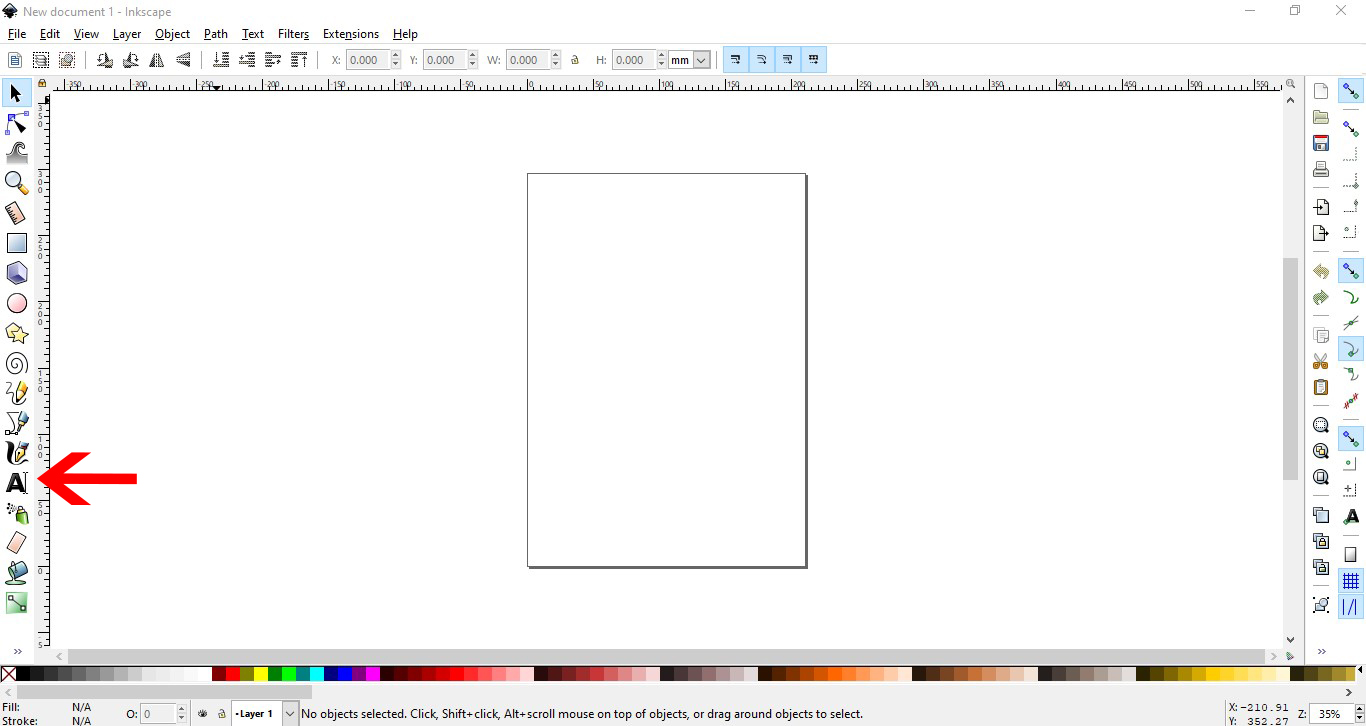
1- Open Inkscape. Click on the text icon.

2- Type your text.

3- Change the text into the font you want to make thicker. I am using the fontlovely melissafont from fontbundles.net

4- With the text selected, click Path- object to path.

5-Go to object- ungroup.

6- This will separate your letters. Adjust them and overlap if needed. Now go to Path - union(weld)

7- Next you need to zoom out of the screen. The reason we do this is when you use an offset it will adjust your text by 2 pixels. So the larger we make the text, the smaller the offset will be in proportion.

8- Click hold Ctrl +Shift and make your text larger.

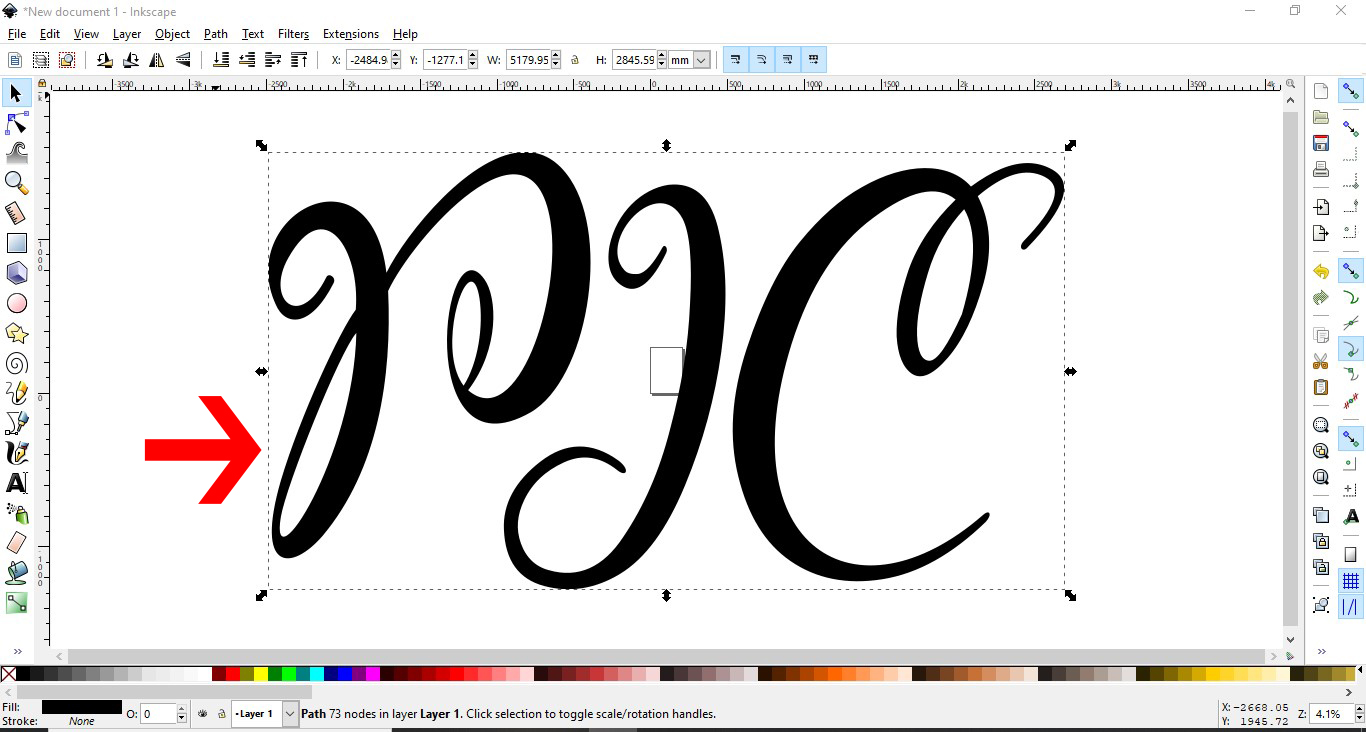
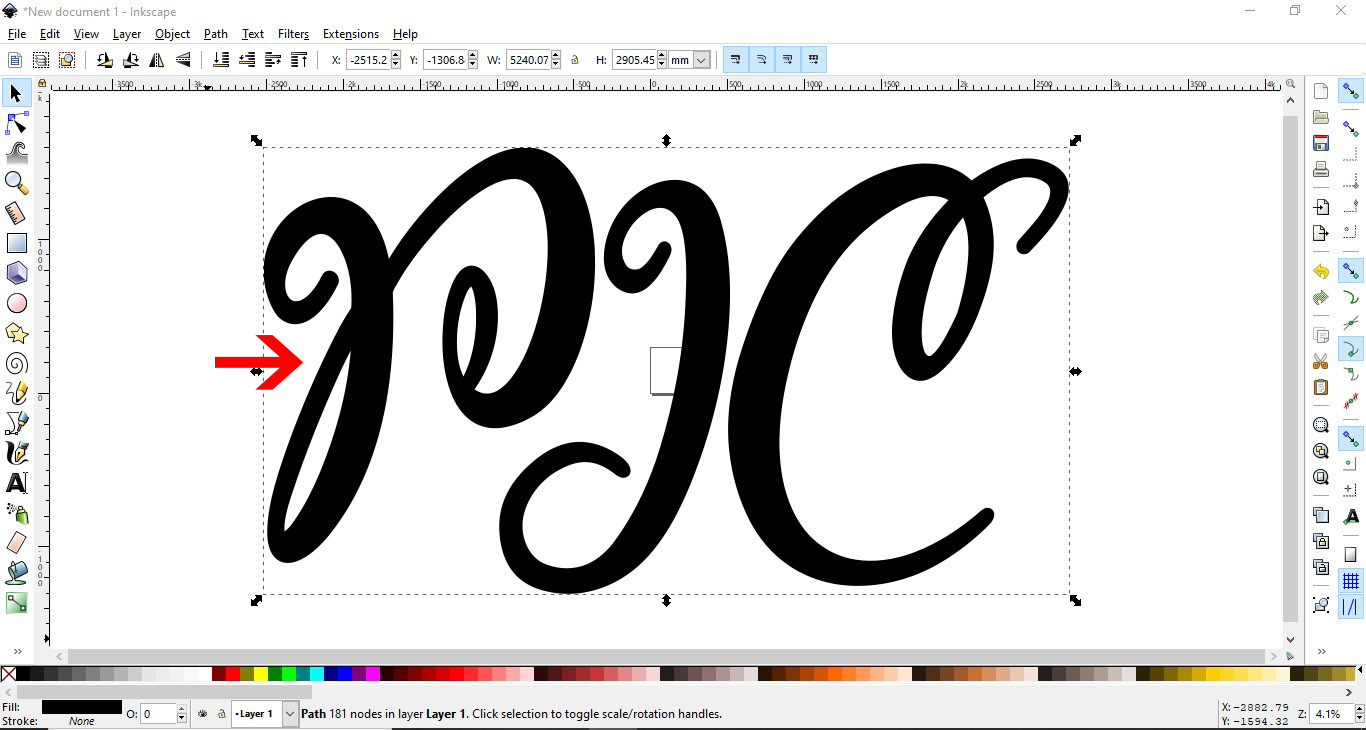
9- Go to path - outset. Ctrl+ )

10-Using the Ctrl + ) shortcut adjust your outset (offset) I have adjusted it approx 10 timesto thicken the font.

11- Resize your text back to fit onto your work space.

12-We now need to save the thicken text. Go to file - Save as

13- Save as a SVG file.

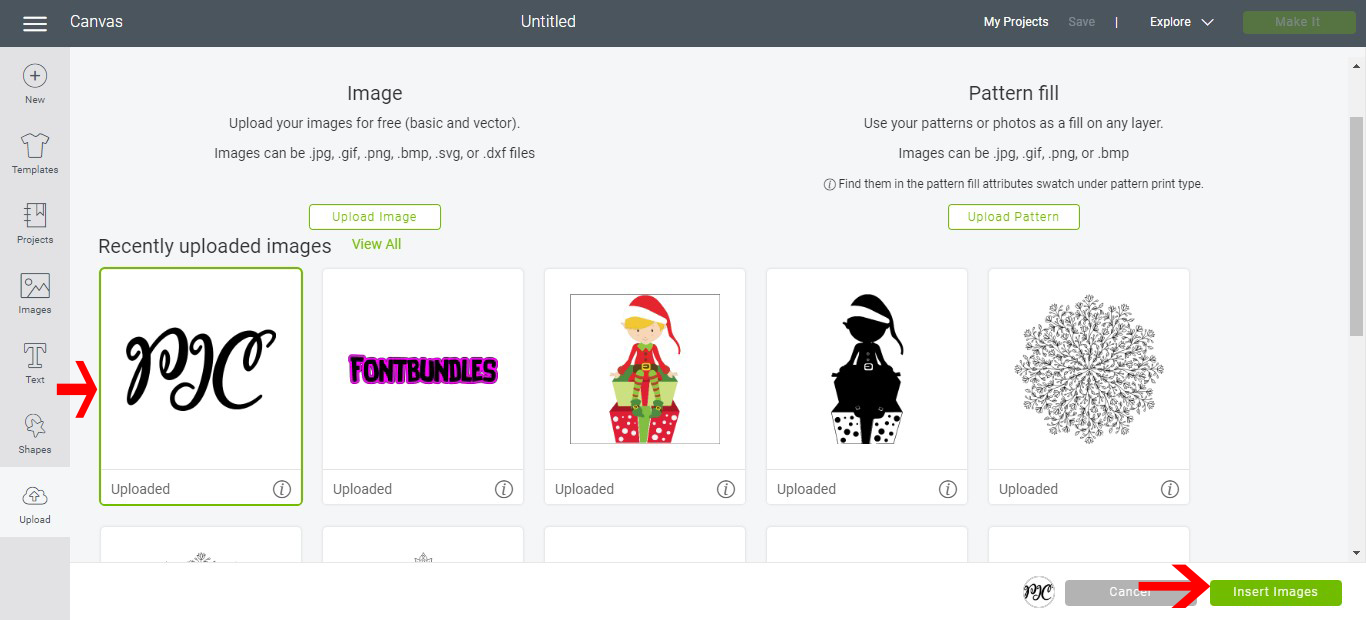
14- Open Cricut design space. Click on upload.

15- Select upload image.

16- Save the text.

17- Select the saved text and upload.

18- your text will appear on your design space as a cut file.

19- Go to line type and change to draw. Make sure that you attach the text so it stays together when you go to draw it.

20- Adjust the positioning and then continue.

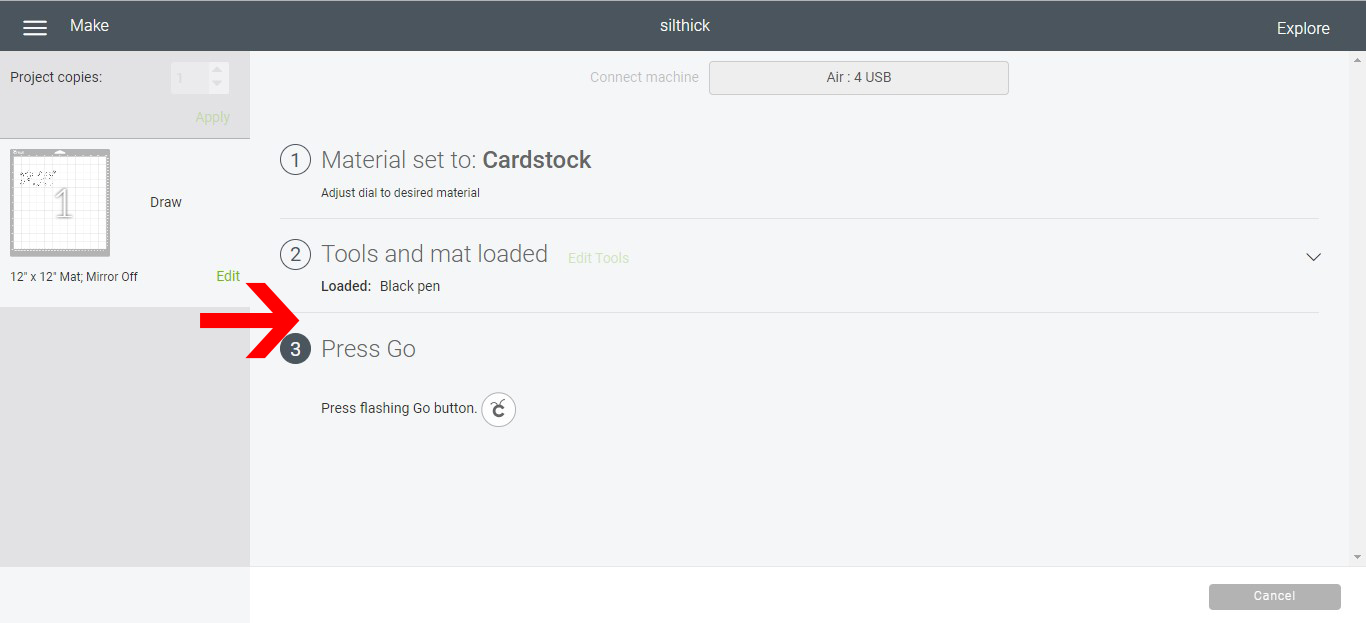
21- Select your media type on the dial.

22- Click go.

23- Your text will start to foil.

24- Your finished foiling. This technique is great when you want to foil very thin fonts but need the design thicker to either make it clearer to see or you want to fill the text.

Foiling is a great way to add accents to your projects. We hope this tutorial has inspired you to try out something new and fun with awesome results.


6 Related Cricut Tutorials

Today you will learn how to thicken text for Cricut Design Space using Silhouette Studio. Creating a thicker text works especially well when used with hot foiling tools. It can add more body to a thin text, allowing you to make full use of your favorite fonts. In this tutorial ...

*3rd party software is required to fill shapes as cricut design space does not have this capability. using 3rd party software is at your own risk.1- To fill text you will need to download and install Inkscape free software Once this is installed you will need to download and ...

* This is part 1 of  2 on how to use your Cricut Explore Air machine to emboss. You can find part 2 here1- Open SCAL4 software. Click on the shape tool.2-  Create your shape and change the size to suit your needs. The size that you make will determine how large ...

1- Open inkscape. click on the text tool.2- Type text.3- In the text and font panel select your font and size. I am using Luucudu from fontbundles.net Apply the font and size.4- With the text selected, click Path- Object to path.5- Next go to Object ...

*3rd party software is required to fill shapes as Cricut design space does not have this capability. using 3rd party software is at your own risk.1- To fill shapes you will need to download and install Inkscape free software. Once this is installed you will need to download and ...

Today we’ll focus on how to curve Text in Cricut Design Space App. If you're using Cricut Design Space on your computer, make sure to check out our guide on how to curve text in Cricut Design Space.Step 1 - Create a New ProjectOnce you have logged in, create ...

You may also like

Help Center
ol image