- By Design Bundles
- 4 Mins
- Illustrator Tutorials
Layered 3D Text Effect in Illustrator
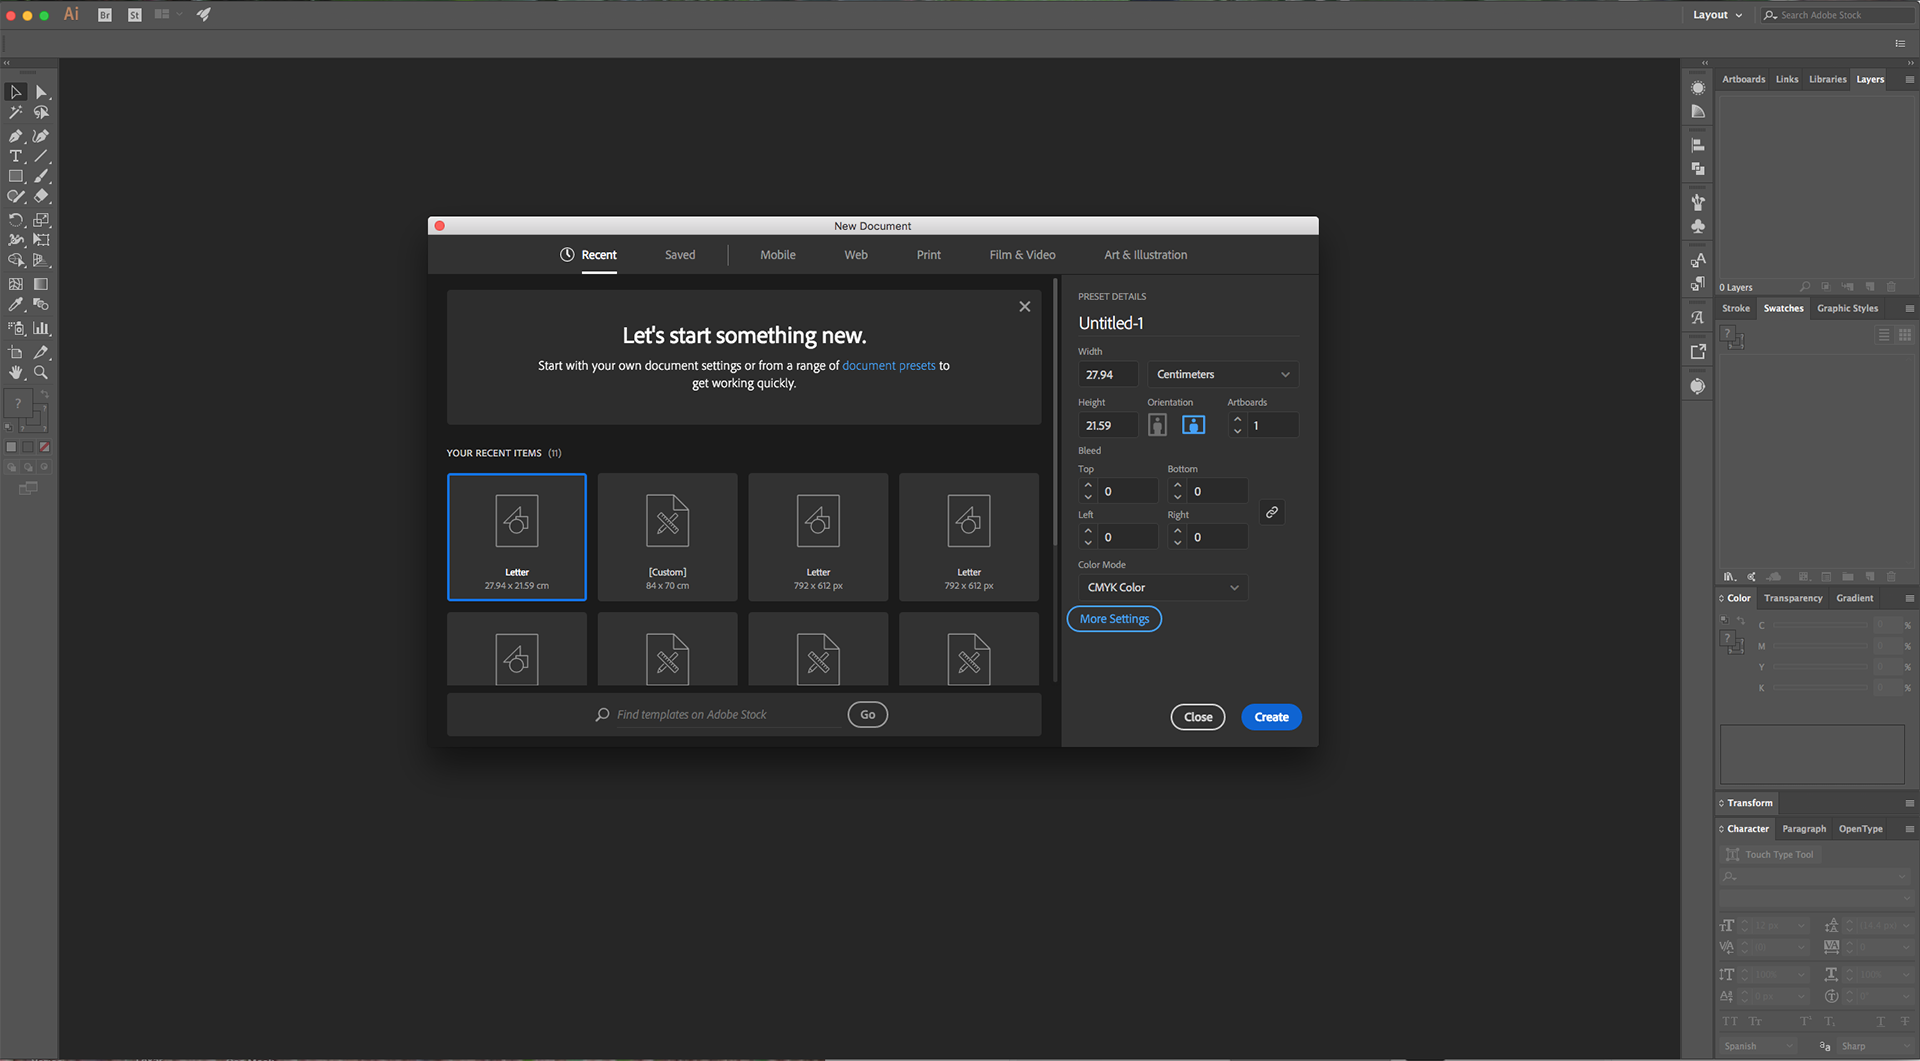
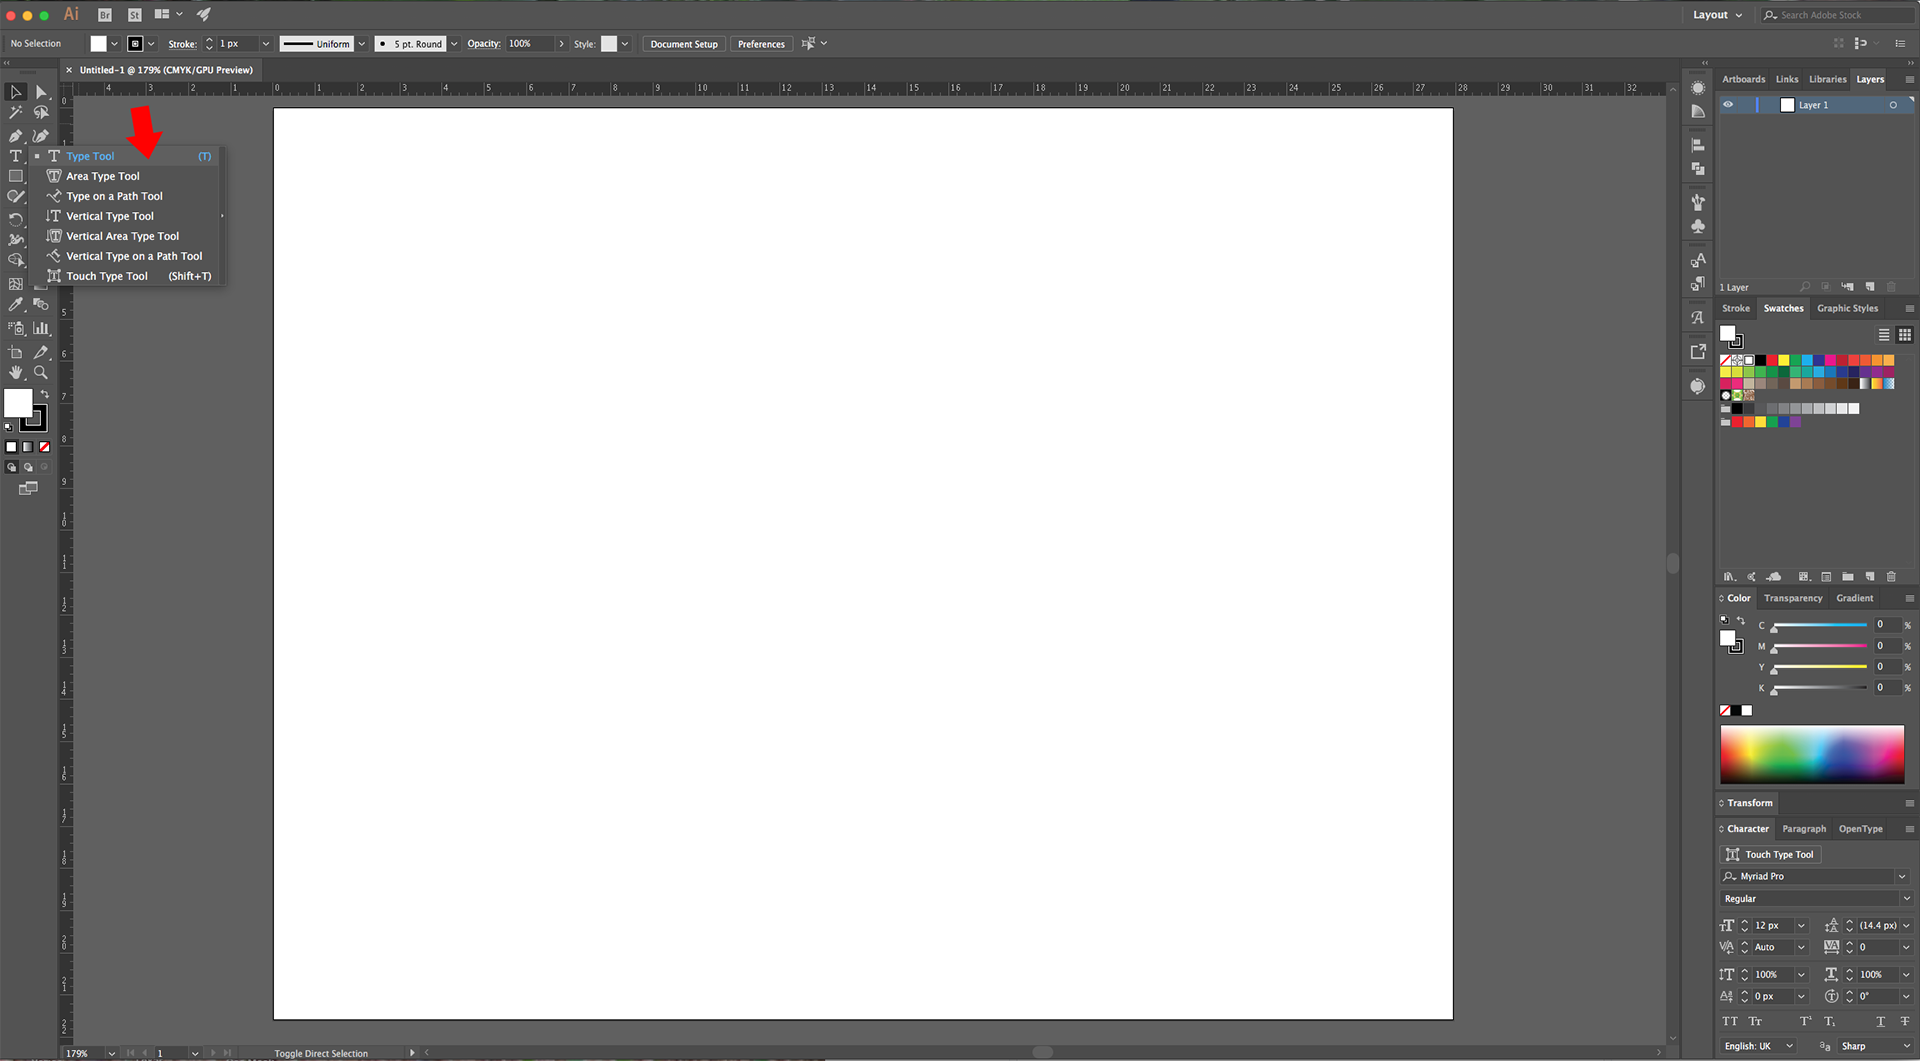
2 - Select the “Type Tool” (T), choose your Font and type your text (we used “Myriad Pro Bold Italic”). Size it to fit almost the entire Document.
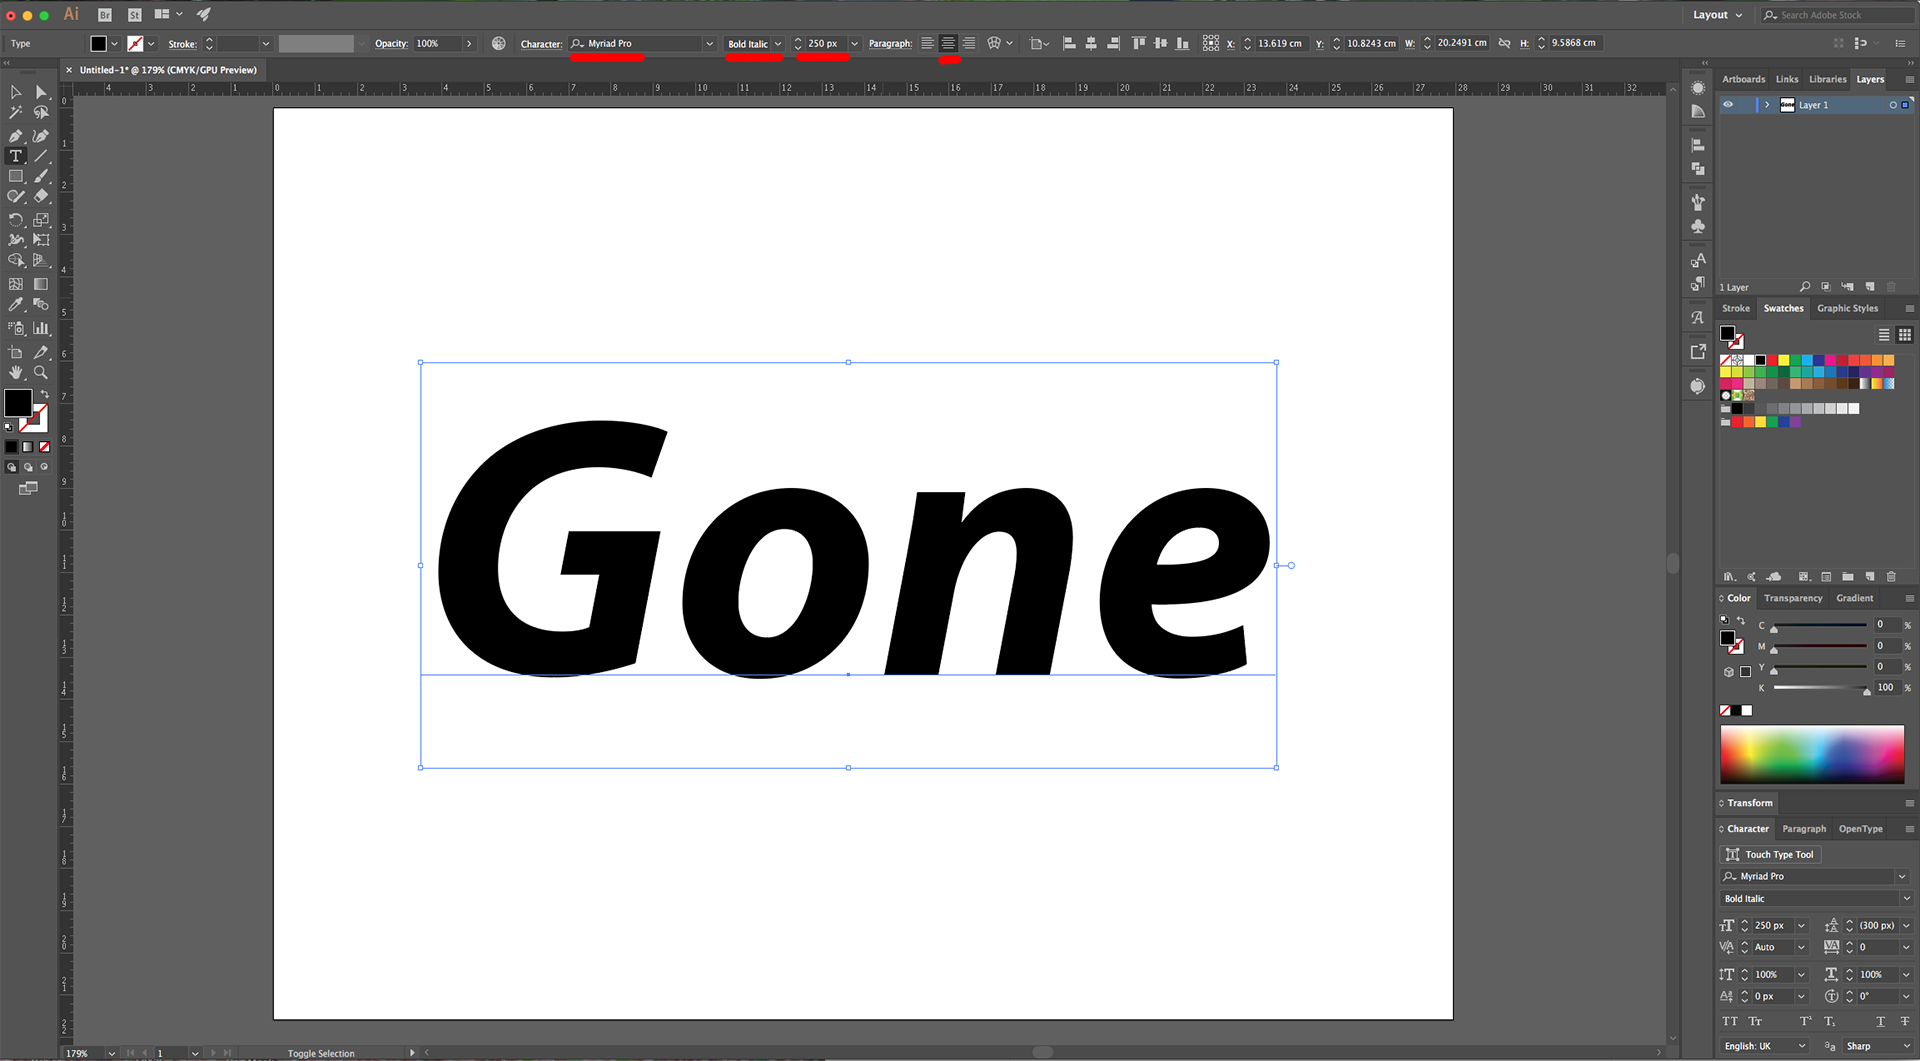
3 - Center it using the “Horizontal and Vertical Align Center” options on your Top Menu and make sure that “Align to Artboard” is selected. Or use the same options in the “Align Panel”. Give it NO “Fill” and “Stroke” colors.
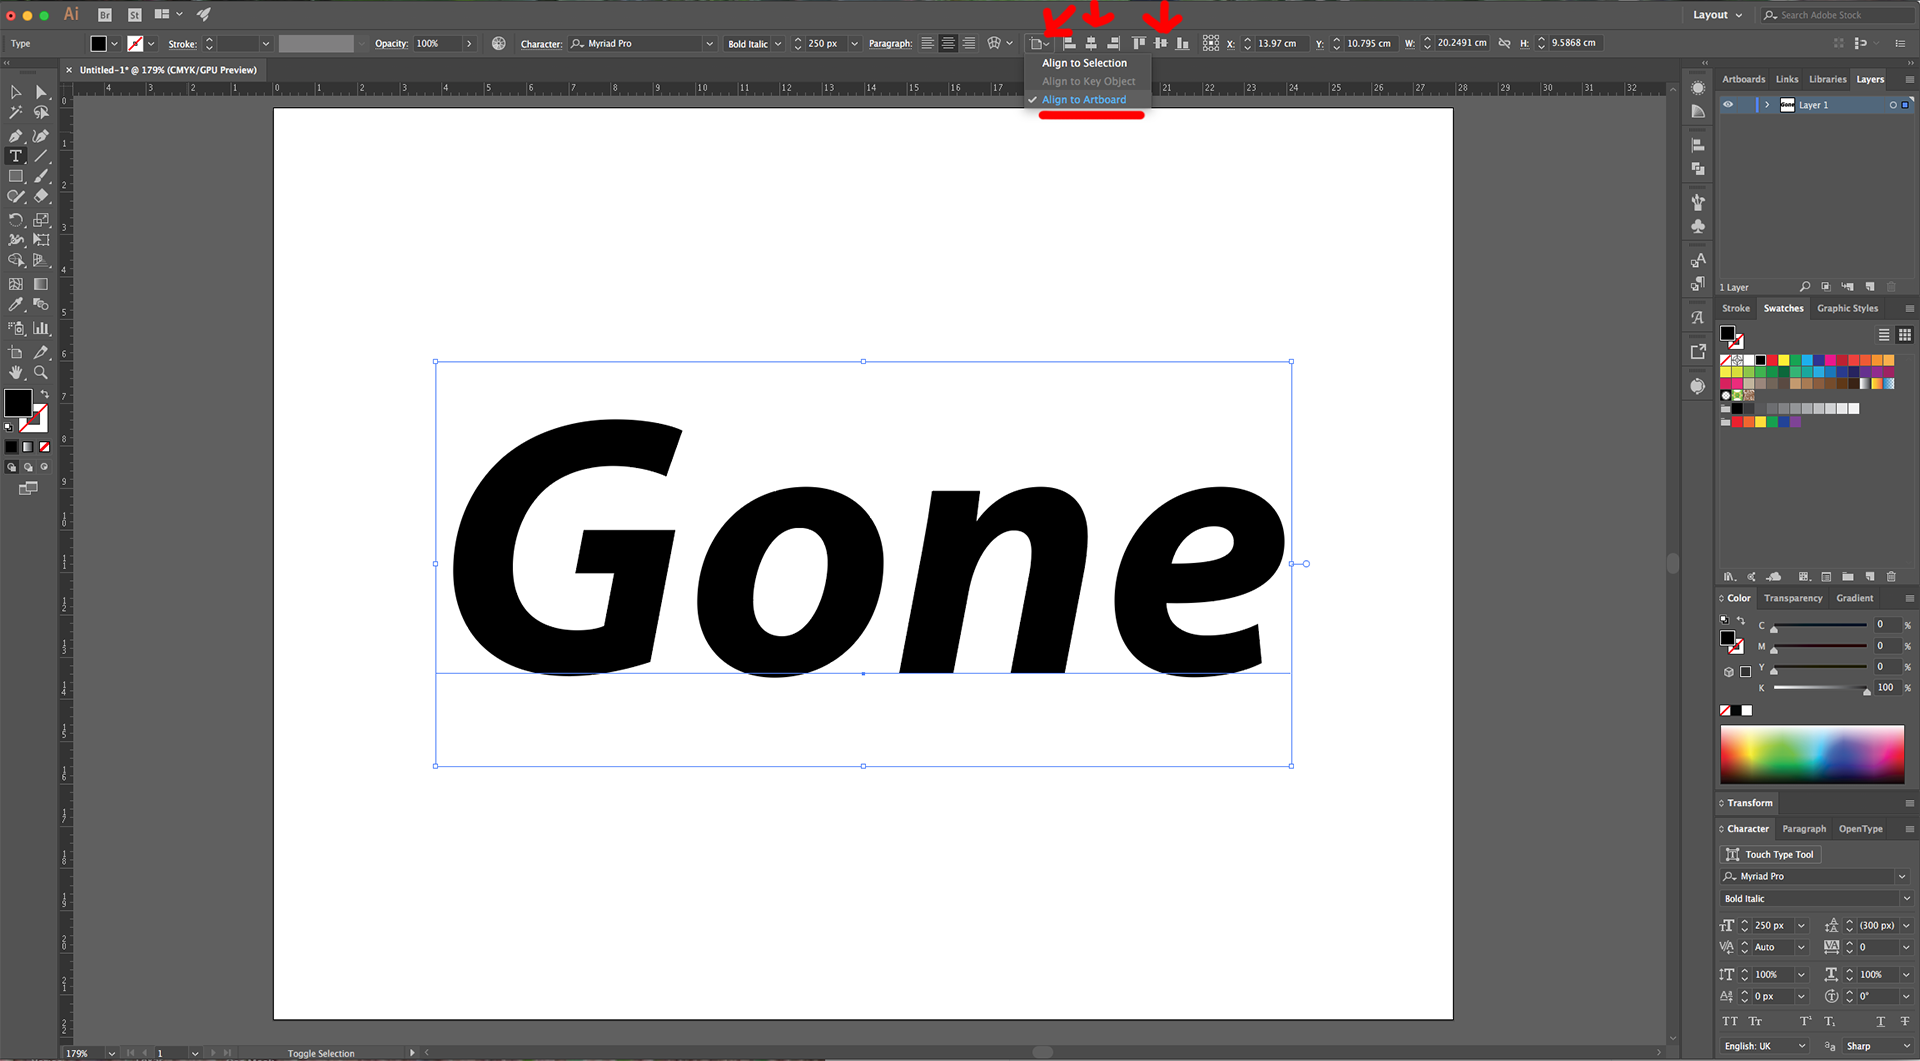
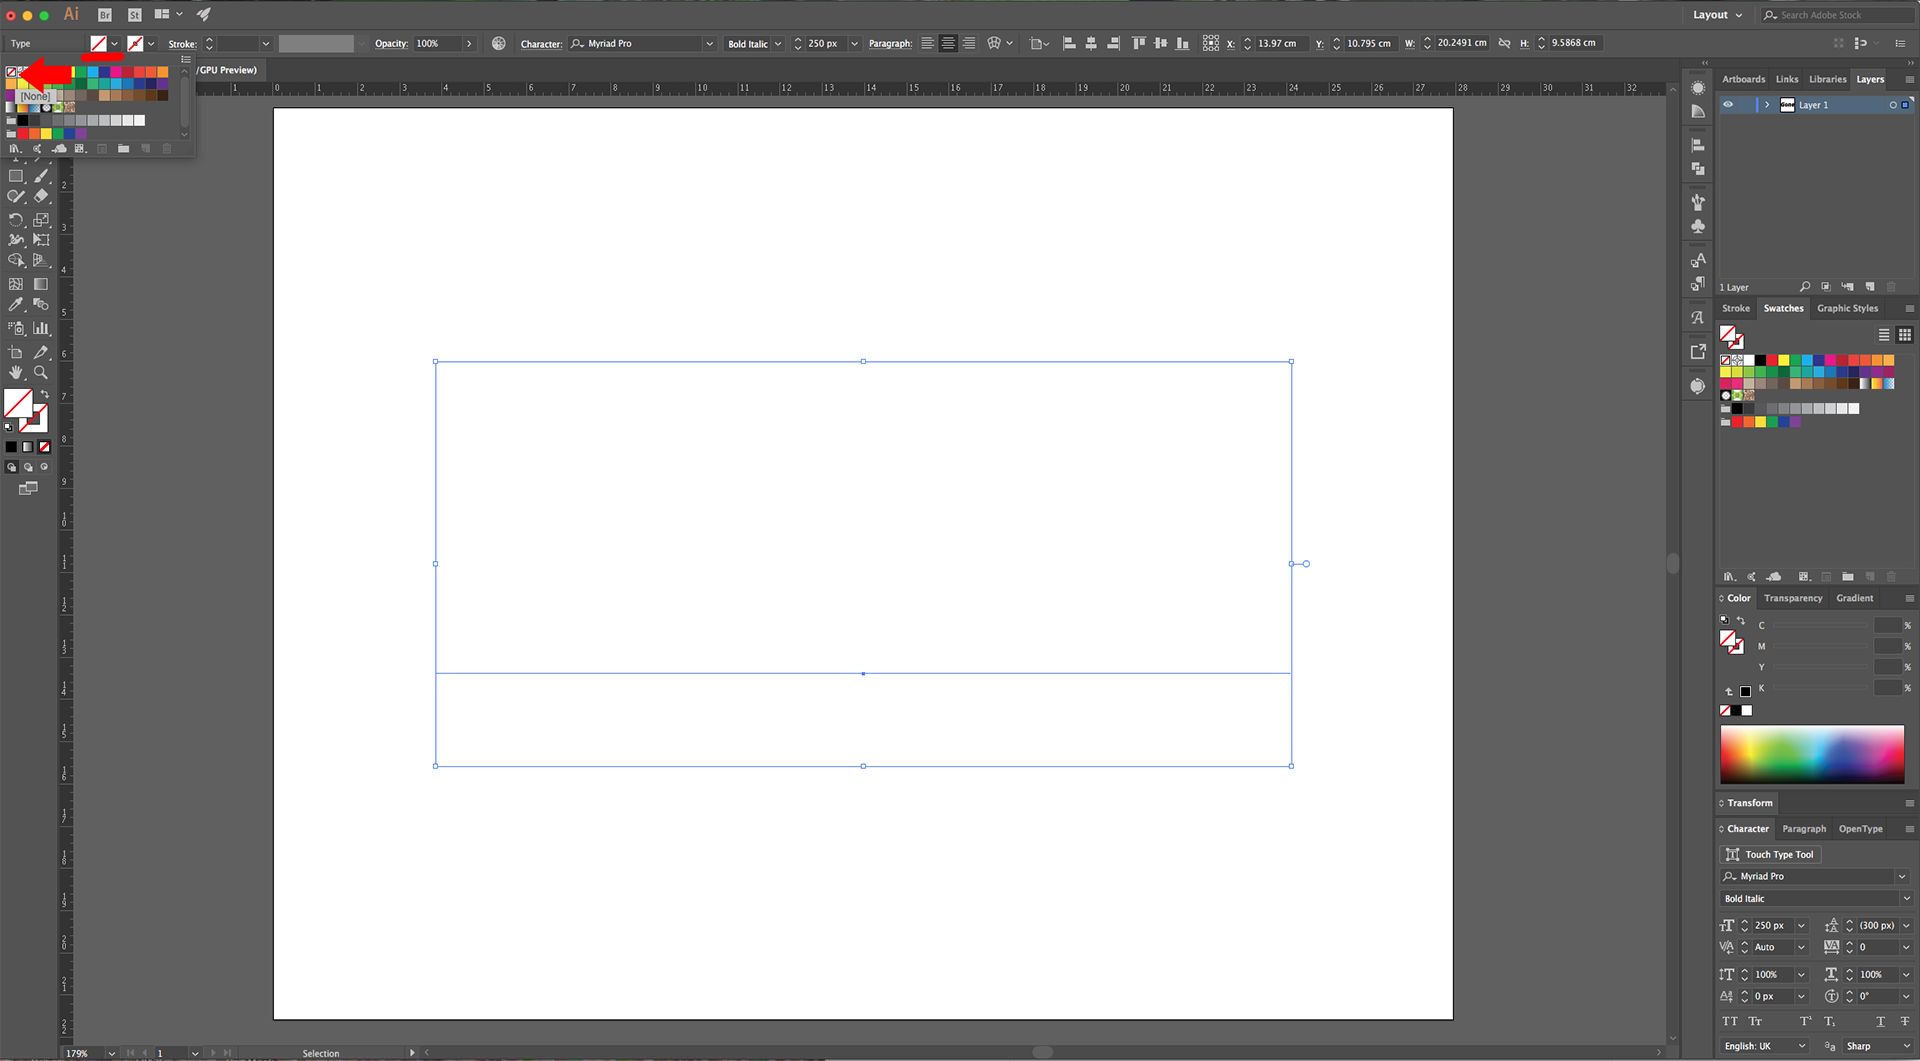
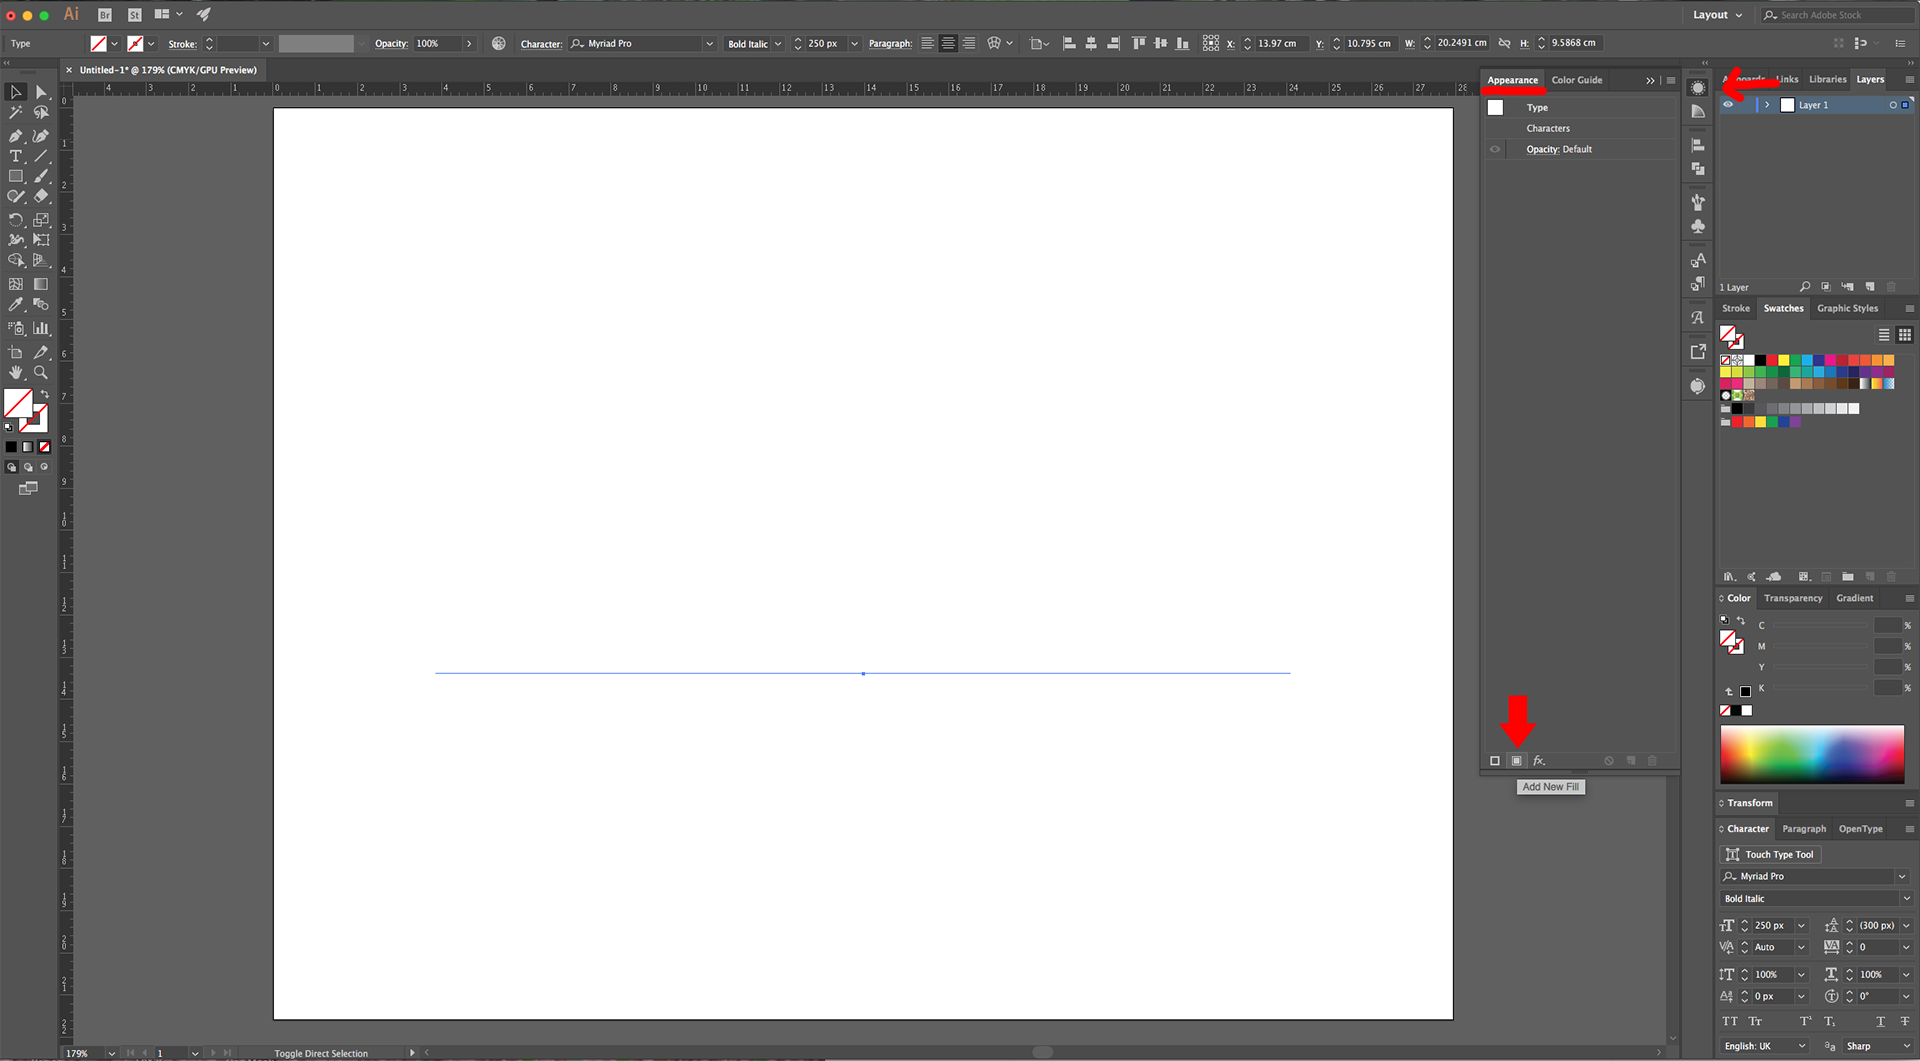
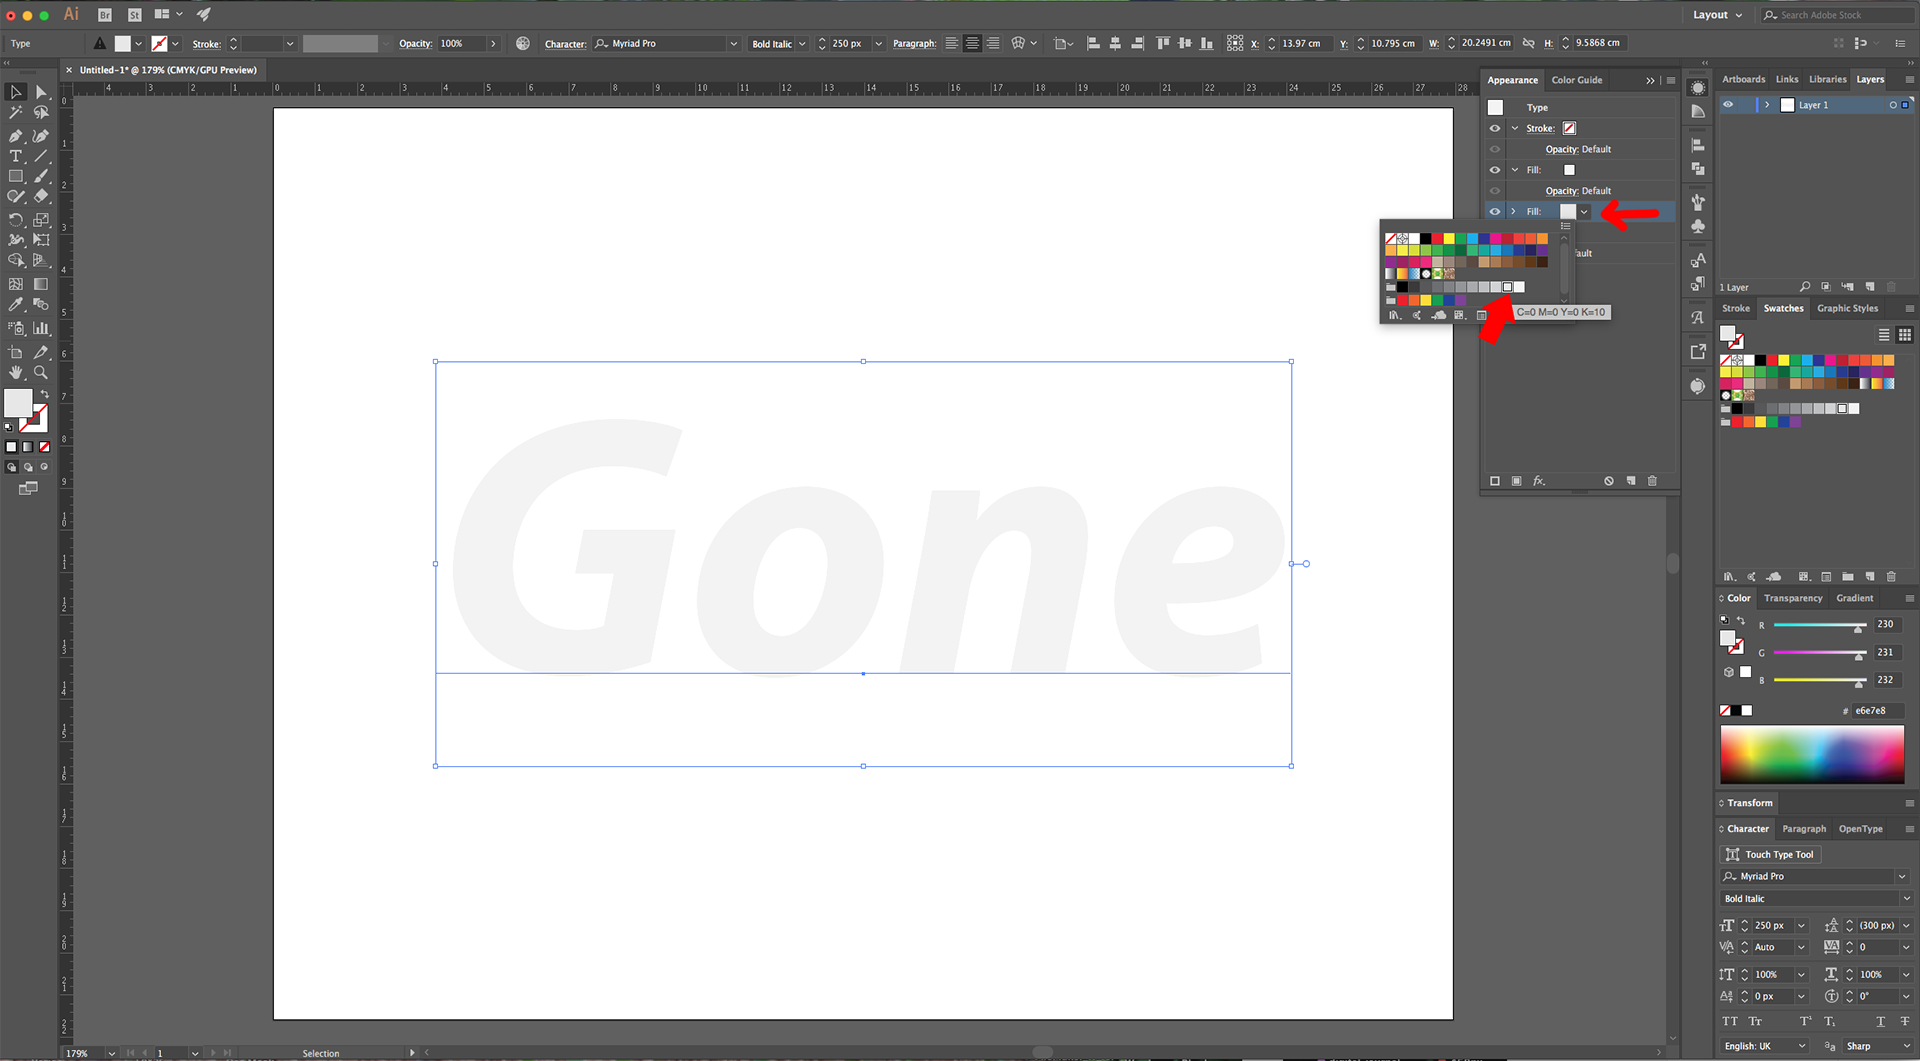
4 - With the Text still selected, go to the “Appearance Panel” and click “Add New Fill” at the bottom of the Panel, choose a very light Grey from the “Swatches Panel” (K=5).
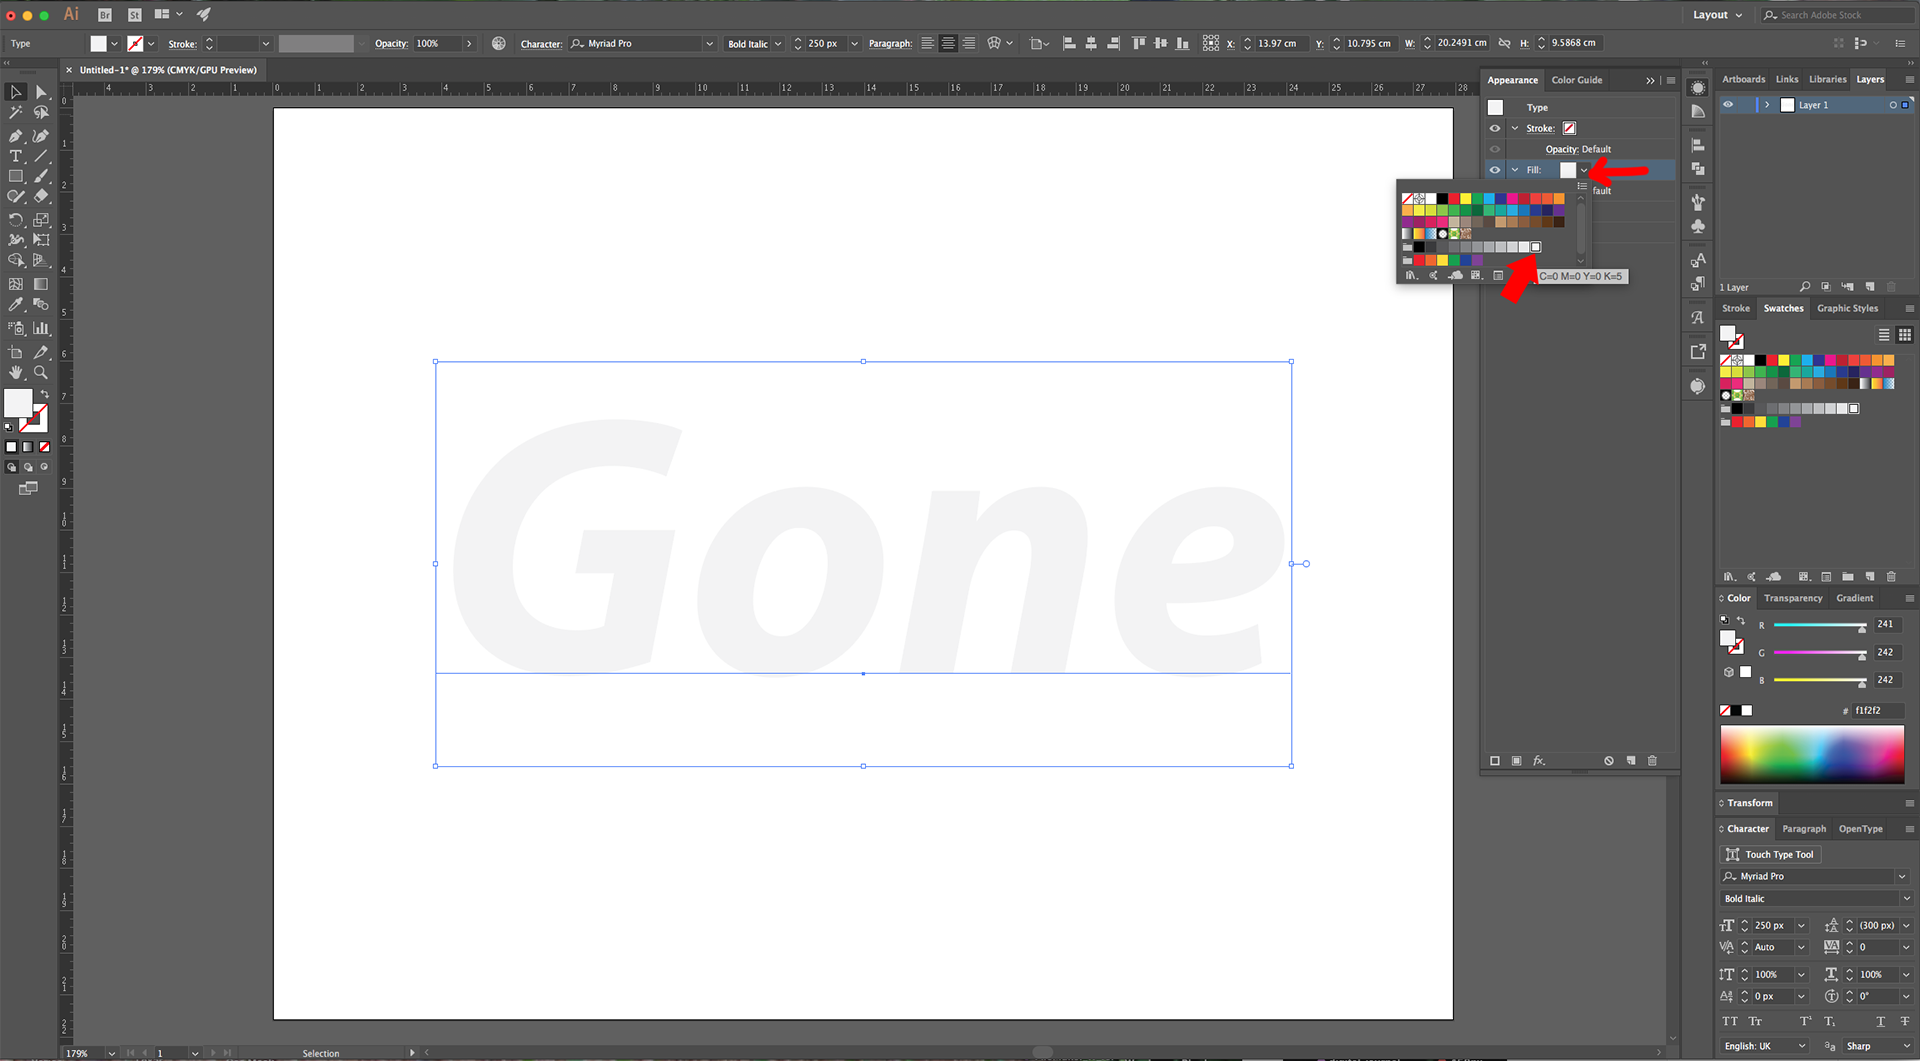
5 - Add another “Fill”, make sure it sits under the previous one and change the Grey to a slightly darker shade (K=10).
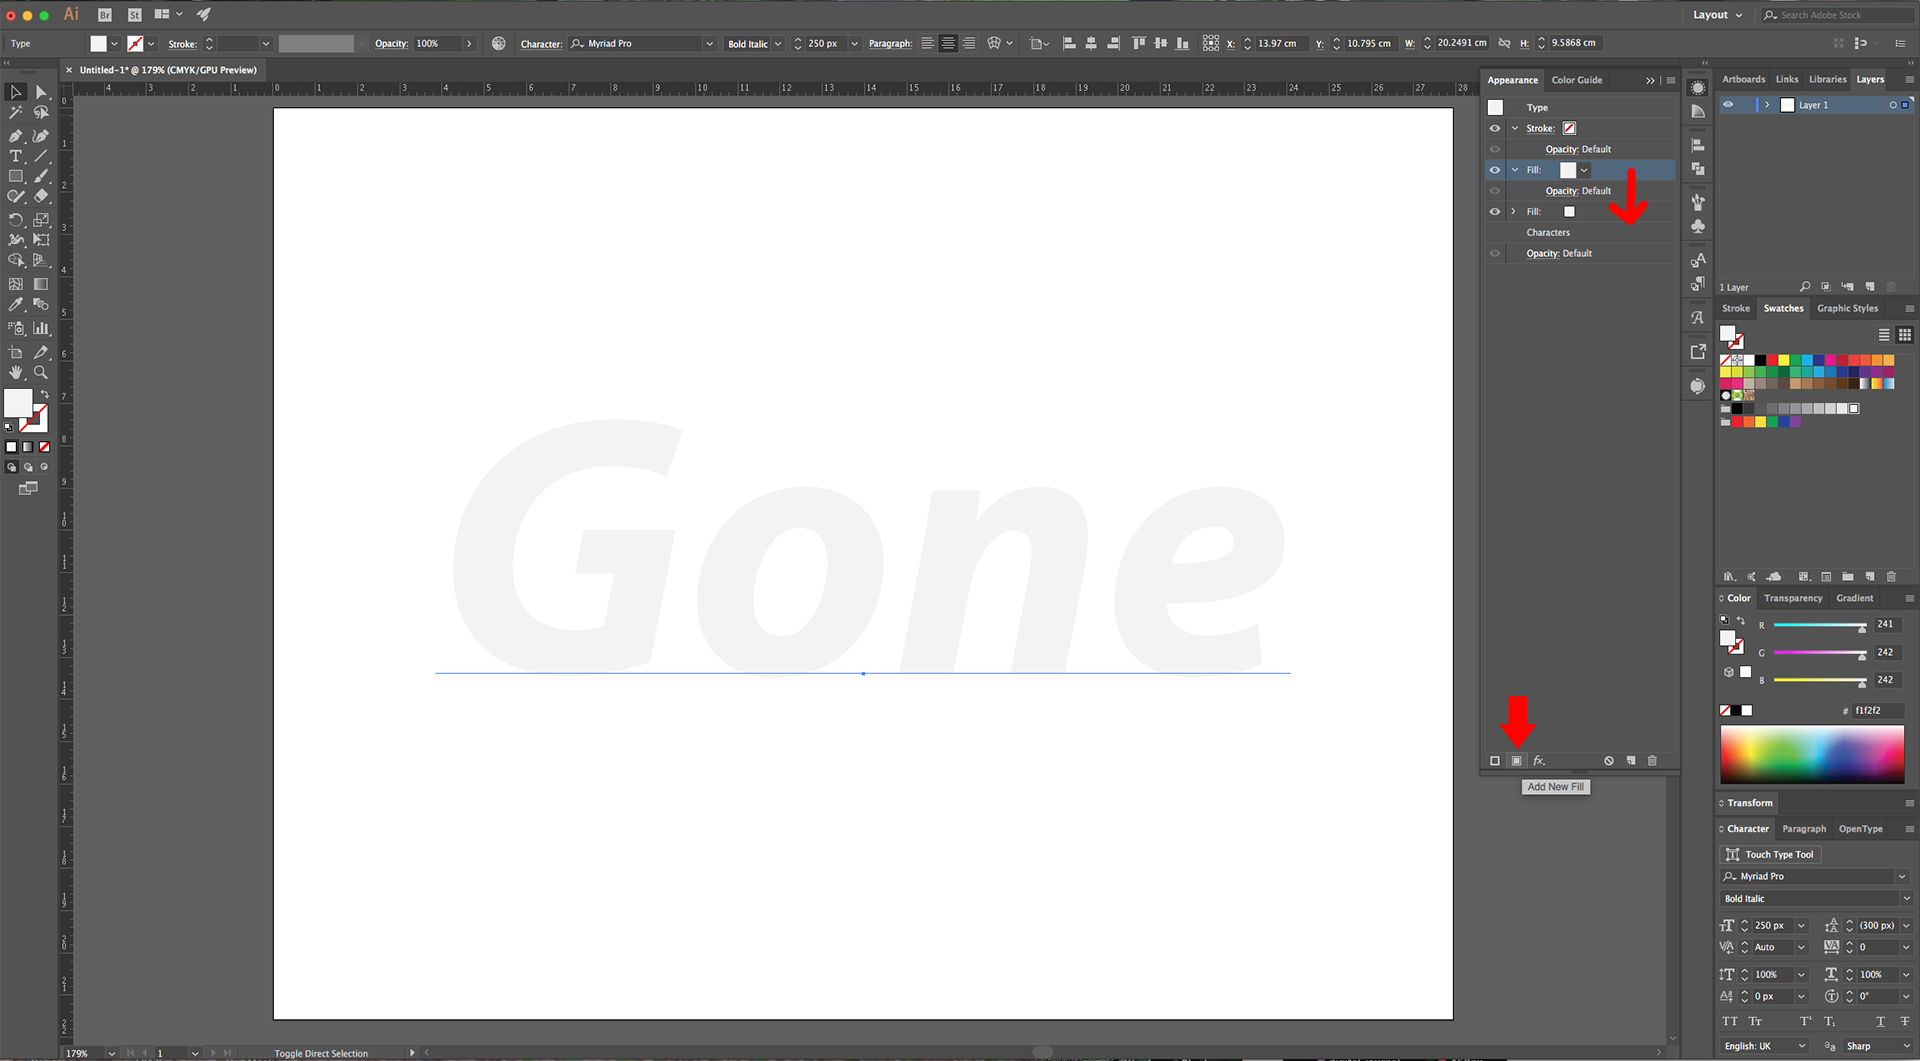
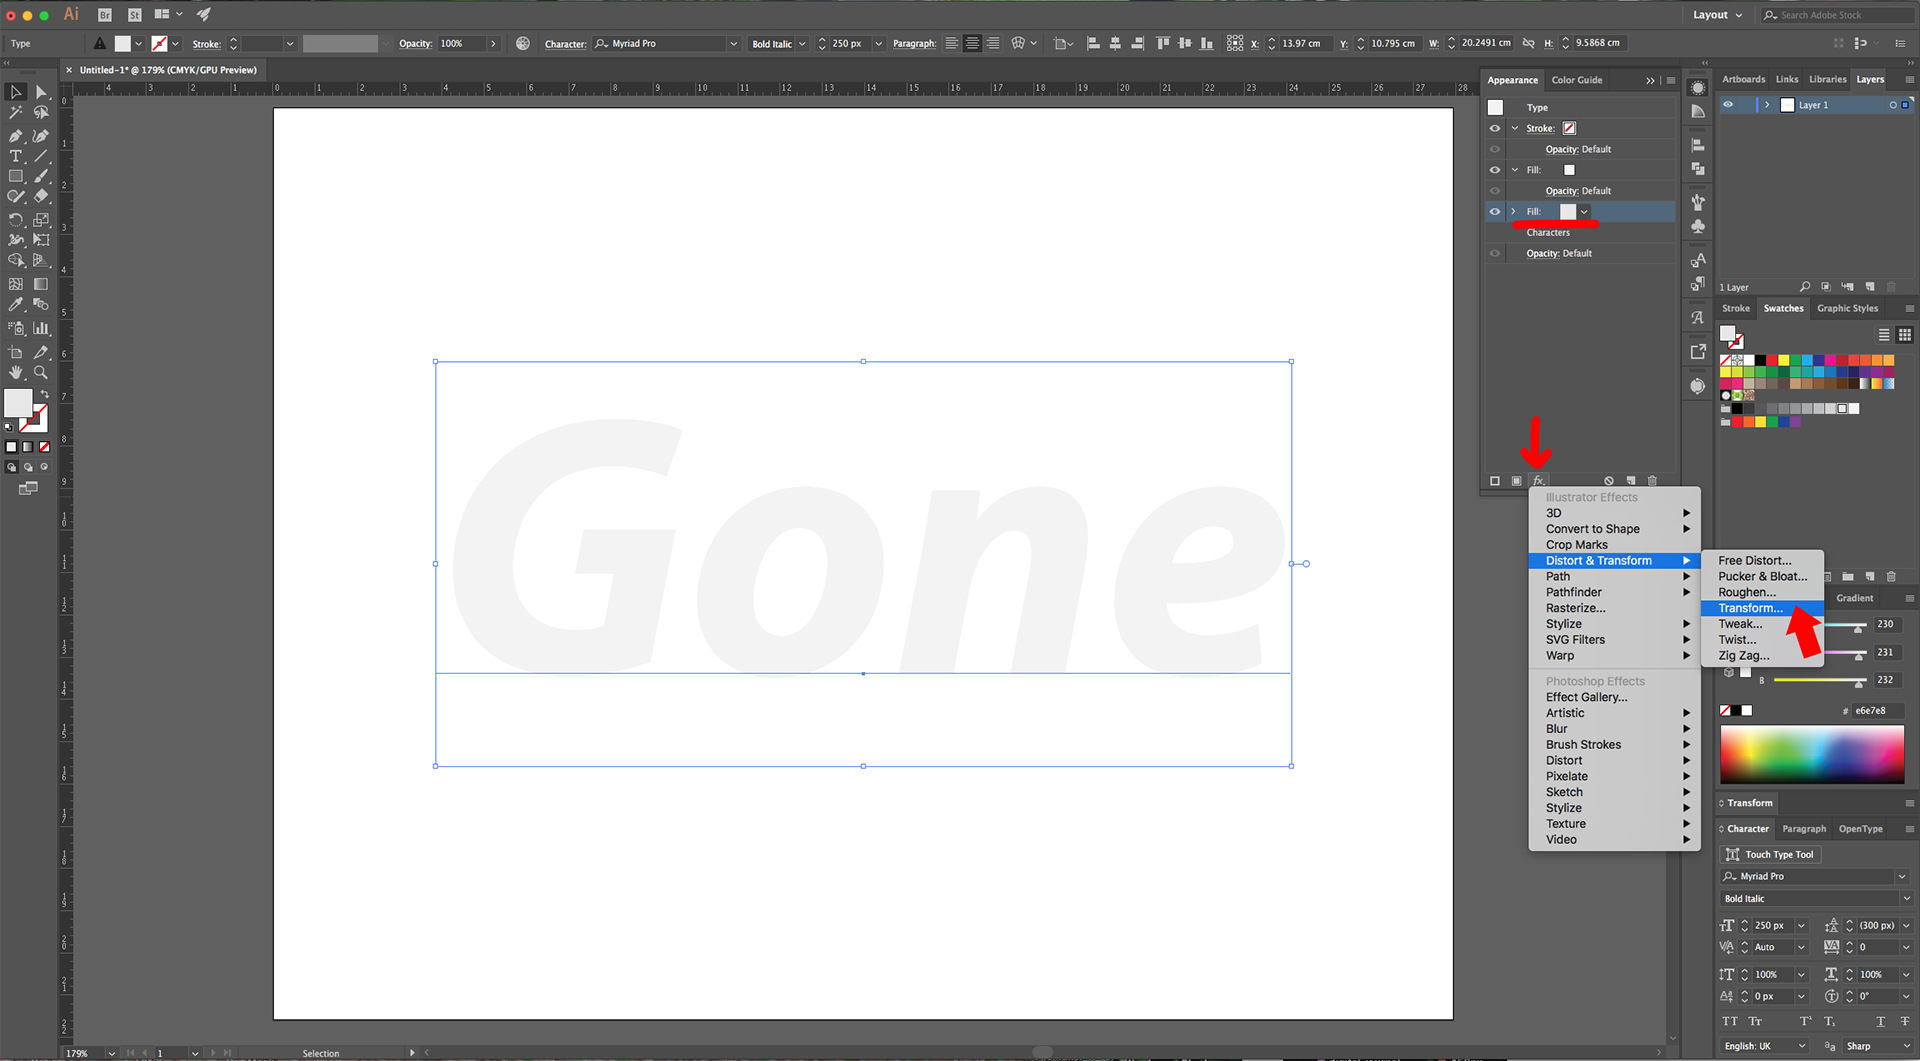
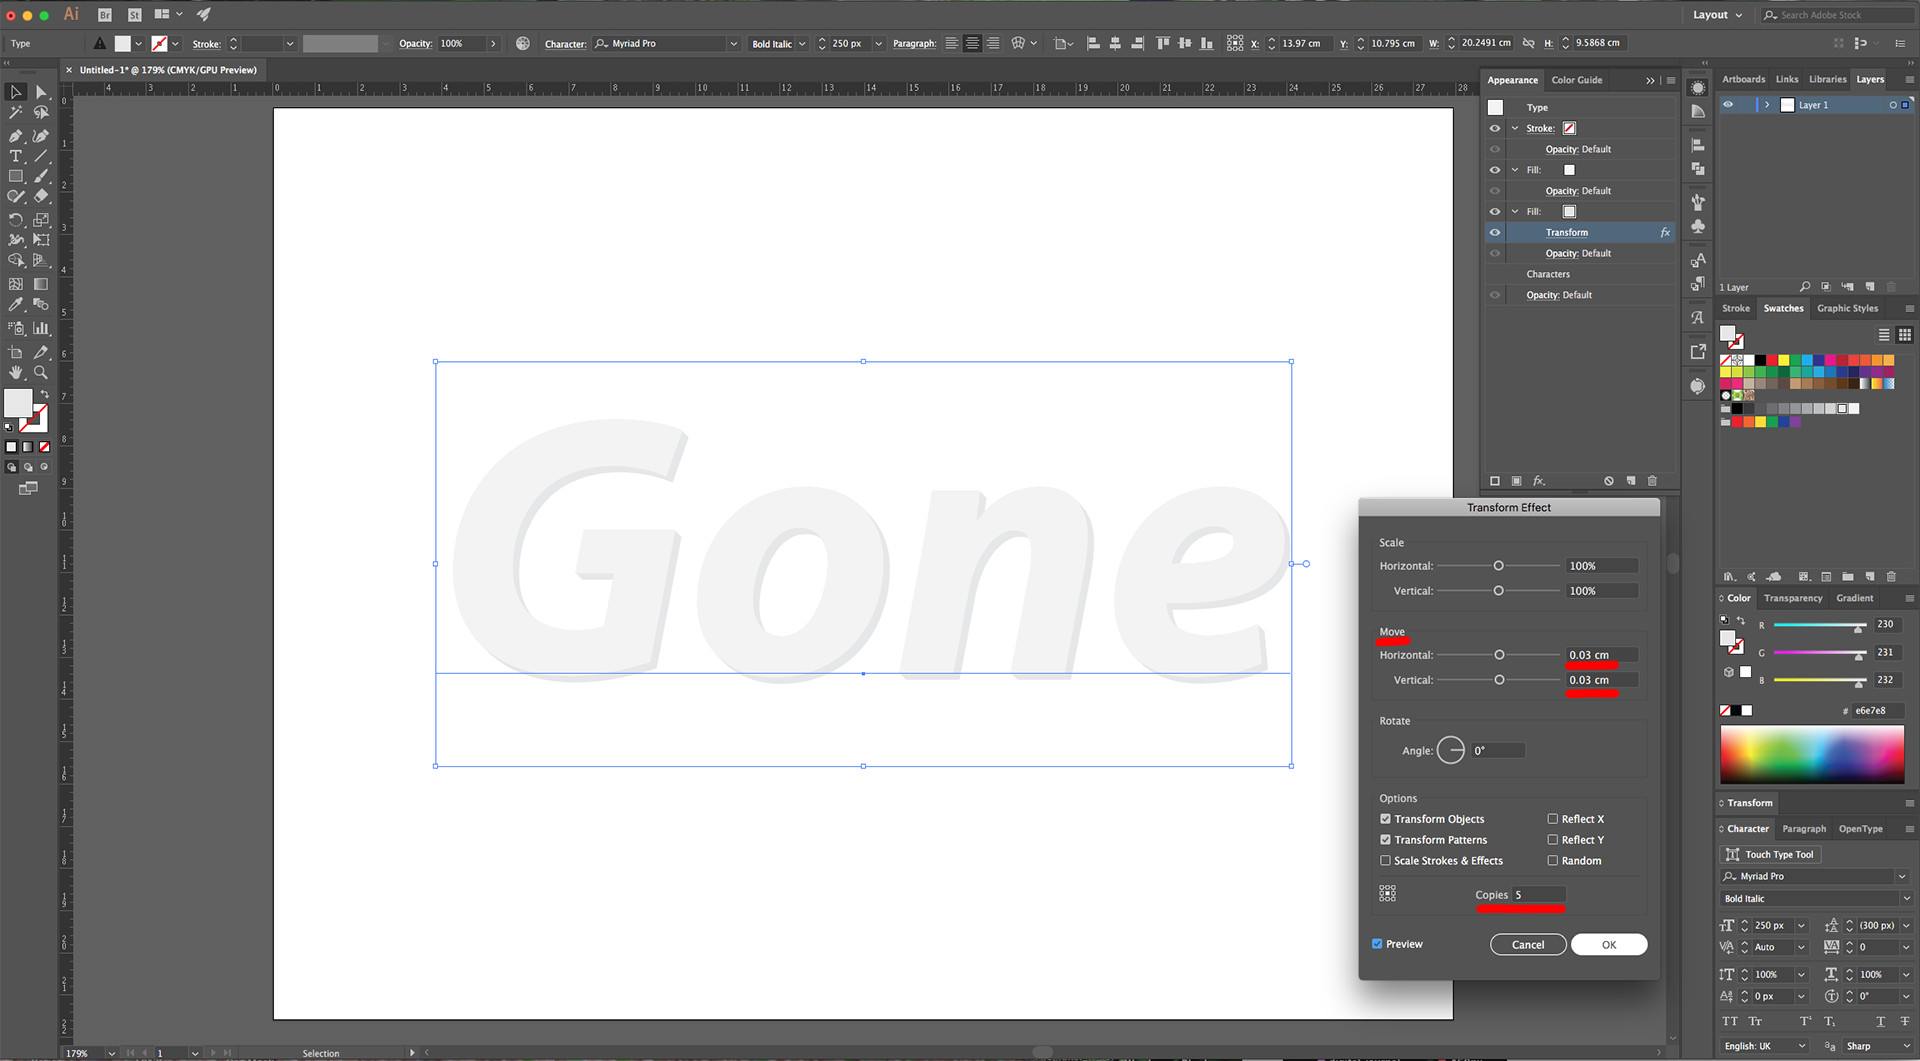
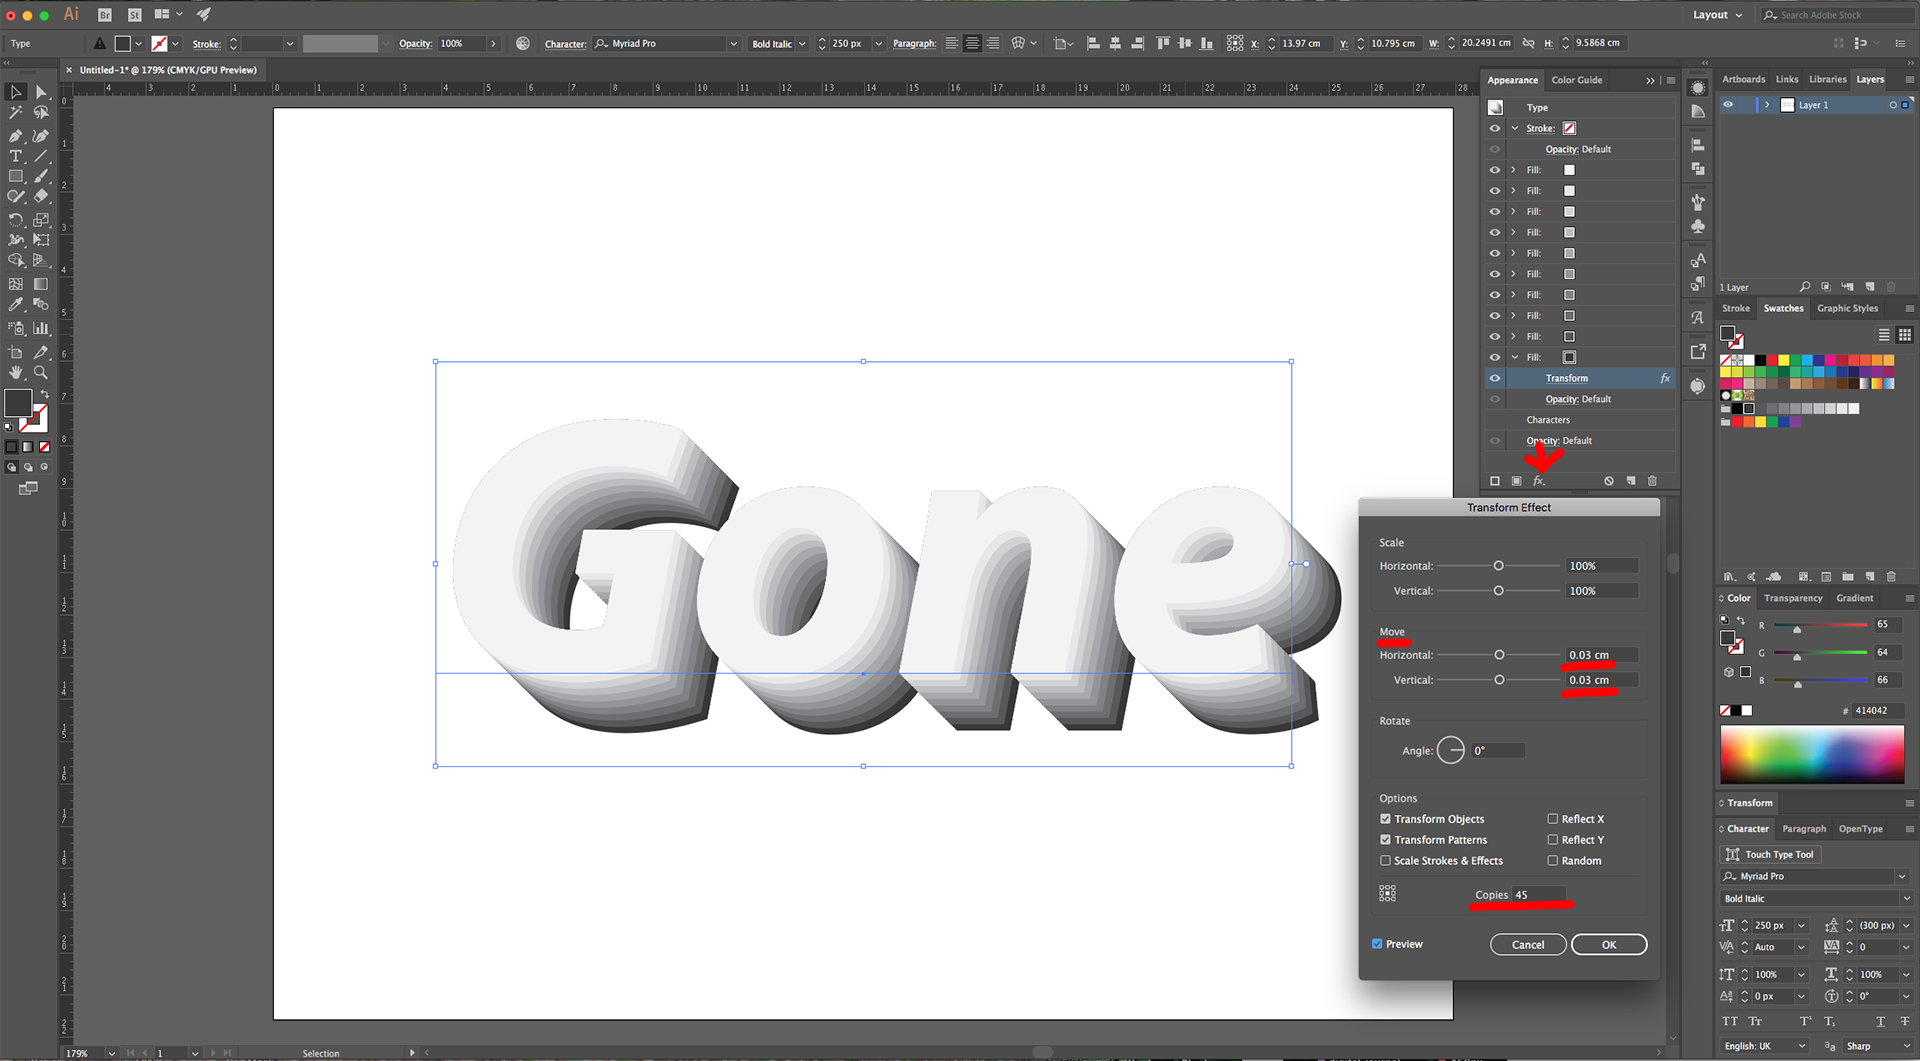
6 - With it still selected click on the “Illustrator Effects” Menu at the bottom of the Panel and navigate to Distort & Transform > Transform… Apply a “Horizontal and Vertical Move” of 0.03 cm and make 5 “Copies”. Click “OK”.
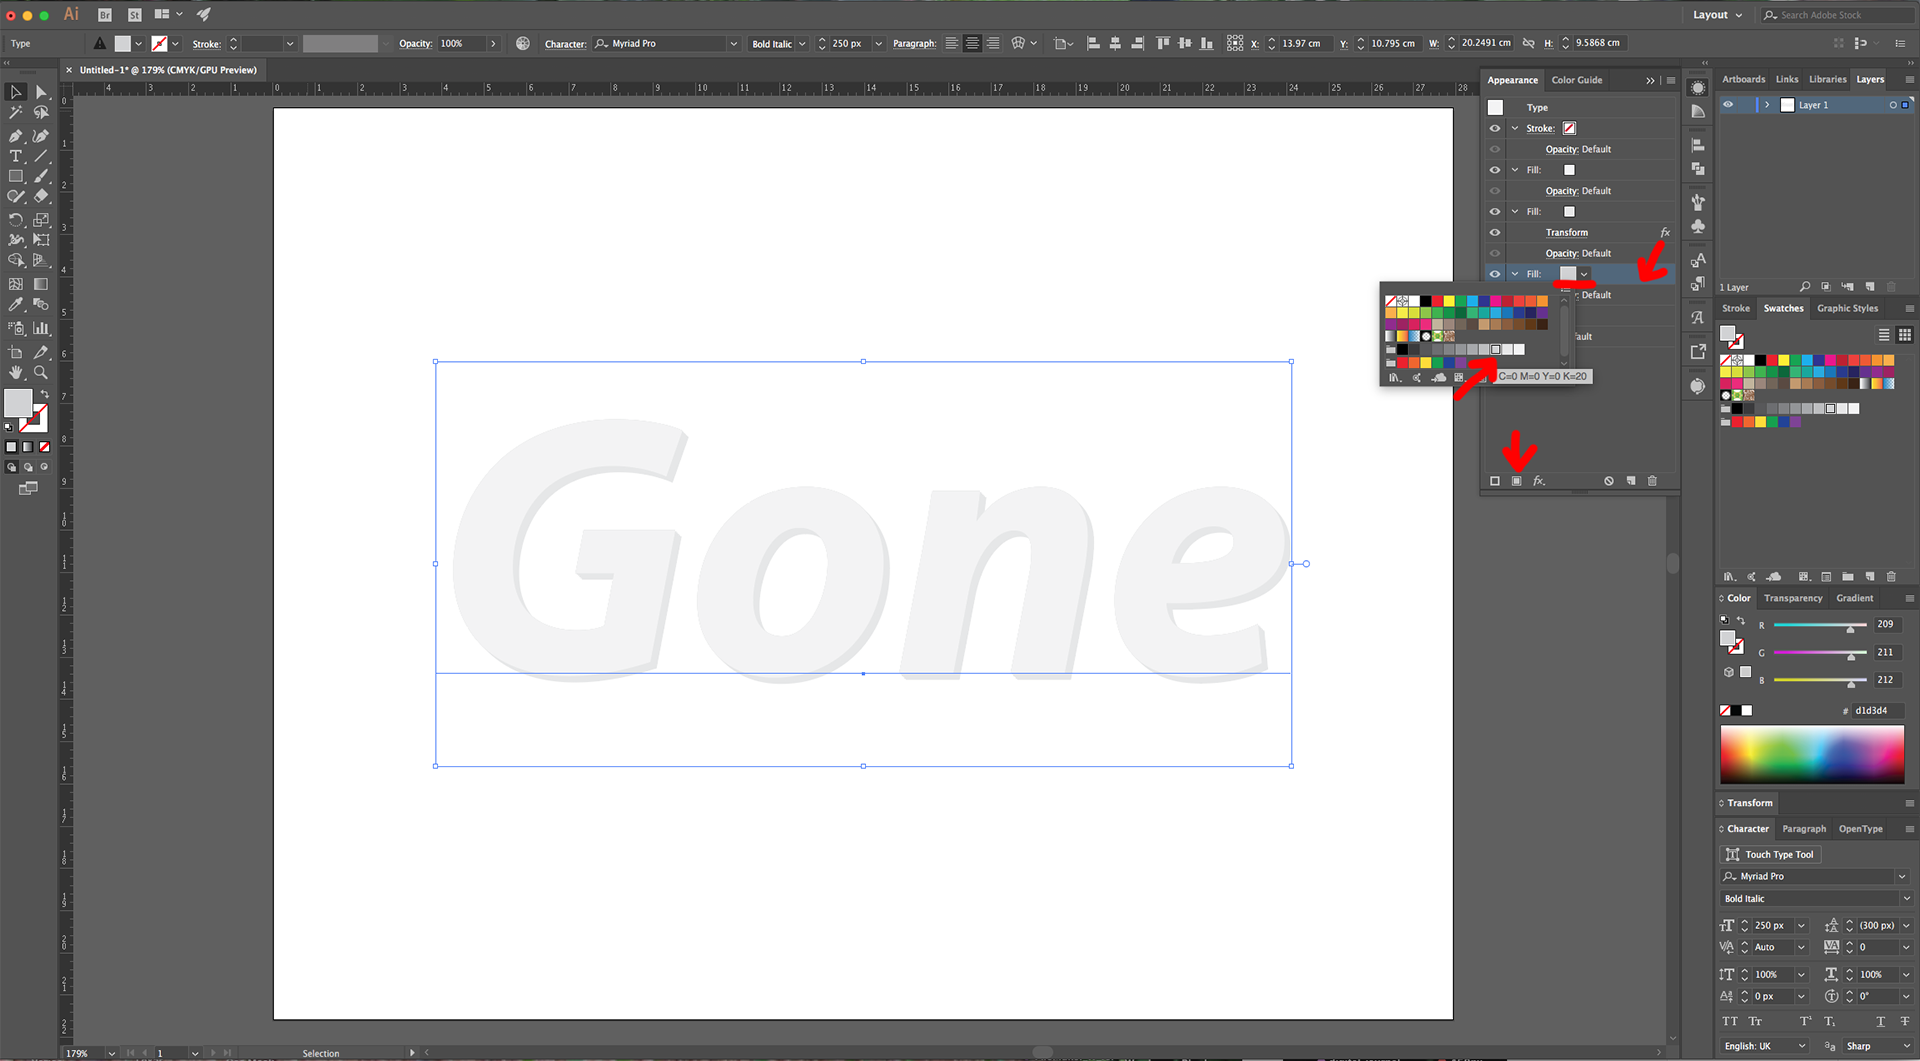
7 - Add another “Fill”, make sure it sits under the previous ones and change the Grey to a slightly darker shade (K=20). Also apply a “Transform Effect” with a “Horizontal and Vertical Move” of 0.03 cm and make 10 “Copies”. Click “OK”.
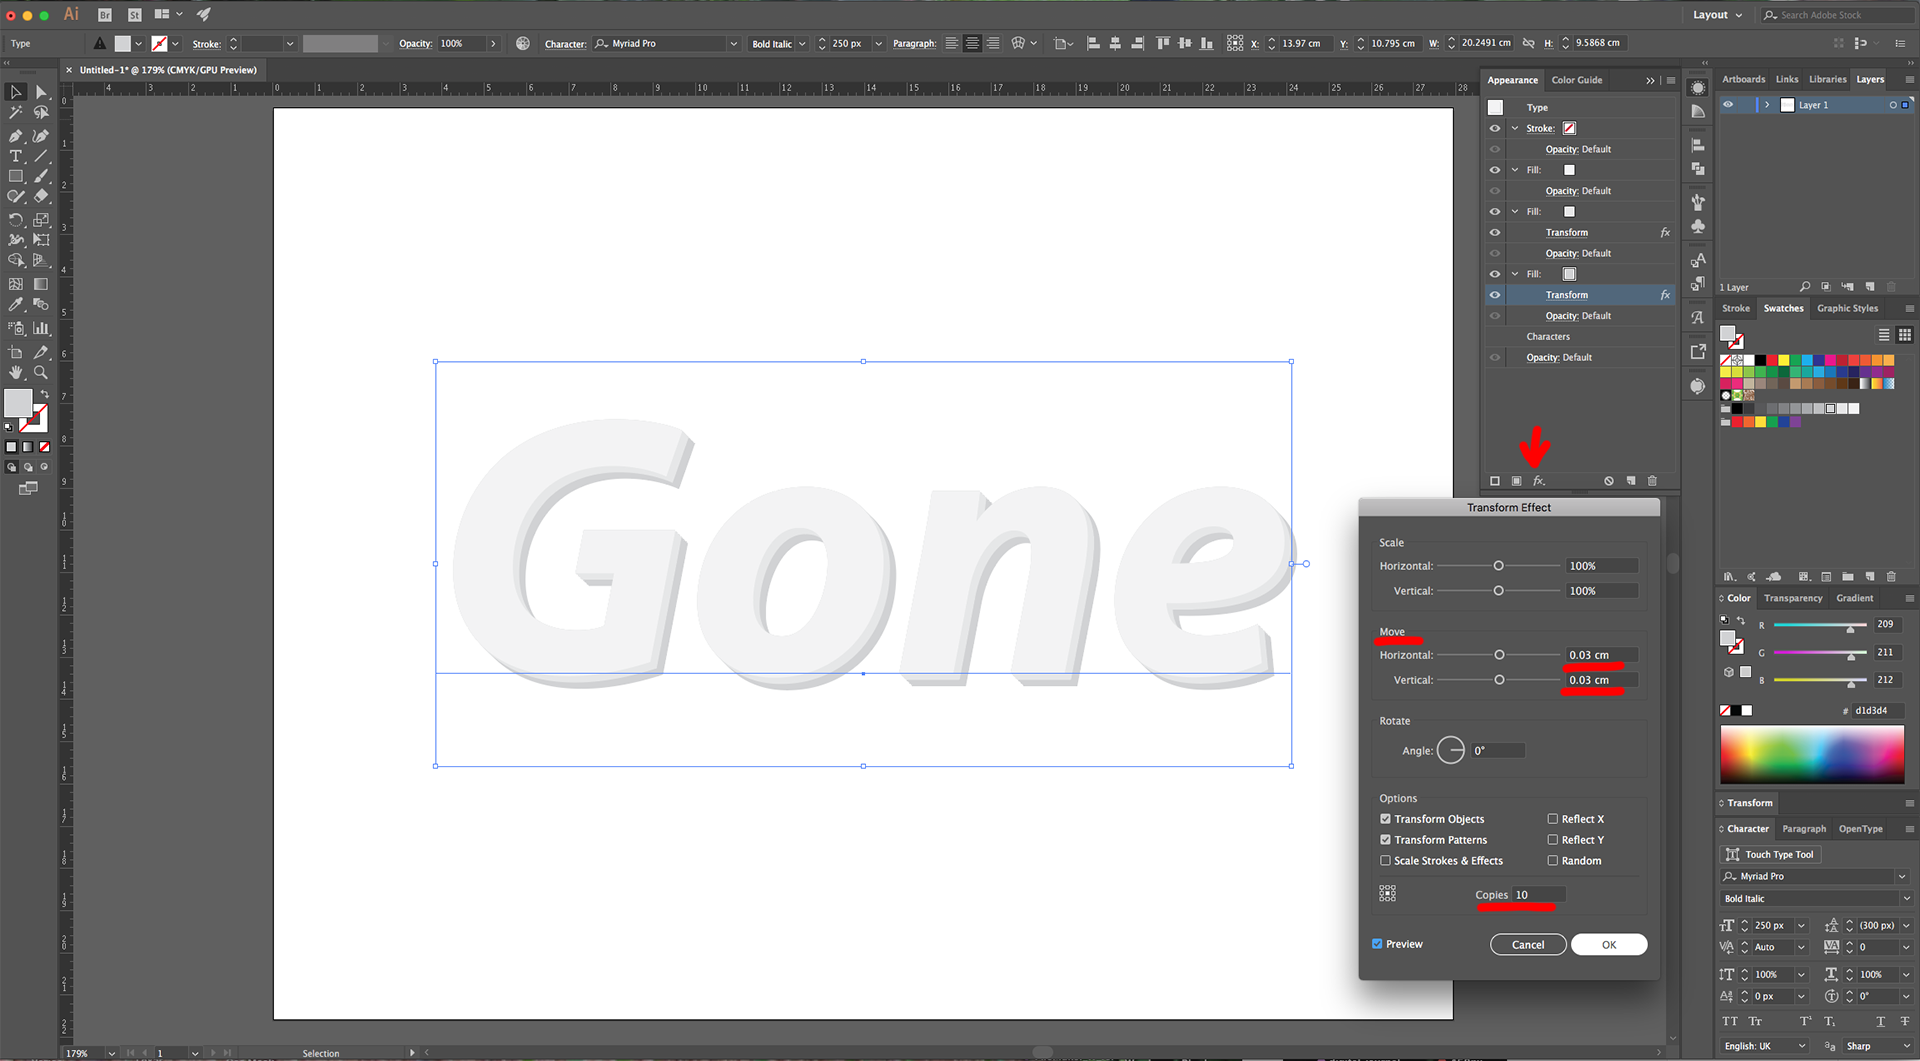
8 - Create yet another “Fill”, make sure it at the bottom and change the Grey to (K=30). Again, apply a “Transform Effect” with a “Horizontal and Vertical Move” of 0.03 cm and make 15 “Copies”. Click “OK”.
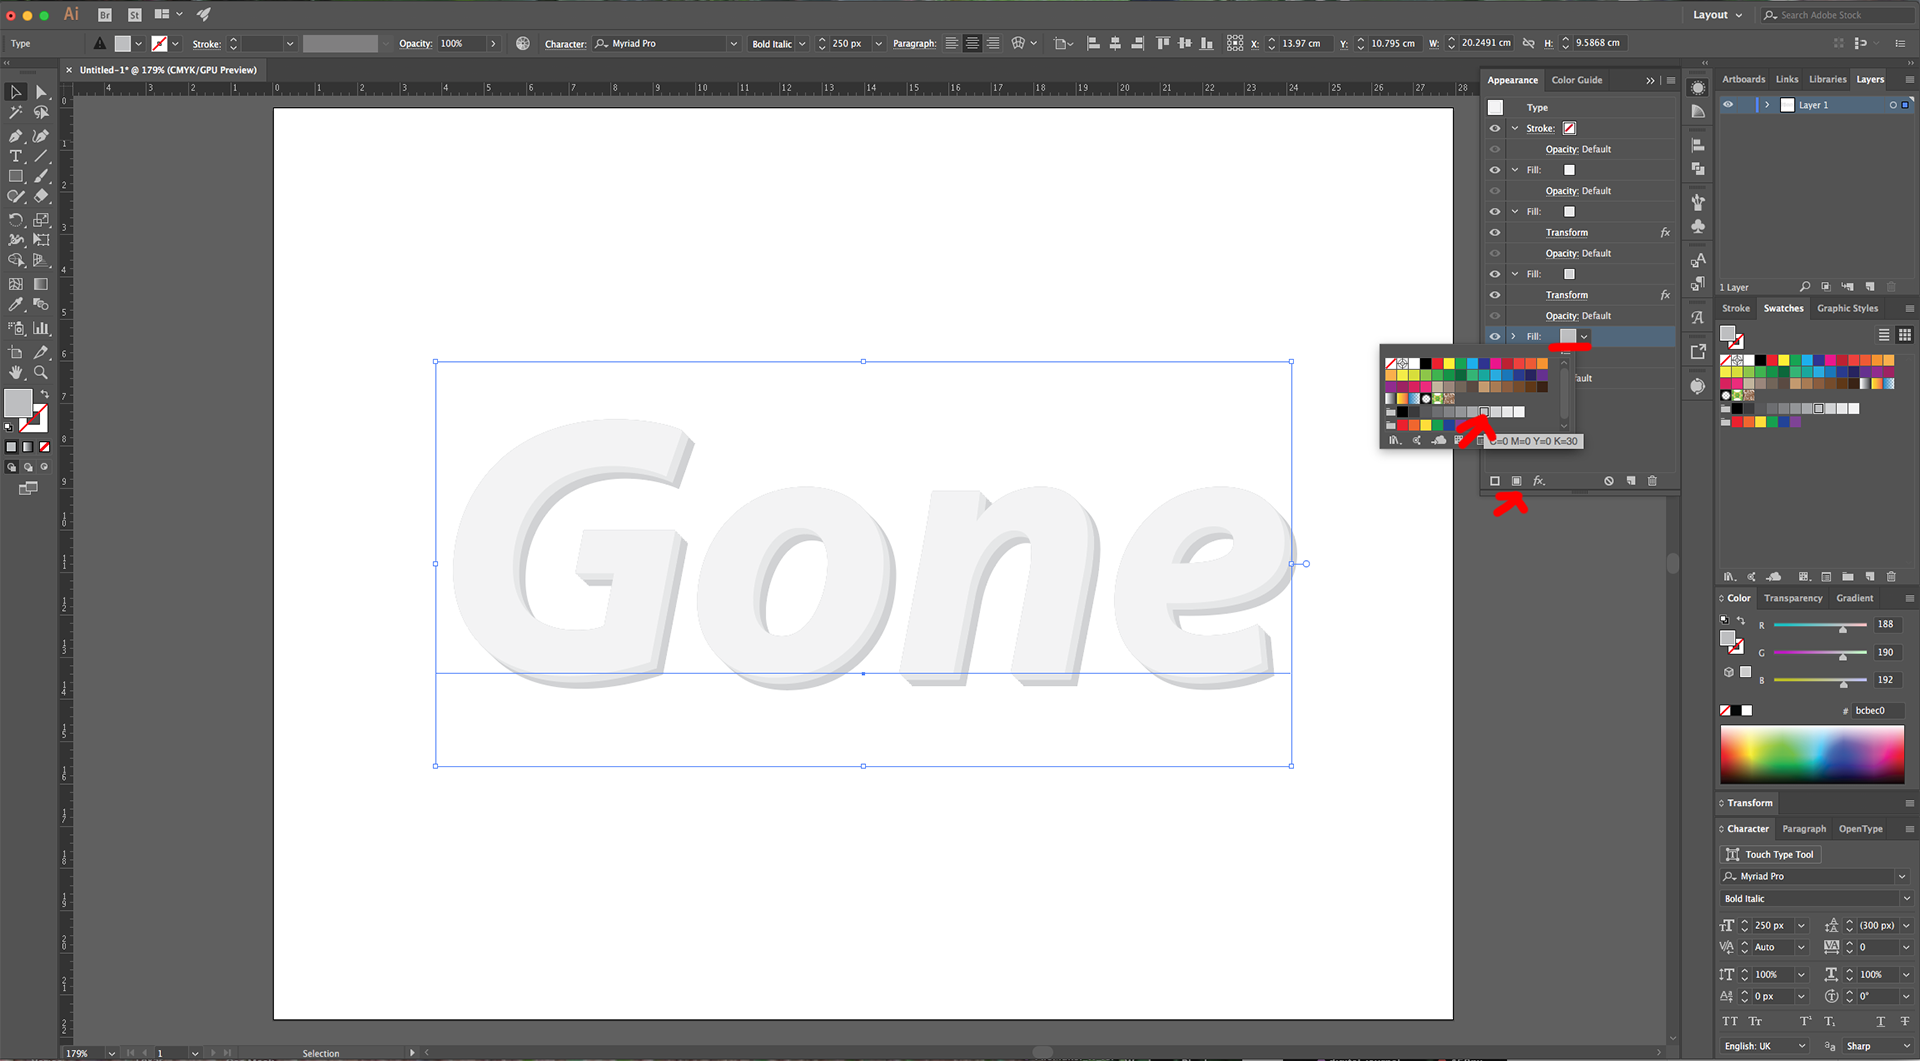
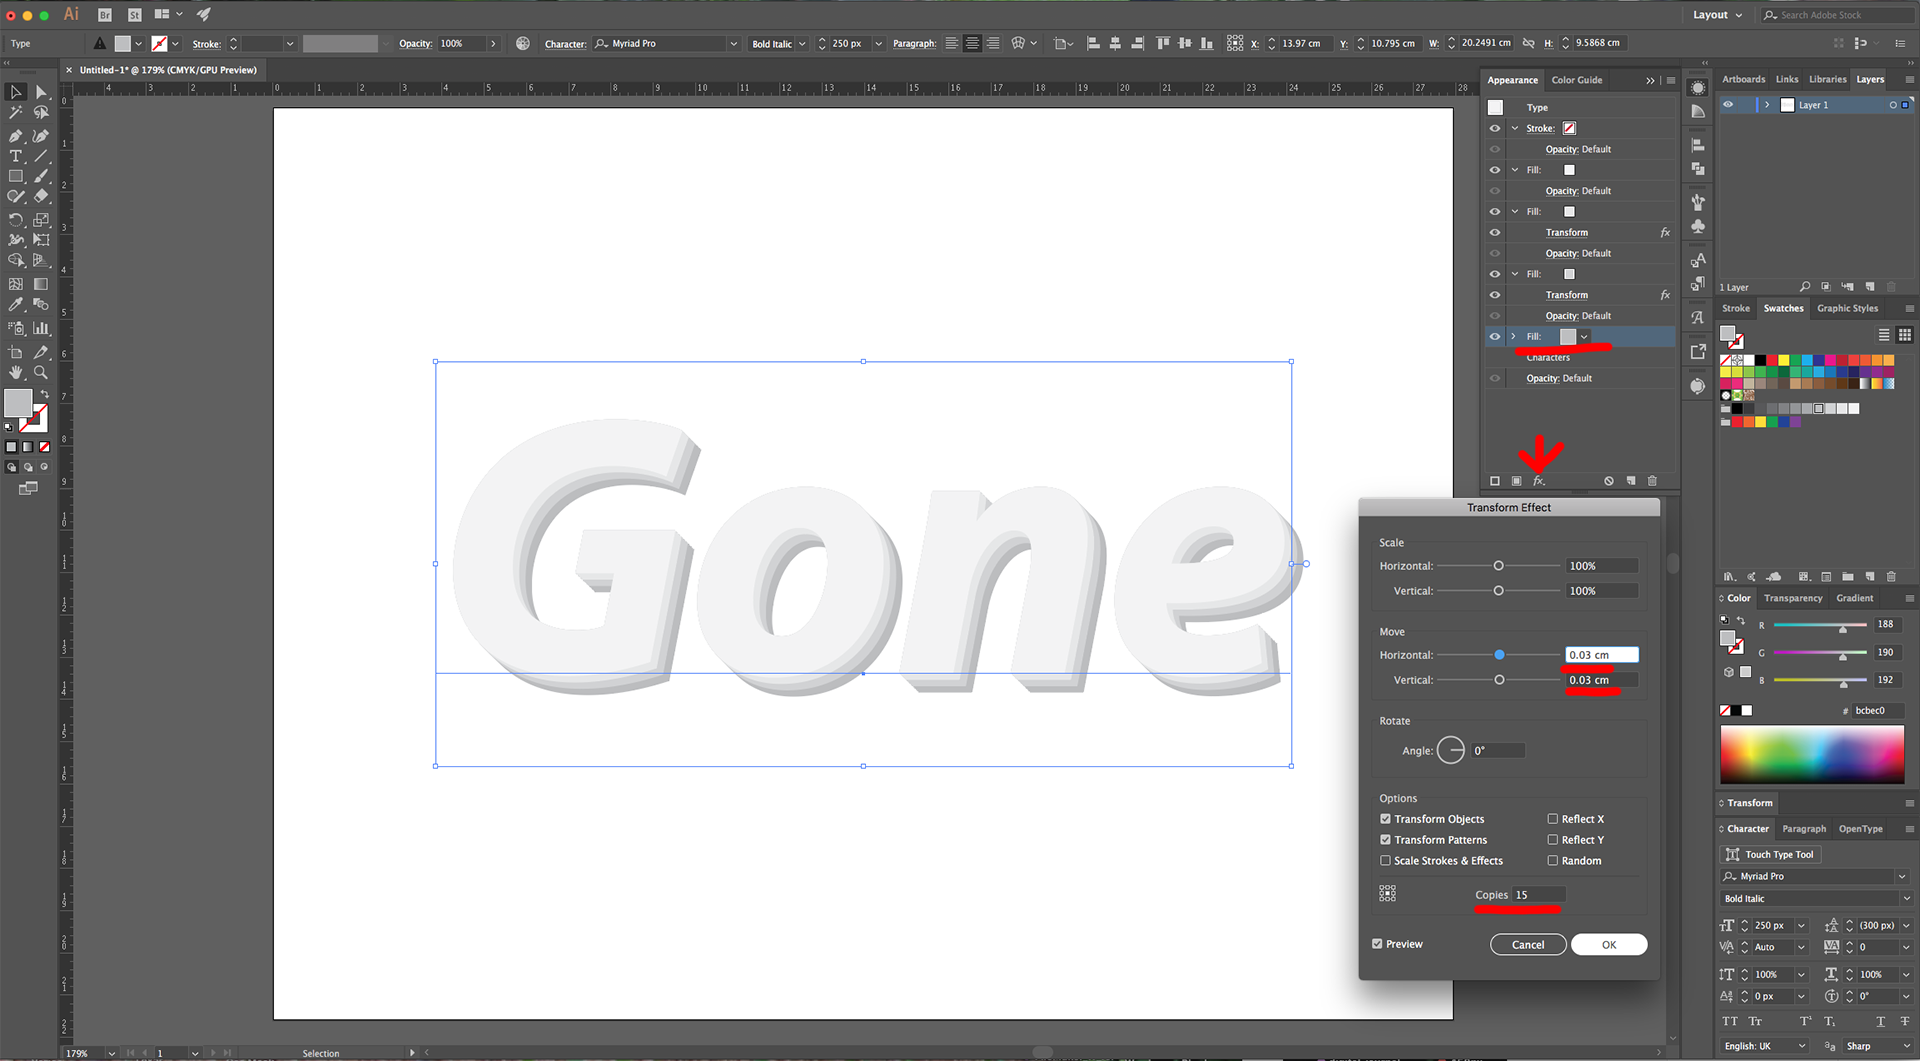
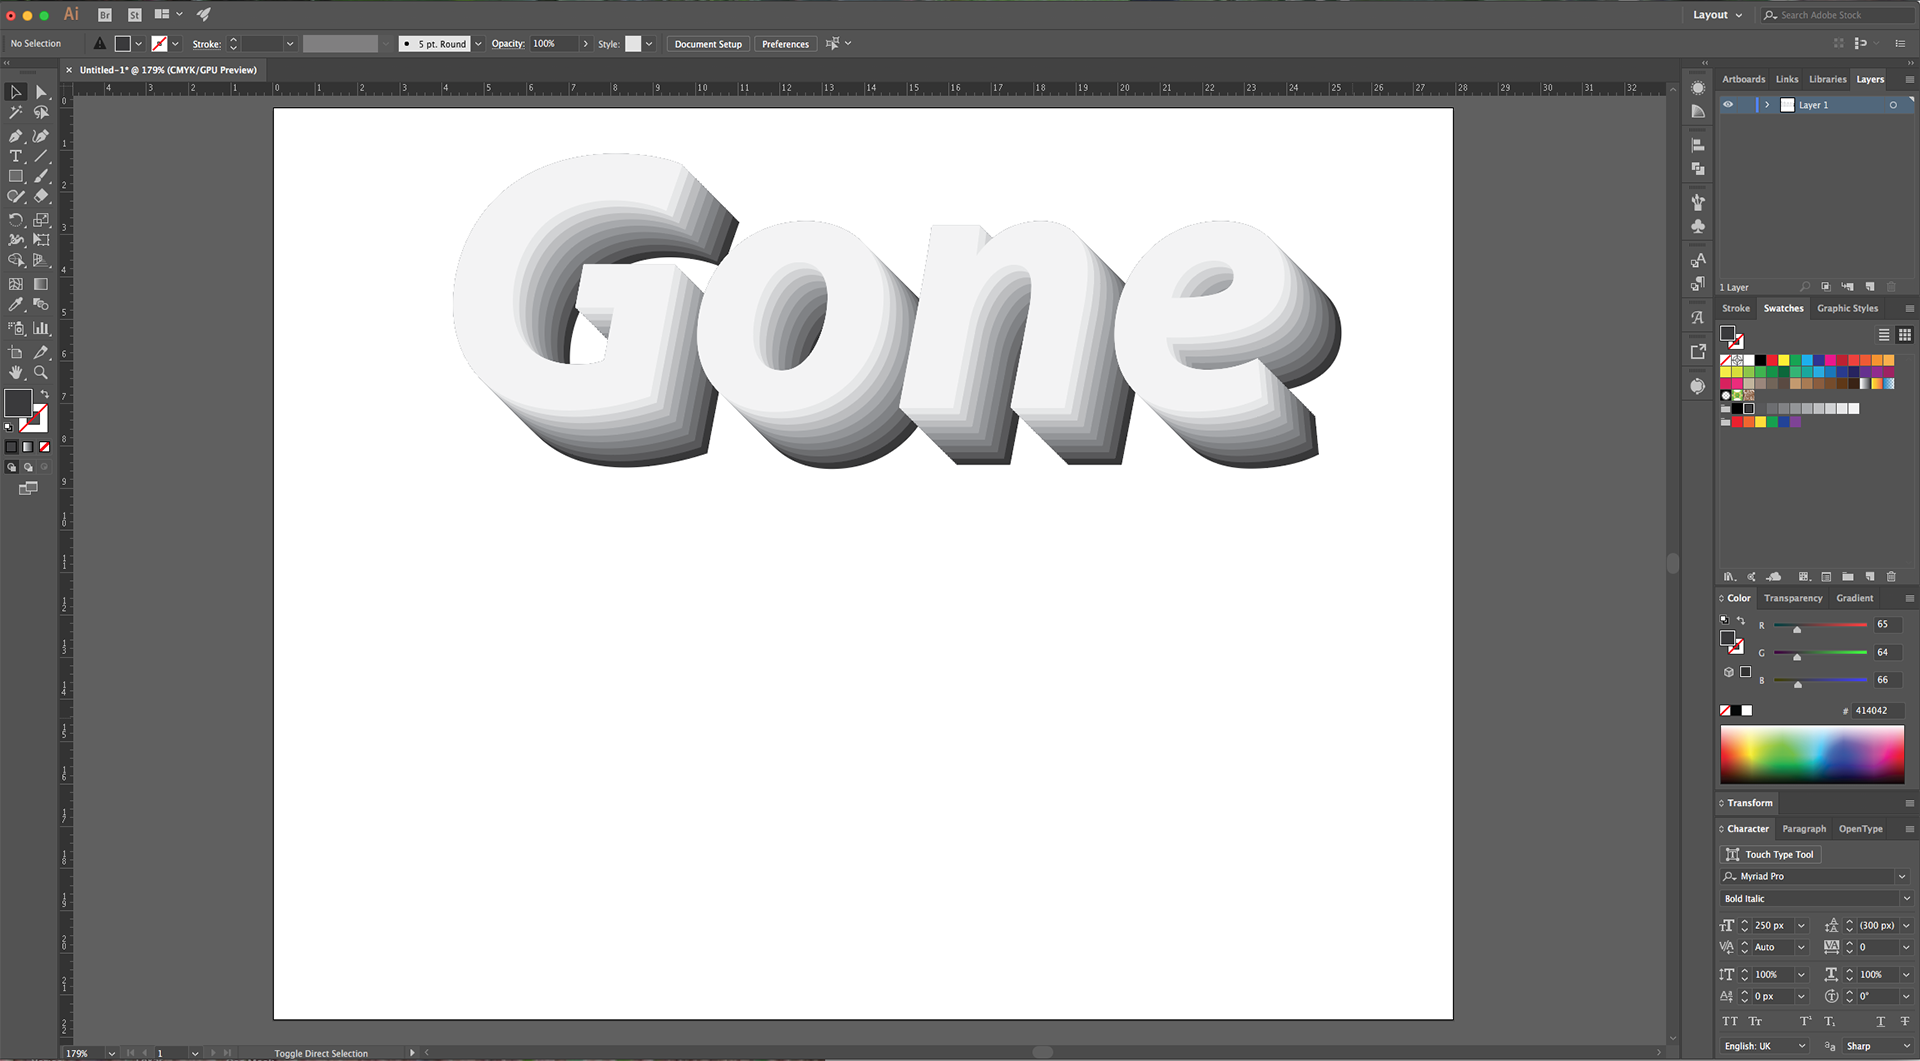
9 - Keep adding “Fills” making the Grey darker in increments of 10 and apply a “Horizontal and Vertical Move” Effect in increments of 5 “Copies” until you reach K=90 and 45 “Copies”.
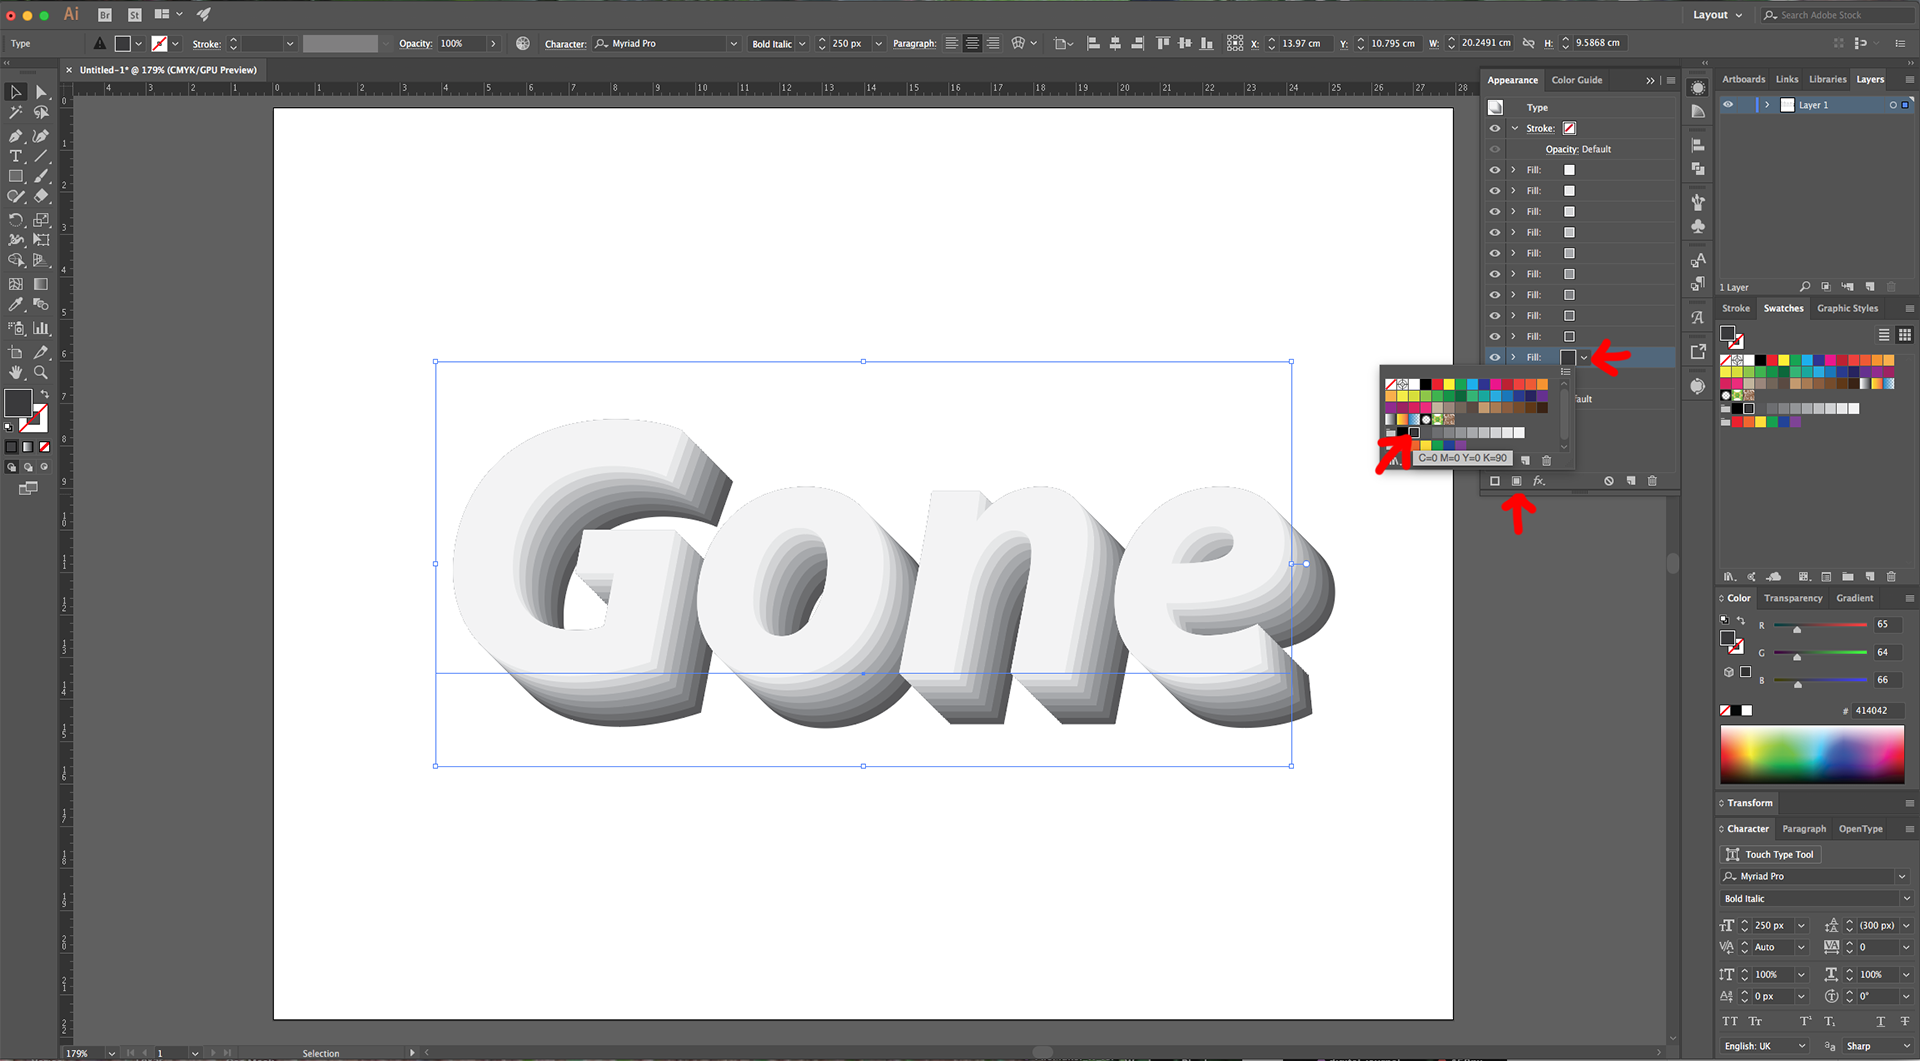
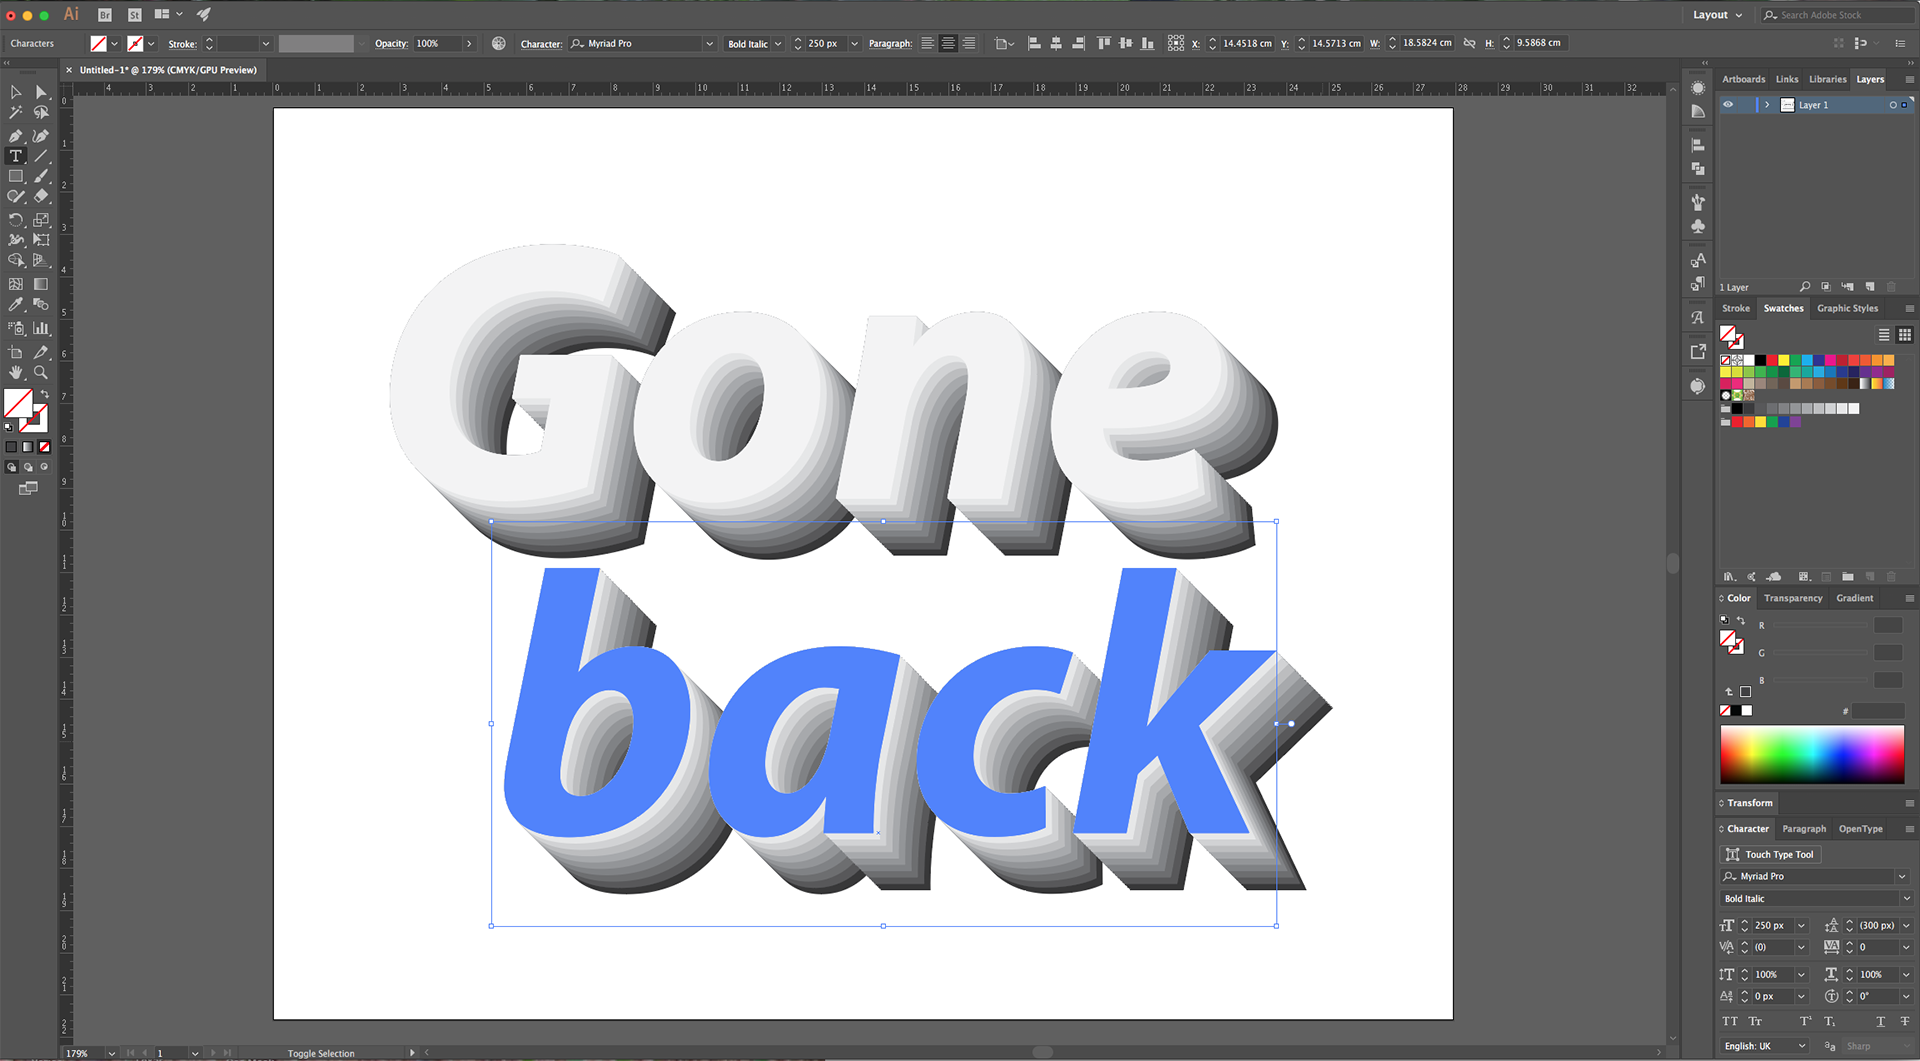
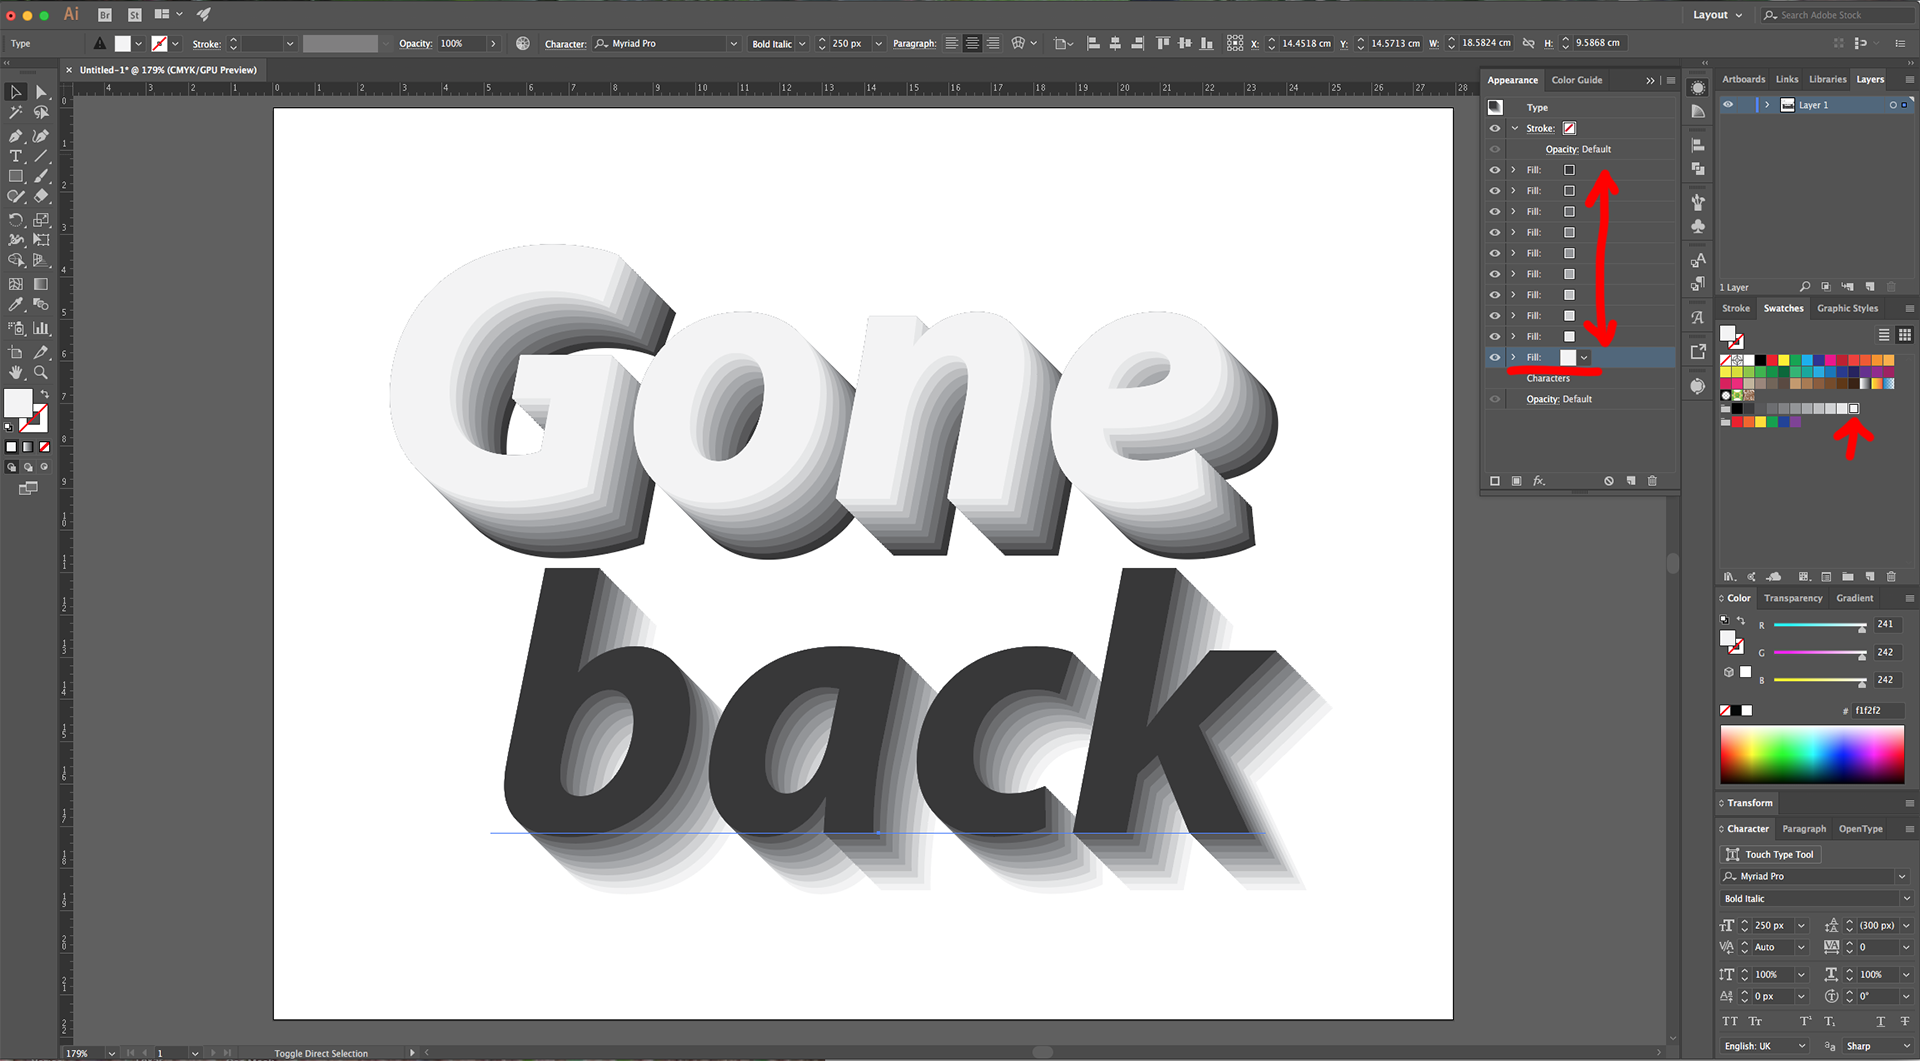
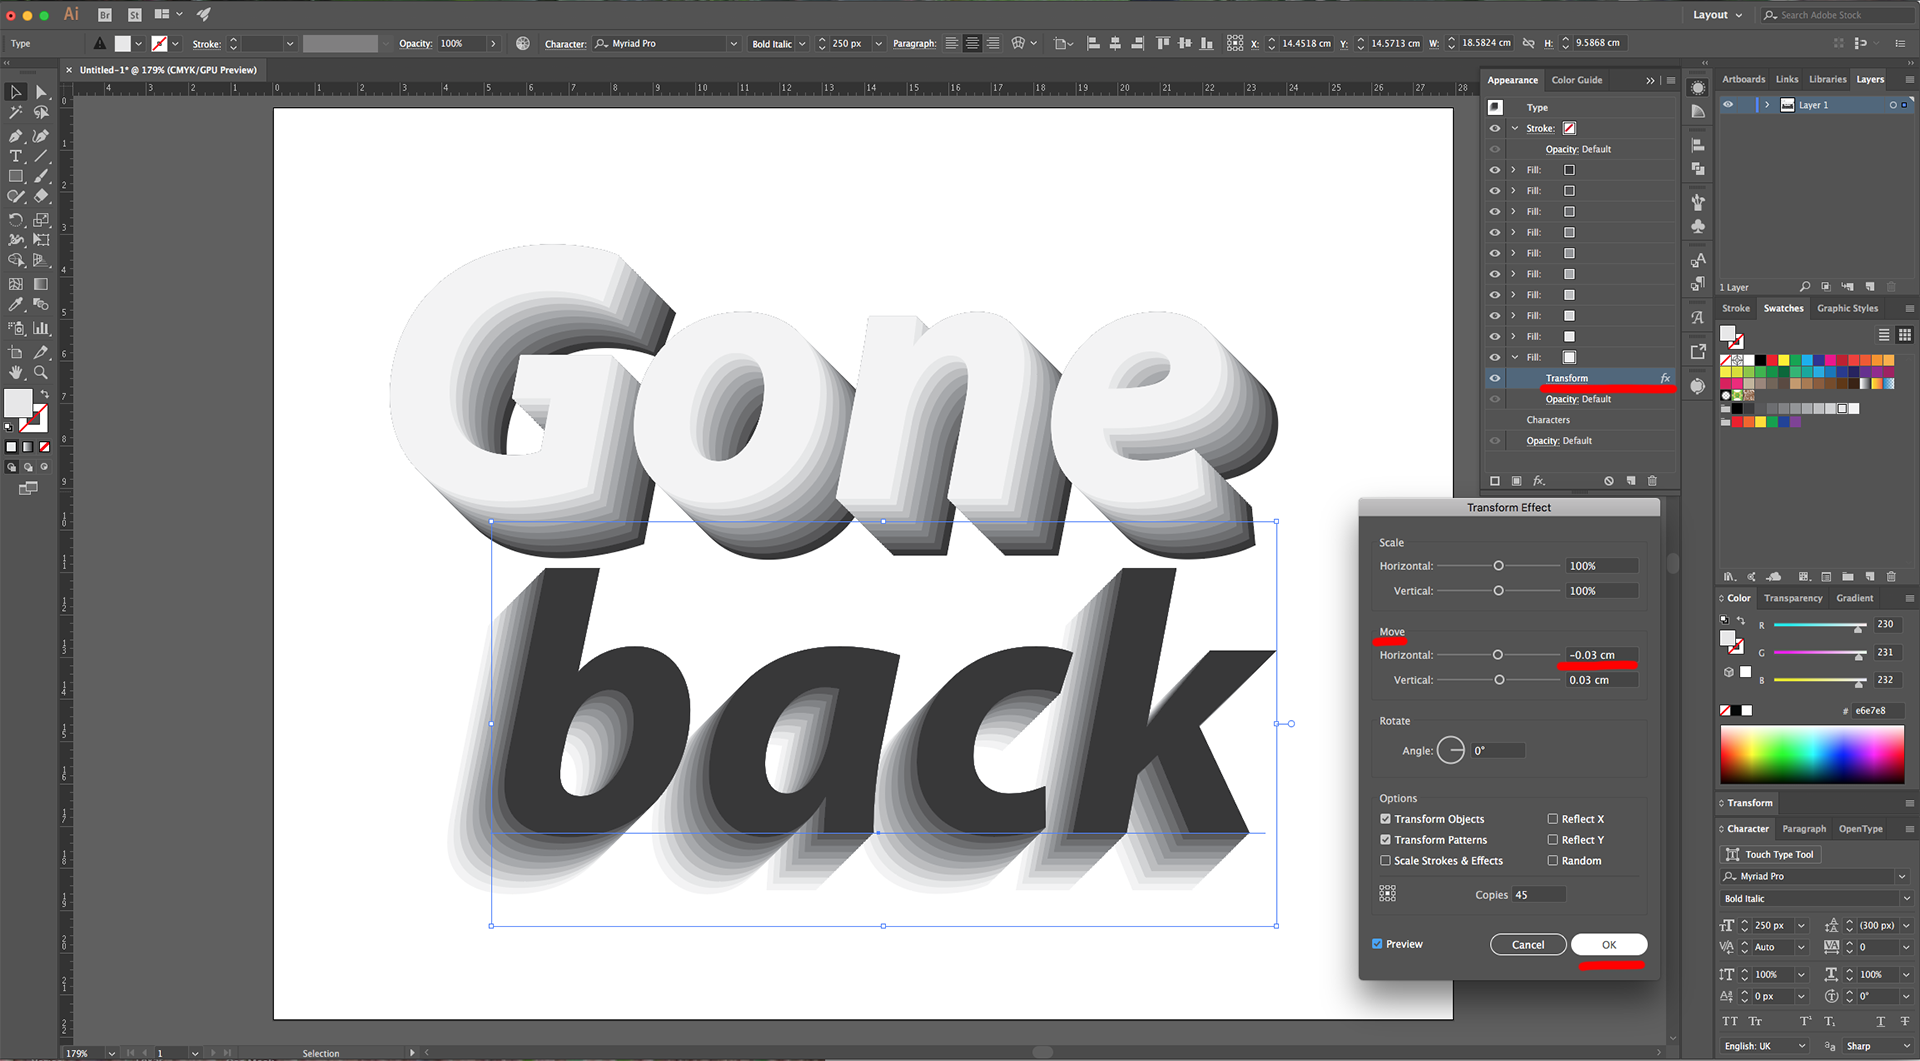
10 - Duplicate your text (Command/Control + C and Command/Control + V), change the word you are using and head to the “Appearance Panel”. Drag the bottom “Fill” Layers to the top to reverse the order. Double-click on the “Transform” Effect of each “Fill” and change the “Horizontal Move” value to -0.03 cm. Repeat for each “Fill” until you reverse the entire effect.
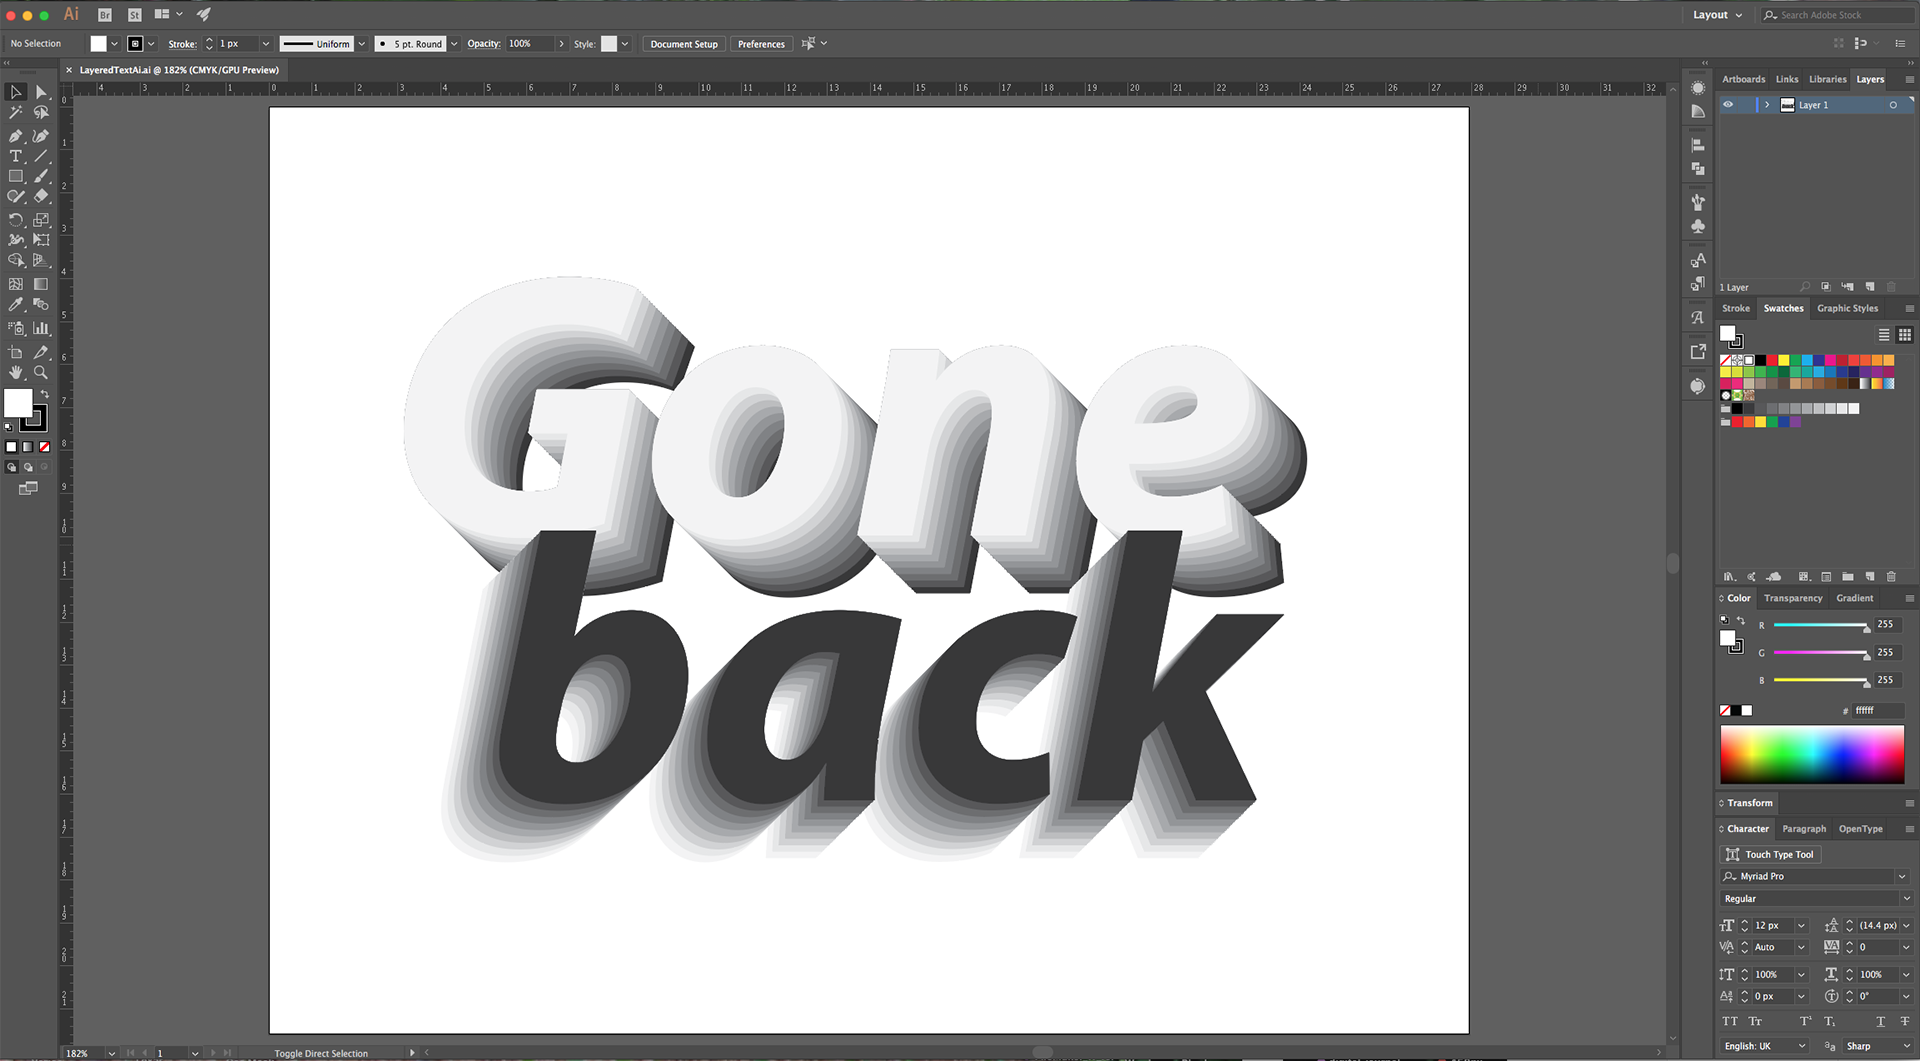
11 - Check it out.
by @lornacane
6 Related Illustrator Tutorials
For this tutorial, you will need a vectorized “Eye Chart “ or some Text for your “Poster” and some vector “3D Glasses”.1 - In Illustrator, create a “New Document”. Make it 70 x 100 cm @300 dpi and choose CMYK as “Color Mode”.2 - Go to Image > View > Rulers to bring out ...
1 - In Illustrator, create a “New Document”.2 - Select the “Rectangle Tool” (M), draw a Rectangle that covers your entire Canvas and fill it with a Medium Brown from the “Swatches Panel”.3 - “Lock” it using the small “Padlock” icon on the left side of its Thumbnail and then create ...
For this tutorial, we will use an image containing a Texture (Candy, flowers, etc.)and the Free Font Radicals from.1 - In Photoshop, create a “New Document”, make it 20 x 15 cm @ 300 dpi, RGB “Color Mode” and choose “White” as “Background Contents”.2 – Double-click on the “Background” layer thumbnail to “Unlock” it ...
For this tutorial, we will use LOT Free Font from Fontfabric.1 - In Illustrator, create a “New Document”.2 - Select the “Type Tool” (T), choose your font (we used LOT) and type your text.3 - Right-click on top of your text and choose “Create Outlines”. Change the “Fill” color to ...
For this tutorial, we are using “Bukhari Script” from Fontbundles.net (https://fontbundles.net/mikrojihad/33277-bukhari-script), some cake textures (there are some web pages that have free images that you can useas textures) and a plate and table background images.We are going to divide this tutorial in two sections. ...
For this tutorial we are using the Free Font “Wask New” from Vasilis Skandalos.1 - In Illustrator, create a “New Document”.2 - Select the “Type Tool” (T), choose your font (we used “Wask New”) and type your text. Use Black as “Fill” color.3 - Right-click on top of it and ...

 All your Font Needs


