Unlimited Downloads 15% off Marketplace Purchases Exclusive Software Access Unlimited Downloads
15% off Marketplace Purchases
Exclusive Software Access
Go Unlimited Maybe Later
Multi Cutter Support in Silhouette Studio
  • By Design Bundles
  • 09 Feb 2018
  • 1 Min
  • Silhouette Tutorials

Multi Cutter Support in Silhouette Studio

*Note- Business Edition used.

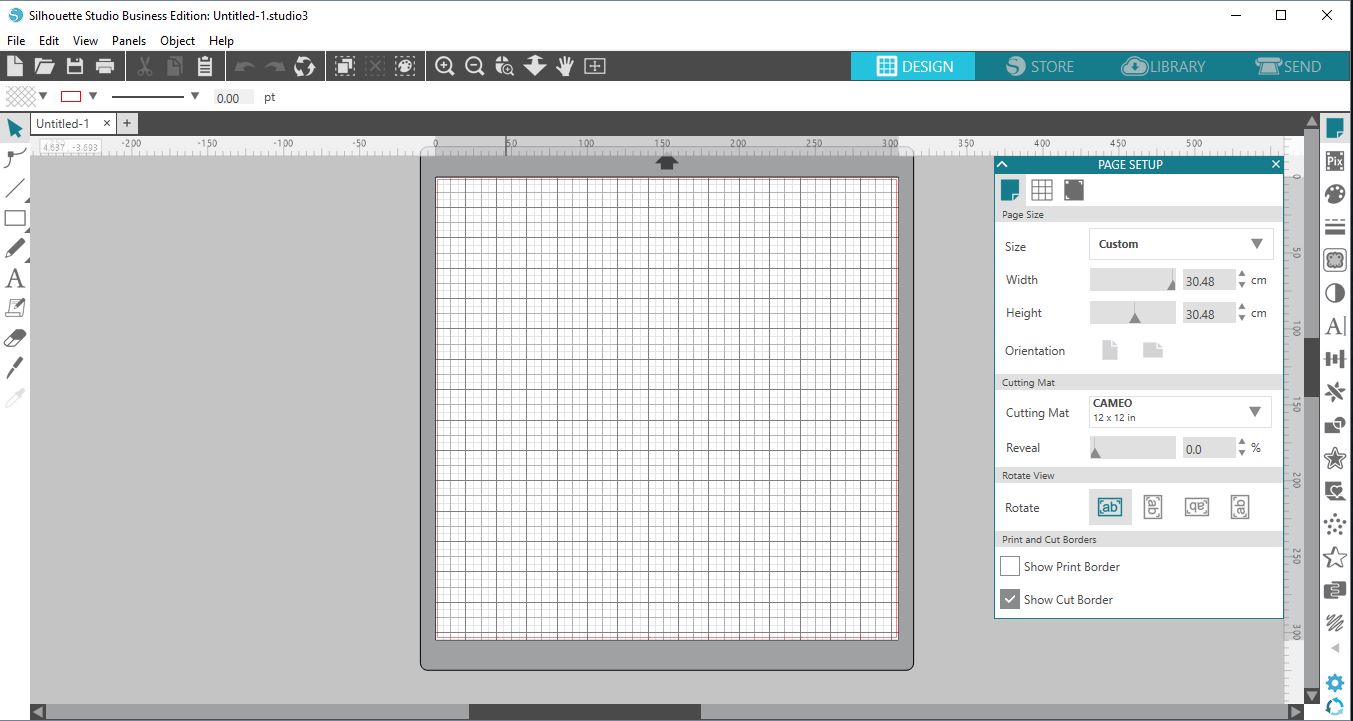
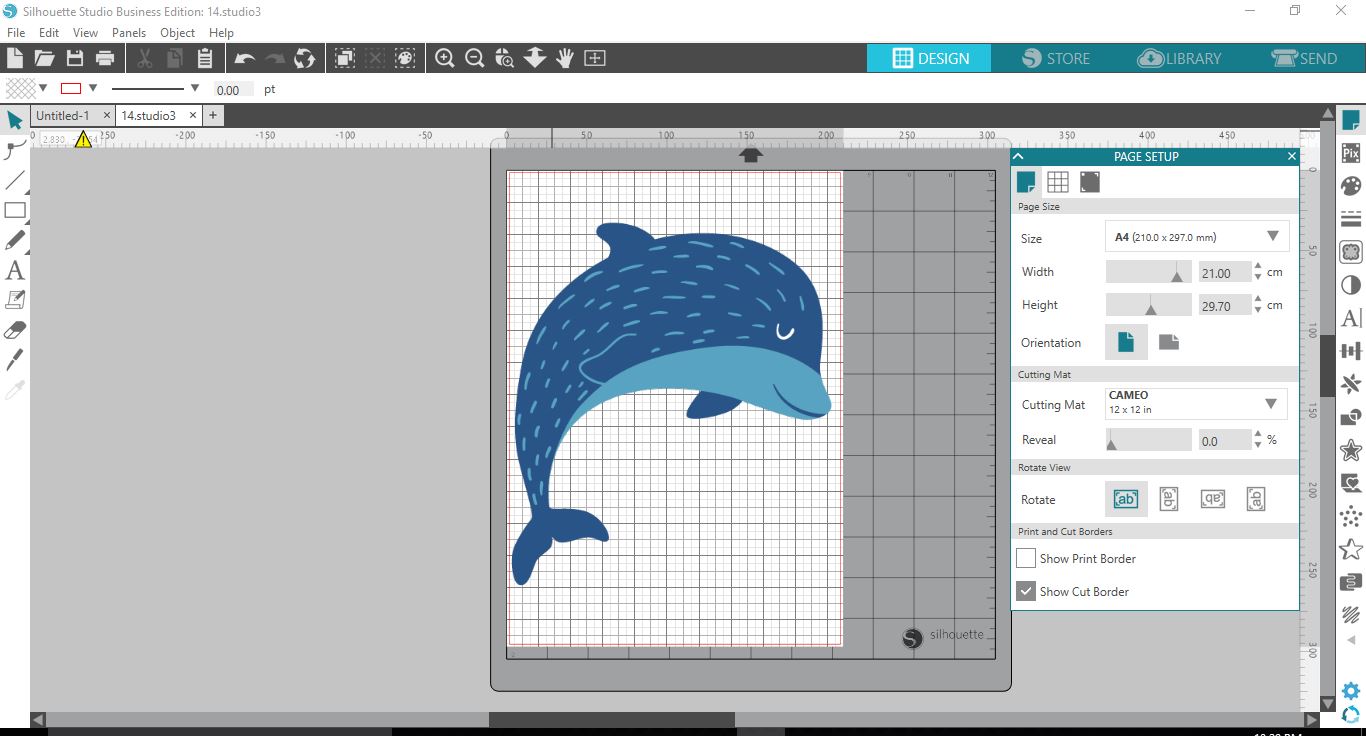
1- Open silhouette Studio.

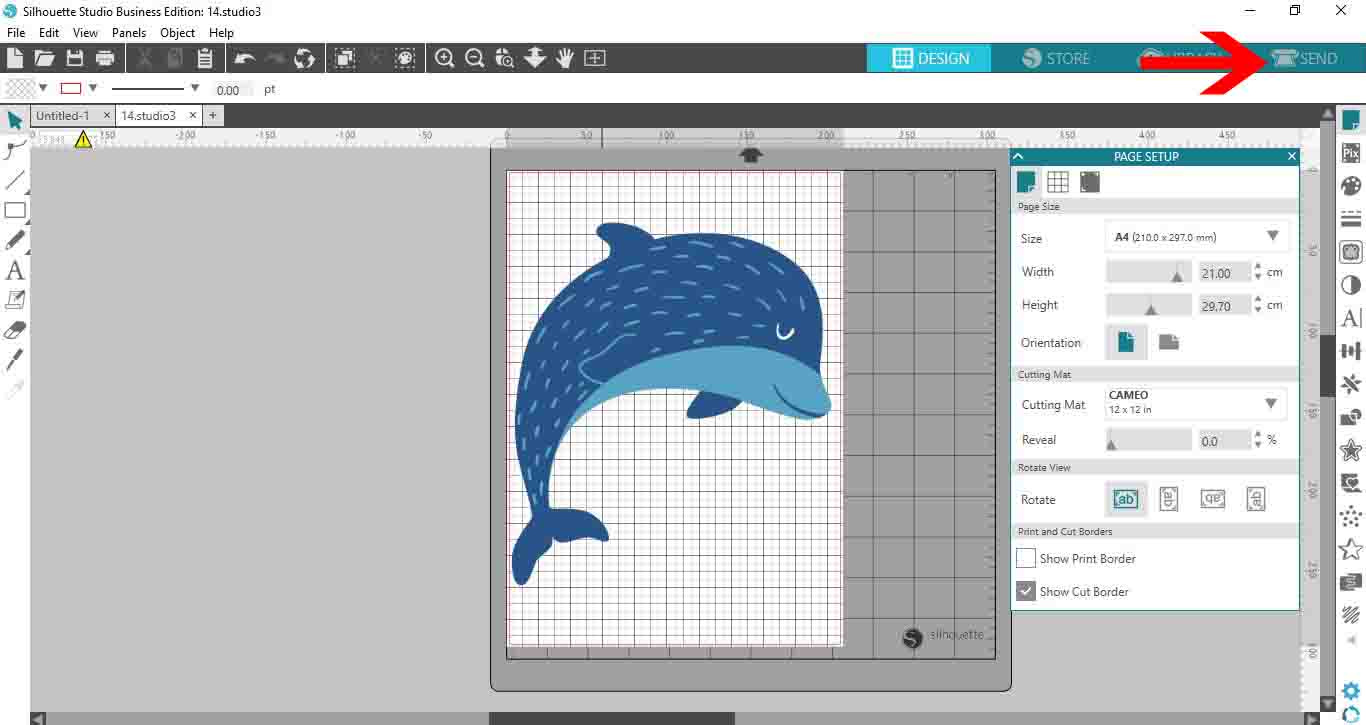
2- Create your projects and then when finished click Send.

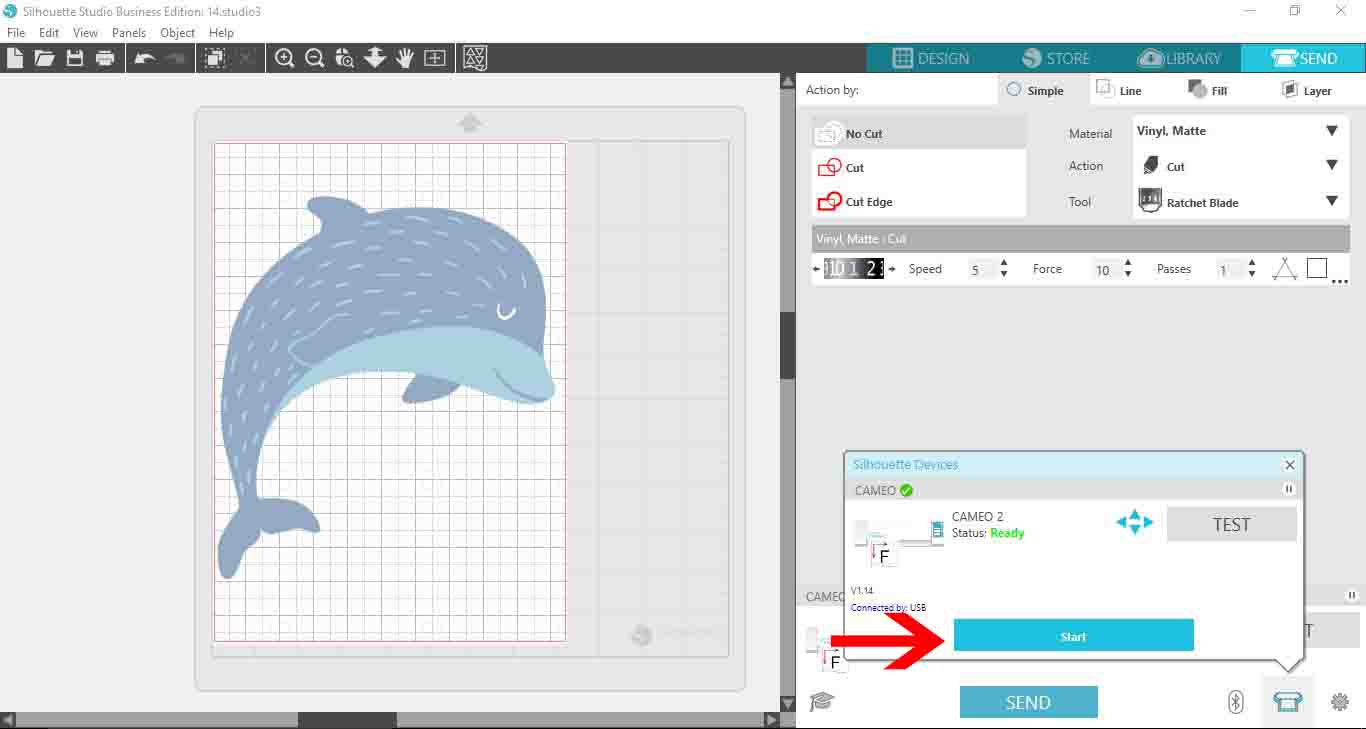
3- To cut on your first cutter, rather than just clicking send, click on the little cutter icon.

4- Your cutter that is linked to your pc will appear. click start to start cutting.

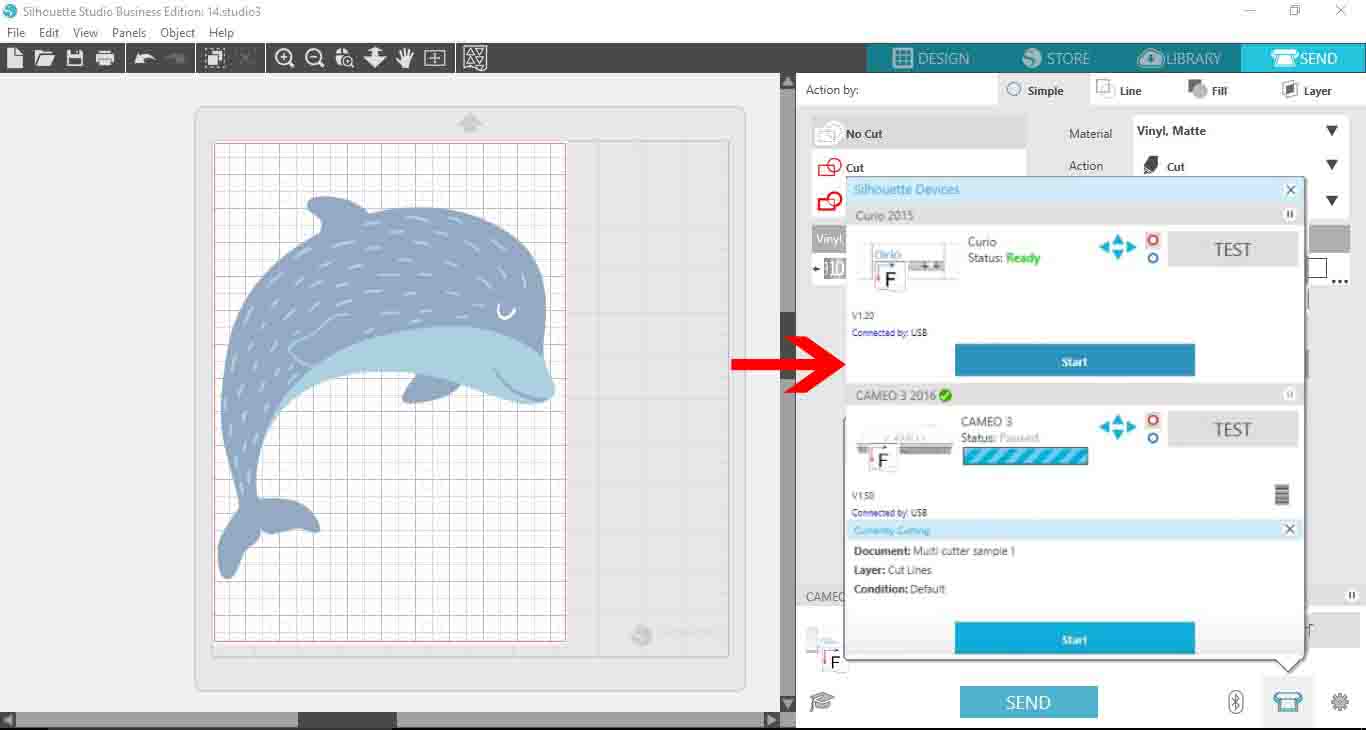
5- While cutting, you can add a machine, or if it is already linked just click on the project you want to start cutting next.Click send.

6- Click on the little cutter icon again, you will see your first cutter still working but your second cutter will appear. you can click start and this will now start cutting.


6 Related Silhouette Tutorials

Multi color foiling in Silhouette Studio is a fairly simple process. The Foil Quill is used to transfer the foil via heat onto the material. Various types of materials can be used such as vellum, faux leather, acrylic, cardstock and more. Foil accents or creating foiled designs gives your project ...

Today we will show you how to fill text with the Foil Quill using the Silhouette Studio Free Edition. The Foil Quill uses heat to transfer foiled designs to several types of media. It’s a fantastic way of making a gift extra special. Usually, single line fonts are used ...

1- Open Silhouette Alta 3D software. Click on the right tab to access the library.2- Click on the library.3- Select a basic 2D file. Double click on it.4- A new window will appear. Select the cookie cutter option.5-  Your design will appear directly as a cookie ...

With this super quick tutorial, discover how to use the magnetic floating panels in Silhouette Studio V4. You can adjust the position of the panels, have multiple panels open at once and even snap them together. This is a useful way of customizing your work area and making things so ...

Today we are going to show you how to use the Auto Weed function in Silhouette Studio V4.1. Being able to weed effortlessly is a crafter’s dream. Silhouette Studio’s Auto Weed function adds borders to make weeding so much easier. It should be noted that this feature is ...

Object to path feature in Silhouette Designer Studio V4.1- Open Silhouette Designer studio software V4 and select the replicate icon.2- In the replicate panel there are 3 options, select the object on path icon.3- Create a shape to place your object on.4- Select your shape.5-  Import ...

You may also like

Help Center
ol image