New features in the silhouette library
*Free version and higher.
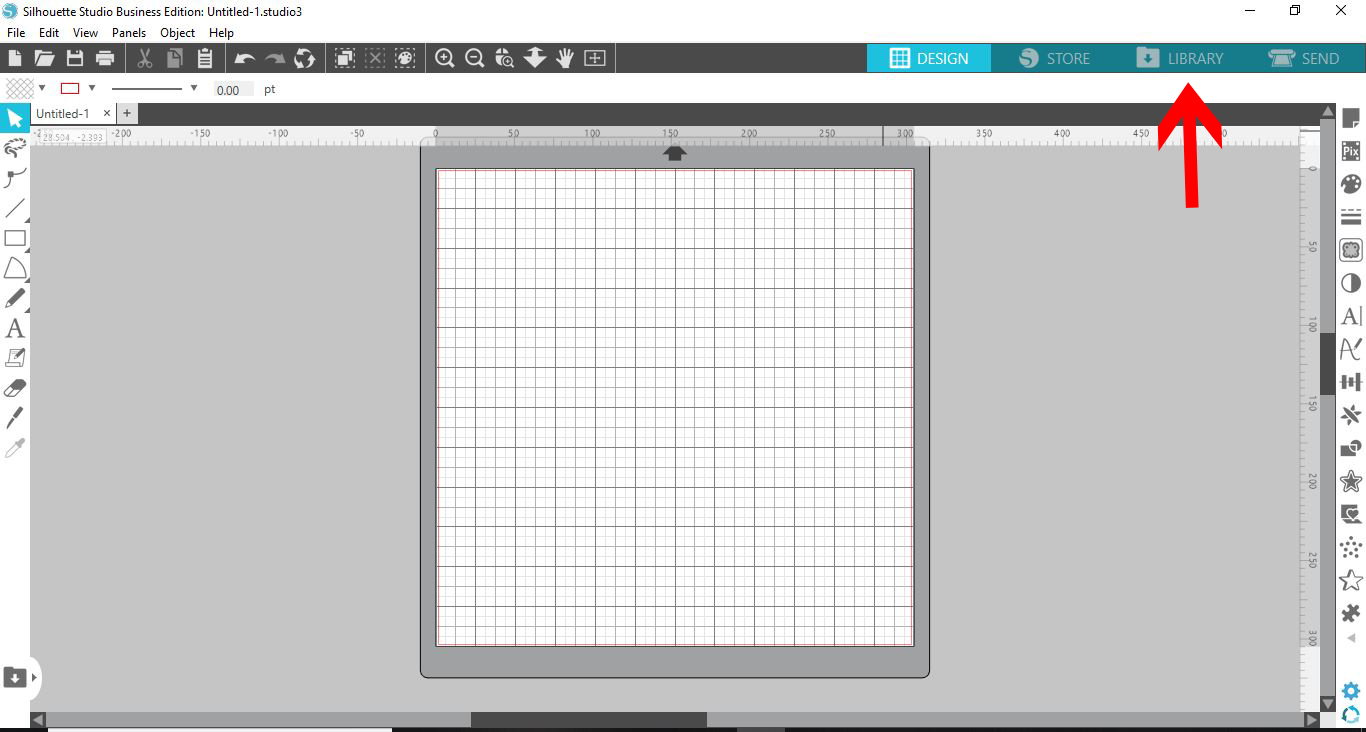
1- Open silhouette studio. Click on the library.
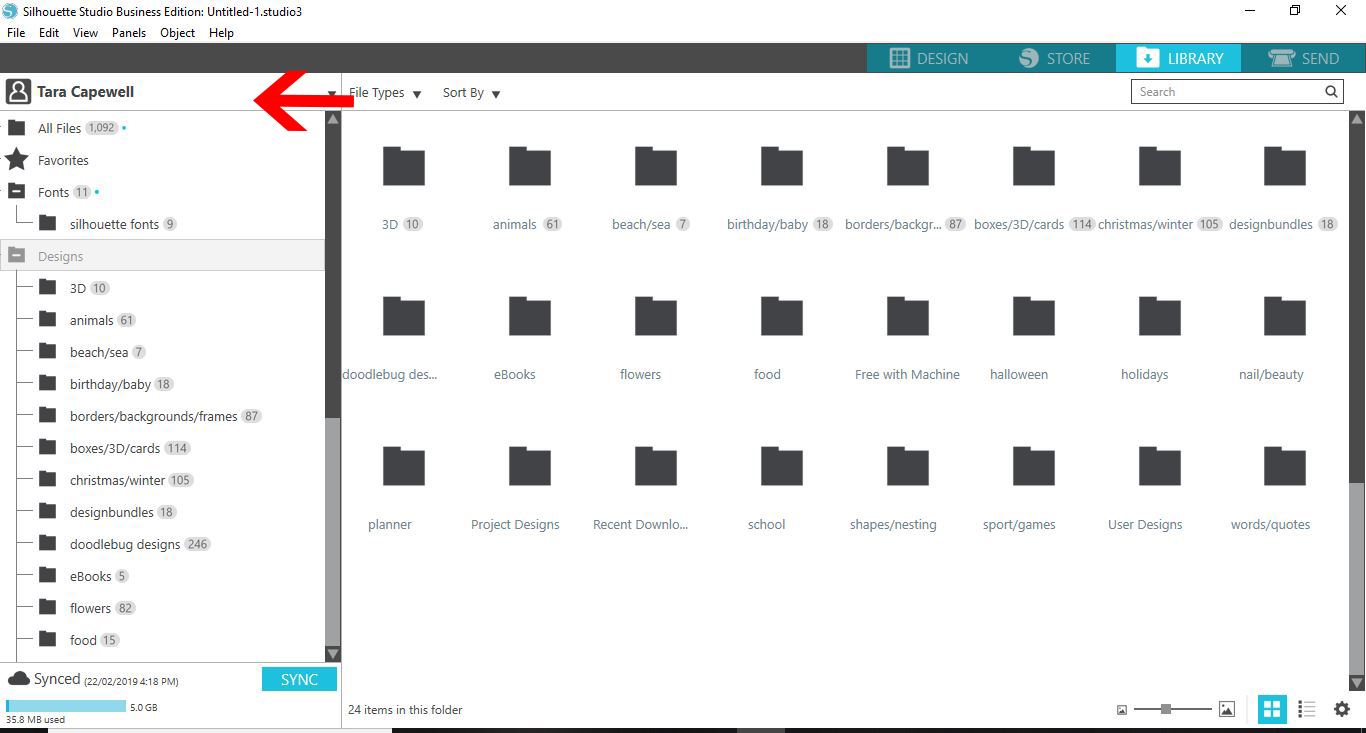
2- Click on the drop down icon to access the menu.
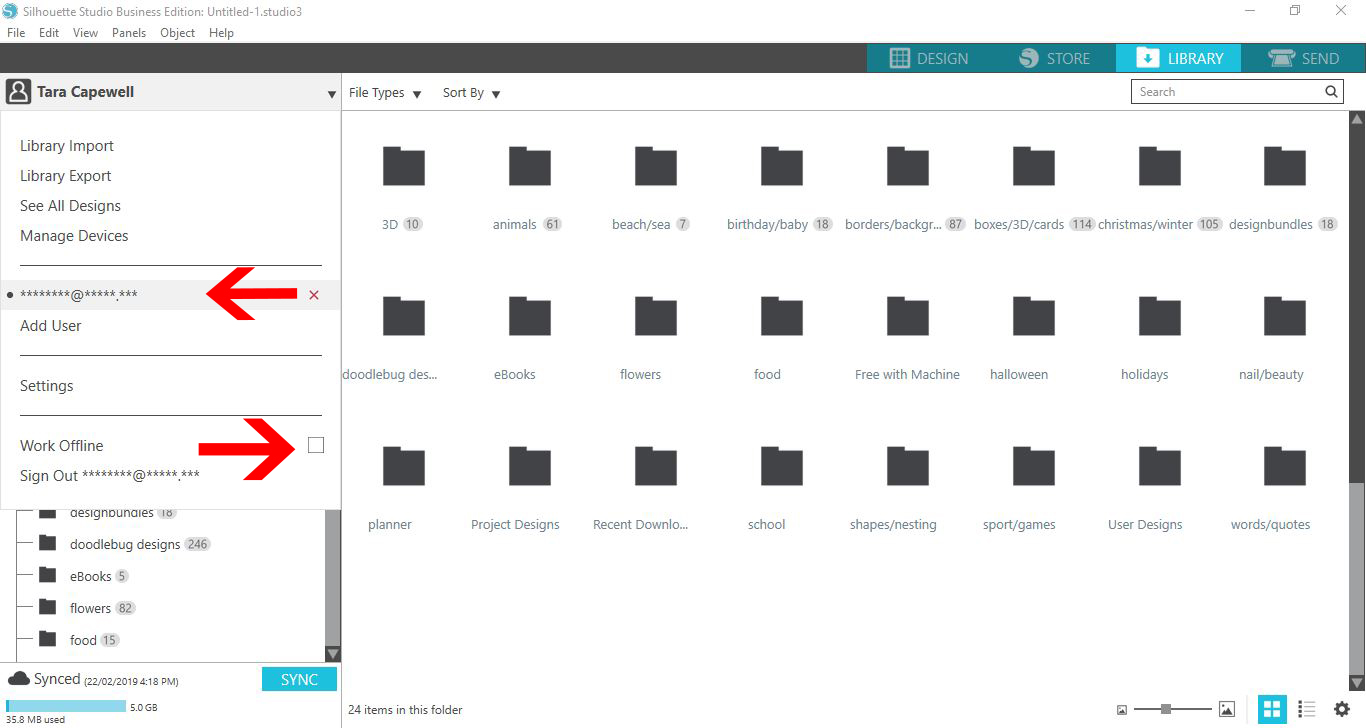
3- Sign in. You can also work offline if you check the offline icon.
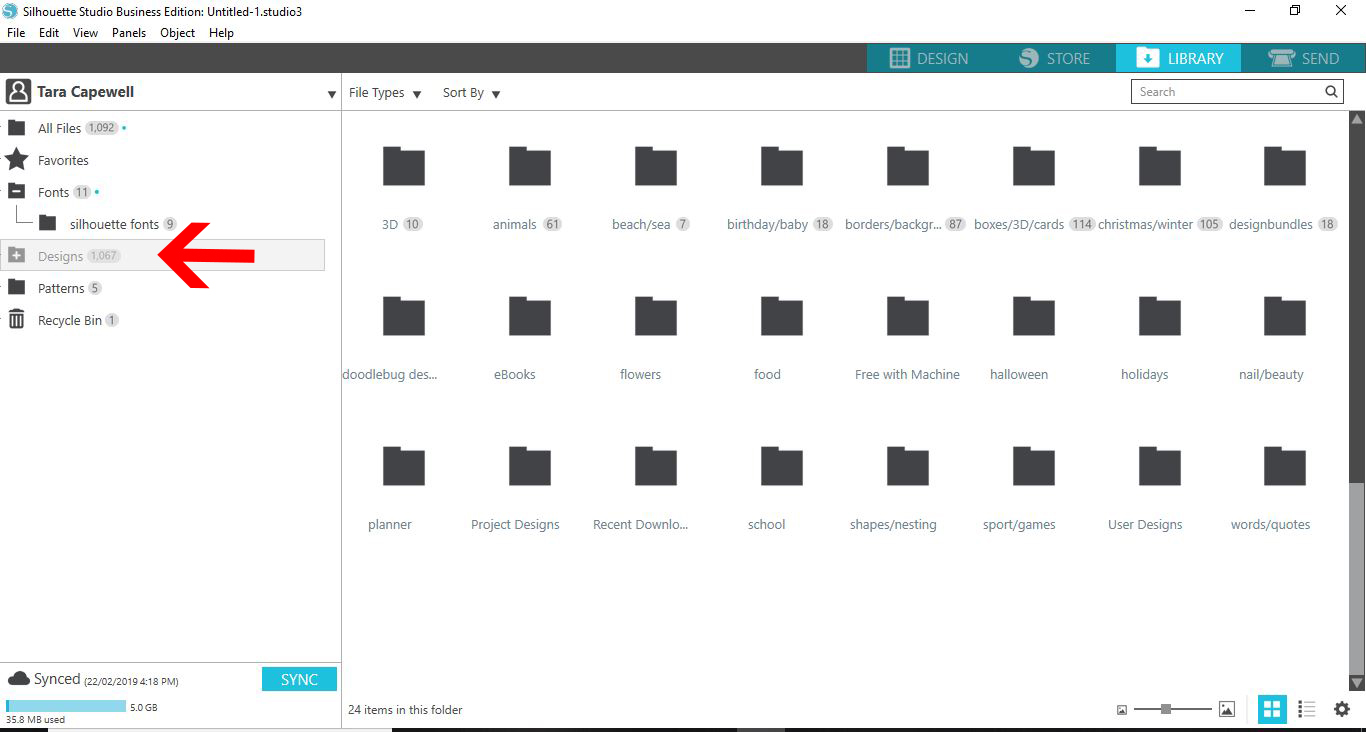
4- All your designs that you have created, imported and purchased in the silhouette store are found in the design folder. You can also see how many files you have in the library as a total.
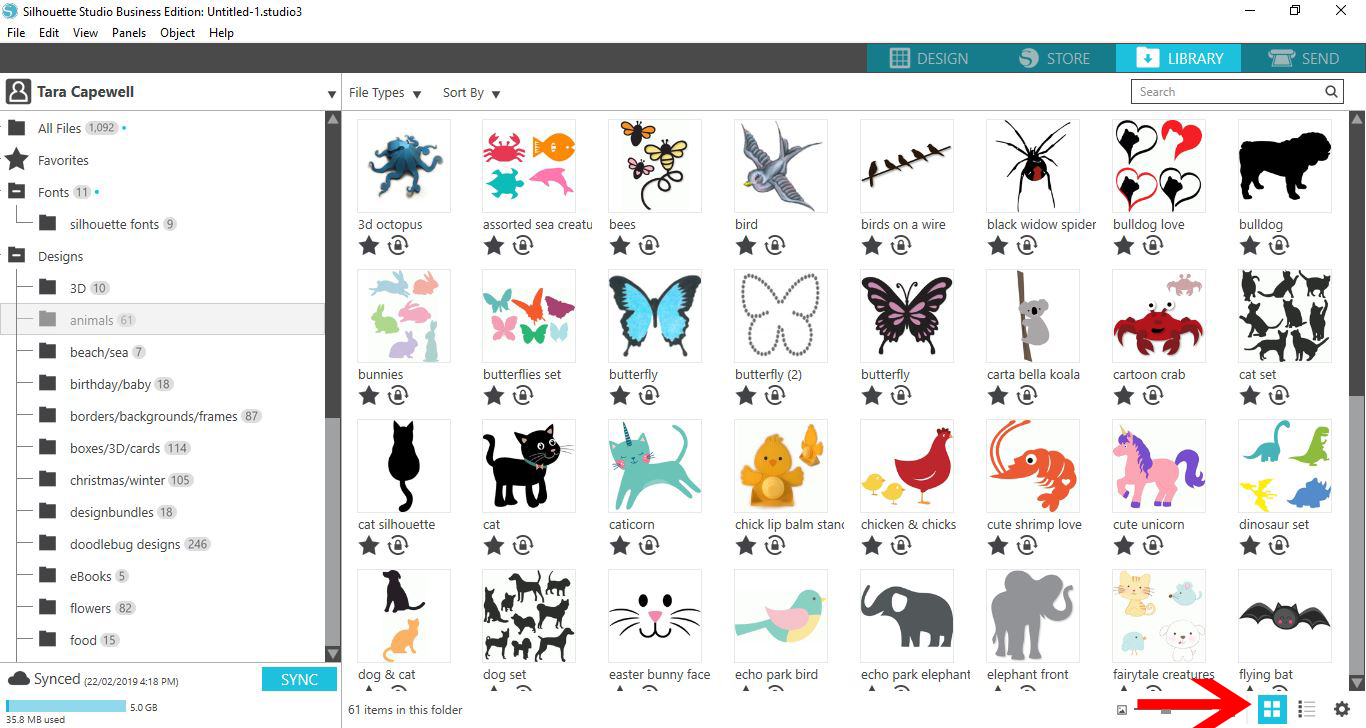
5- You can view your design as a list form by clicking on the icon next to the setting icon.
6- You can also change to the thumbnail icon option.
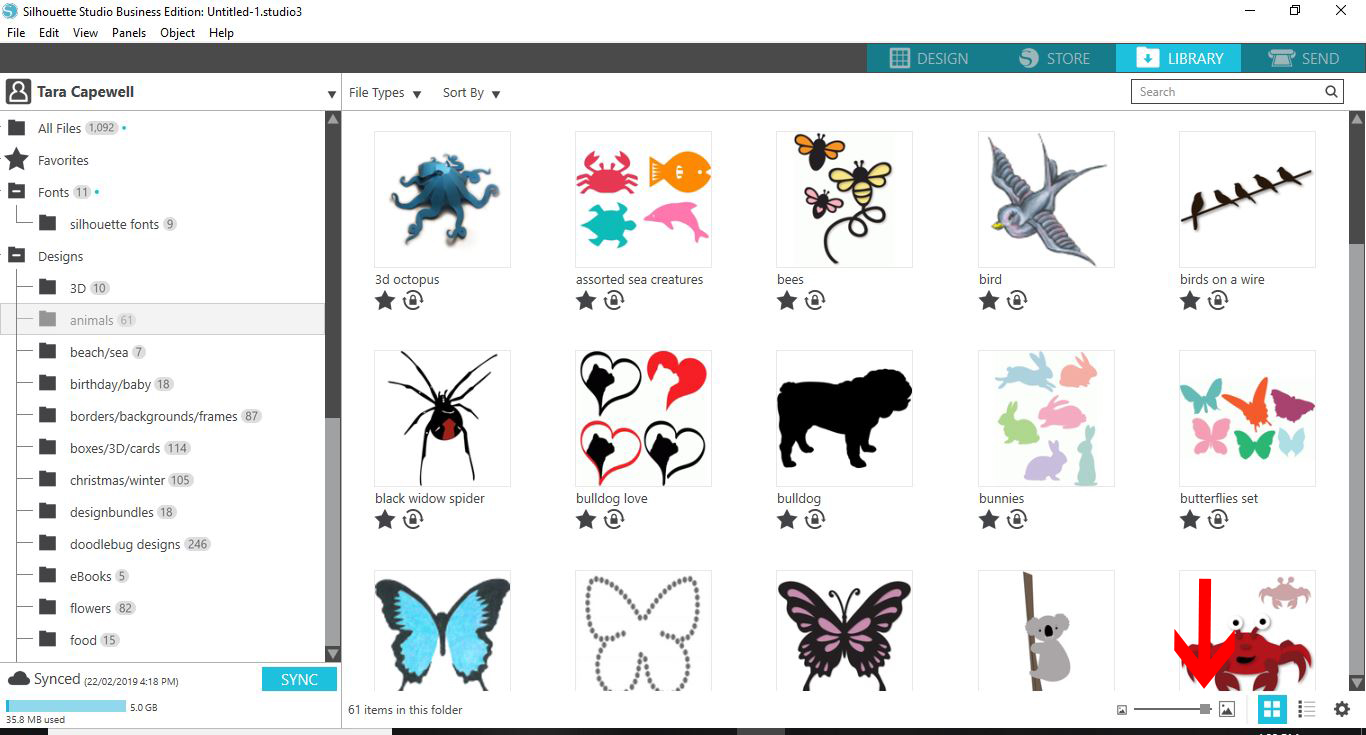
7- You can change the size of the thumbnails by adjusting the slider.
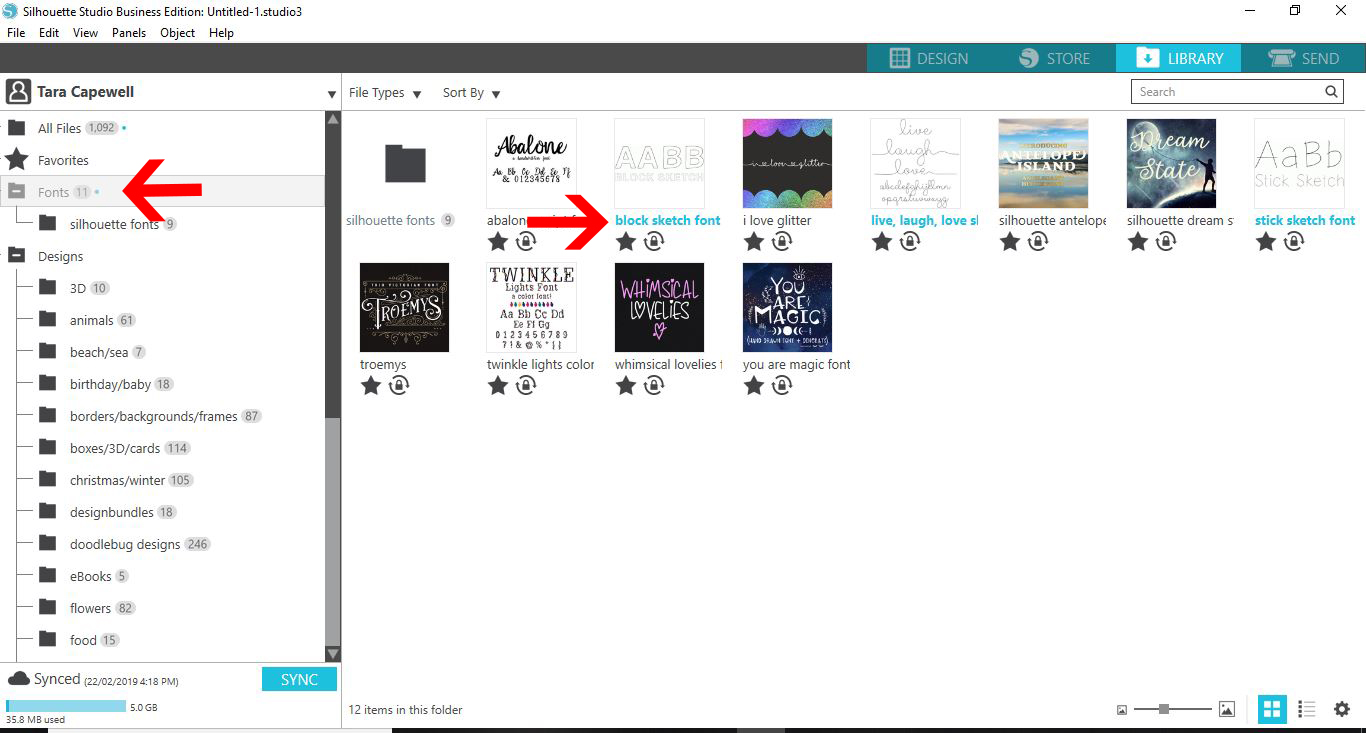
8- When you download new files, a blue dot will appear next to the folder it is located. When you open the folder, these new downloaded files will be highlighted in blue.
9- To select a favorite, you can click on the star to create a favorite. Where ever there is a blue star this will show up in the favorite folder.
10- Click on the favorite folder to see all the ones you have selected.
11- The lock icon shows the designs that are shared through all the silhouette devices via the cloud.
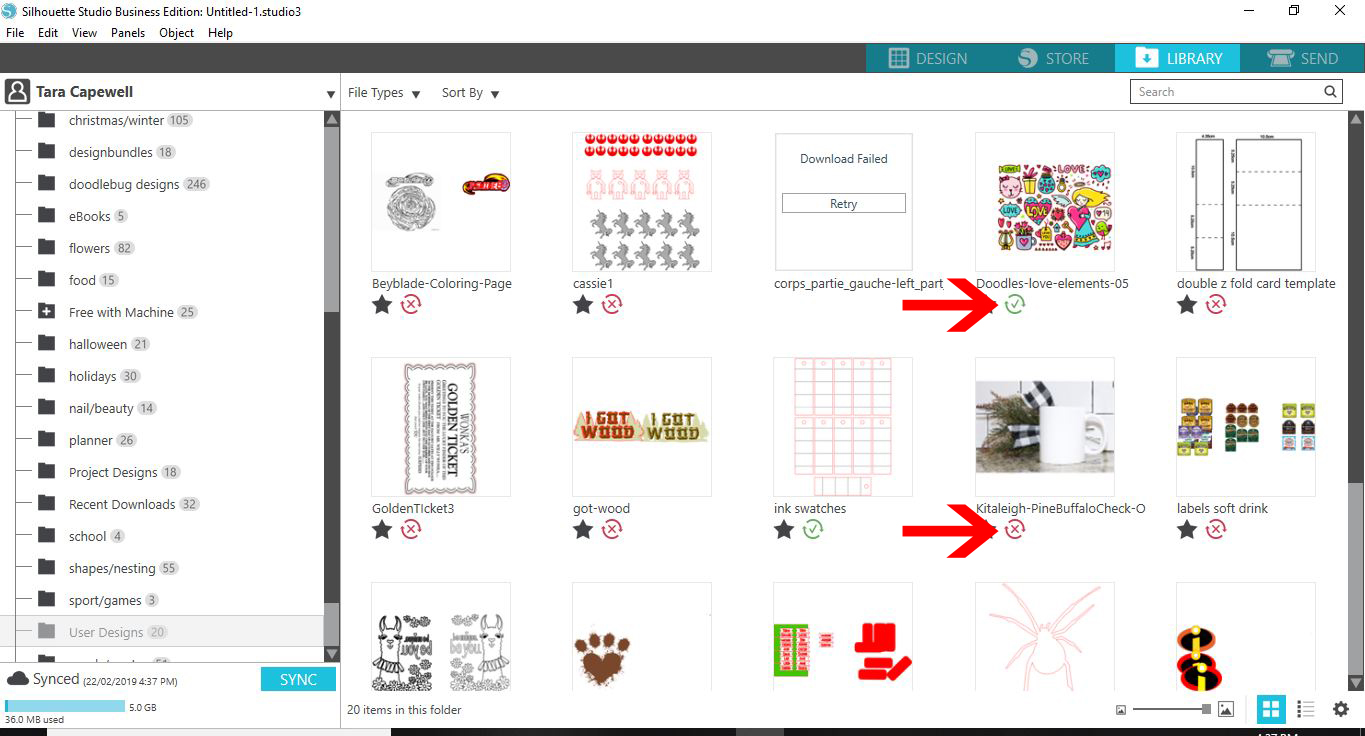
12- If there is a green tick on the thumbnail the design is shared through the cloud and is part of your cloud sharing allotment. If there is a red cross this means it is not shared and is only available locally on the PC you are using.
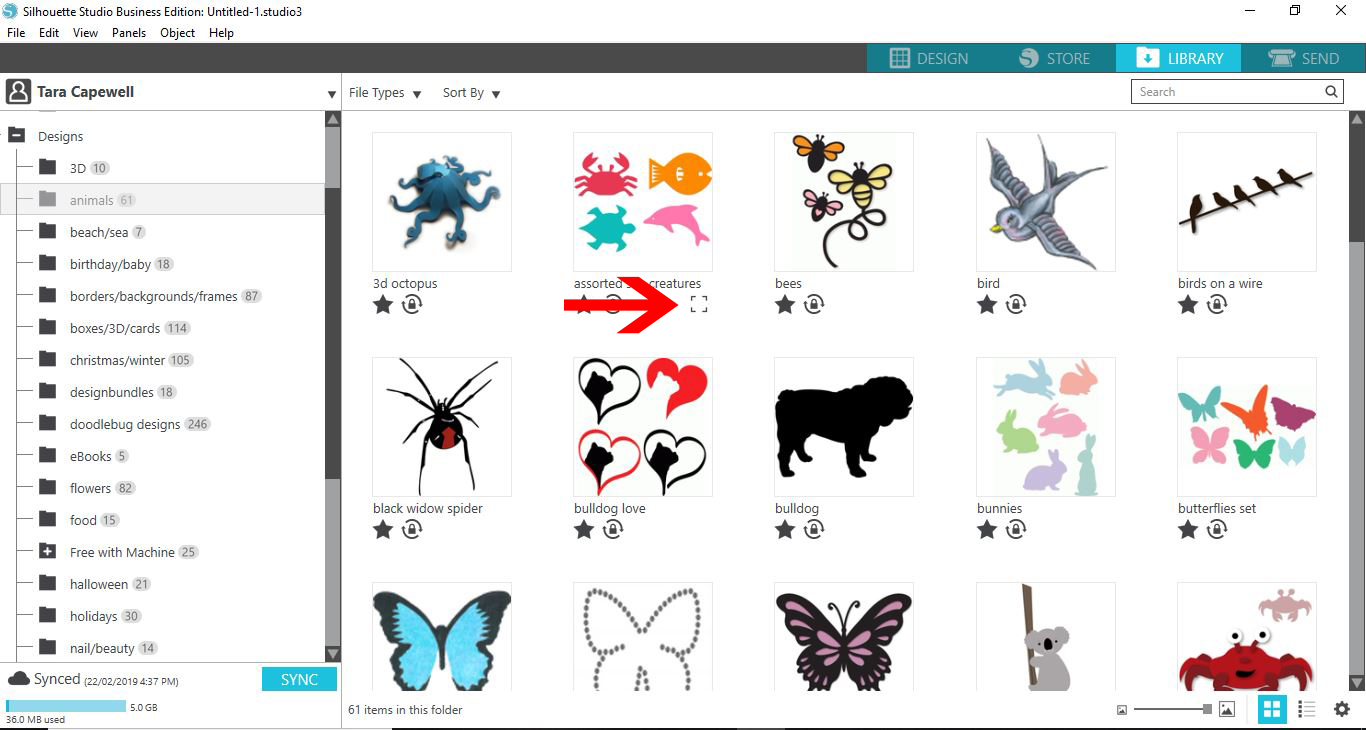
13- When you hover over a thumbnail a little rectangle will appear. you can click on this to bring up a preview of your design.
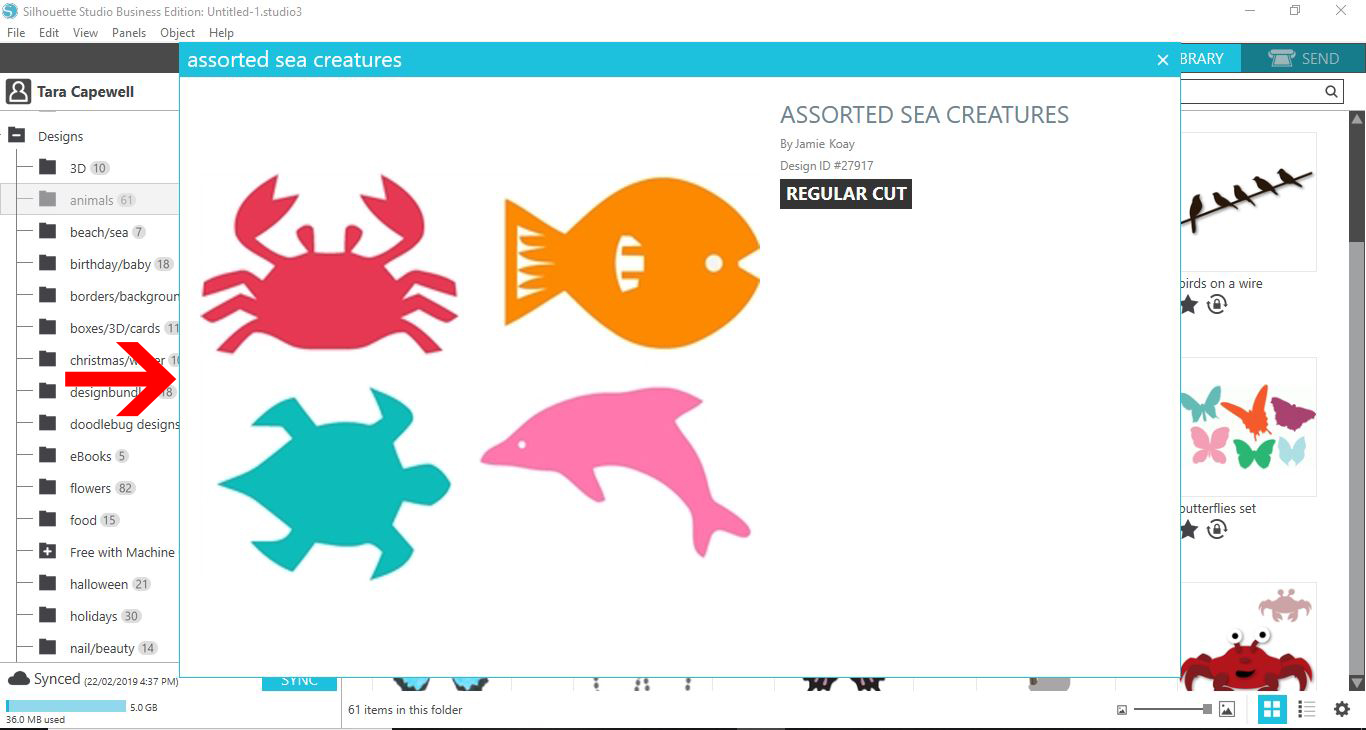
14- The preview will appear and give you all the relevant information you need for the file (ie- cut, print and cut, designer etc)
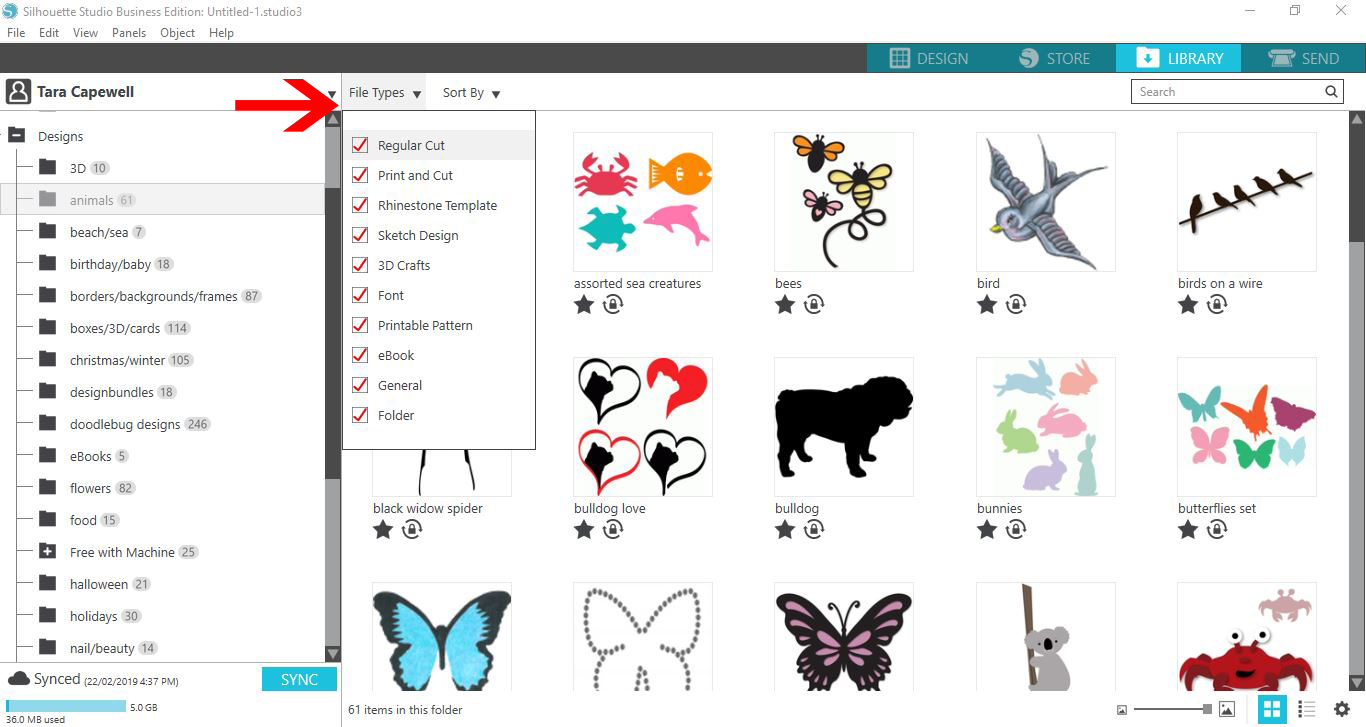
15- You can also filter your design by clicking the drop down file type icon. Here you can check or uncheck the type of files you are looking for.
16- You can also click on the sort by drop down option and choose what order you would like to sort your designs.
1- Open silhouette studio. Click on the library.
2- Click on the drop down icon to access the menu.
3- Sign in. You can also work offline if you check the offline icon.
4- All your designs that you have created, imported and purchased in the silhouette store are found in the design folder. You can also see how many files you have in the library as a total.
5- You can view your design as a list form by clicking on the icon next to the setting icon.

6- You can also change to the thumbnail icon option.
7- You can change the size of the thumbnails by adjusting the slider.
8- When you download new files, a blue dot will appear next to the folder it is located. When you open the folder, these new downloaded files will be highlighted in blue.
9- To select a favorite, you can click on the star to create a favorite. Where ever there is a blue star this will show up in the favorite folder.

10- Click on the favorite folder to see all the ones you have selected.

11- The lock icon shows the designs that are shared through all the silhouette devices via the cloud.
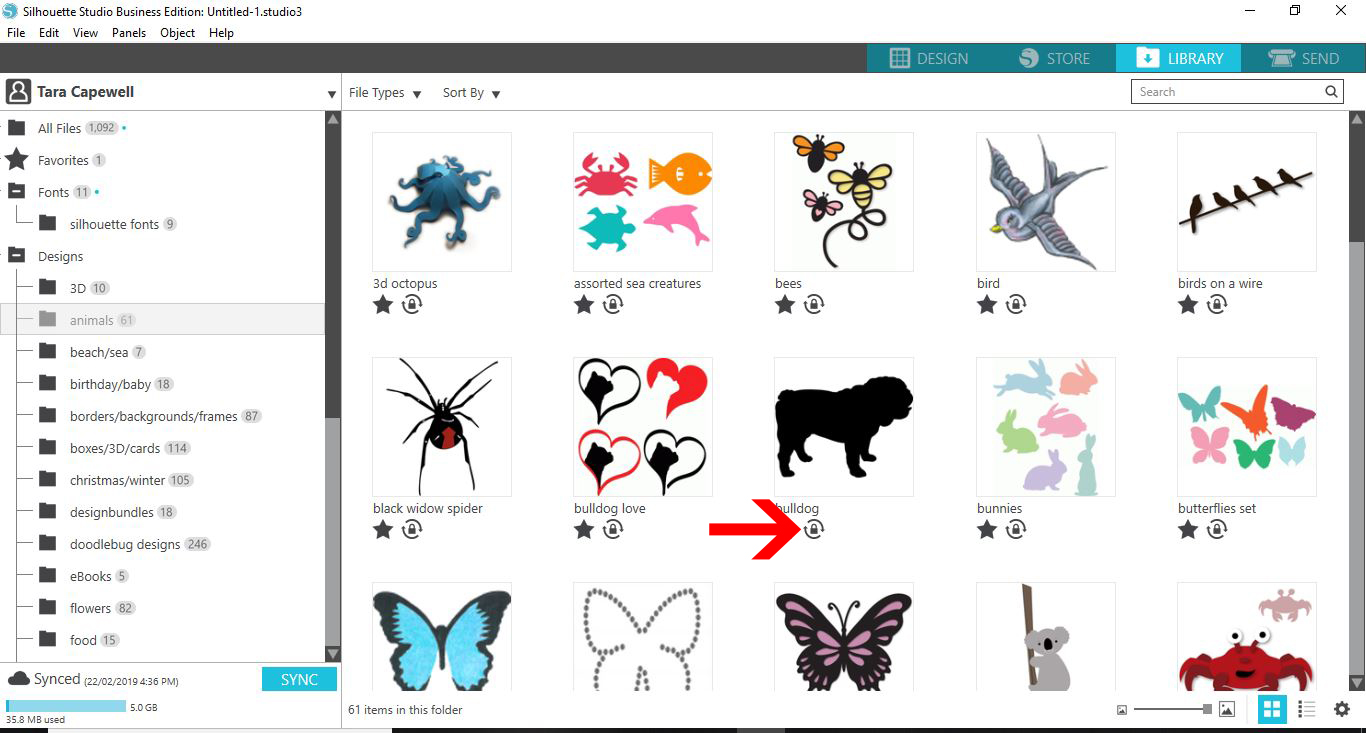
12- If there is a green tick on the thumbnail the design is shared through the cloud and is part of your cloud sharing allotment. If there is a red cross this means it is not shared and is only available locally on the PC you are using.
13- When you hover over a thumbnail a little rectangle will appear. you can click on this to bring up a preview of your design.
14- The preview will appear and give you all the relevant information you need for the file (ie- cut, print and cut, designer etc)
15- You can also filter your design by clicking the drop down file type icon. Here you can check or uncheck the type of files you are looking for.
16- You can also click on the sort by drop down option and choose what order you would like to sort your designs.


