Unlimited Downloads 15% off Marketplace Purchases Exclusive Software Access Unlimited Downloads
15% off Marketplace Purchases
Exclusive Software Access
Go Unlimited Maybe Later
Remove cut lines from shapes in brother scan and cut canvas workspace
  • By Design Bundles
  • 23 Jun 2017
  • 1 Min
  • Scan N Cut Tutorials

Remove cut lines from shapes in brother scan and cut canvas workspace

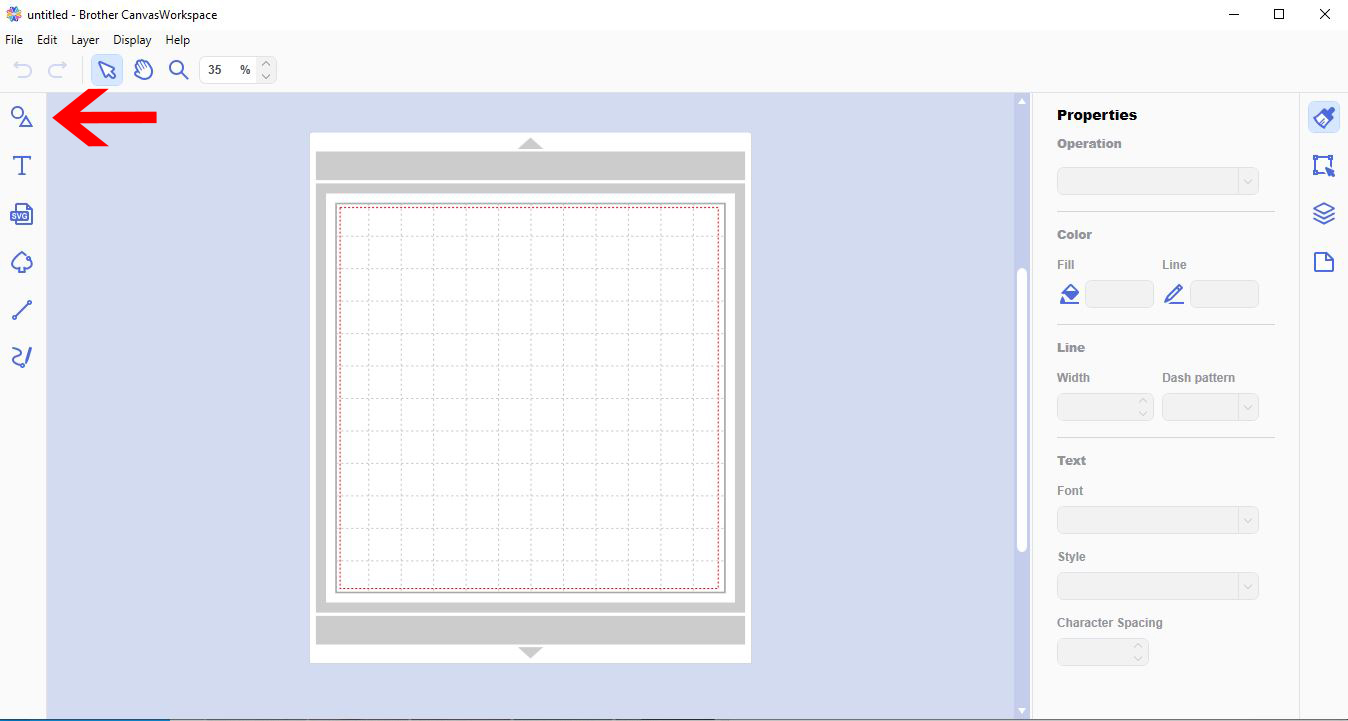
1- Open canvas workspace. Click on the shape icon.
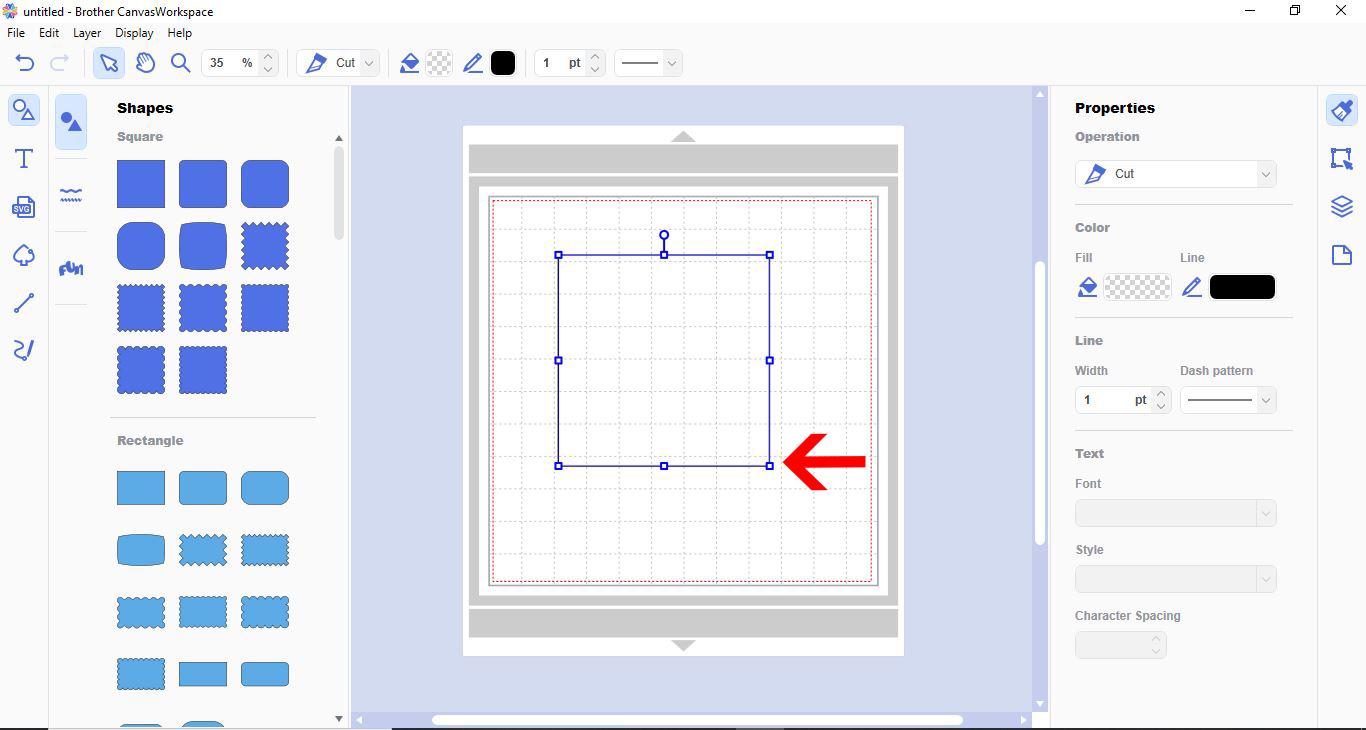

2- Create a shape.


3- Double click on a node. A new toolbar will appear at the top of your workspace. The node you click on will change colour as will the path attached to it.


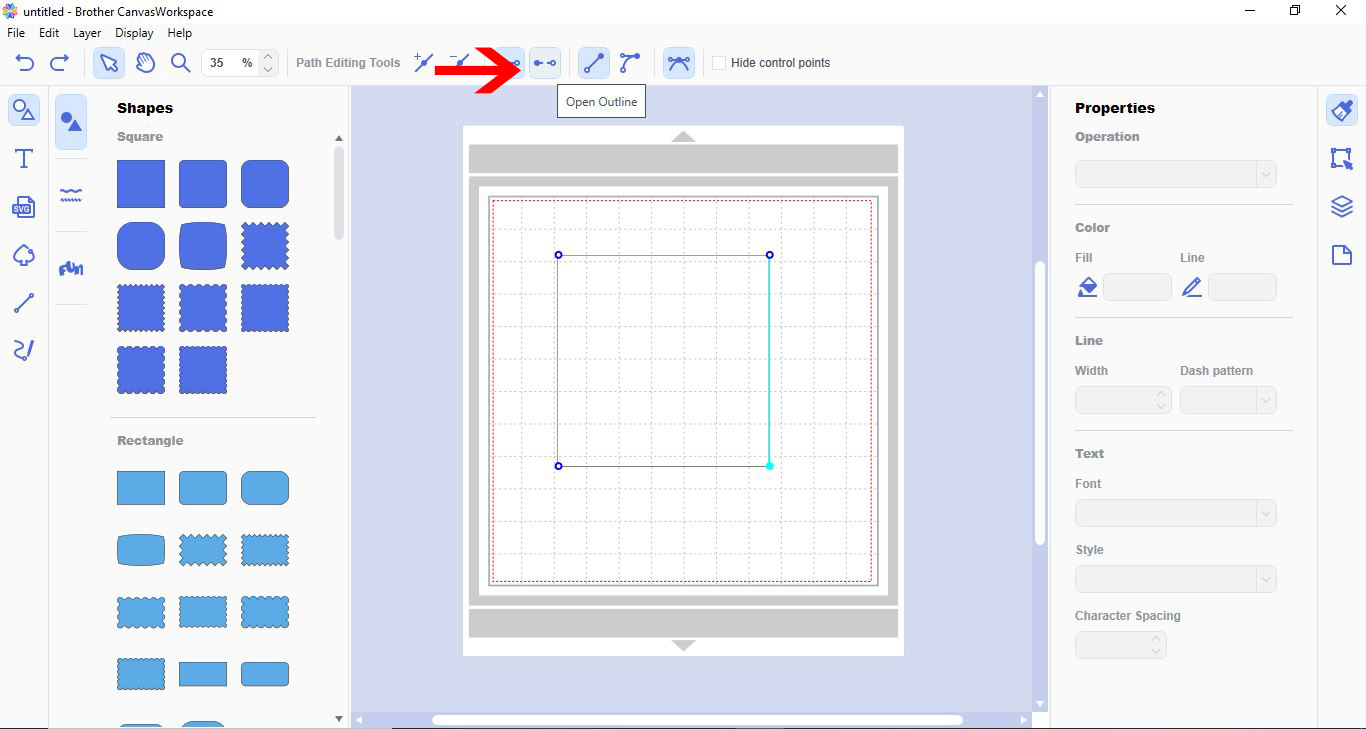
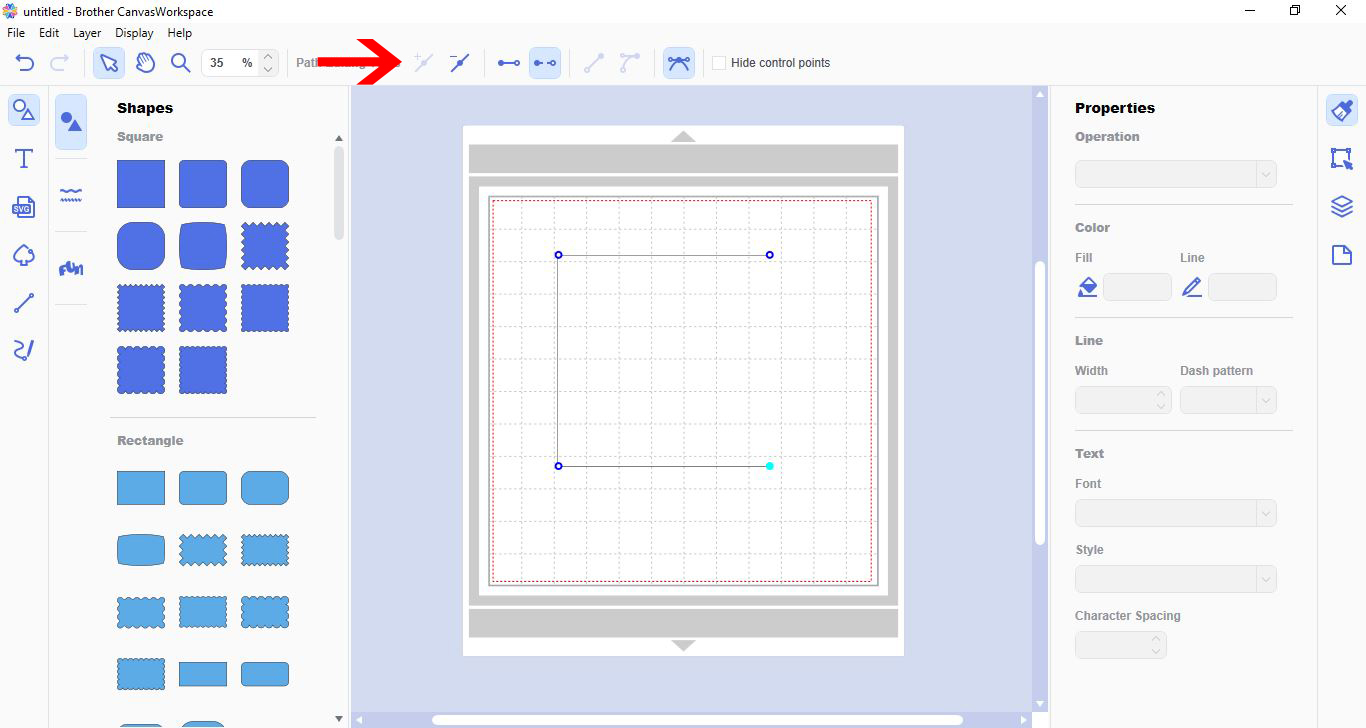
4- With the node you want removed(and line) selected, click on the open outline icon.


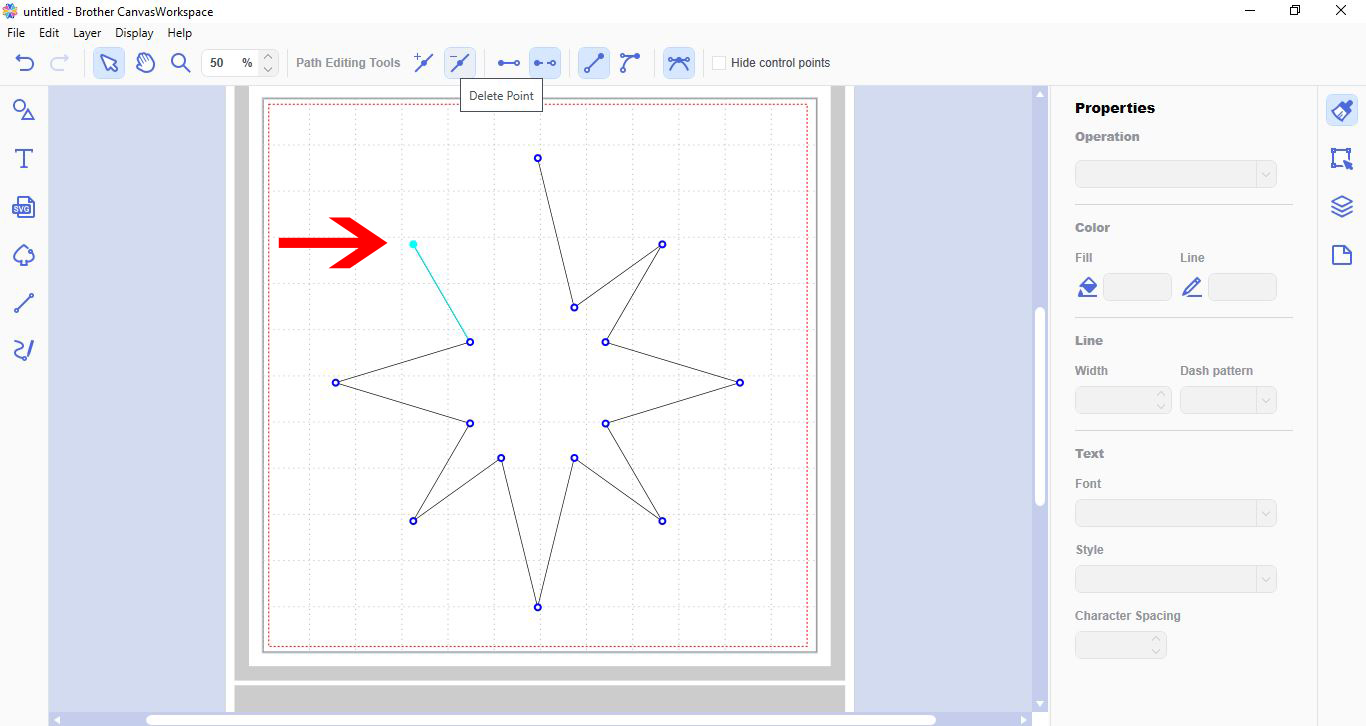
5- Your path will be removed. You can remove other paths by clicking on the - path icon.


6- You can keep clicking the remove path icon to remove as many paths as you need in a shape. If you need to return the path you can undo your previous work or add a path.


6 Related Scan N Cut Tutorials

*CM900 used.1- Open canvas workspace. Click on the text icon.2- Type your text.3- Change your font. I am using Garlic butter font from Font Bundles.4- If any letters are overlapping, click on the weld tool. Once all welded, click on offset.5- In the offset window, ...

1- Open canvas workspace. Click on the shape tool.2- Select the shape or design you need the stitching on. You can upload an SVG file to place the stitching on as well as any shape in the toolbox.3- With your design selected, click on the offset icon. A ...

1- Open canvas workspace. Click on the shape tool.2- Select your shape.3- Select a second shape for the inside of the frame.4- Place one inside the other. with both selected, go to the align tool and align centre and middle.5- With both shapes selected, go to ...

(previously error ERRS07)1- Open canvas workspace. Click on the shape tool.2- Add your design. you can insert a SVG or create your own.3- When you have a design and you want to weld another design to it, sometimes you can get an error message. One of the ...

1- Open canvas workspace. Click on the shape tool.2- Select a rectangle.3- Using the edit tool, Change the size of your rectangle to make it long and thin.4- With your thin shape selected, right click and duplicate.5- Move the duplicate under the original.6- Align the 2 ...

1- Open scan and cut canvas. Click on the shape icon.2- Pick the shape you would like to use for your pop up. You can use a shape or a welded word.3-  Next select a square.4- Place the square over the shape. You need the left and ...

You may also like

Help Center
ol image