
Underwater Scene in Photoshop
For this Tutorial, we will use a background image of an underwater scene and another of a jumping person (is better if the background of the second image is a simple one so it will be easier to outline).
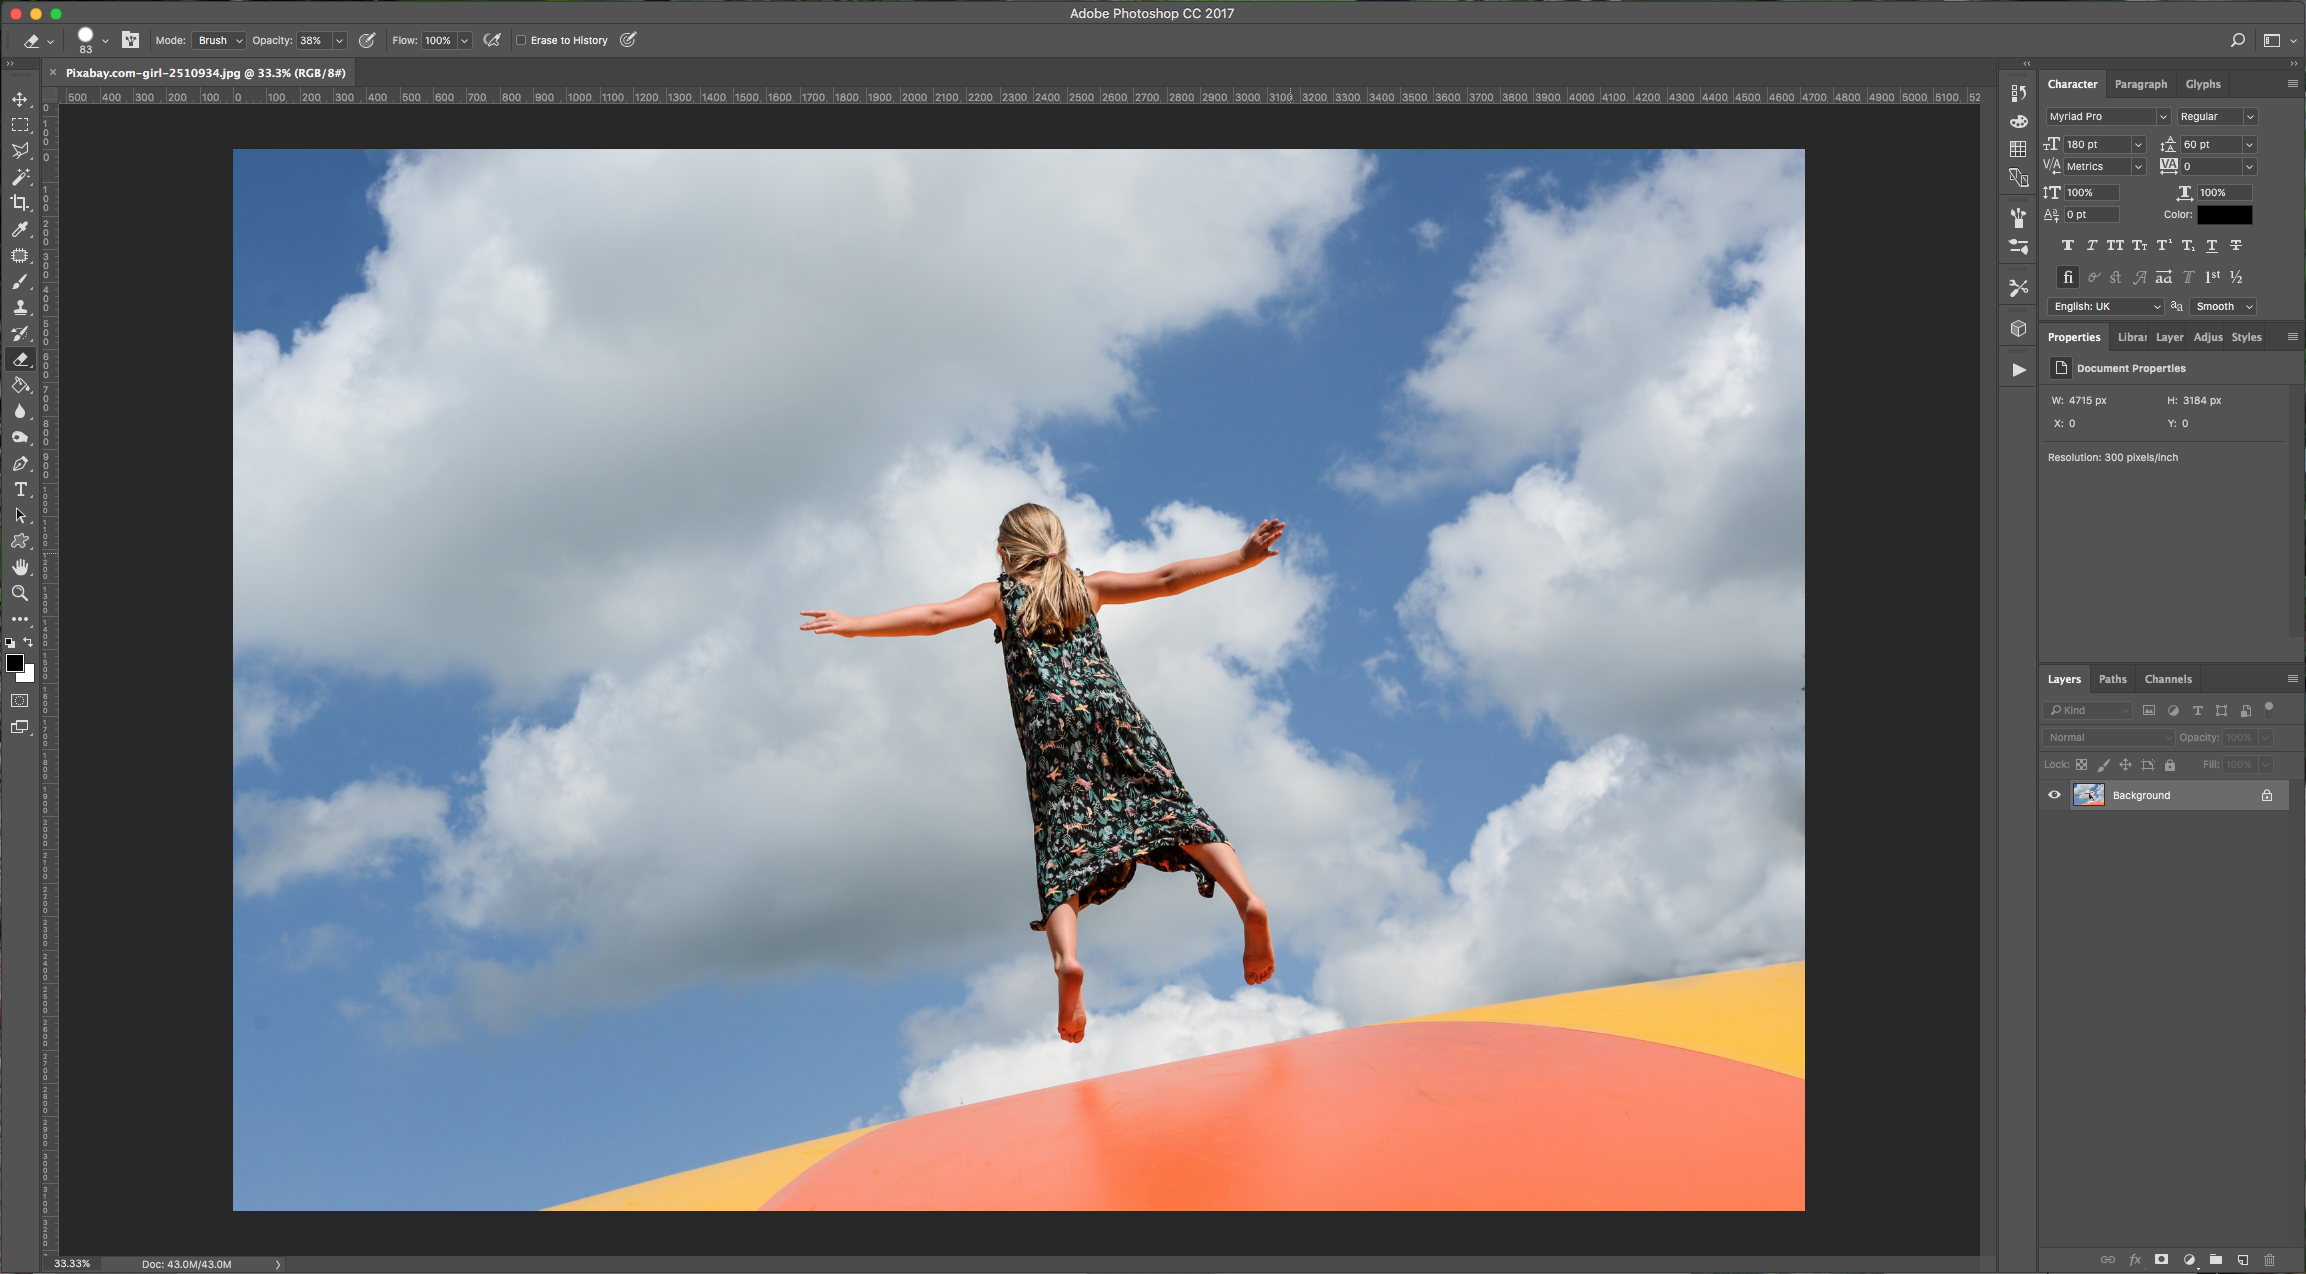
1 - In Photoshop open the image you want to place “underwater”.
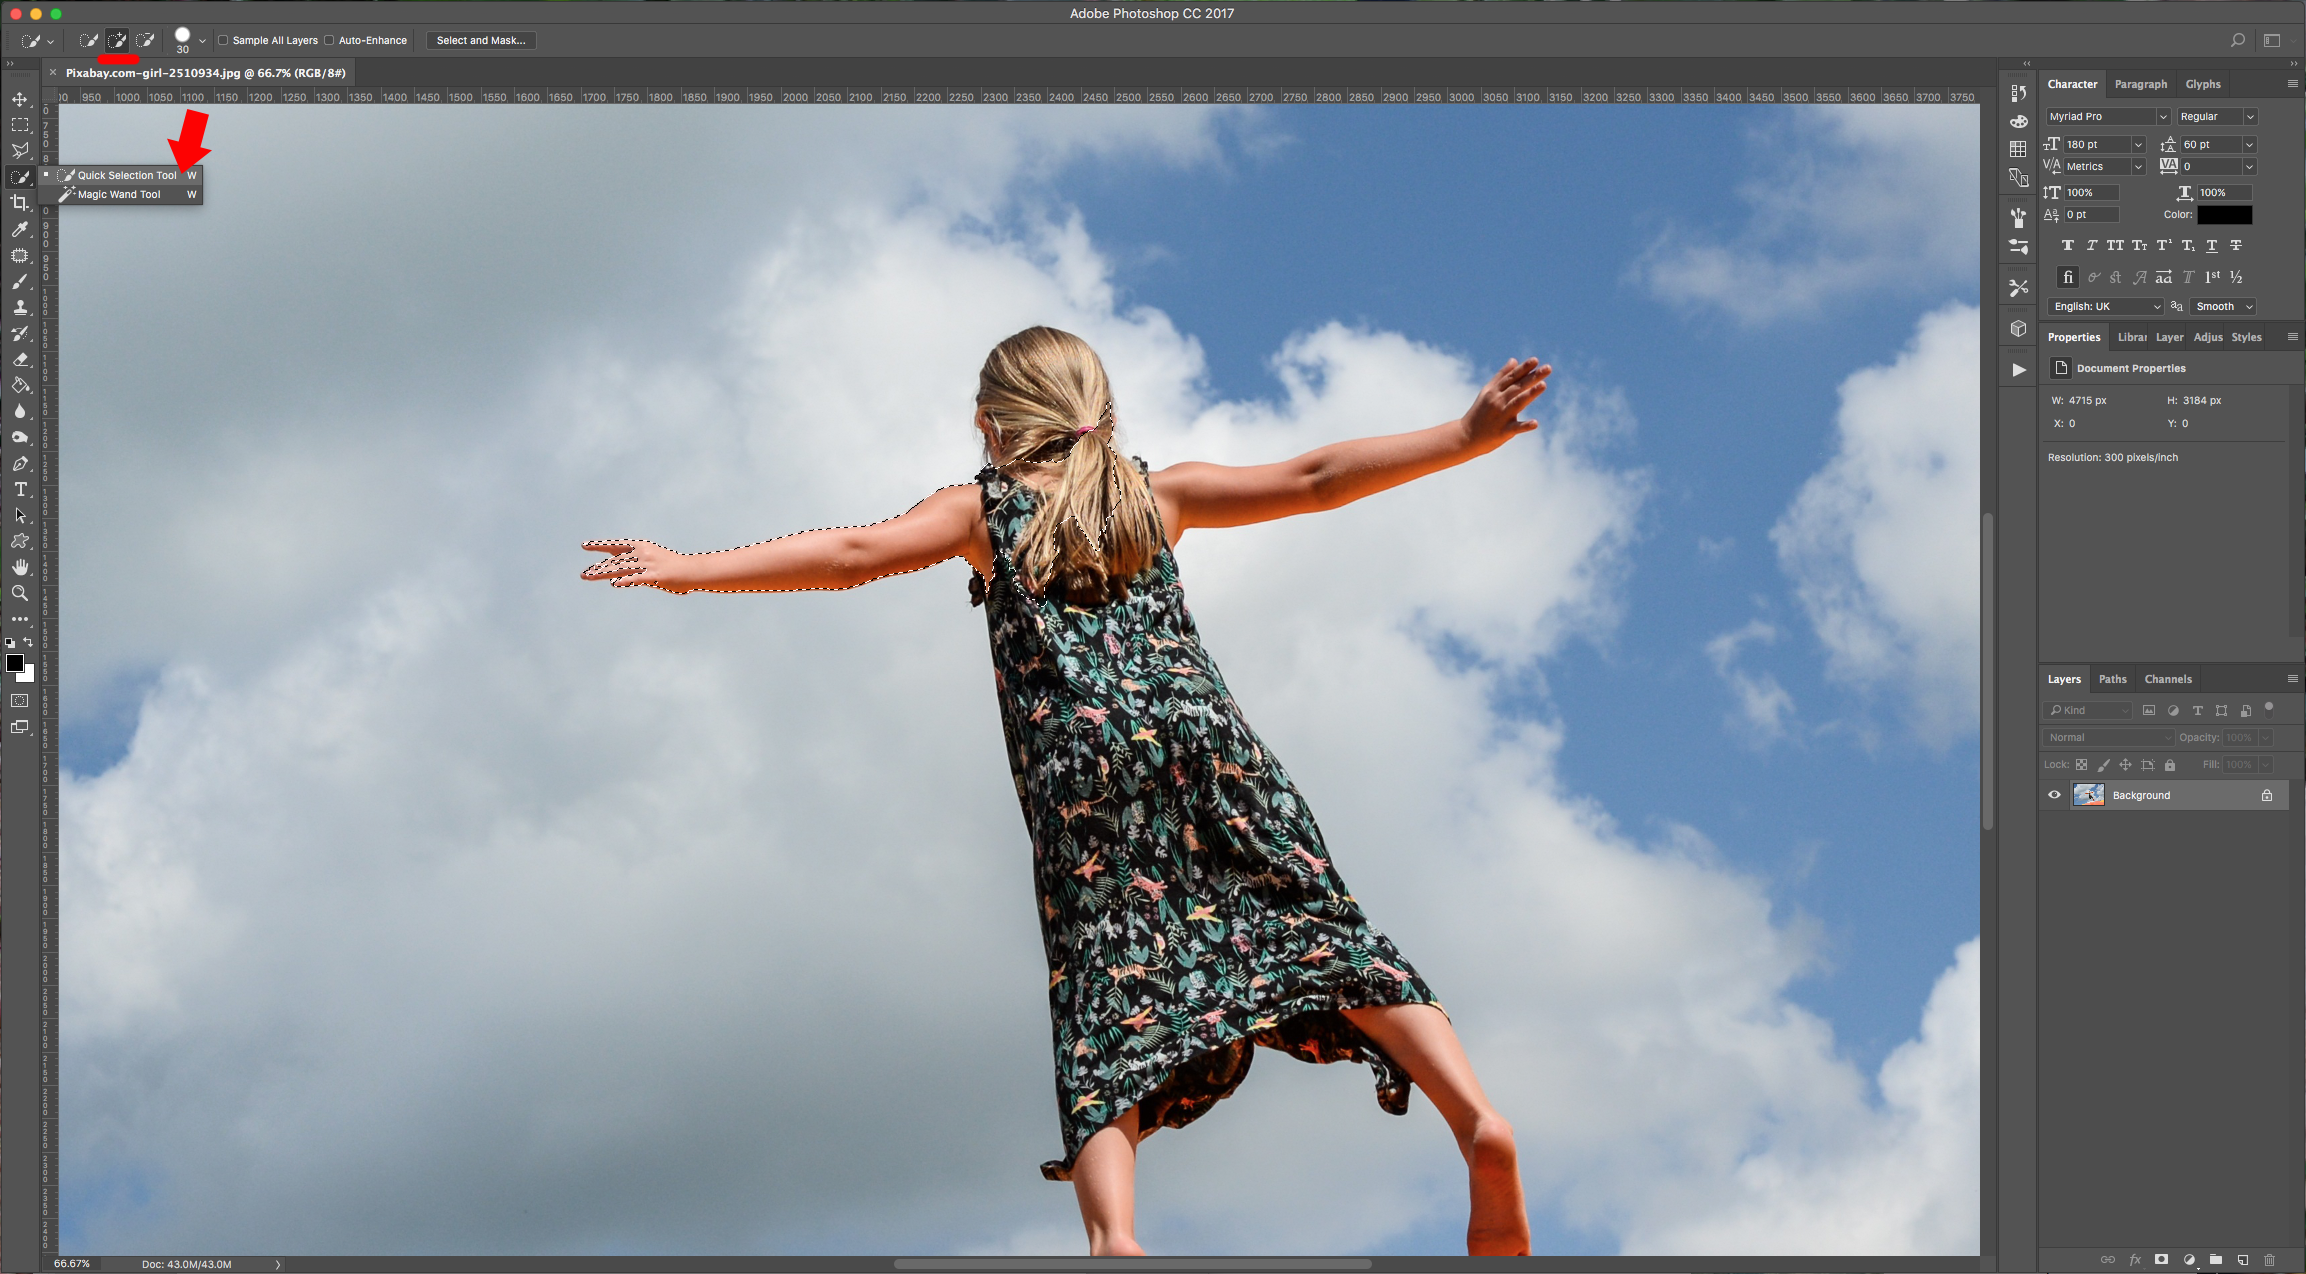
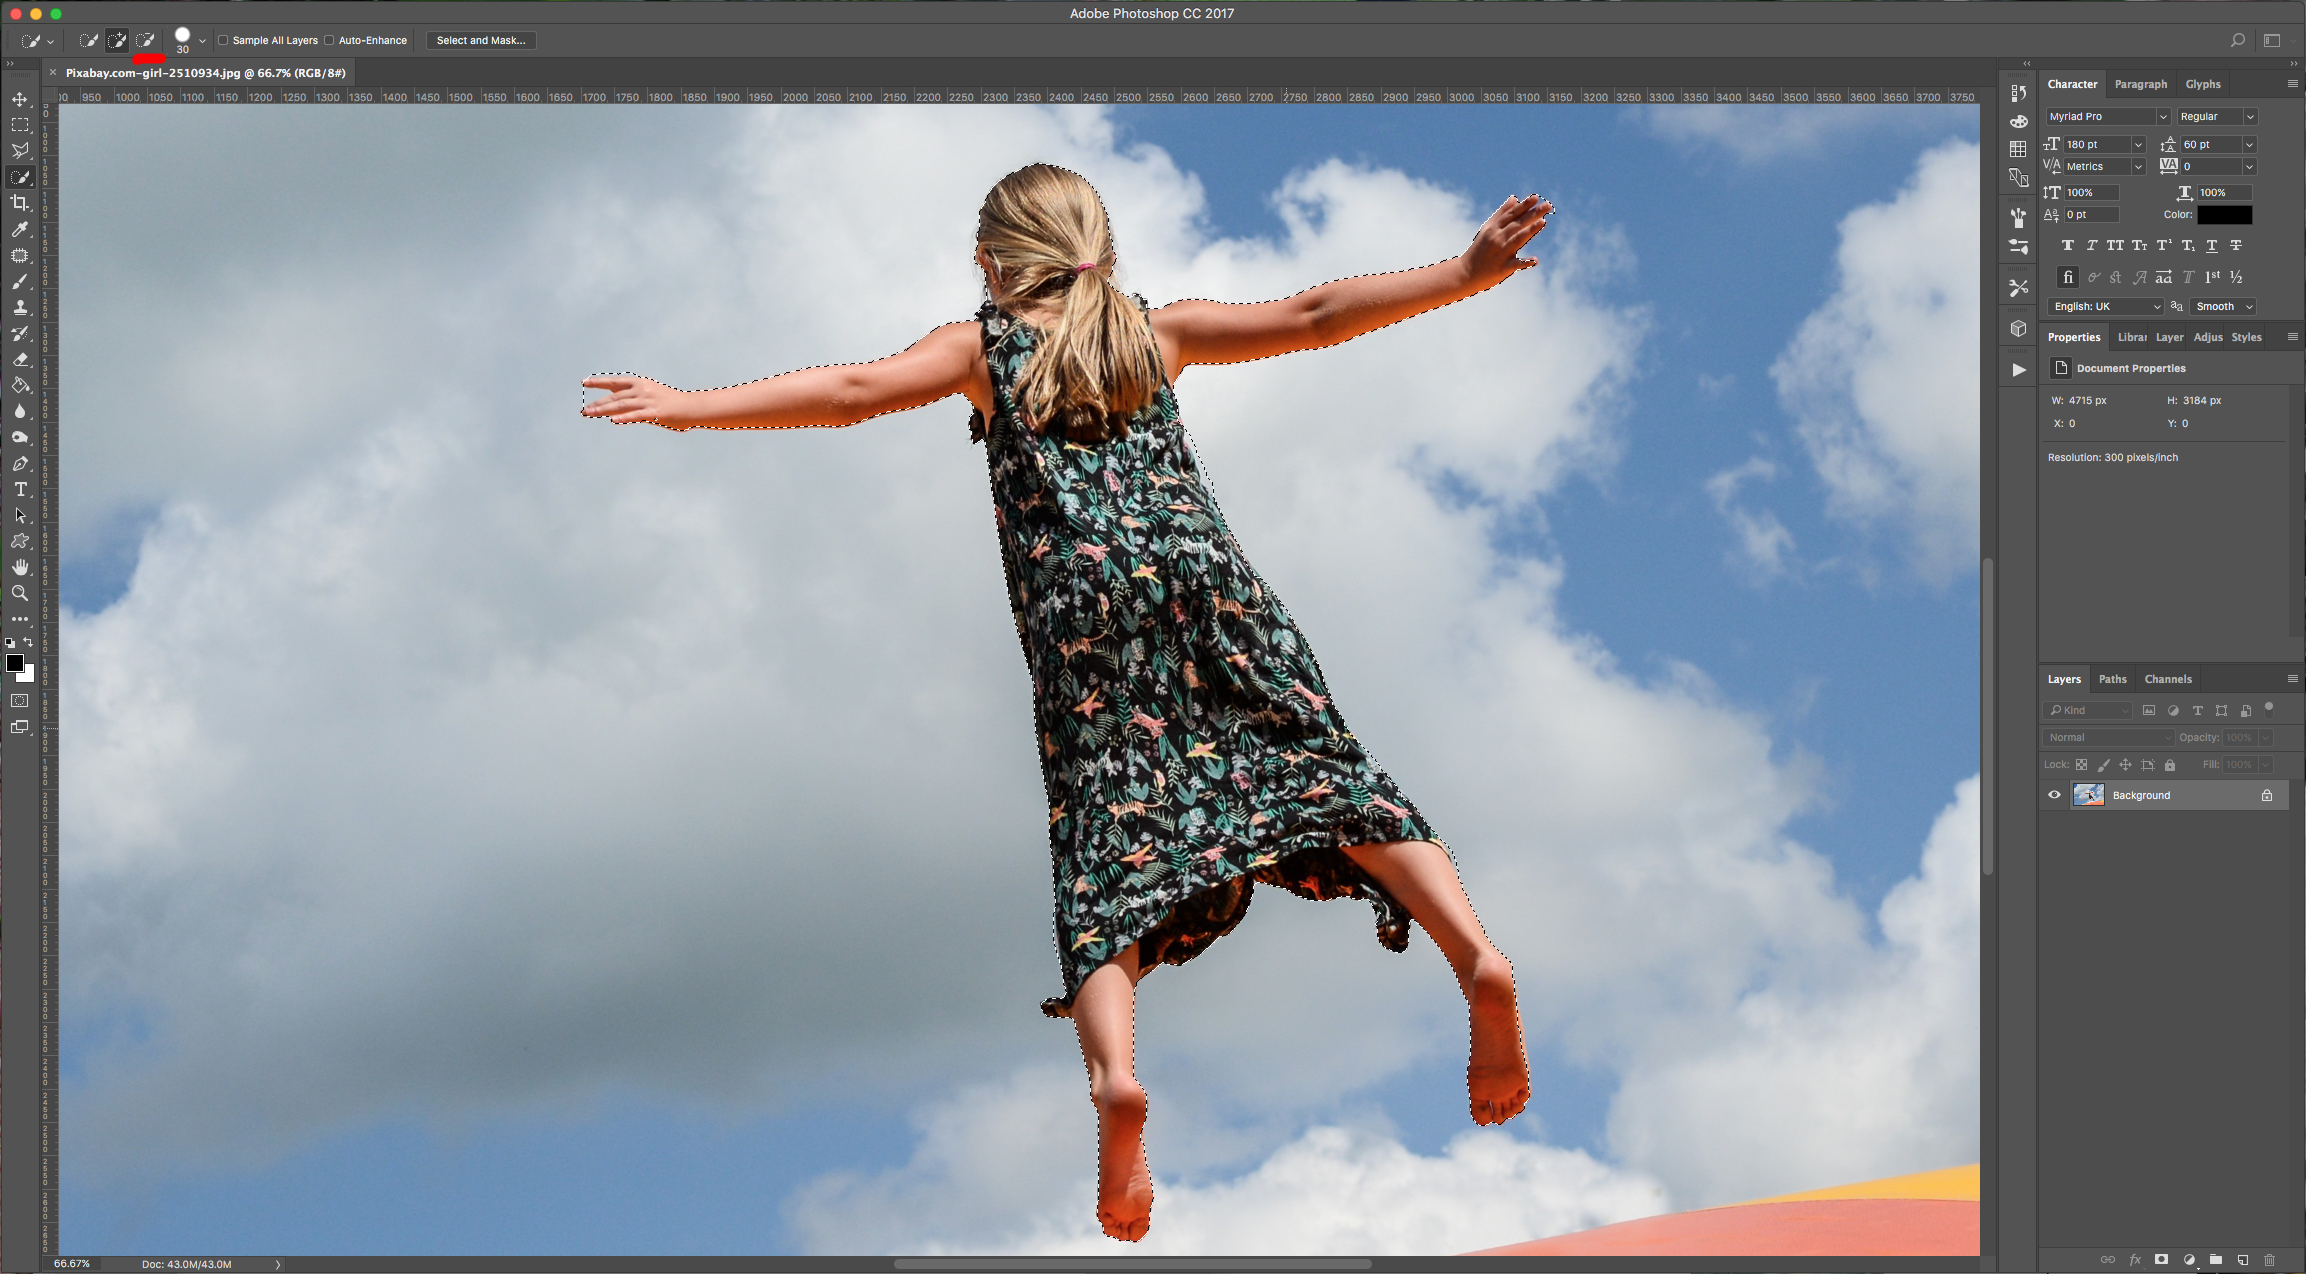
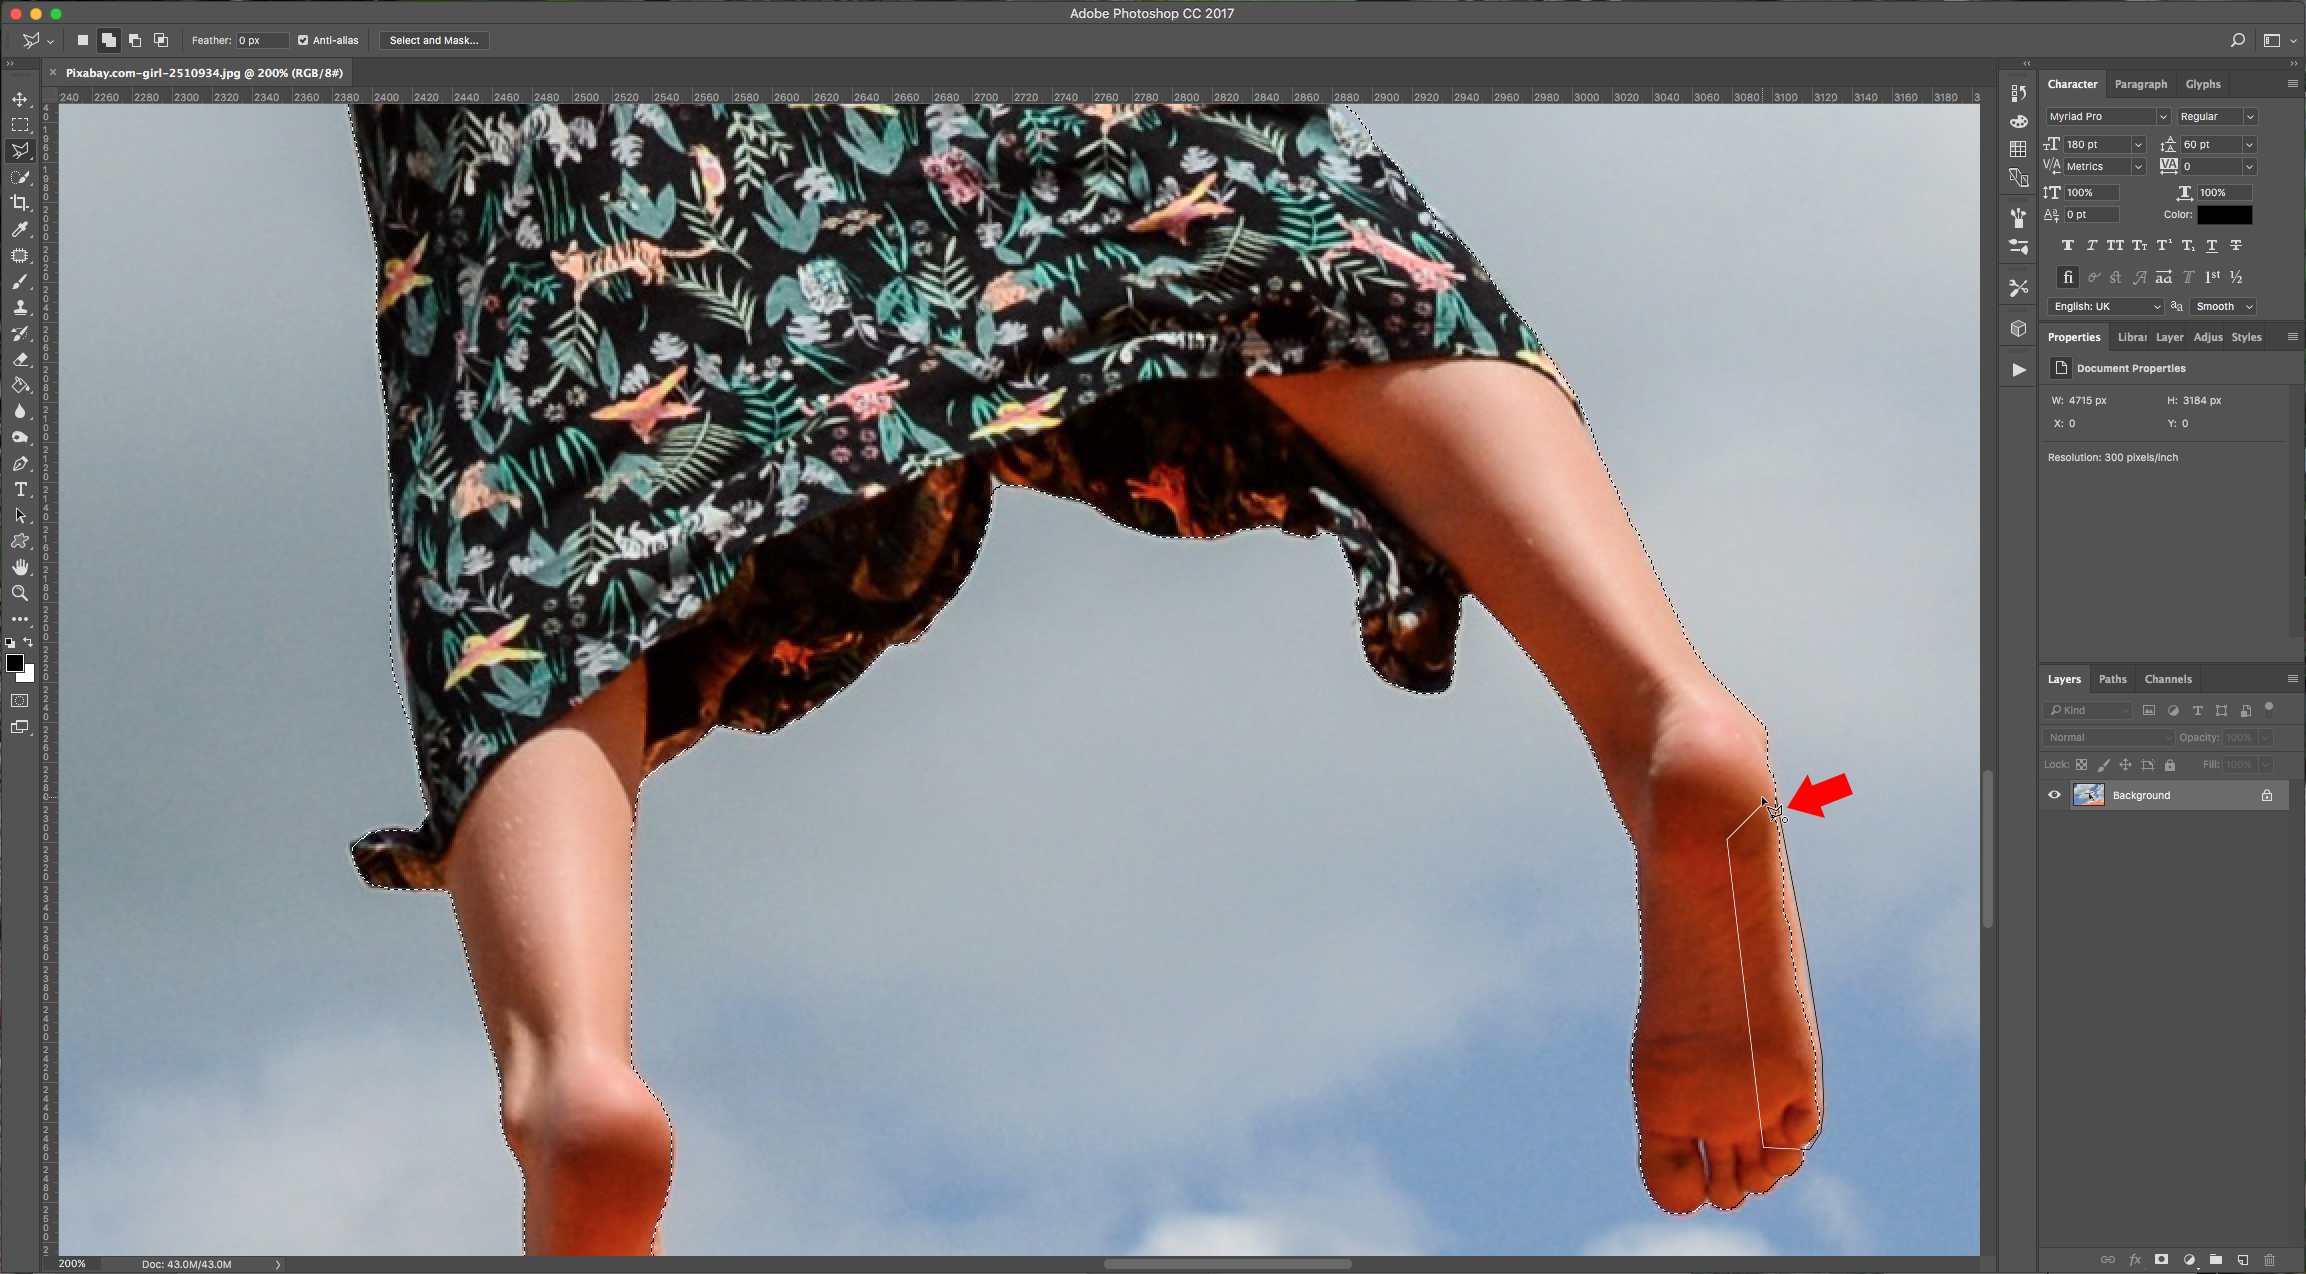
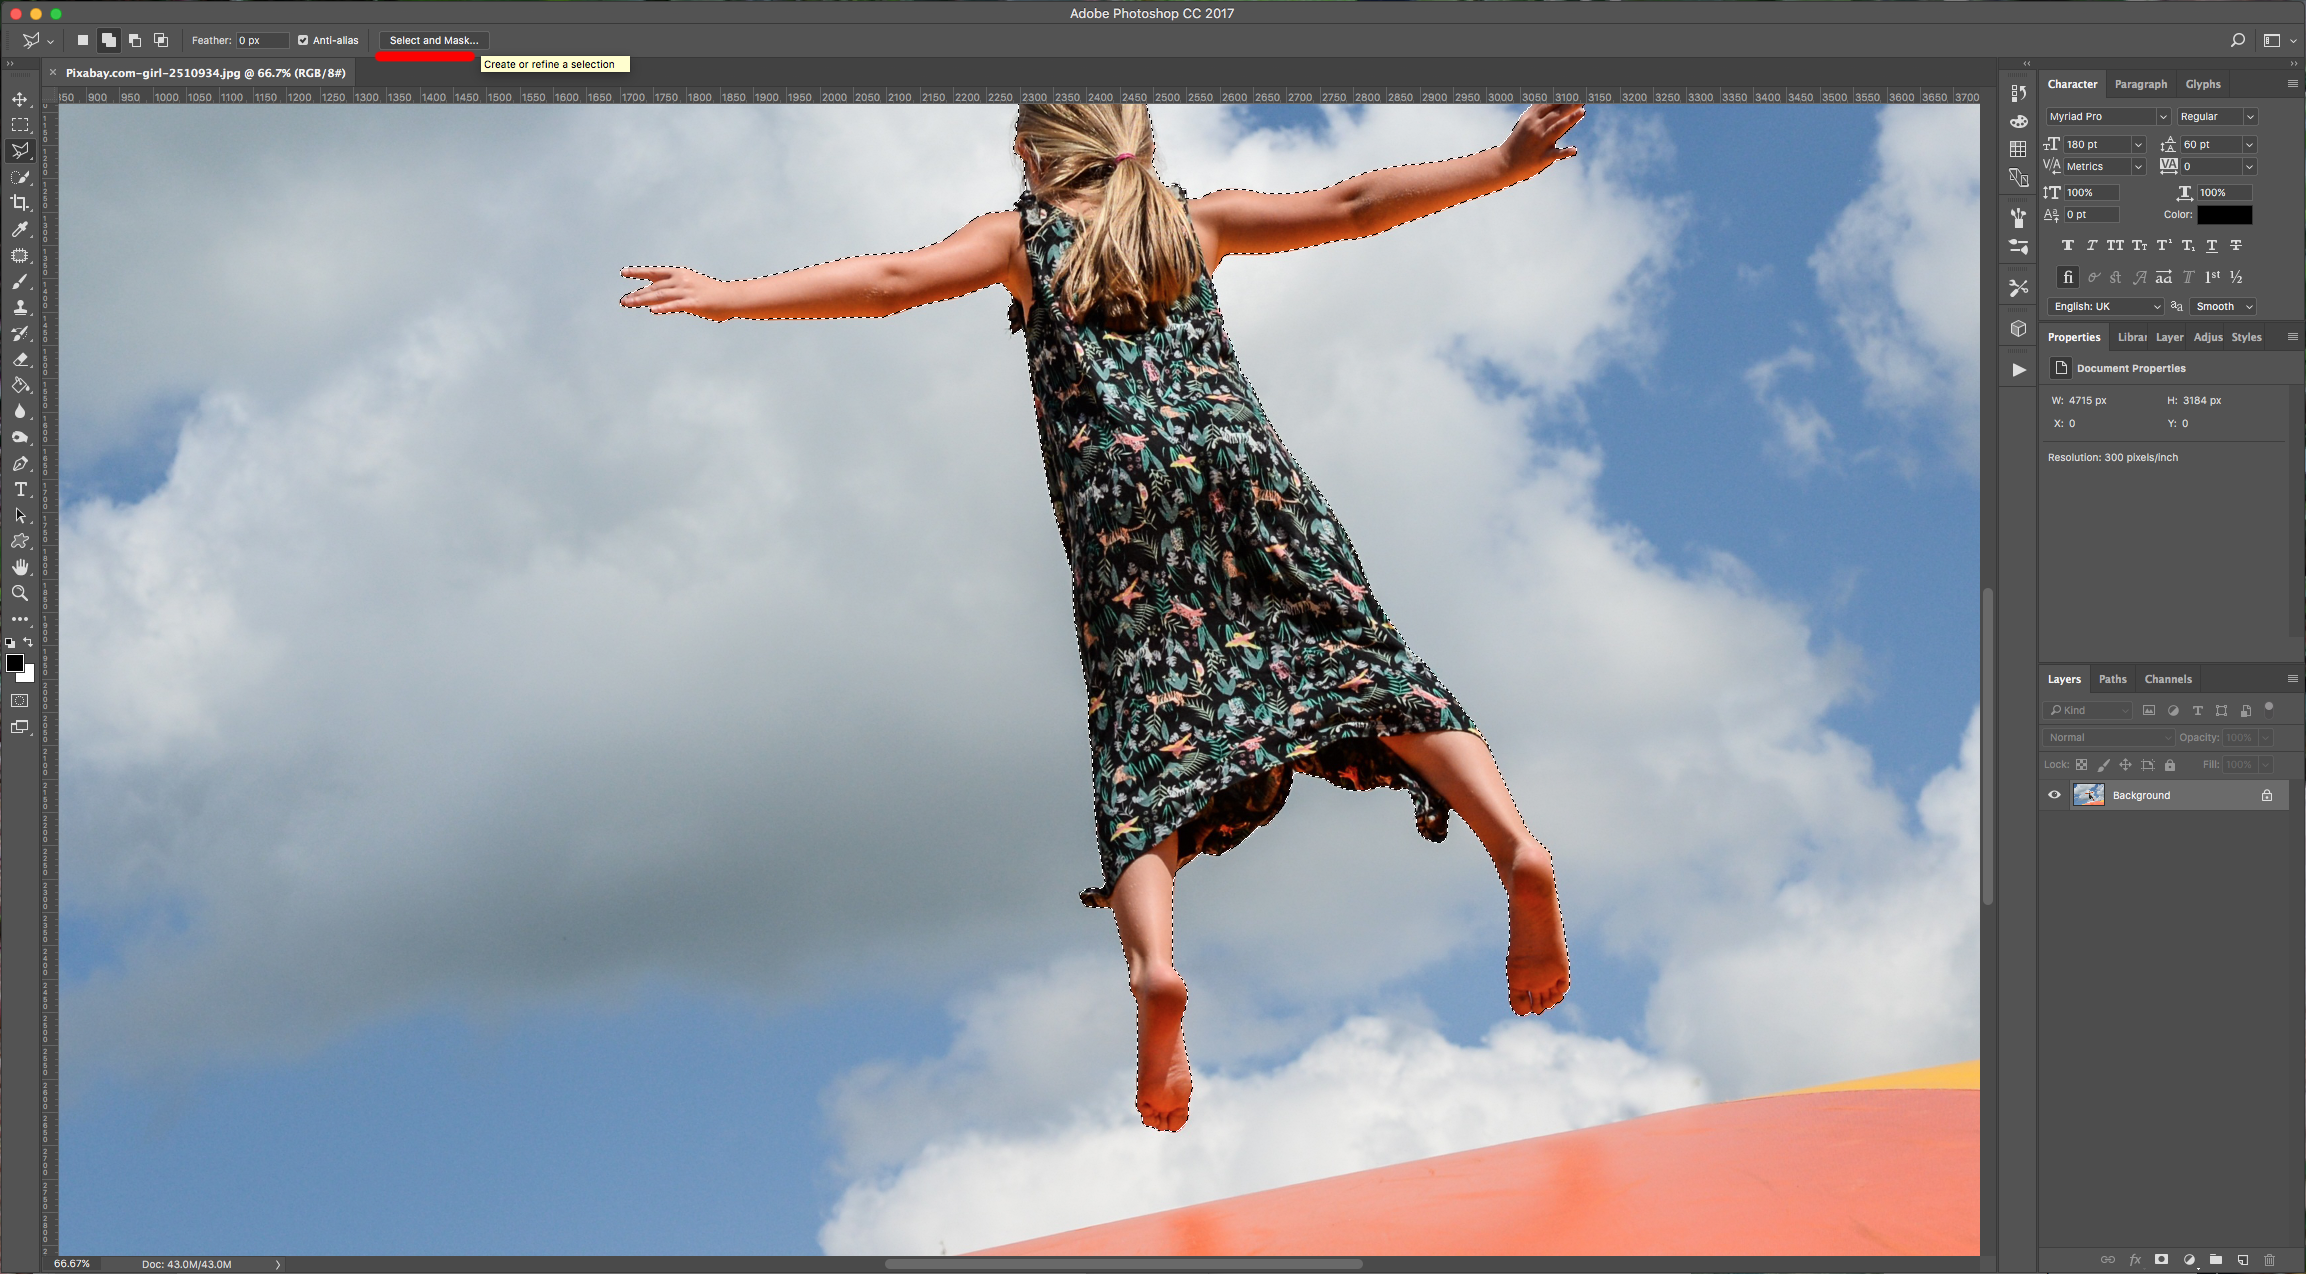
2 - Select the “Quick Selection Tool” (W), choose “Add to Selection” in the upper-left menu and click on the portions of the image you want to keep. If you selected too much in certain parts, just choose “Subtract from Selection”.
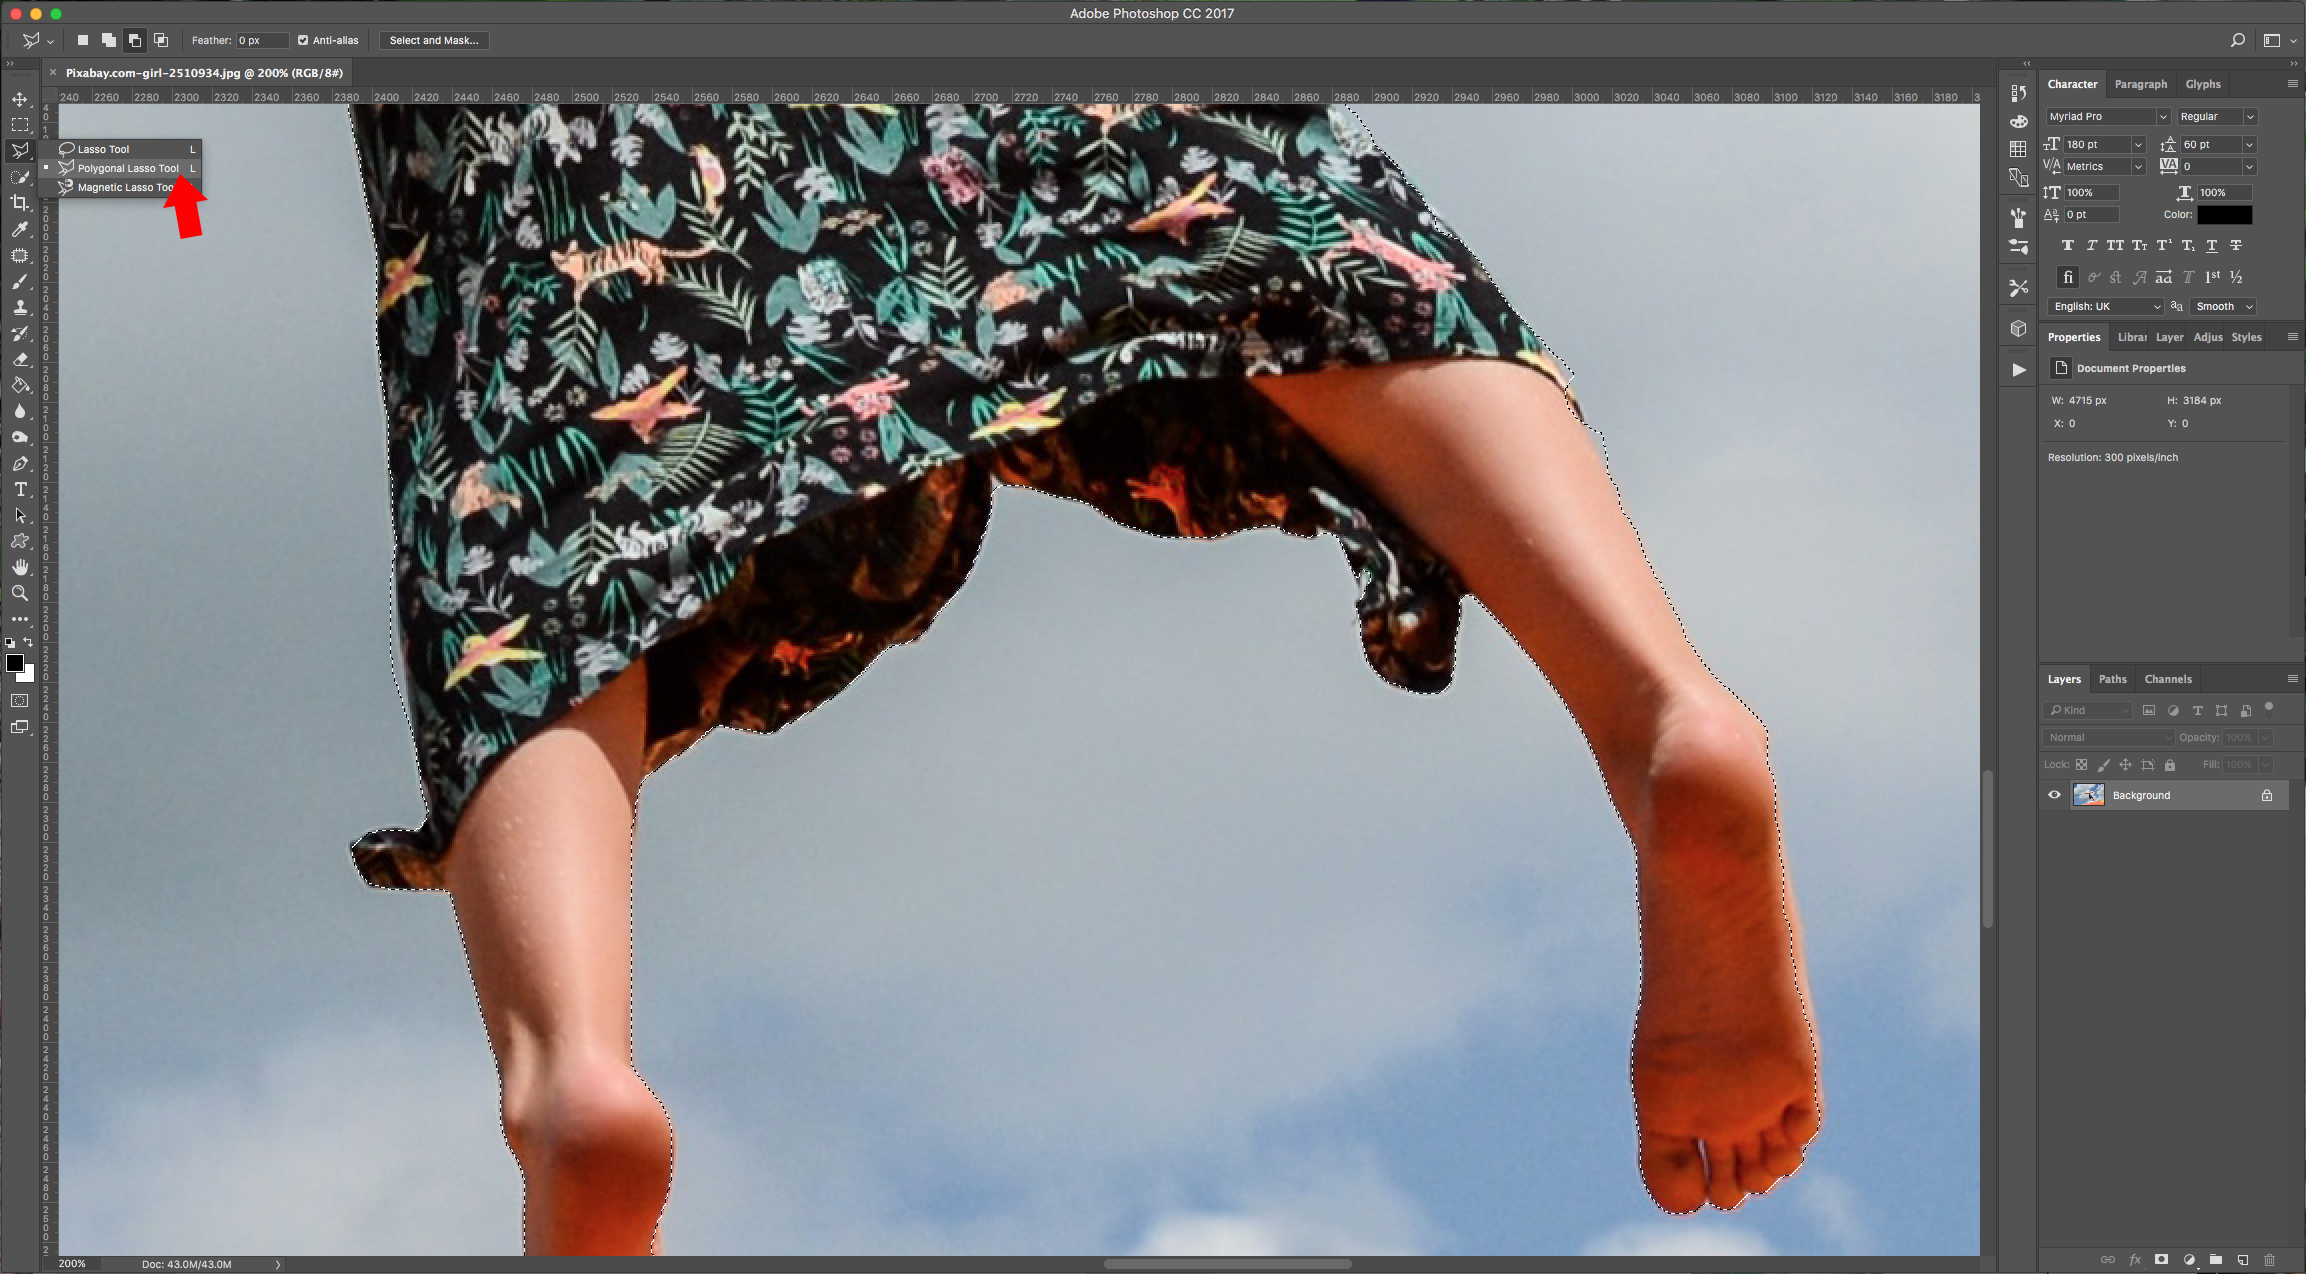
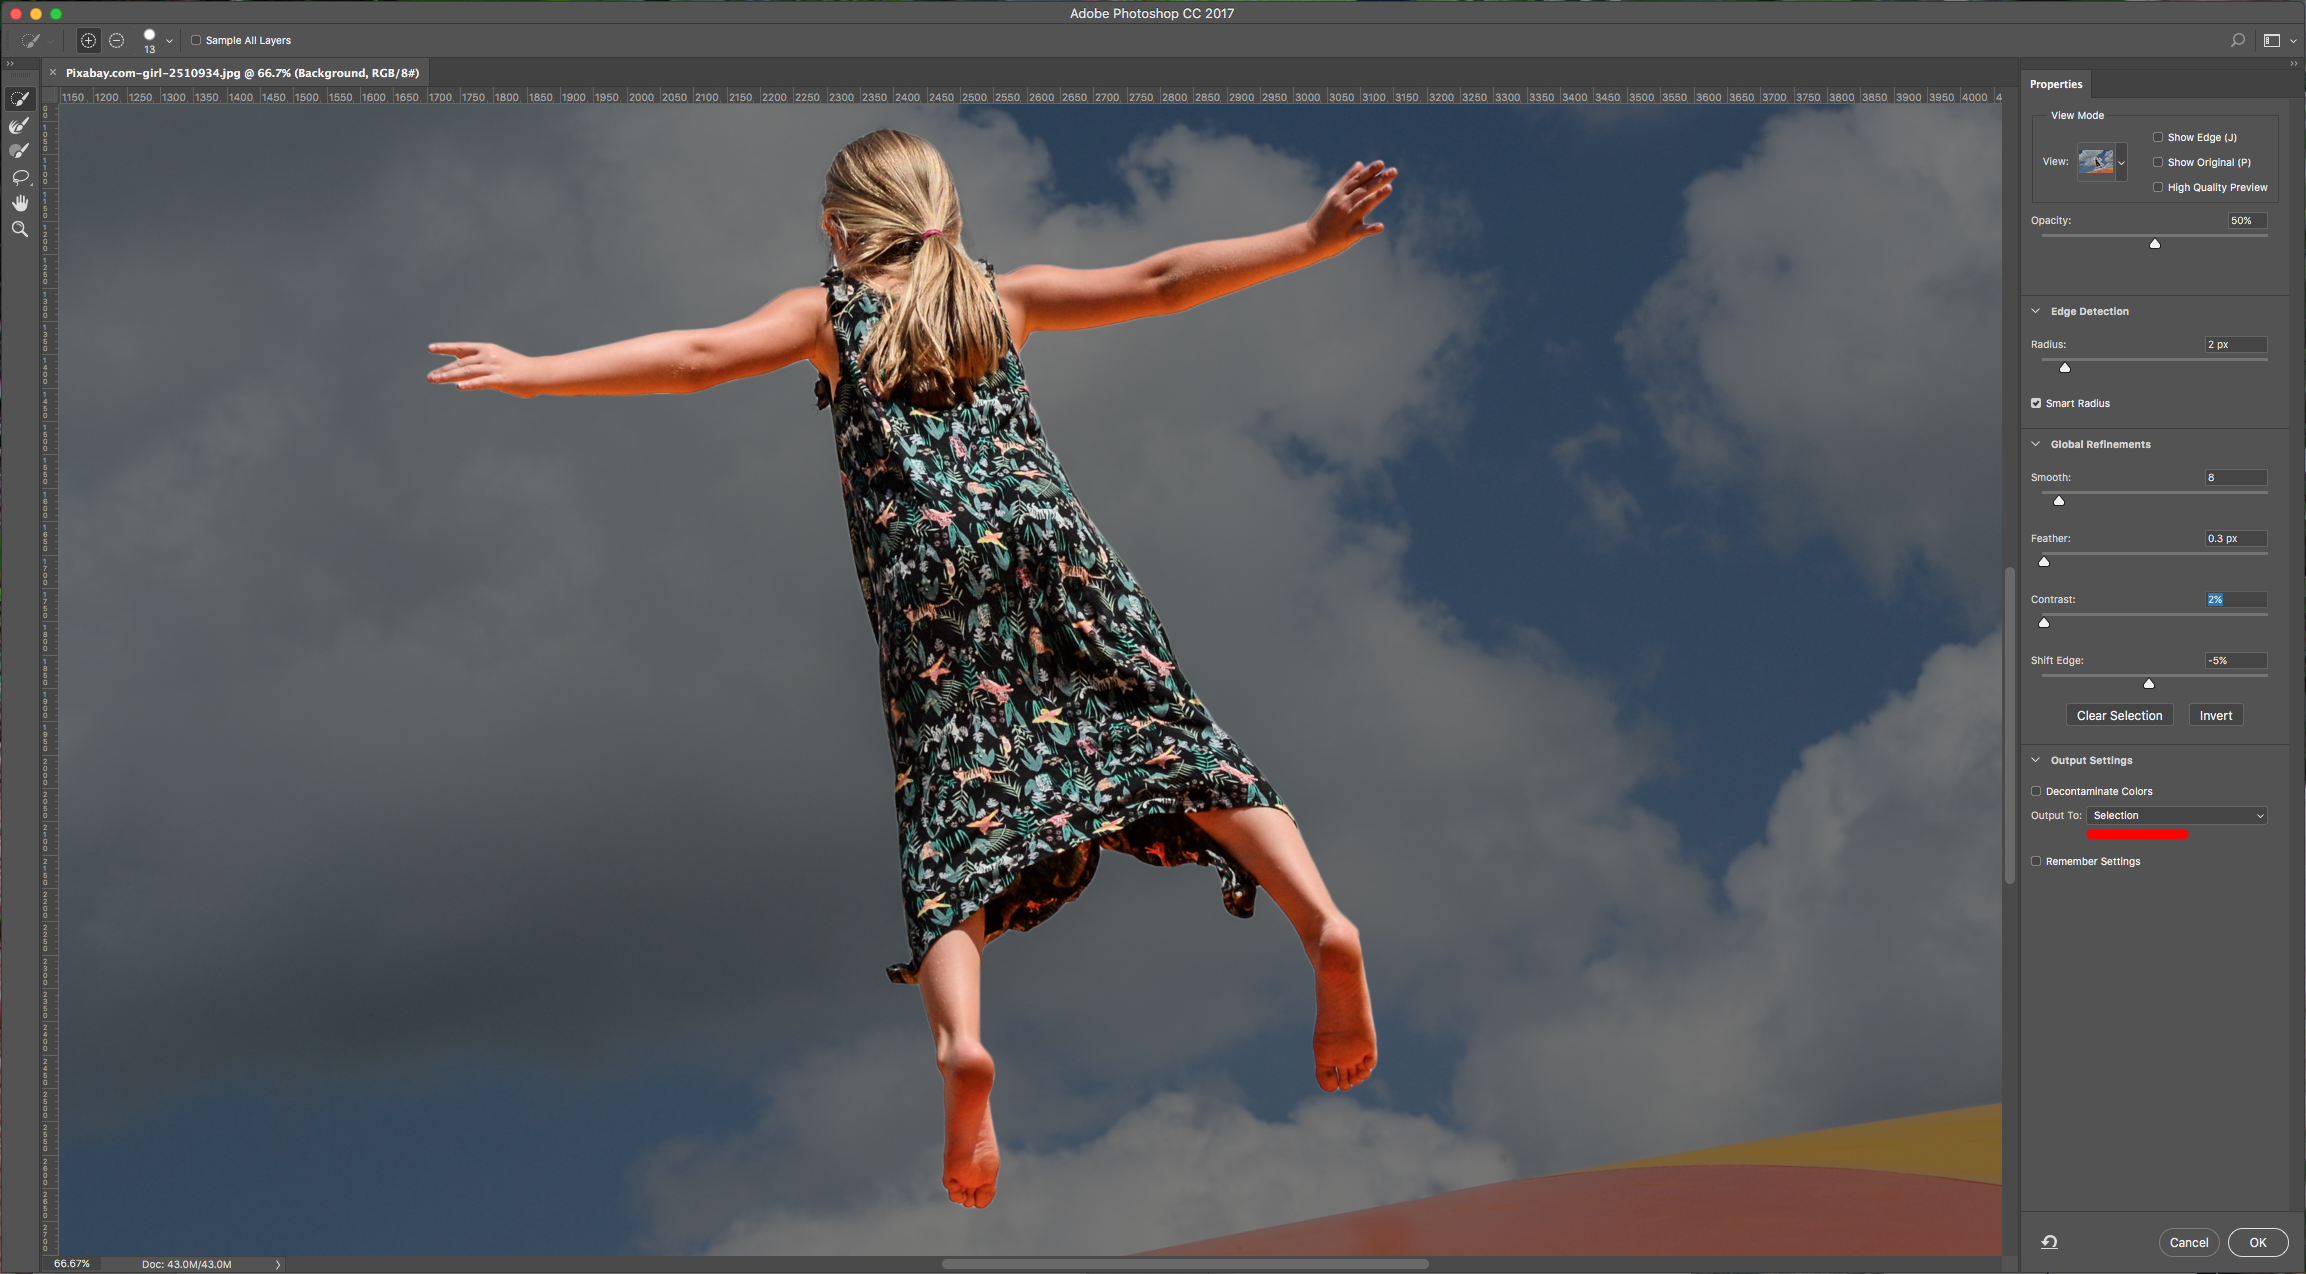
3 - You can use the “Polygonal Lasso Tool” (L) too if there are tricky parts or if you are more comfortable using it. Once you are satisfied with your overall selection, click on the “Select and Mask” button on the upper-left menu. Play around with the settings and then choose “Output to Selection” ad click “OK”.
4 - Click on the “Add vector Mask” button at the bottom of the “Layers” Menu to mask your selection.
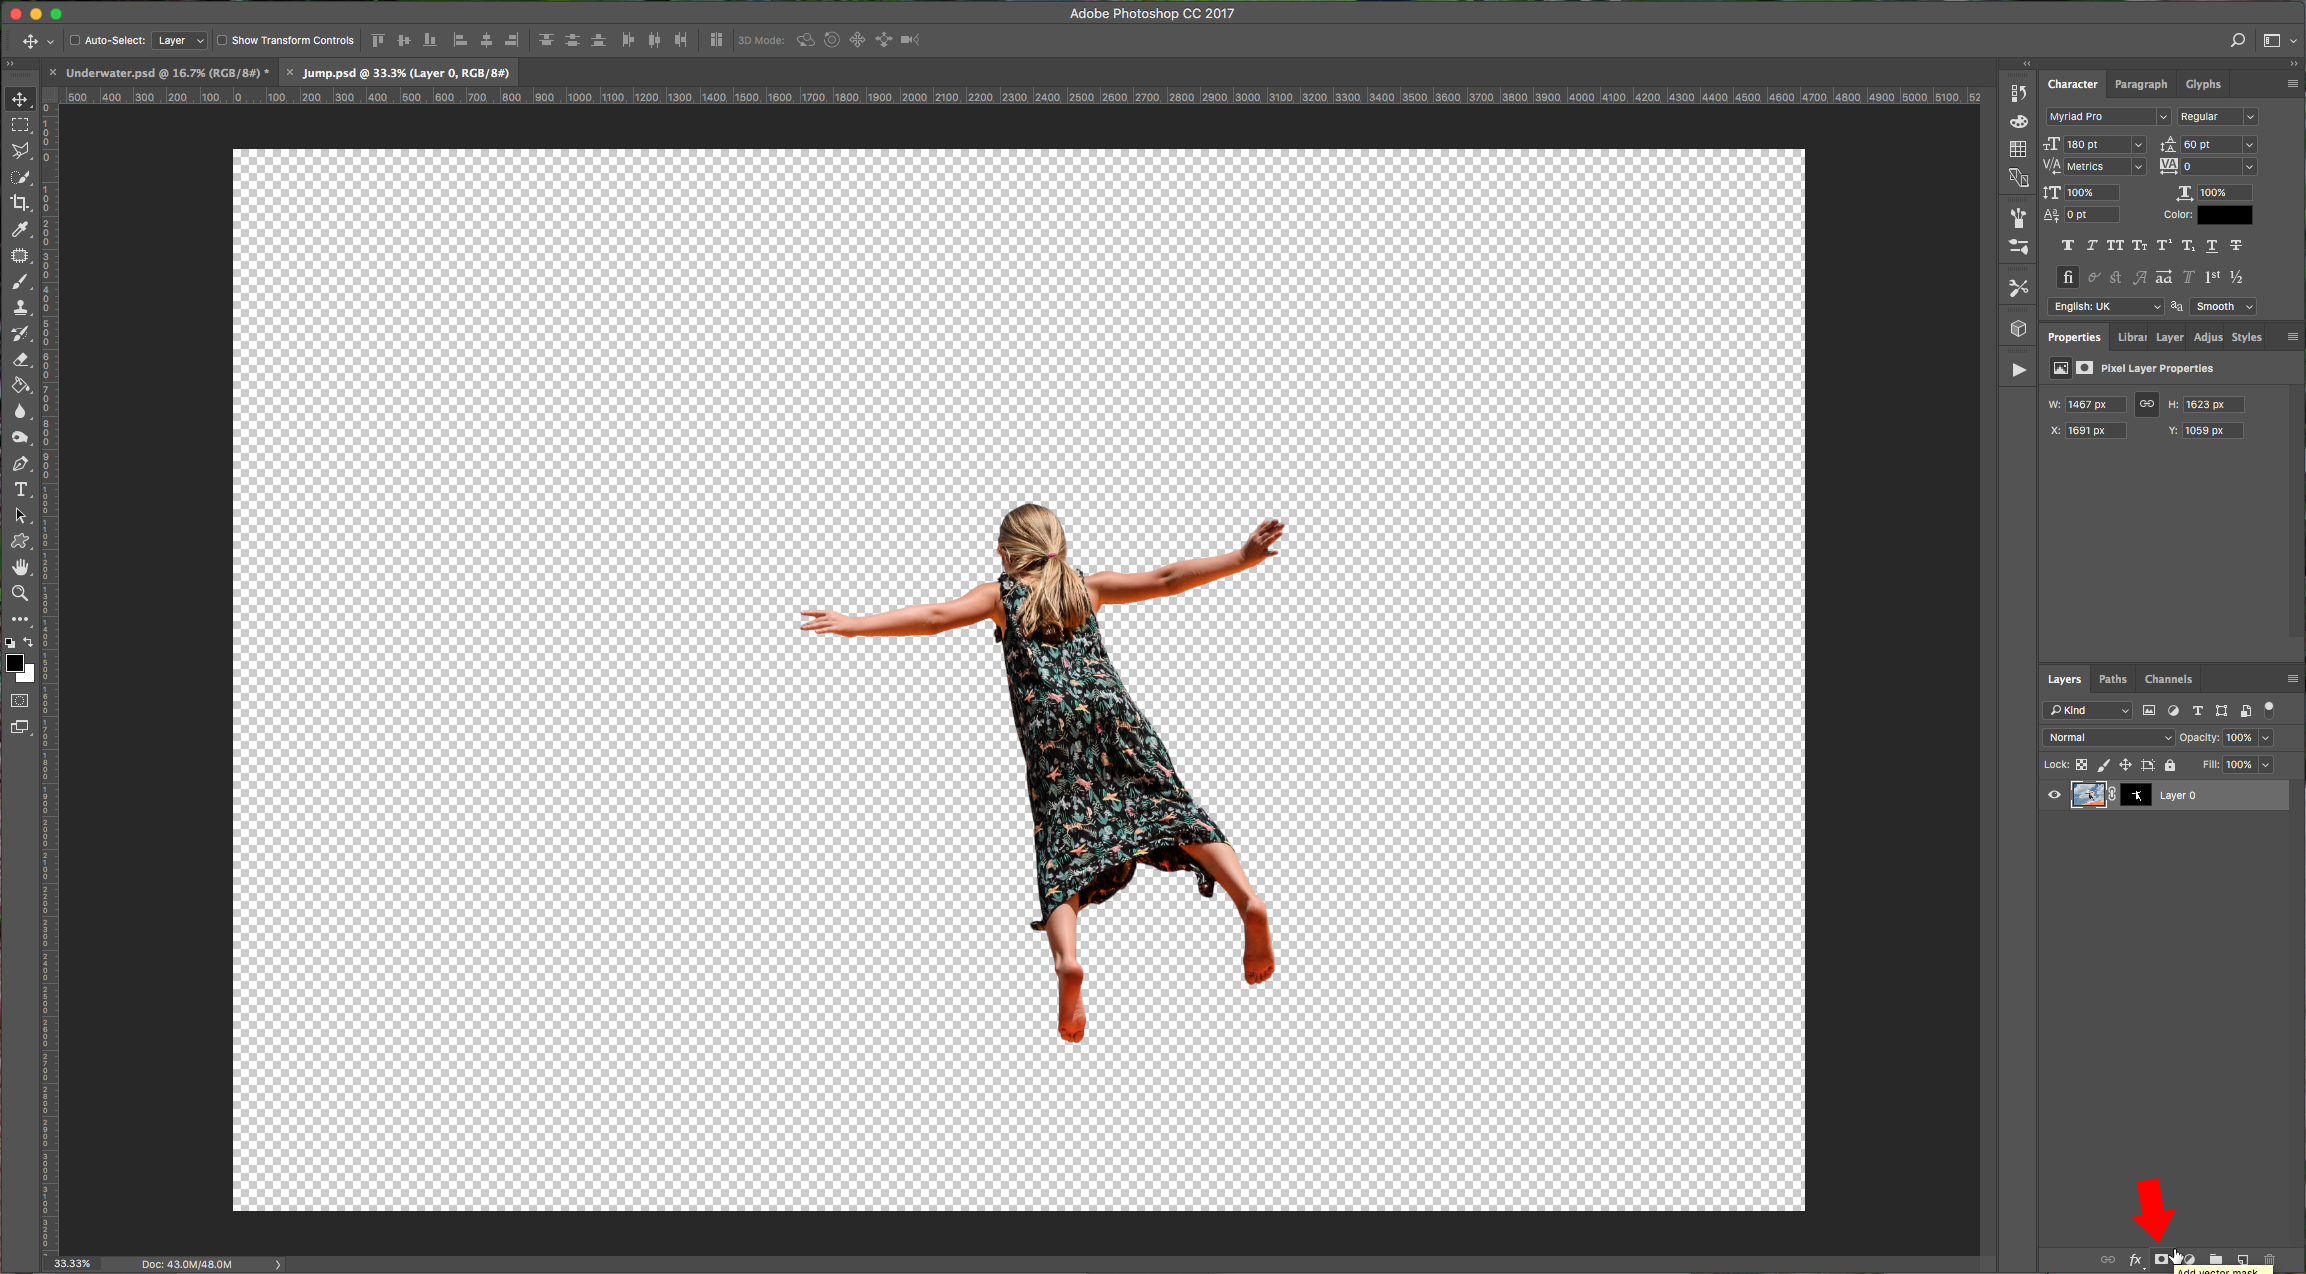
5 - Open the image you want to use as “Background” and drag your masked selection into it.

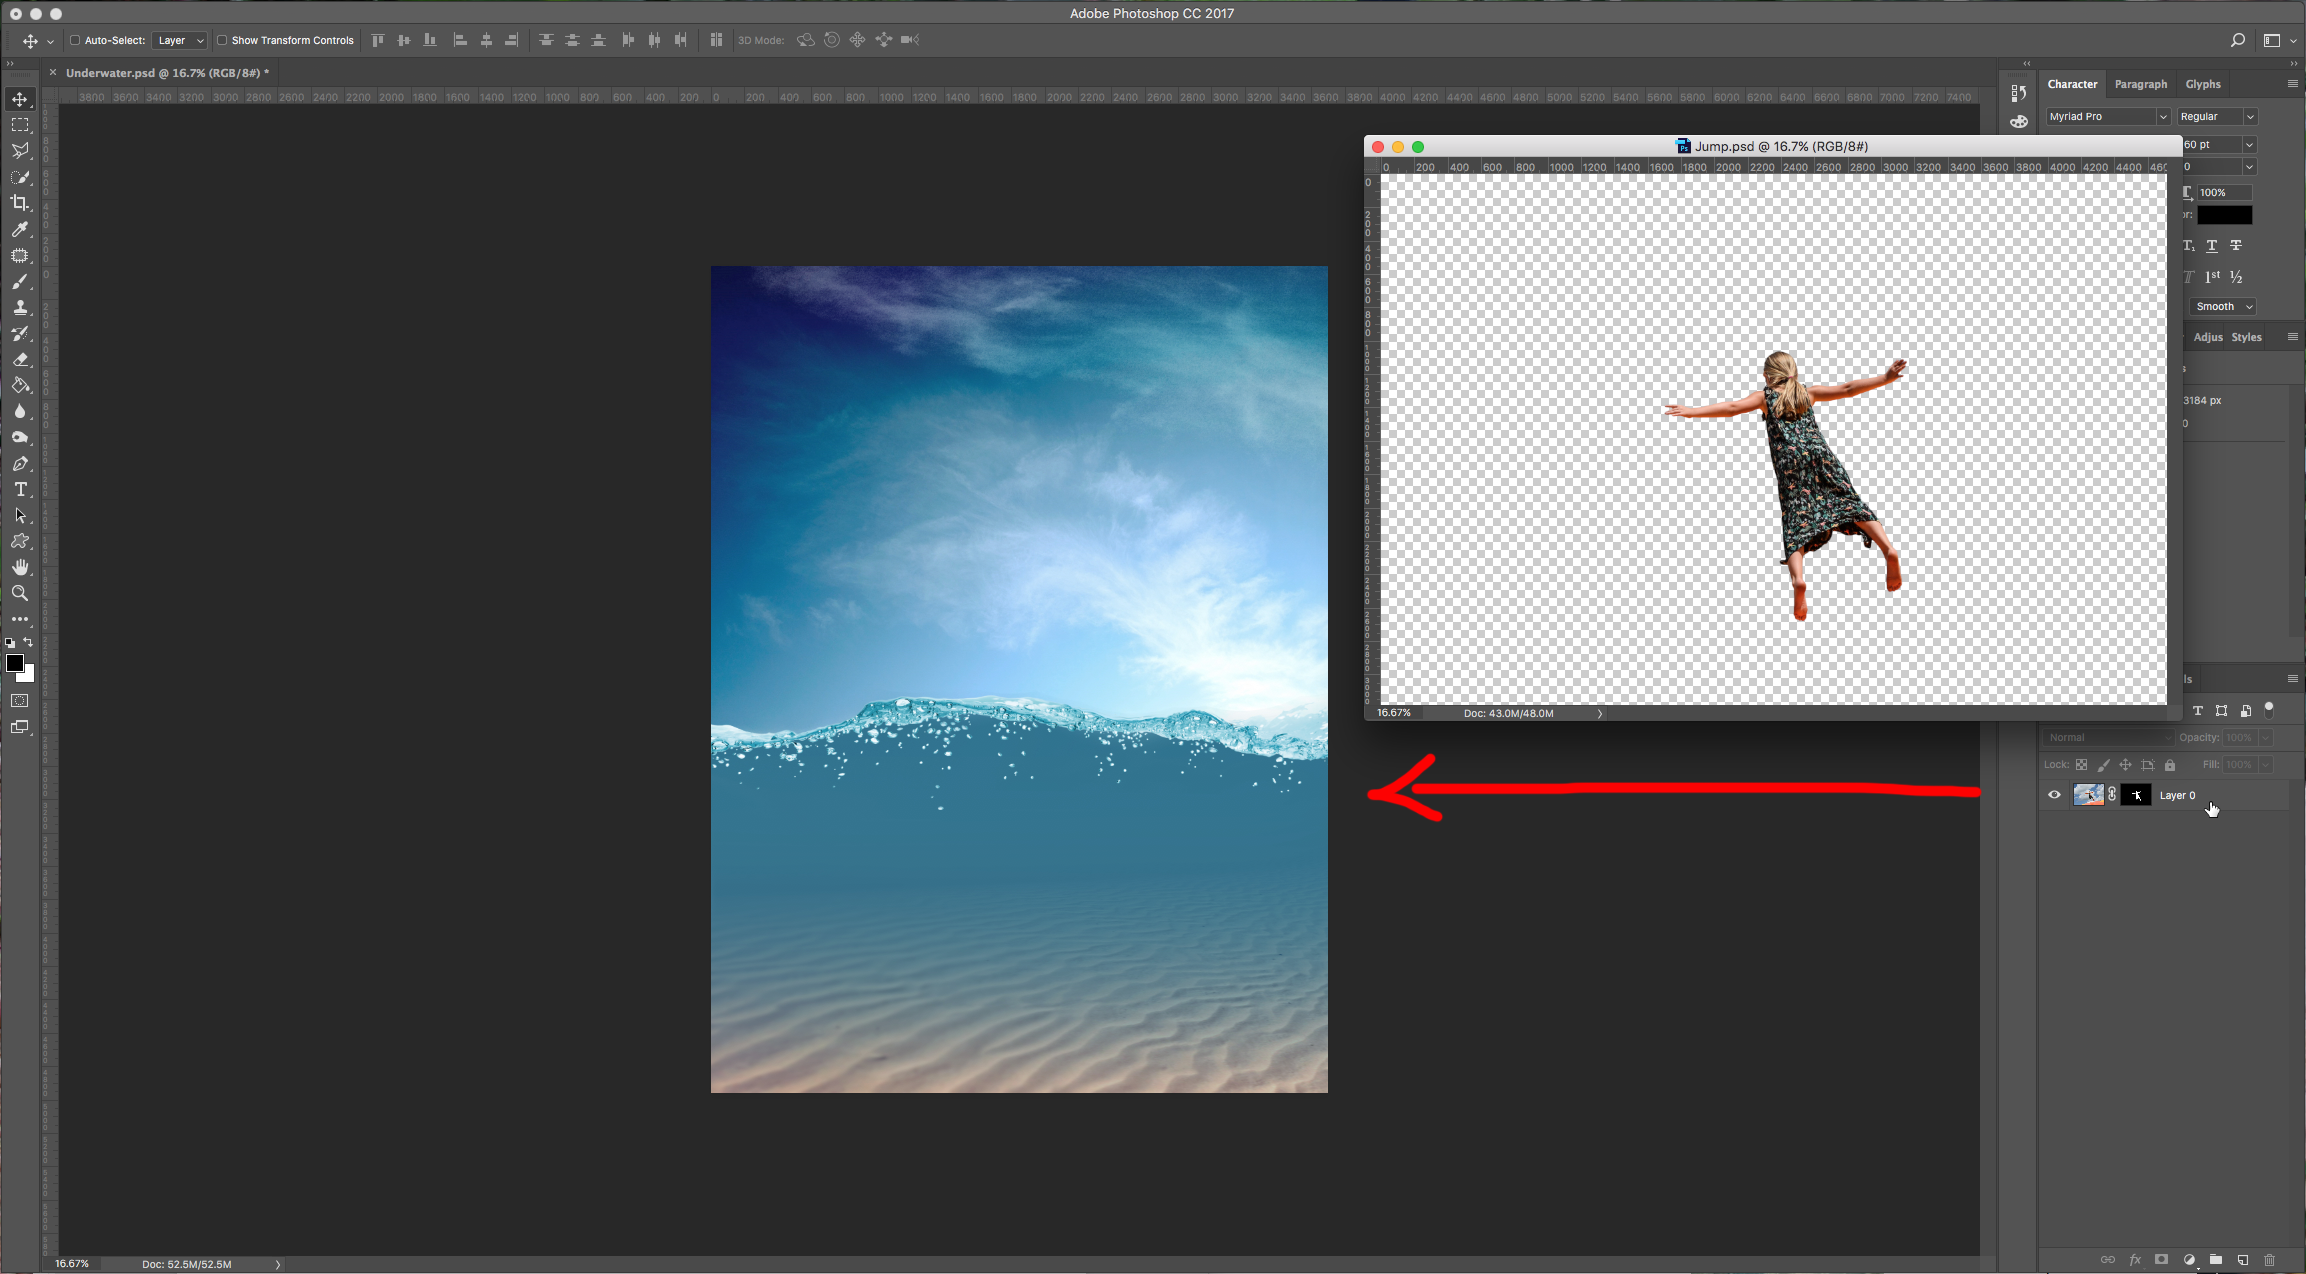
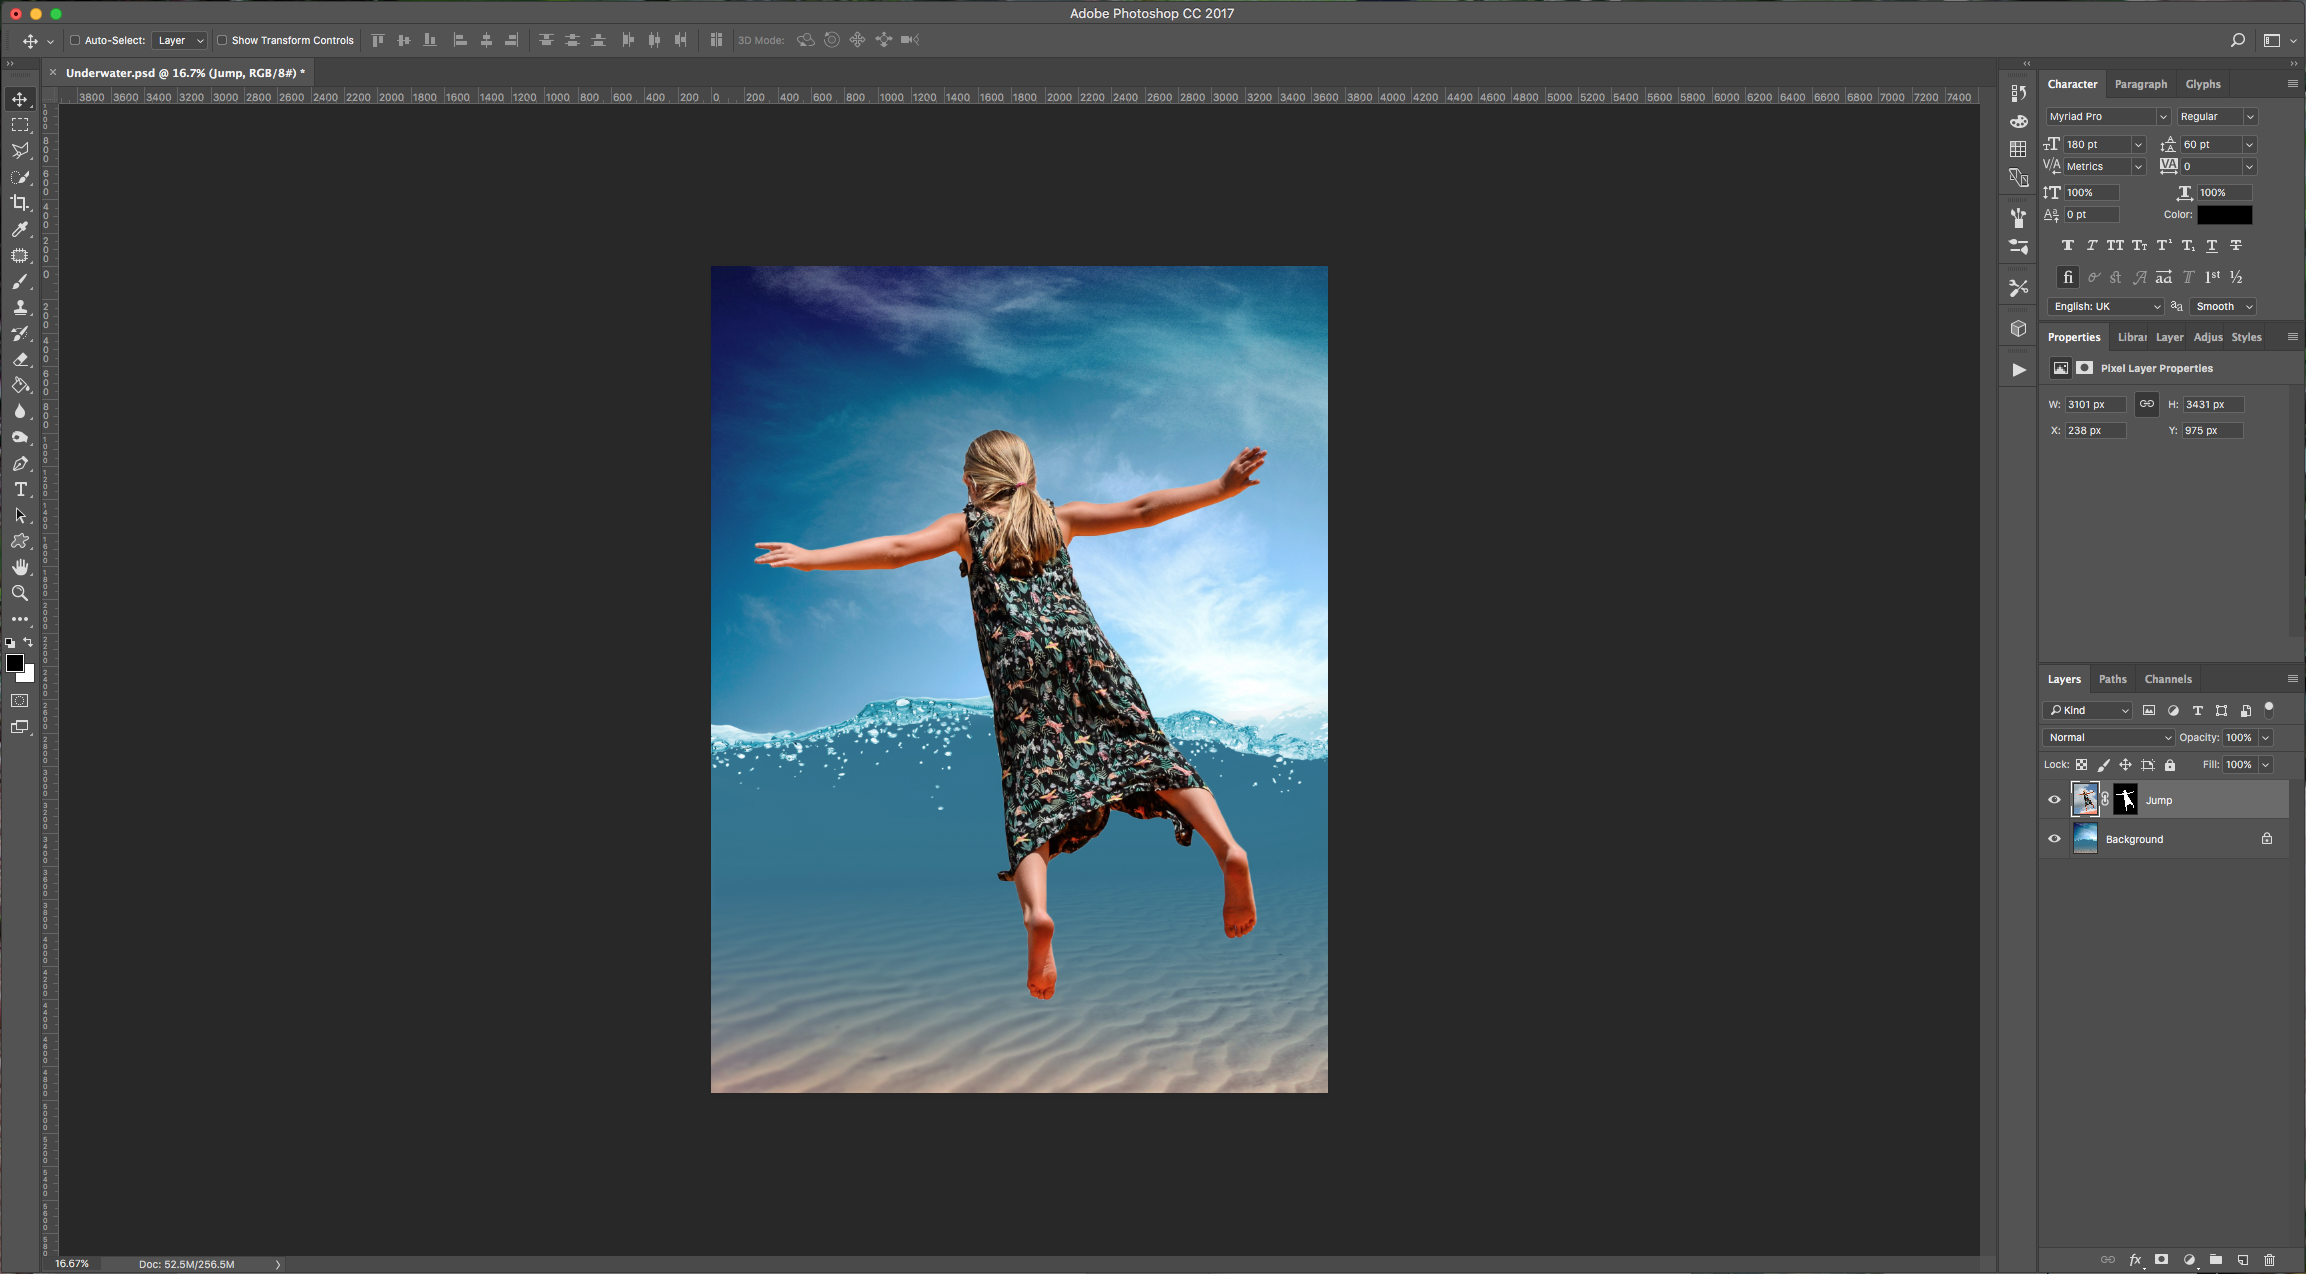
6 - Use “Free Transform” (Command/Control + T) to resize and/or rotate your image and place it where you want. Once you are happy click “Enter” or double-click on your image.

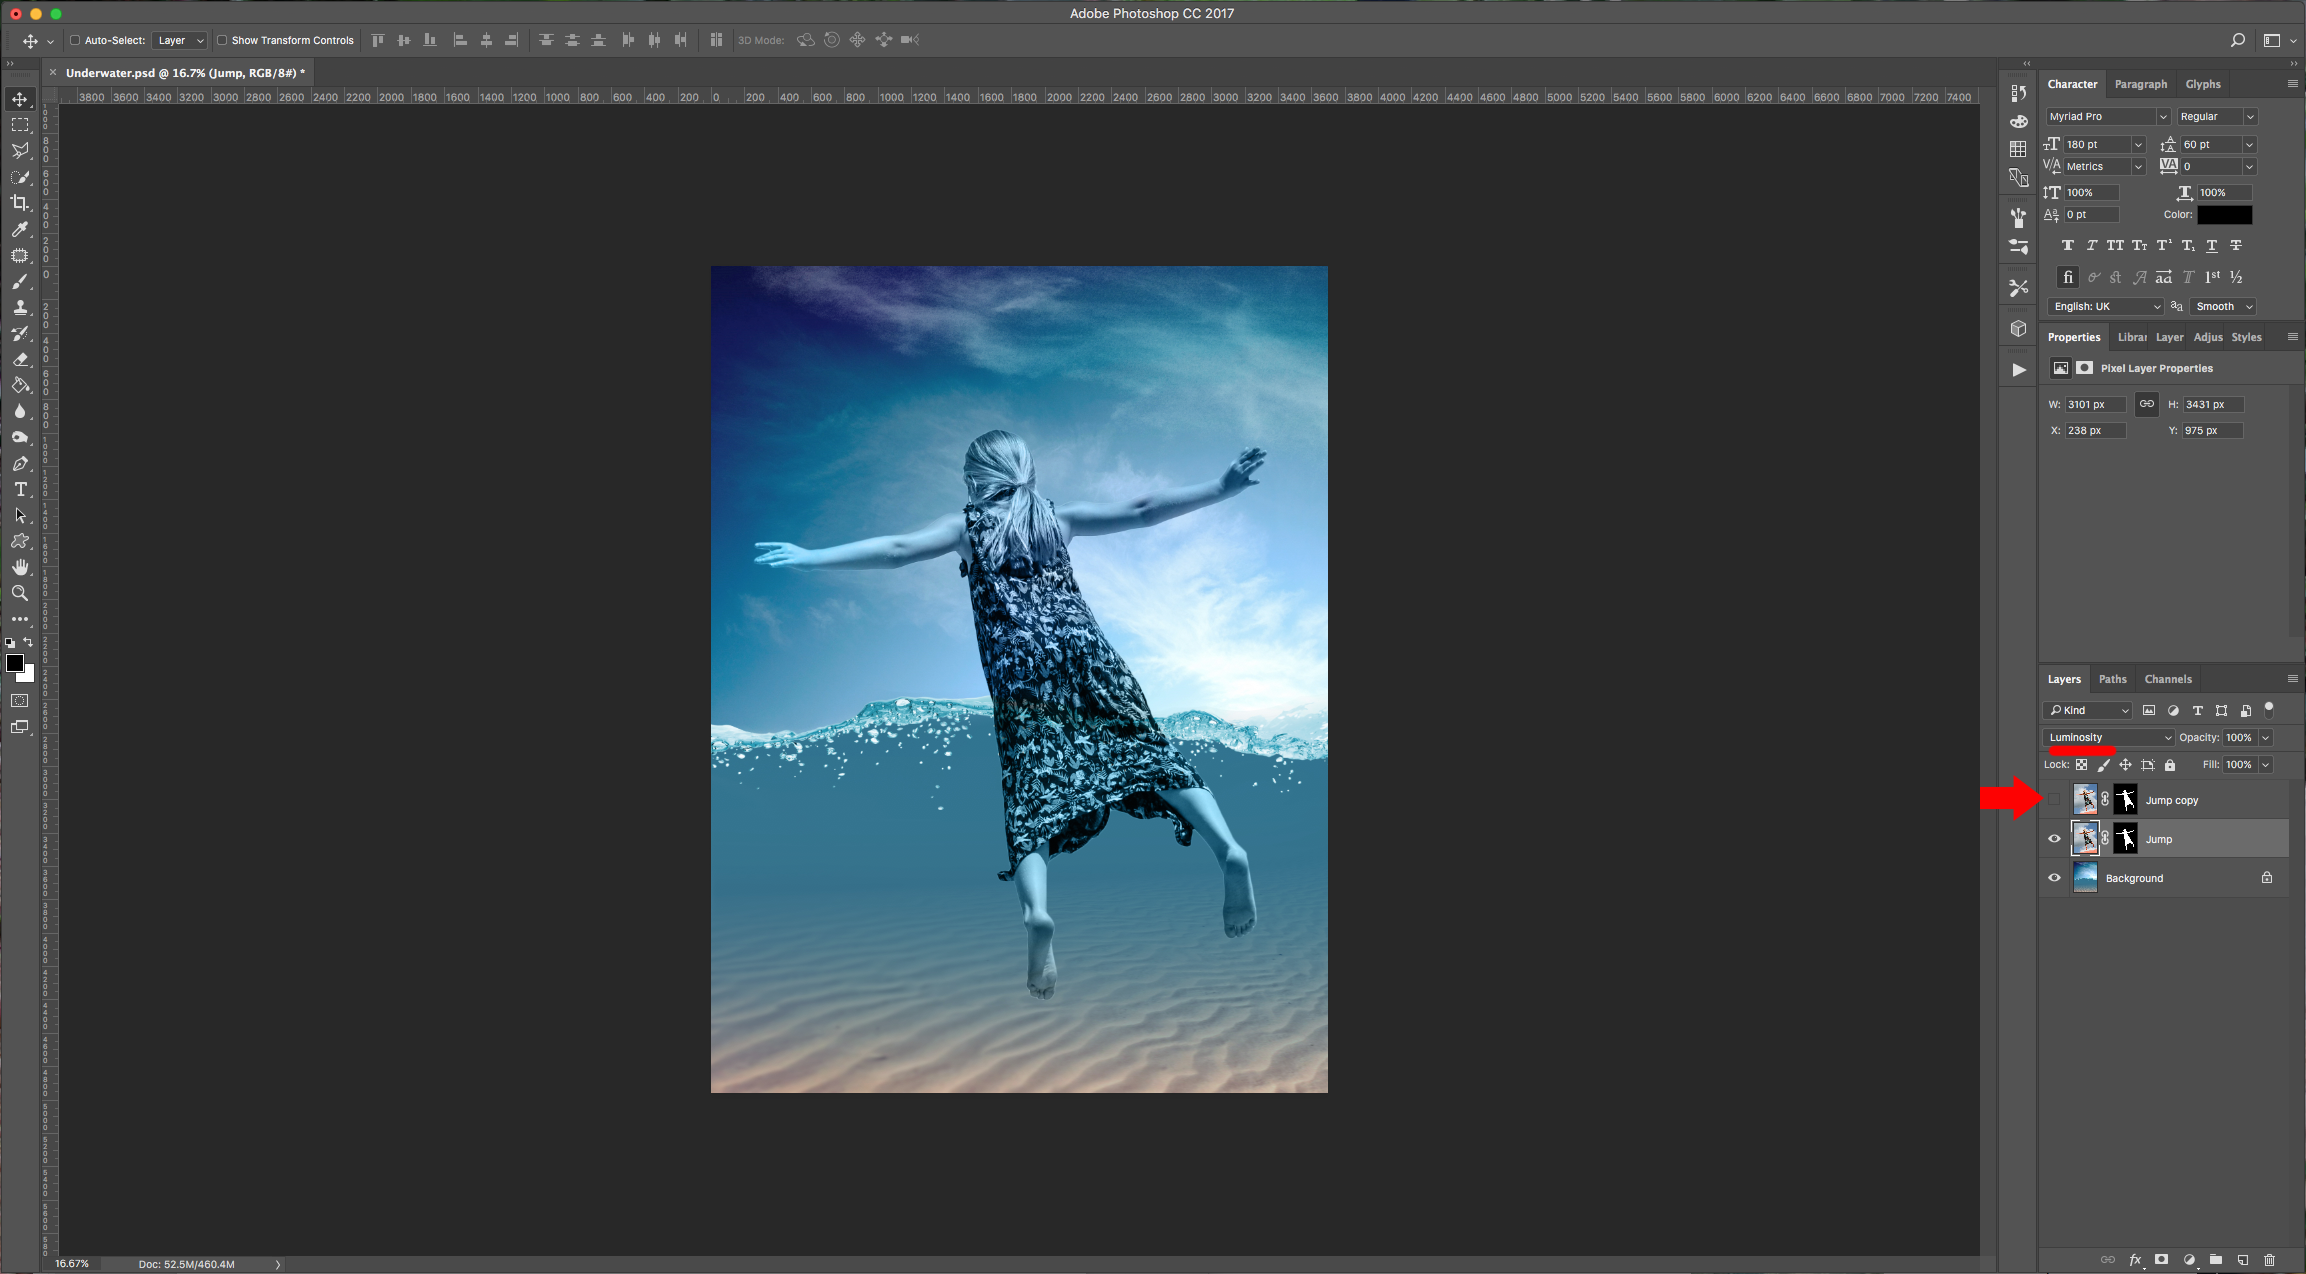
7 - Duplicate your “Jump” Layer (Command/Control + J), hide the duplicate by clicking on the small eye icon on the left of the thumbnail, then select the original one and change the “Blending Mode” to “Luminosity”.
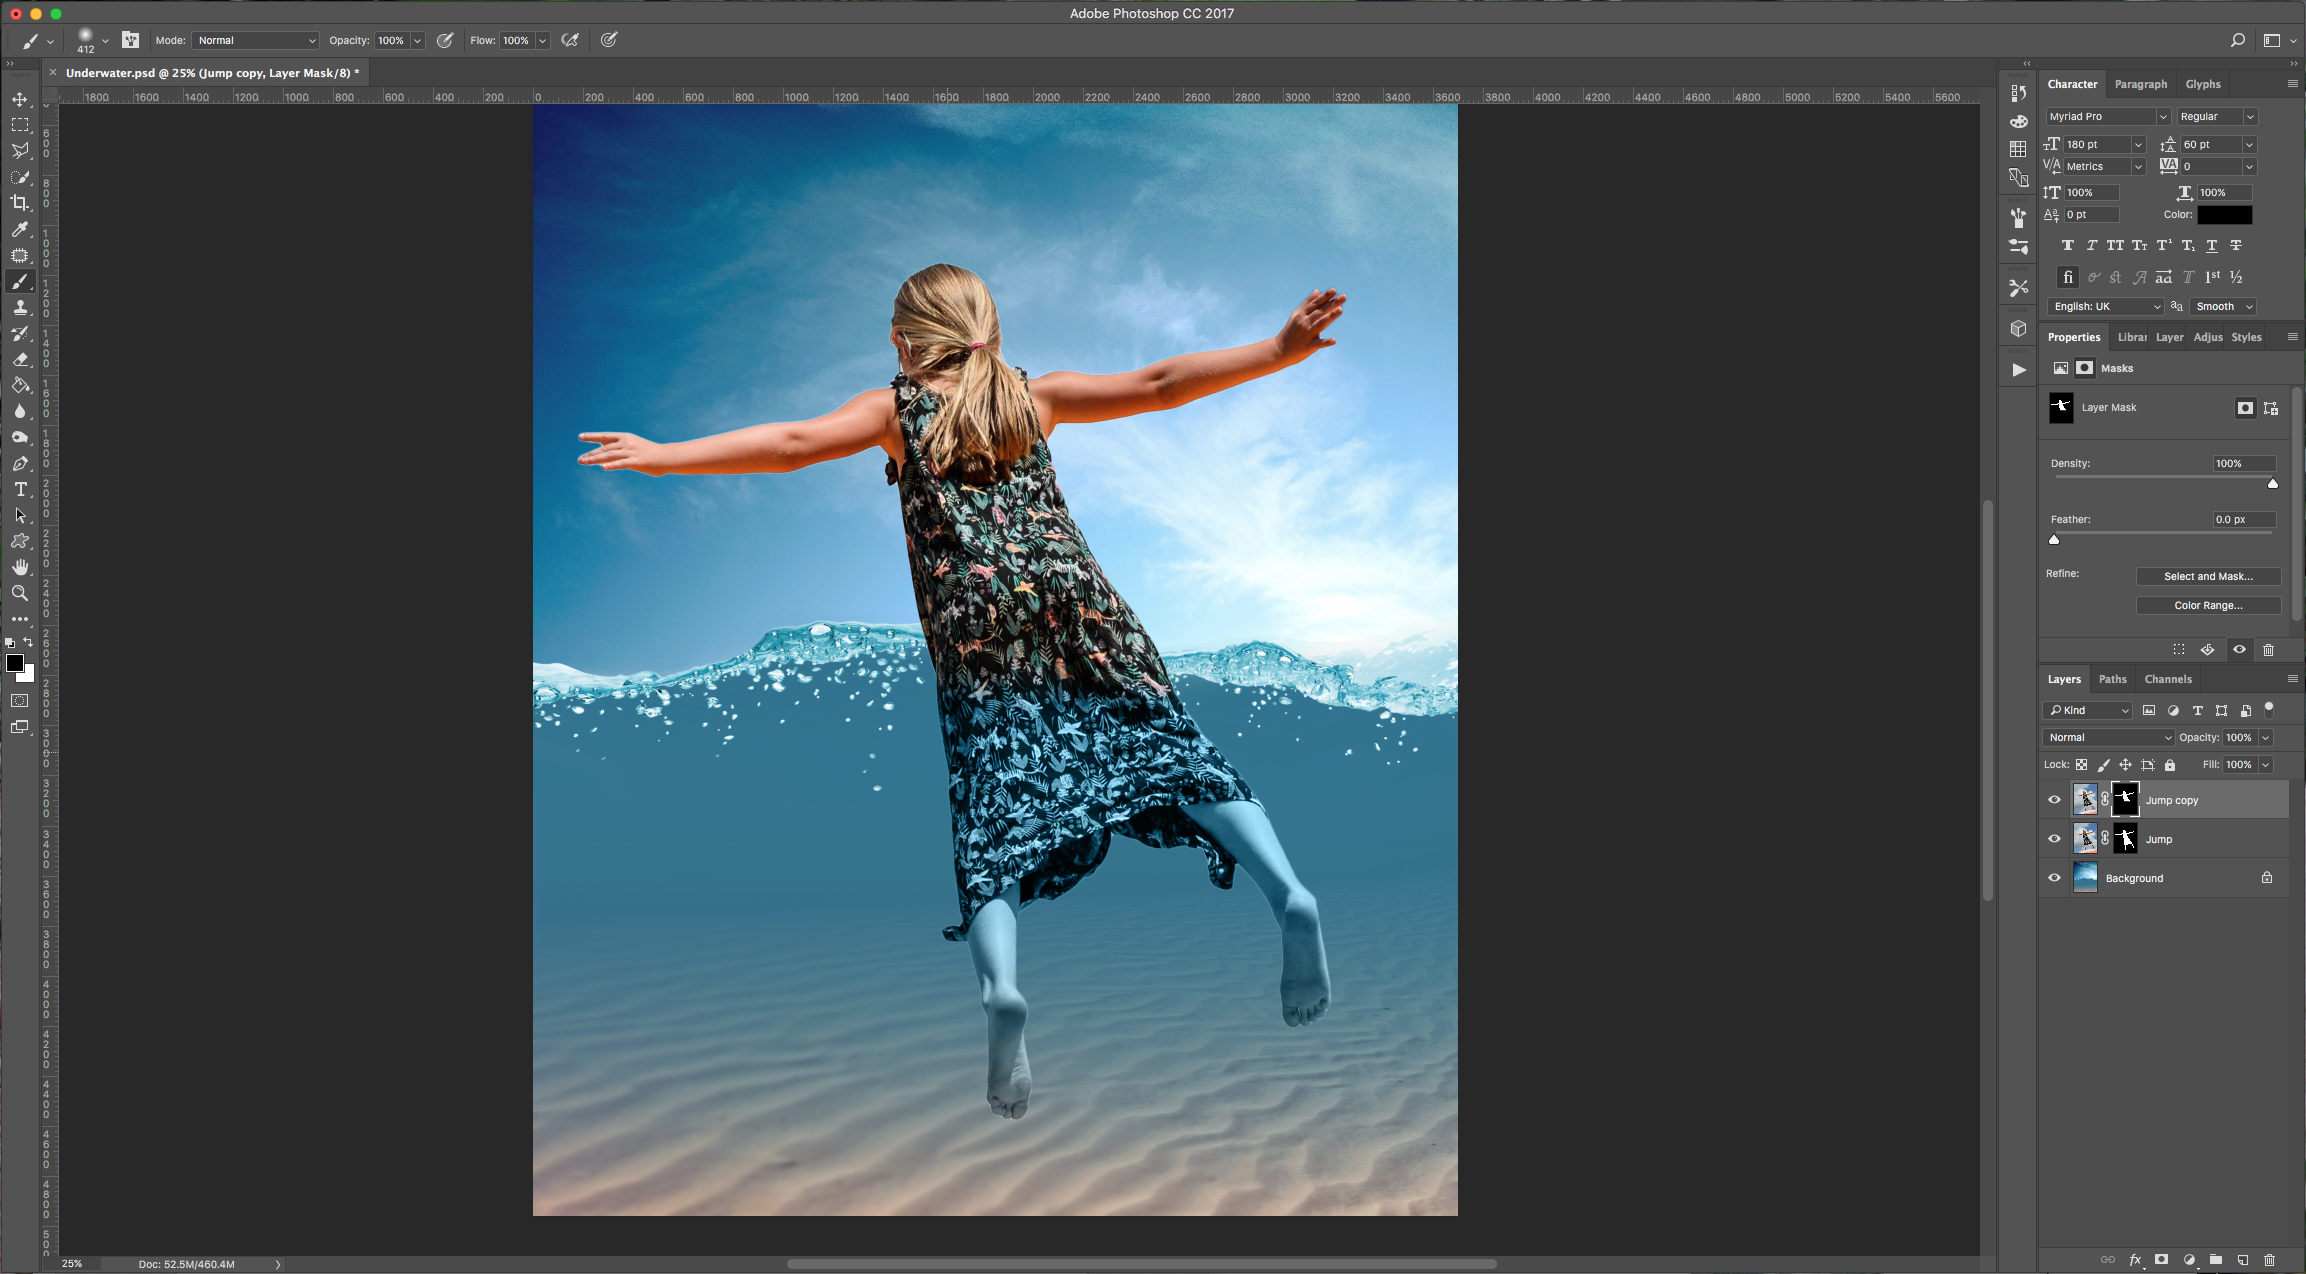
8 - Un-hide the “Jump” duplicate and making sure you are selecting the “Mask” and that your “Foreground” color is Black, select the “Brush Tool” (B), choose a “Soft” (Hardness 0%), large brush and “erase” the lower portion of the body. Make

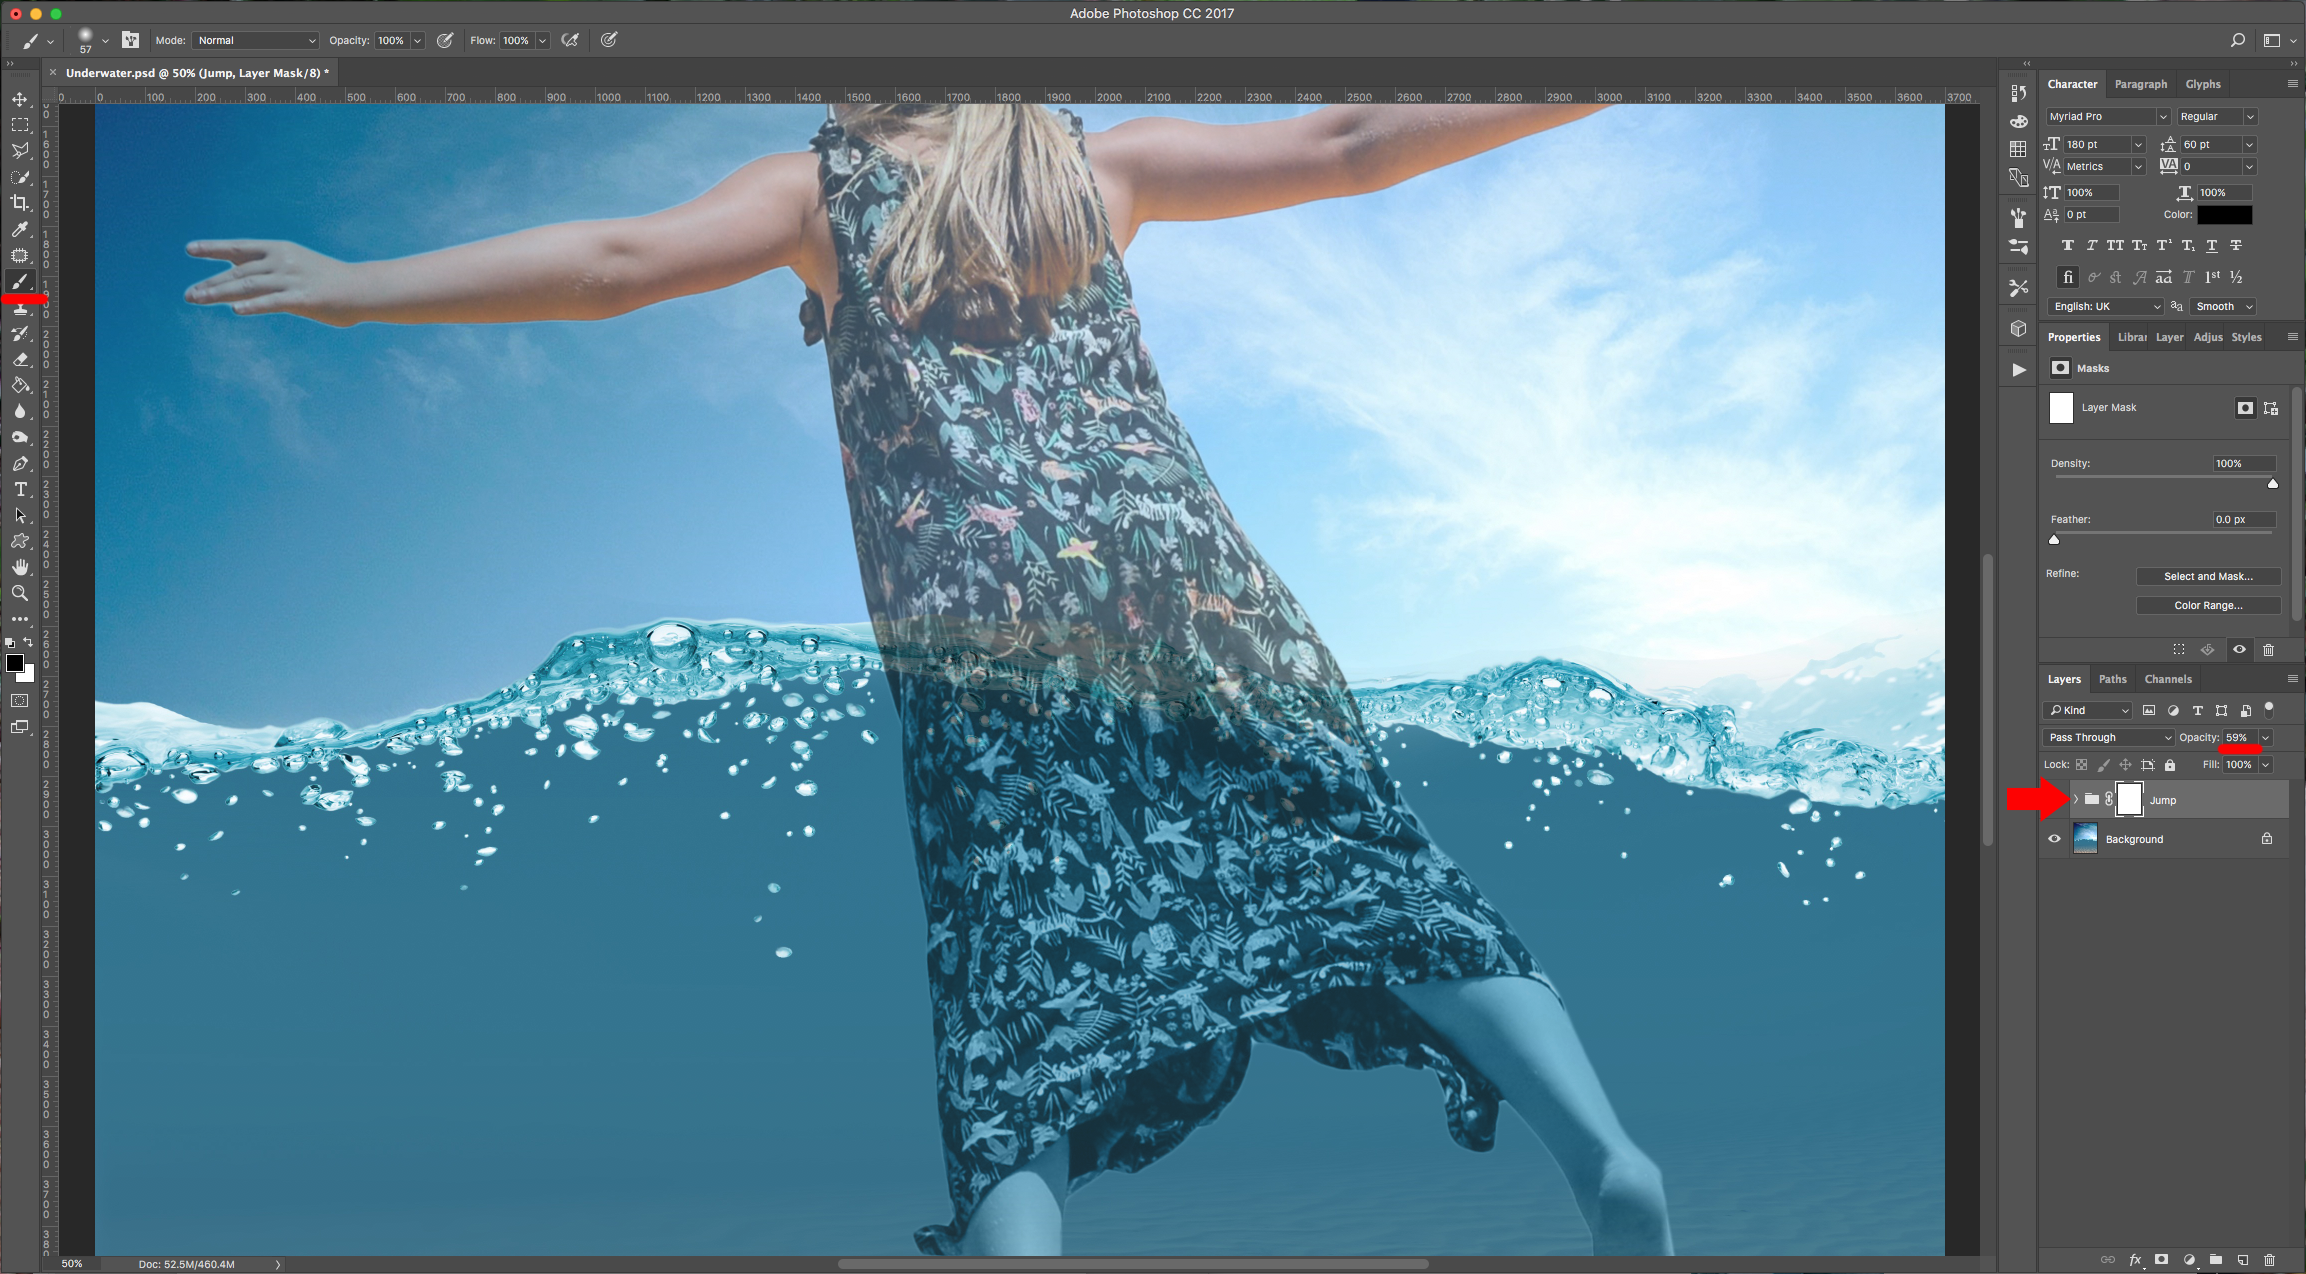
9 - Select your two “Jump” Layers and make a “Group” (Command/Control + G). Click on the “Add vector Mask” button at the bottom of the “Layers” Menu to make a mask of the “Group”, then select your “Brush Tool” (B) again, this time with a smaller brush erase the water edge to make it look like half of the girl’s body is in the water. (Temporarily lower the groups “Opacity” a bit so you can see the top of the water).
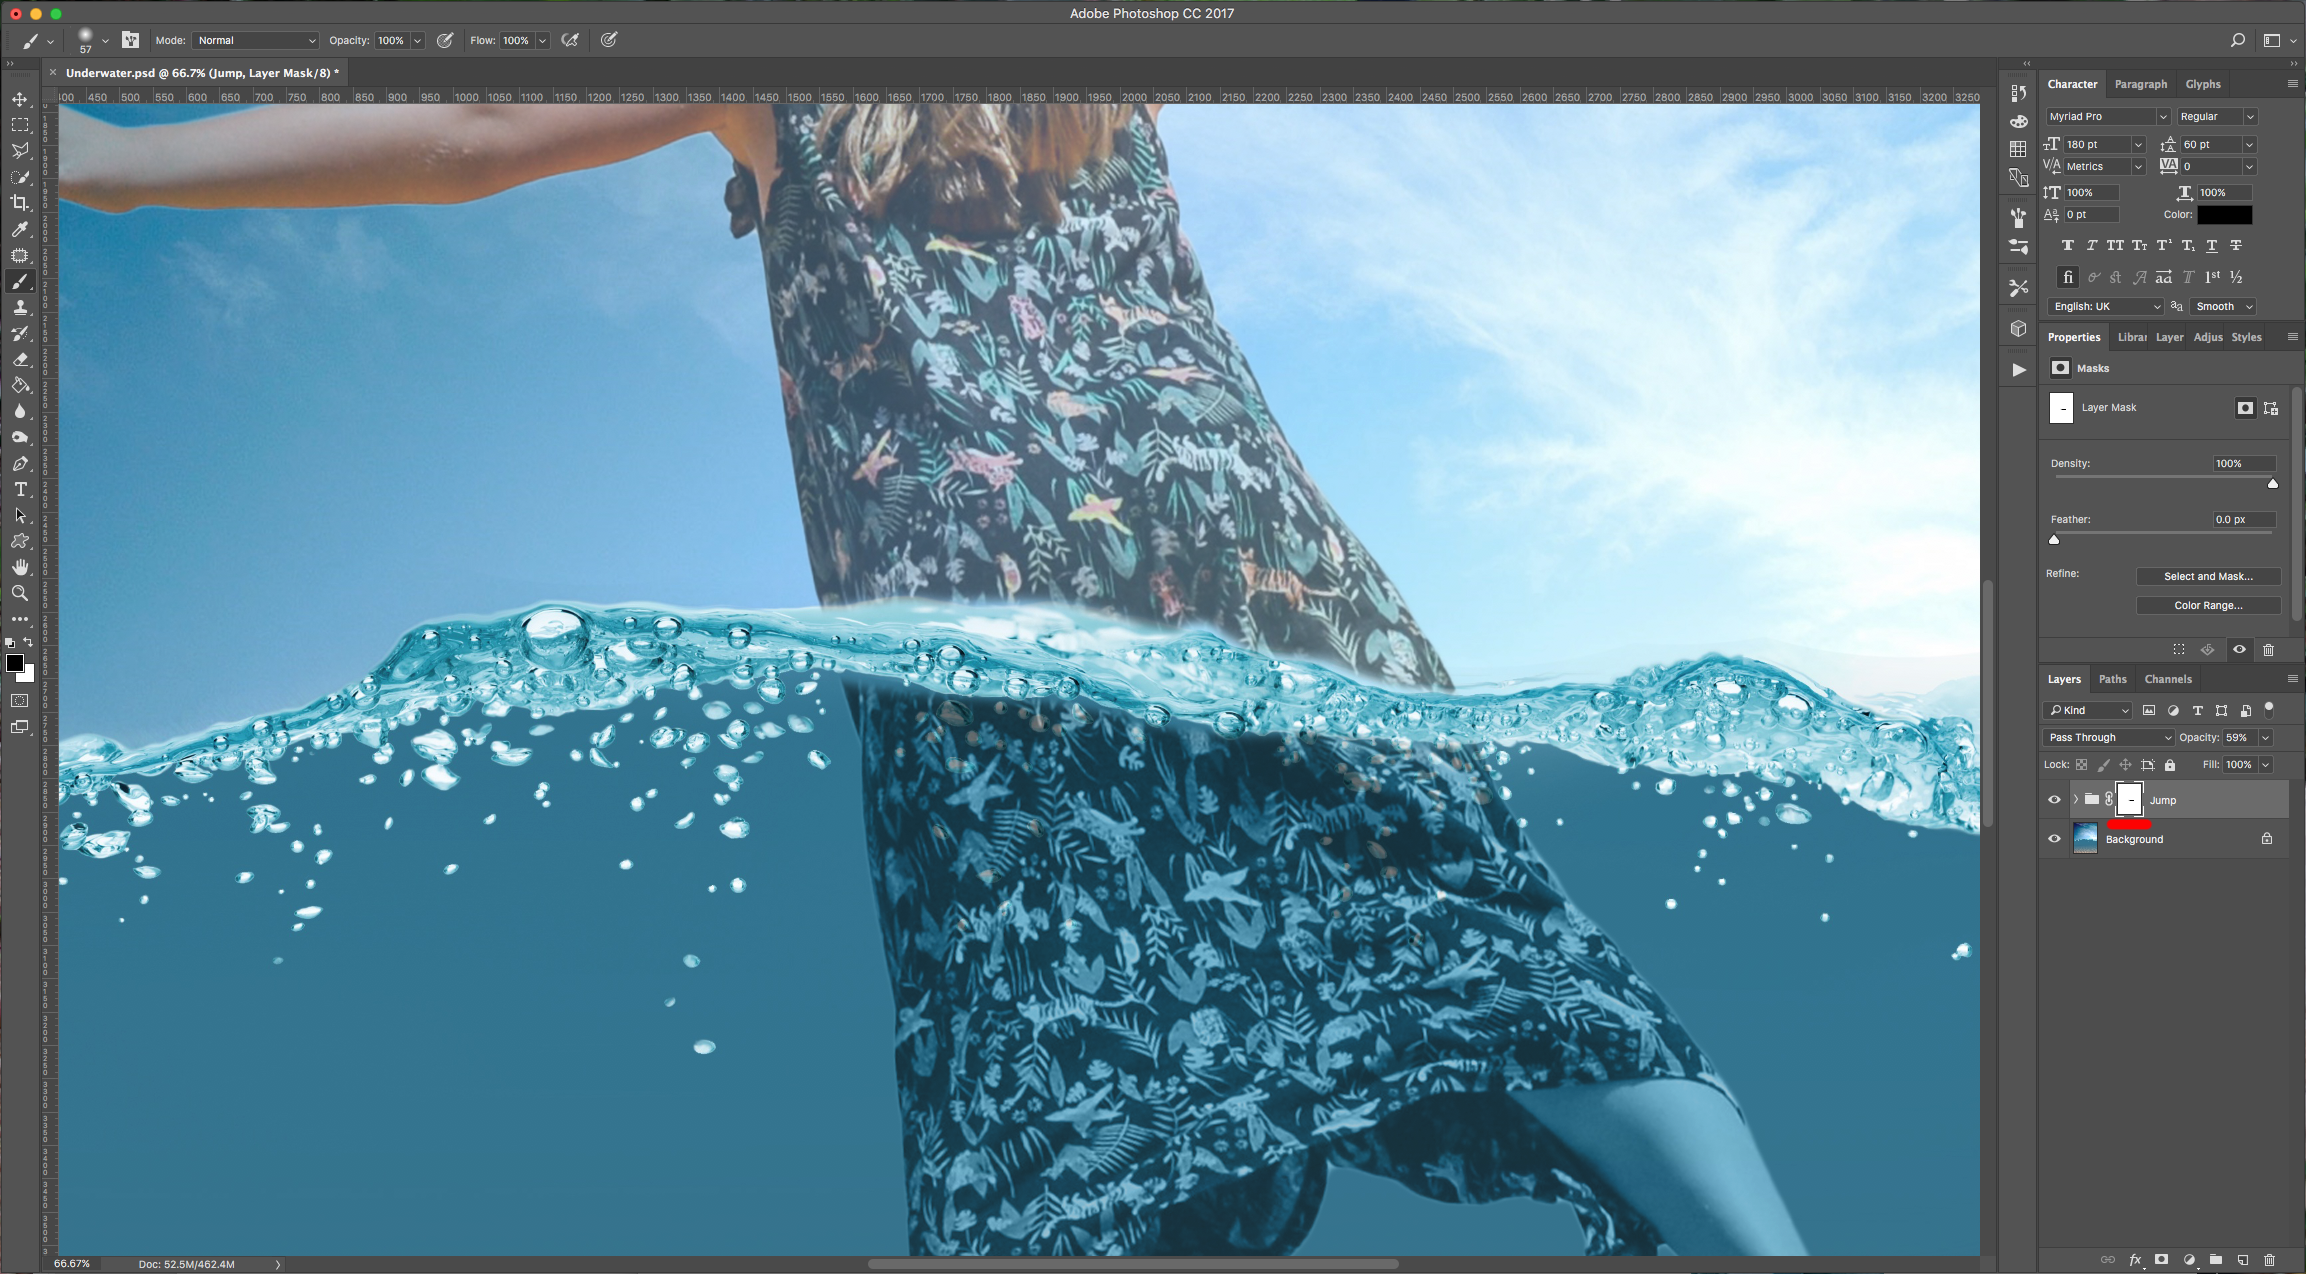

10 - To “Fix” errors in case you erased too much, just change the “Foreground” color to White and bring back what you want.

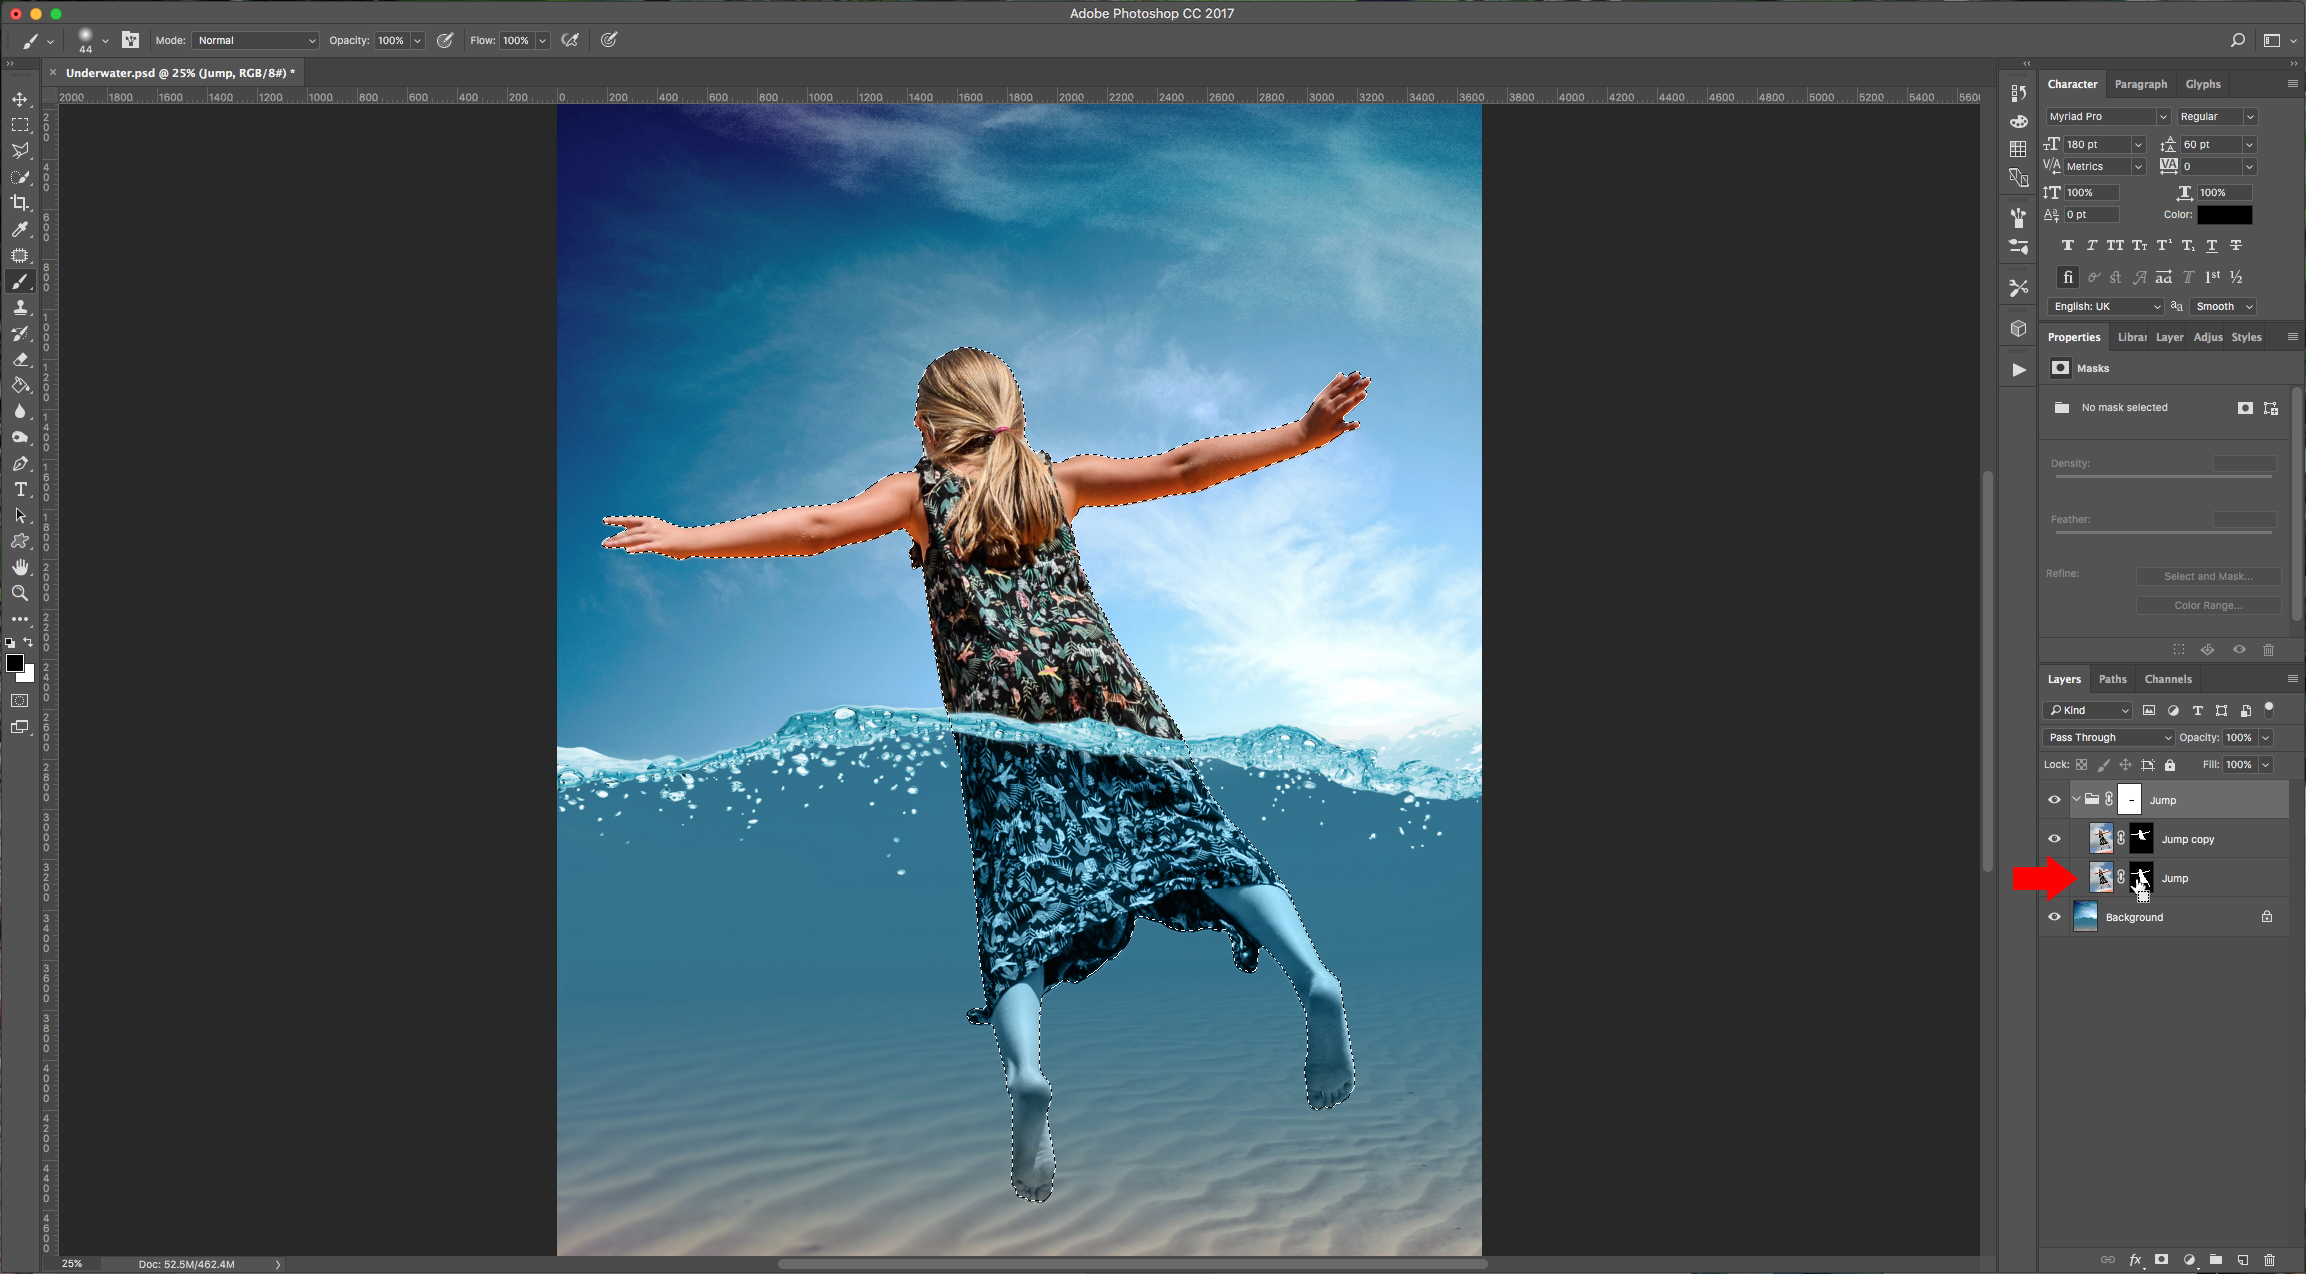
11 - Expand the “Jump” Group by clicking the small arrow to the left of the Folder icon and Command/Control-click on the mask thumbnail to make a selection of the girl’s body.
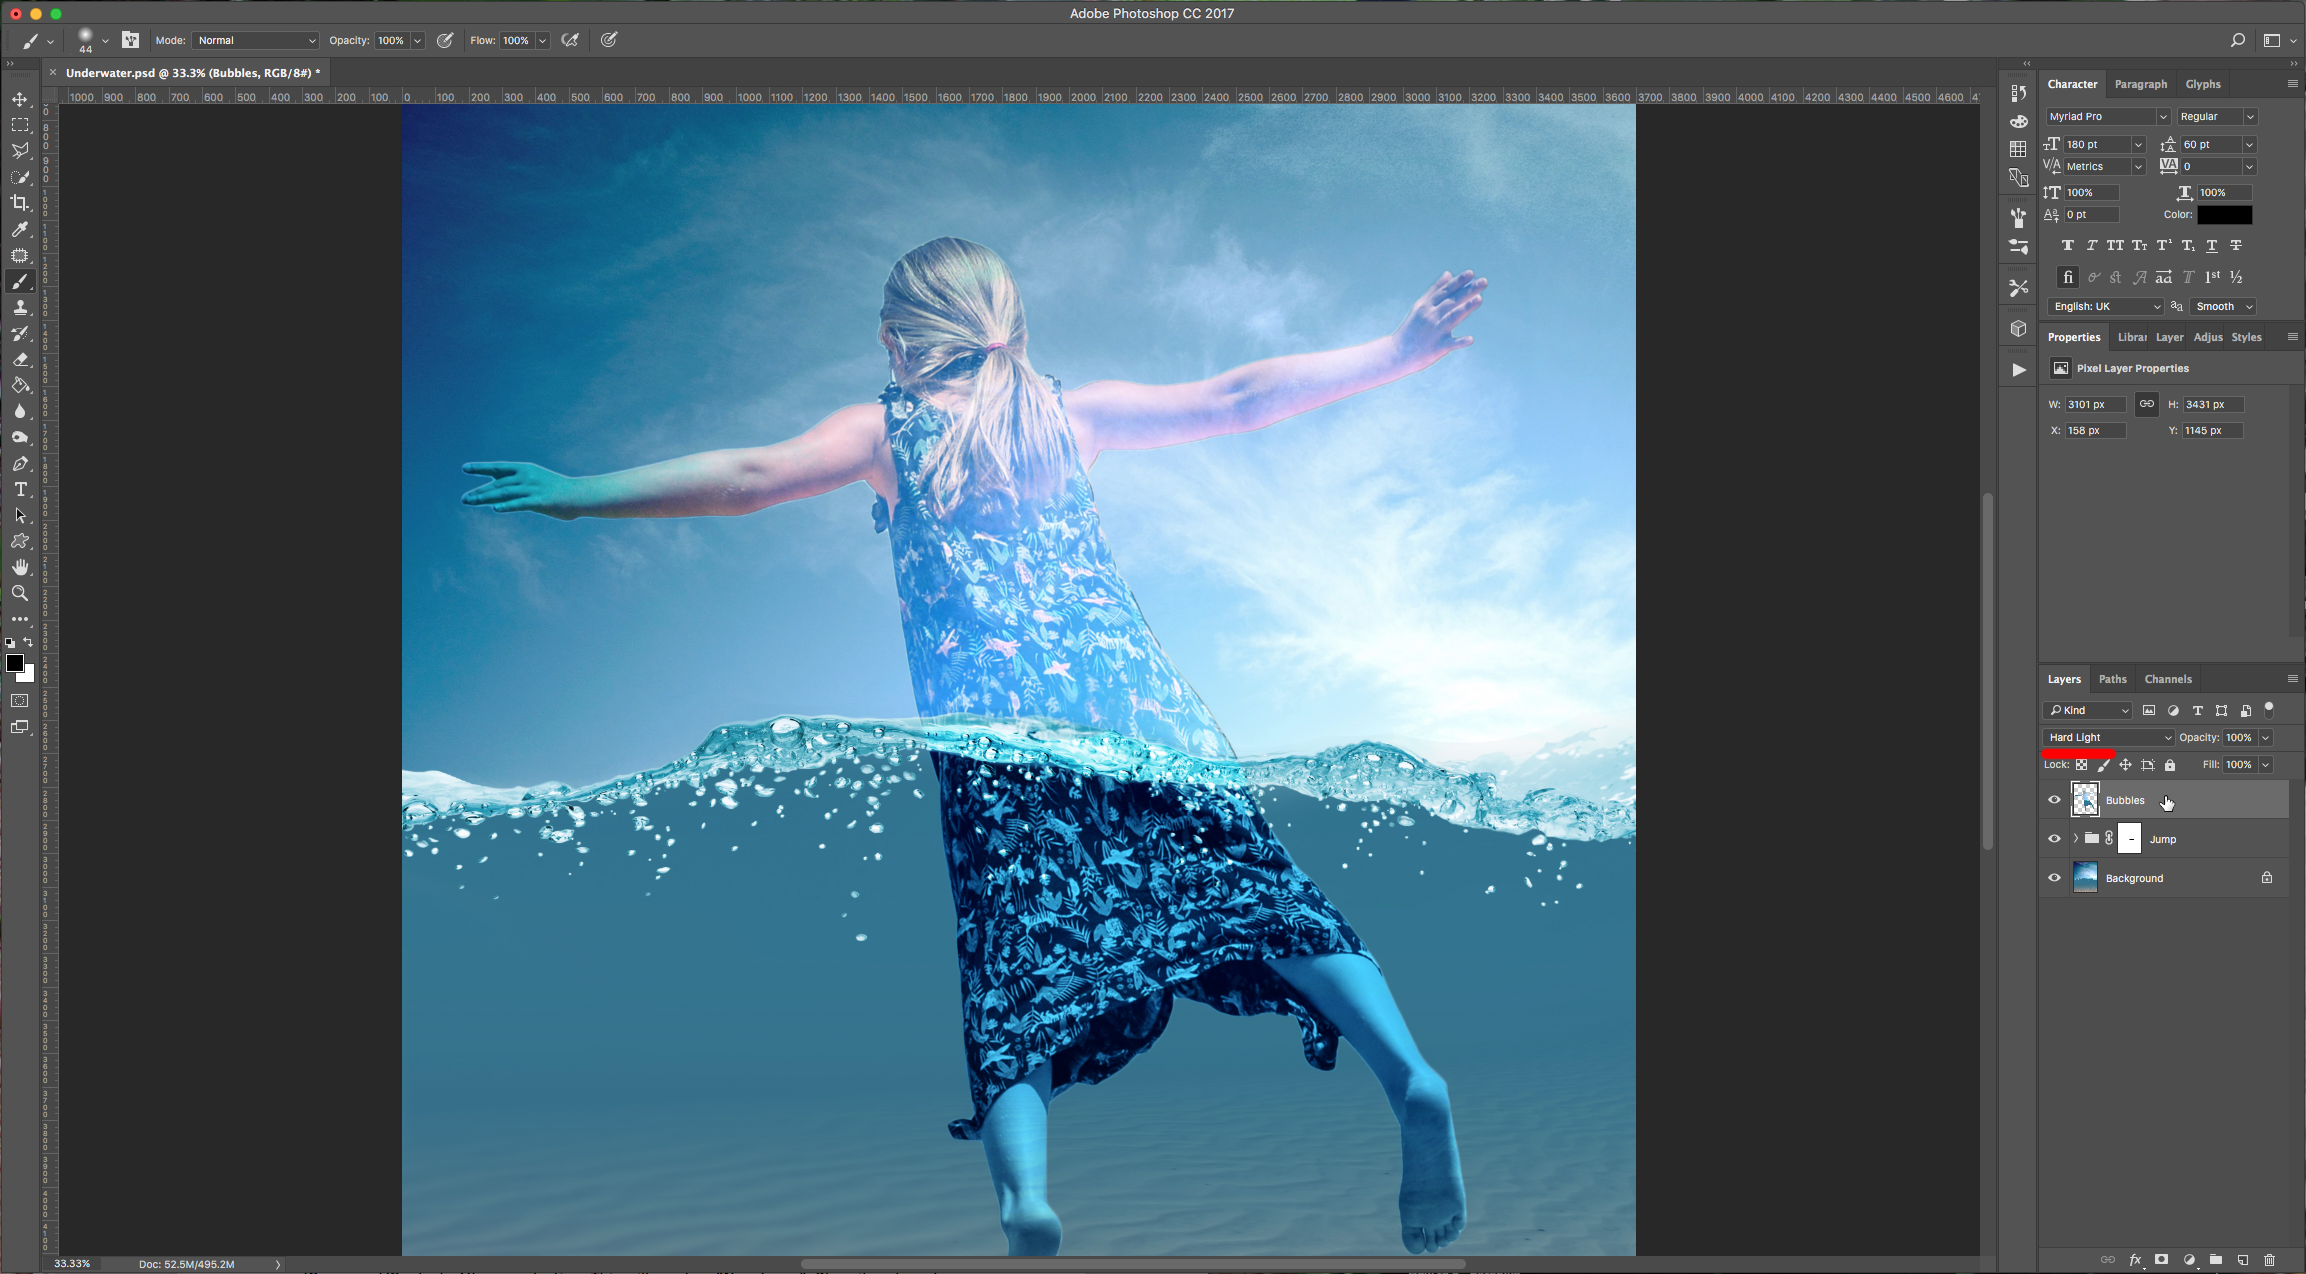
12 - Select you “Background” Layer, “Copy” (Command/Control + C) and “Paste” (Command/Control + V) your selection. This will create a “New Layer”. Place it on top of everything and change the “Blending Mode” to “Hard Light”.

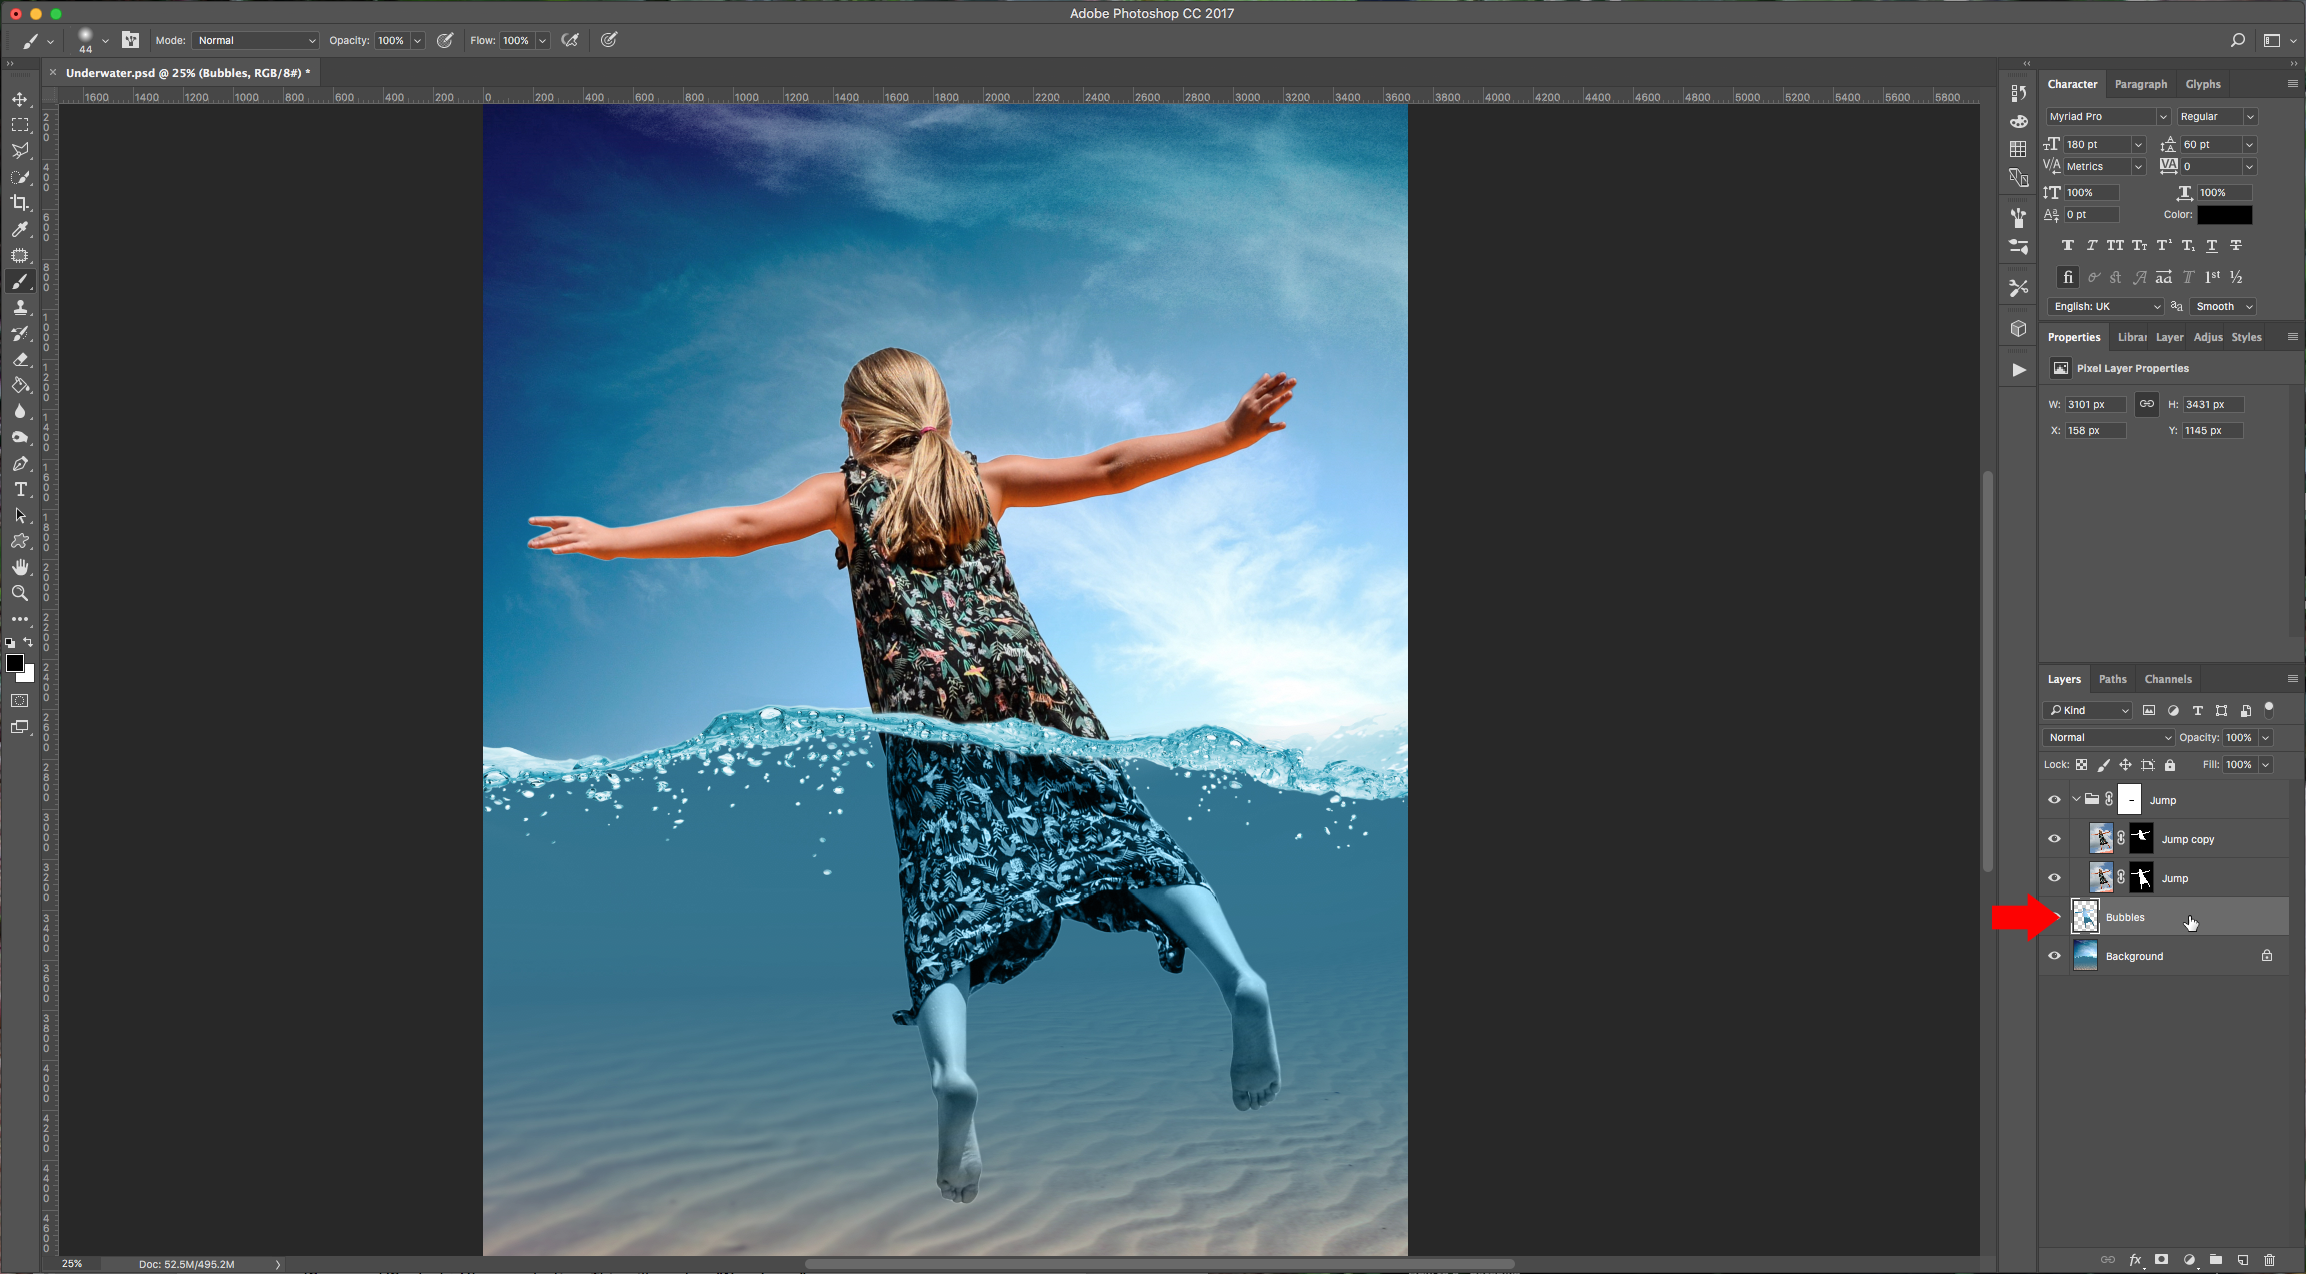
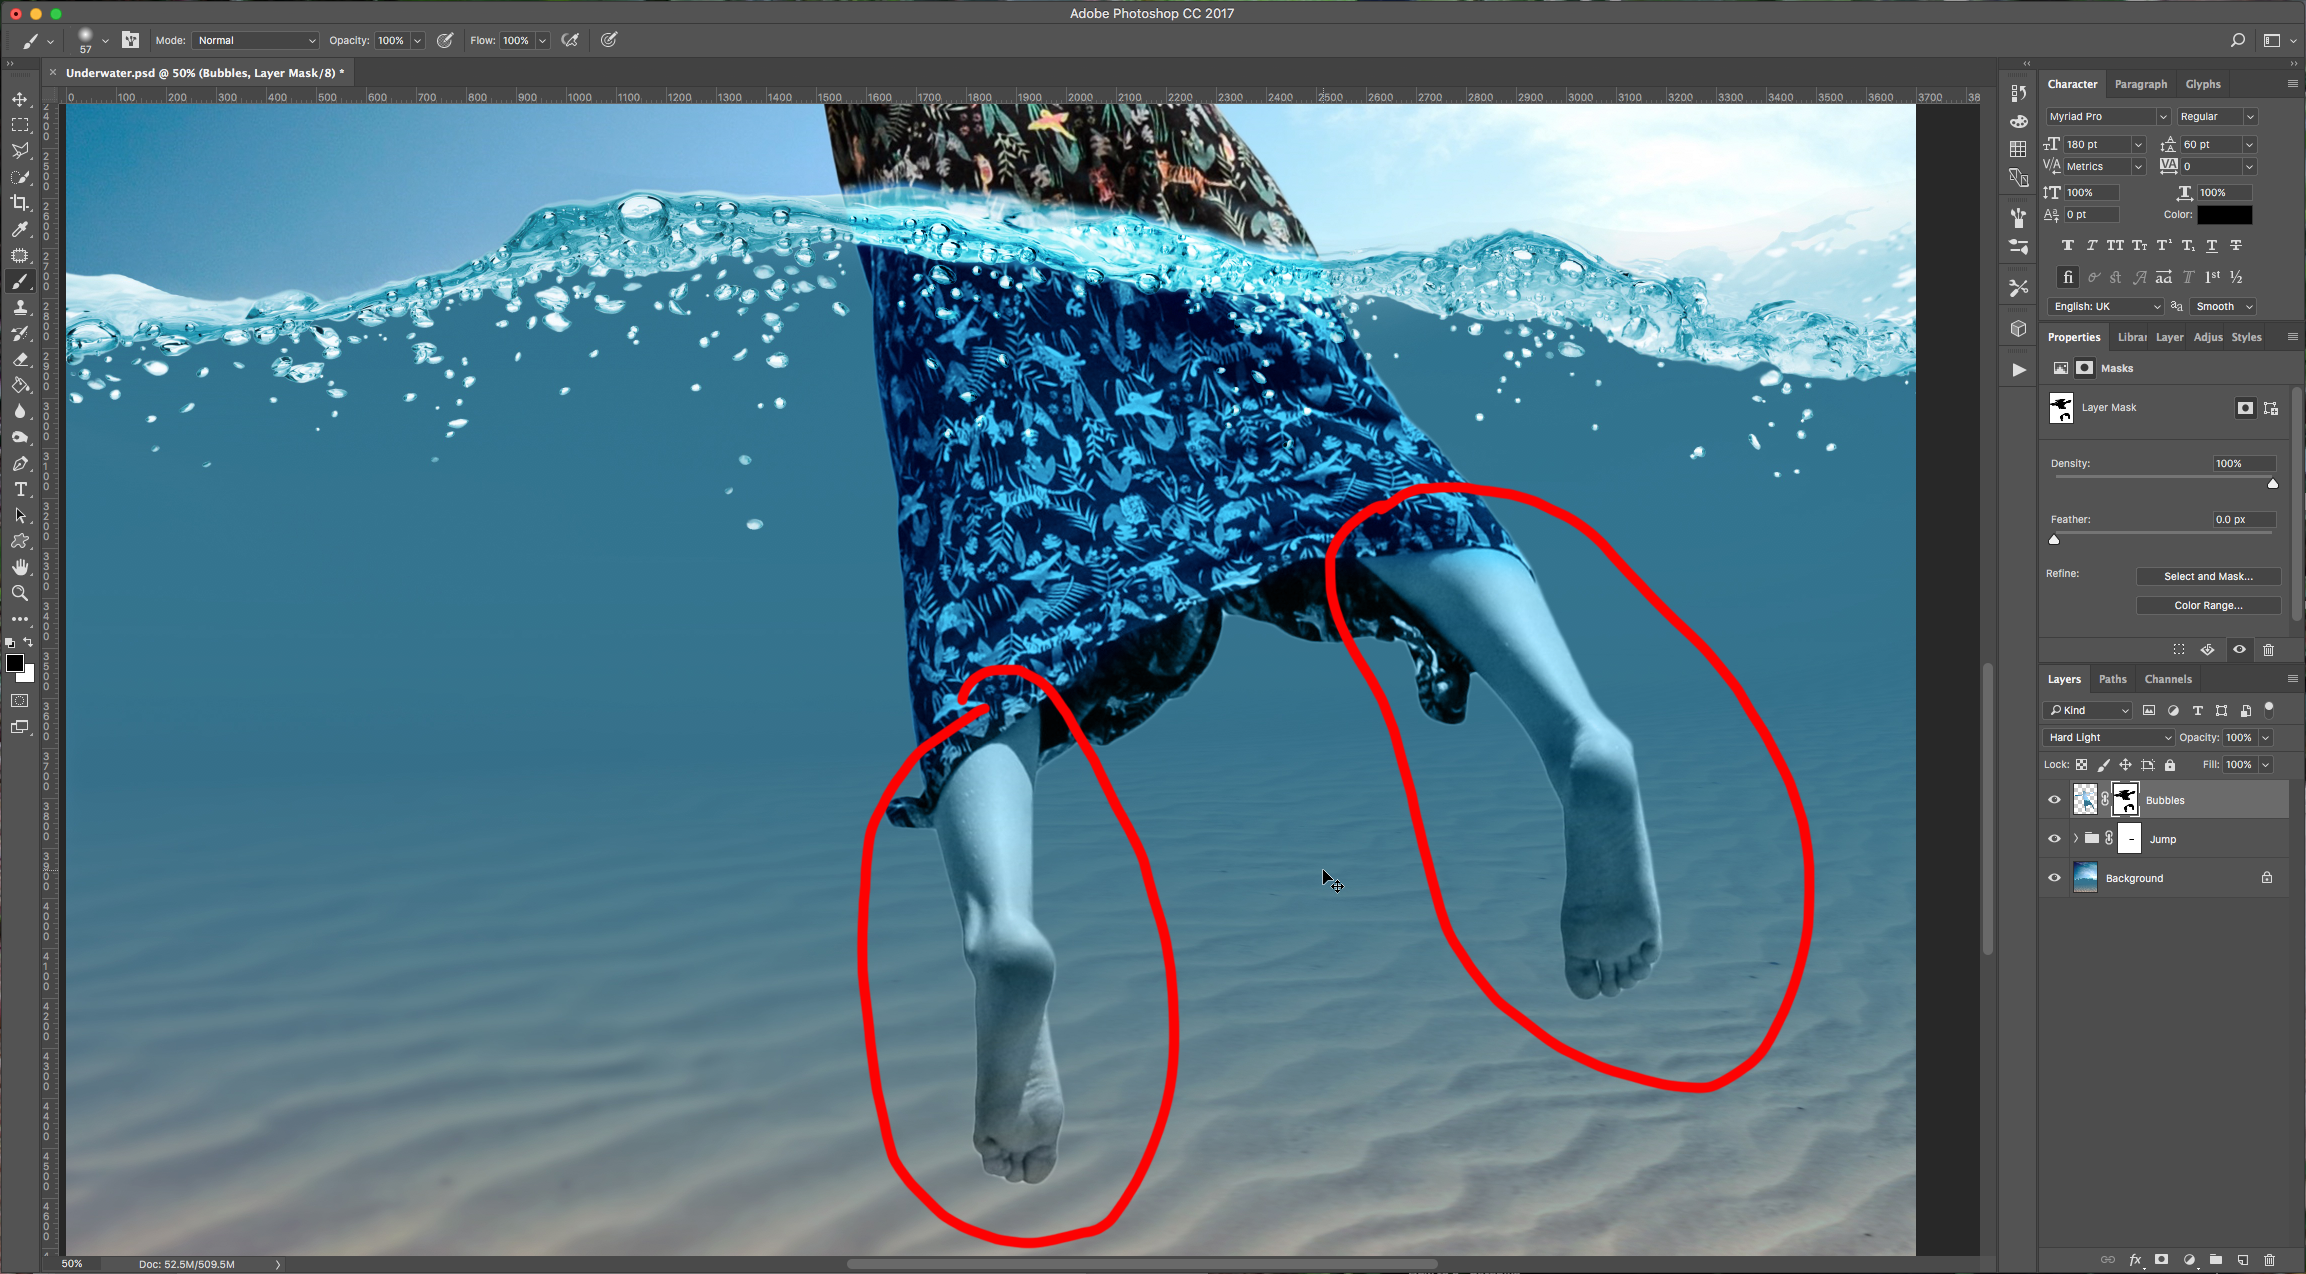
13 - Make a mask of the layer and erase the upper portion of the girl and some of the lower portion too (we erased the feet).

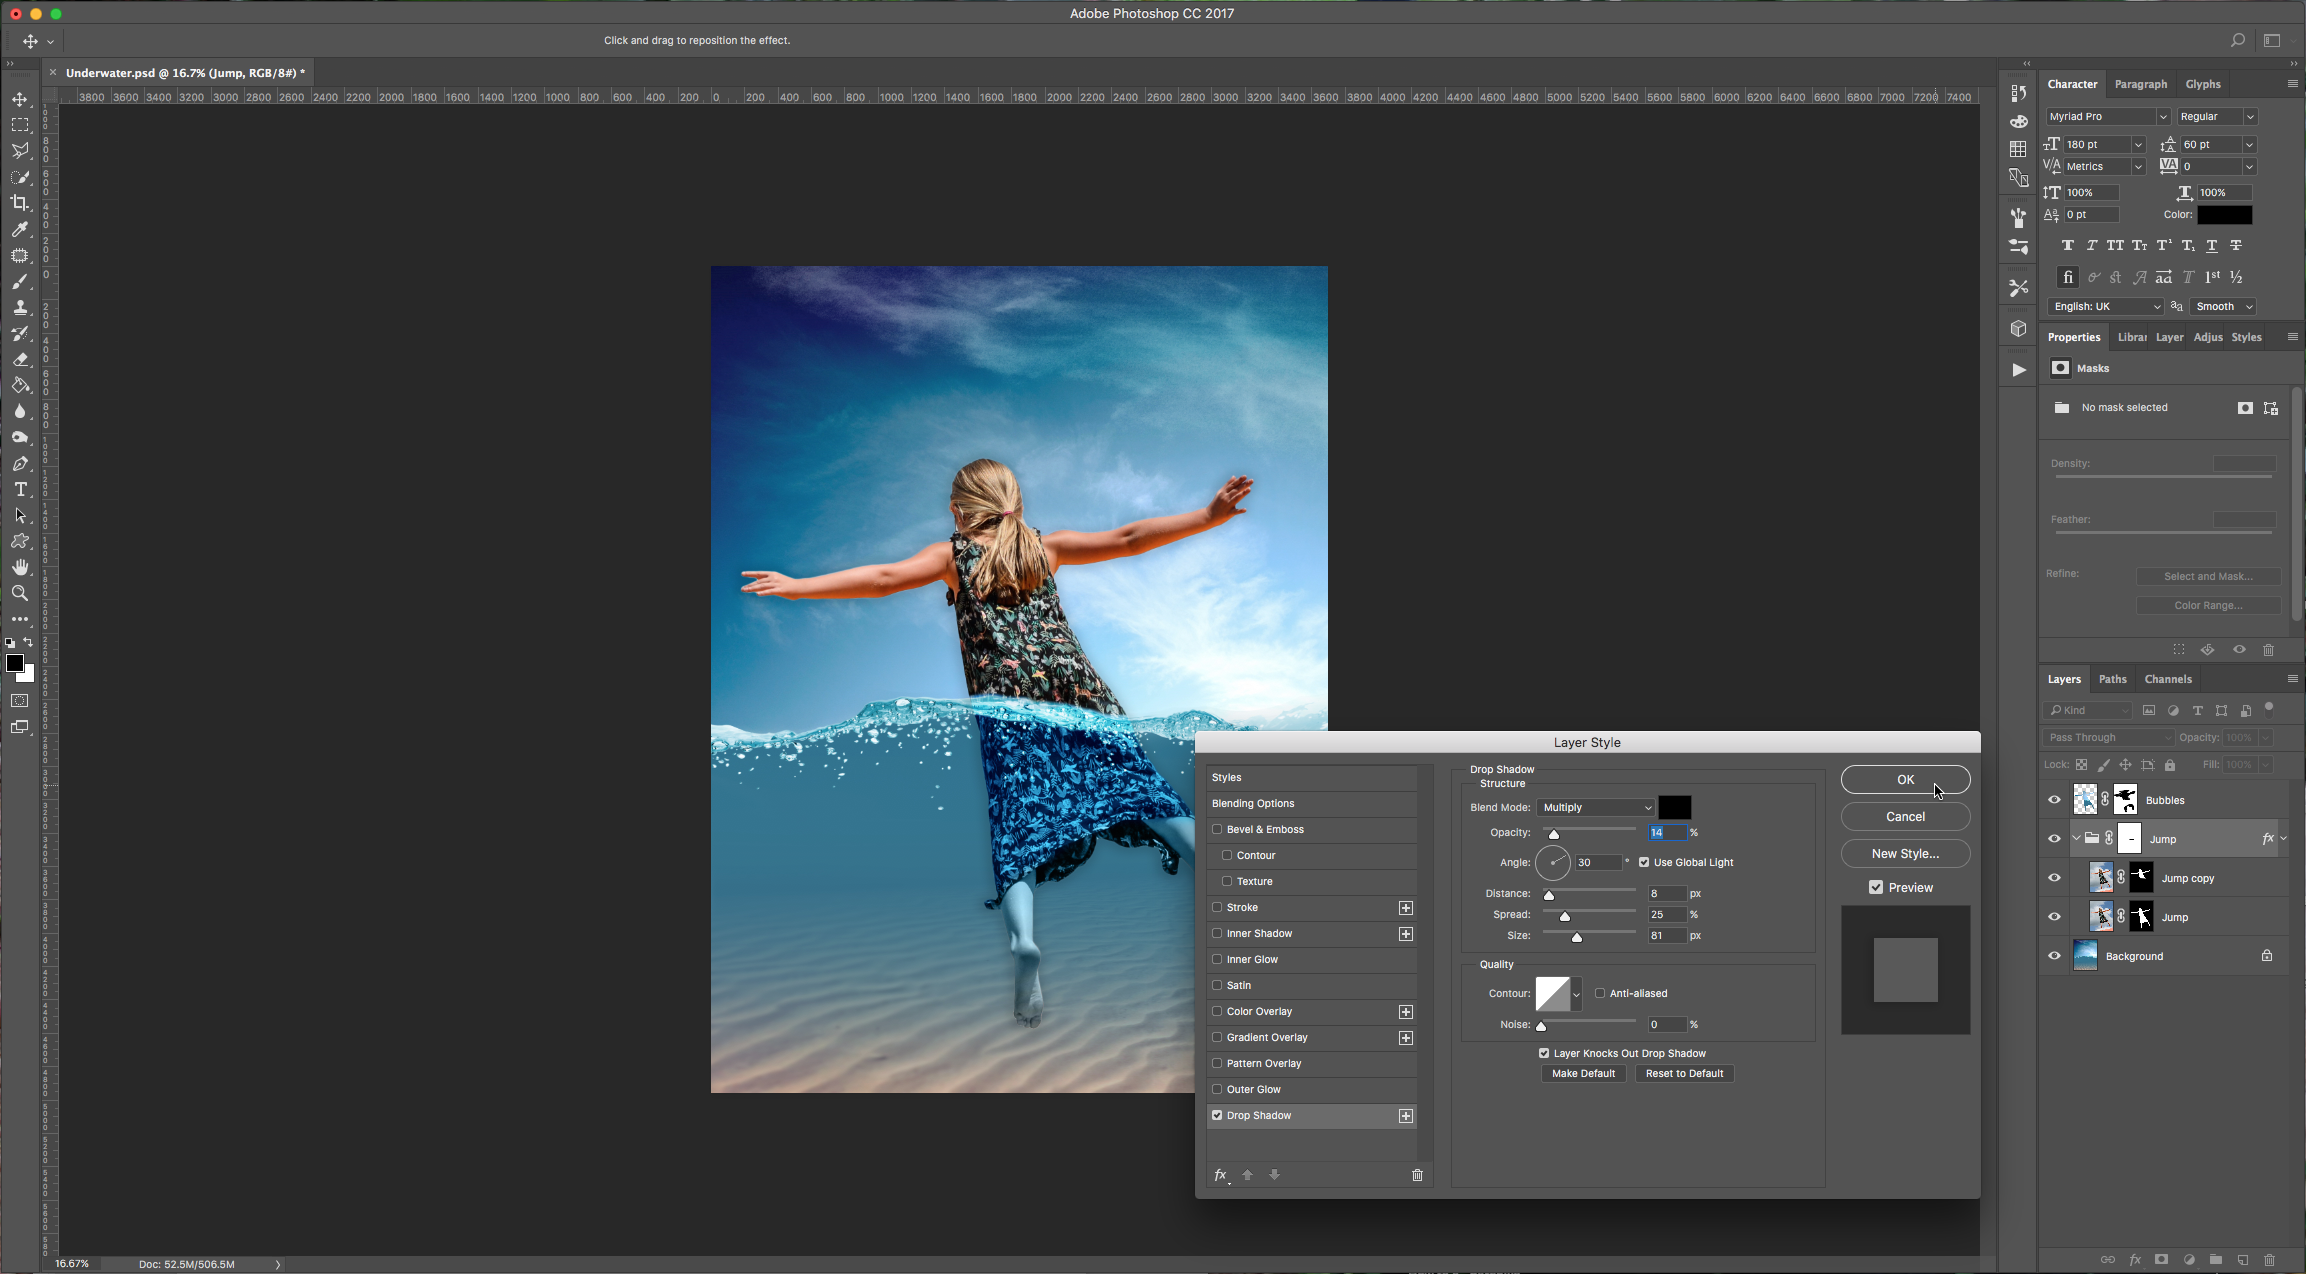
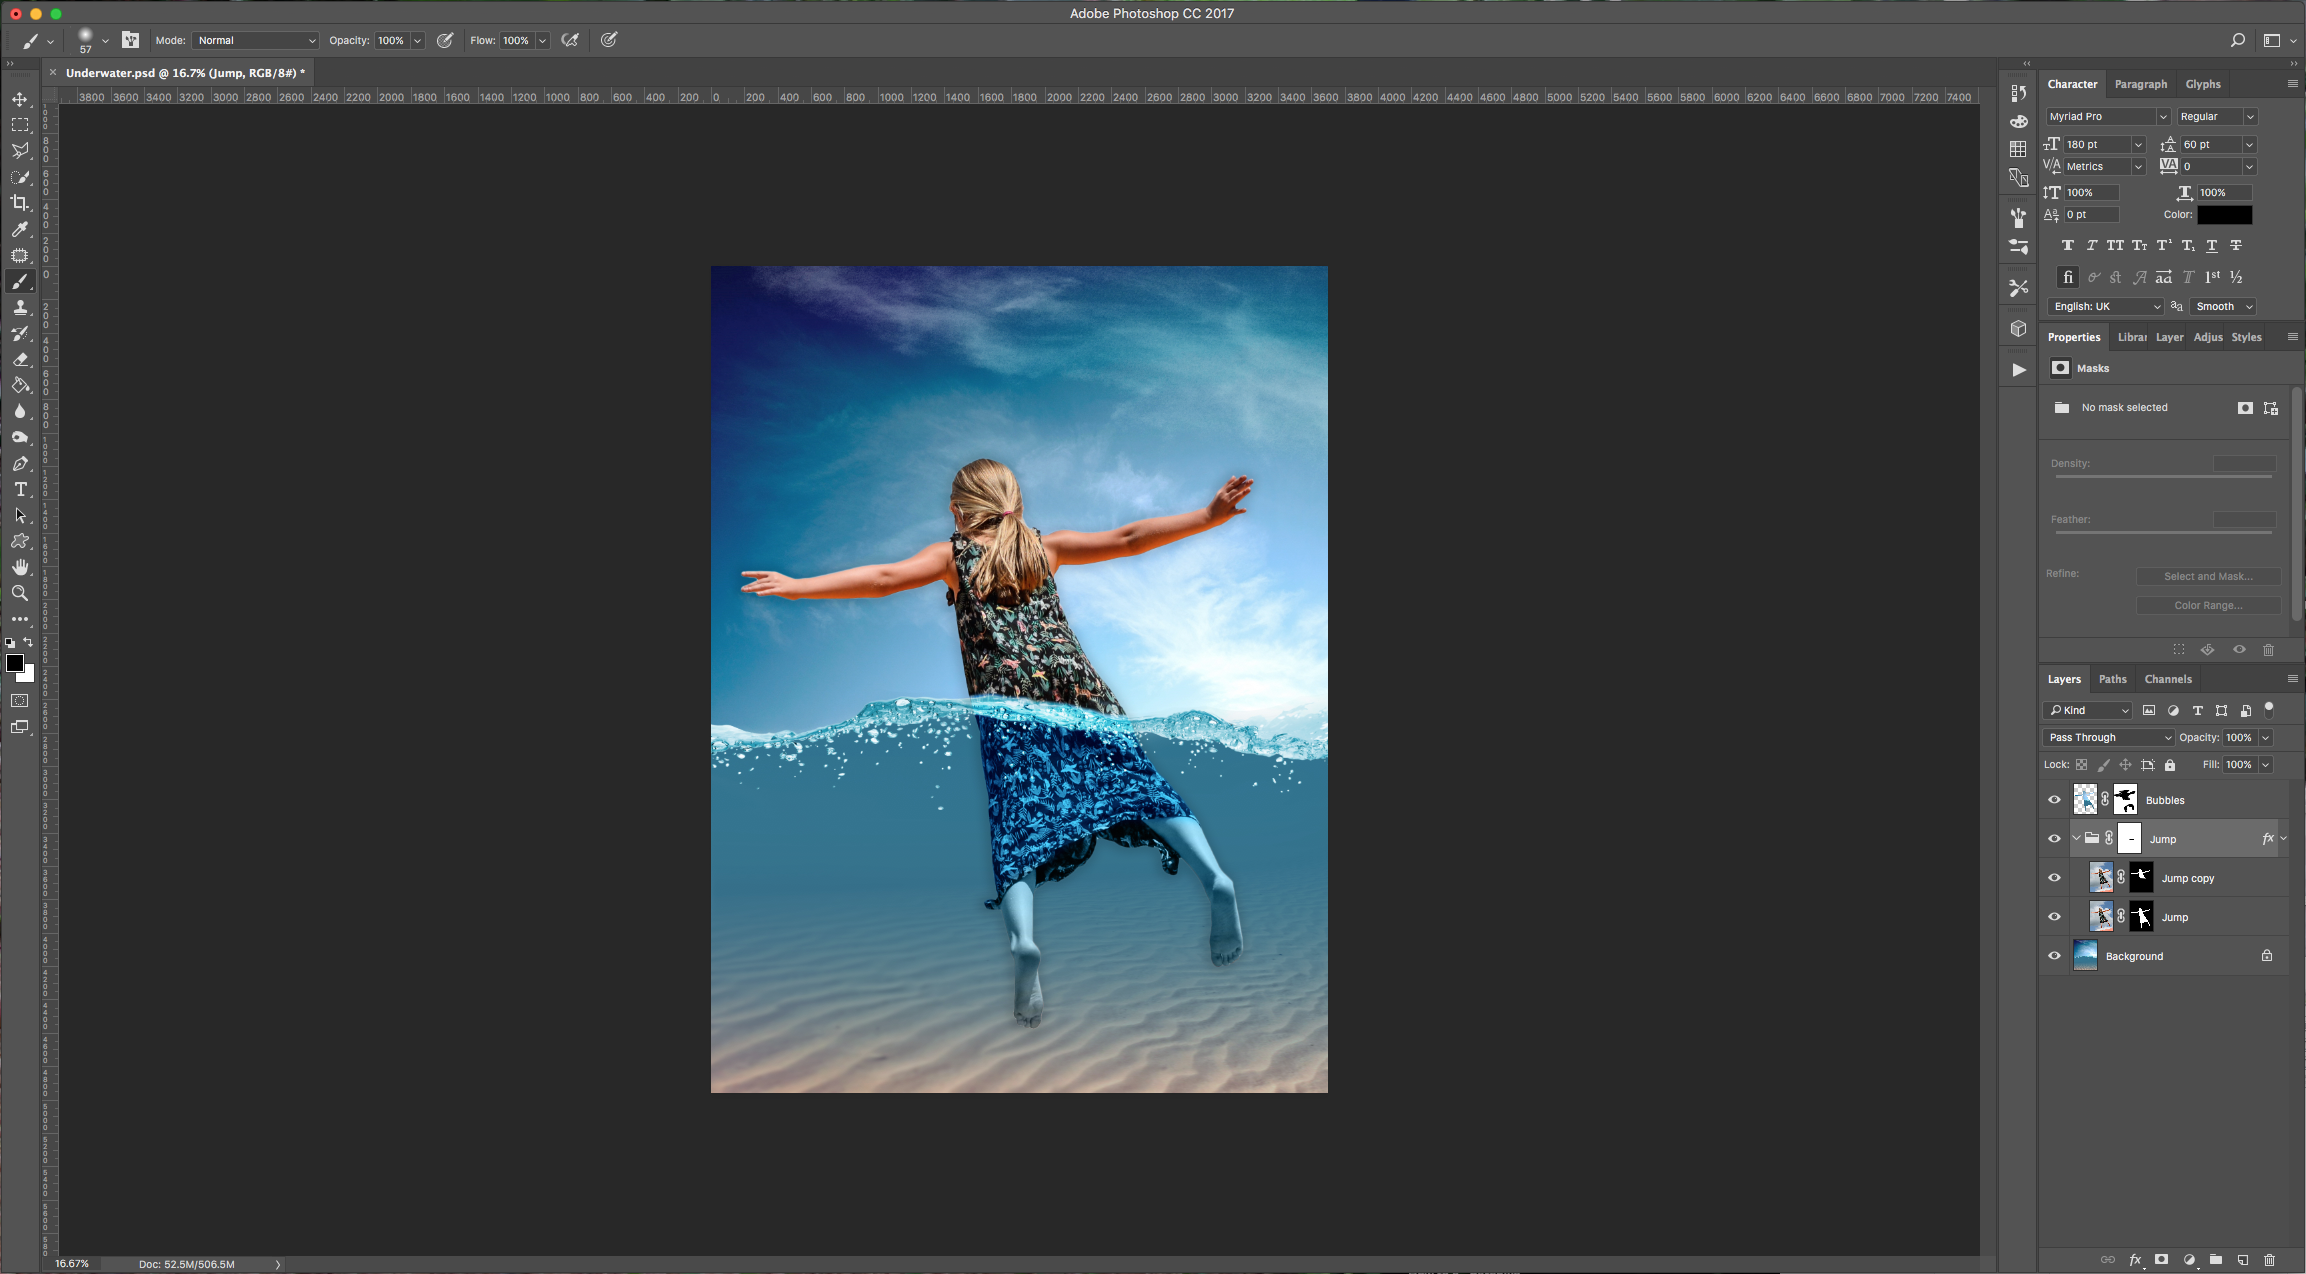
14 - Double-click on your “Jump” Folder and apply a “Drop Shadow Layer Style” with the following values. You may need to go back and fix some parts of your masks if you see that the edges show too much (double-click on the mask thumbnail).
1 - In Photoshop open the image you want to place “underwater”.
2 - Select the “Quick Selection Tool” (W), choose “Add to Selection” in the upper-left menu and click on the portions of the image you want to keep. If you selected too much in certain parts, just choose “Subtract from Selection”.
3 - You can use the “Polygonal Lasso Tool” (L) too if there are tricky parts or if you are more comfortable using it. Once you are satisfied with your overall selection, click on the “Select and Mask” button on the upper-left menu. Play around with the settings and then choose “Output to Selection” ad click “OK”.
4 - Click on the “Add vector Mask” button at the bottom of the “Layers” Menu to mask your selection.
5 - Open the image you want to use as “Background” and drag your masked selection into it.
6 - Use “Free Transform” (Command/Control + T) to resize and/or rotate your image and place it where you want. Once you are happy click “Enter” or double-click on your image.
7 - Duplicate your “Jump” Layer (Command/Control + J), hide the duplicate by clicking on the small eye icon on the left of the thumbnail, then select the original one and change the “Blending Mode” to “Luminosity”.
8 - Un-hide the “Jump” duplicate and making sure you are selecting the “Mask” and that your “Foreground” color is Black, select the “Brush Tool” (B), choose a “Soft” (Hardness 0%), large brush and “erase” the lower portion of the body. Make
9 - Select your two “Jump” Layers and make a “Group” (Command/Control + G). Click on the “Add vector Mask” button at the bottom of the “Layers” Menu to make a mask of the “Group”, then select your “Brush Tool” (B) again, this time with a smaller brush erase the water edge to make it look like half of the girl’s body is in the water. (Temporarily lower the groups “Opacity” a bit so you can see the top of the water).
10 - To “Fix” errors in case you erased too much, just change the “Foreground” color to White and bring back what you want.
11 - Expand the “Jump” Group by clicking the small arrow to the left of the Folder icon and Command/Control-click on the mask thumbnail to make a selection of the girl’s body.
12 - Select you “Background” Layer, “Copy” (Command/Control + C) and “Paste” (Command/Control + V) your selection. This will create a “New Layer”. Place it on top of everything and change the “Blending Mode” to “Hard Light”.
13 - Make a mask of the layer and erase the upper portion of the girl and some of the lower portion too (we erased the feet).
14 - Double-click on your “Jump” Folder and apply a “Drop Shadow Layer Style” with the following values. You may need to go back and fix some parts of your masks if you see that the edges show too much (double-click on the mask thumbnail).
by @lornacane


