

By Design Bundles
Scan N Cut Tutorials4 min
Using the foil quill on acetate with the Brother scan and cut machine
CM900 model used.
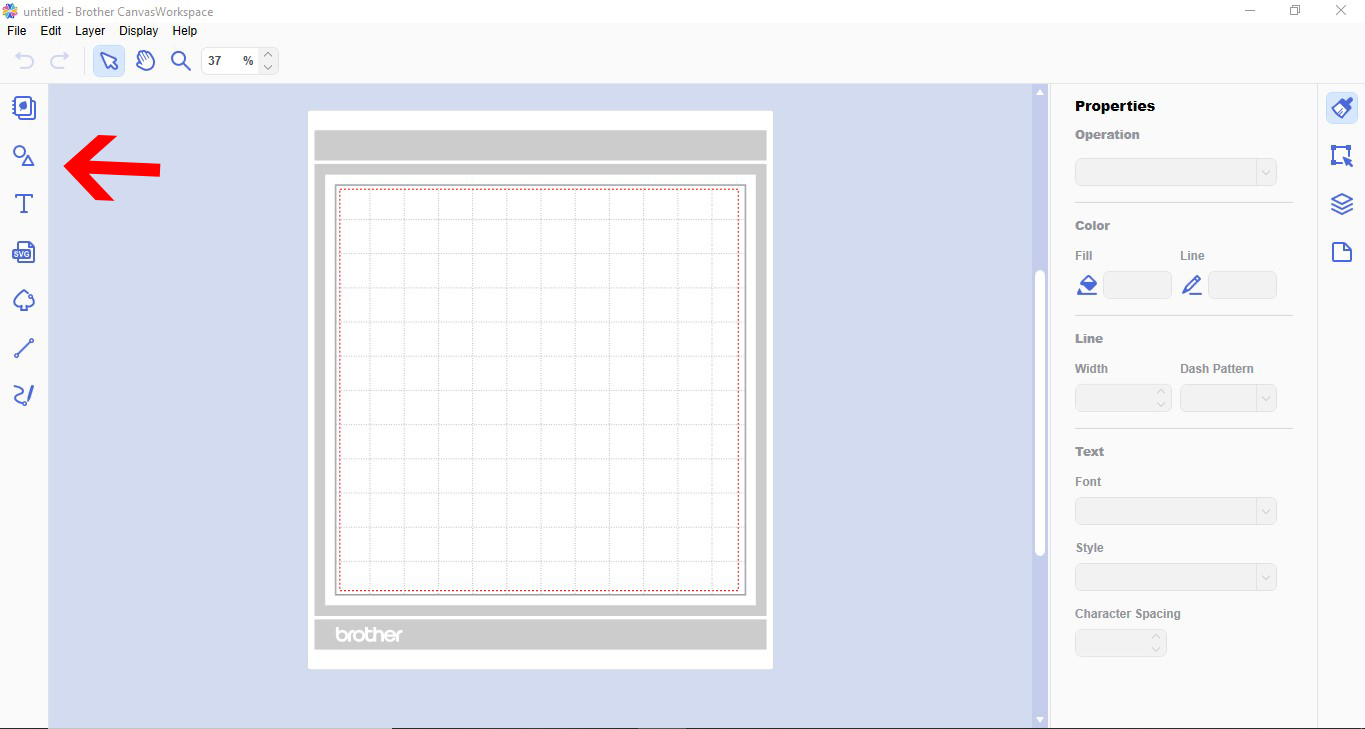
1- Open scan n cut canvas workspace. Select the shape tools. (or upload your own design)
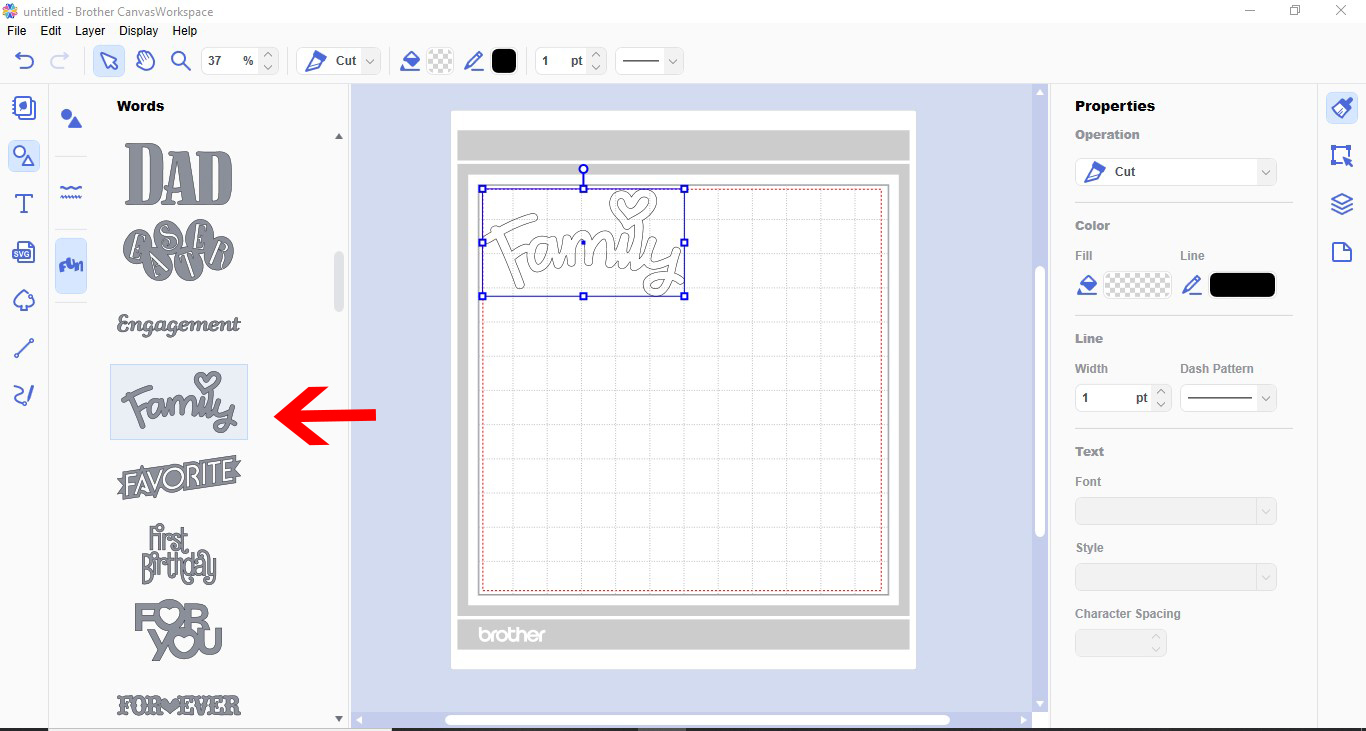
2- Add your design to the workspace.
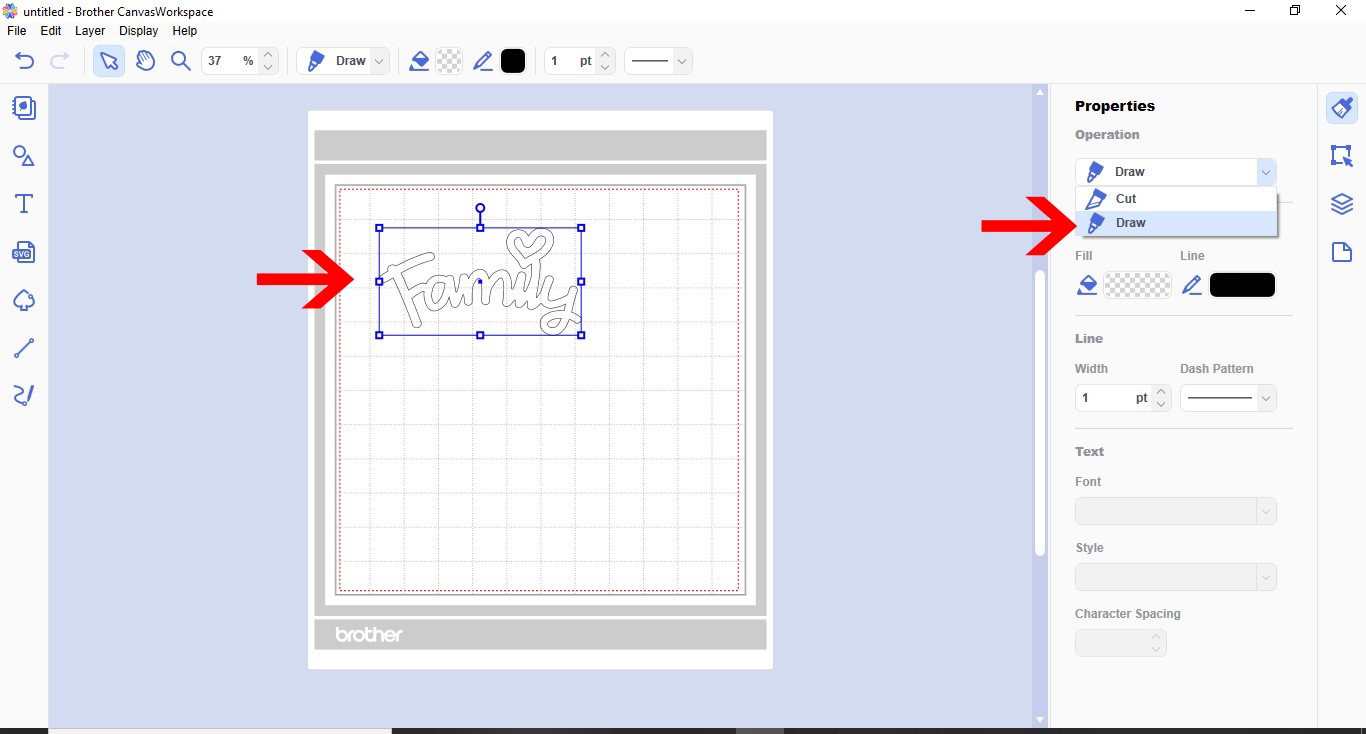
3- With the design selected, go to properties and in the drop down box select draw.
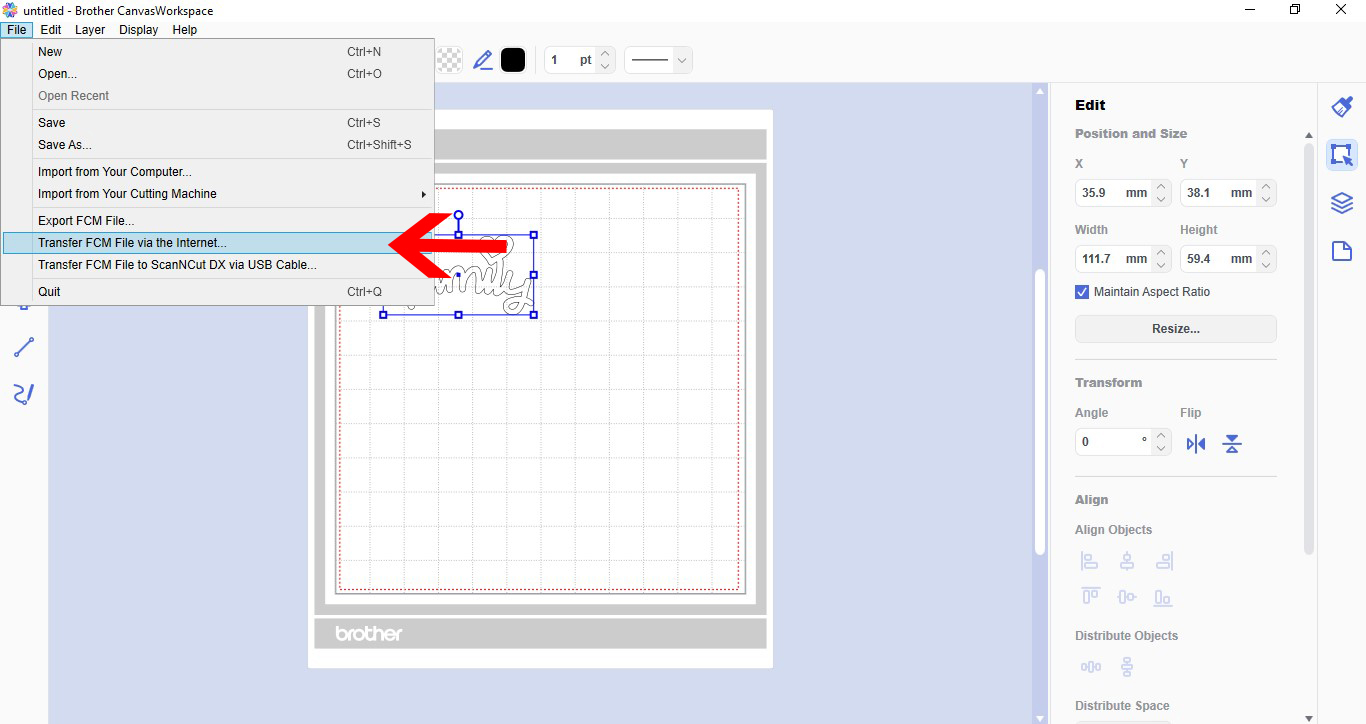
4- Go to file- Transfer FCM via the internet. (If you do not have a wireless version you can transfer via USB)
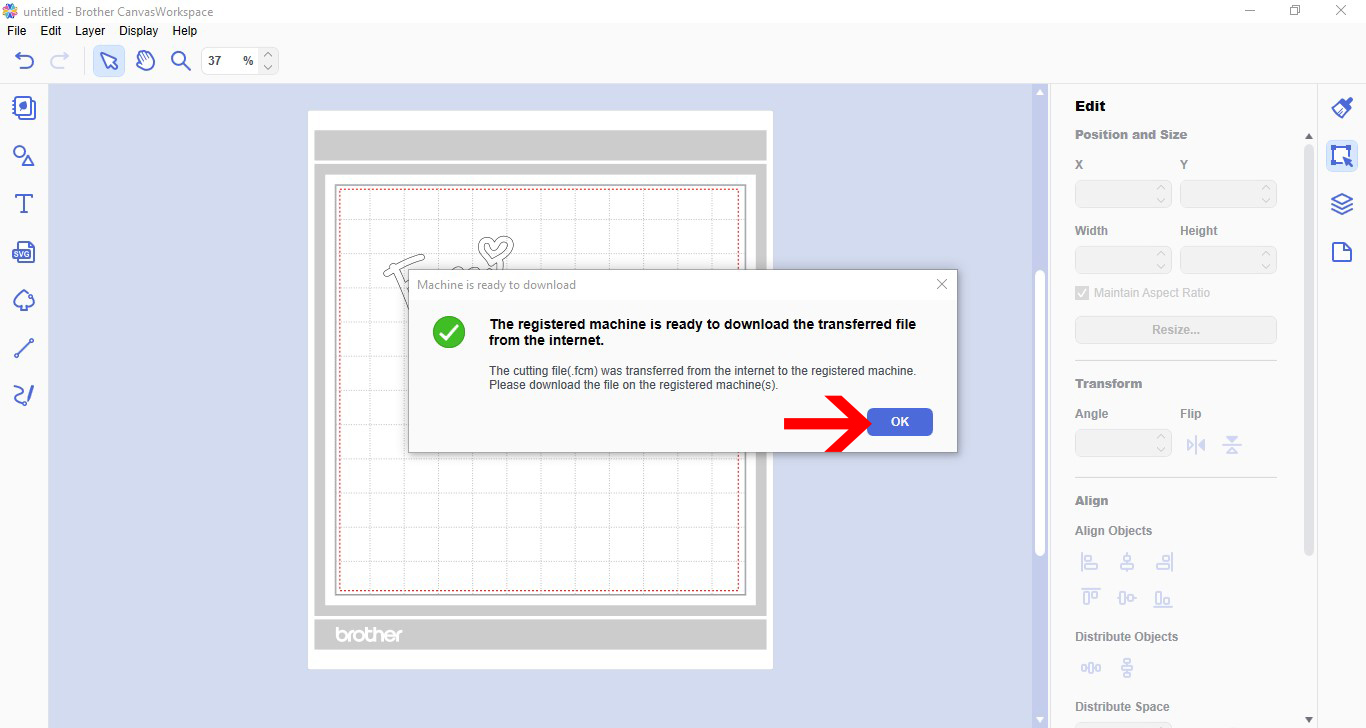
5- A pop up window will appear to let you know your file has transferred.
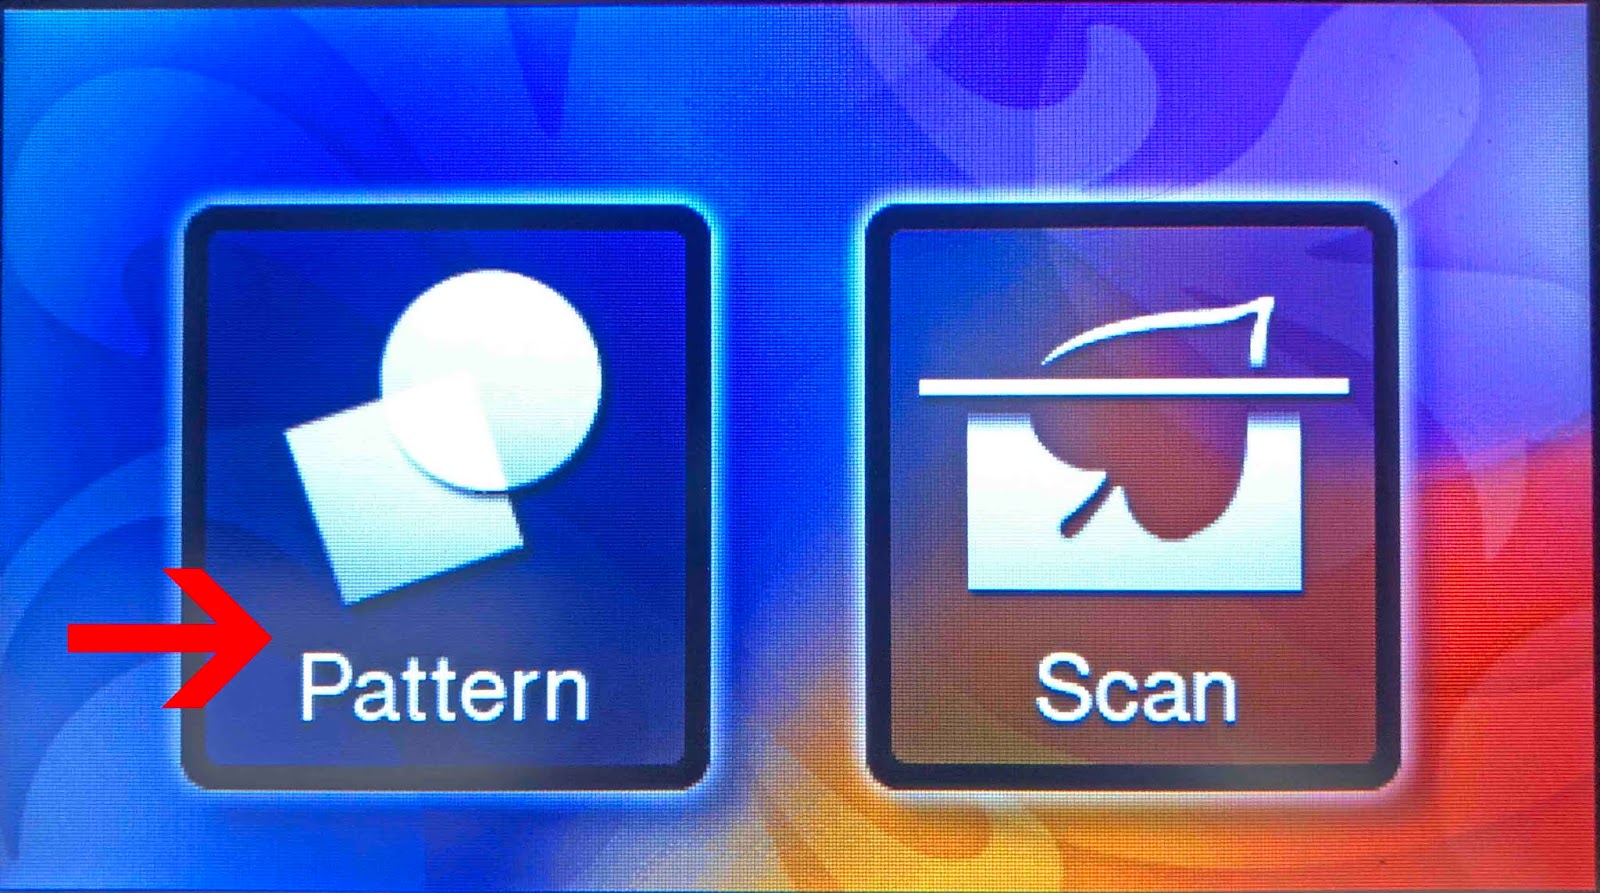
6- Go to your Brother scan n cut machine and click on the pattern icon.
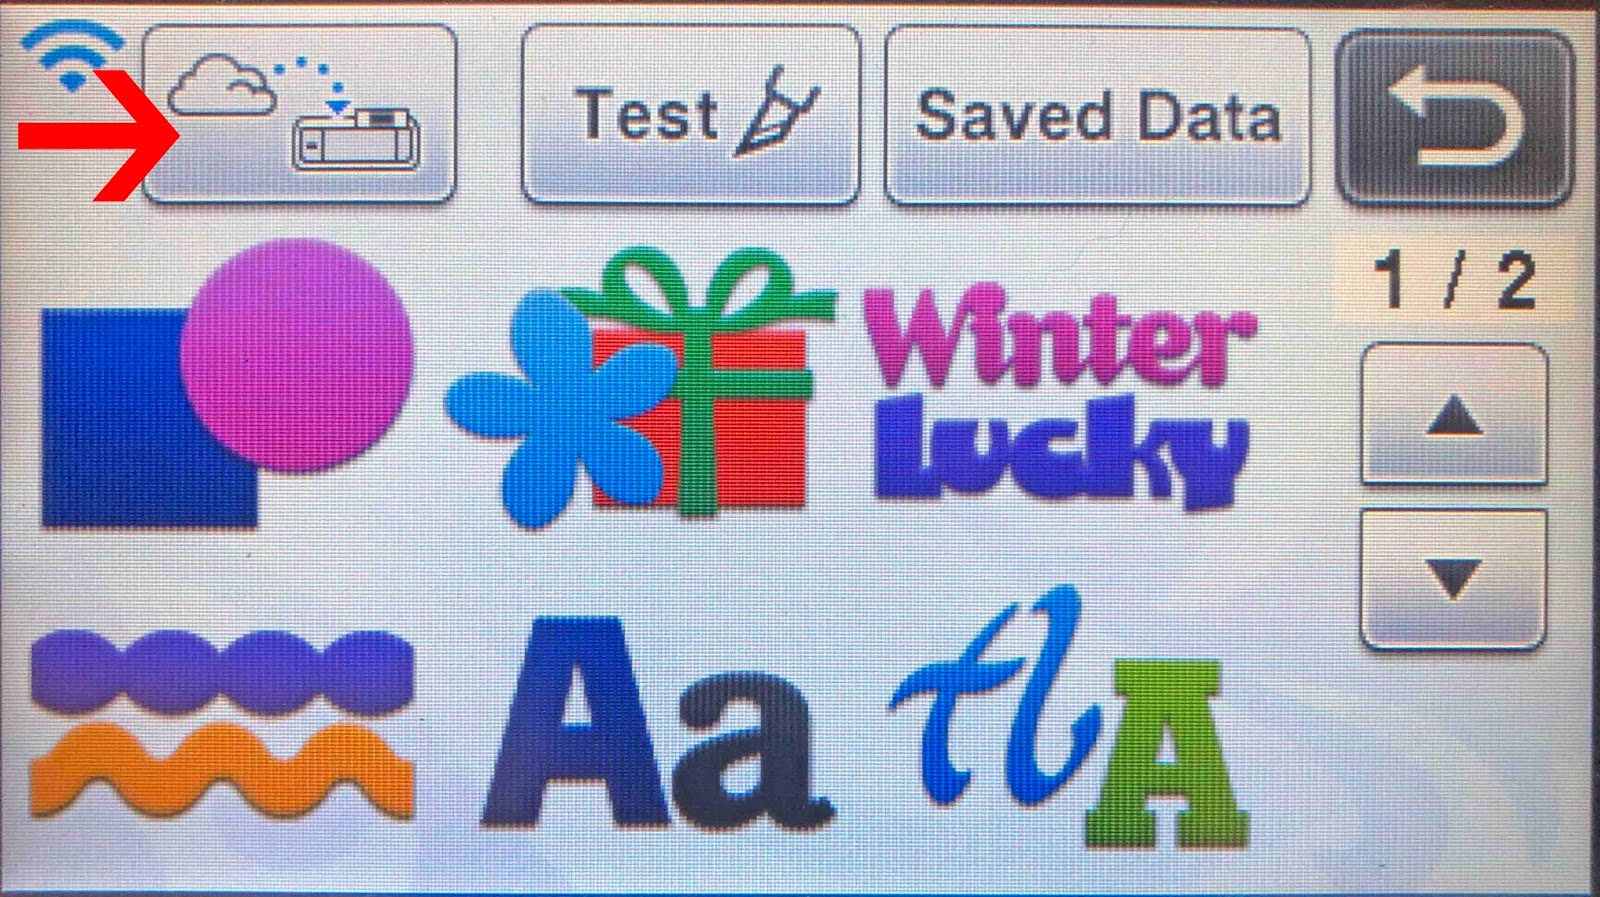
7- Click on the transfer icon.
8- your design will appear on your workspace. Click on the scan icon.
9- Your media on the mat with the foil will be scanned. You can now resize or move your design so it is over the foil and media. Click OK.
10- Click on draw. Foe acetate i use the settings Speed 4 and pressure 0 or 1 depending on the foil i am using.
11- Place your foil quill in your machine and click start. Remember to make sure that you have let your foil quill heat for a min of 5 minutes.
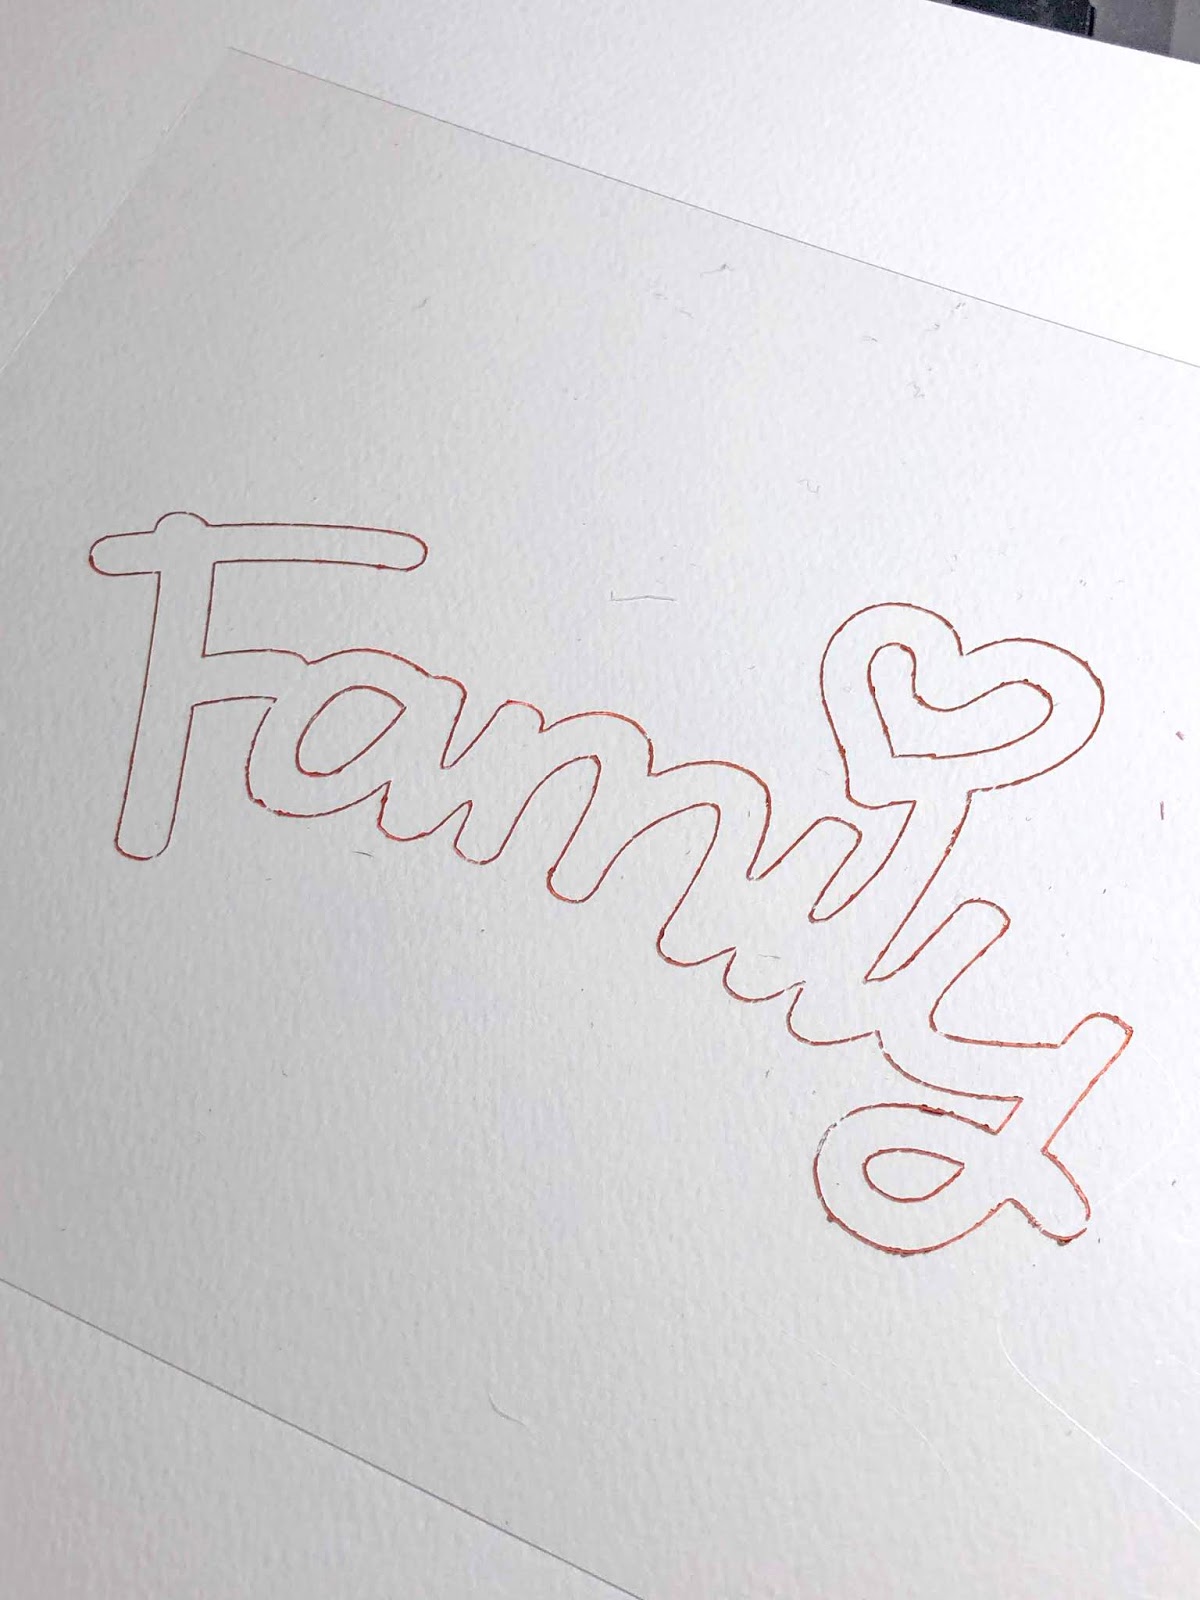
12- Your design will be foiled. It is good to note that as there is no flexibility in acetate like there is in say card stock, your design will appear foiled a lot thinner than using the same tip on card. I recommend to use a thicker tip if you do not want the design fine. (I used the medium tip with this design)
1- Open scan n cut canvas workspace. Select the shape tools. (or upload your own design)
2- Add your design to the workspace.
3- With the design selected, go to properties and in the drop down box select draw.
4- Go to file- Transfer FCM via the internet. (If you do not have a wireless version you can transfer via USB)
5- A pop up window will appear to let you know your file has transferred.
6- Go to your Brother scan n cut machine and click on the pattern icon.
7- Click on the transfer icon.
8- your design will appear on your workspace. Click on the scan icon.
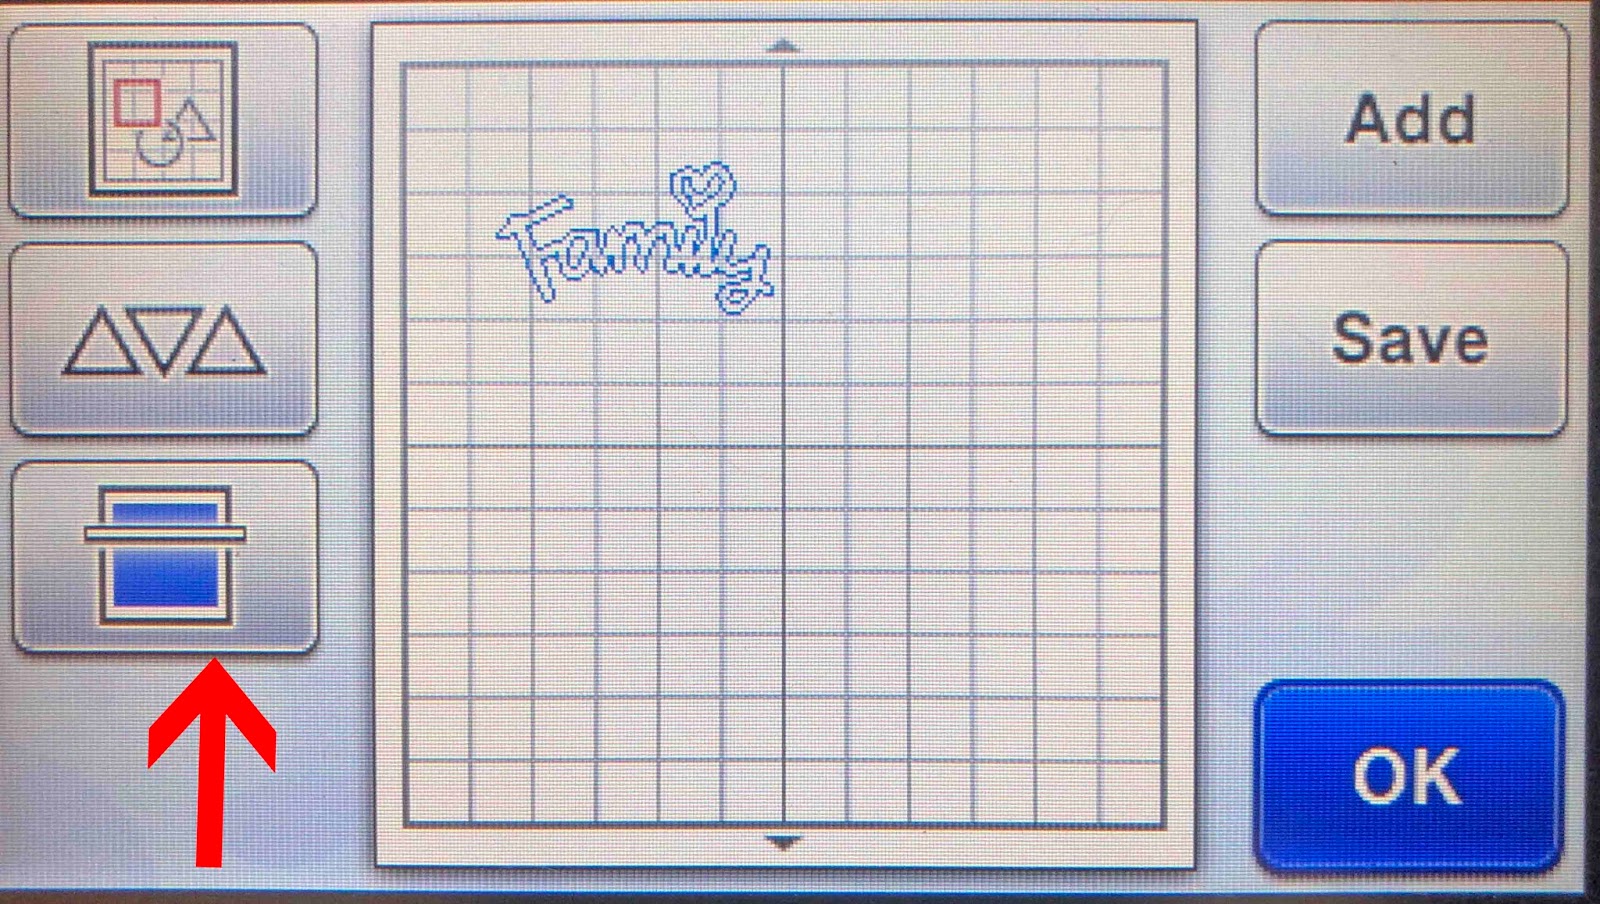
9- Your media on the mat with the foil will be scanned. You can now resize or move your design so it is over the foil and media. Click OK.
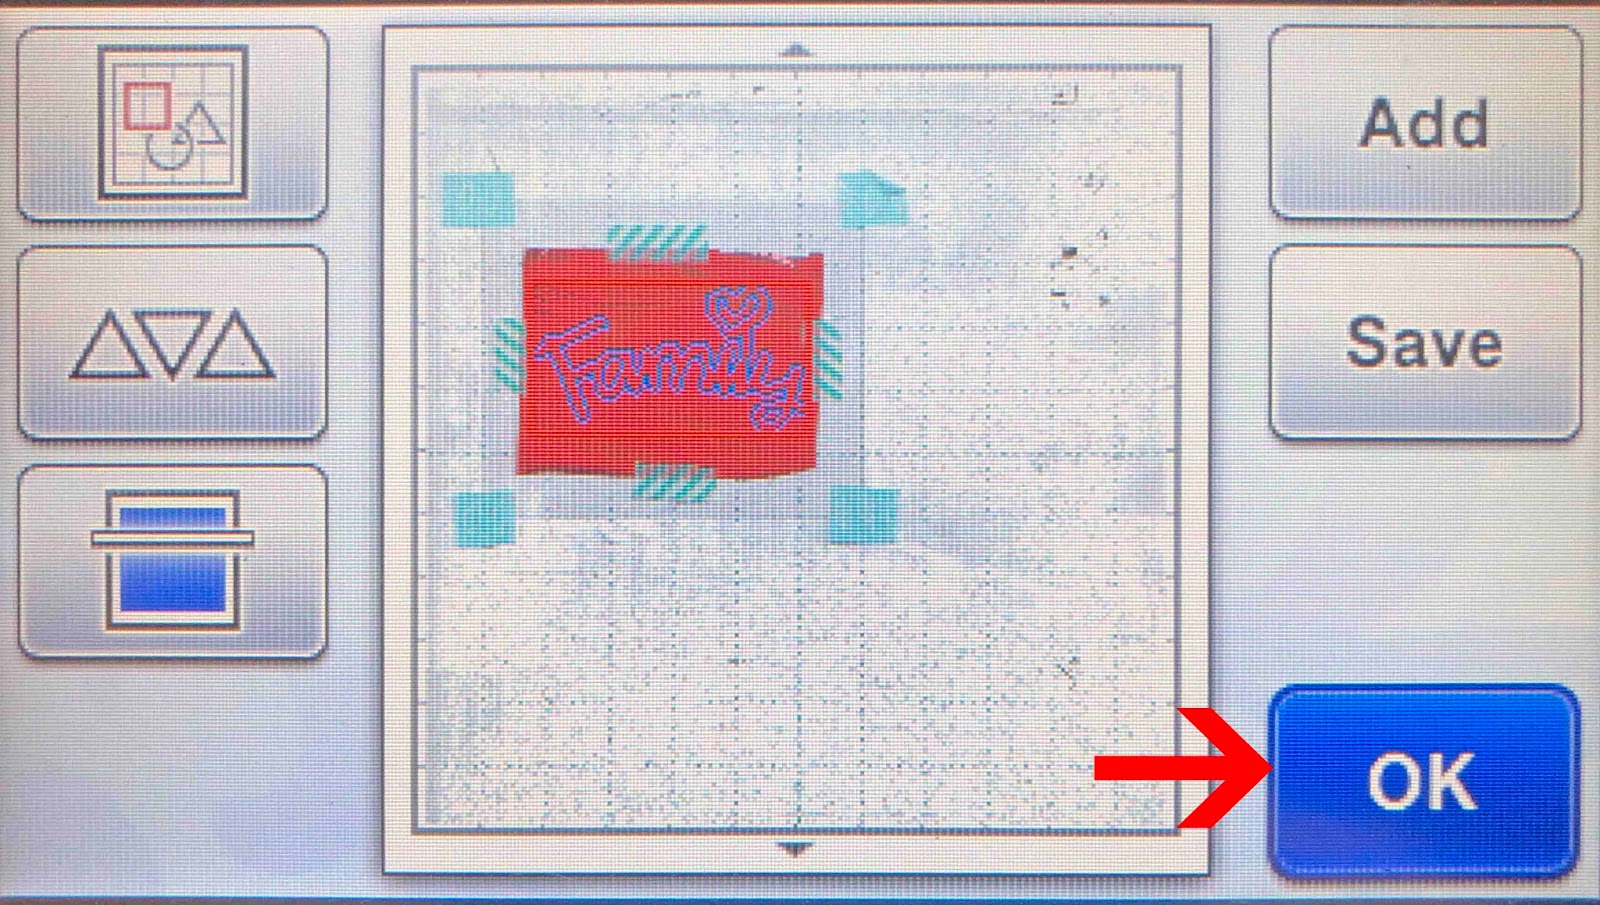
10- Click on draw. Foe acetate i use the settings Speed 4 and pressure 0 or 1 depending on the foil i am using.

11- Place your foil quill in your machine and click start. Remember to make sure that you have let your foil quill heat for a min of 5 minutes.
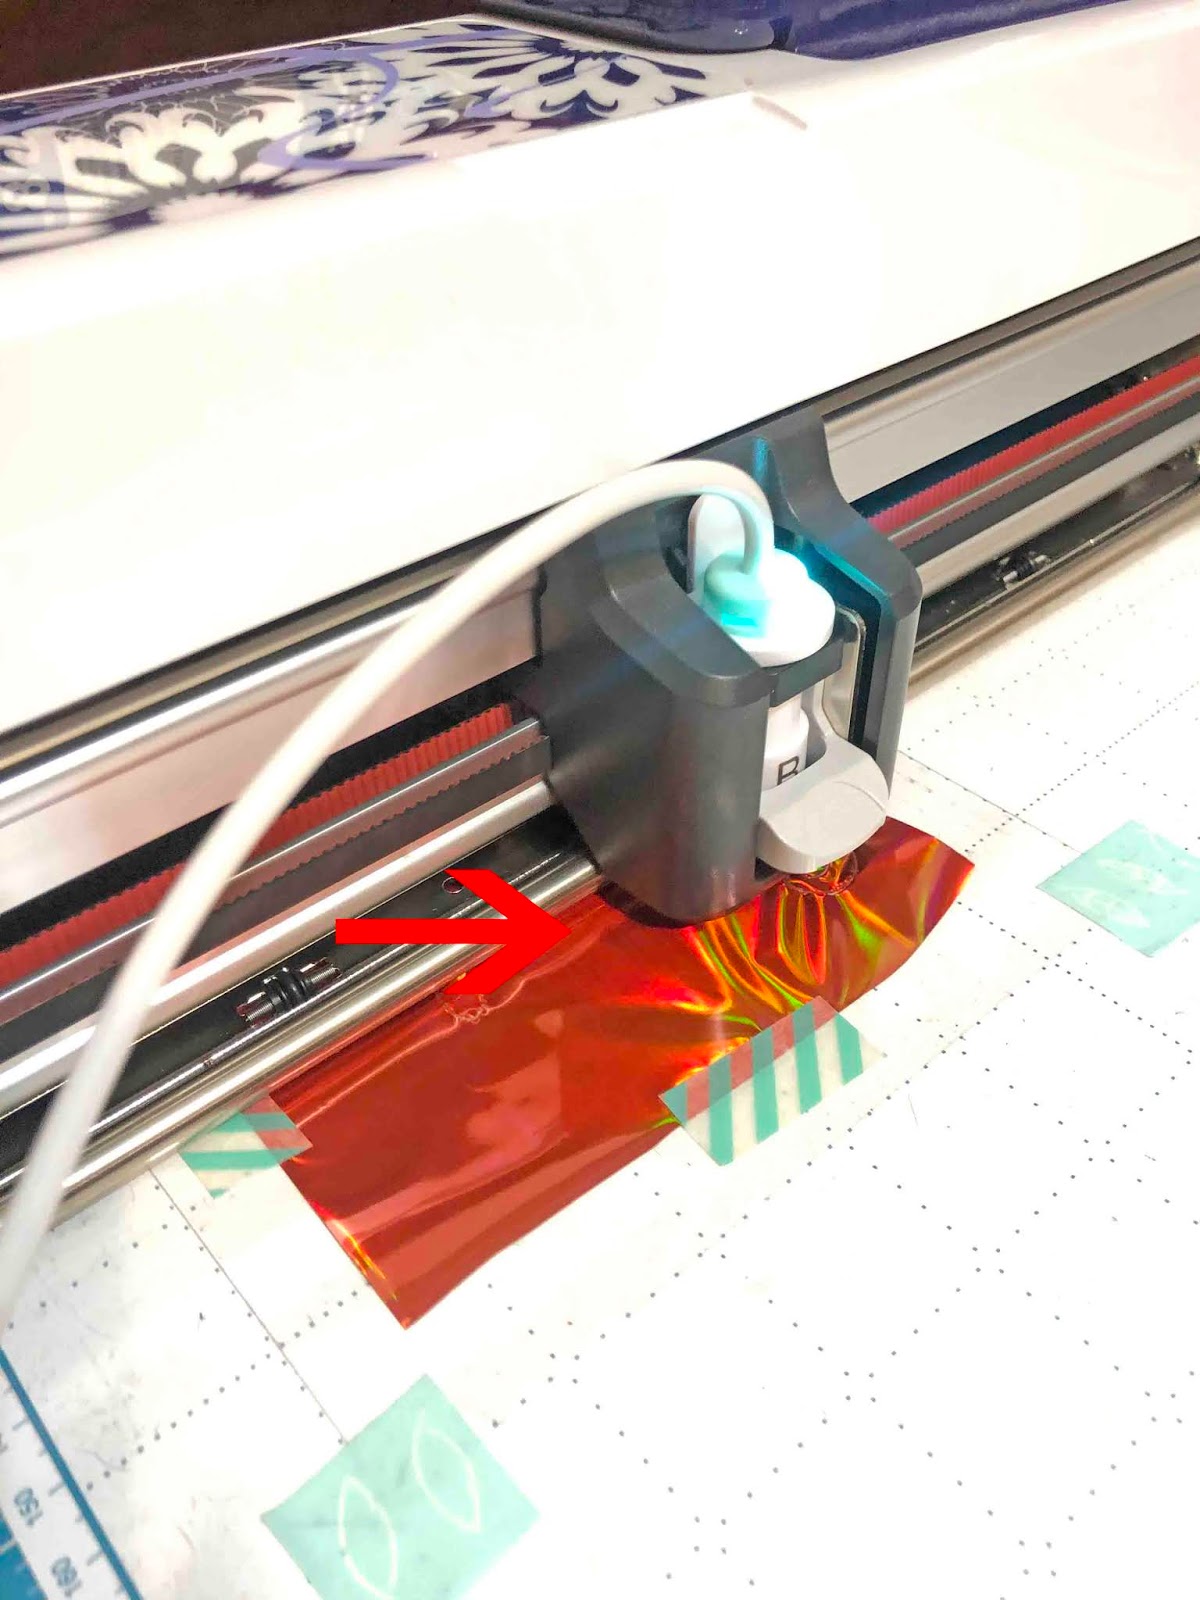
12- Your design will be foiled. It is good to note that as there is no flexibility in acetate like there is in say card stock, your design will appear foiled a lot thinner than using the same tip on card. I recommend to use a thicker tip if you do not want the design fine. (I used the medium tip with this design)
Related Tutorials
Scan N Cut Tutorials
Using the foil quill on ribbon with Brother scan and cut machine
Scan N Cut Tutorials
Foiling on vellum in brother scan and cut machine using the foil quill
Scan N Cut Tutorials
Creating a foiled candle with brother scan n cut machine using the foil quill
Scan N Cut Tutorials
How to foil on clear stickers using brother scan and cut with the foil quill
Scan N Cut Tutorials
How to Foil a JPEG Image with Brother Scan n Cut Machine Using the Foil Quill
Scan N Cut Tutorials

