Unlimited Downloads 15% off Marketplace Purchases Exclusive Software Access Unlimited Downloads
15% off Marketplace Purchases
Exclusive Software Access
Go Unlimited Maybe Later
Adding photos to text in Silhouette
  • By Design Bundles
  • 01 Feb 2017
  • 2 Mins
  • Silhouette Tutorials

Adding photos to text in Silhouette

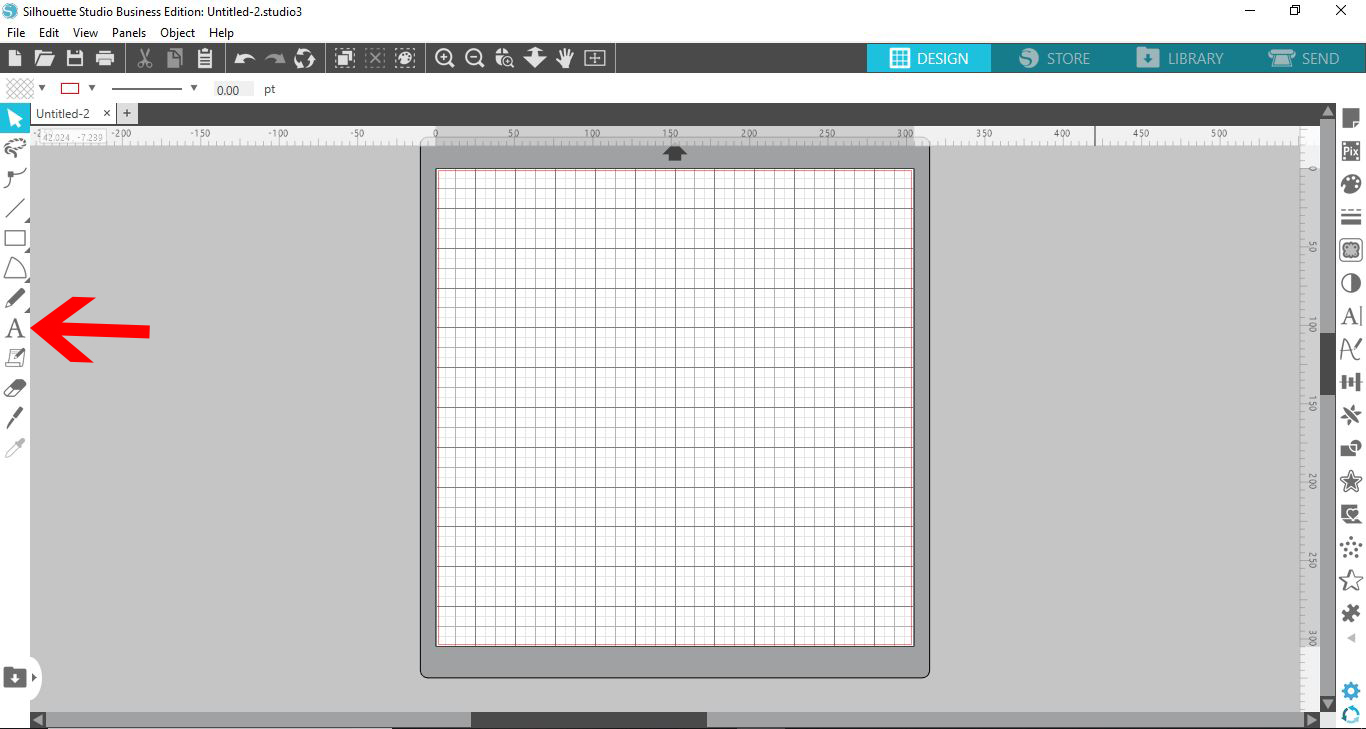
1- Open silhouette studio. Click on the text icon.

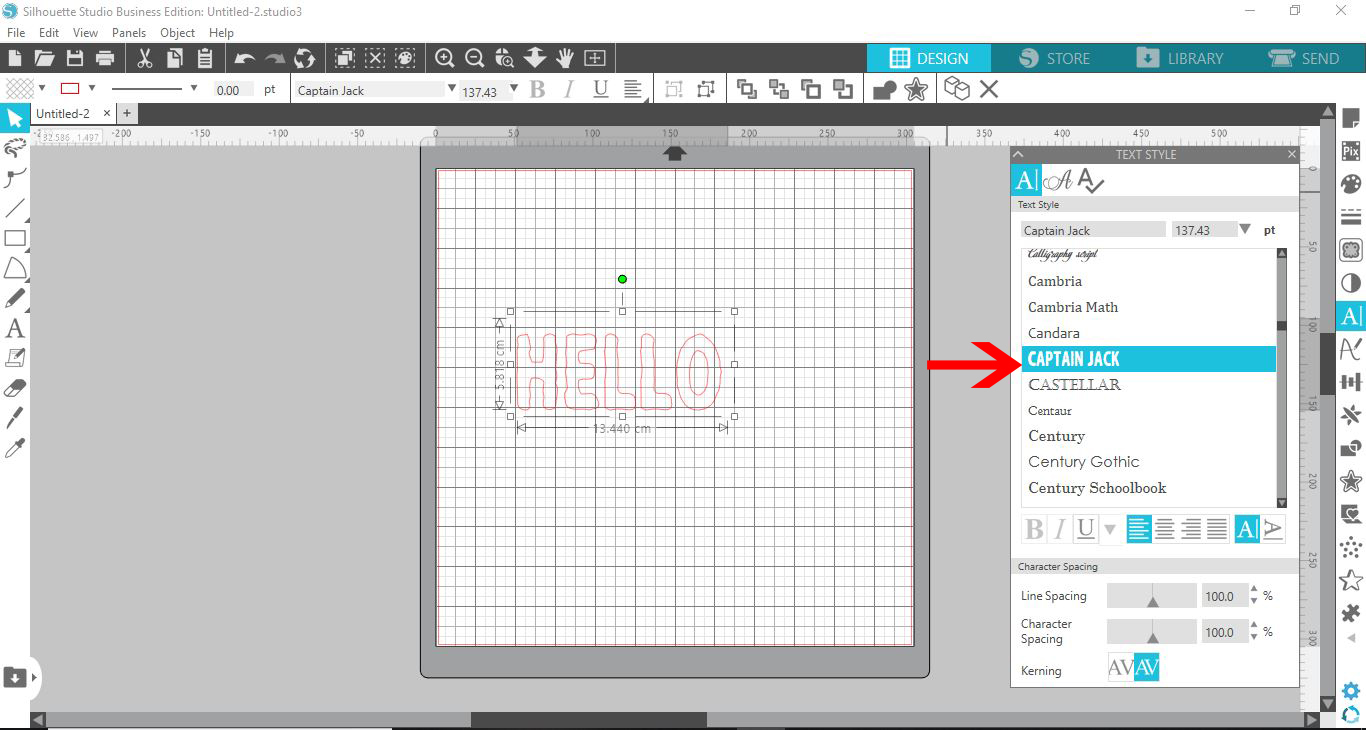
2- Type your text. Click on the text style panel.

3- Select your font. When inserting photos in a font, try to select a font that is thick so you can see the most of the images. I am usingCaptain Jackby SmartDesigns.

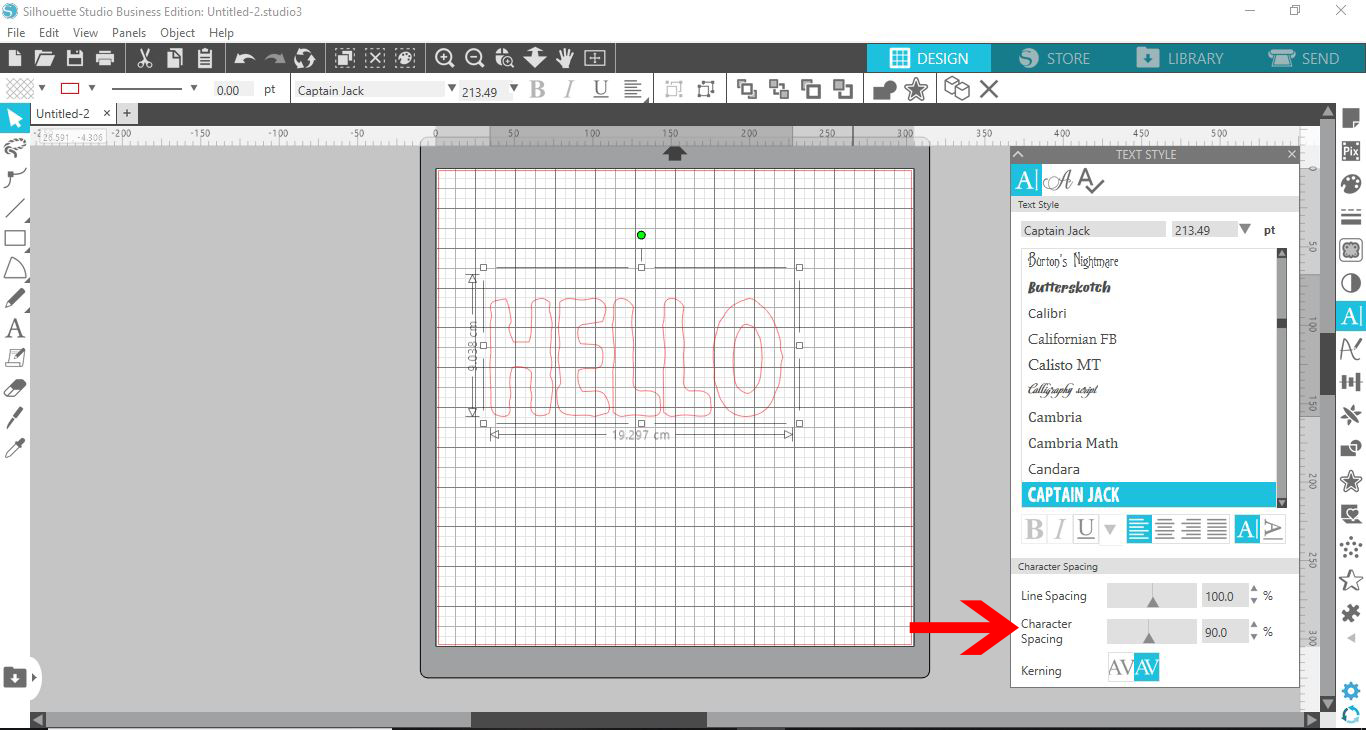
4- Adjust the character spacing of your text. If you only use one photos this will give a better effect. If you use more than one photos you may not need to adjust the character spacing.

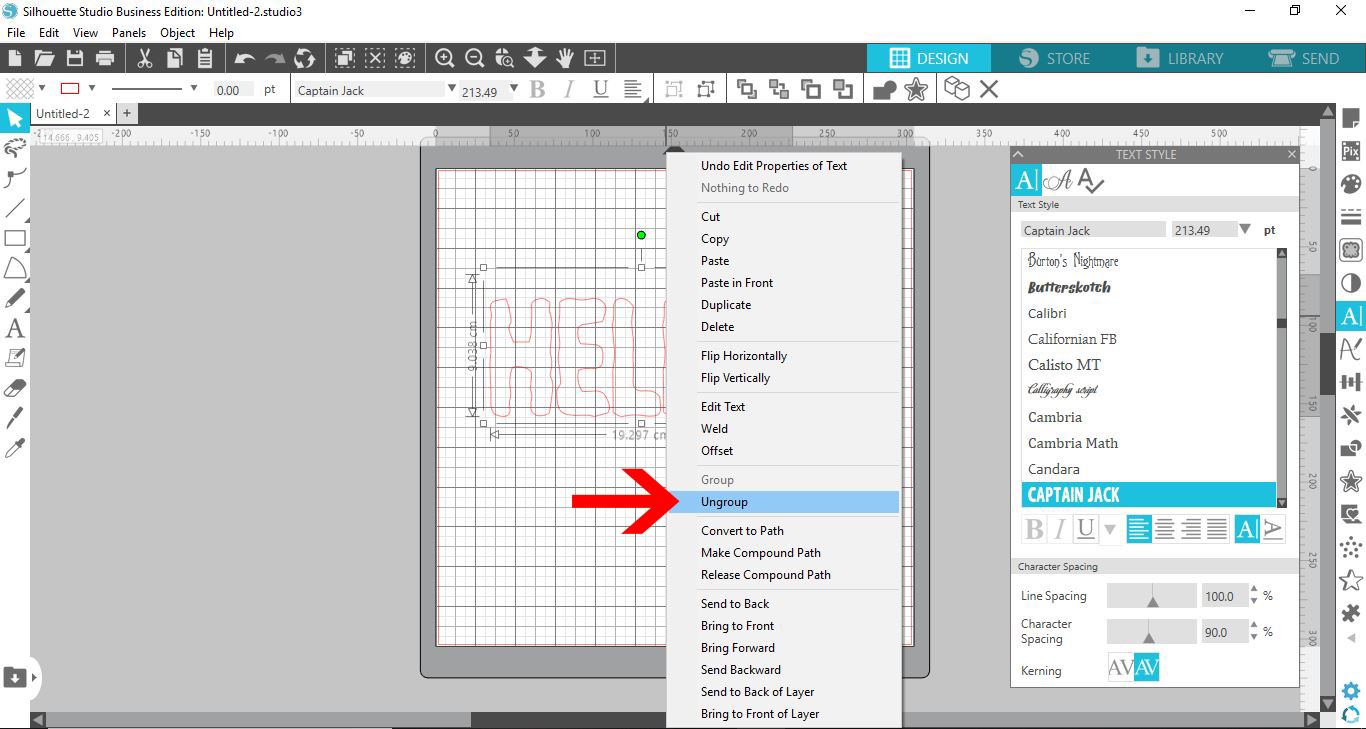
5- Select the text and right click. Ungroup.

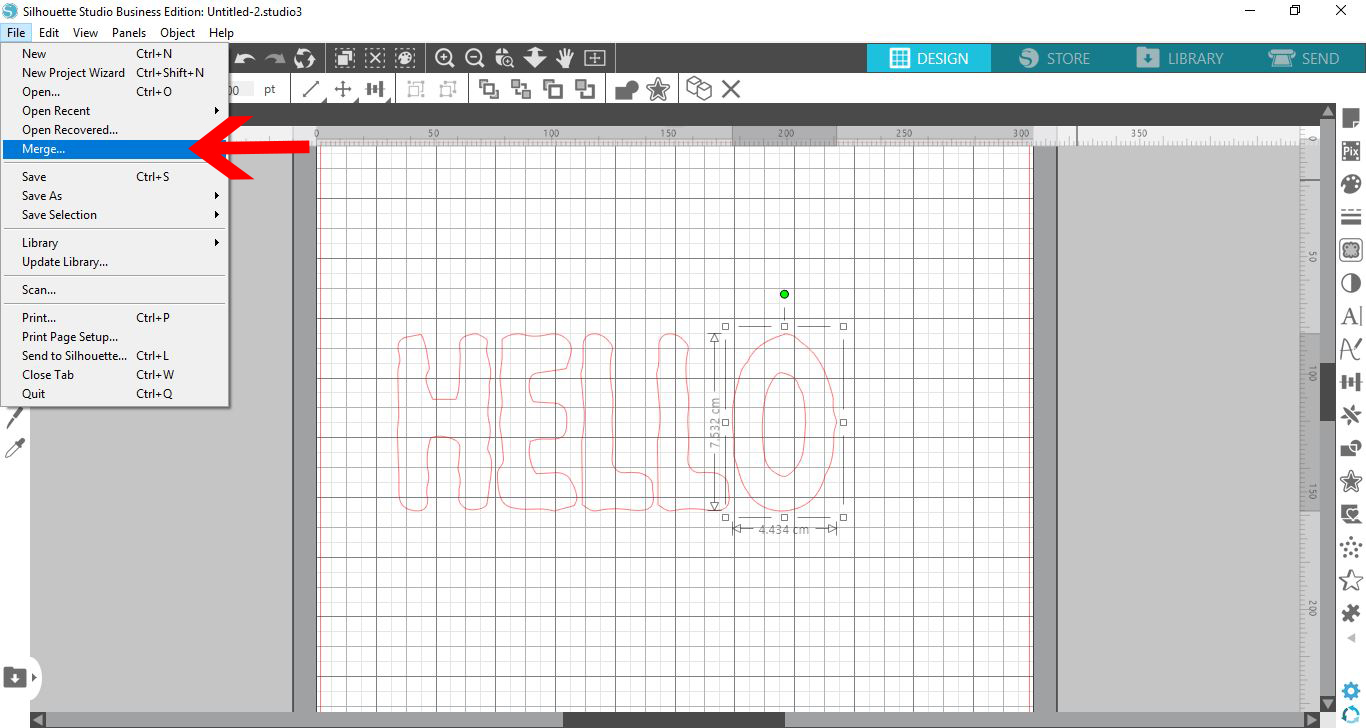
6- Go to file >merge.

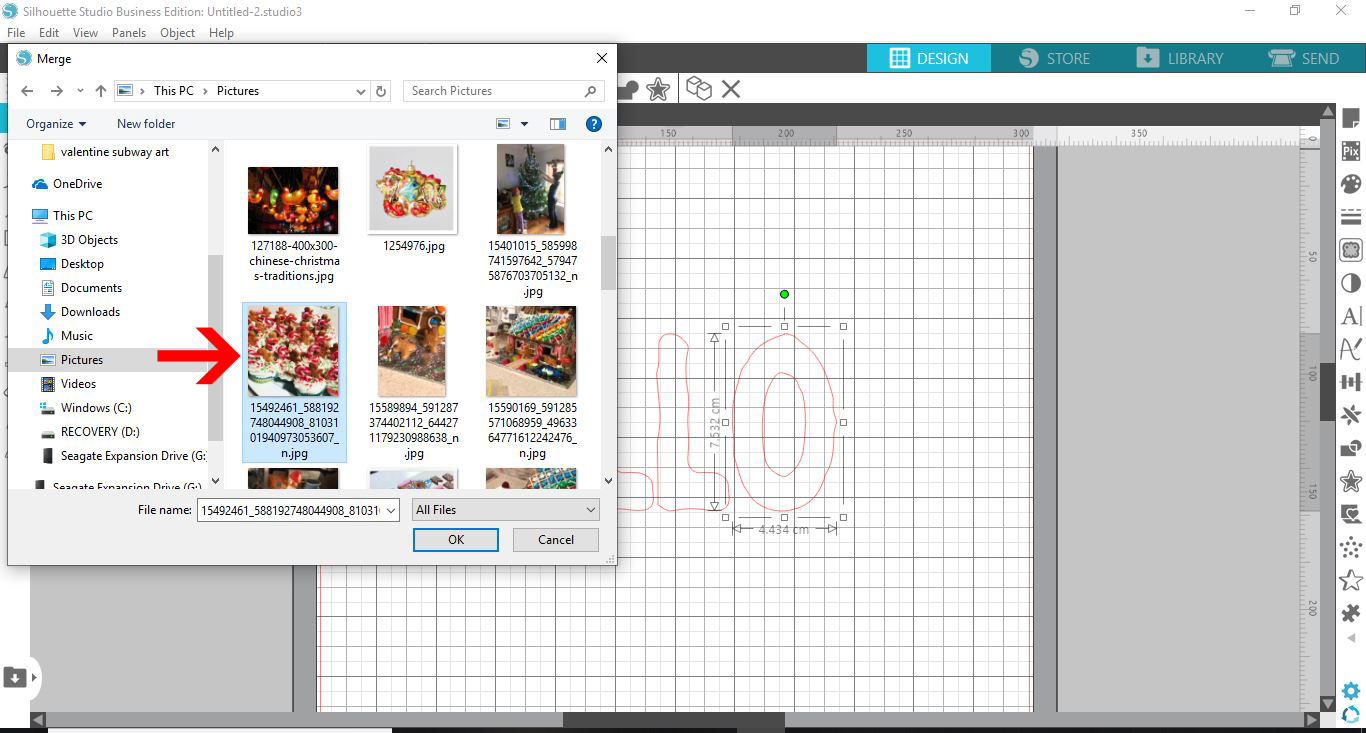
7- Select your photo.

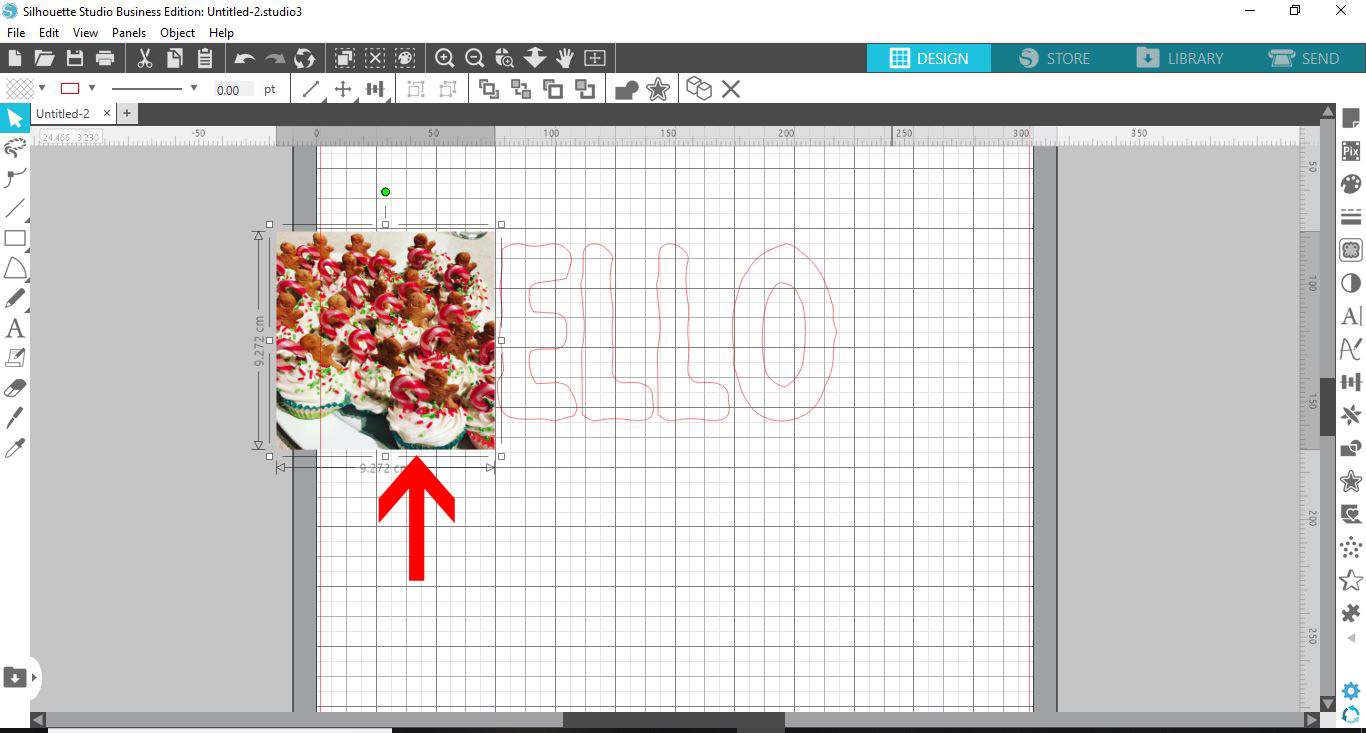
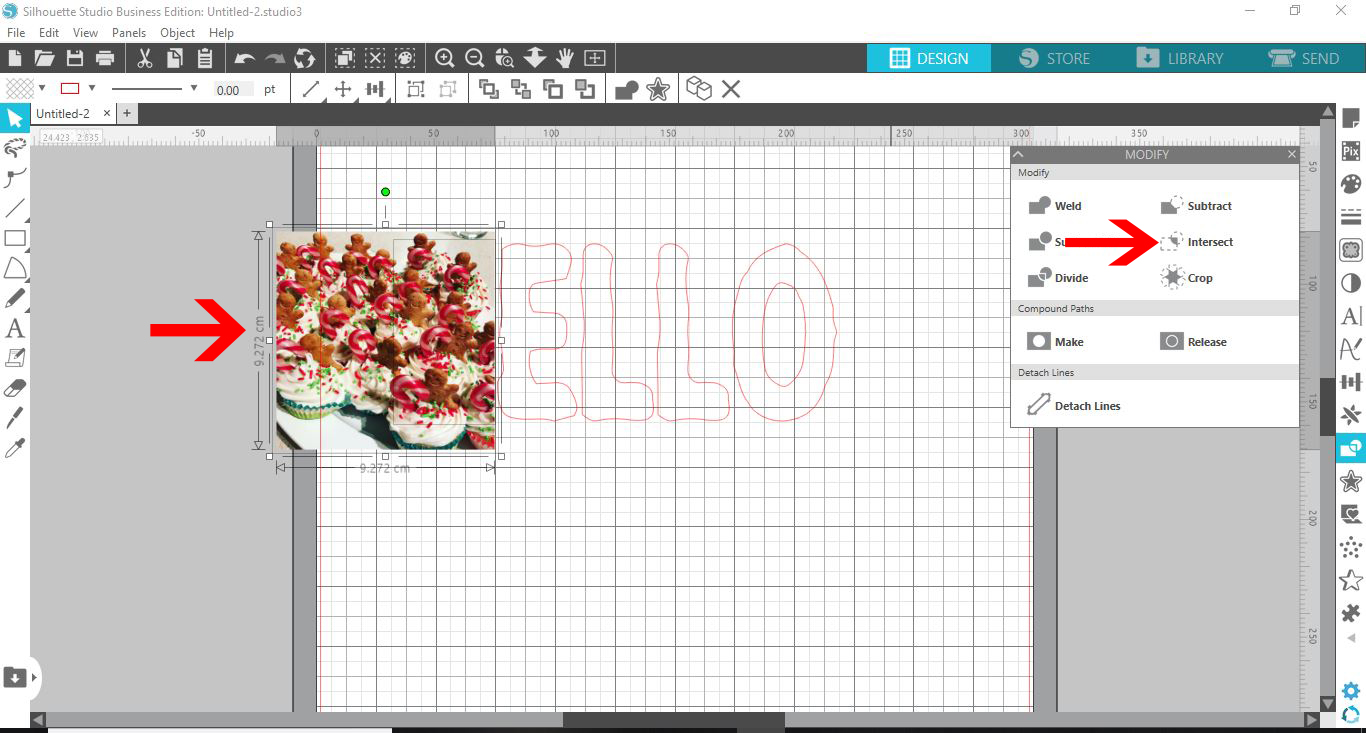
8- Place your image over the letter you would like it to be inserted to.

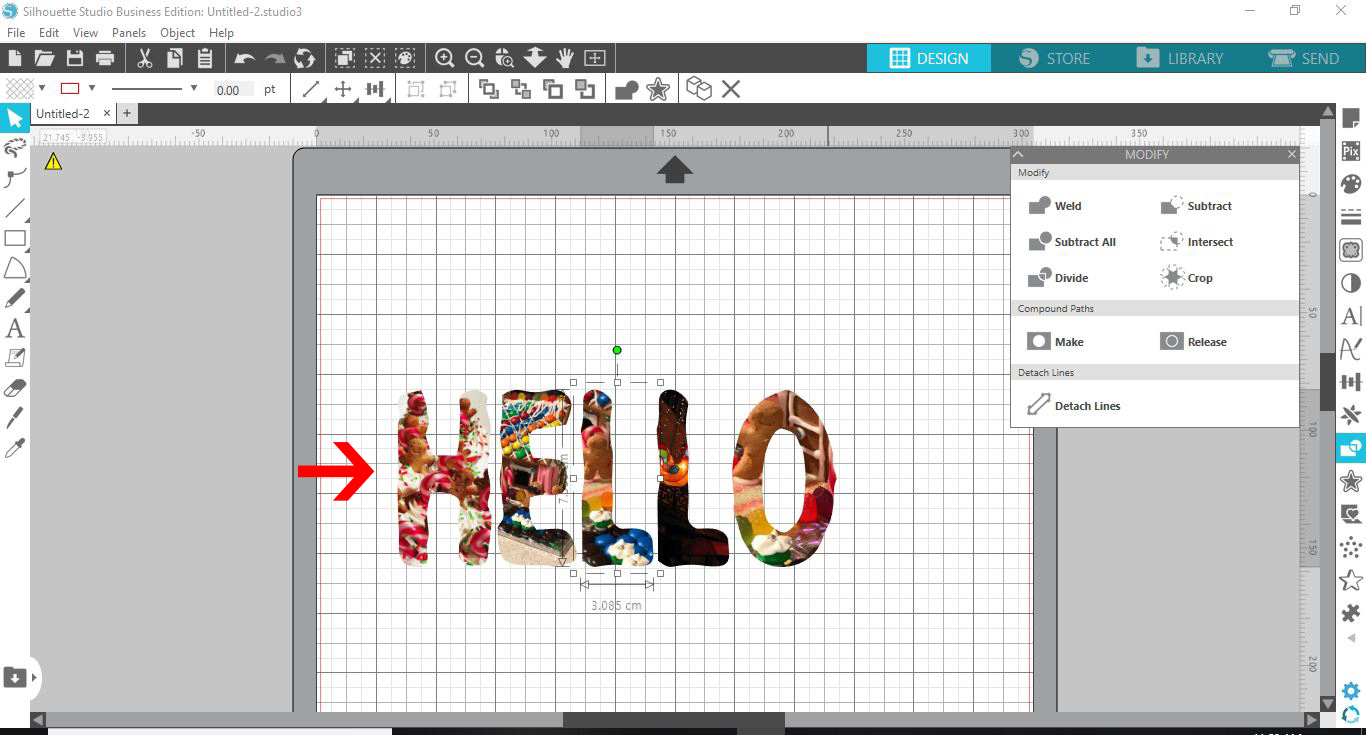
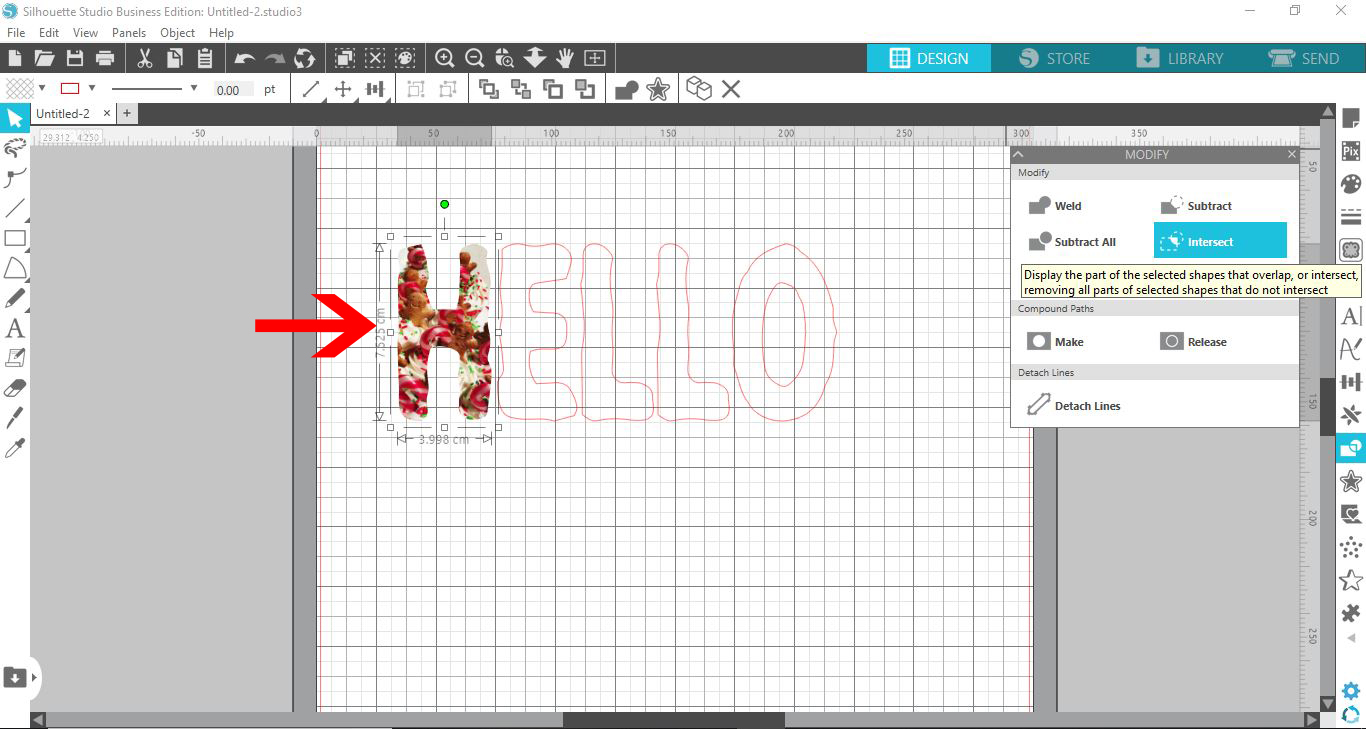
9- Select both and then click on the modify panel. Select intersect. This will only leave the photo when the letter and photo touch.

10- Your image is now in your text.

11- Repeat the above steps to fill the rest of the letters.


6 Related Silhouette Tutorials

In Silhouette Studio images and photos can be manipulated to fit text. This method is a super fun way to personalize projects and gifts. You can use one or multiple images to achieve this effect. In this tutorial we will show you how to fill text with images in Silhouette ...

*Silhouette Cameo 3 used. 1- Open Silhouette Studio. Click on the Text icon. 2- Type your text. 3- When you type text, the red lines are the cut lines. When you use the foil quill, the quill will follow the cut lines. This means that your text will have an outline ...

Fonts form a big part of projects. This could be personalizing a birthday gift to a business logo or adding a verse for a wedding invitation. In this tutorial, we will be looking at how to change the font in Silhouette Studio. You will also learn how to add text ...

1- Open Silhouette Studio (free edition)  Click on the text icon.2- Type your text. then click on the right text icon.3- Change your text to the desired font. I am using Garlic Butter from fontbundles.net4- Select the text, then right click and ungroup the text.5- ...

1- Open Silhouette studio software.2- Insert your cut file. this can be one your designed yourself or purchased from a 3rd party shop. I am using basic chevron background file I made.3-  Type the first letter of the text you would like to add a cuttable file in.4...

1- Open Silhouette Studio. Click on the cutting mat options and change to Curio. Change the size of the cut area to fit the curio mat.2- With the cutting mat and the size changed, you will see the curio mat appears on the design space.3- Type your text.4...

You may also like

Help Center
ol image