Converting Jpeg file to SVG file in SCAL4 to use with the foil quill
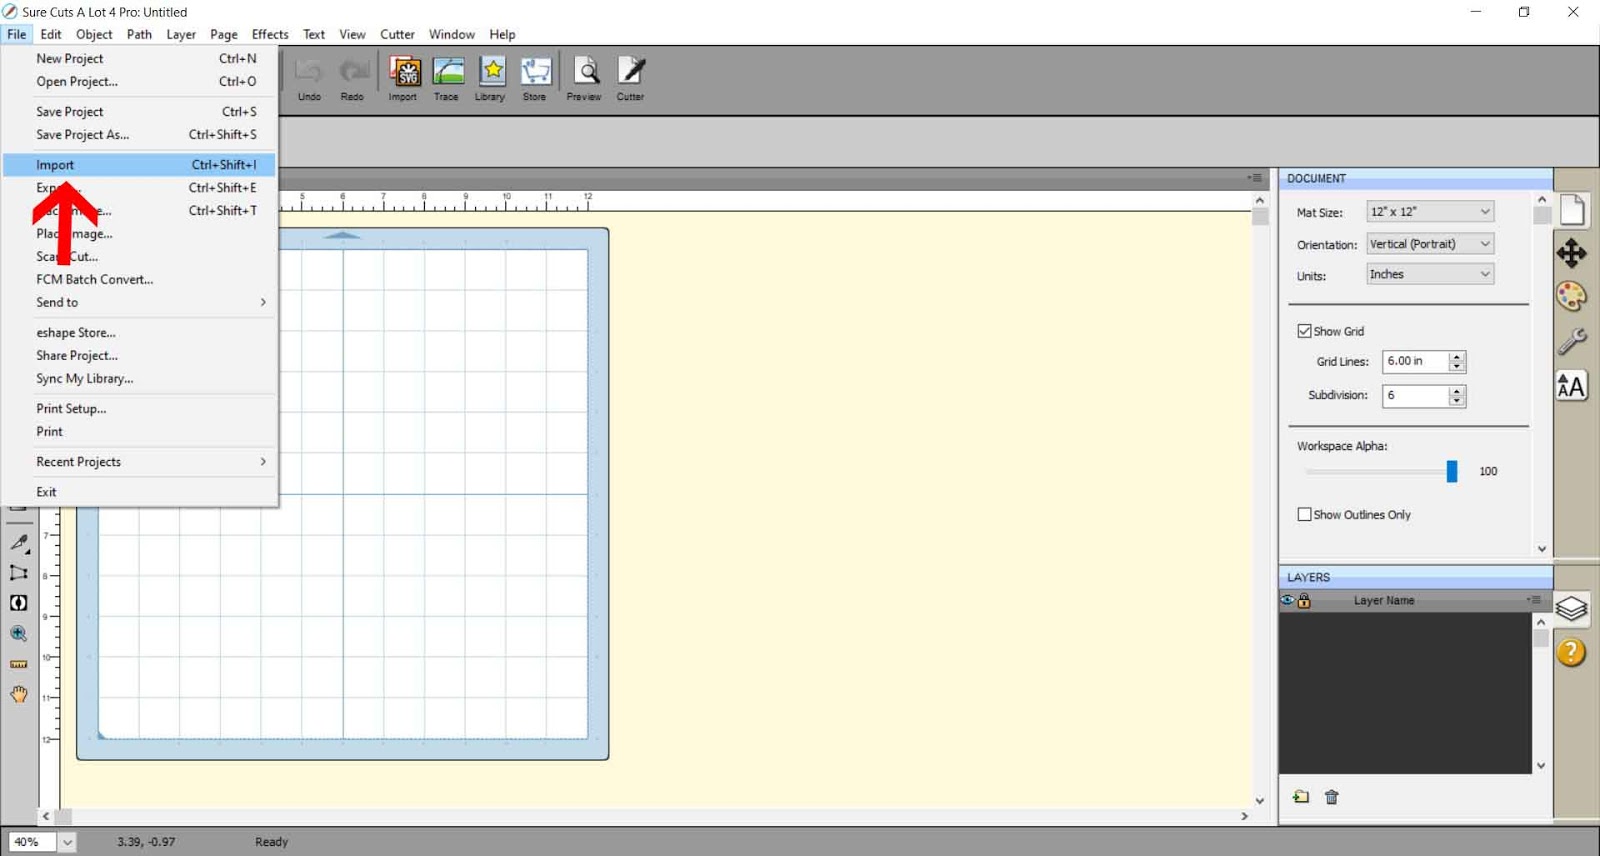
1- Open SCAL4 software. Click on the file icon.
2- Click on import.
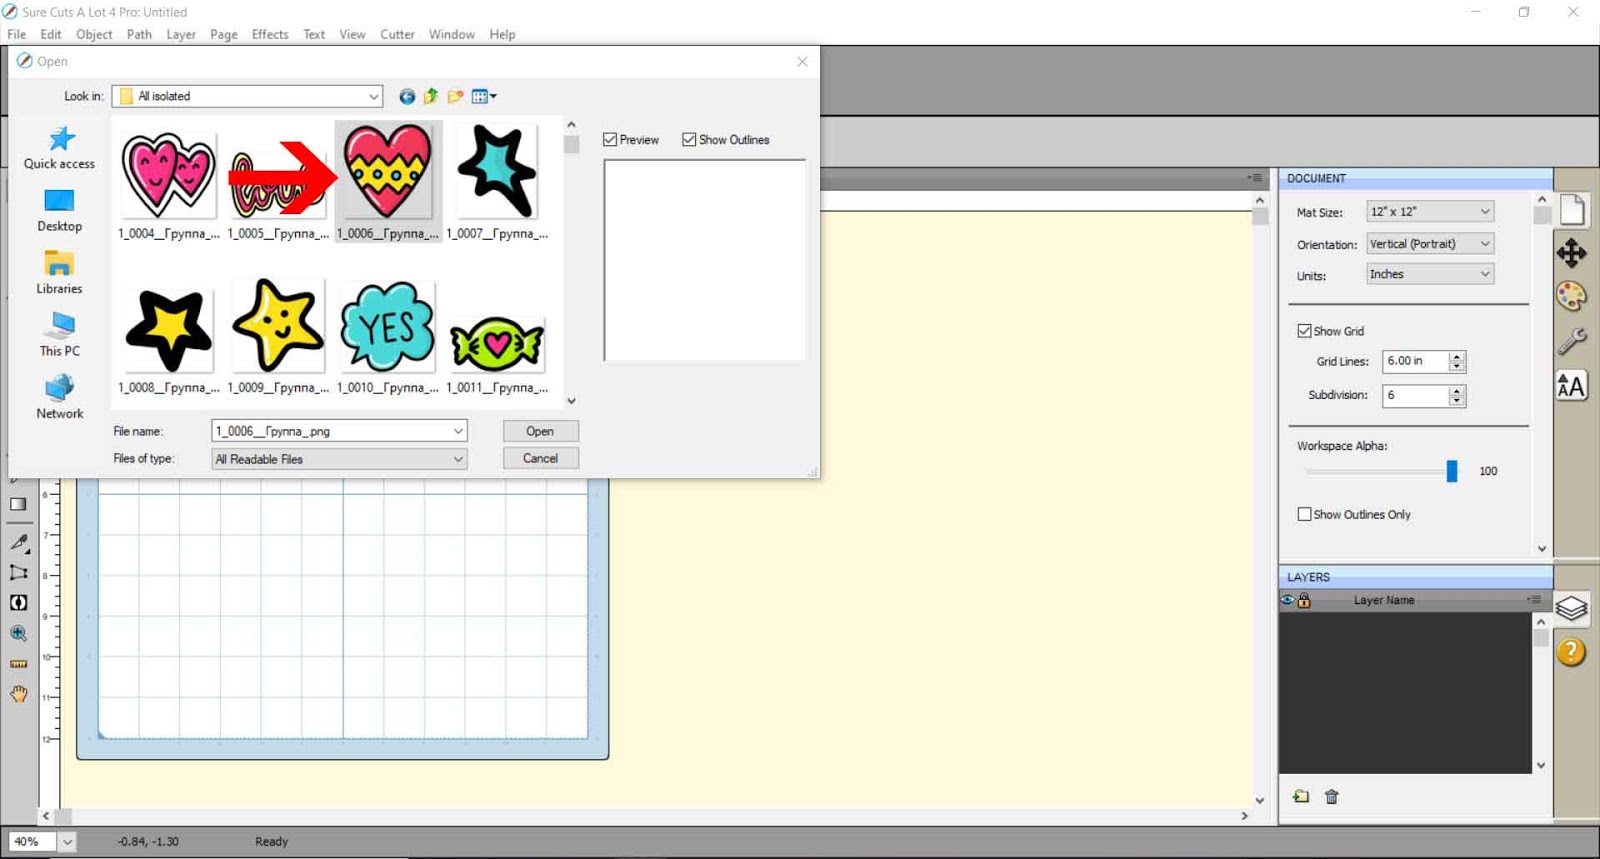
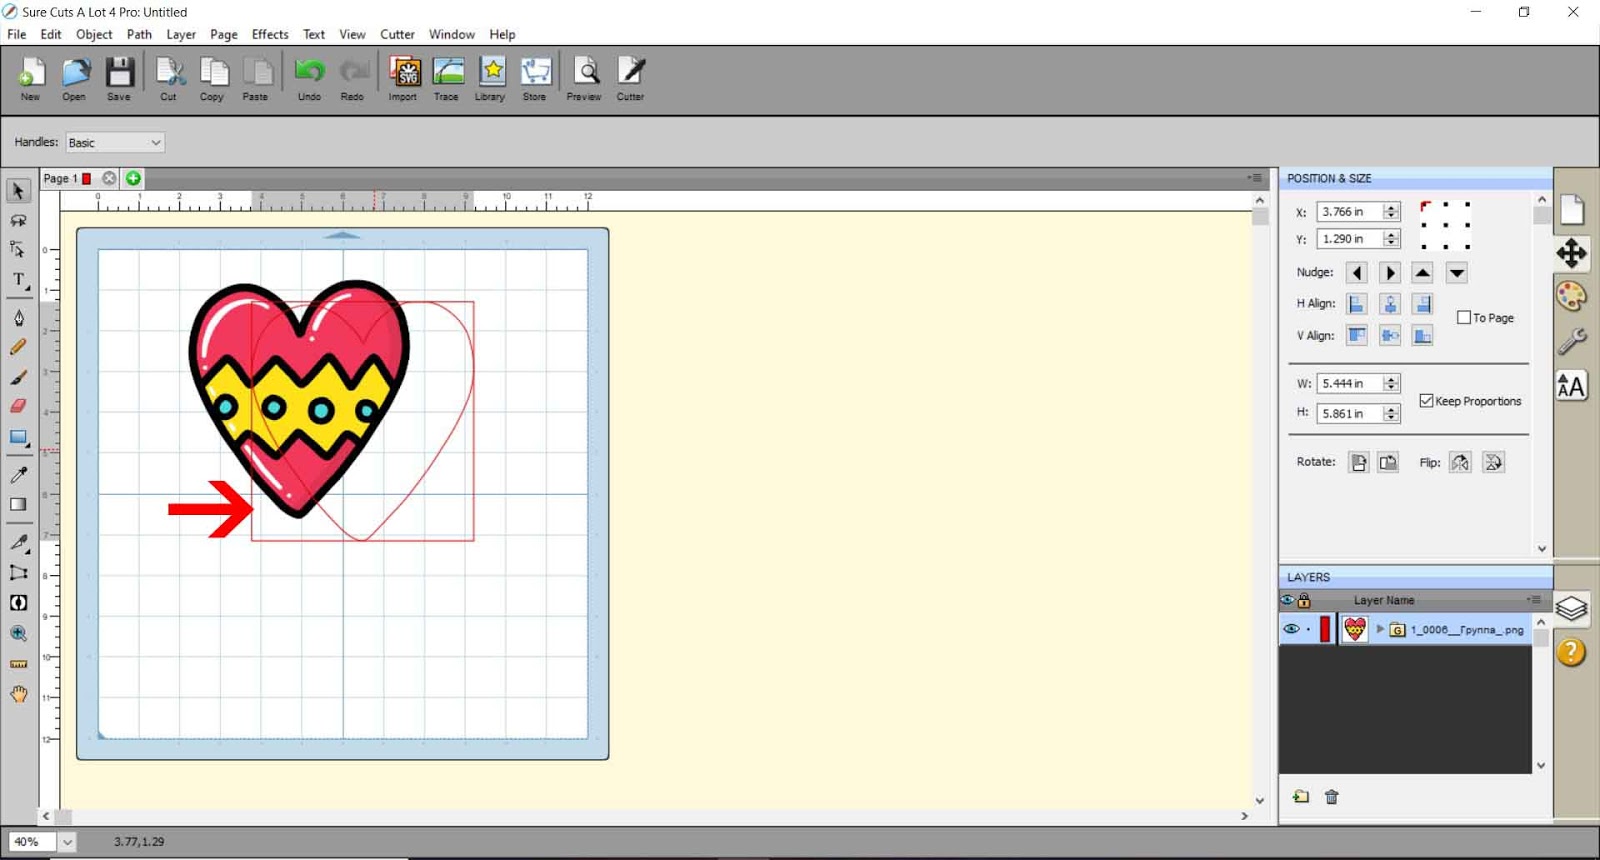
3- Select your jpeg. I am using the design Valentines Day Doodles.
4- When you insert a jpeg file, you can see that only the outline will be able to use as foil lines. We need to convert the jpeg into a SVG file and every section separated so we can foil each individual line.
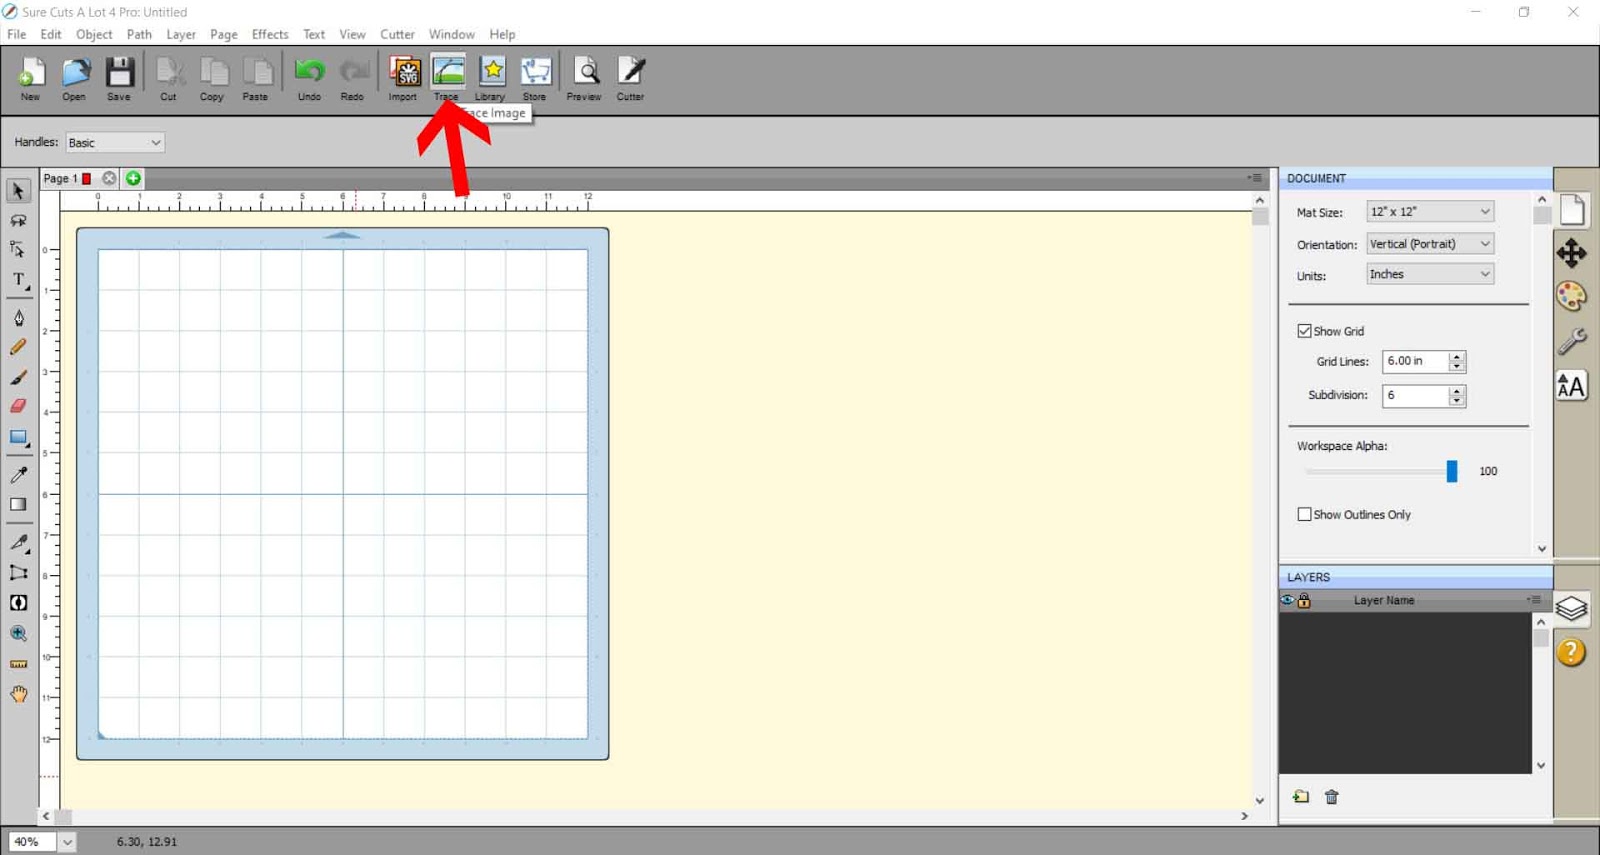
5- So to do this we need to import the jpeg via the trace function. Click on Trace icon.
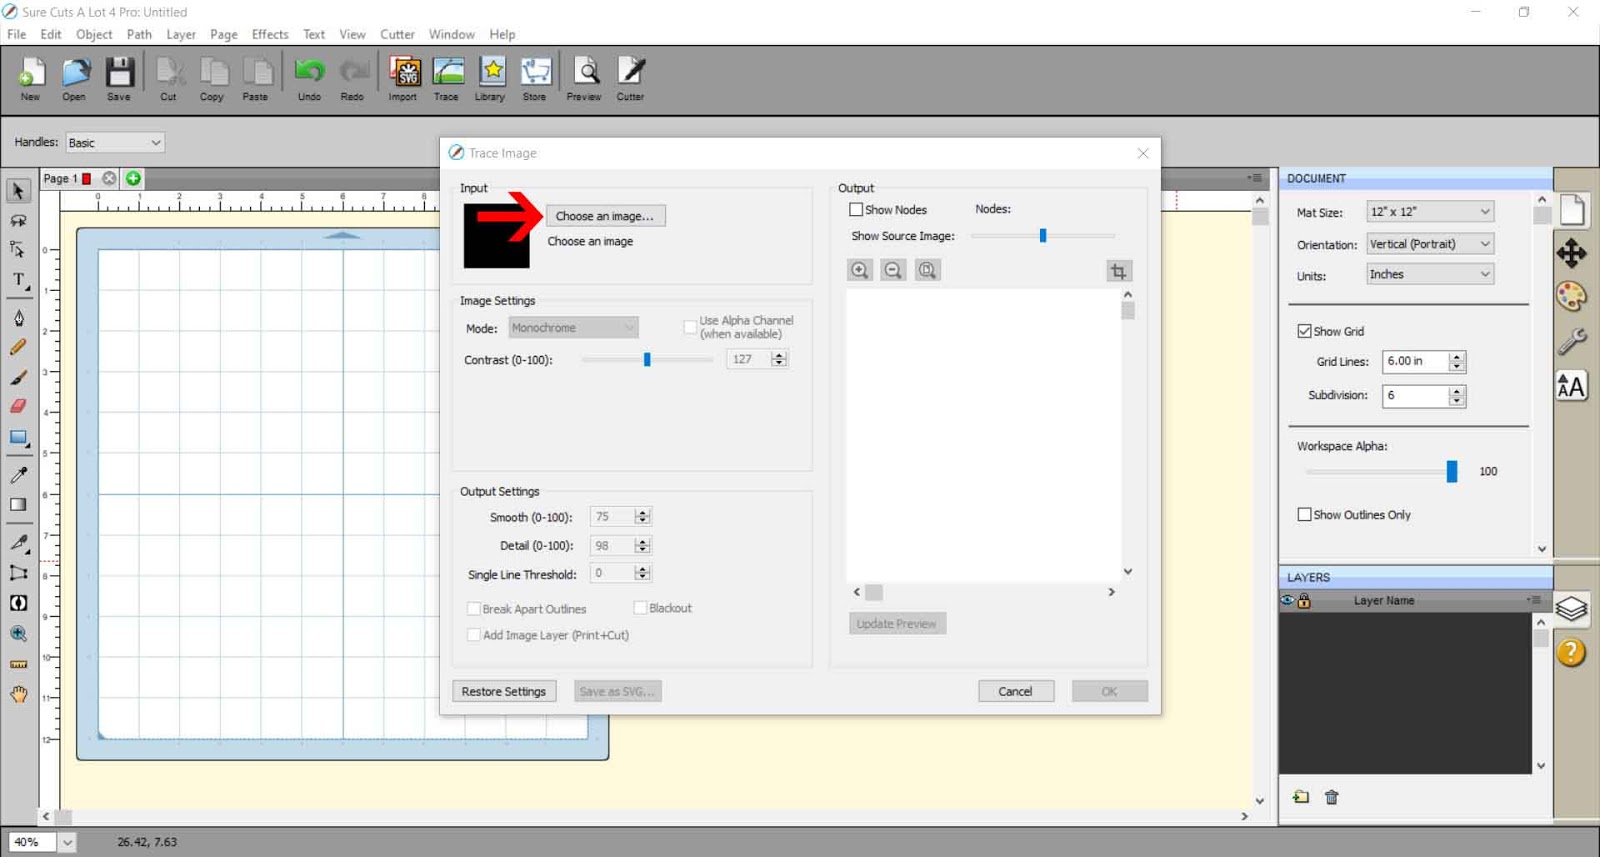
6- A new pop up will appear. Click on choose file.
7- Your design will appear in the preview screen.
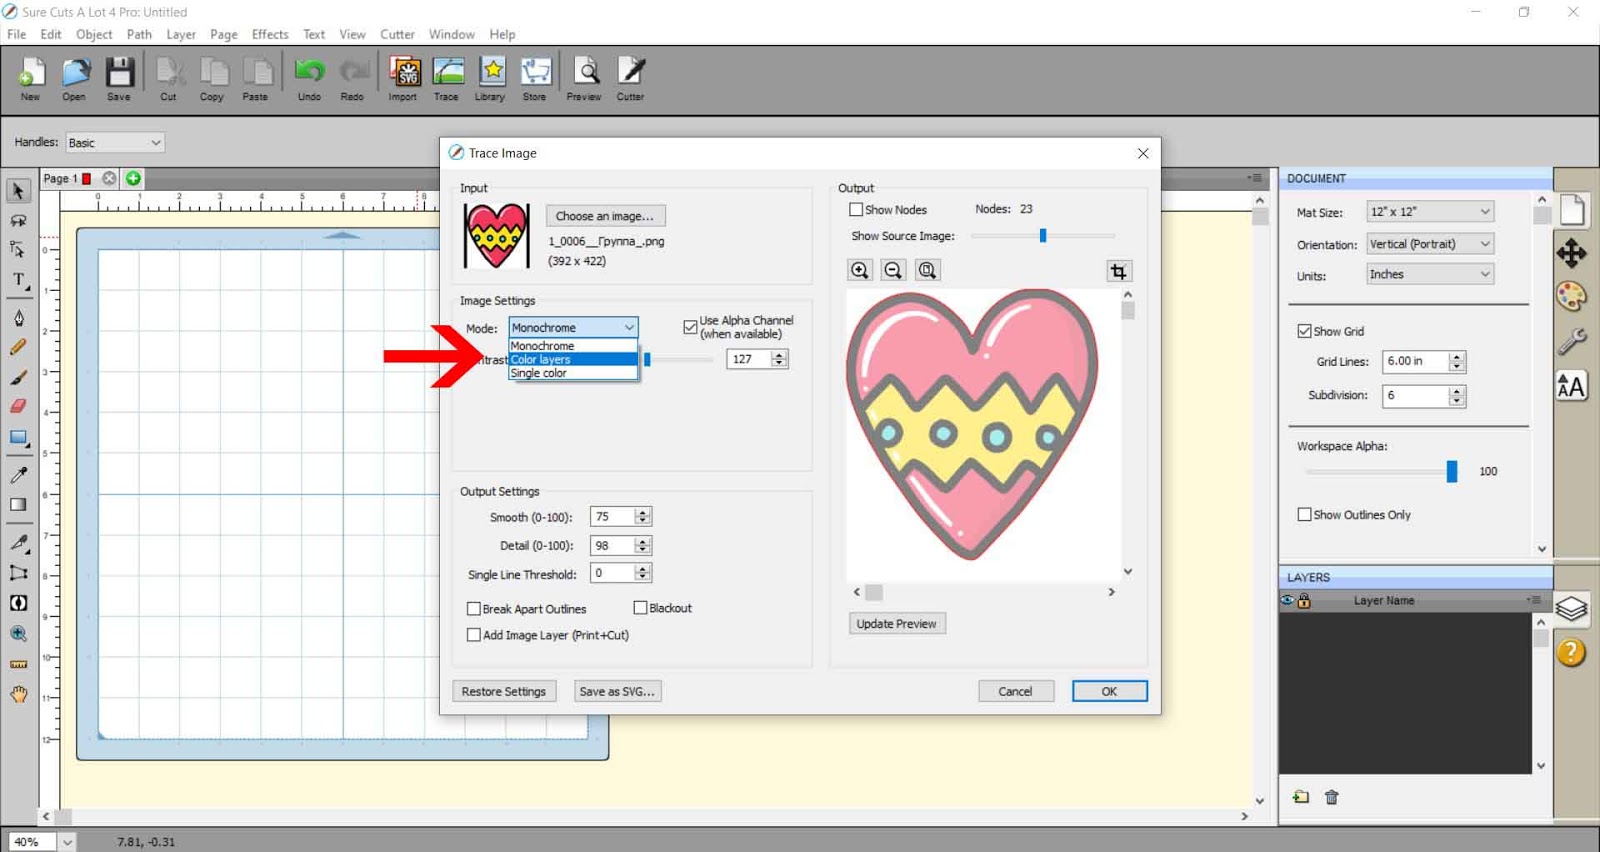
8- Firstly if your design is in color you need to change the mode from monochrome to color layers.
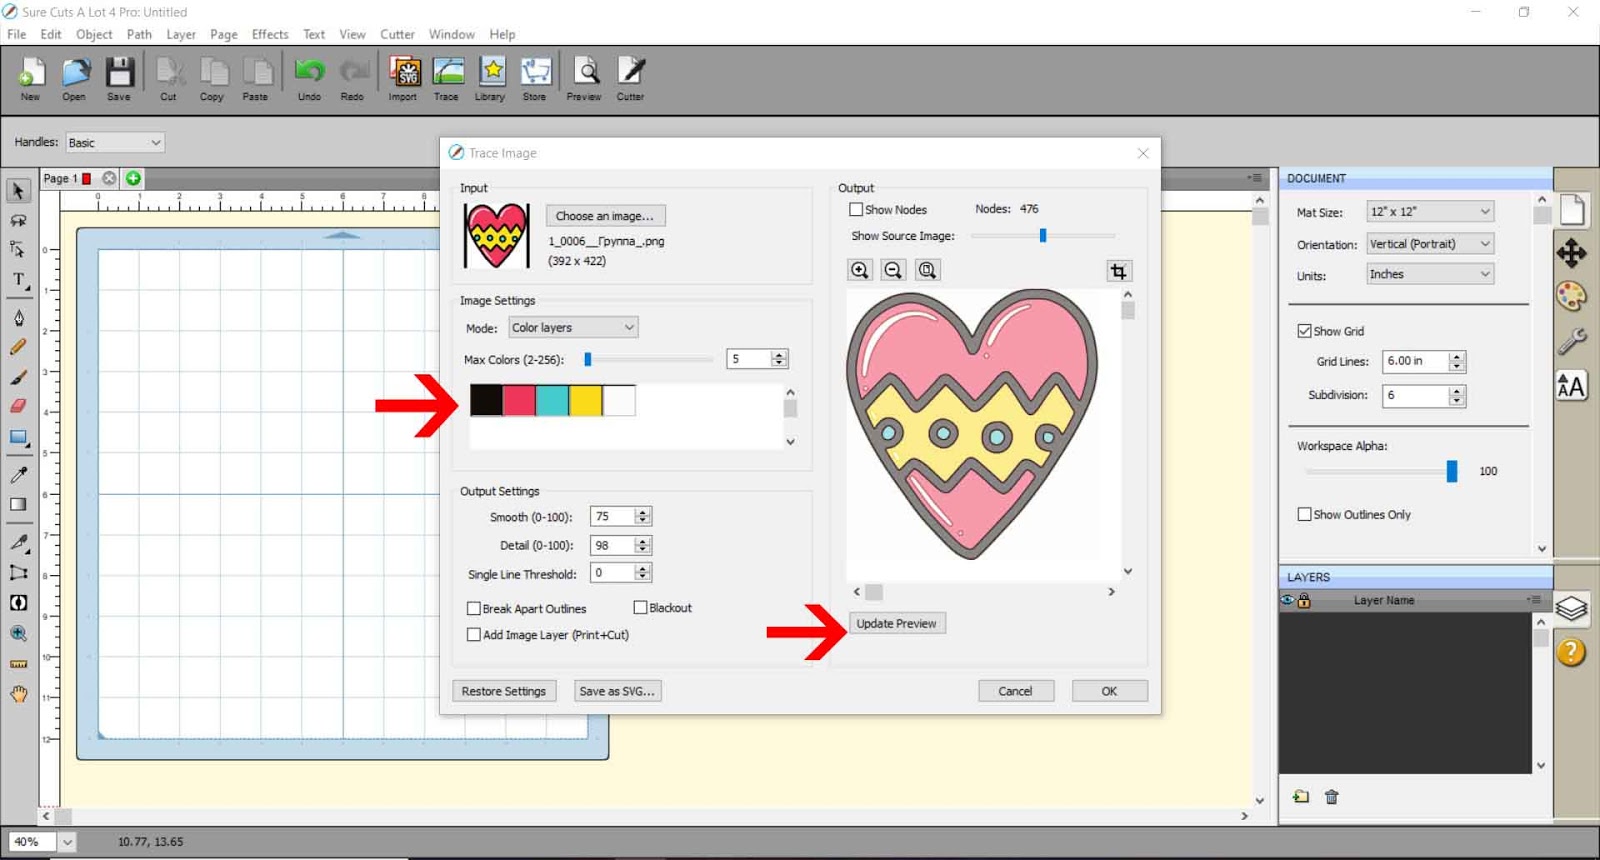
9- Click on update preview. then software should pick us all the individual colors in the design. If it does not you can manually adjust the number o colors it picks us so the software will search for more colors within the design.
Check the preview to ensure that all lines are now selected. Click OK once you are happy.
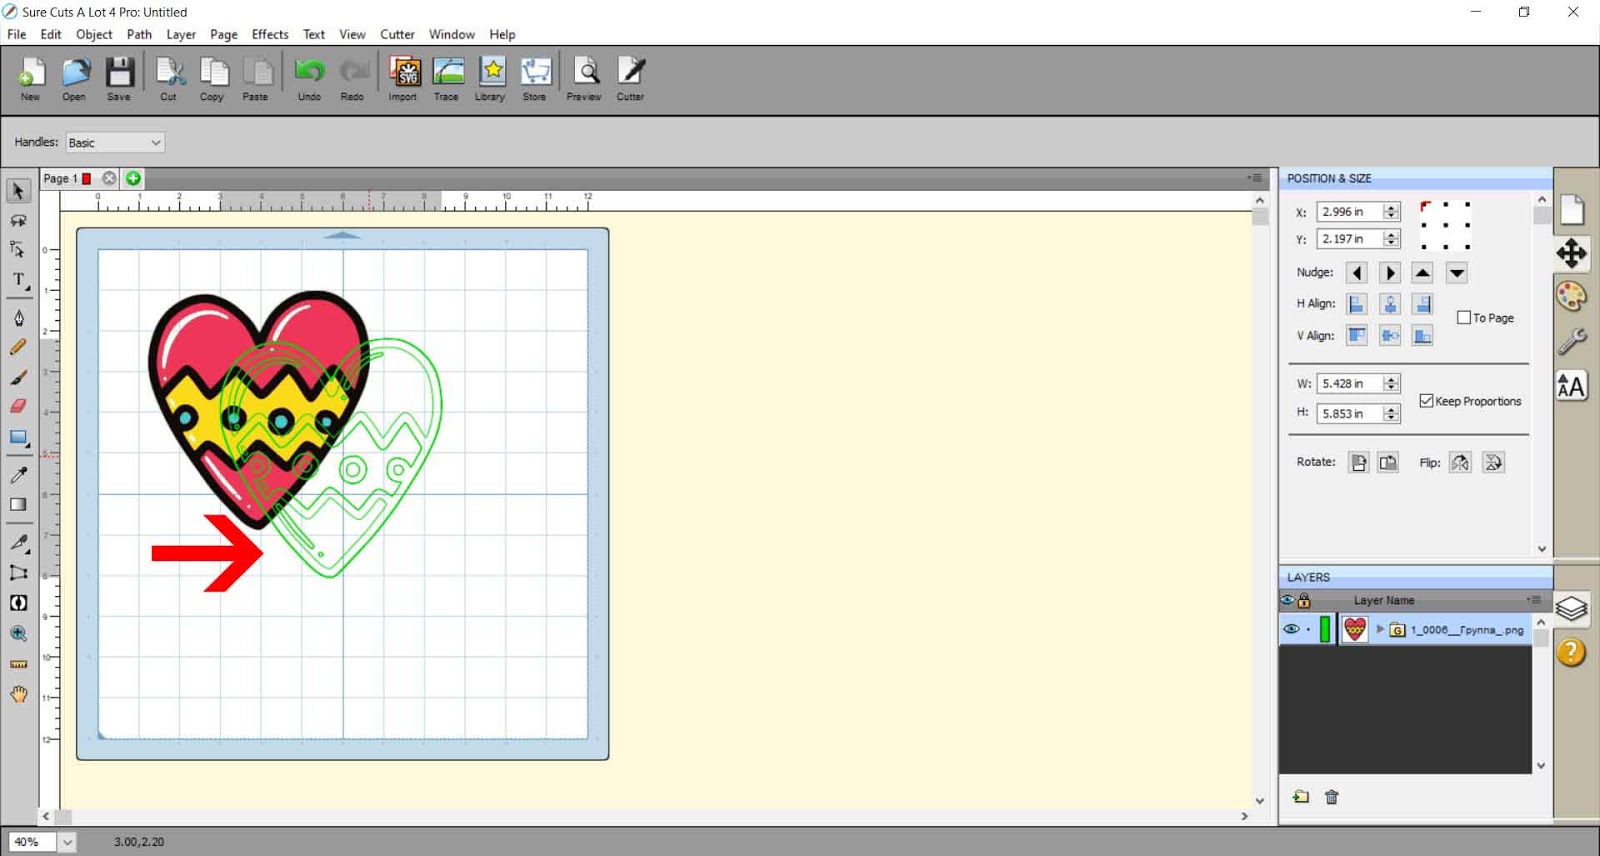
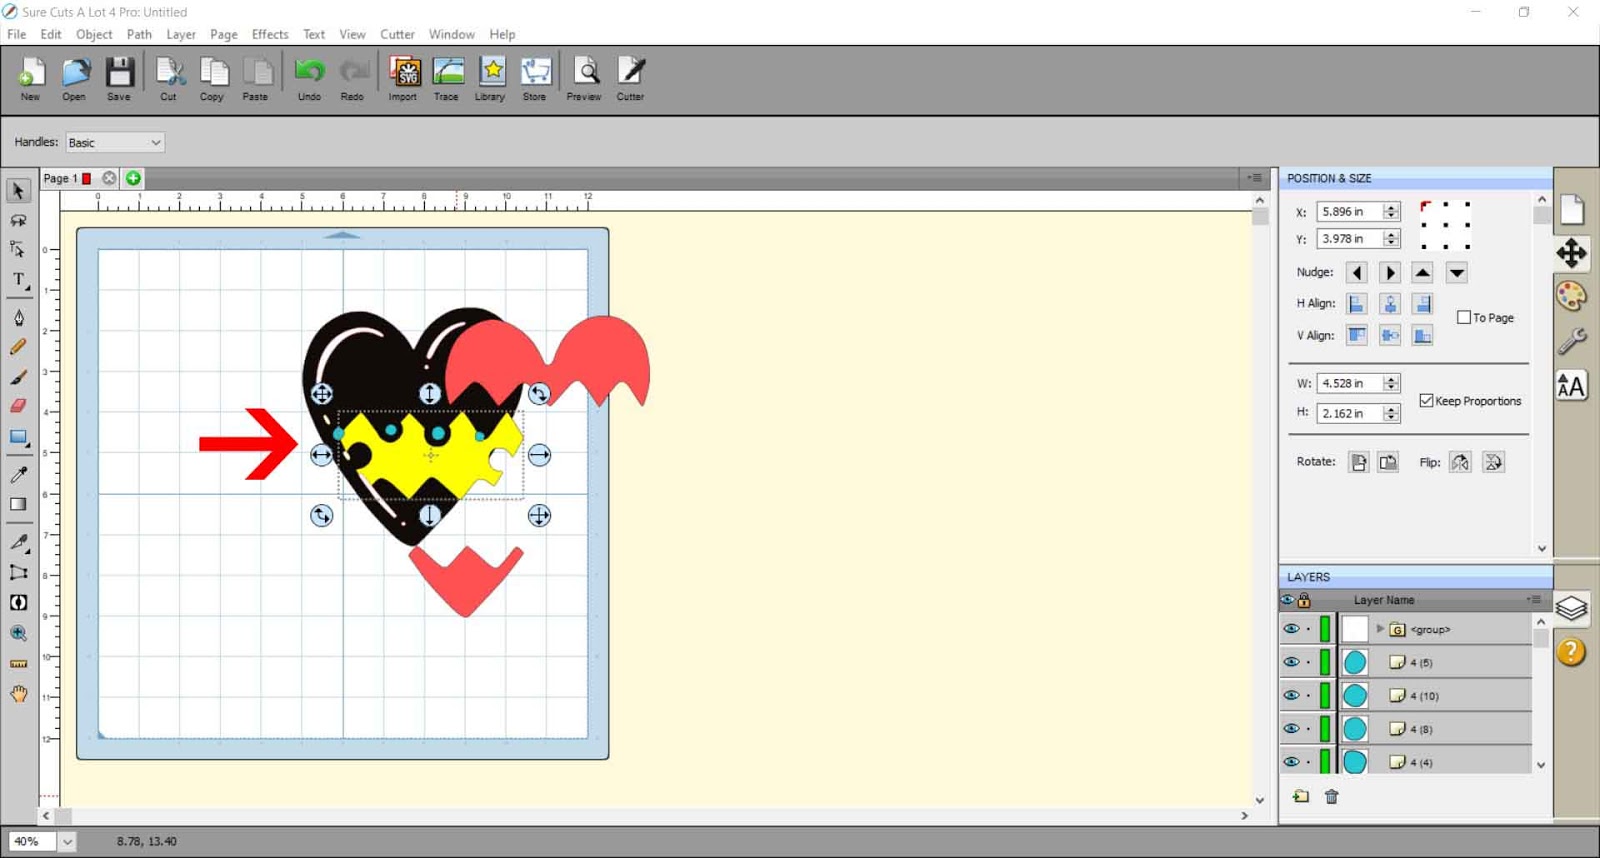
10- Your design will now appear in your workspace. As you can see all the lines in the different sections are now cut lines you can use to draw with the foil quill.
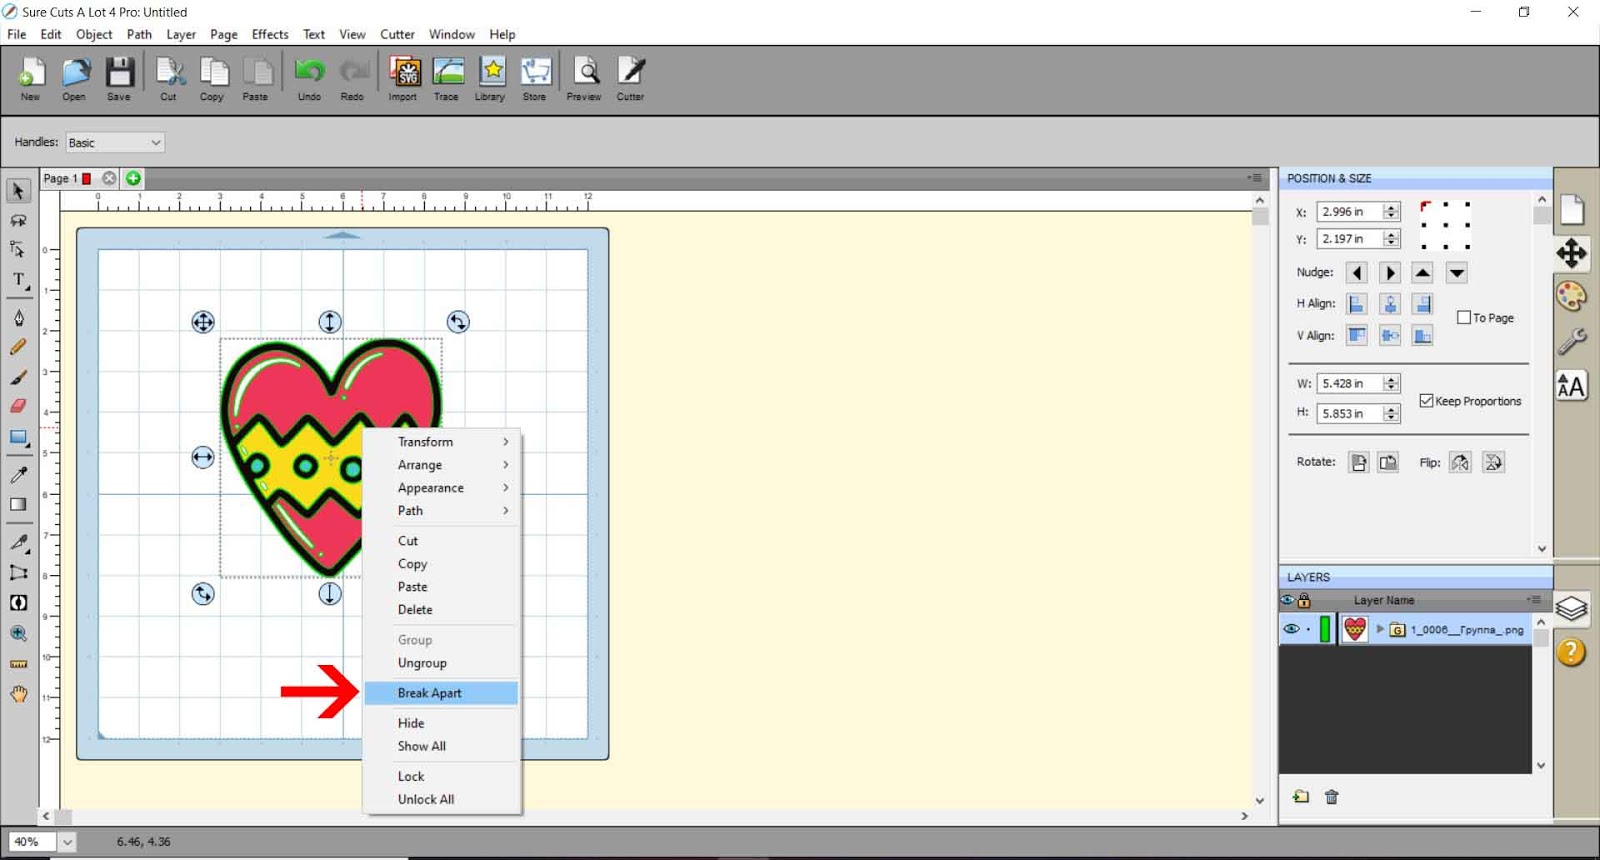
11- We now need to break apart the file as it is currently just one grouped image. By separating the lines you can use this to color, then print and cut and foil the lines, or you can use the lines separate so you can foil in different colors.
Right click and break apart.
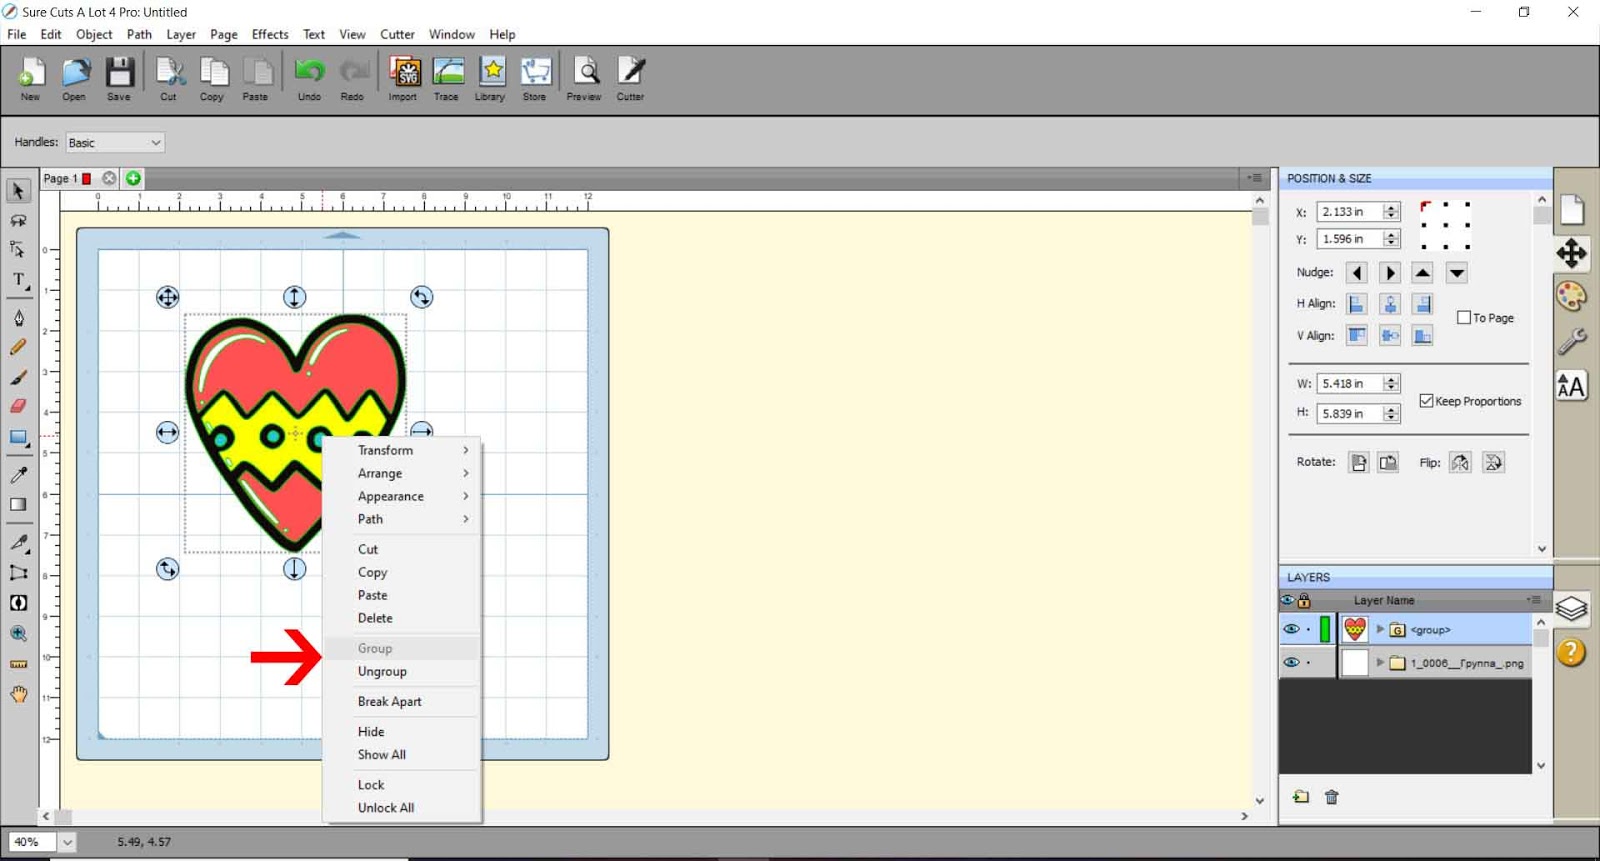
12- As you can see each part of the design is separated now. I fill each part in with color so I know where everything is placed.
13- Select everything and right click and group.
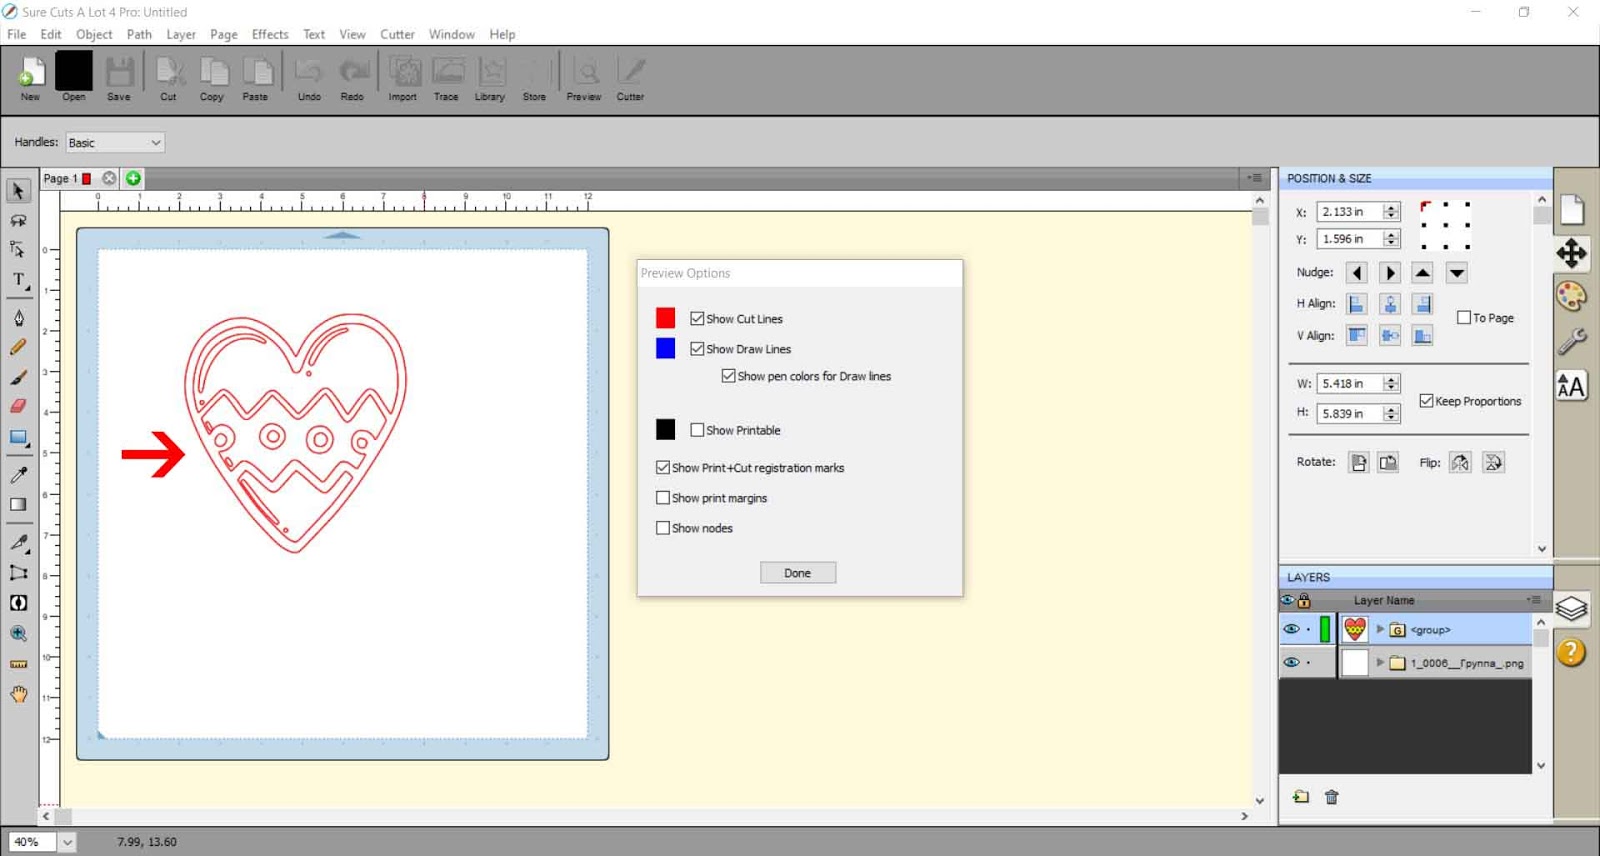
14- If you click the preview icon you can see that we now have all the cut lines ready to use with the foil quill as draw lines.
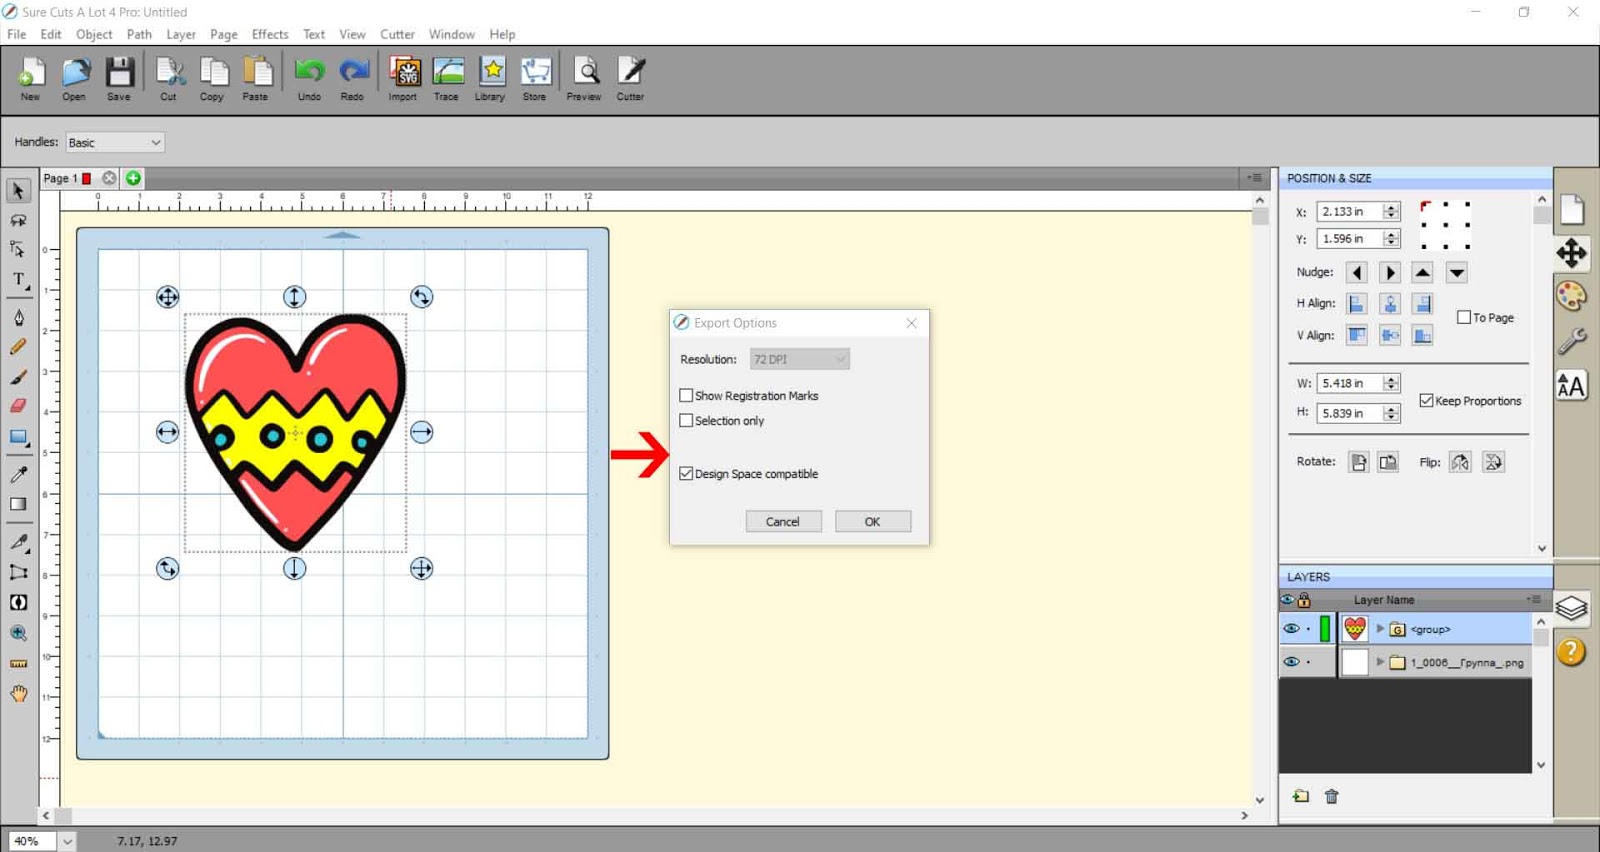
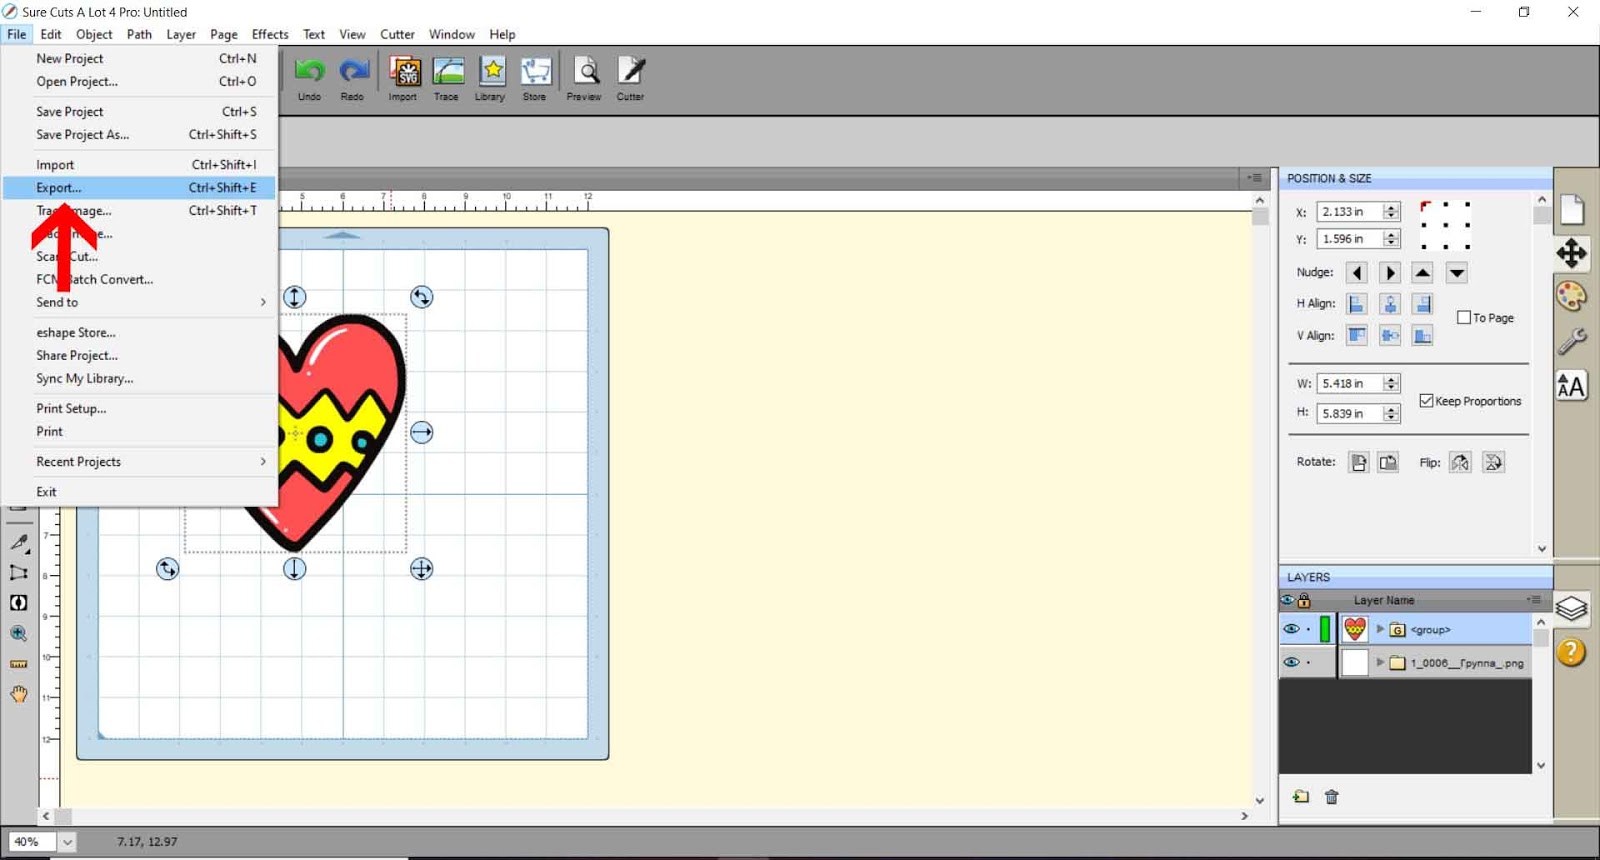
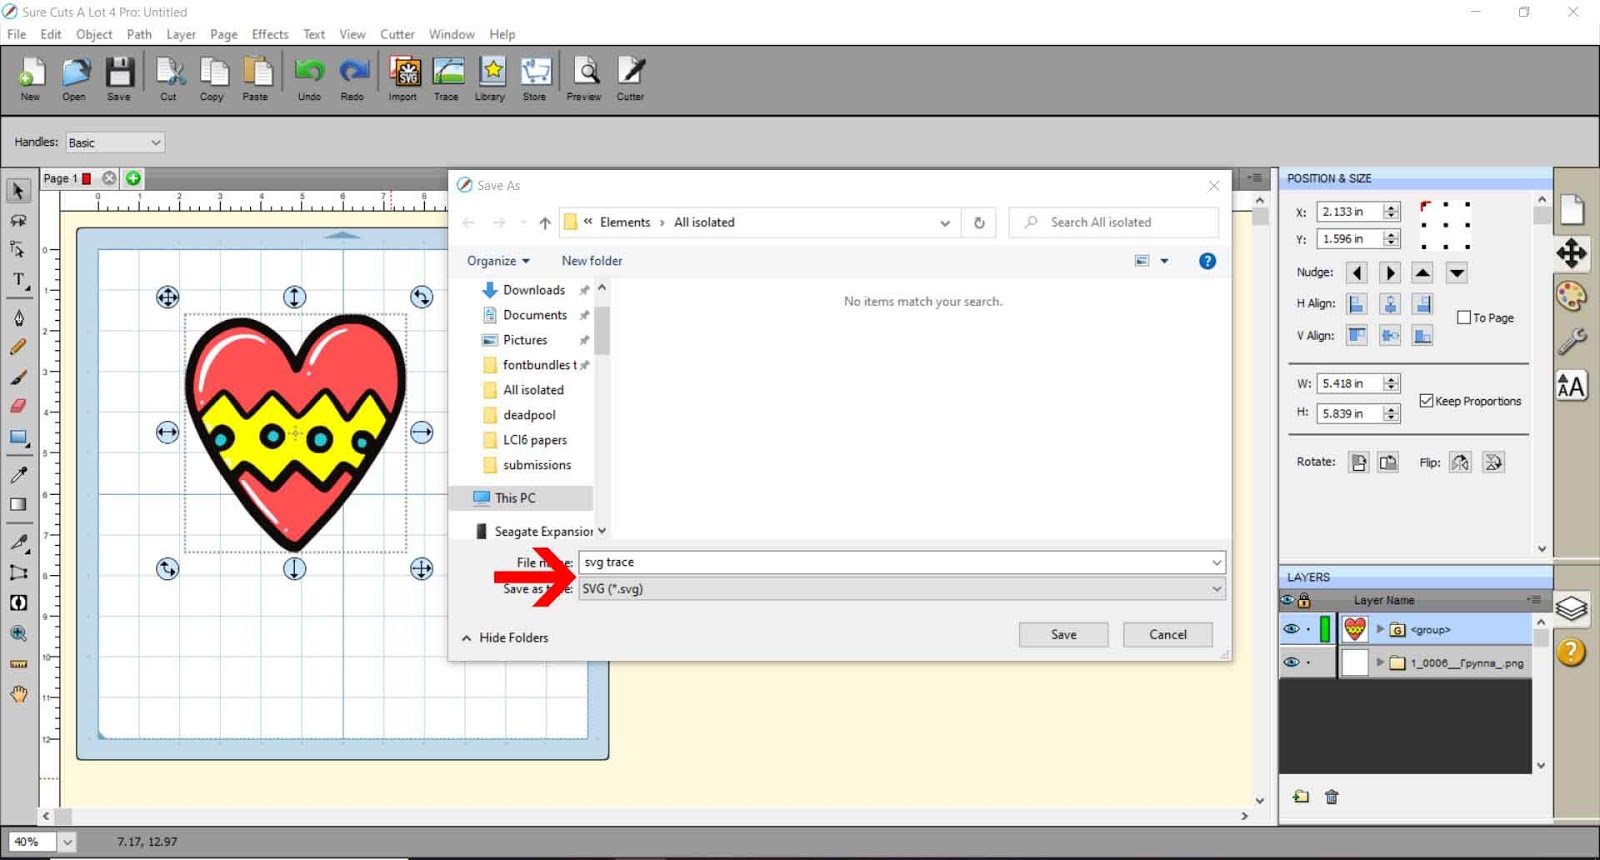
15- Go to file - export.
16- Save as a SVG file.
17- In the last pop up save as 72 dpi and check the design space compatible option if you are using Cricut Design Space to foil with.
2- Click on import.
3- Select your jpeg. I am using the design Valentines Day Doodles.
4- When you insert a jpeg file, you can see that only the outline will be able to use as foil lines. We need to convert the jpeg into a SVG file and every section separated so we can foil each individual line.
5- So to do this we need to import the jpeg via the trace function. Click on Trace icon.
6- A new pop up will appear. Click on choose file.
7- Your design will appear in the preview screen.
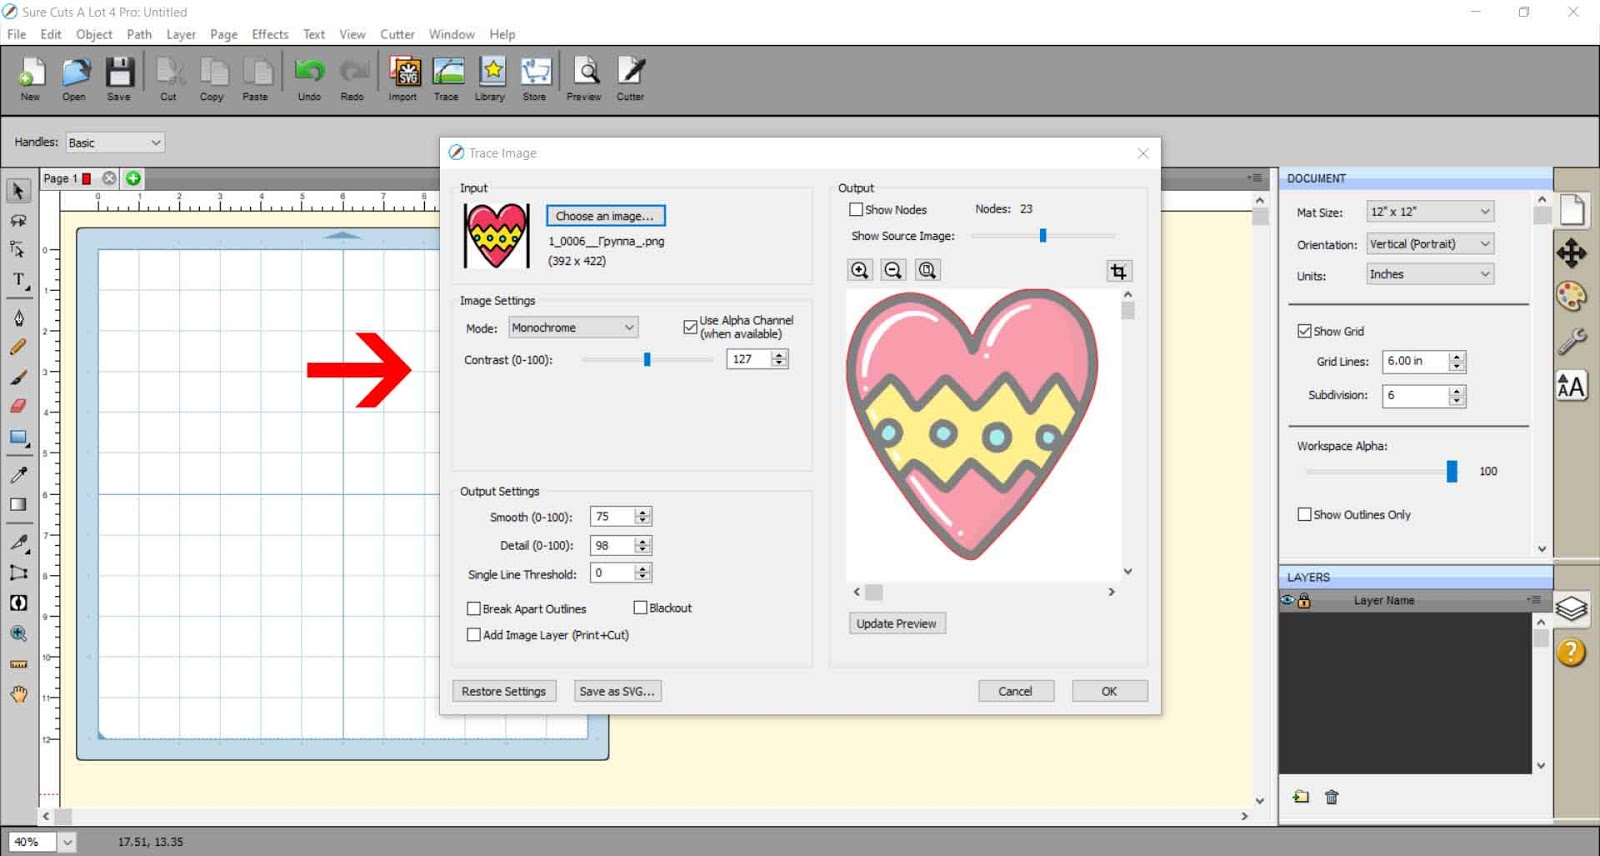
8- Firstly if your design is in color you need to change the mode from monochrome to color layers.
9- Click on update preview. then software should pick us all the individual colors in the design. If it does not you can manually adjust the number o colors it picks us so the software will search for more colors within the design.
Check the preview to ensure that all lines are now selected. Click OK once you are happy.
10- Your design will now appear in your workspace. As you can see all the lines in the different sections are now cut lines you can use to draw with the foil quill.
11- We now need to break apart the file as it is currently just one grouped image. By separating the lines you can use this to color, then print and cut and foil the lines, or you can use the lines separate so you can foil in different colors.
Right click and break apart.
12- As you can see each part of the design is separated now. I fill each part in with color so I know where everything is placed.
13- Select everything and right click and group.
14- If you click the preview icon you can see that we now have all the cut lines ready to use with the foil quill as draw lines.
15- Go to file - export.
16- Save as a SVG file.
17- In the last pop up save as 72 dpi and check the design space compatible option if you are using Cricut Design Space to foil with.