
Creating a tattoo with the Foil Quill in Silhouette Studio
I will be using a patterned animal svg by Justina Tracy to make the tattoo. If you prefer a different design we have an amazing selection of Mandala SVG designs for you to choose from.
Majority of the time purchased files will be saved as Zip files. We will need to unzip our file in order to use it. If you need more help with this we have a quick tutorial on how to work with zip files on your pc.
*Note- with this technique the color of the foil is not relevant. The back of the foil will be the color of the tattoo (most foils back side will be silver or gold.)
Step 1 - Open your design in Silhouette Studio
We will begin by opening the SVG file in Silhouette Studio. Do this by clicking on the File menu at the top and selecting Open. In the Open dialogue box, locate where you SVG is stored then select Open. If you have graphics design software the image will display the program associated. Look for the SVG file and open that one.

The SVG design will be opened on the cutting mat in Silhouette Studio. Adjust the size and position as needed. Next we will remove the fill color so only the cut lines are visible.
Step 2 - Remove Fill
To get a nicely foiled design we will be using the sketch fill options under the Line Effects panel. First, we want to remove the color fill of the design.
At the top left of the screen is the Fill panel option. As the design is filled in black you will see a black box that is the Fill, and a red lined box that is the Stroke.

Select your design then click on the downward arrow to open the Fill panel. Click on the Crosshatch box to remove the fill color. Then, in the Stroke panel next to it change the color to red. The color is not important but we chose to use red for this tutorial. Also be sure to that the Stroke point is set to 0.00.
If needed you can resize and reposition the design.

Step 3 - Use the Line Effects
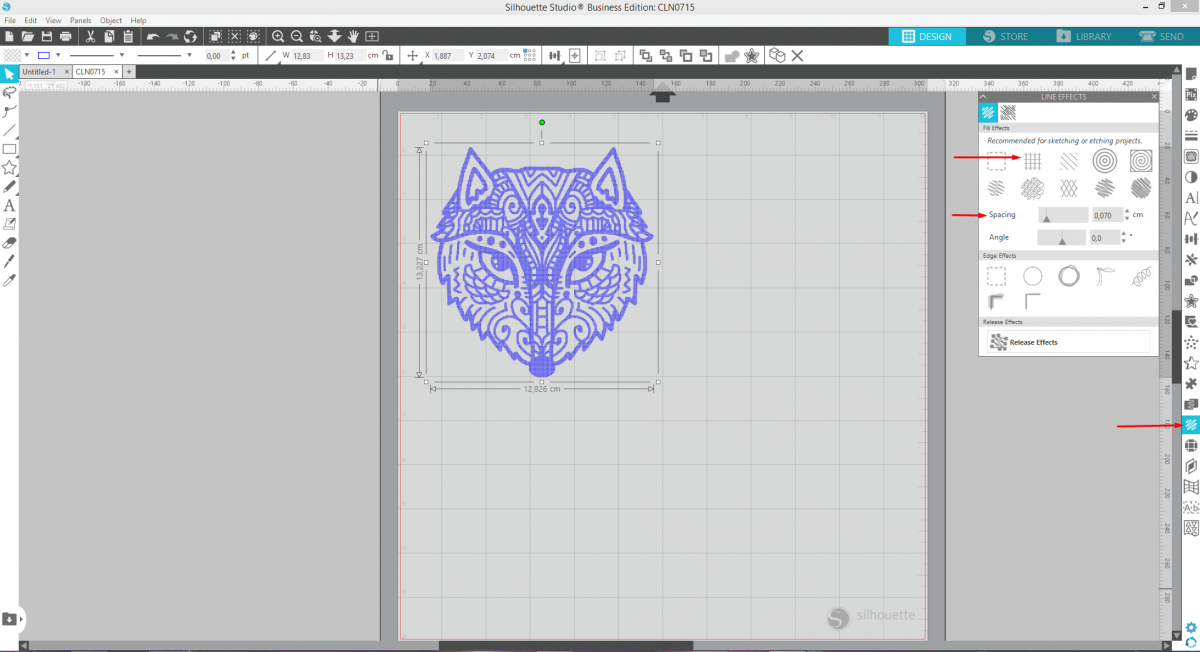
Now we are ready to add a sketch fill to the design. Select your design and then click the Line Effects panel on the right to open it. Then, under the Line Effects panel, click on the first icon with squiggly lines. Lower down click on the second option, which will add a grid effect to the design. This will also add a blue fill indicating the effect has been applied.
Now go to the Spacing and drag it to the left. The lower the number the more the dense the fill. While this is great for full coverage it can cause the design to take a long time to be foiled. We chose a spacing of about 0.070cm. You may need to experiment with the size of your design to see what works for you.
Step 4 - Send project to be foiled
With the design and fill setup we can now go to the Send Panel. Click on the Send panel on the right hand side. For tattoo paper I recommend setting the Media option to Patterned paper, Action to Sketch and the Tool to Pen. Then set your Speed to 5, the Force to 18 and Pass 1. Make sure that Sketch has been selected.

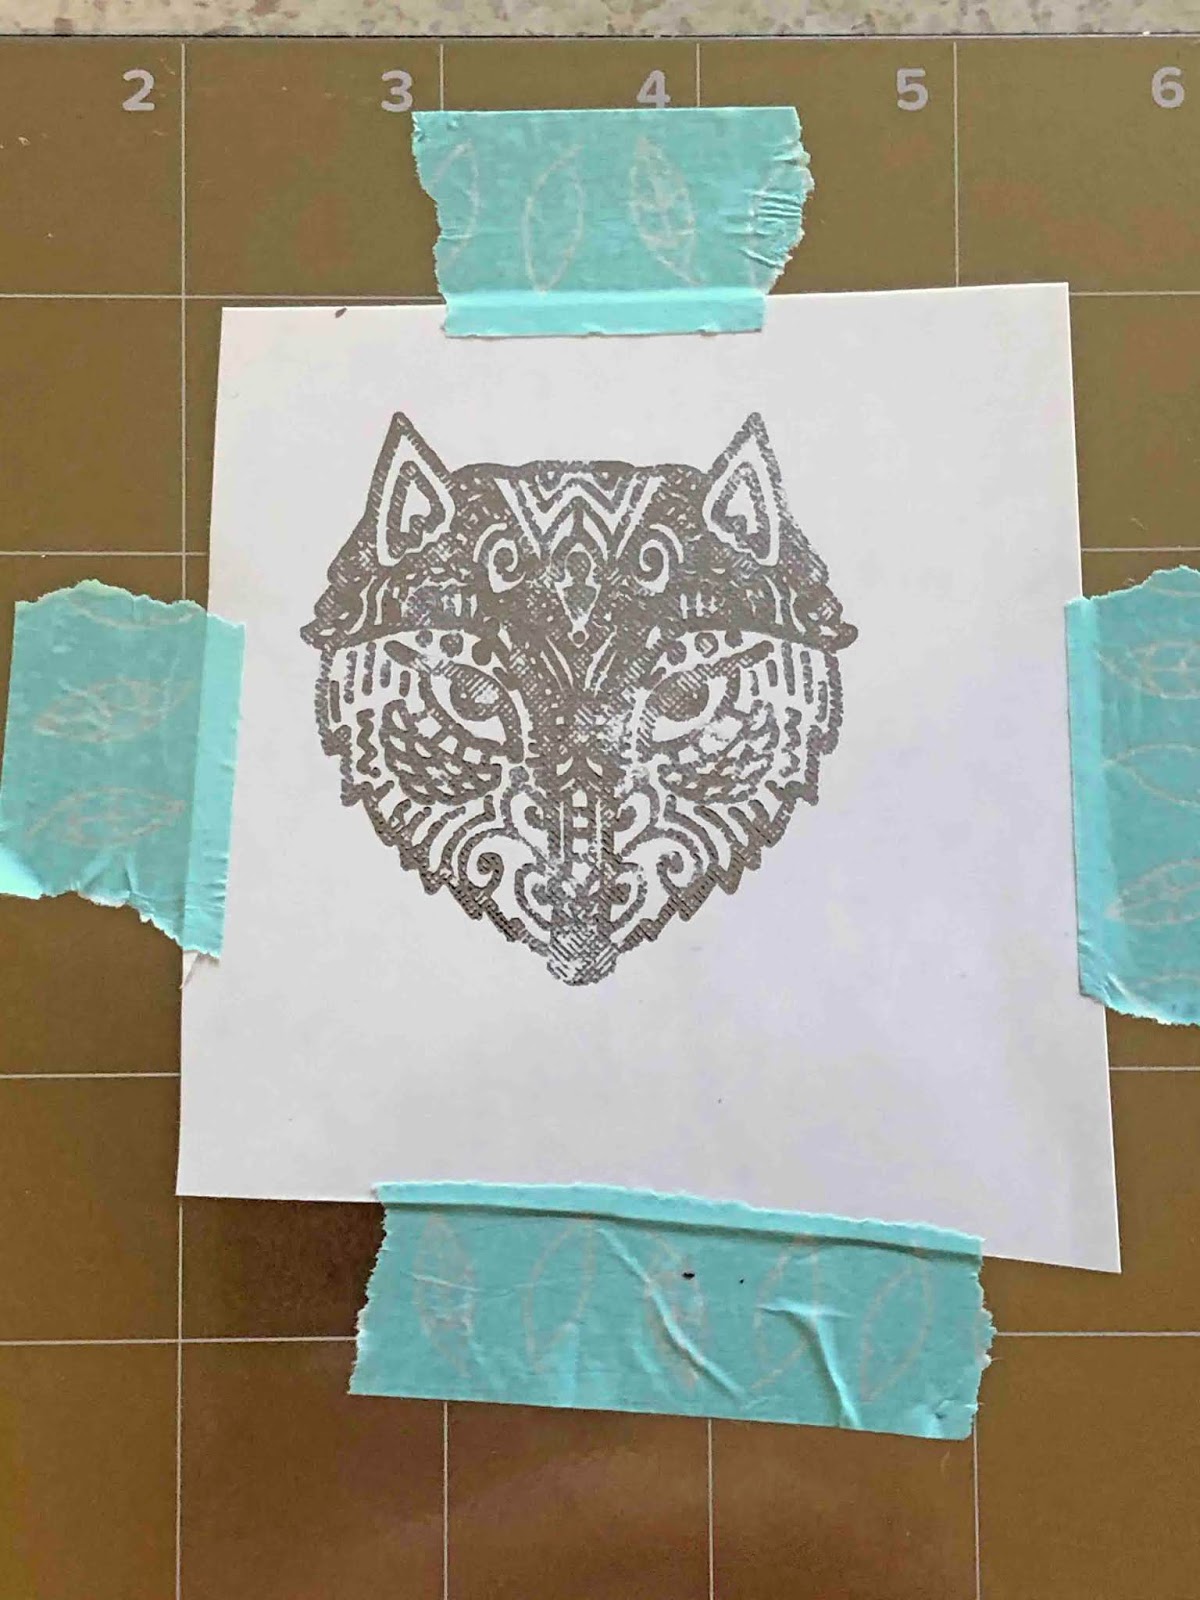
On your mat tape down the glossy part of your tattoo paper. I am using the Silhouette brand of tattoo paper. Position the paper according to what you see on your screen.
Remember, if using text, it needs to be reversed when using tattoo paper. This is so that it is the right way for the final result.

Tape down the foil over the tattoo paper. I am using a magnetic mat so the magnets hold the foil down instead of the tape. This mat is specifically designed to be used with the Foil Quill.

Follow the safety instructions for warming up the Foil Quill. Once ready, place into the selected carriage of your machine. Insert the mat with the foil in place and click the Send button.

Step 5 - Apply the adhesive part to the tattoo design
Once the design has been foiled onto the tattoo paper, remove and unplug the Foil Quill. Be careful not to burn yourself as the item is very hot. Remove the mat then remove the foil.
The Silhouette brand comes with a second adhesive piece. Place this part of the tattoo paper over the foiled tattoo.

Using a scraper rub hard on the design.

Cut around the tattoo design so that it looks similar to the image below.

Carefully remove the plastic from the tattoo paper. The adhesive will now be attached to the tattoo paper.

Follow the placement instructions on your tattoo paper and adhere to your body. You can see that the foil design transferred very nicely.


You can have tons of fun creating foiled tattoos for events. If you enjoyed creating this foil project be sure to check out our other tutorials like how to foil on ribbon in Cricut Design Space and using multi color foiling in Silhouette Studio.


