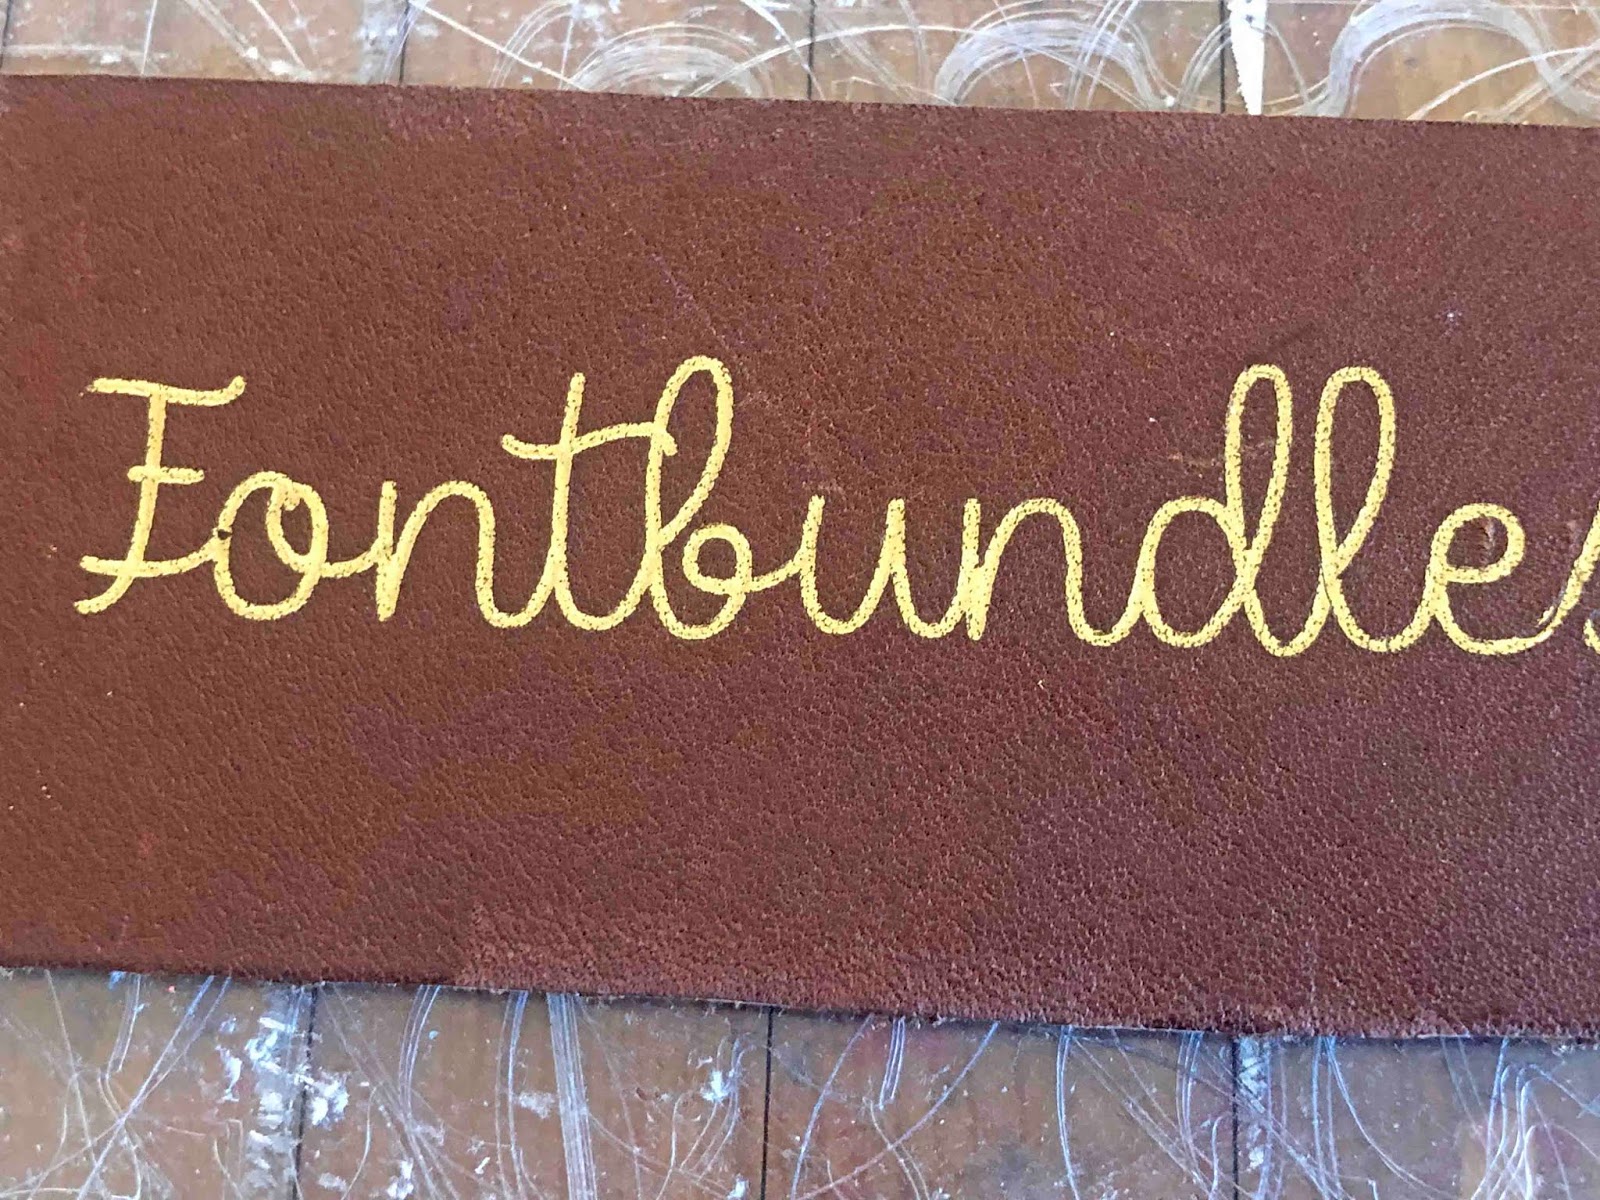
Foiling leather using the foil quill and silhouette studio
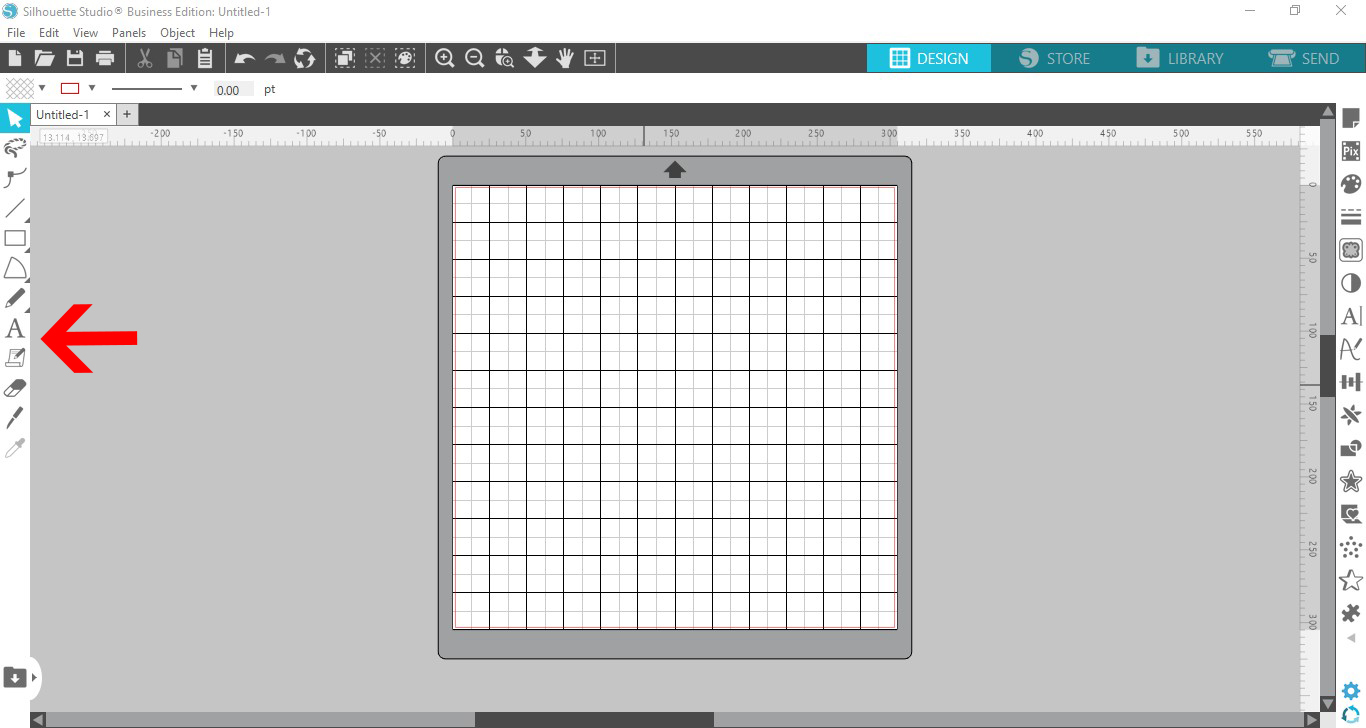
1- Open silhouette studio. Click on the text tool.
2- Type your text. Click on the text type tool.
3- Select your font. I am using a single line font called Dear Agatha by Missy Meyer Fonts.
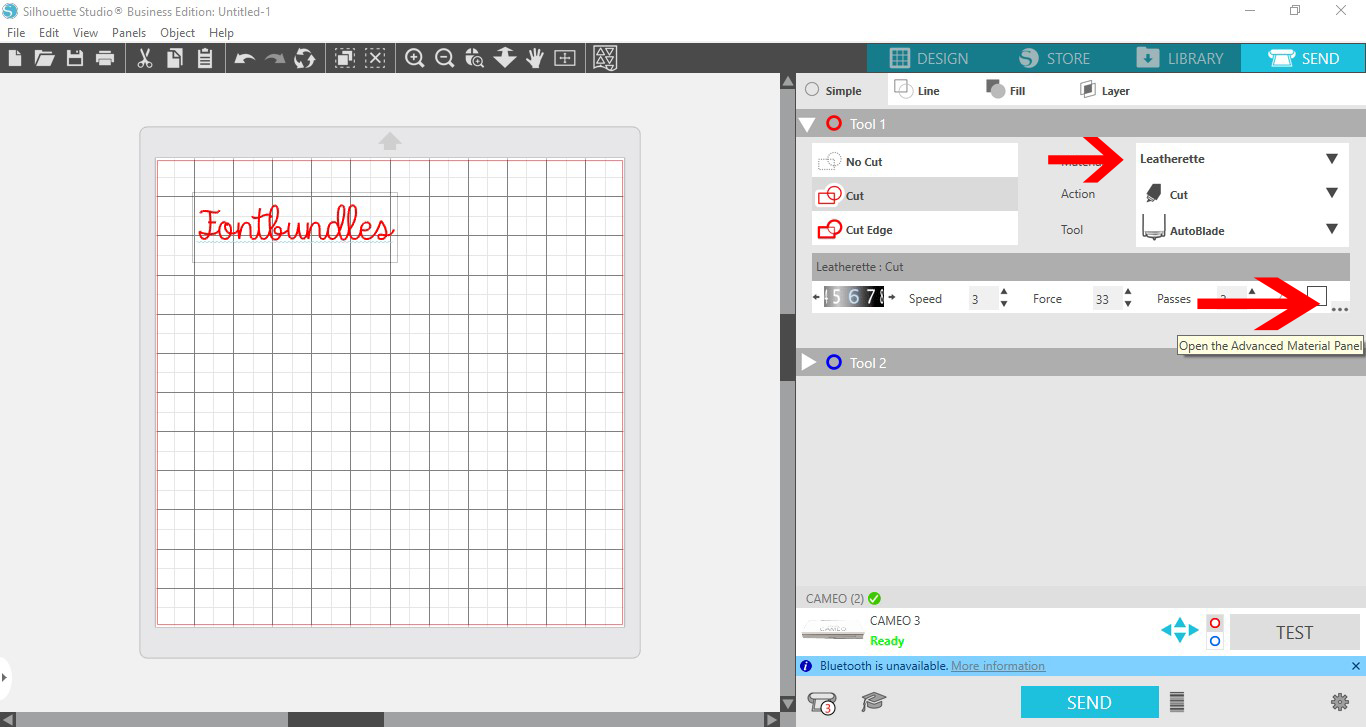
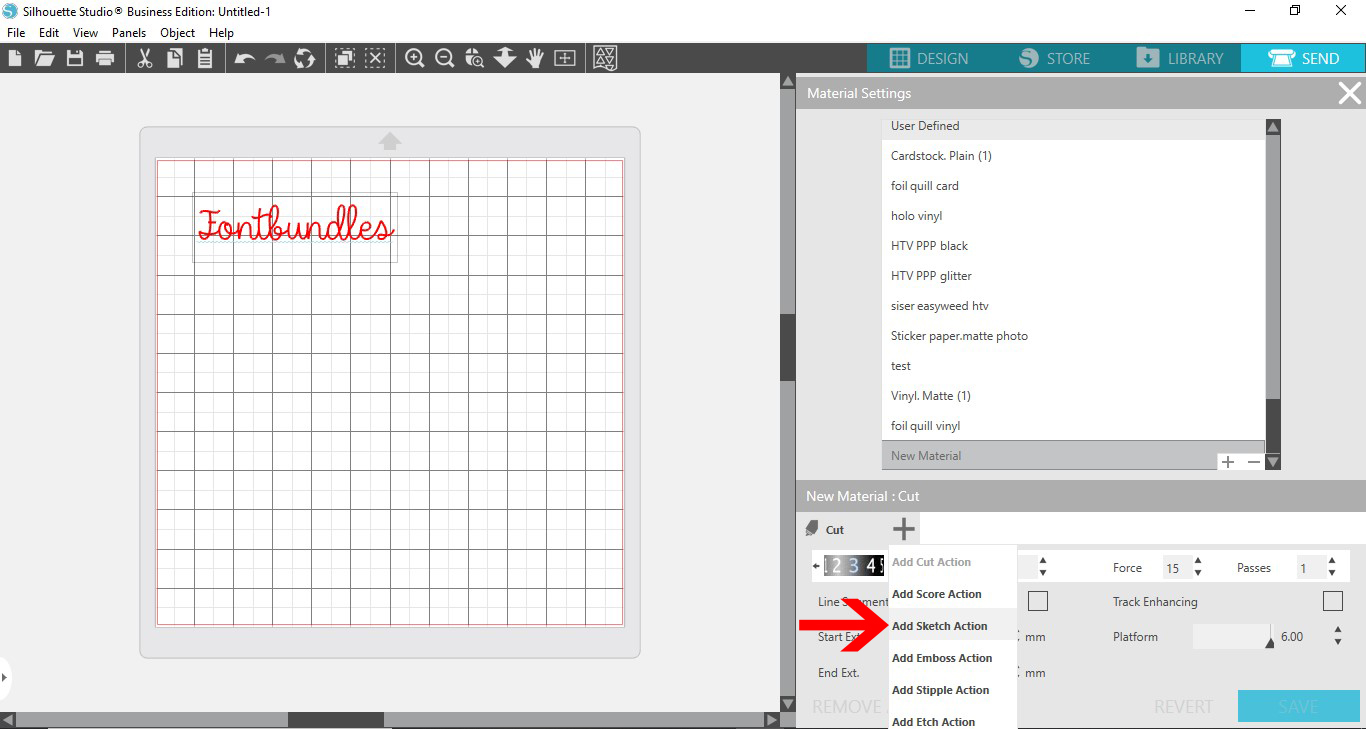
4- Click on the send icon. To foil leather you will need to make a few changes in the cut menu. Most leather is quite thick so we do want it to damage the leather when foiling. Change the material to leatherette. This will not give you an option to sketch or emboss. we need to add this. Click on the 3 dots to go to the advanced menu.
5- Select a new material option. Click on the + icon.
6- Add sketch tool to the options. If you want to you can also select the cut option and remove it so only sketch is available for this custom material.
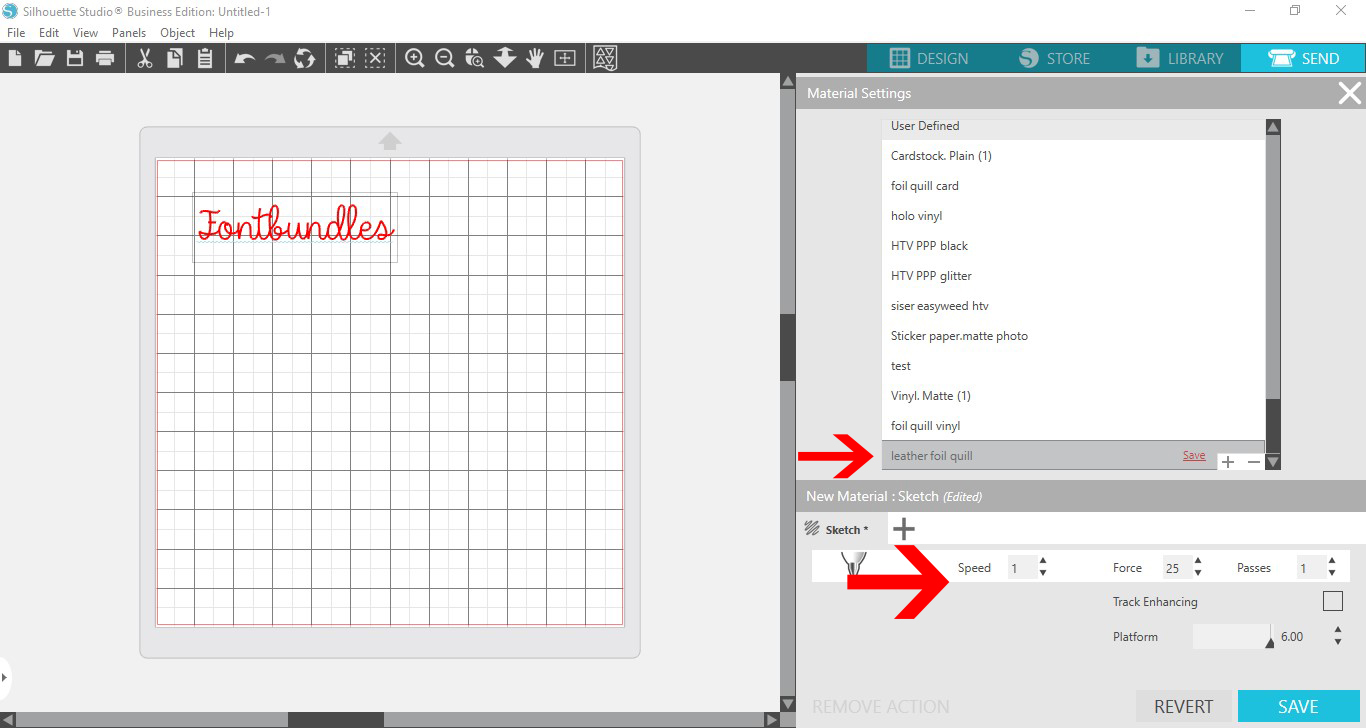
7- Change the speed to 1 and the force to 25 and pass to 1. Save your material. (You can double click and give it a new name.)
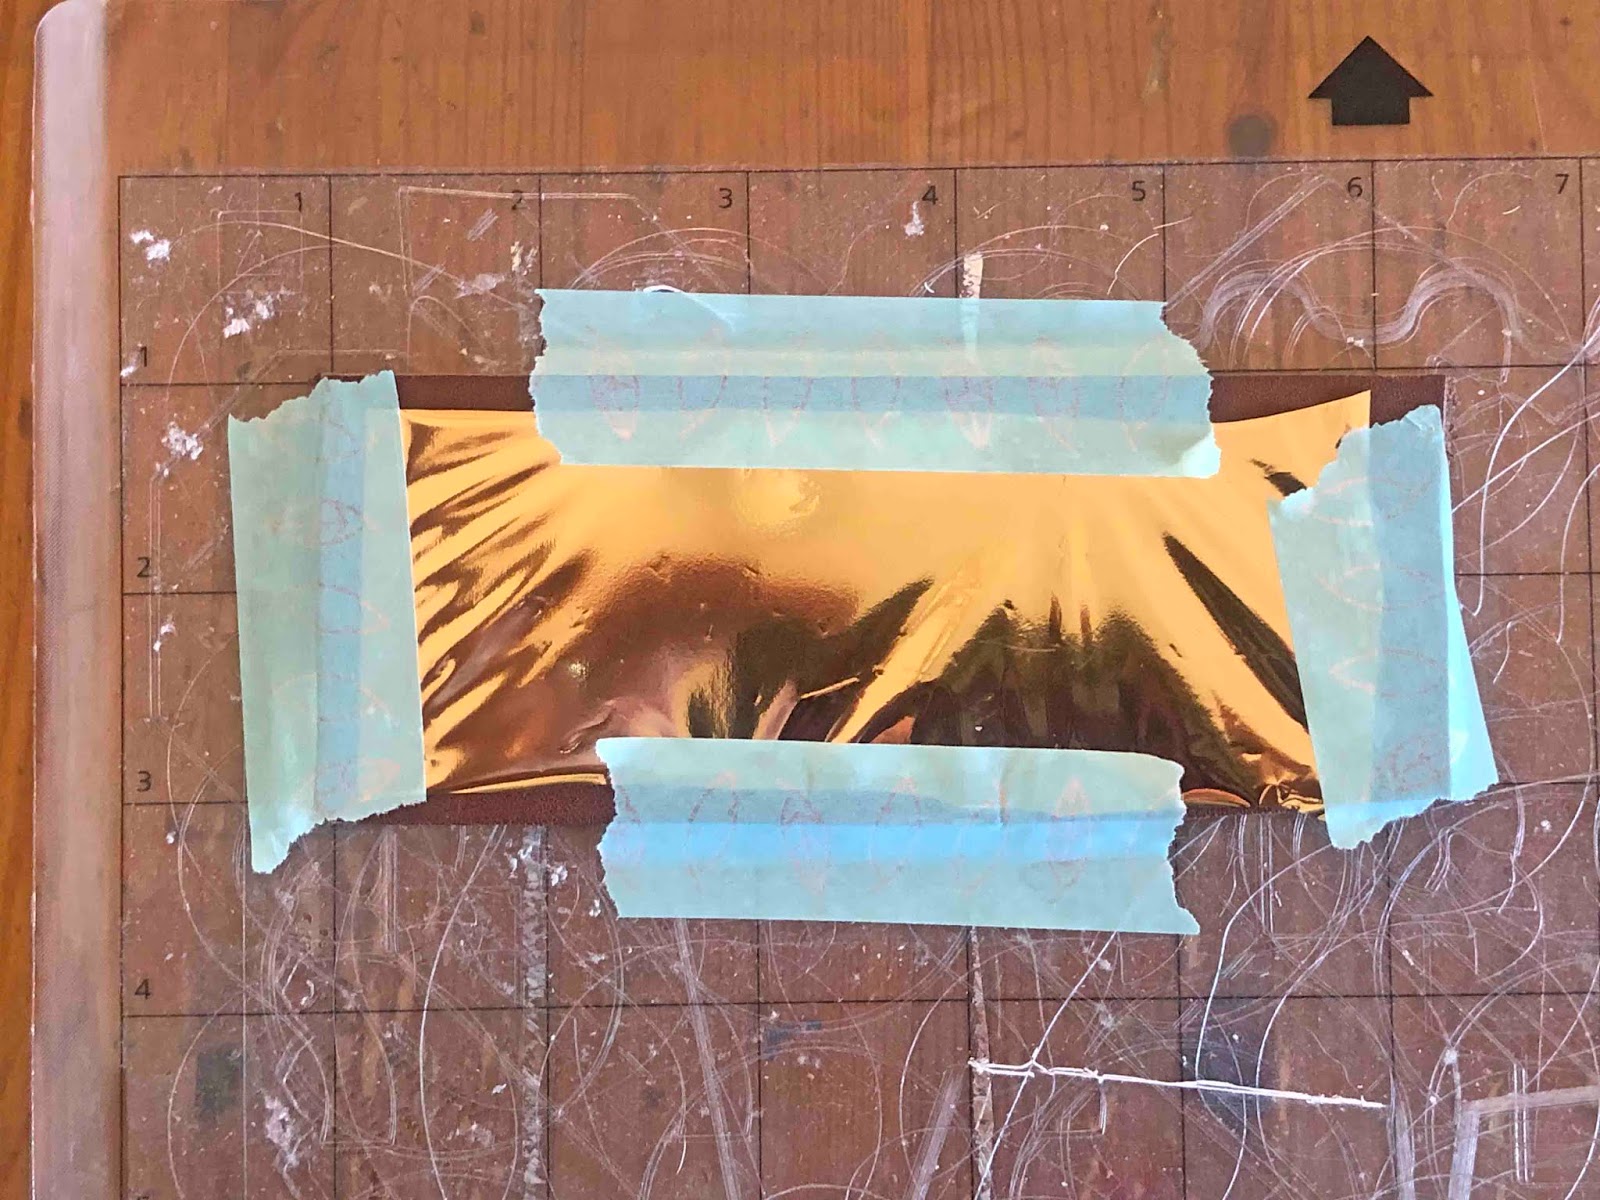
8- We now need to prep the leather, Leather has a smooth and suede feeling side. Have the suede side up.
9- Take some double sided tape and place on the suede side. this is so it adheres to the mat well and at the same time will protect your mat from the sued residue(fluff). when you remove the leather the double sided tape will pull off and keep the mat clean.
10- Place your leather on your cutting mat. I am using an old mat for this technique as not to damage a new one.
11- Place the foil over the leather and tape down.
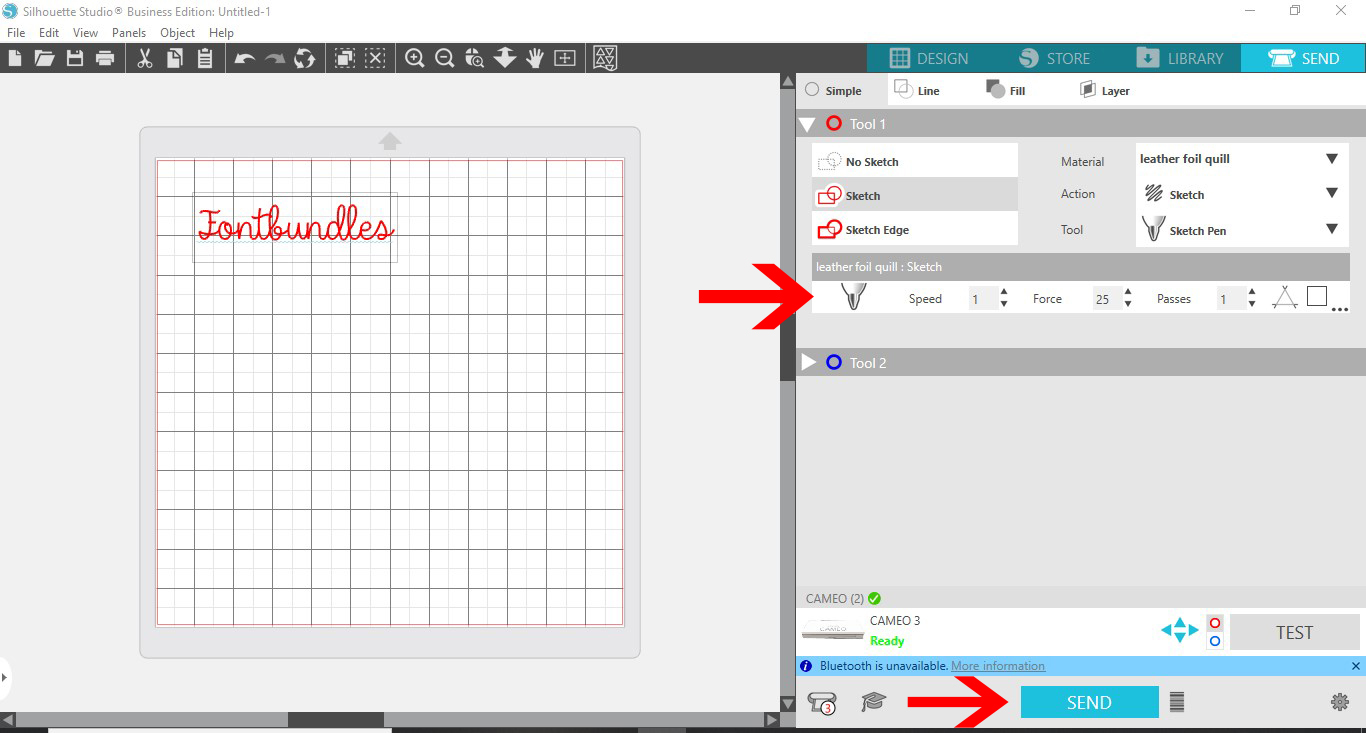
12- With the new leather settings in your machine click on send.
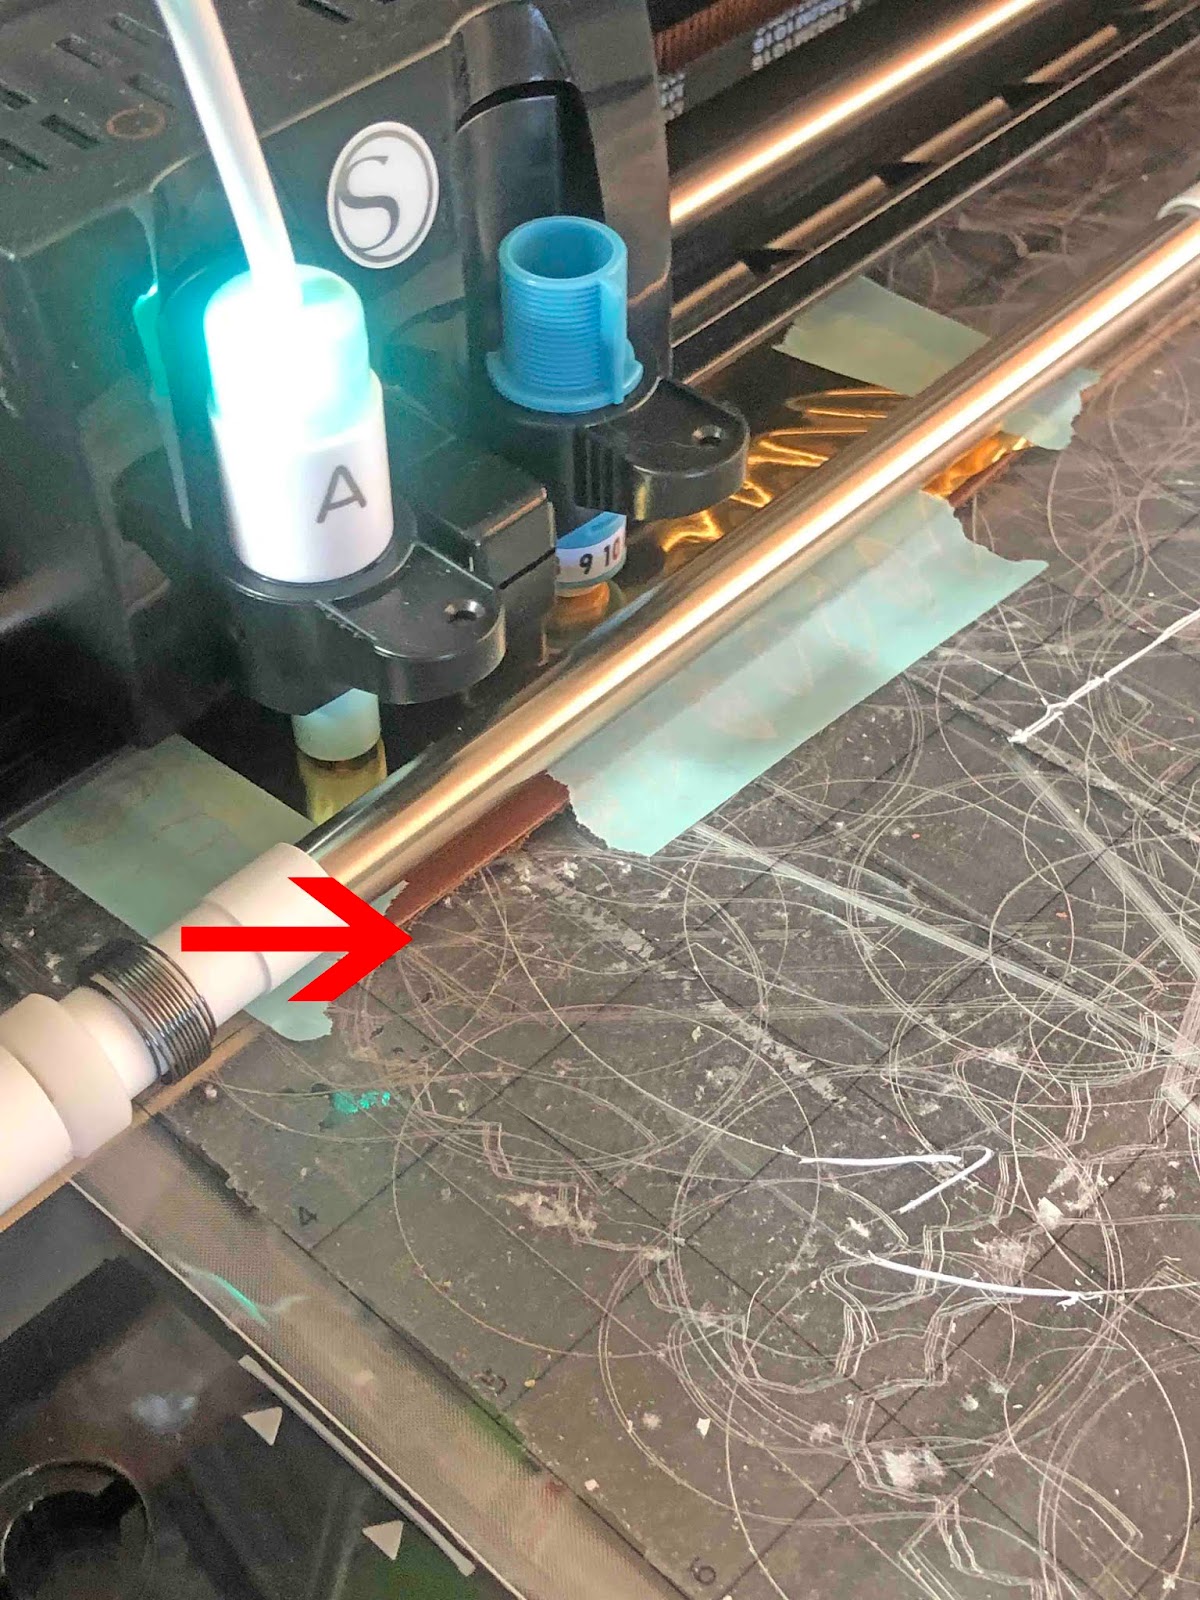
13- Keep a close eye on your machine and make sure the leather clears the rollers.
14- Once finished, remove foil. the leather will be slightly embossed with the foil. you can rub over the leather and the foil will not rub off.
2- Type your text. Click on the text type tool.

3- Select your font. I am using a single line font called Dear Agatha by Missy Meyer Fonts.

4- Click on the send icon. To foil leather you will need to make a few changes in the cut menu. Most leather is quite thick so we do want it to damage the leather when foiling. Change the material to leatherette. This will not give you an option to sketch or emboss. we need to add this. Click on the 3 dots to go to the advanced menu.
5- Select a new material option. Click on the + icon.
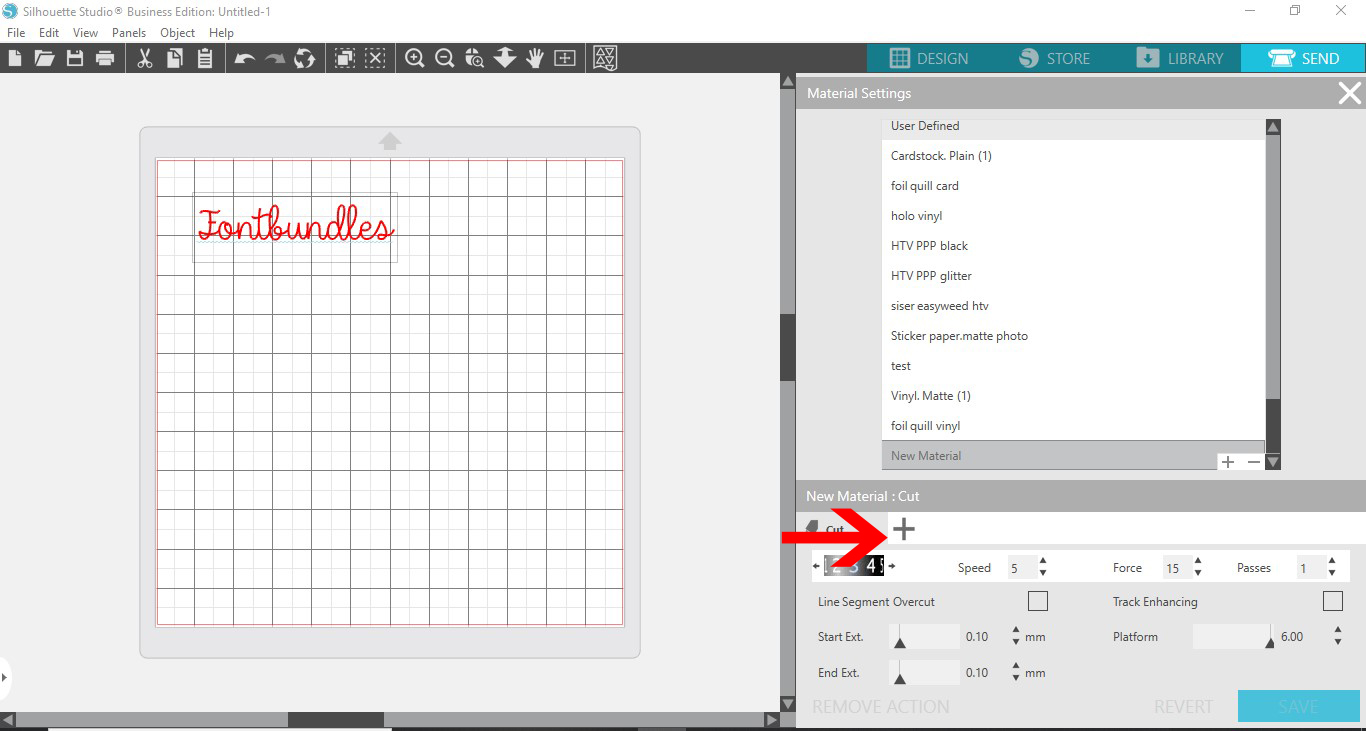
6- Add sketch tool to the options. If you want to you can also select the cut option and remove it so only sketch is available for this custom material.
7- Change the speed to 1 and the force to 25 and pass to 1. Save your material. (You can double click and give it a new name.)
8- We now need to prep the leather, Leather has a smooth and suede feeling side. Have the suede side up.

9- Take some double sided tape and place on the suede side. this is so it adheres to the mat well and at the same time will protect your mat from the sued residue(fluff). when you remove the leather the double sided tape will pull off and keep the mat clean.

10- Place your leather on your cutting mat. I am using an old mat for this technique as not to damage a new one.

11- Place the foil over the leather and tape down.
12- With the new leather settings in your machine click on send.
13- Keep a close eye on your machine and make sure the leather clears the rollers.
14- Once finished, remove foil. the leather will be slightly embossed with the foil. you can rub over the leather and the foil will not rub off.