
How to use the foil quill on a candle using silhouette studio
In this tutorial we will be using a single line family design by CleanCutCreative.
Step 1 - Open and edit your design
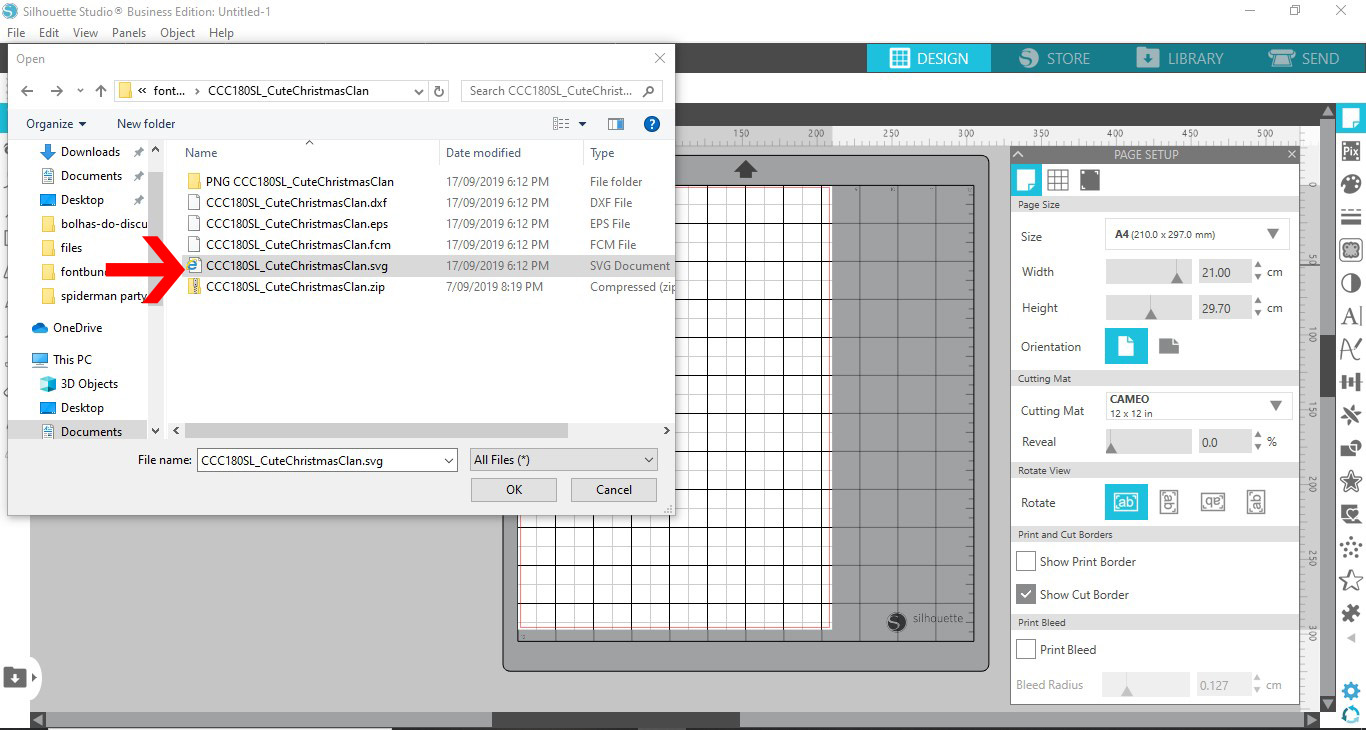
When you have opened Silhouette Studio, the next step is to import your design. At the top of the screen click on the File menu option then select Open.

In the Open options box, locate your design and click Ok.
Select your design once it has been loaded on the screen. The design may be composed of different elements. Right click and select Ungroup if necessary.
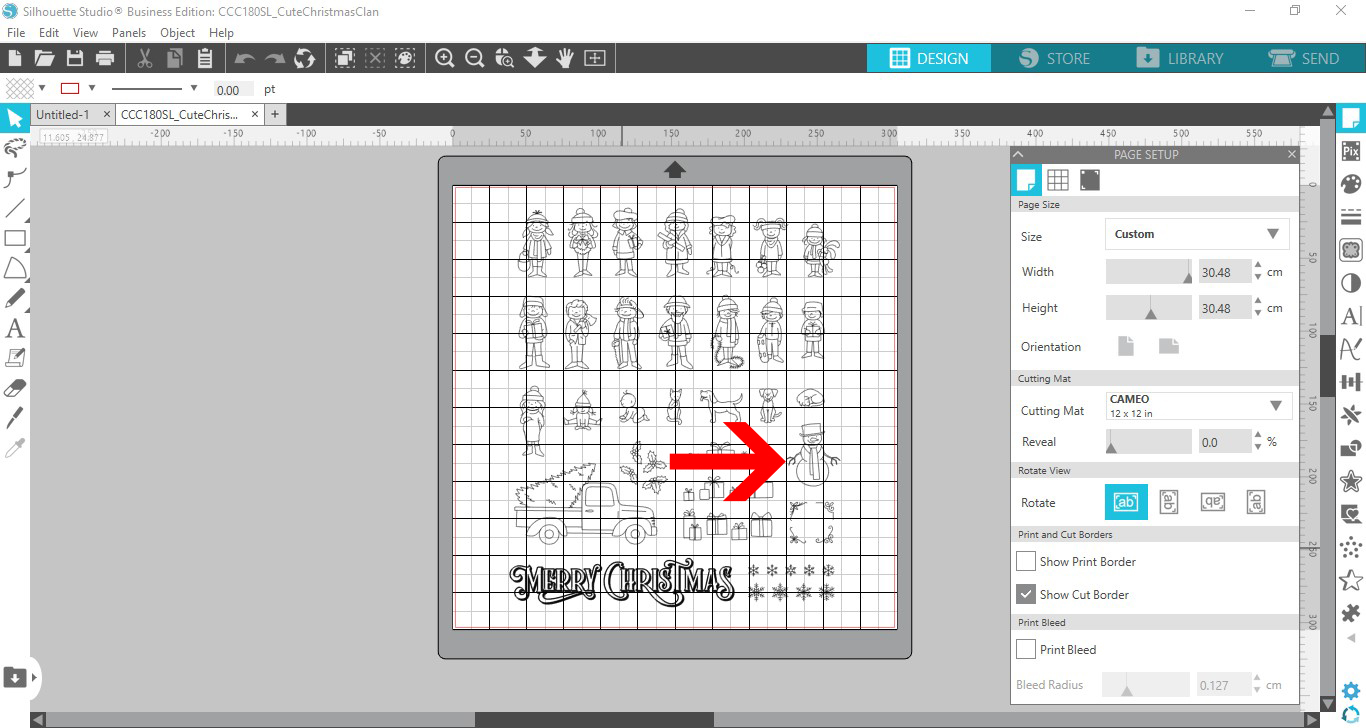
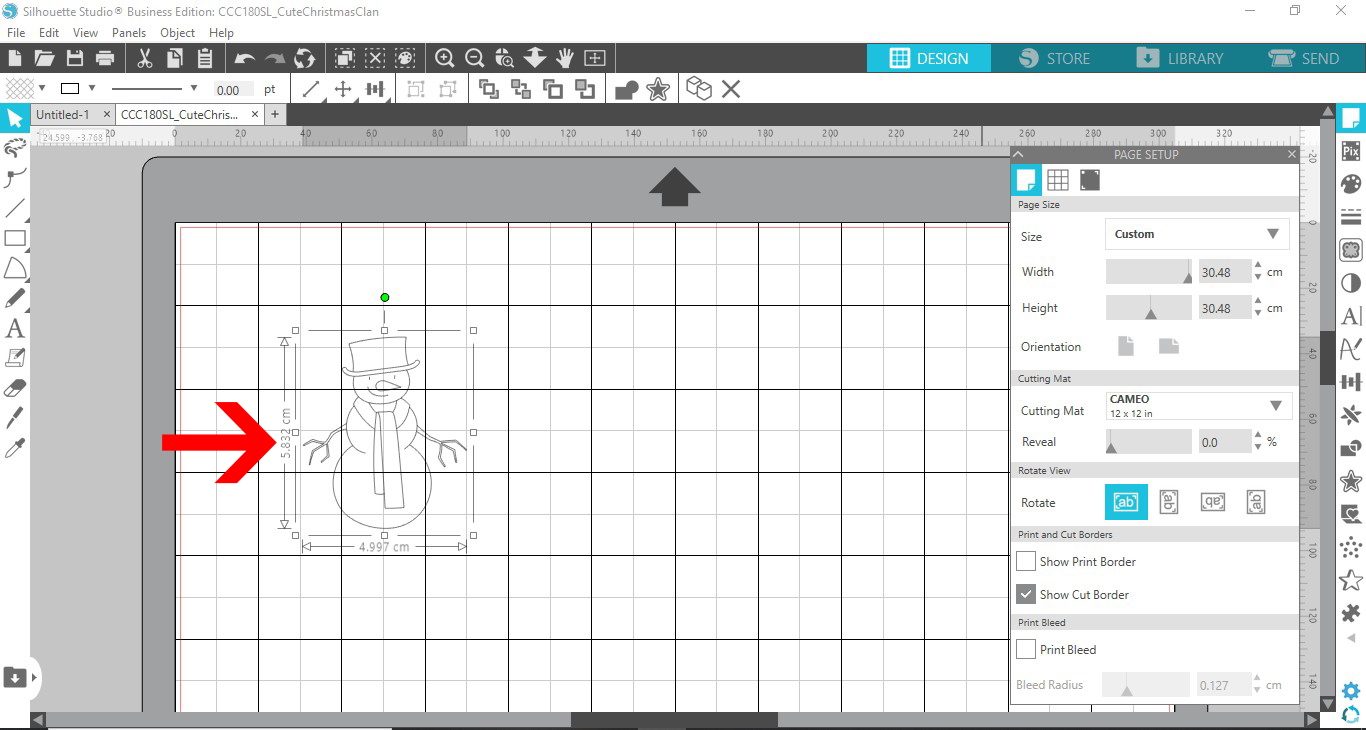
Choose the parts of the design you want to use. In our case we chose this cute Snowman. The Snowman was resized and repositioned to fit our candle size.
Step 2 - Foil the design onto your chosen media
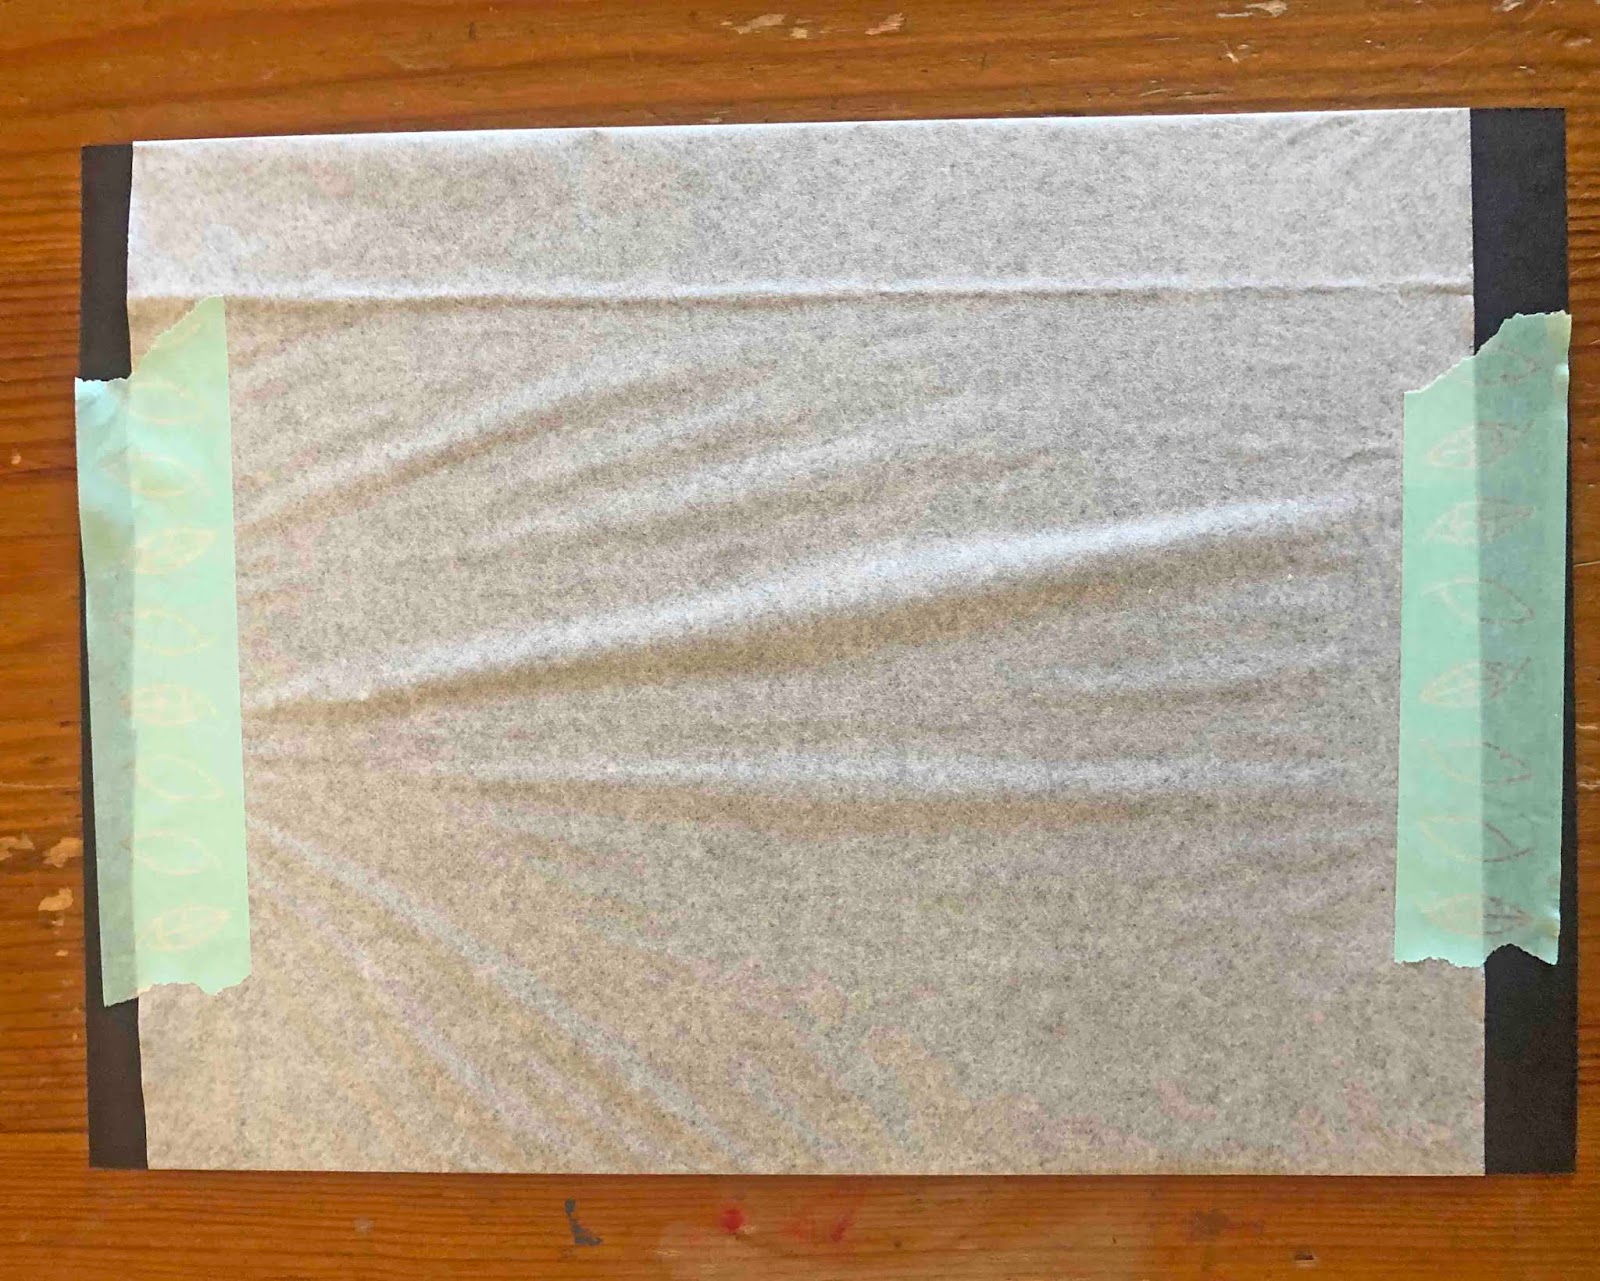
When using the Foil Quill and candles, you need a media to foil onto first. The most effective media is plain white tissue paper. Take a single sheet and wrap tightly around a piece of cardstock. Tape the edges together.
We used a piece of card so that the tissue would remain tight when foiling. This will also prevent it from ripping when removing from your mat.

We will foil on the other side of the card. Turn your card over as shown in the image below. Place more tape on the edges to hold the tissue tight onto the cardstock.
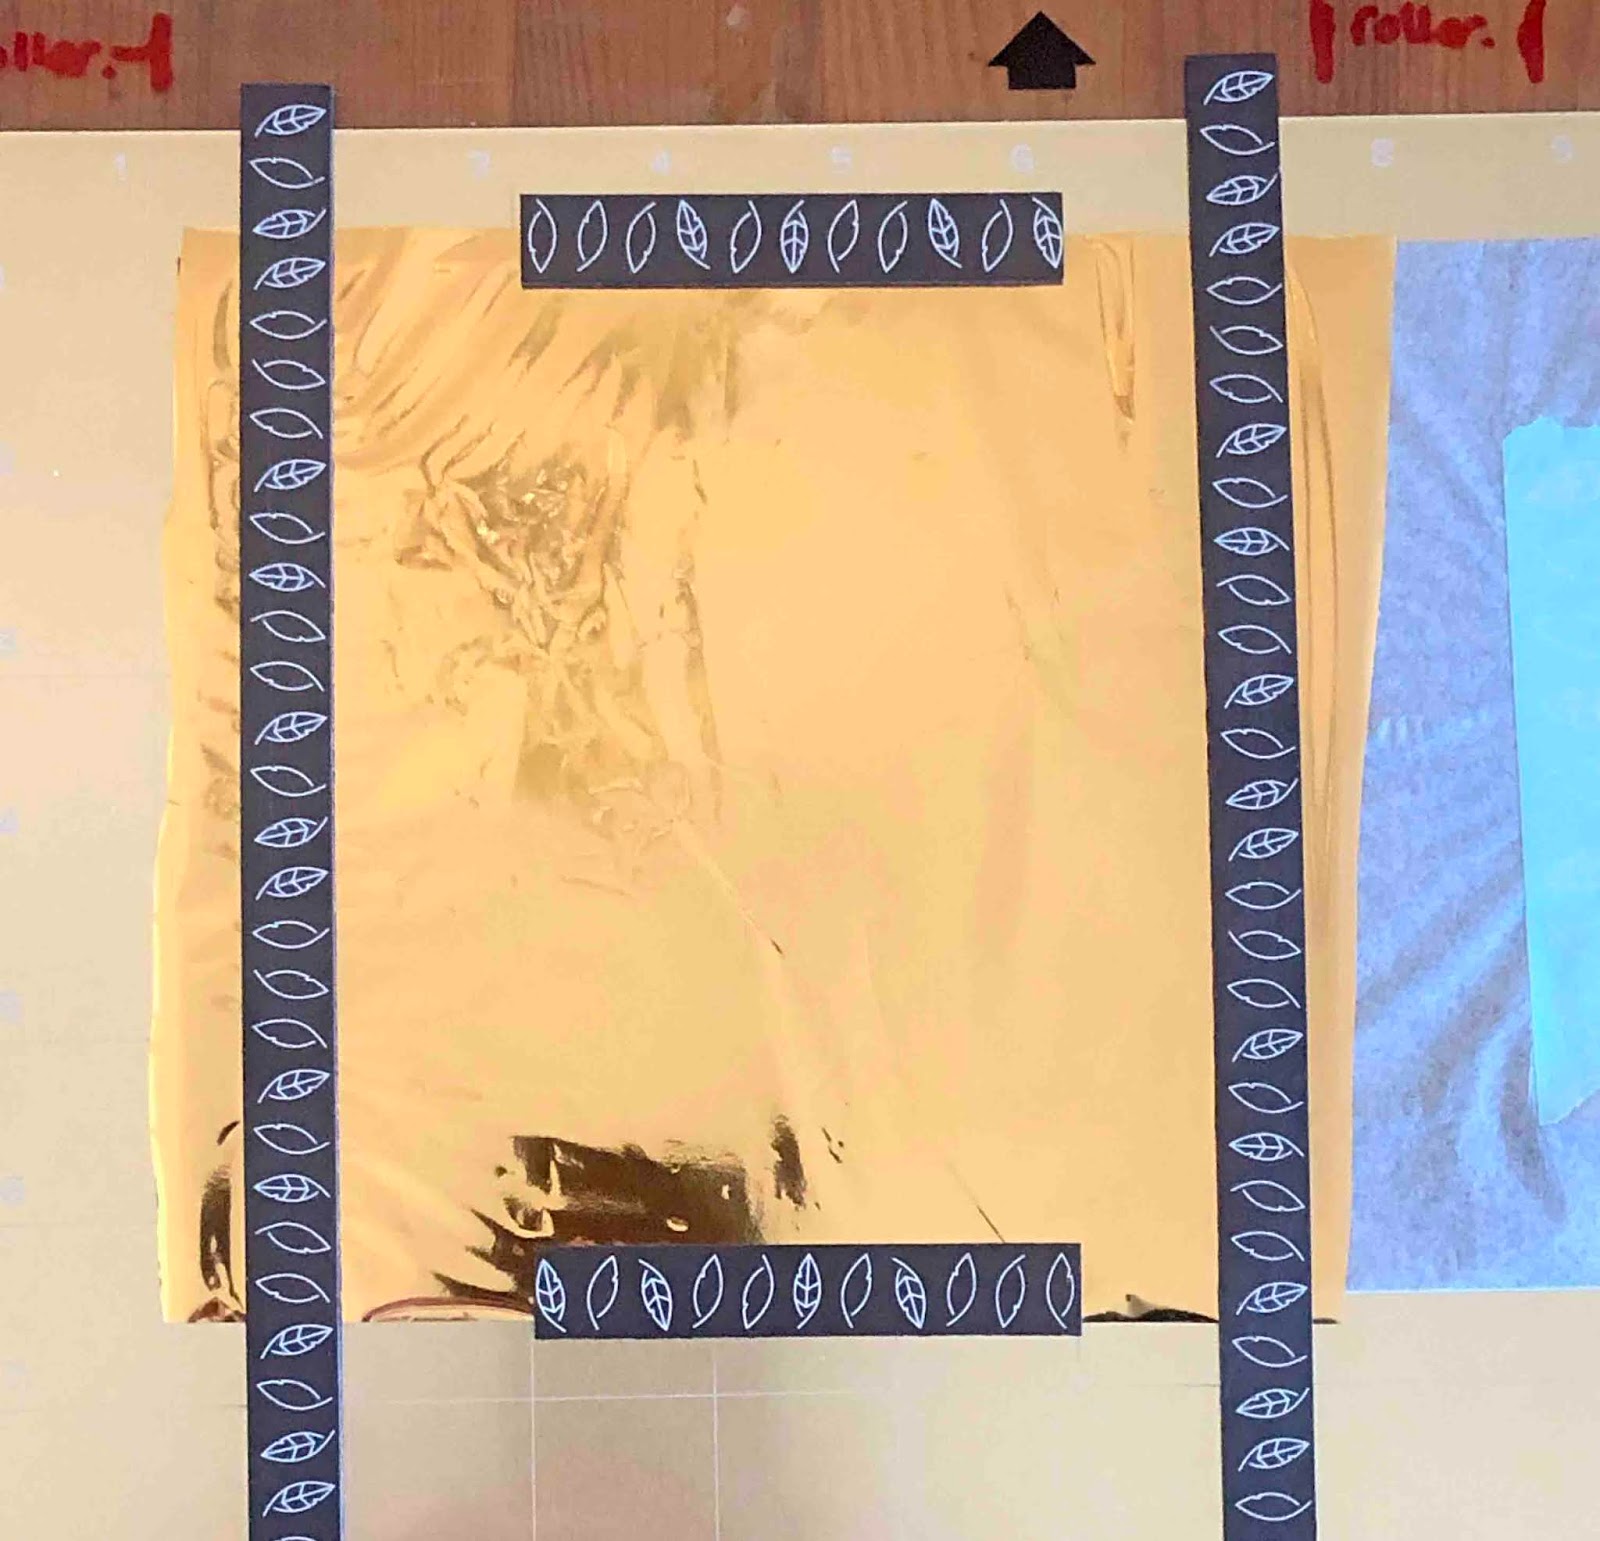
Attach the card to your cutting mat. We used a magnetic mat designed to be used with the Foil Quill. Now, place your foil over the tissue and card. Tape down or use your magnets if using a magnetic mat.
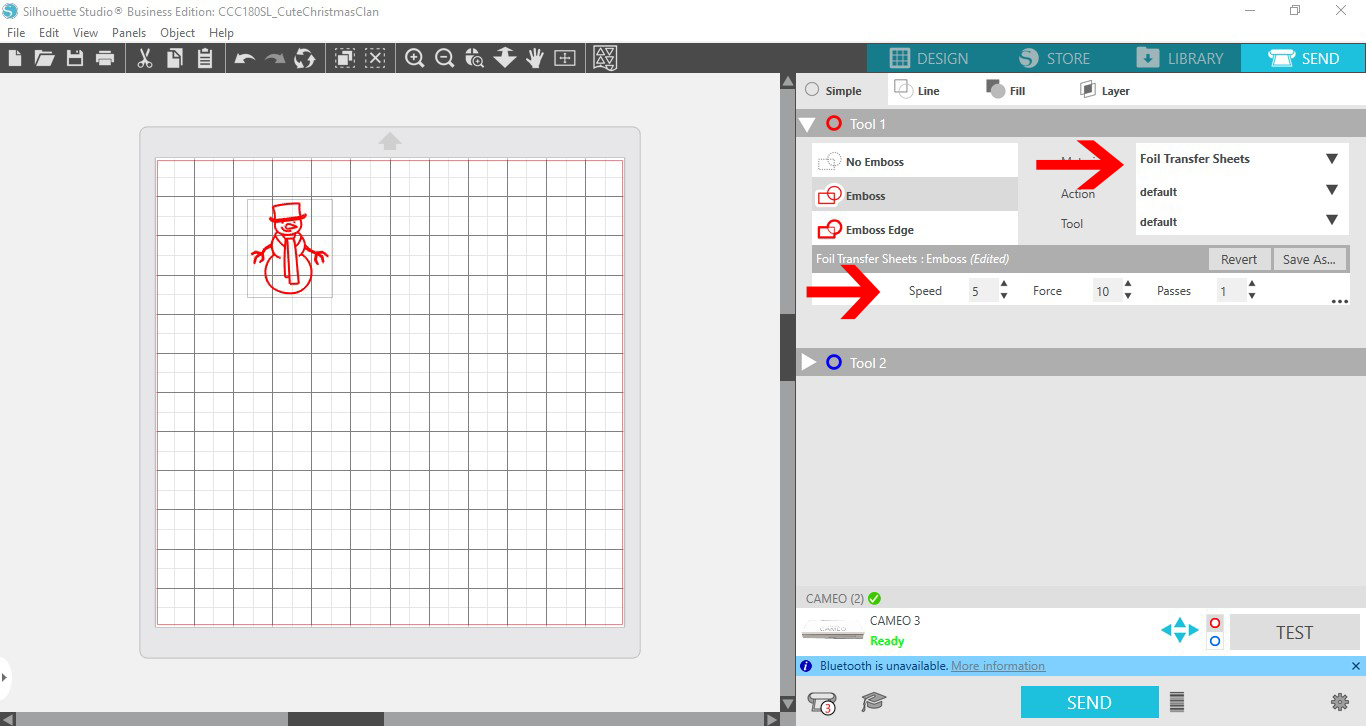
Tissue is very fragile so we have to adjust our settings so as not to rip it. Go to the Send panel to access the material settings. For the Material, use the setting 'Foil transfer sheet' in Silhouette Studio. Set the Speed to 5, Force 10 and Pass 1.
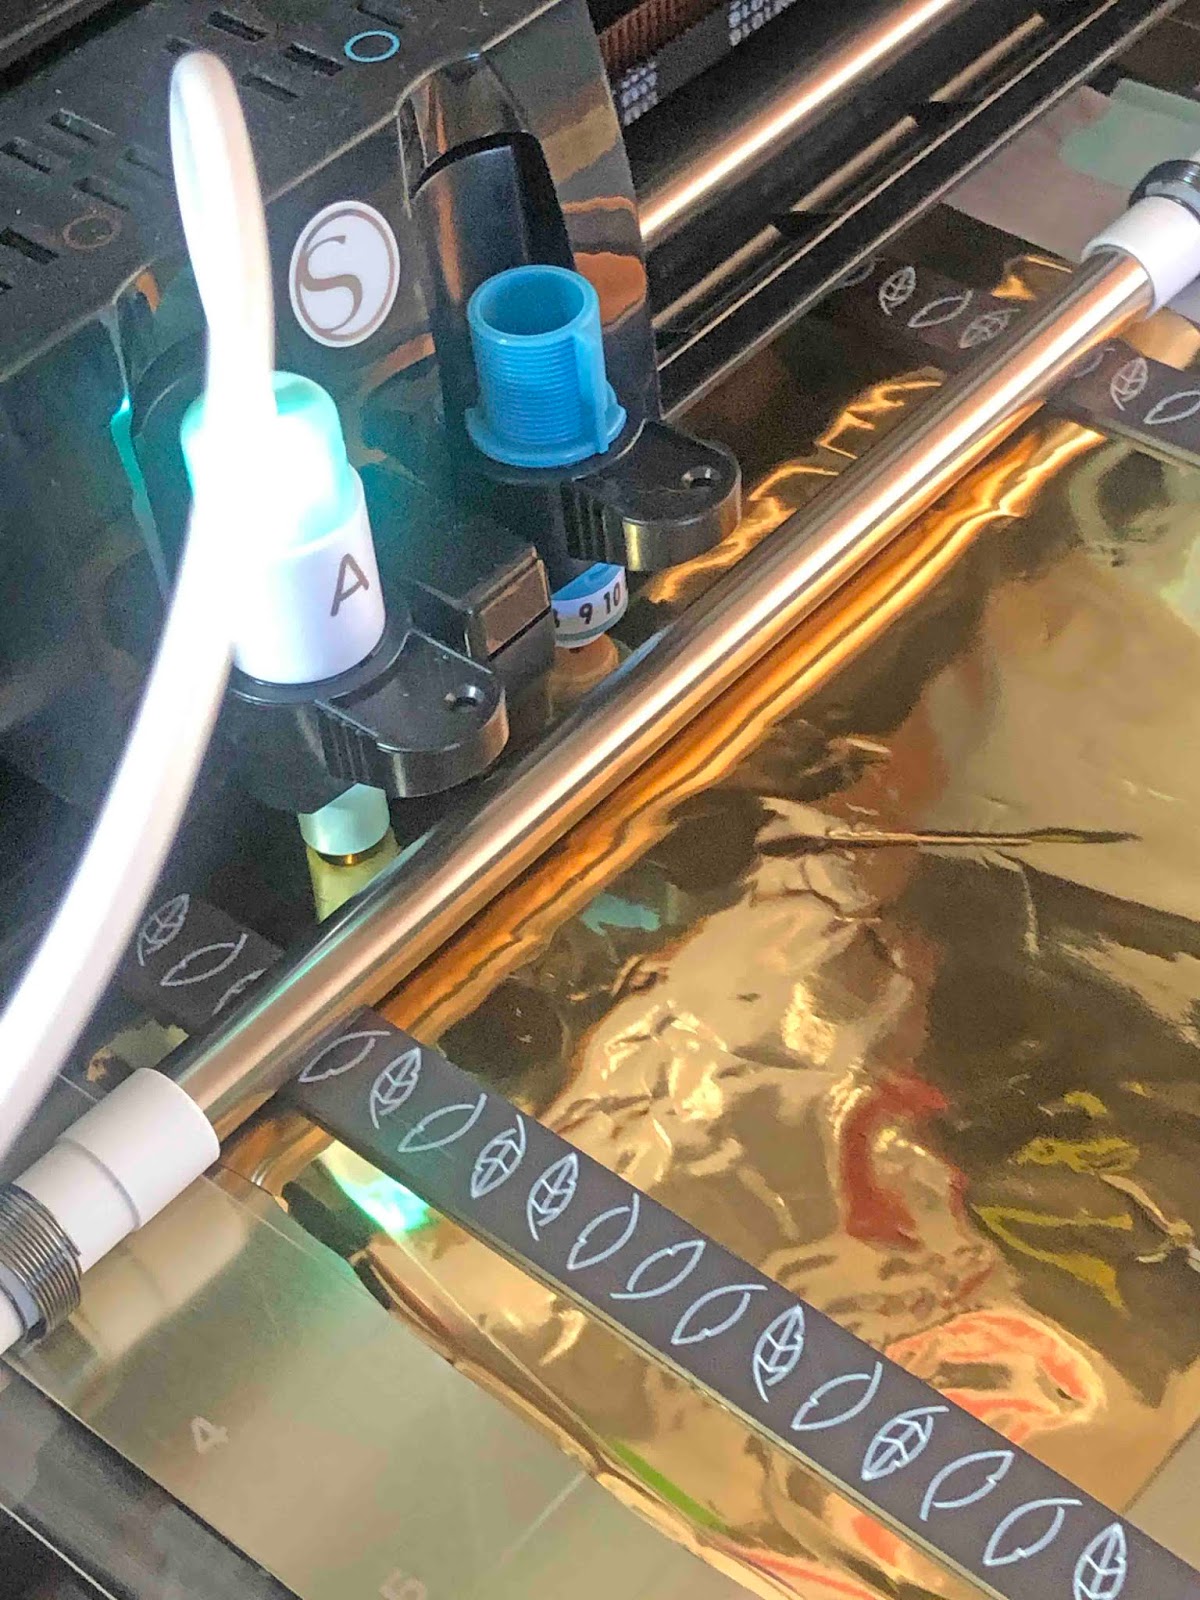
Your Foil Quill should have warmed up for 5 min before using. Be very careful when handling as this device is hot! When ready, insert your mat into your machine. Place your Foil Quill in the carriage that matches your screen option. Next, click on the Send button at the bottom of the screen.
When your design has finished foiling, unplug and remove the Foil Quill then set safely aside. Remember, the device is hot so be careful. Remove the mat then the tape and gently peel back the foil. You now have a cute foiled design on Tissue Paper.

Step 3 - Apply foiled design to candle
The Tissue paper needs to be absorbed into the candle wax with the use of a heat gun. Again, be careful not to burn yourself when doing this. Trim the tissue to fit onto your candle.

With your design in place, hold it down tightly and place a piece of baking paper or wax paper over the top. It's essential to keep a tight hold on this throughout the process. This is to ensure the tissue is pressed into the wax when heated.
While holding everything in place, use a craft heat tool or heat gun on low setting. Gently warm up the candle by moving the heat gun around the design. As you warm the candle the tissue will "melt" into the candle. Once it appears as if the tissue has disappeared into the candle, stop heating. Allow the candle to cool down.

Once cooled down enough, you can now remove the baking paper. The foil design has melted into the candle with the tissue. You will not be able to see any of the tissue or edges. The design appears to have been foiled directly on the candle.

Well done on creating a beautifully foiled candle design. We hope you enjoyed making this craft. If you would like to learn more we have many great tutorials such as adding foil to leather and foiling on ribbon with the Foil Quill in Silhouette Studio.


