Glow Effect in Photoshop
In this tutorial you will learn how to create a glowing bokeh effect in Photoshop.
Begin by opening Photoshop and inserting your photo.
Go to Image and ensure RGB mode is selected and 8bit channel is selected.
Next select the duplicate layer and right click. Select convert to smart object.
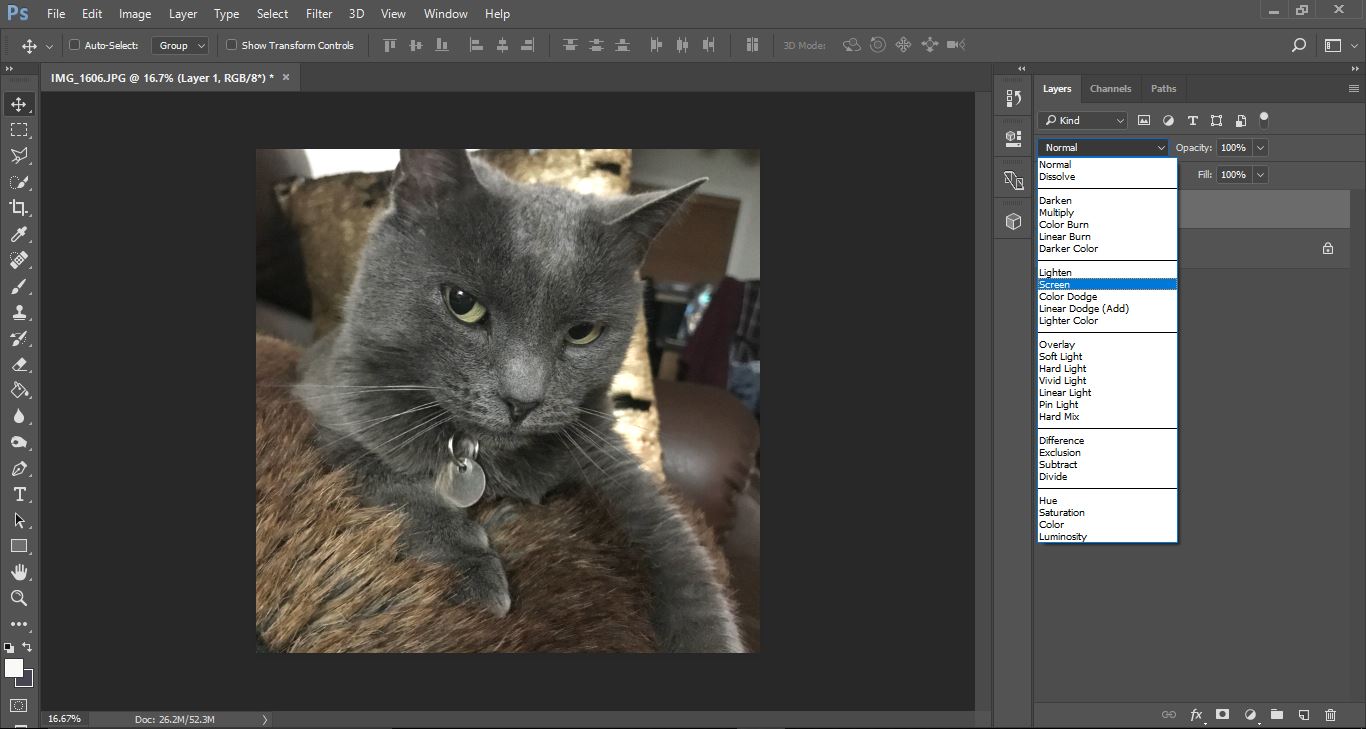
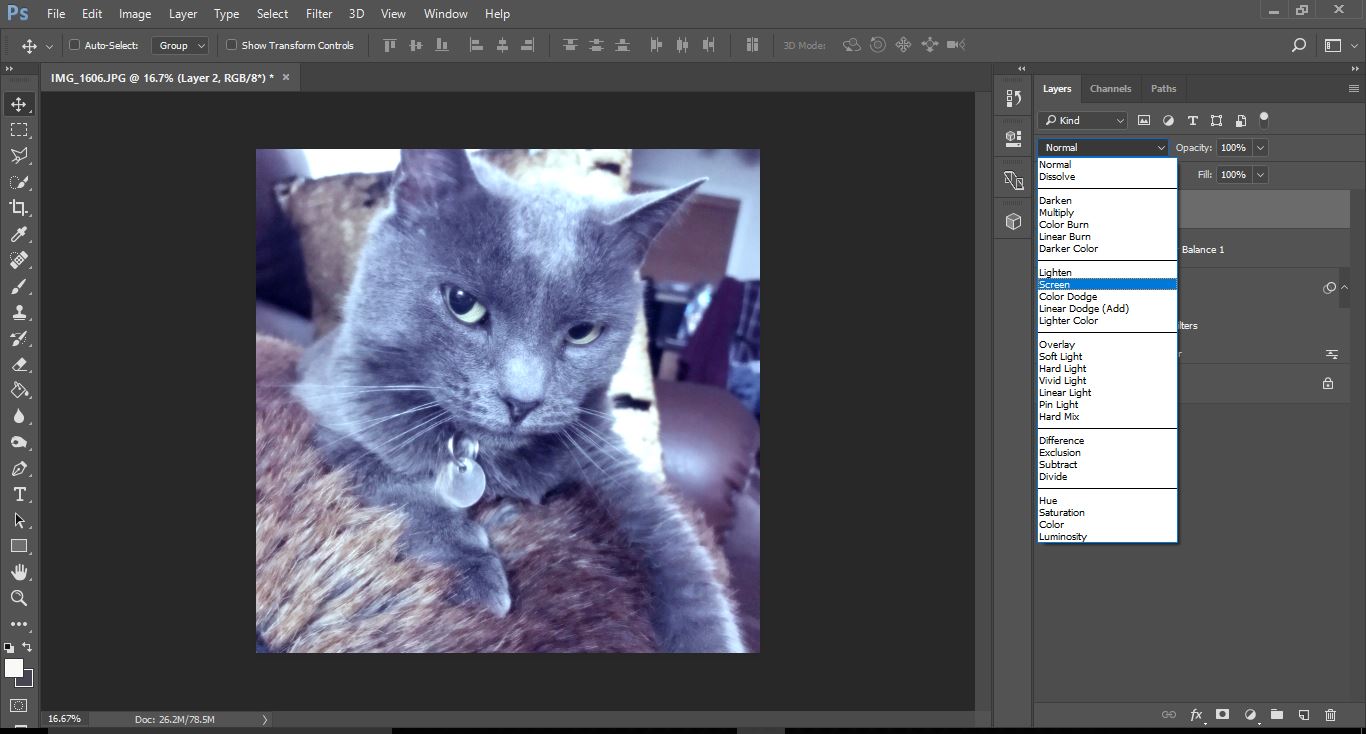
Select the blending mode and change to screen.
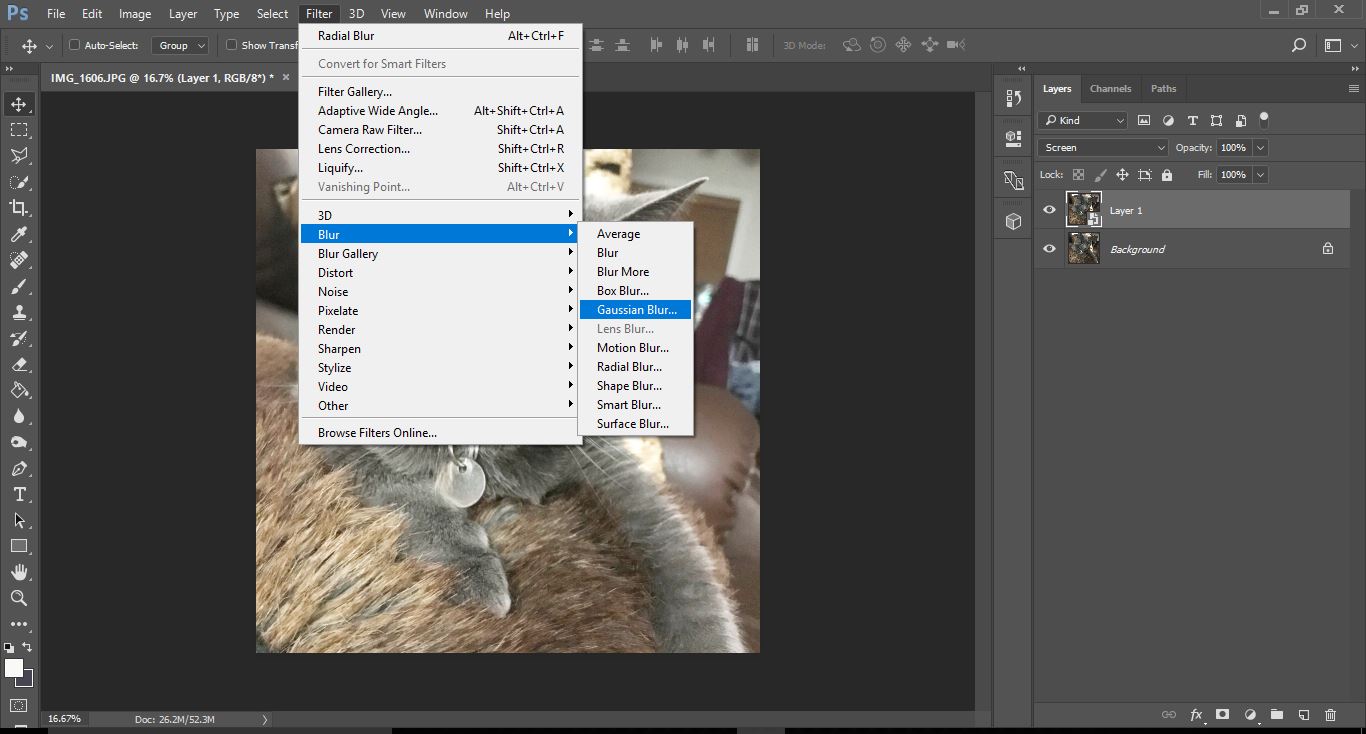
Go to Filter > Blur > Gaussian blur.
Change the radius to 10 px. Click OK.
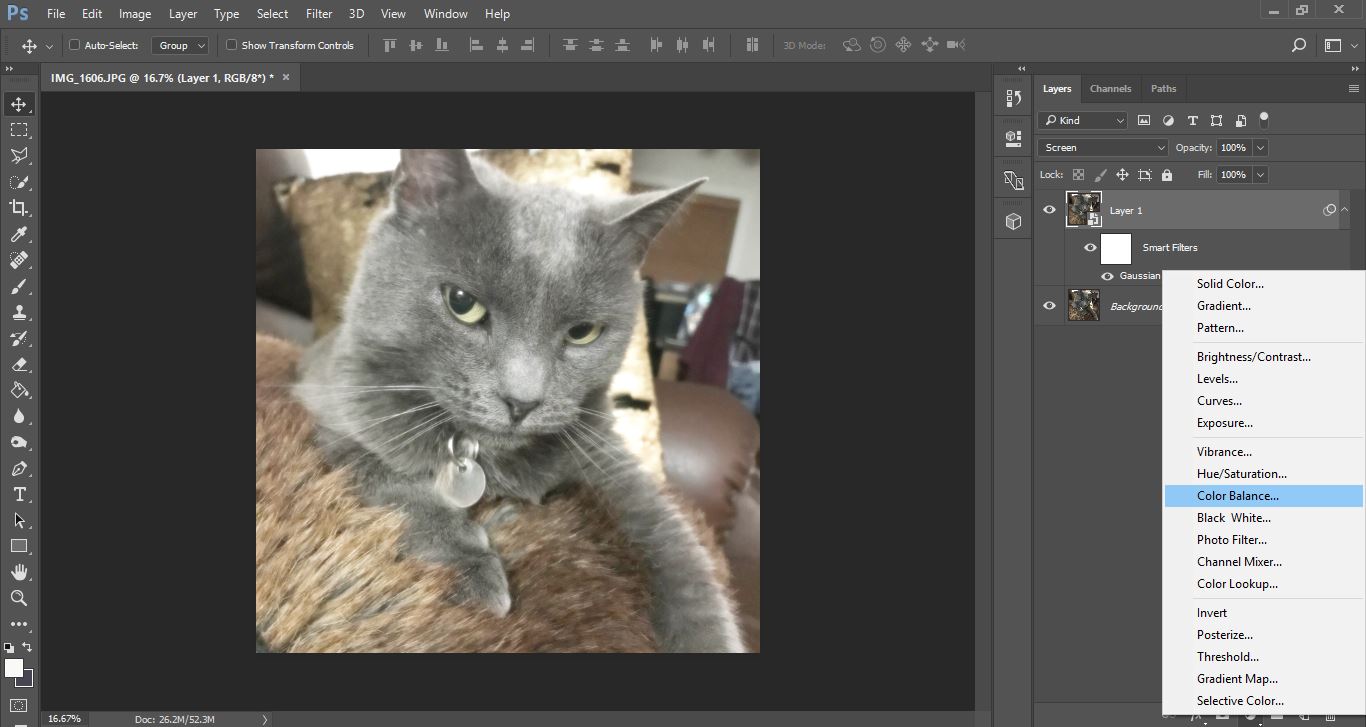
Create a new adjustment layer and select color balance.
We now need to change the shadows. I use the following settings Cyan -26, Magenta -26, yellow +2 .
Now we need to change the mid tones - Cyan -6, Magenta - 15, yellow +11.
Finally the highlights - Cyan -30, magenta -6, yellow +22. then close the window.
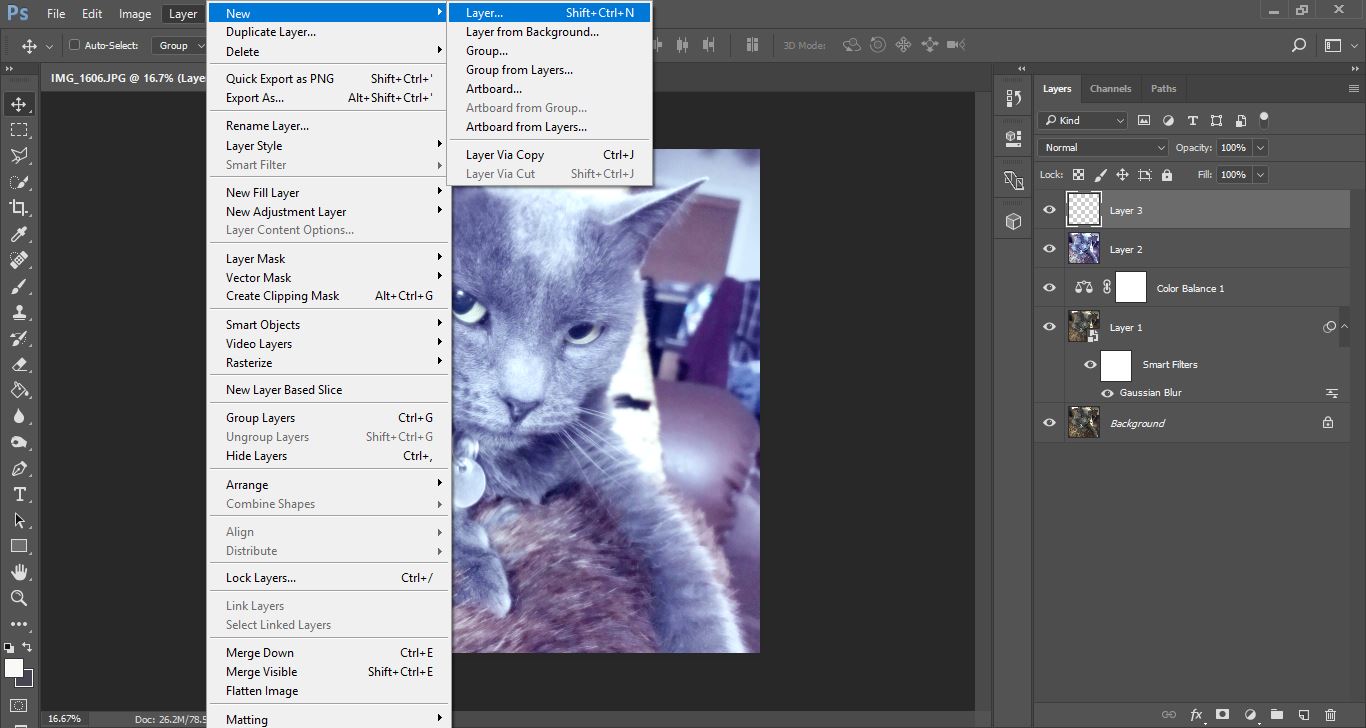
Ensure the adjustment layer is selected and then click Ctrl + Shift + Alt + E. This will merge the layers.
Make sure the new merged layer is selected and change the blending mode to screen.
With the new layer selected make sure the foreground color is set to white (1) and then select the brush tool (2).
If you do not have one you can check out the Bokeh Photoshop Brushes by MixPixBox.
Using the brush create a Bokeh effect around your image. Make sure you change the size of the circles when creating your effect.
Finally adjust the opacity of the effect to suit your needs.
Begin by opening Photoshop and inserting your photo.
Step 1 - Change to RGB mode
Go to Image and ensure RGB mode is selected and 8bit channel is selected.

Step 2 - Duplicate the background image
Next select the duplicate layer and right click. Select convert to smart object.

Select the blending mode and change to screen.
Step 3 - Create a gaussian blur
Go to Filter > Blur > Gaussian blur.
Change the radius to 10 px. Click OK.

Step 4 - Create an adjustment layer
Create a new adjustment layer and select color balance.
We now need to change the shadows. I use the following settings Cyan -26, Magenta -26, yellow +2 .

Now we need to change the mid tones - Cyan -6, Magenta - 15, yellow +11.

Finally the highlights - Cyan -30, magenta -6, yellow +22. then close the window.

Ensure the adjustment layer is selected and then click Ctrl + Shift + Alt + E. This will merge the layers.
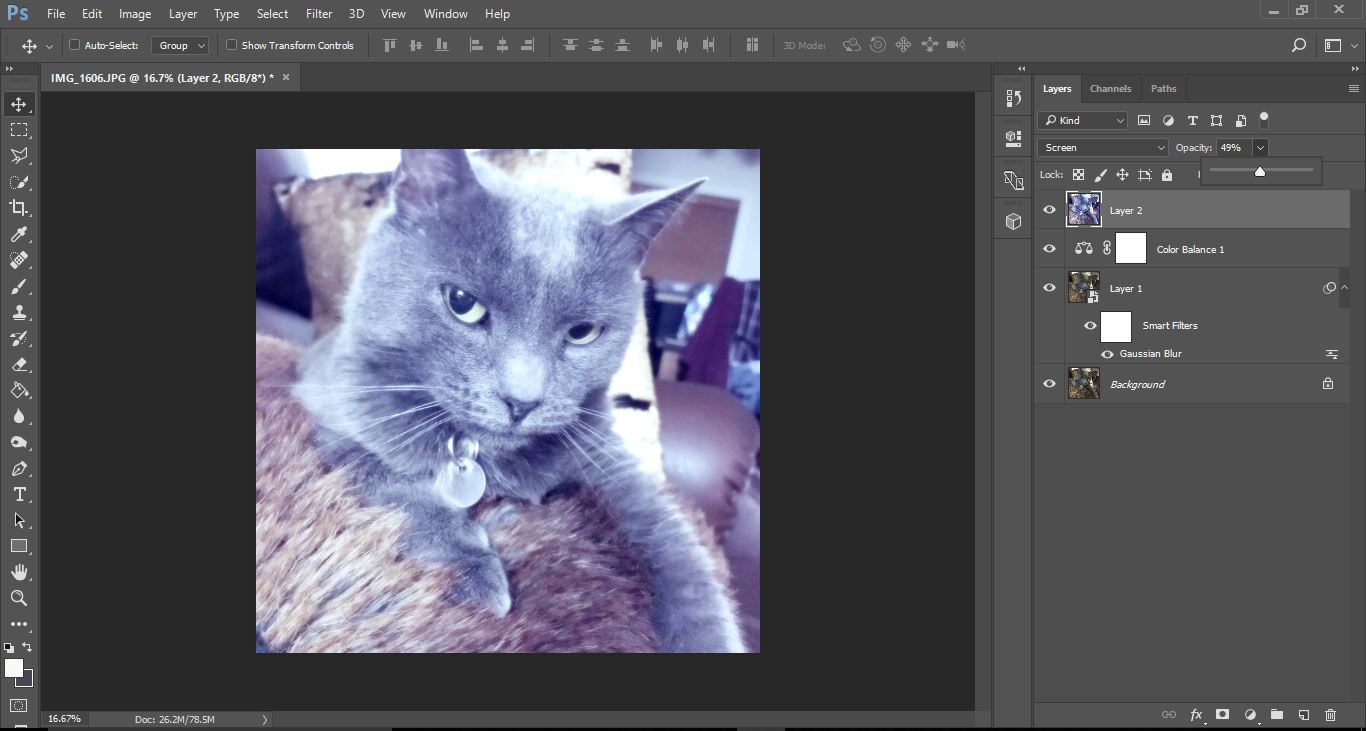
Make sure the new merged layer is selected and change the blending mode to screen.
Step 5 - Create a new layer
With the new layer selected make sure the foreground color is set to white (1) and then select the brush tool (2).

Step 6 - Use a bokeh brush
If you do not have one you can check out the Bokeh Photoshop Brushes by MixPixBox.
Using the brush create a Bokeh effect around your image. Make sure you change the size of the circles when creating your effect.

Finally adjust the opacity of the effect to suit your needs.


