How to create a knock out effect in brother scan and cut canvas workspace
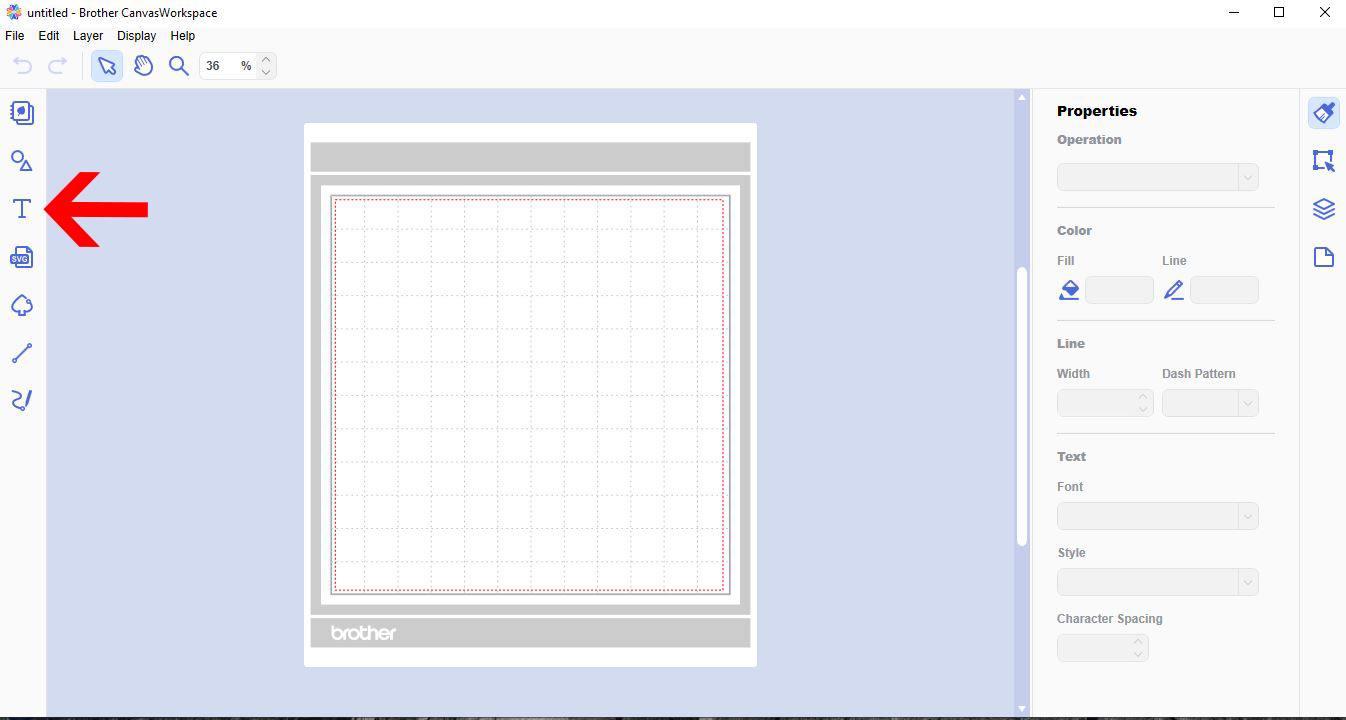
1- Open canvas workspace. Click on the text icon.
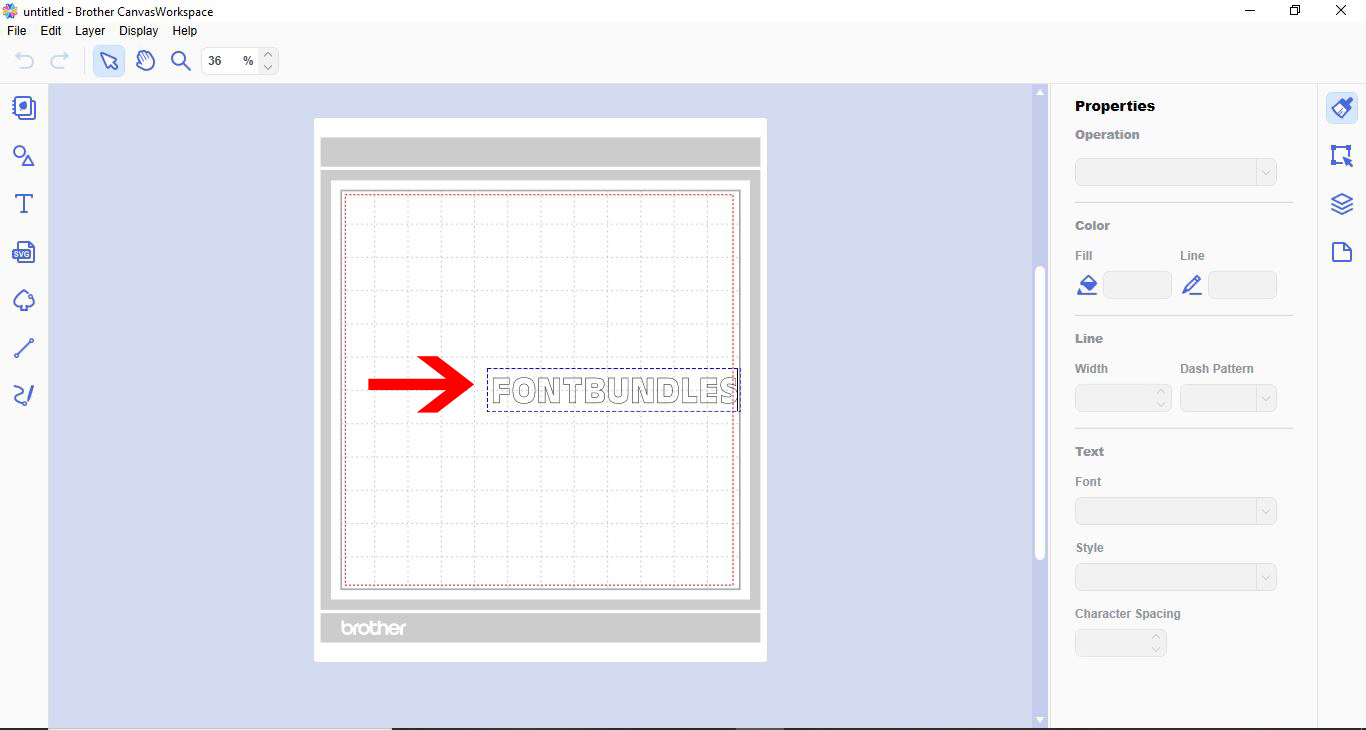
2- Type the text you would like to do the knock out effect in.
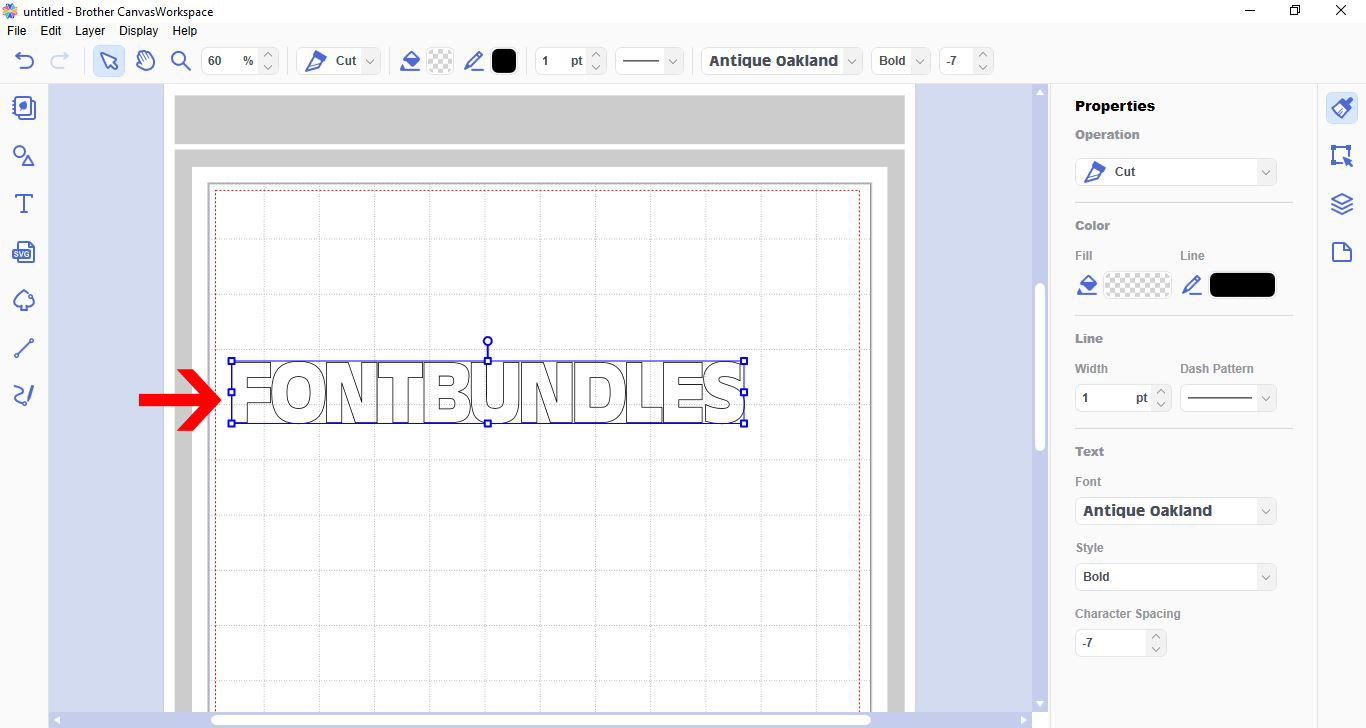
3- Resize your text.
4- Pick the design you would like to knock out. You can choose a file included in the software or upload your own SVG file. I am using one that is in the software.
5- Select the knock out design.
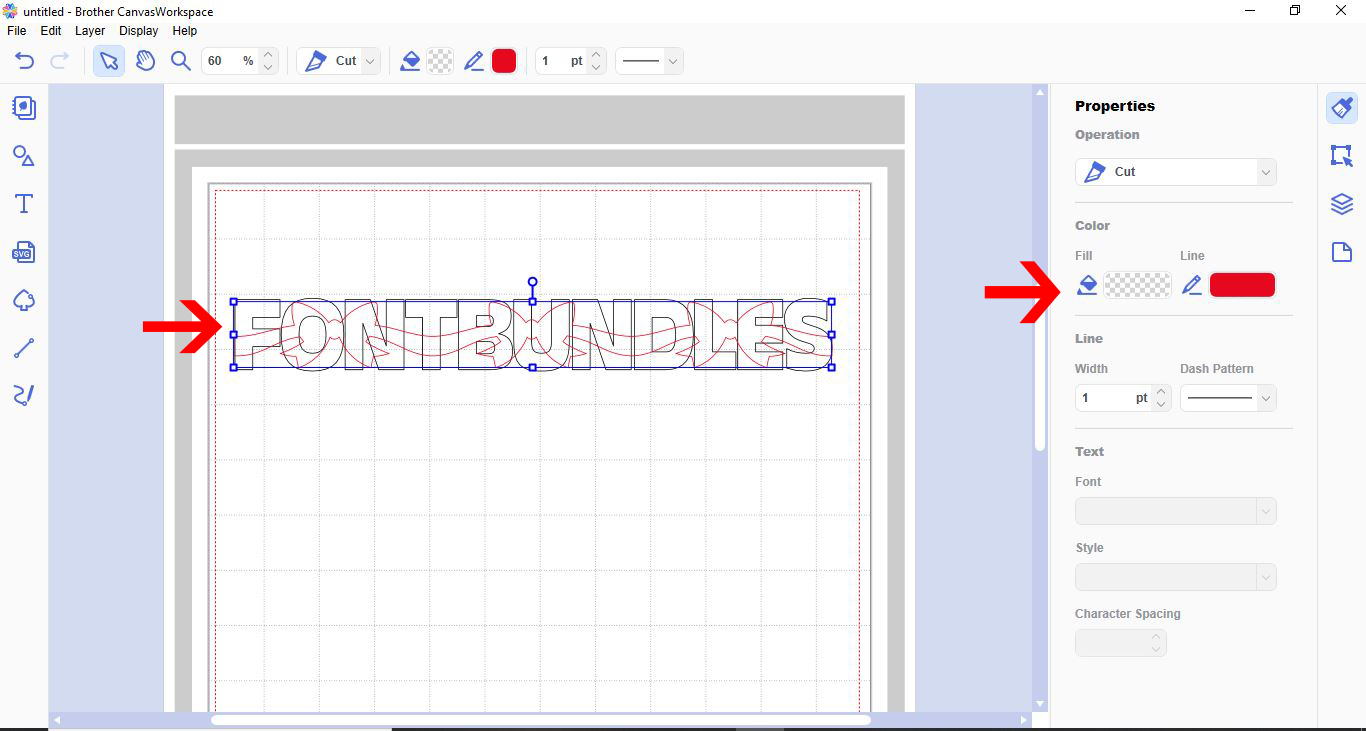
6- Place over your text. resize to fit your design. I have using the line colour tool so I can see the 2 designs clearly.
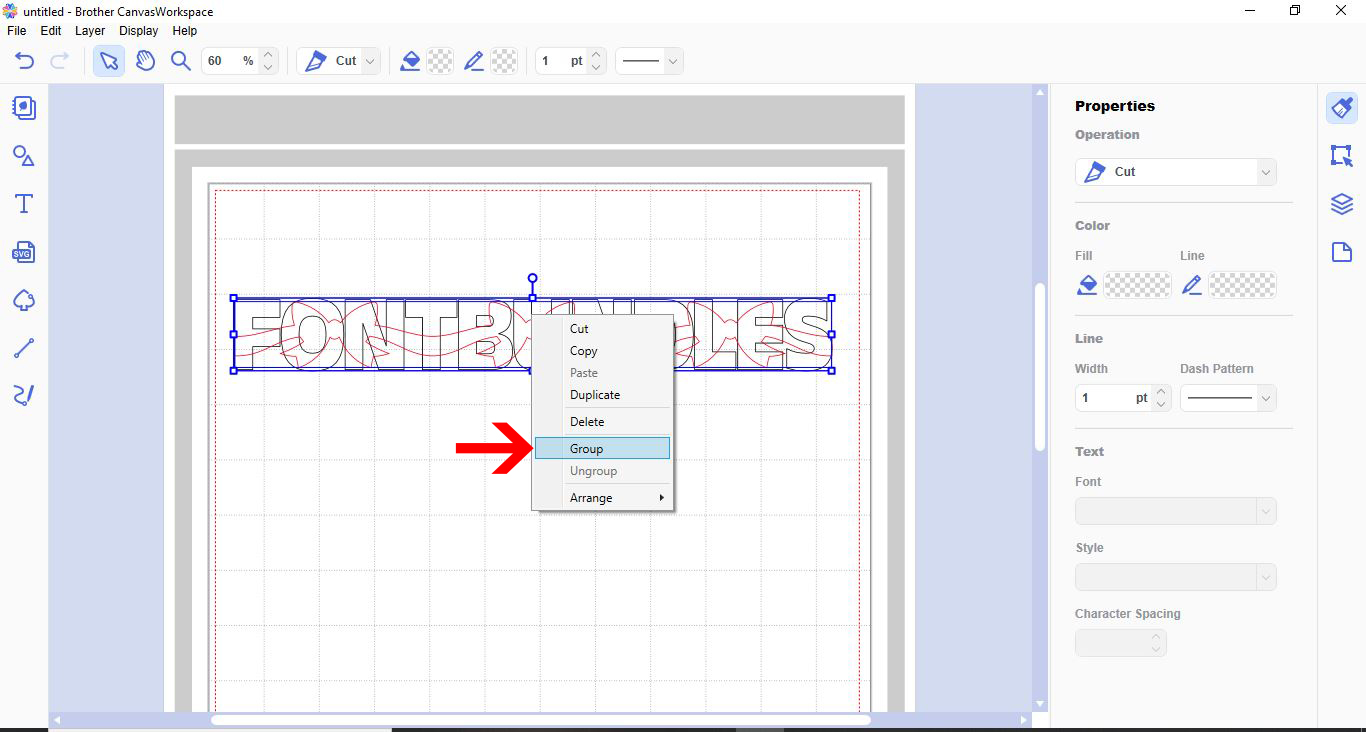
7- With both selected, right click and group.
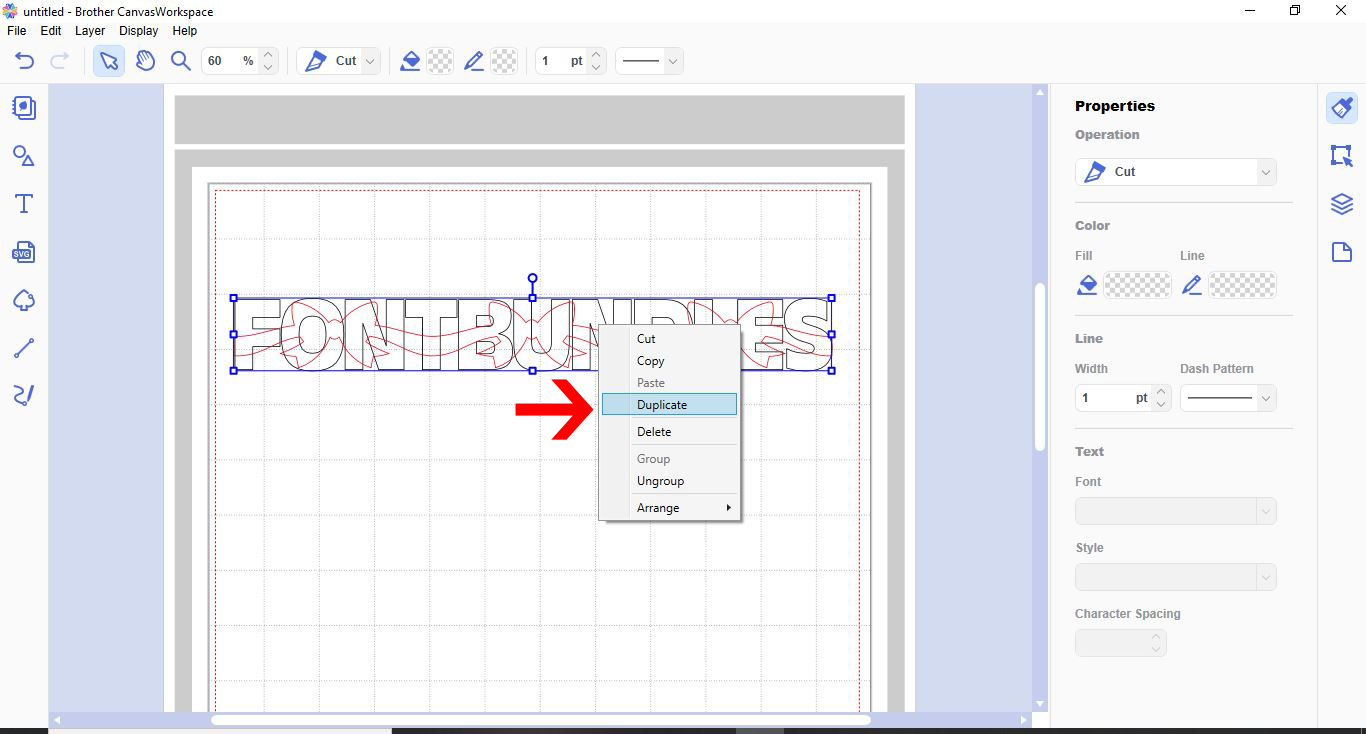
8- With the grouped design selected, right click and duplicate.
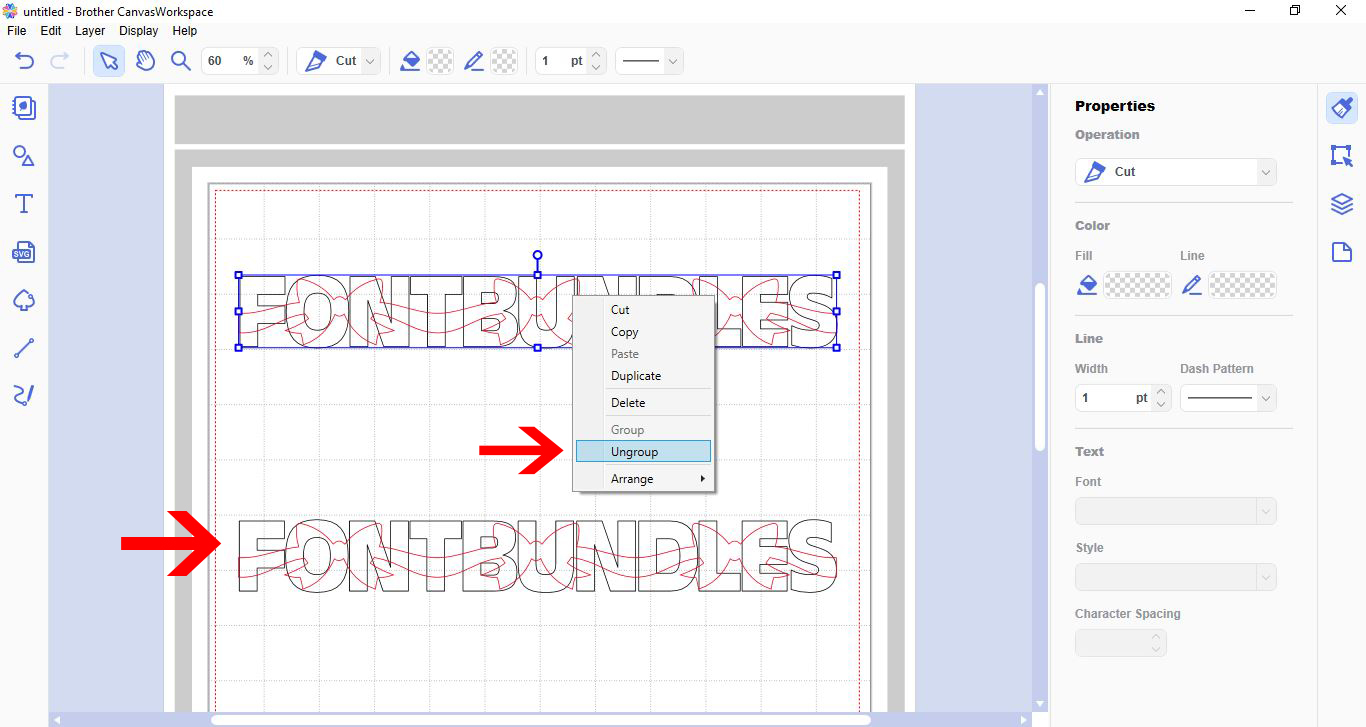
9- Ungroup the duplicated design.
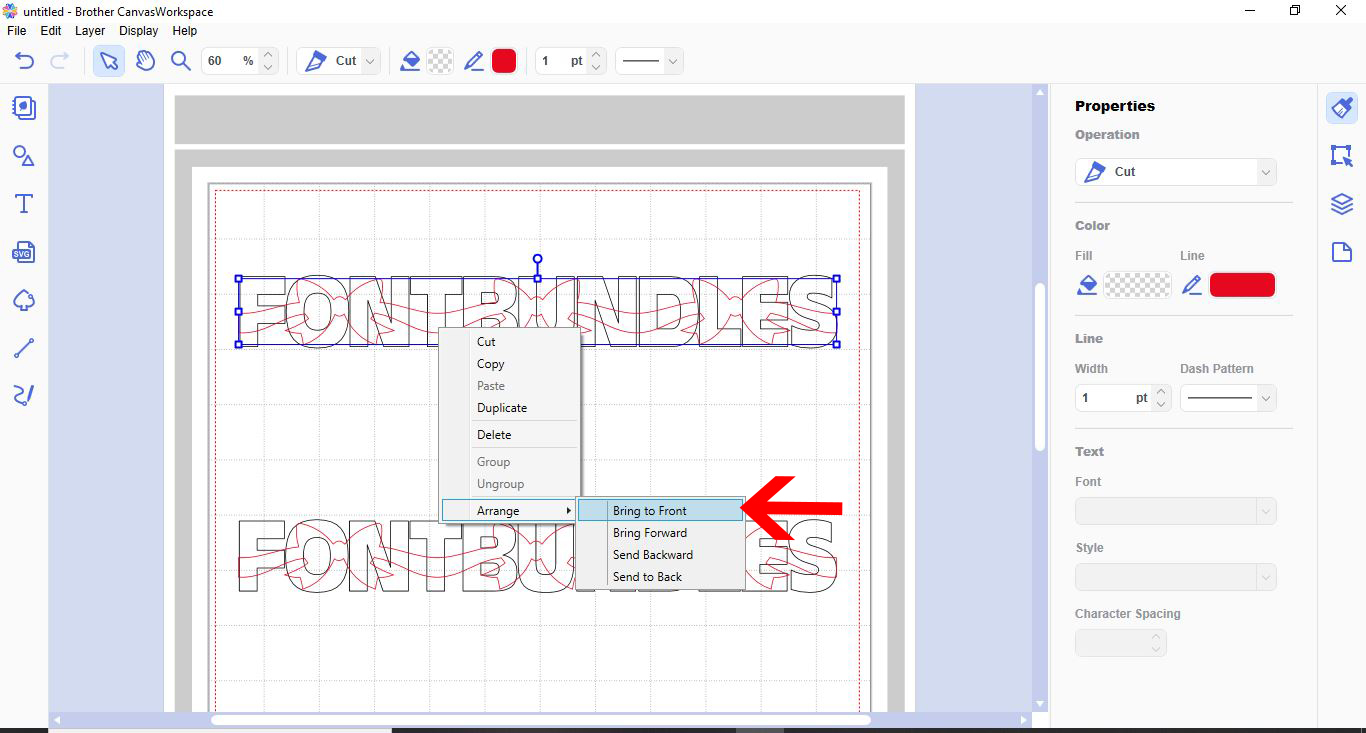
10- Select the design (not the text) and send to the front.
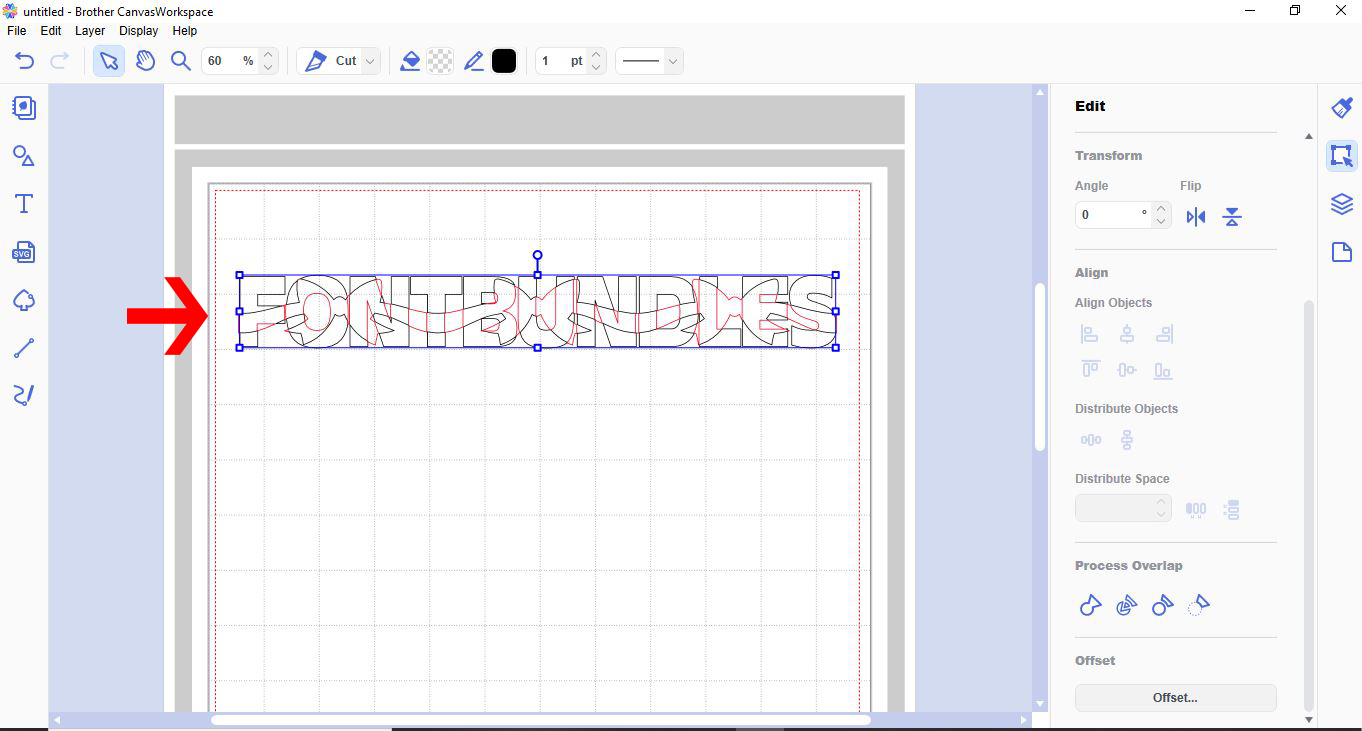
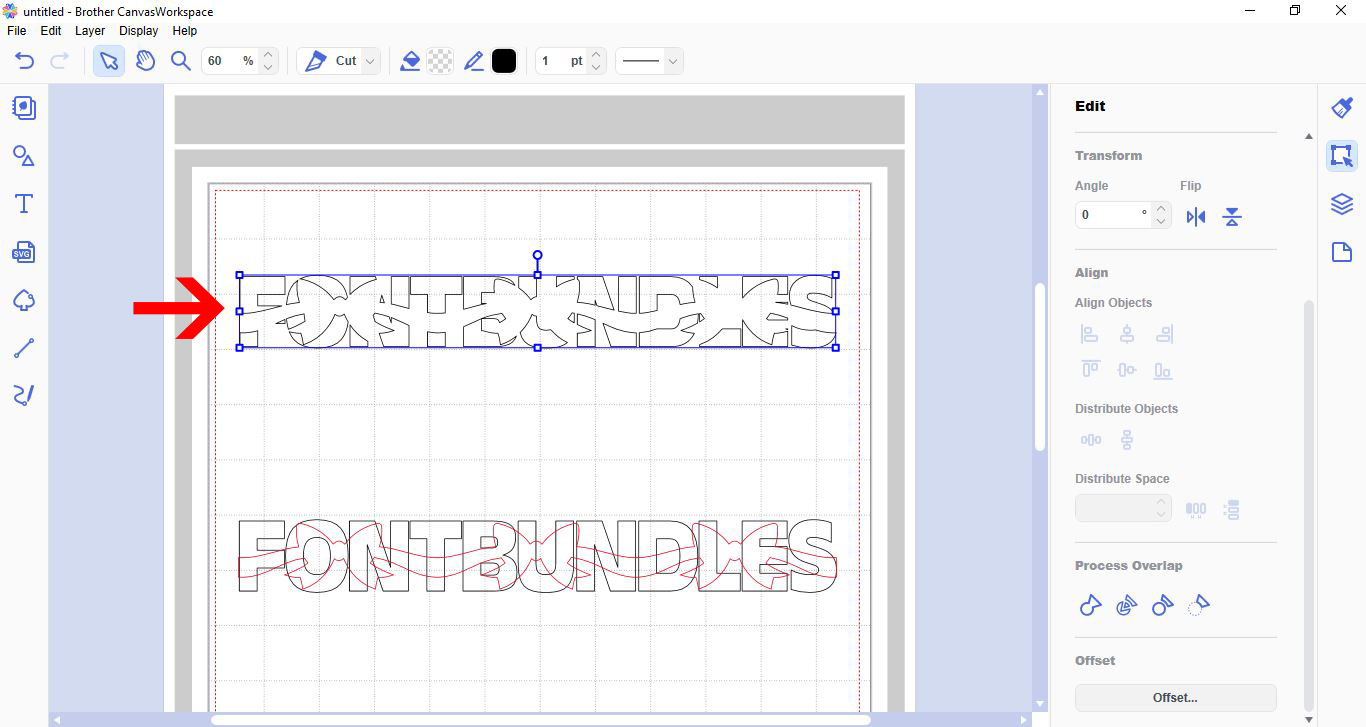
11- With the text and design selected go to process overlap and subtract.
12- As you can see the design is now cut out of your text.
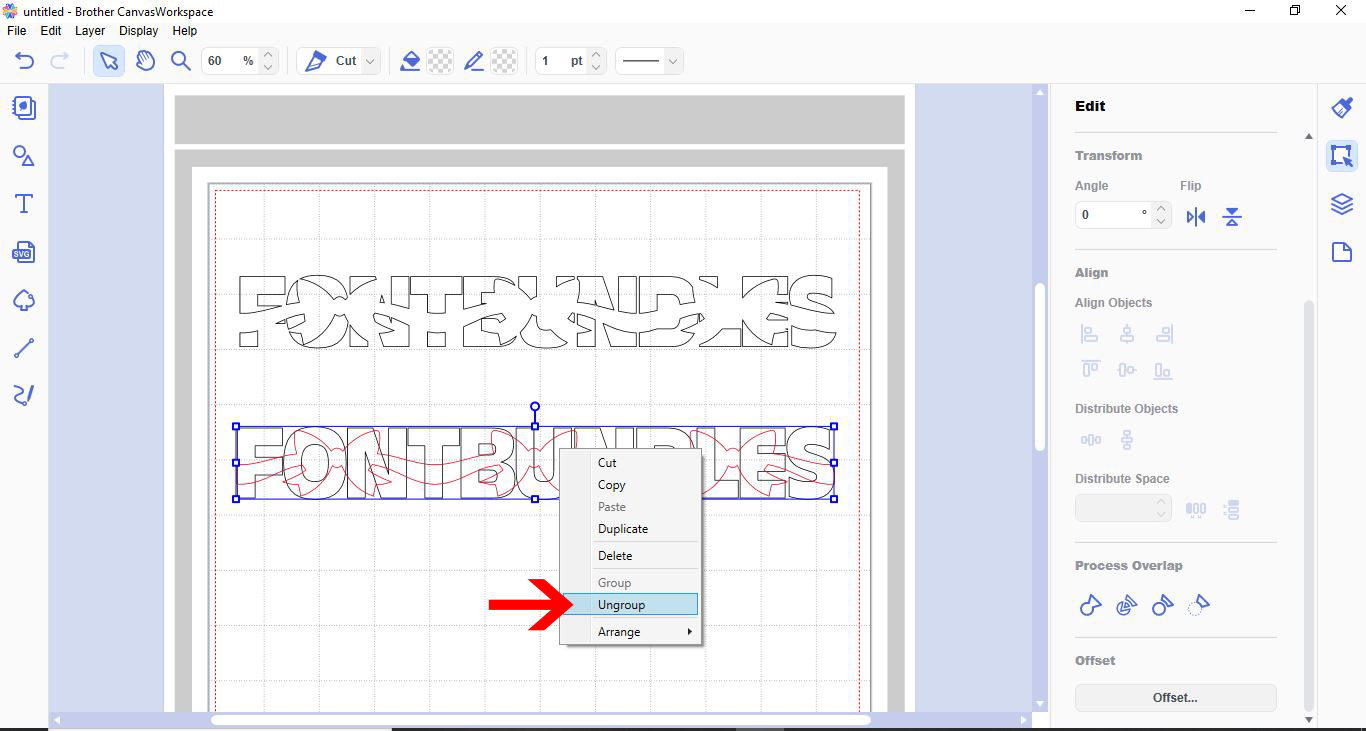
13- Click on the other text group. Right click and ungroup.
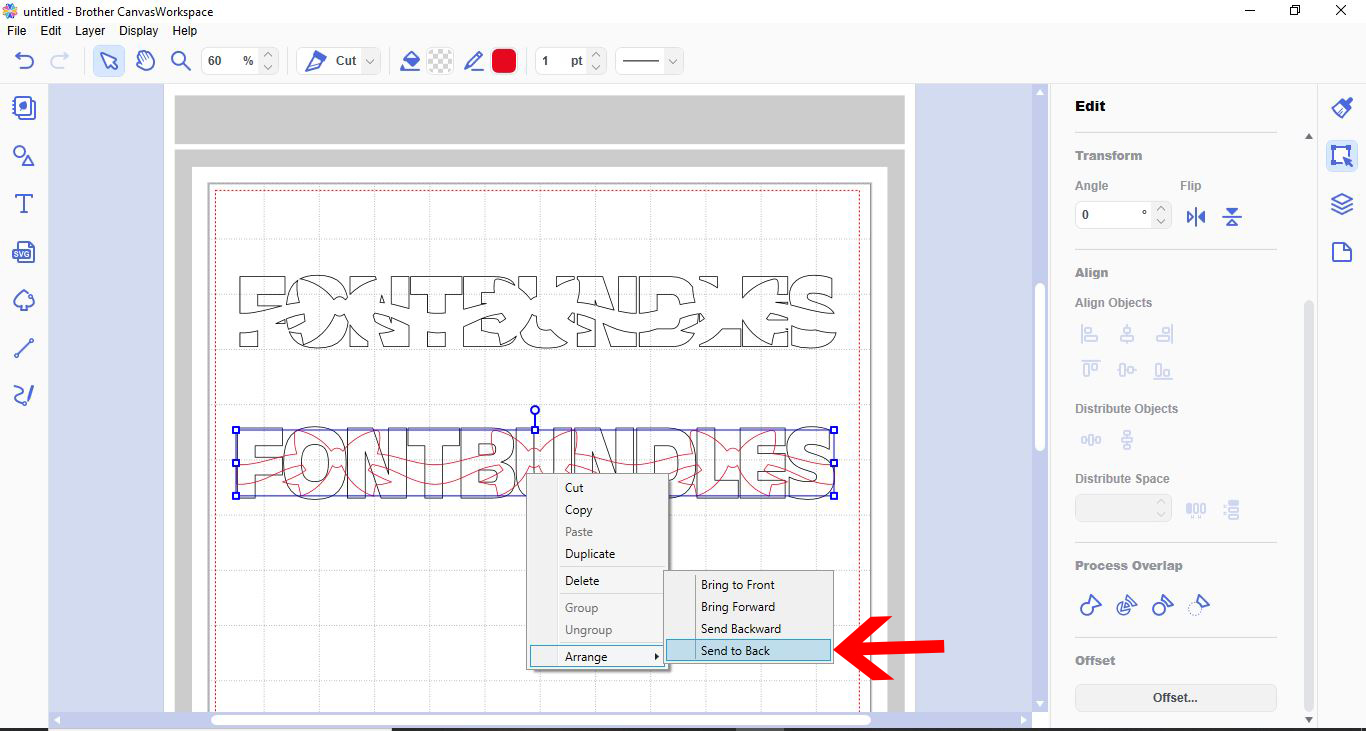
14- Select the design and now this time send it to the back.
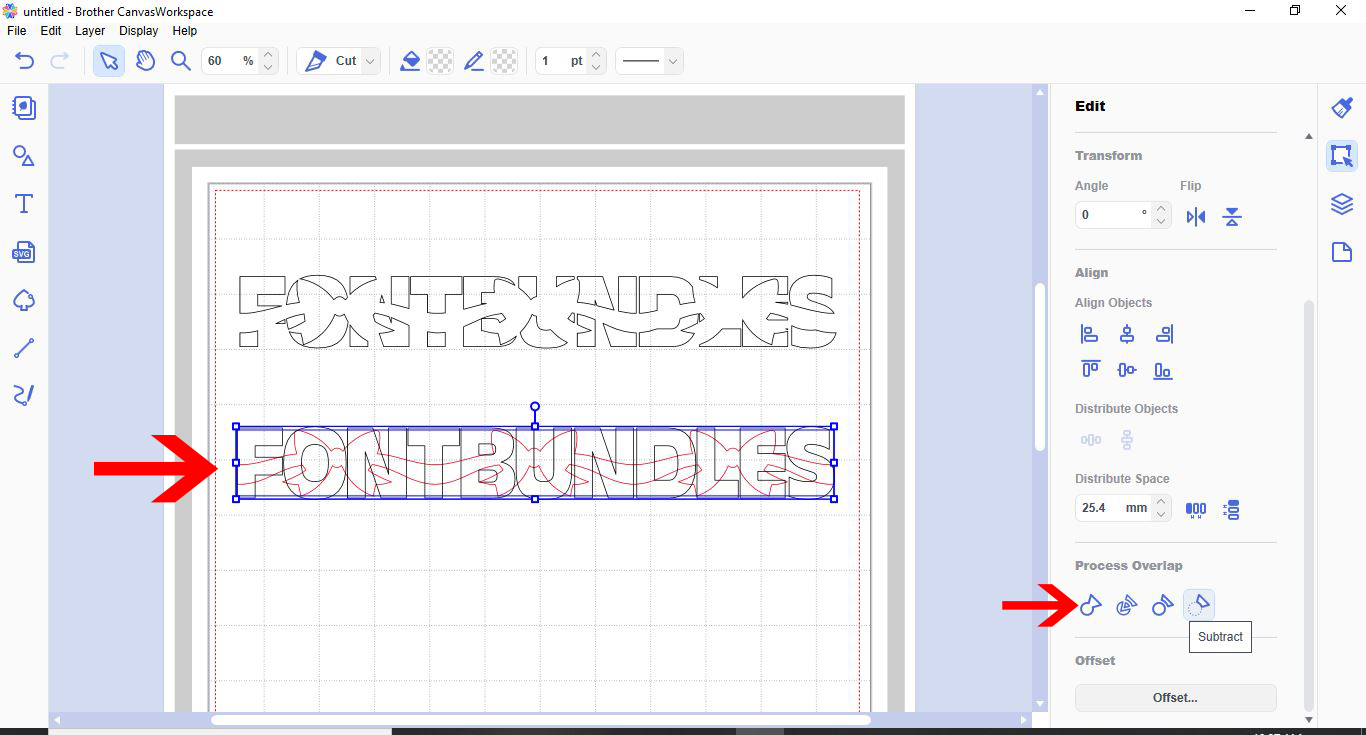
15- With both selected, go to process overlap and subtract.
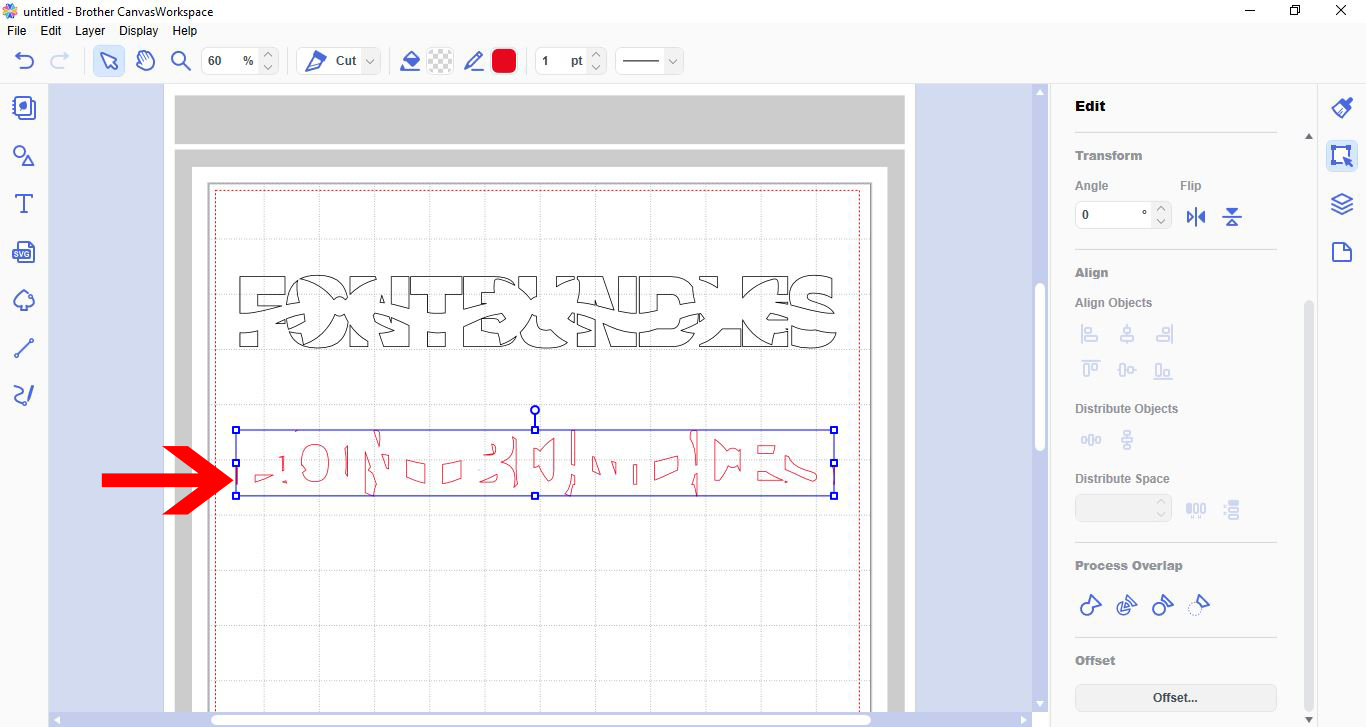
16- you will now have what looks like jumbled pieces of a design. This is fine they fill in the parts of your text above.
17- carefully align the parts into the cut out text. you now have your knock out effect to cut.
2- Type the text you would like to do the knock out effect in.
3- Resize your text.
4- Pick the design you would like to knock out. You can choose a file included in the software or upload your own SVG file. I am using one that is in the software.
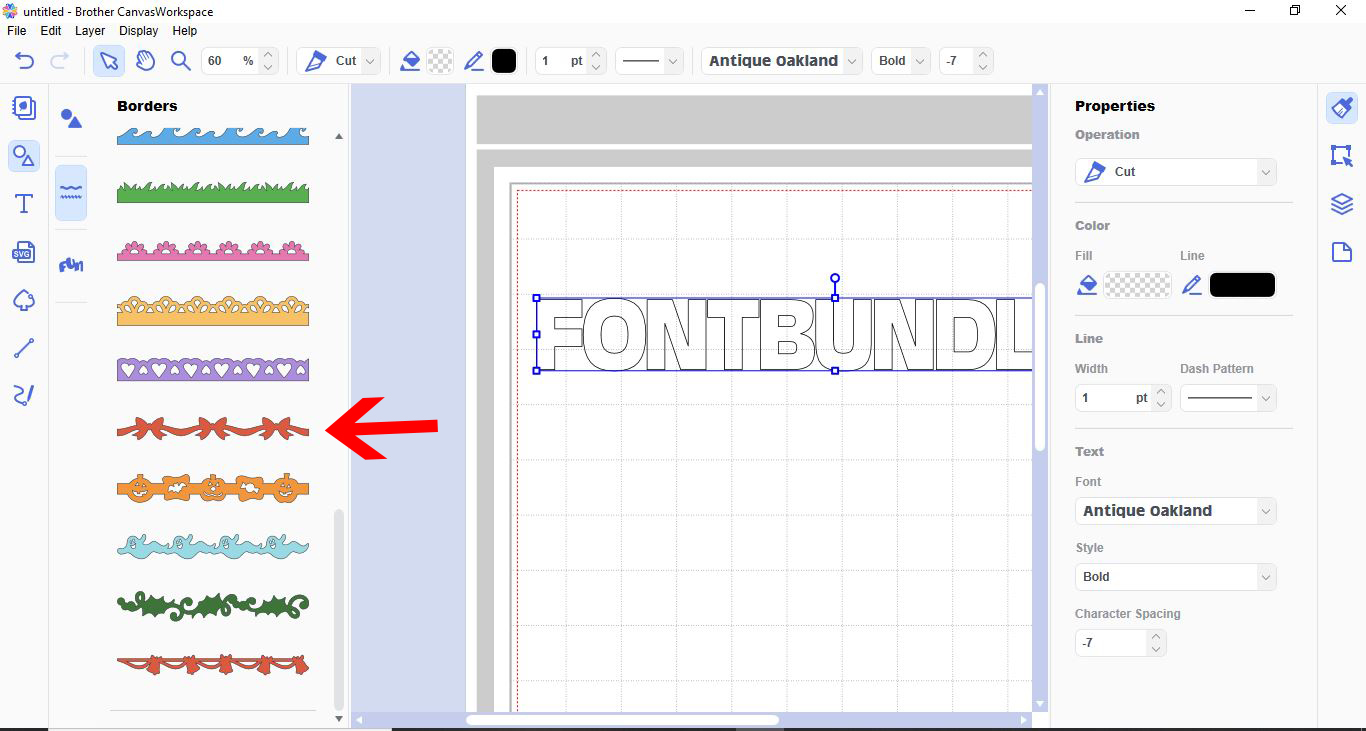
5- Select the knock out design.
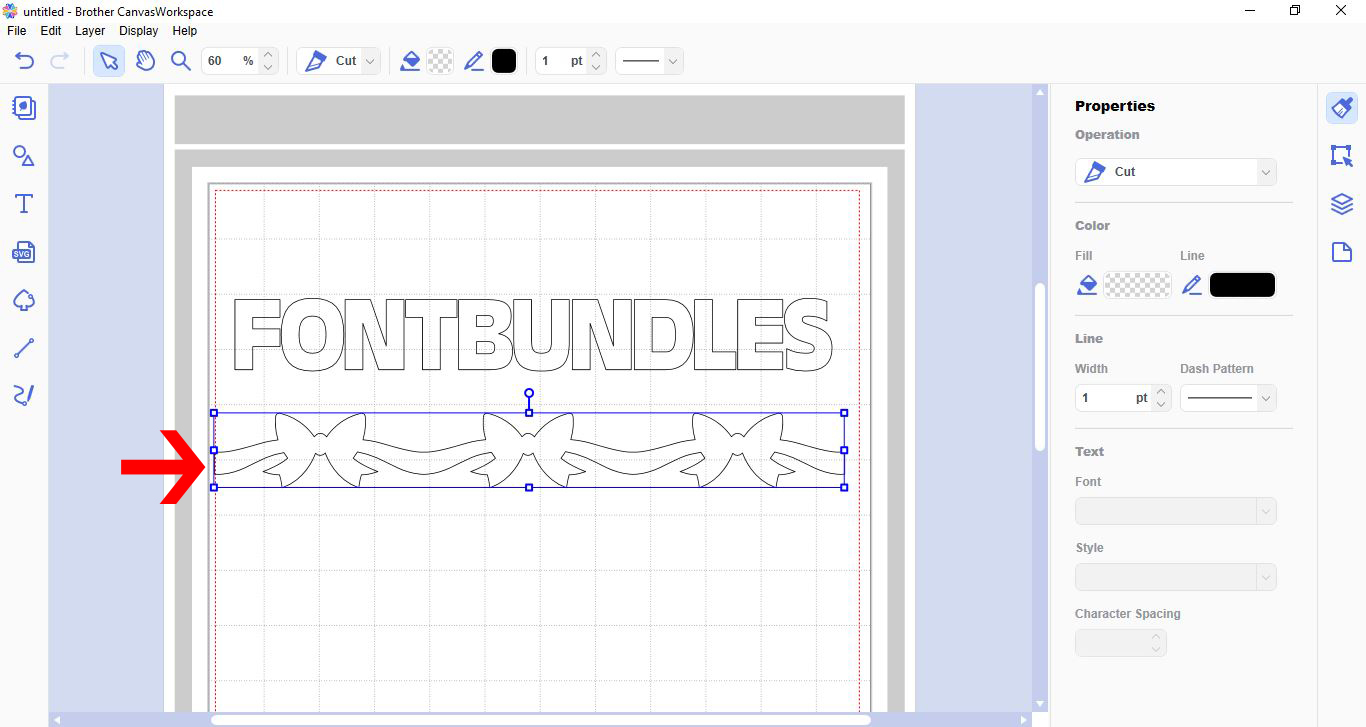
6- Place over your text. resize to fit your design. I have using the line colour tool so I can see the 2 designs clearly.
7- With both selected, right click and group.
8- With the grouped design selected, right click and duplicate.
9- Ungroup the duplicated design.
10- Select the design (not the text) and send to the front.
11- With the text and design selected go to process overlap and subtract.

12- As you can see the design is now cut out of your text.
13- Click on the other text group. Right click and ungroup.
14- Select the design and now this time send it to the back.
15- With both selected, go to process overlap and subtract.
16- you will now have what looks like jumbled pieces of a design. This is fine they fill in the parts of your text above.
17- carefully align the parts into the cut out text. you now have your knock out effect to cut.