
How to create a font into a stencil font in Brother scan and cut canvas workspace
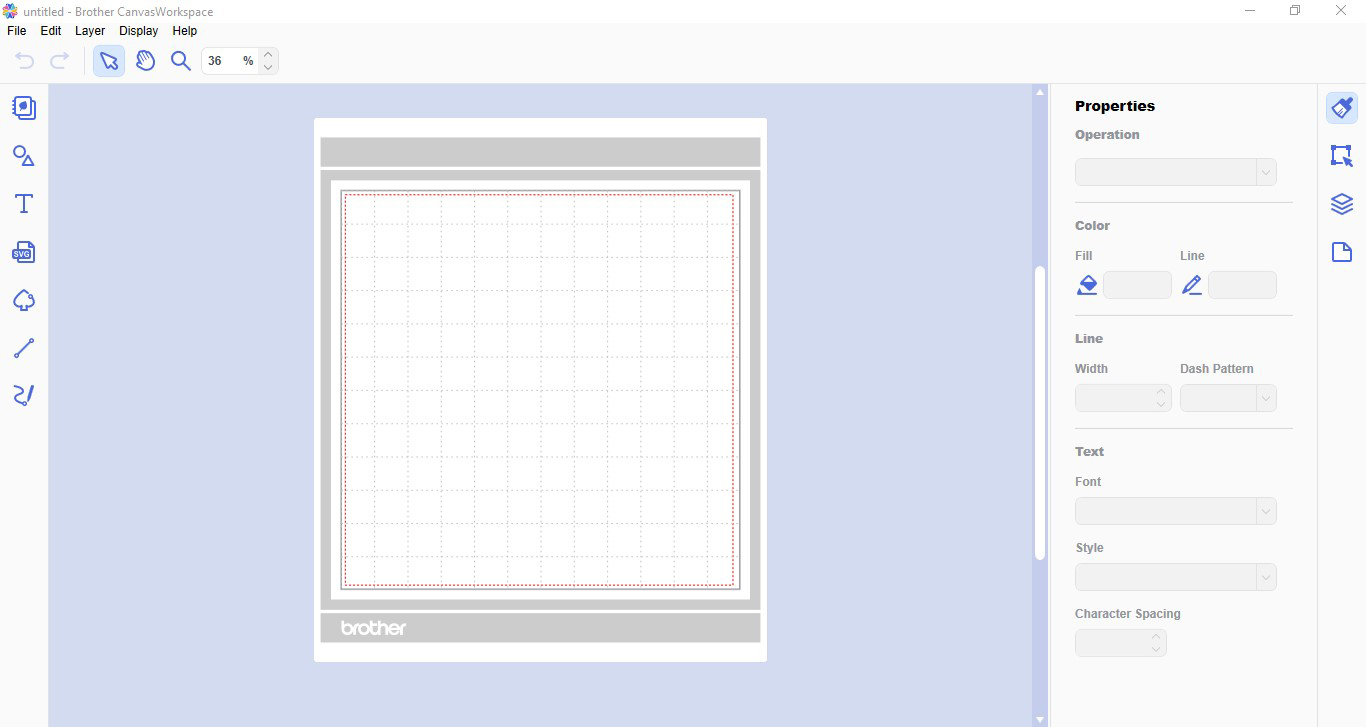
1- Open canvas workspace.
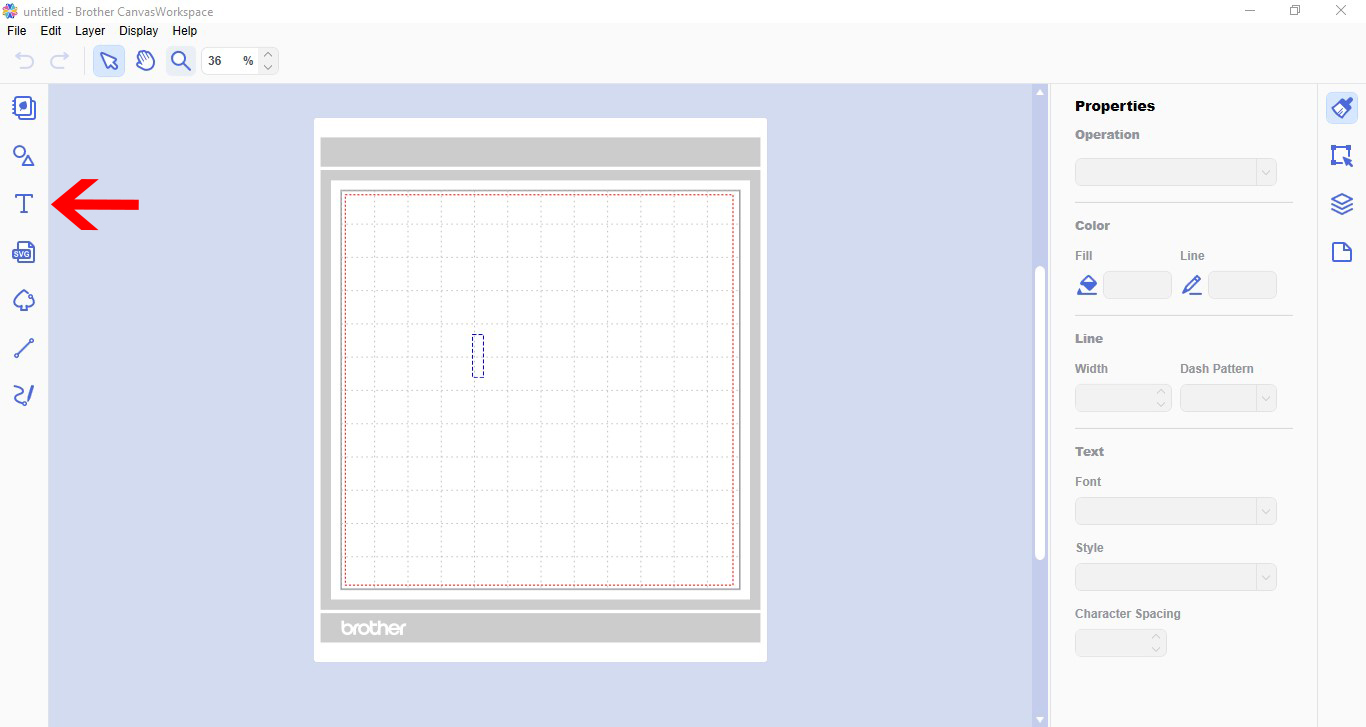
2- Click on the text icon.
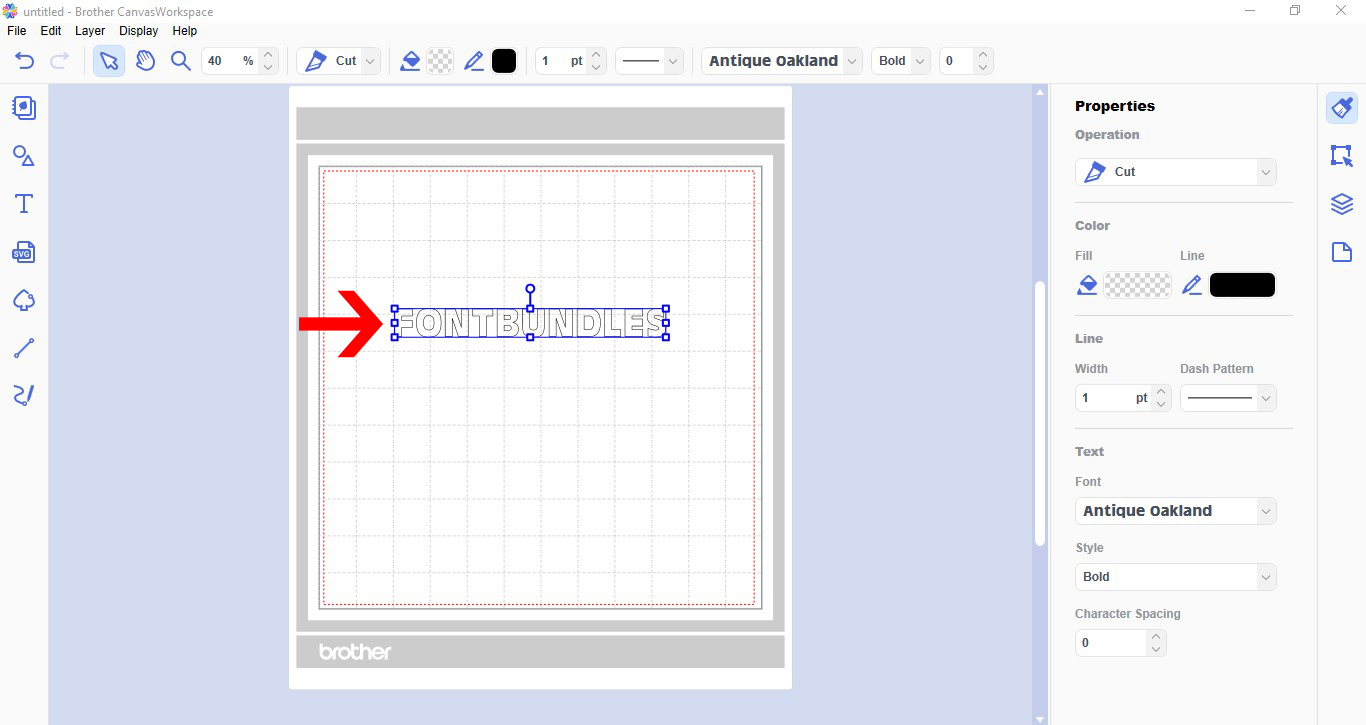
3- Type your text.
4- Open the shape icon.
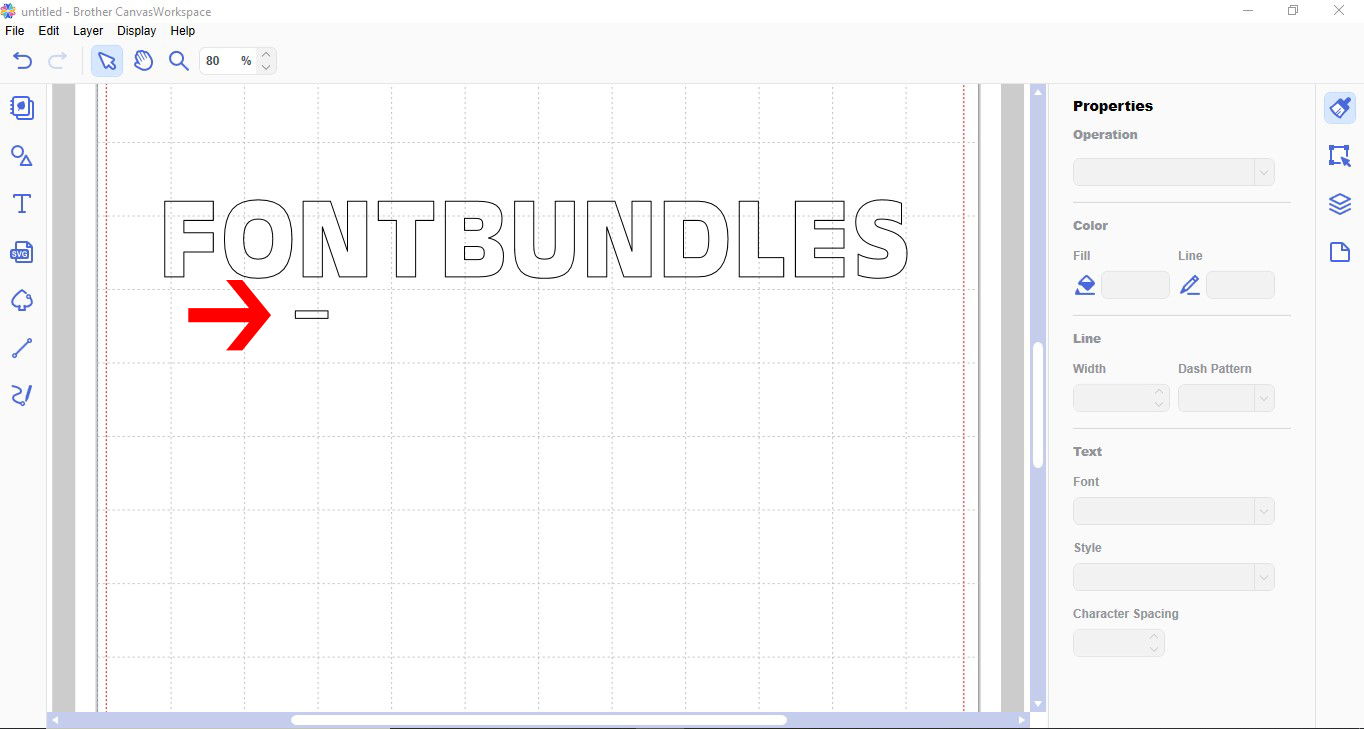
5- Create a square.
6- Resize the square to a tiny rectangle to use as a stencil bridge.
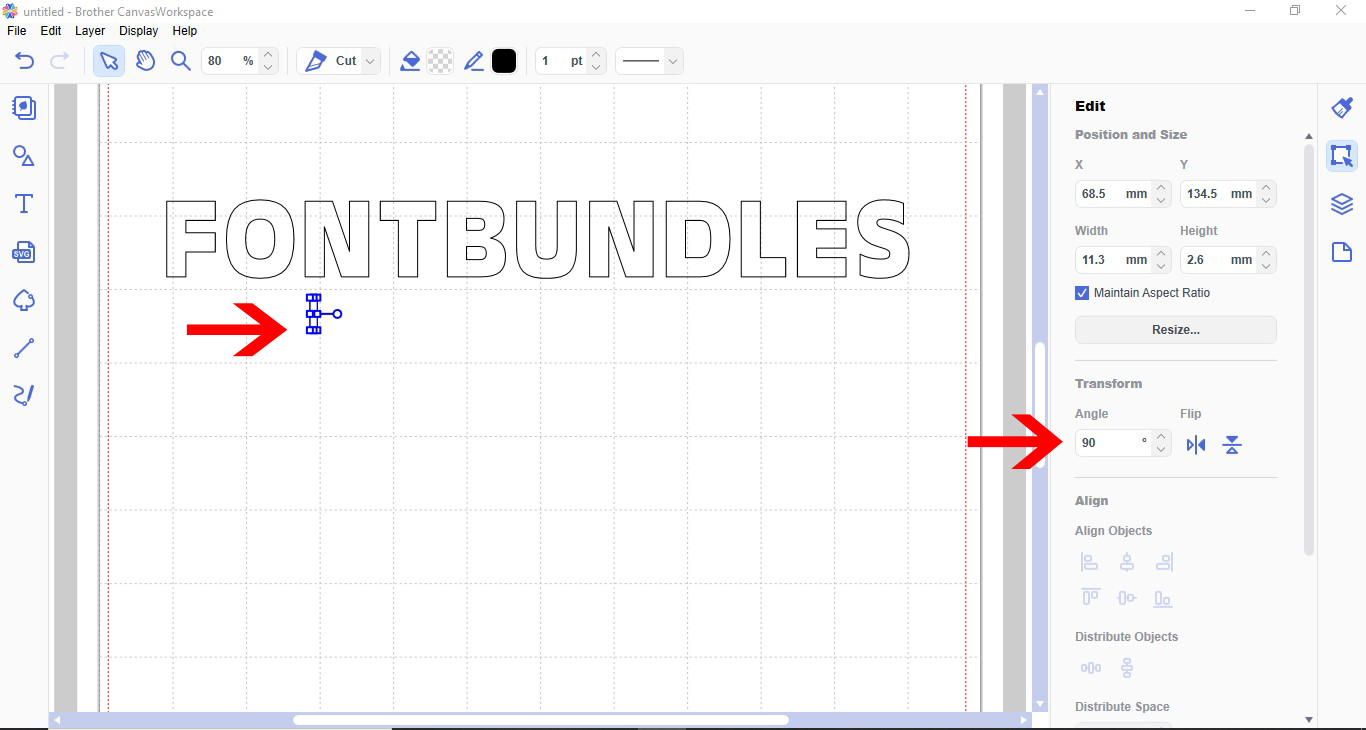
7- Rotate the rectangle 90 degrees.
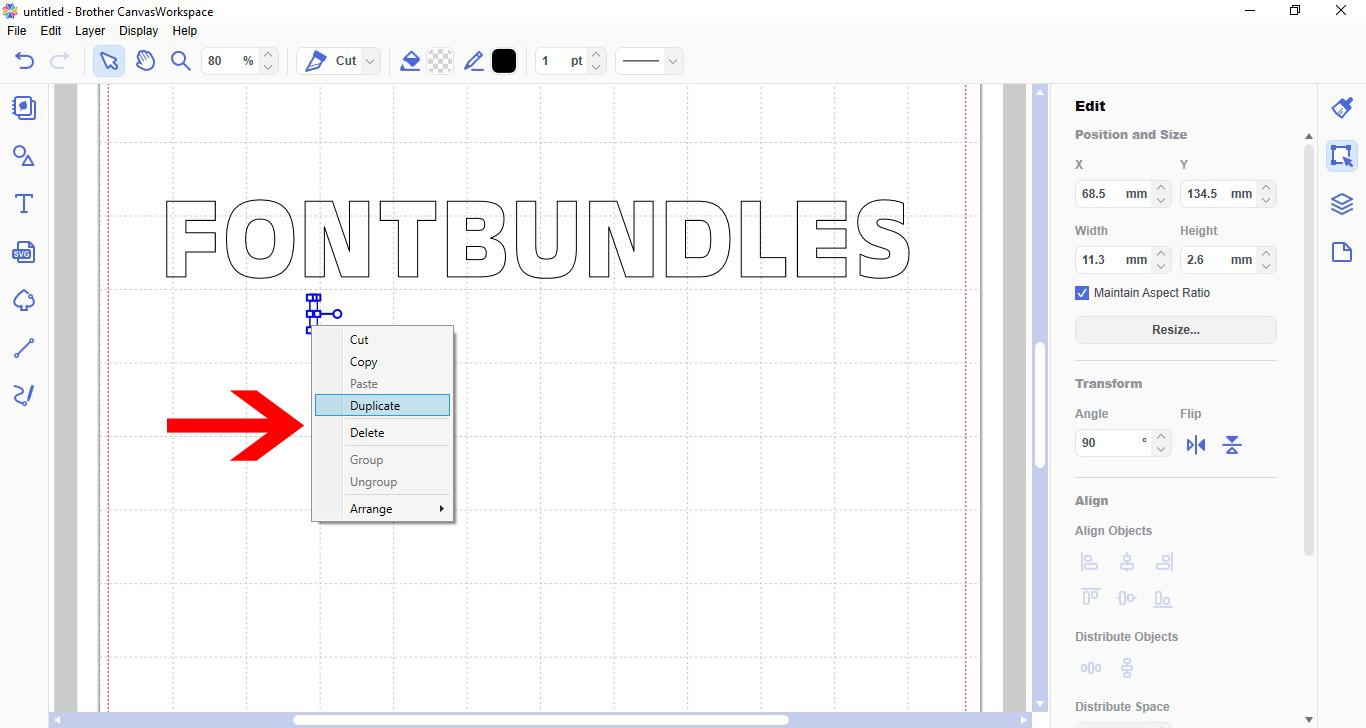
8- With the rectangle selected, right click and duplicate your shape.
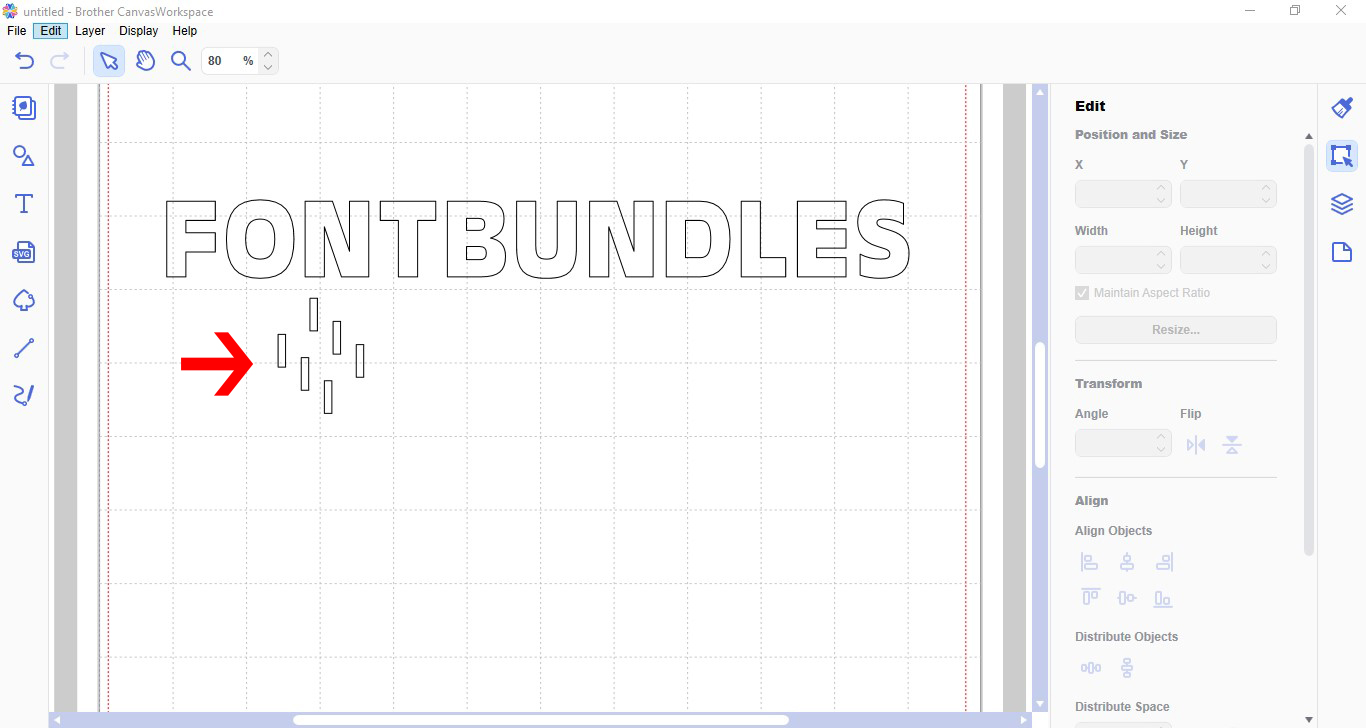
9- Repeat and duplicate as many times as you need a stencil bridge for your text.
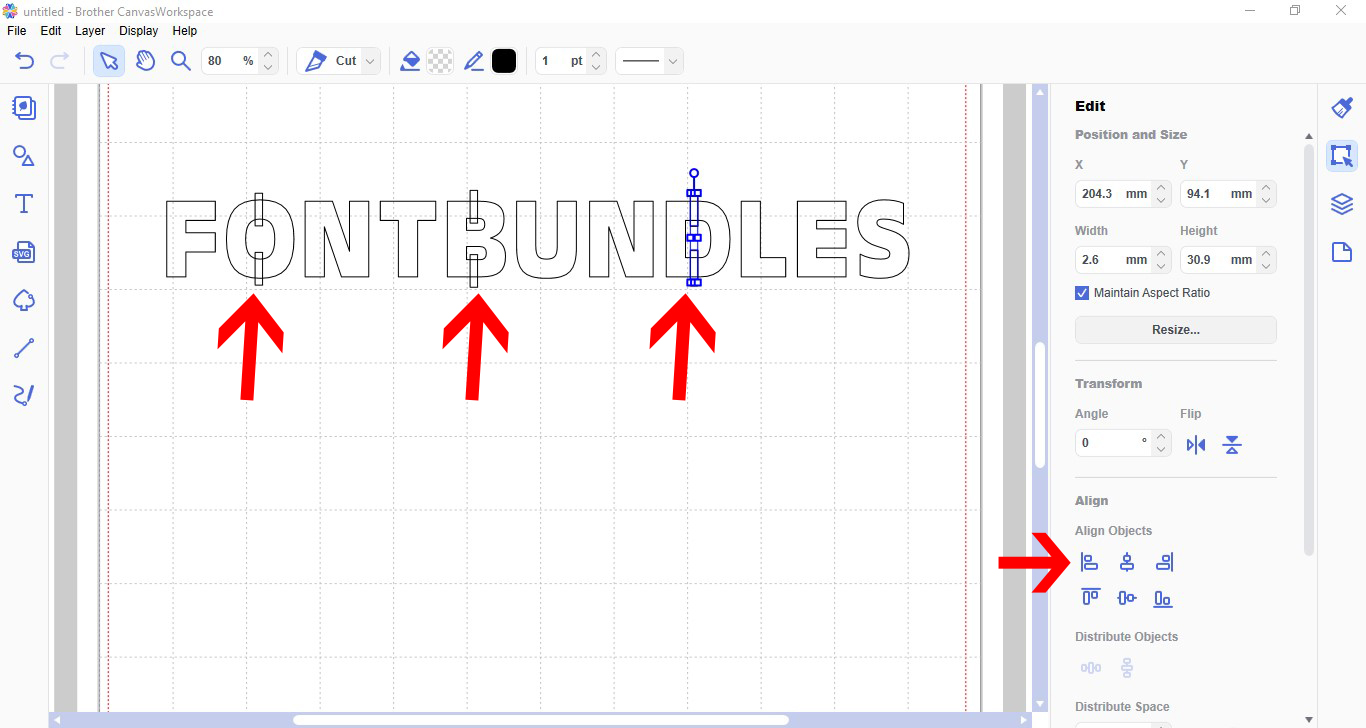
10- Place the stencil bridge (rectangles) over each letter that has a middle. Select each pair on each letter and align.
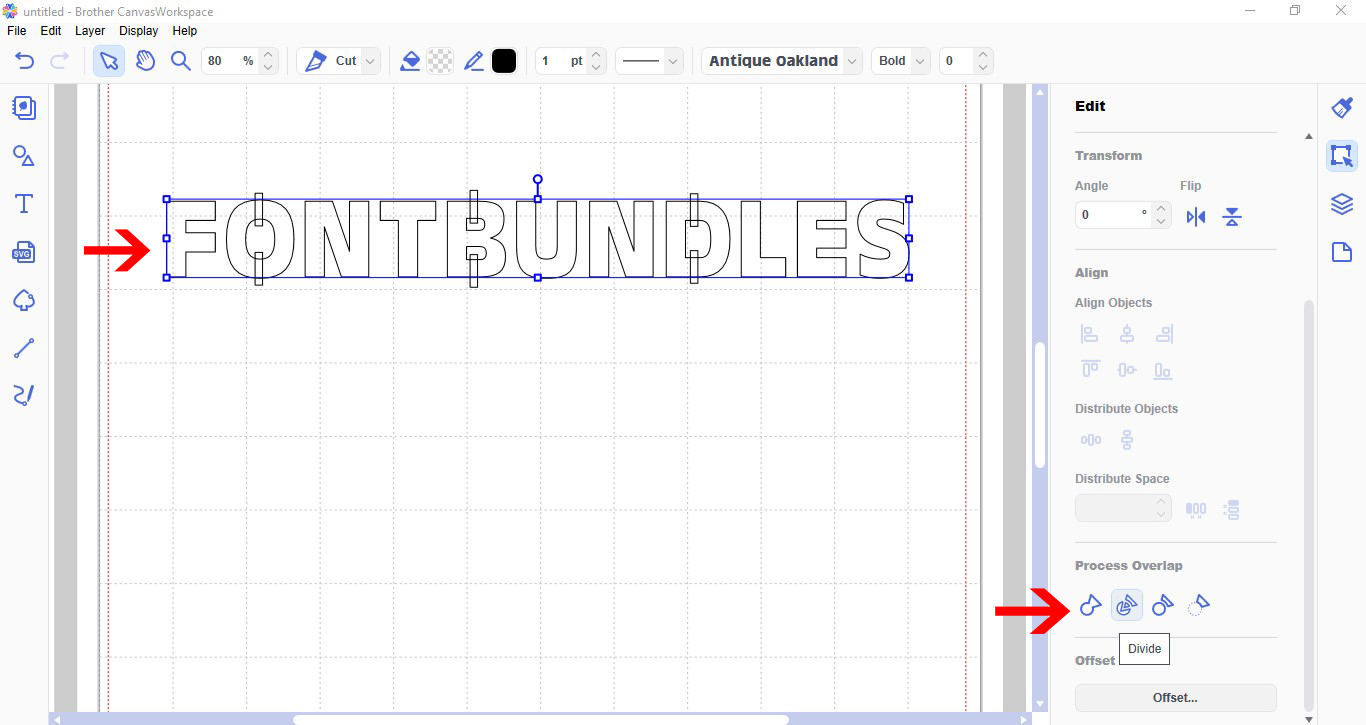
11- Select the text. Go to process overlap and divide.
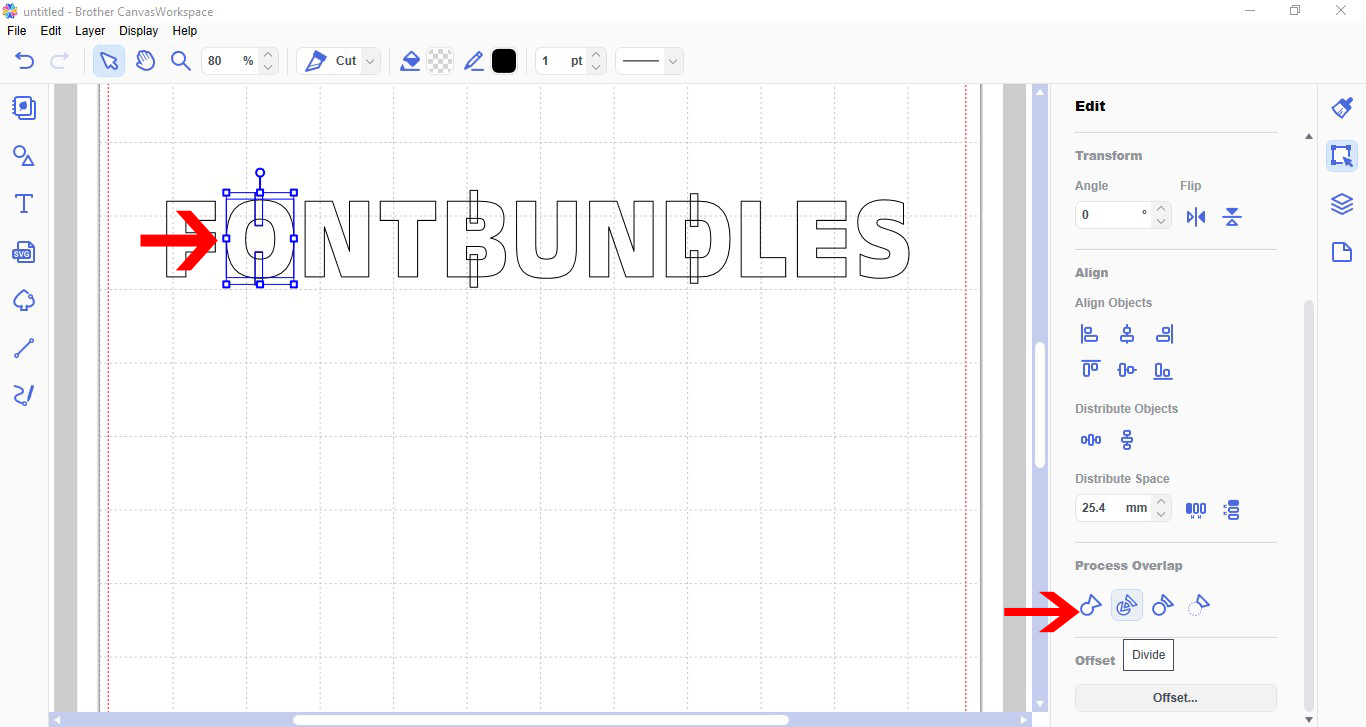
12- Your text will be separated. Select your letter with the stencil bridges. Click divide.
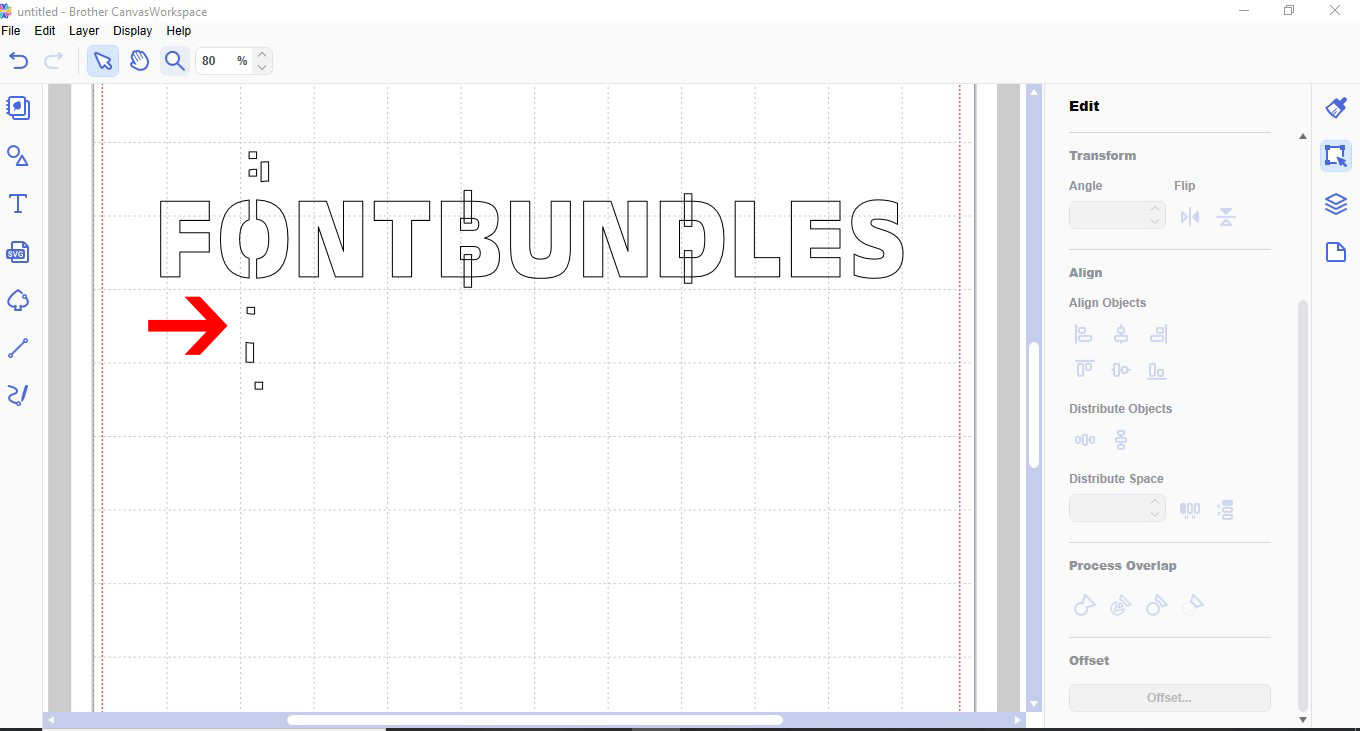
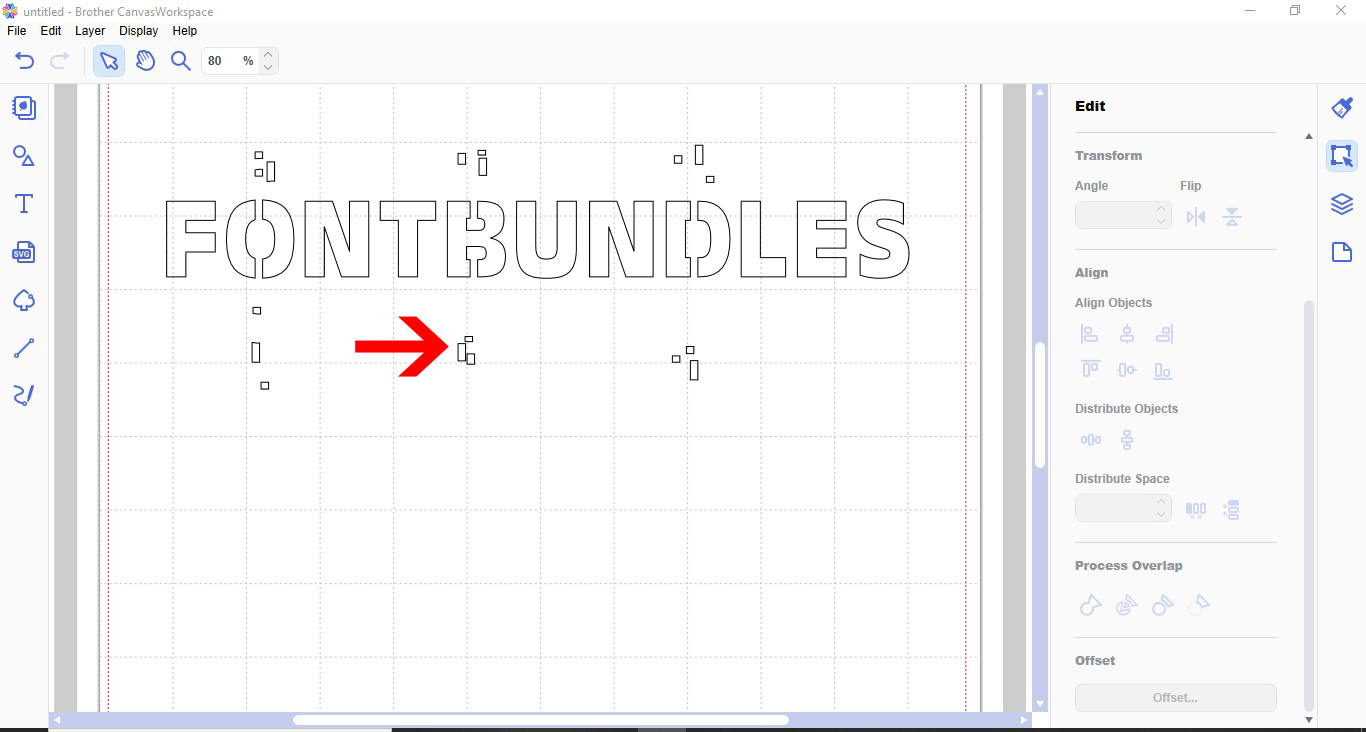
13- Remove the excess from the text. You will see the gaps in the text.
14- Repeat on all the other letters.
15- Select all your letters. Right click and group.
16- The text now has gaps so you can use as a stencil.
2- Click on the text icon.
3- Type your text.
4- Open the shape icon.
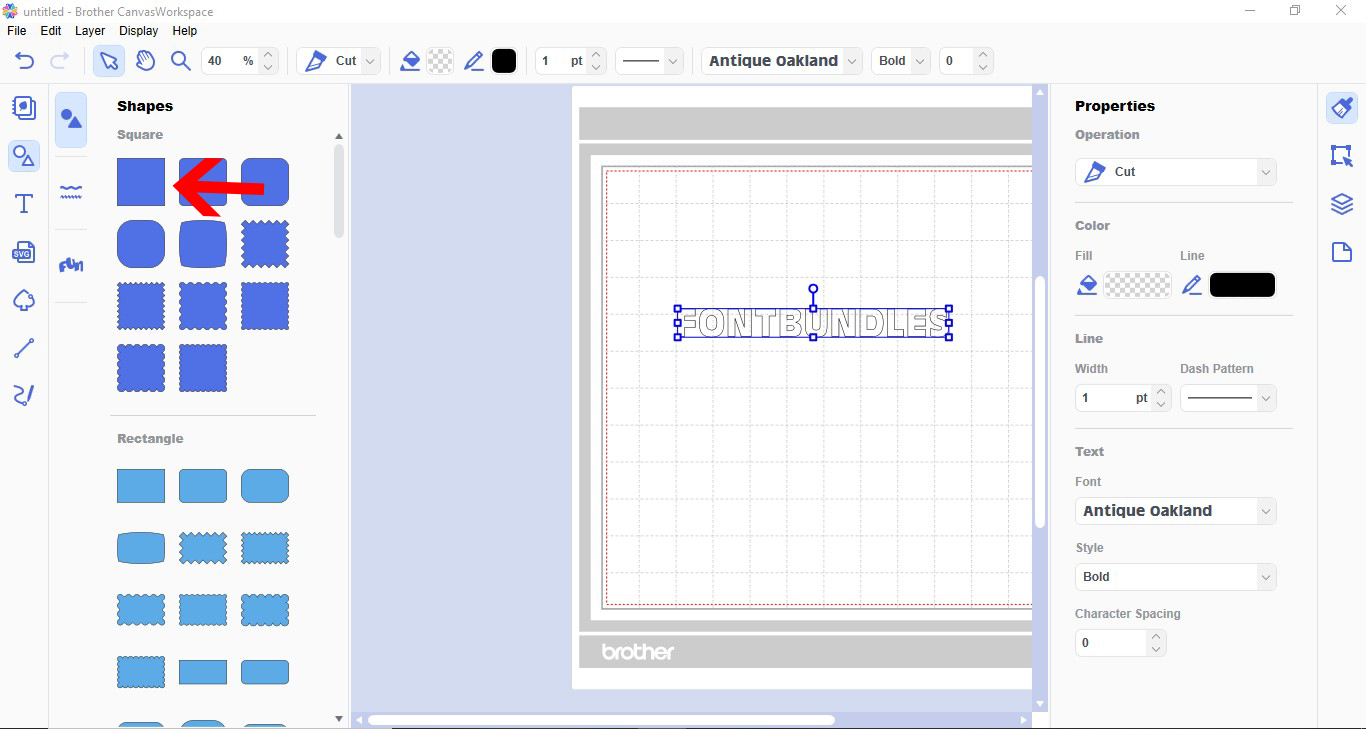
5- Create a square.

6- Resize the square to a tiny rectangle to use as a stencil bridge.
7- Rotate the rectangle 90 degrees.
8- With the rectangle selected, right click and duplicate your shape.
9- Repeat and duplicate as many times as you need a stencil bridge for your text.
10- Place the stencil bridge (rectangles) over each letter that has a middle. Select each pair on each letter and align.
11- Select the text. Go to process overlap and divide.
12- Your text will be separated. Select your letter with the stencil bridges. Click divide.
13- Remove the excess from the text. You will see the gaps in the text.
14- Repeat on all the other letters.
15- Select all your letters. Right click and group.
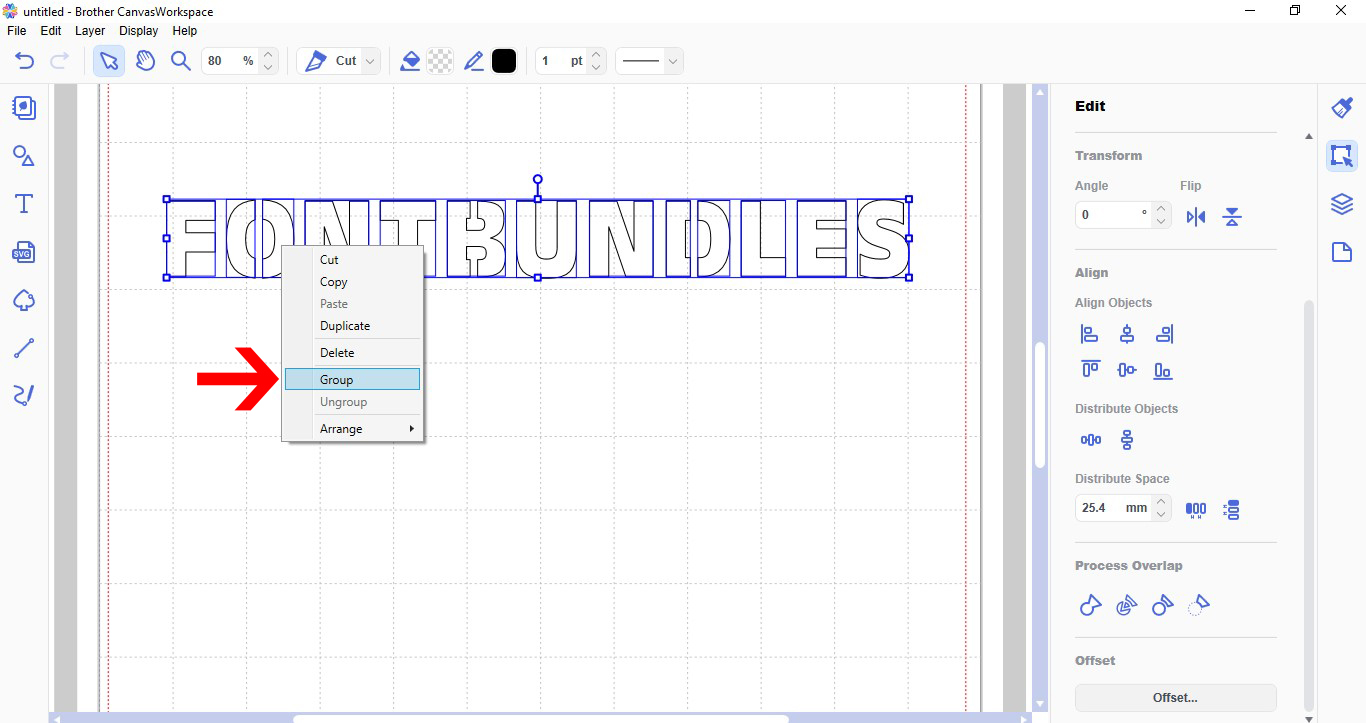
16- The text now has gaps so you can use as a stencil.


