How to Create an Inlay Text Effect in SCAL4
*Note SCAL4 Pro was used.
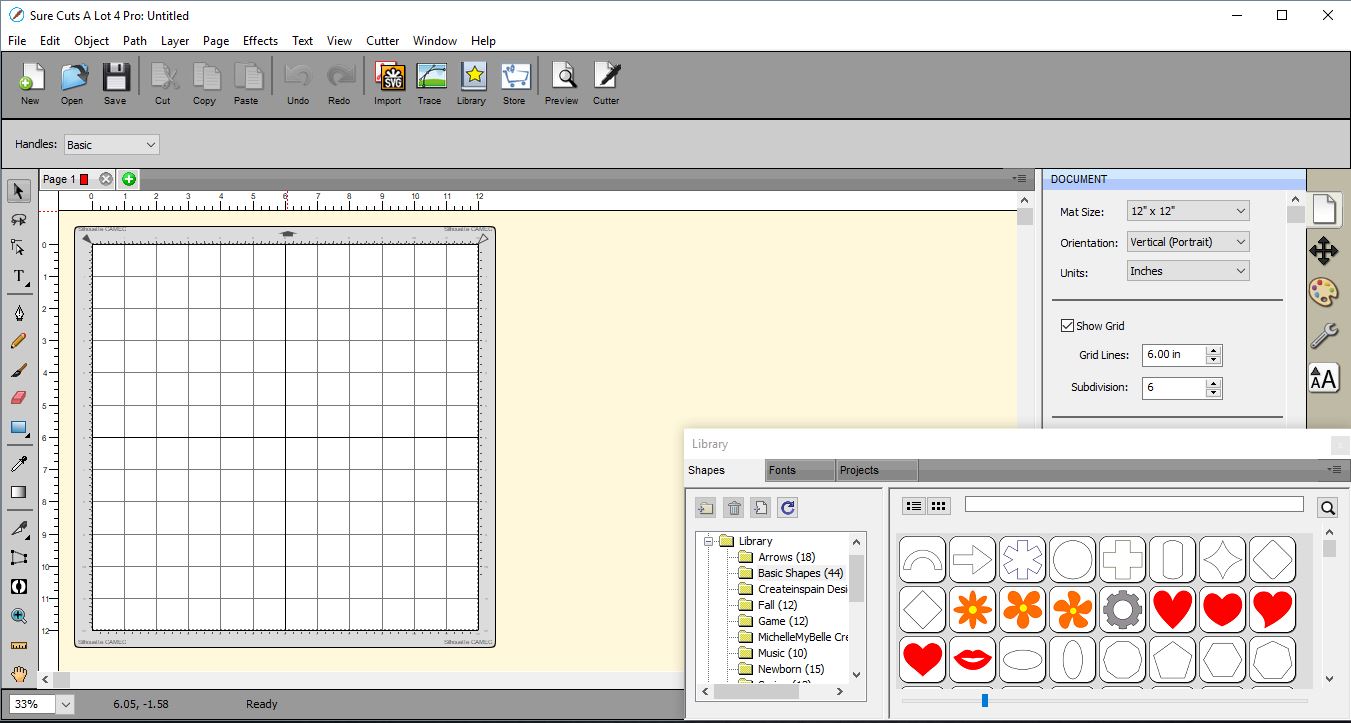
1- Open SCAL4 software.
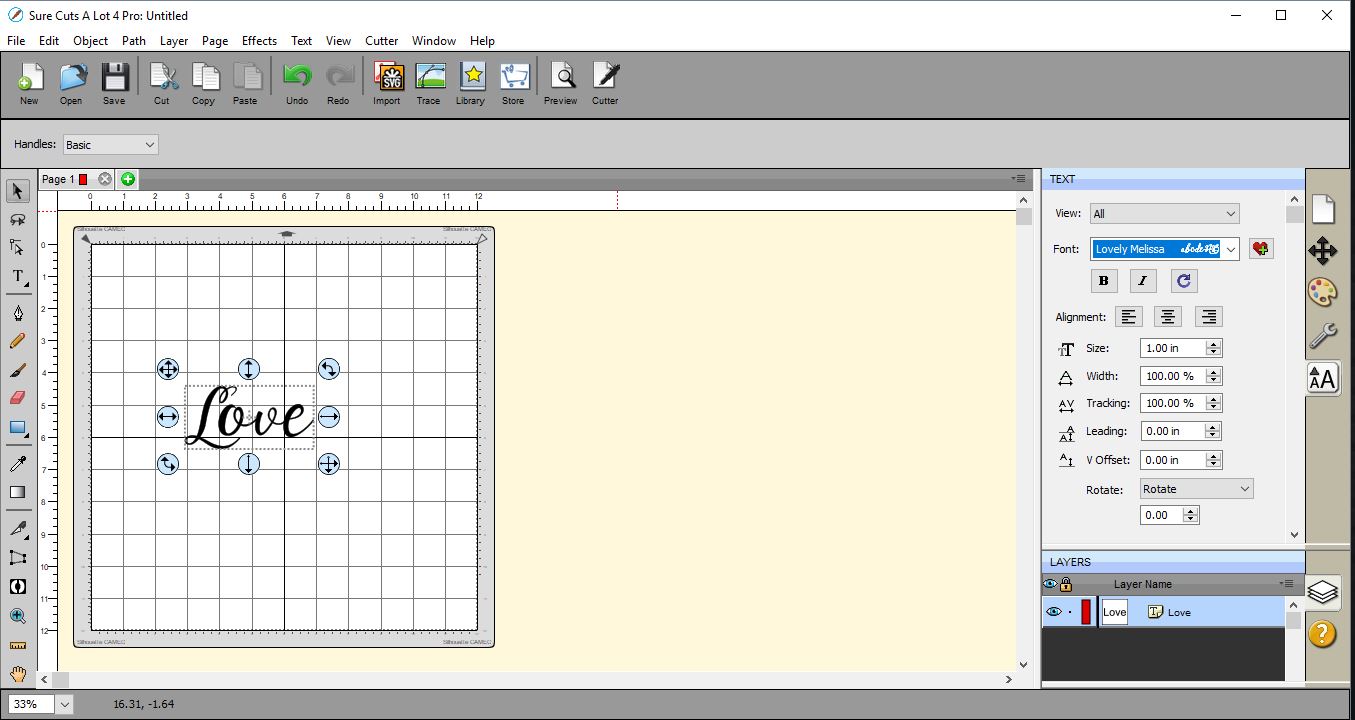
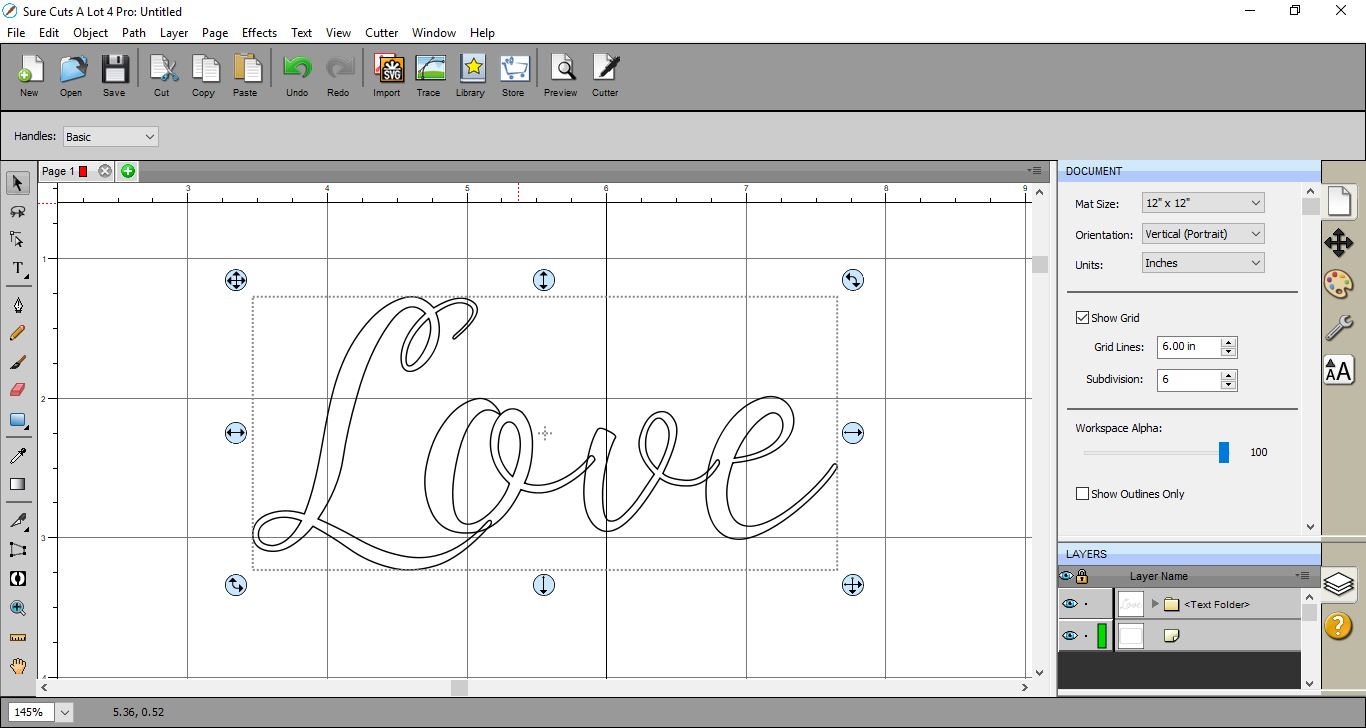
2-Write the text in the font you would like to use. I am using the Lovely Melissa font from fontbundles.net.
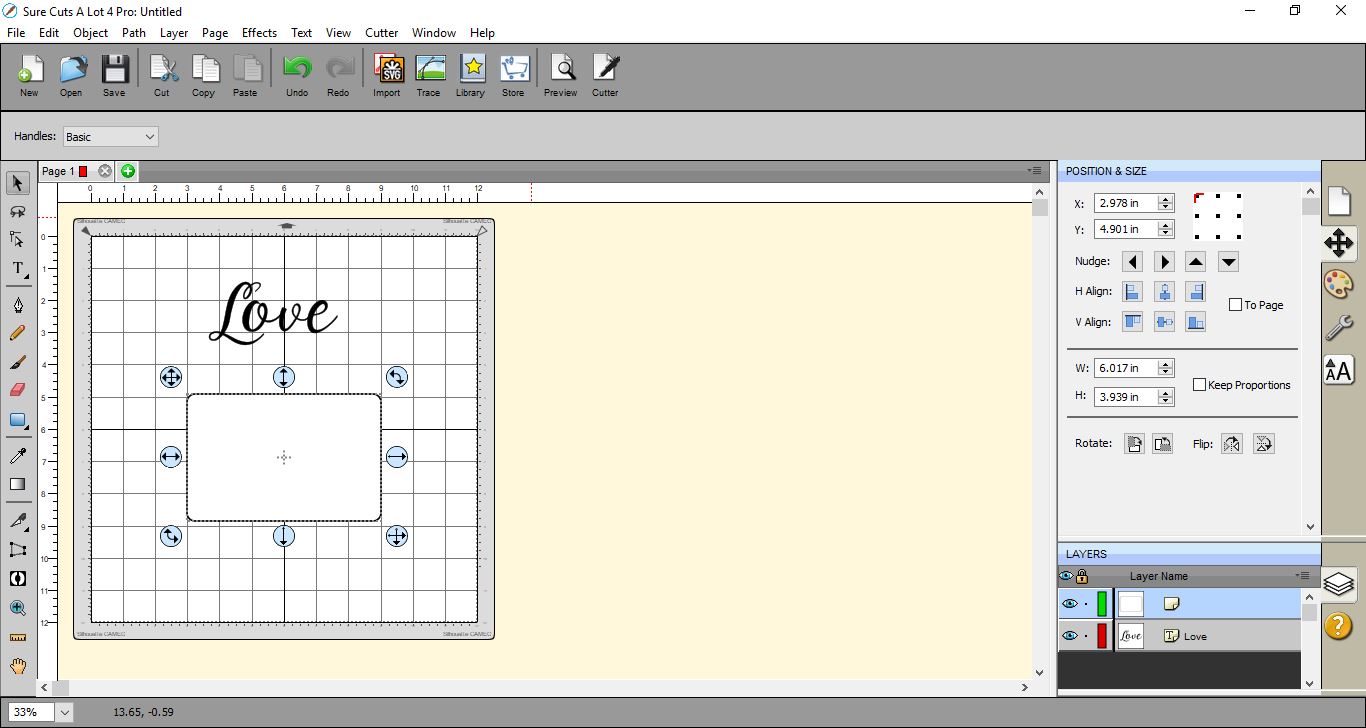
3- Next create the shape/card you would like to inlay the text in. I have created a rectangle.
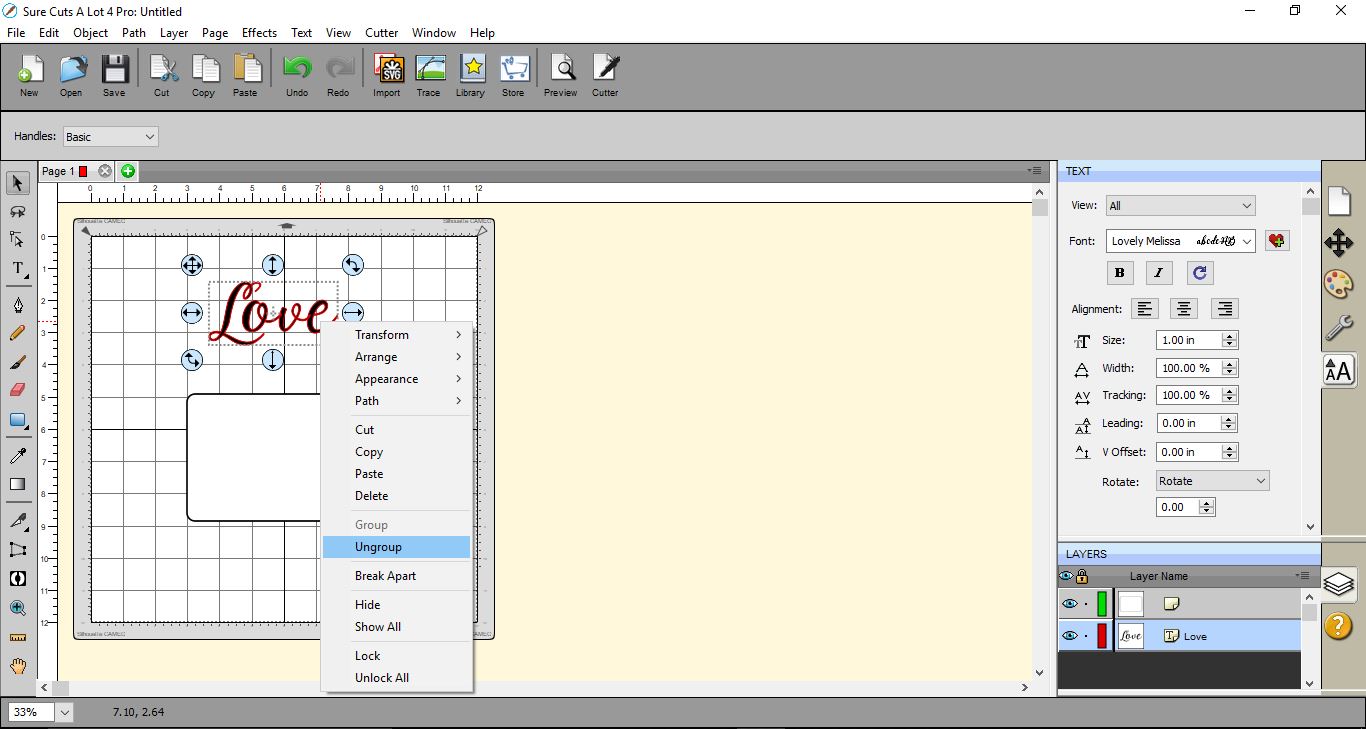
4- Right-click on the text and ungroup it.
5- Move each letter so they overlap.
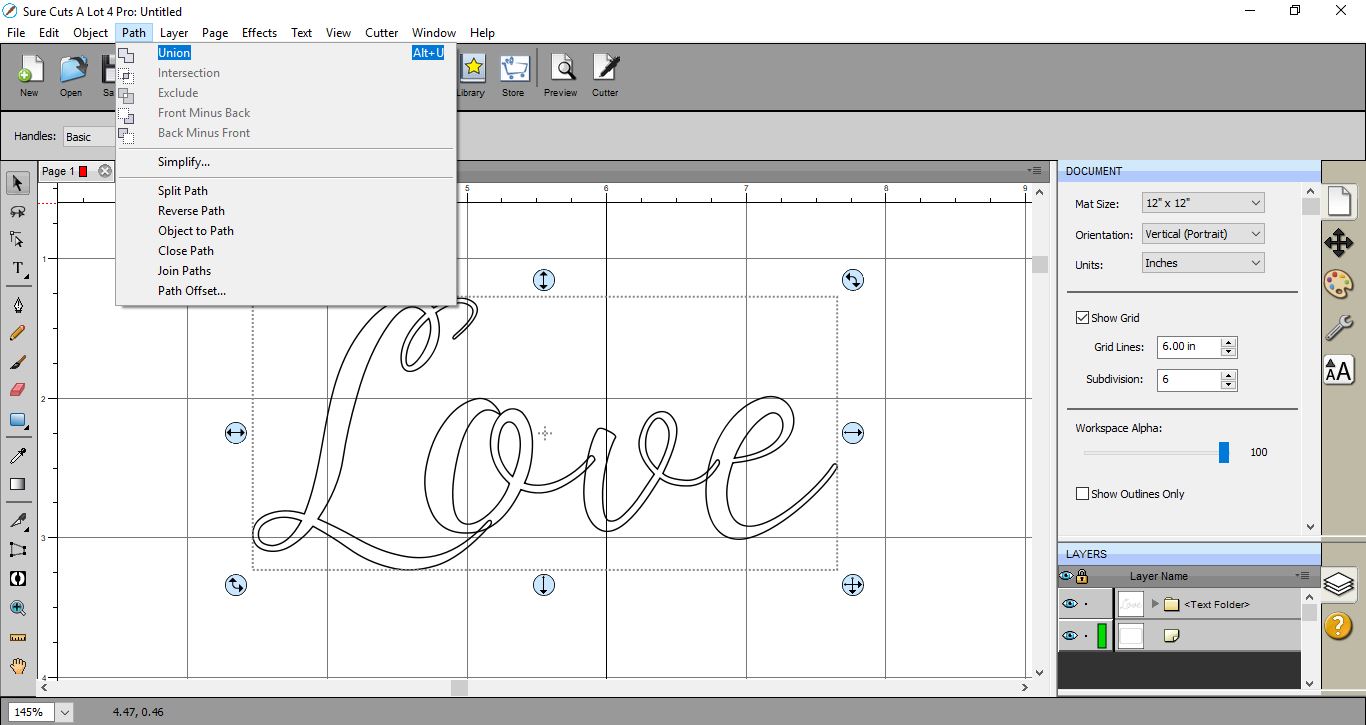
6- Select all the text and go to Path then select Union. This will weld the text together.
7- Select the text and right-click. Copy and paste to create a copy.
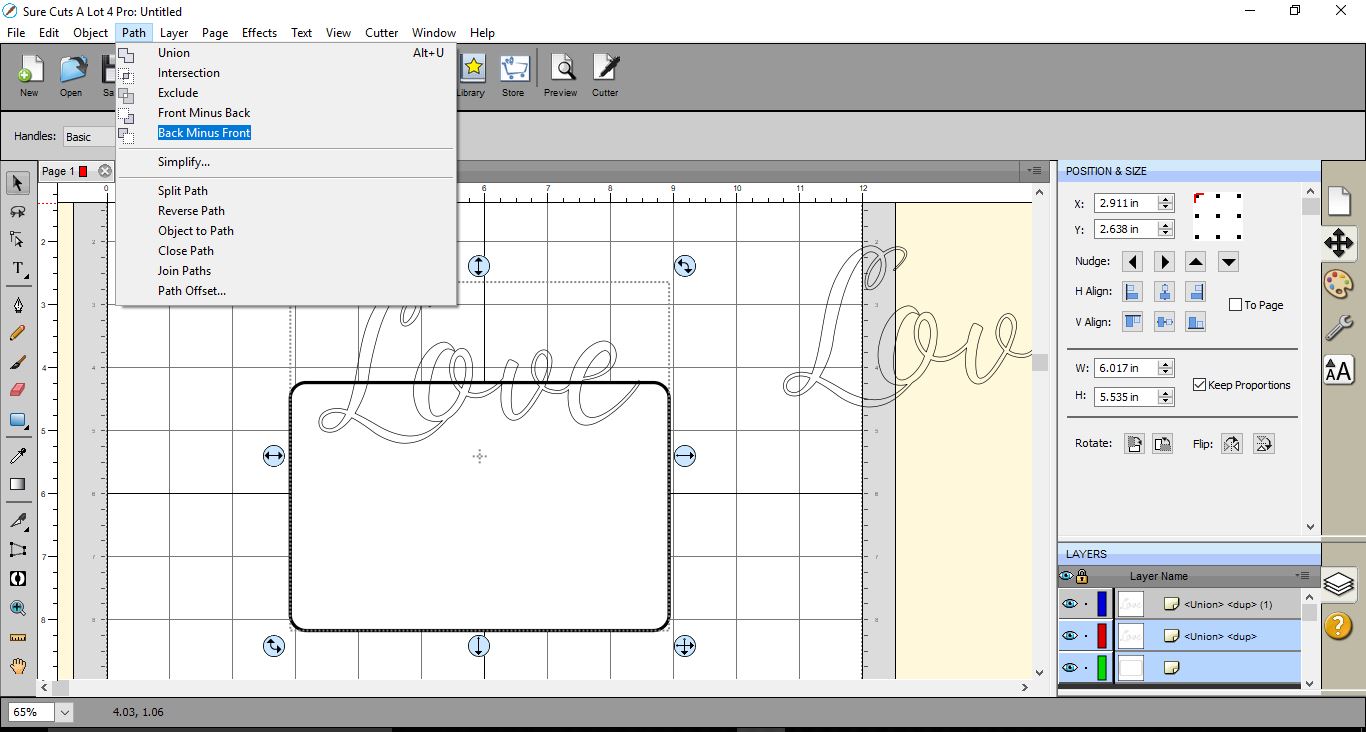
9- Move the text to overlap your shape. make sure that the text is at the front and the rectangle is behind.
10-Select both the text and shape. Go to Path > Back Minus Front.

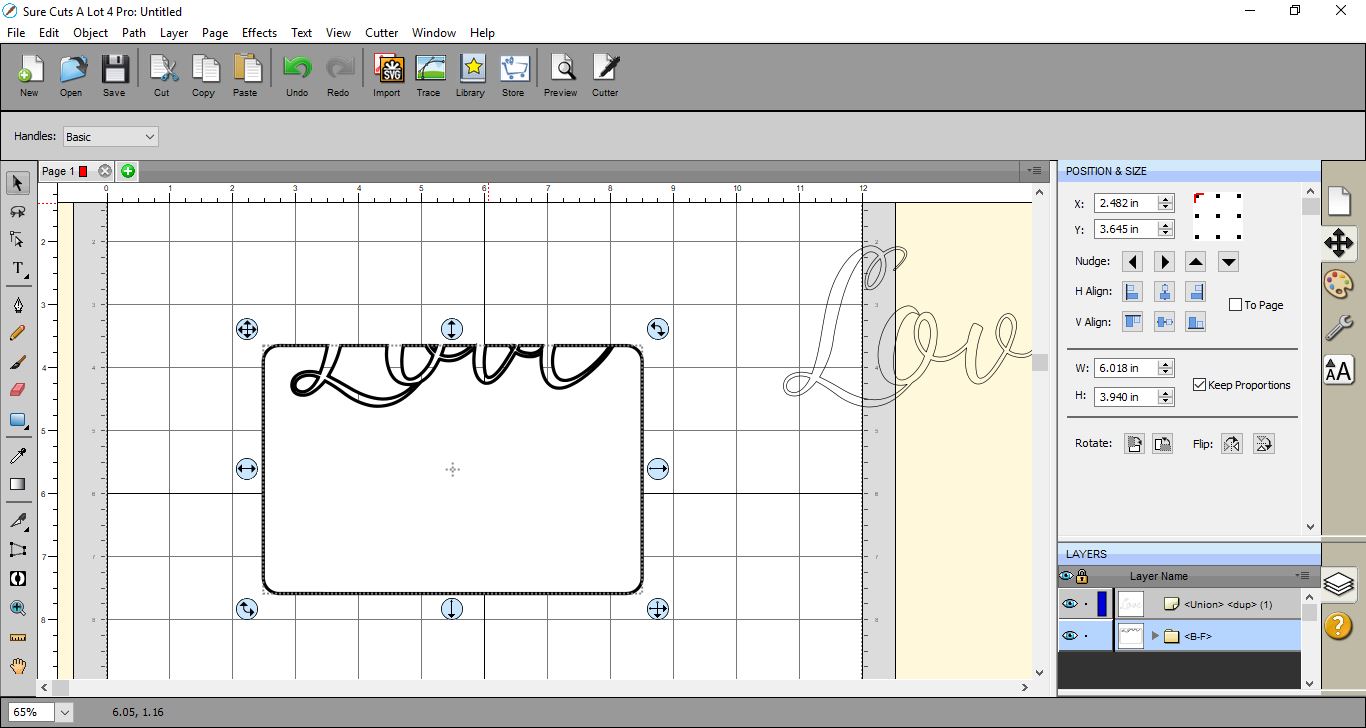
11- The text will be cut out of the top of your shape.
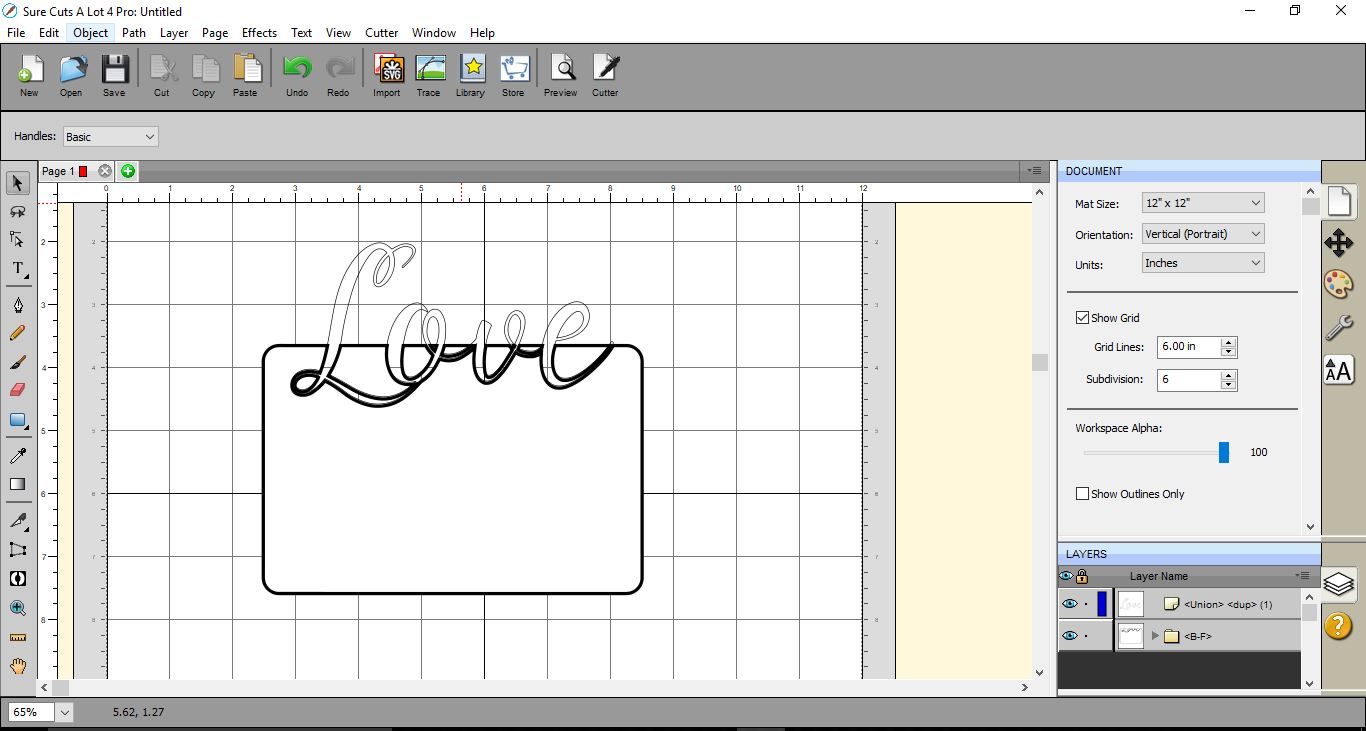
12- Move the text over the gaps so it inlays into your shape.
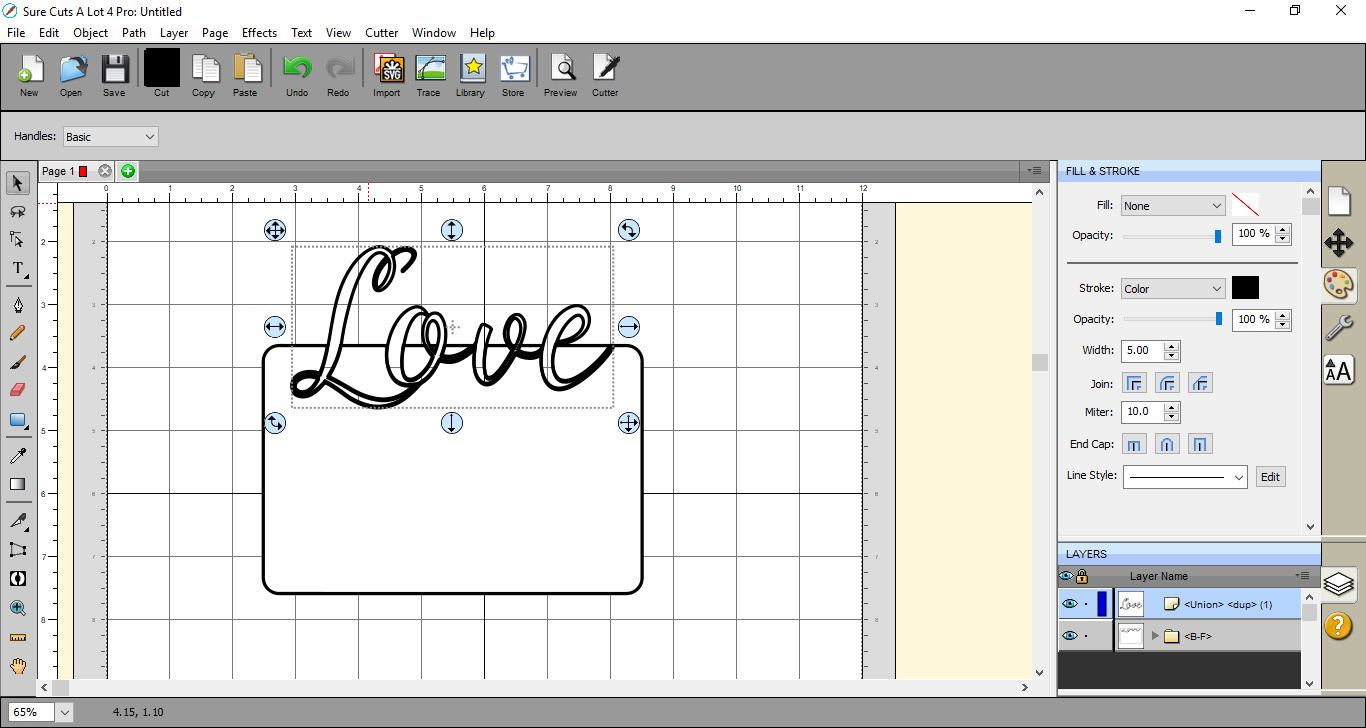
13- You can change the thickness of your line to see the text clearer.
14- This technique can be used to cut out and inlay on a card, or you can fill in the shape and text and print as an inlay then cut around the outer edge. as a print and cut.
1- Open SCAL4 software.
2-Write the text in the font you would like to use. I am using the Lovely Melissa font from fontbundles.net.
3- Next create the shape/card you would like to inlay the text in. I have created a rectangle.
4- Right-click on the text and ungroup it.
5- Move each letter so they overlap.
6- Select all the text and go to Path then select Union. This will weld the text together.
7- Select the text and right-click. Copy and paste to create a copy.
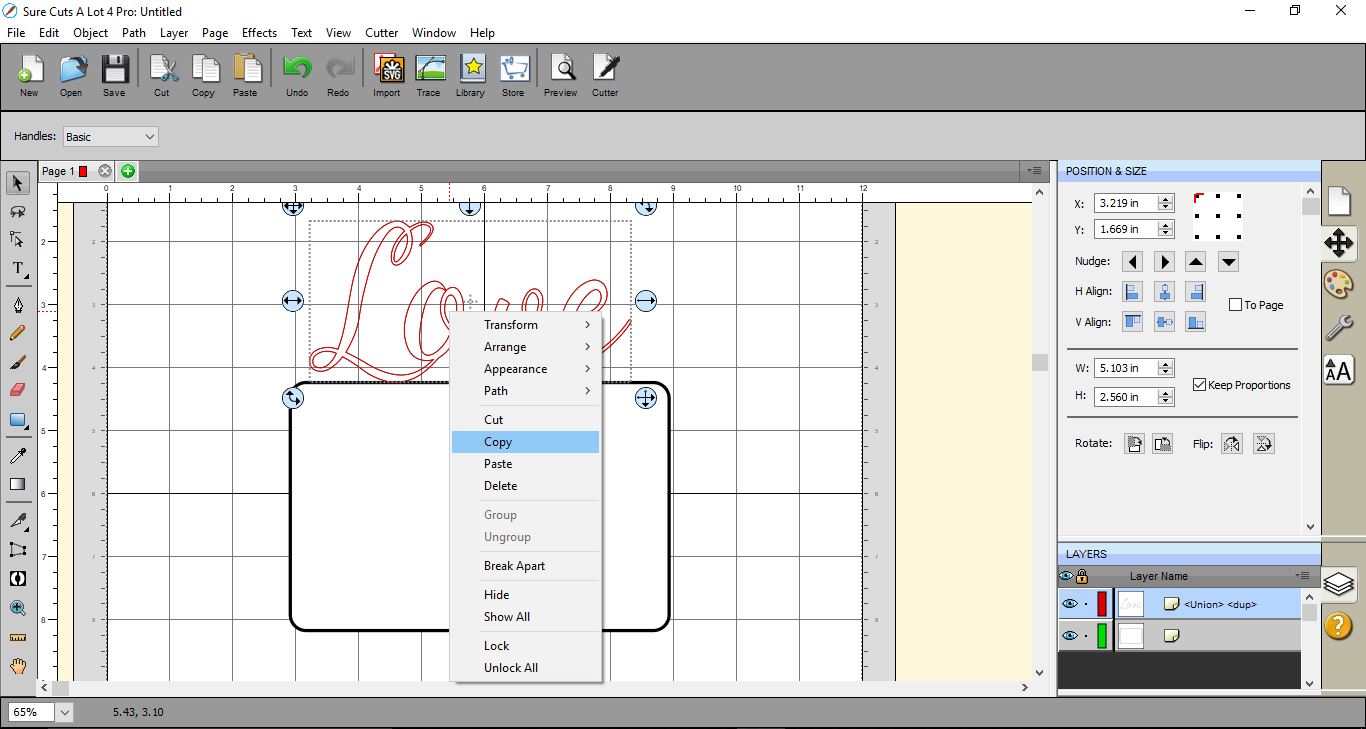
8- Move the second text to one side.
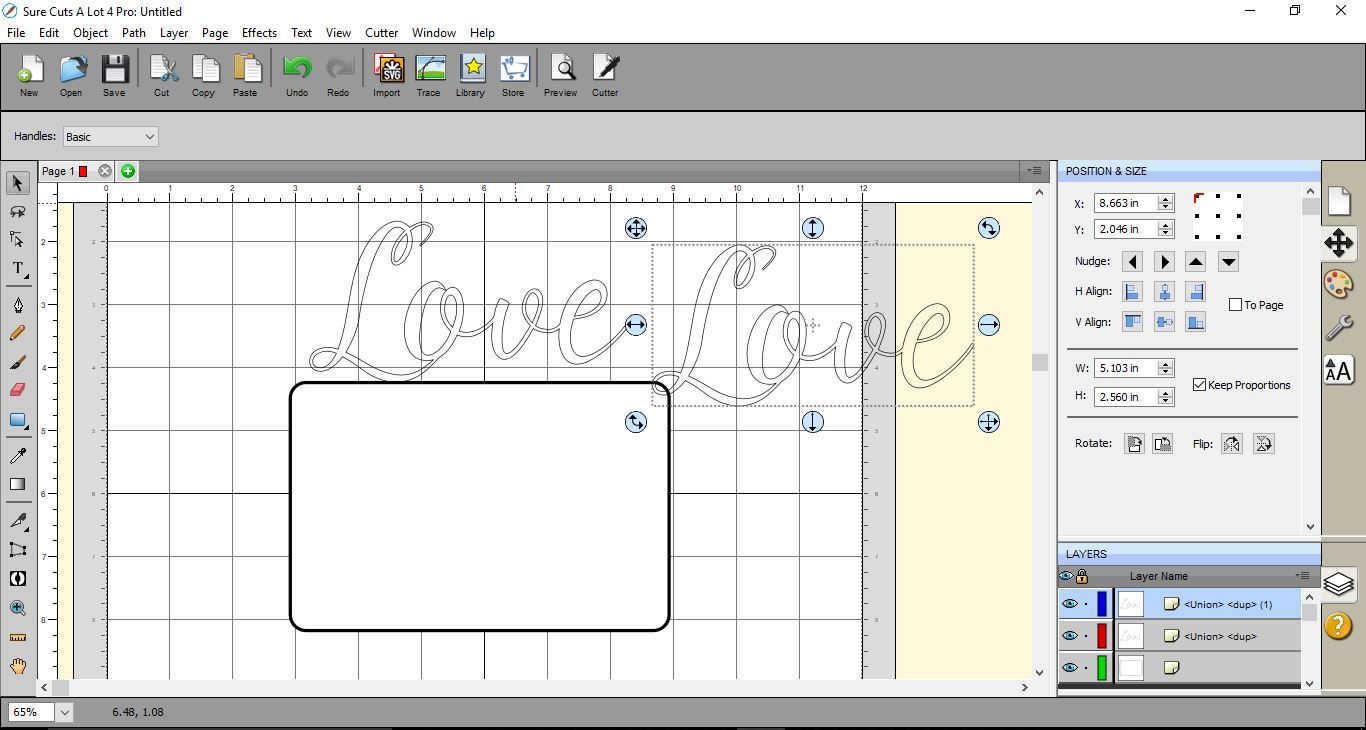
9- Move the text to overlap your shape. make sure that the text is at the front and the rectangle is behind.

10-Select both the text and shape. Go to Path > Back Minus Front.
11- The text will be cut out of the top of your shape.
12- Move the text over the gaps so it inlays into your shape.
13- You can change the thickness of your line to see the text clearer.
14- This technique can be used to cut out and inlay on a card, or you can fill in the shape and text and print as an inlay then cut around the outer edge. as a print and cut.
