
How to Cut Stamped Images Without a Picscan Mat in Silhouette Studio
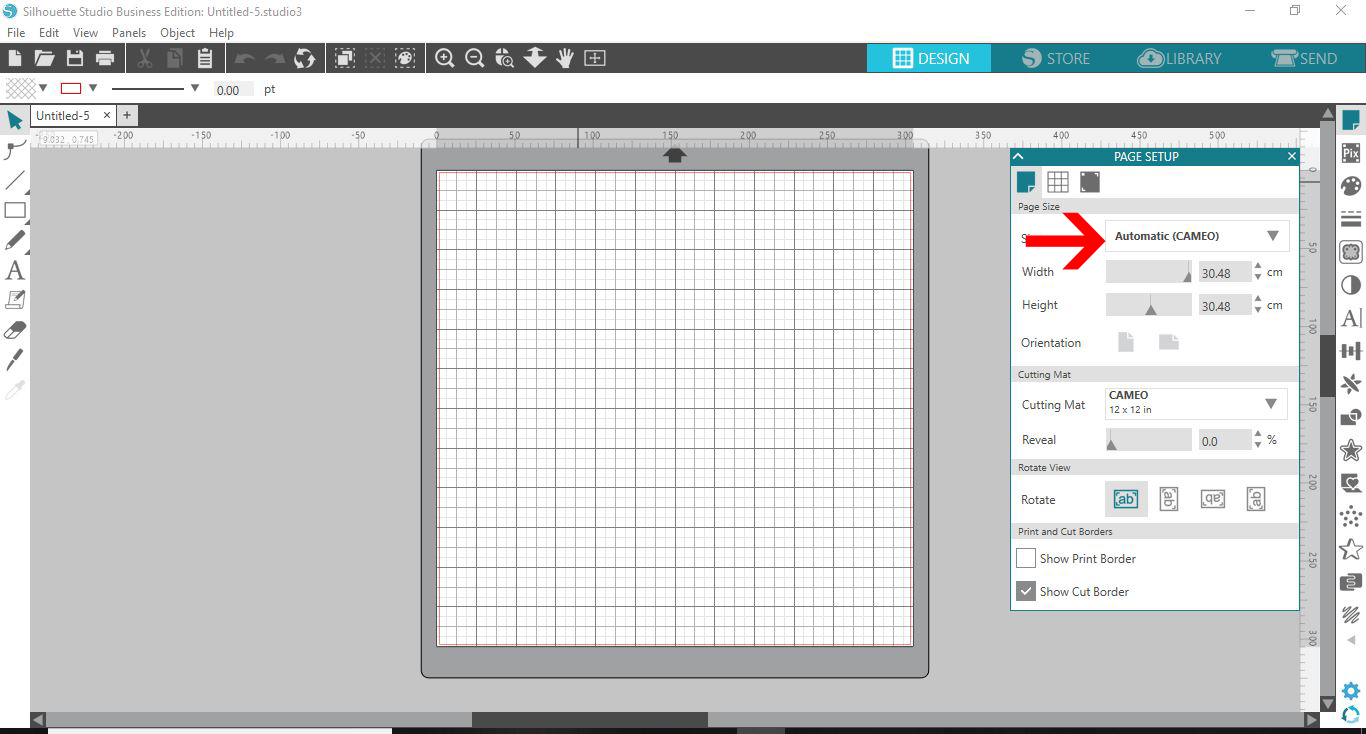
1- Open Silhouette Studio. Click on the page setup icon. Adjust the media to A4 (or letter if in USA).
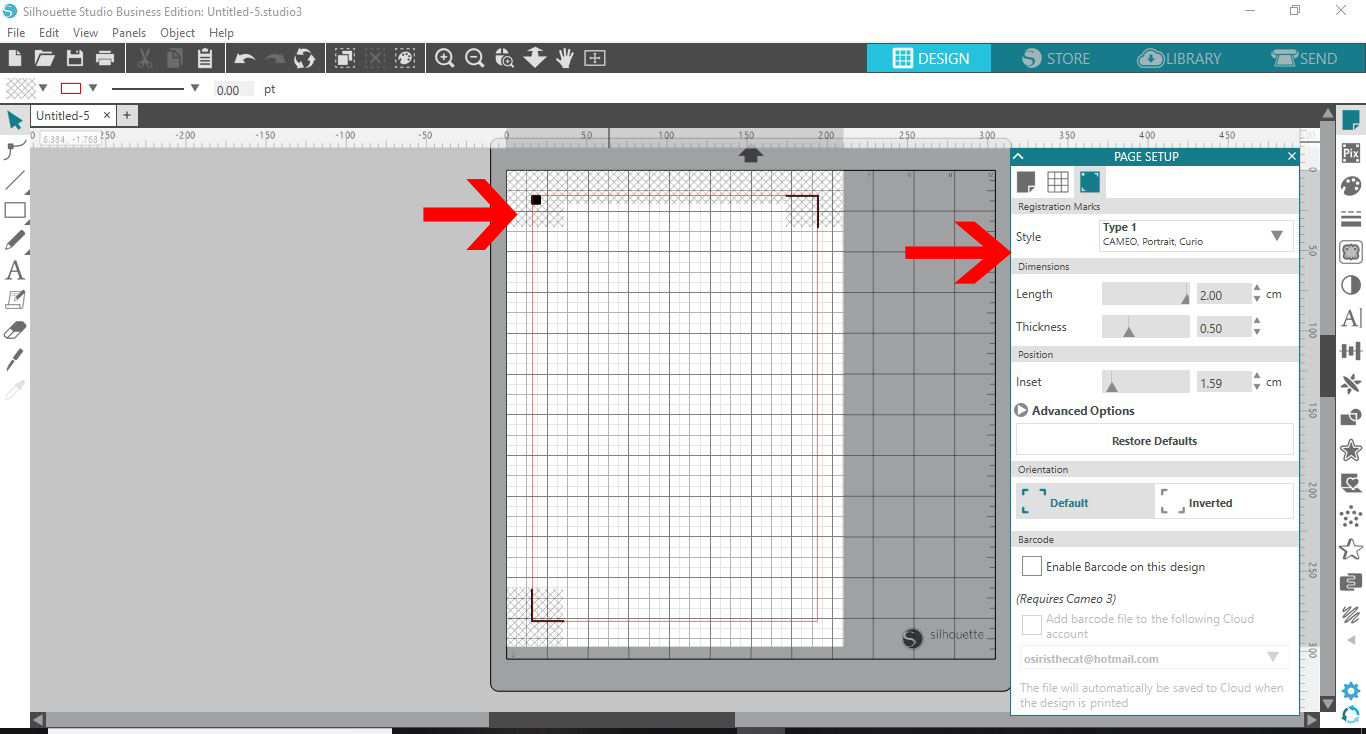
2- Turn on the registration marks. Print the blank page with the registration marks on them.
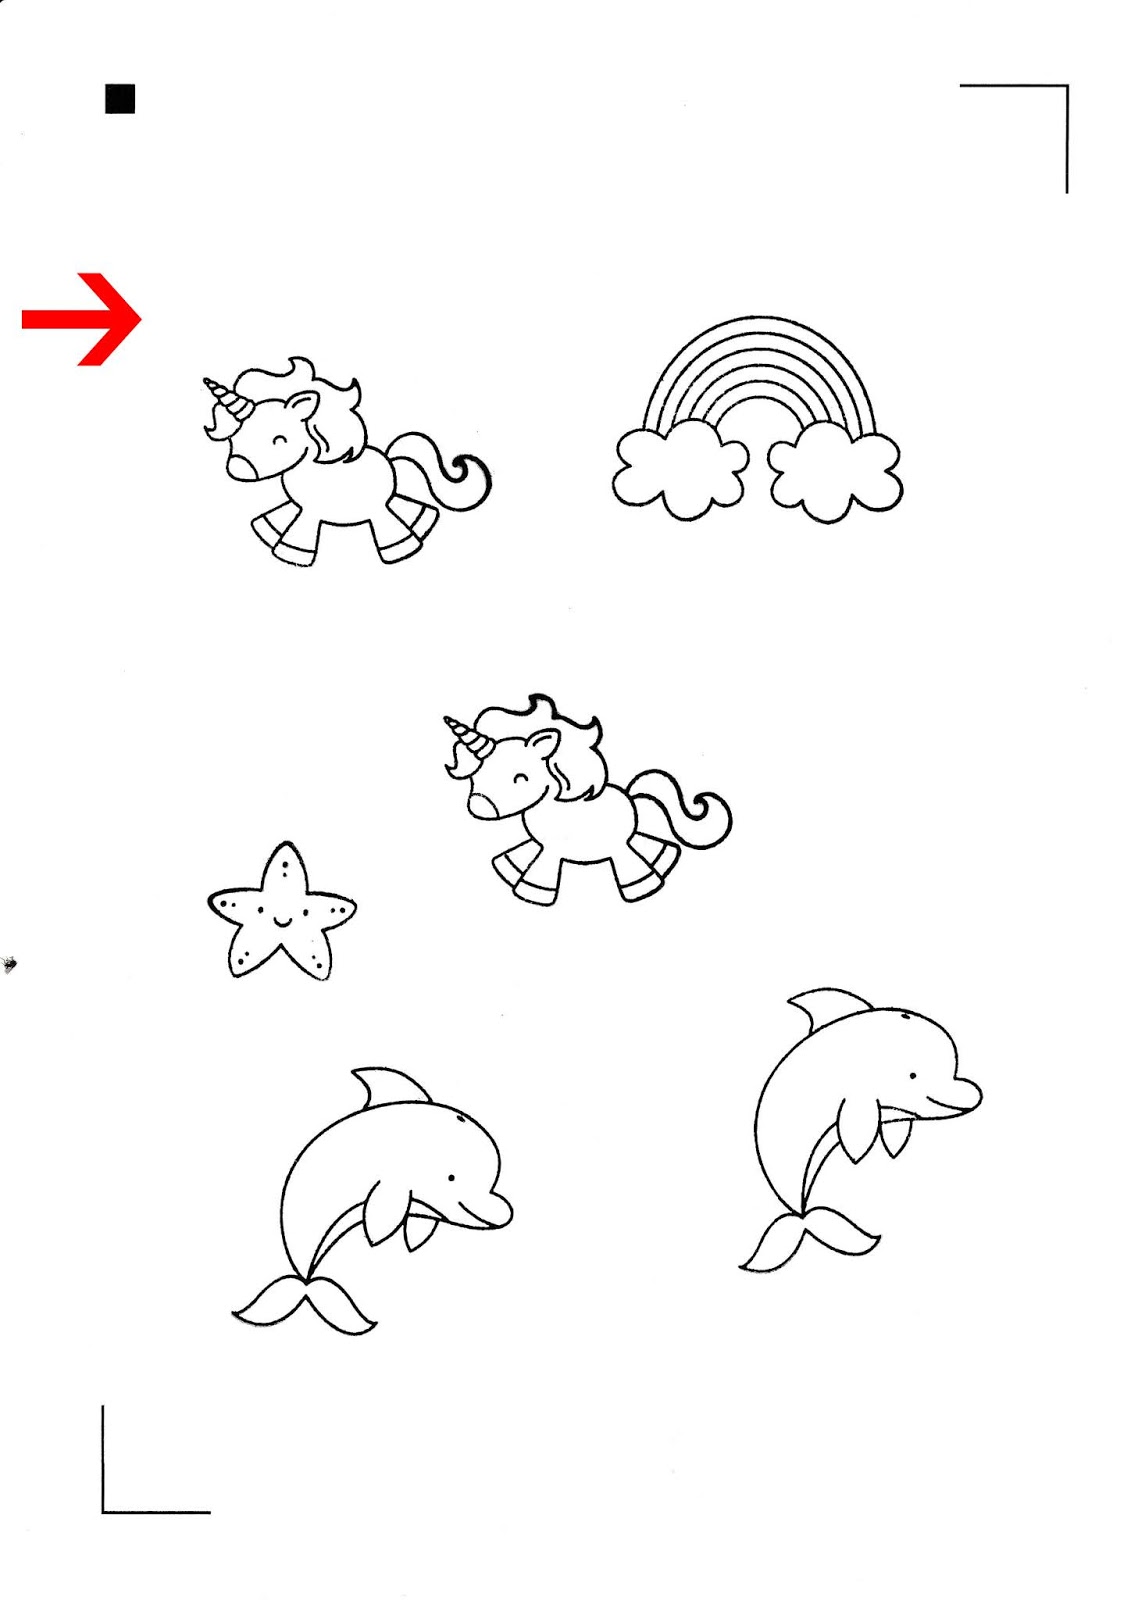
3- On the blank paper with the registration marks printed, stamp your images within the marks.
Place your sheet of paper/card into your scanner and scan into your PC. Scan as a Jpeg. Save.
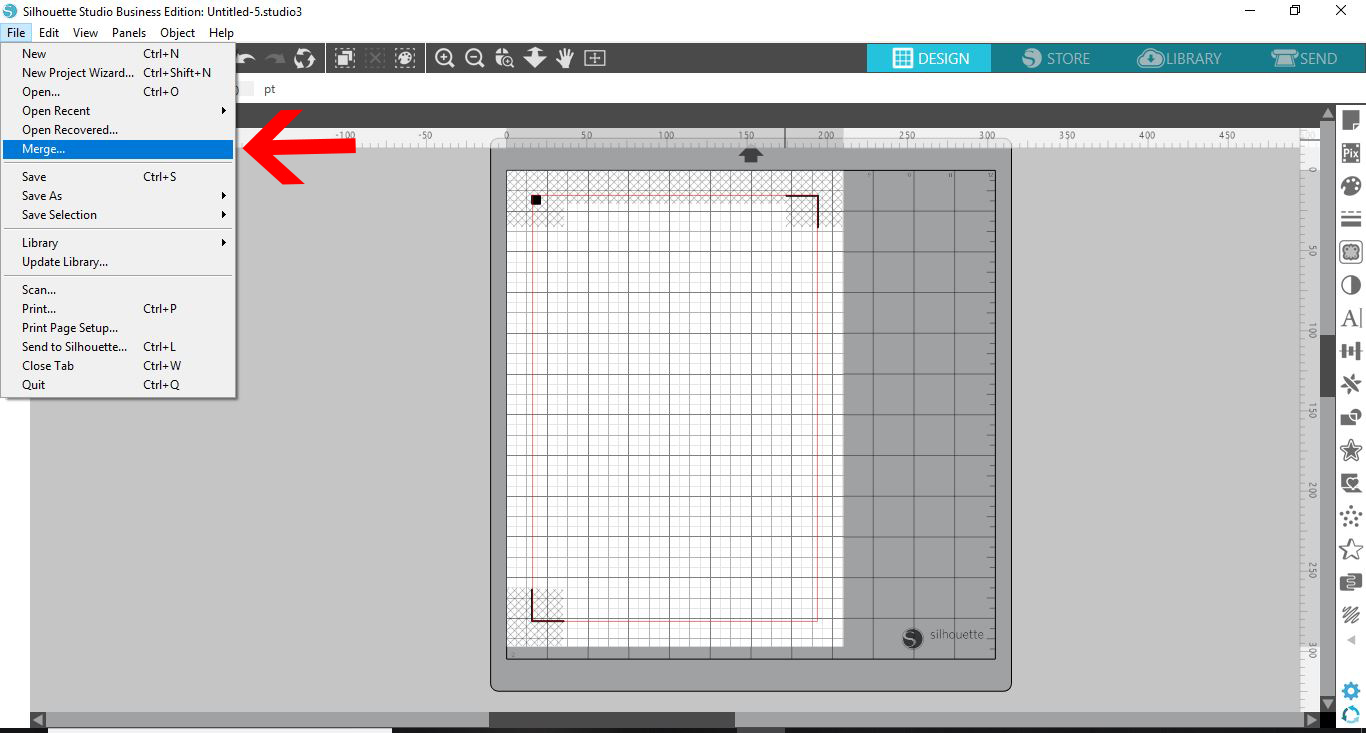
4- Go to file - merge. Select your scanned file.
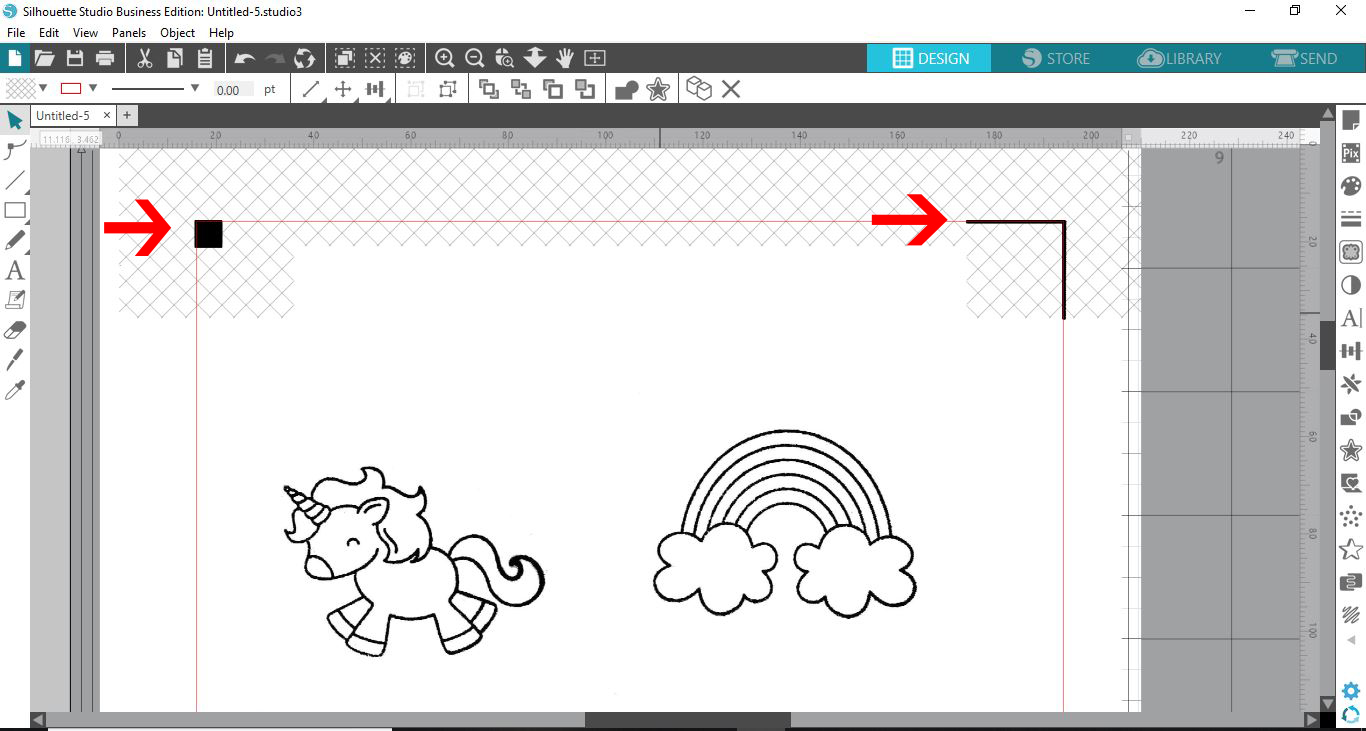
5- Your scanned image will appear on your workspace.
6- Move your scanned page over the registration marks in your workspace. Line them up evenly.
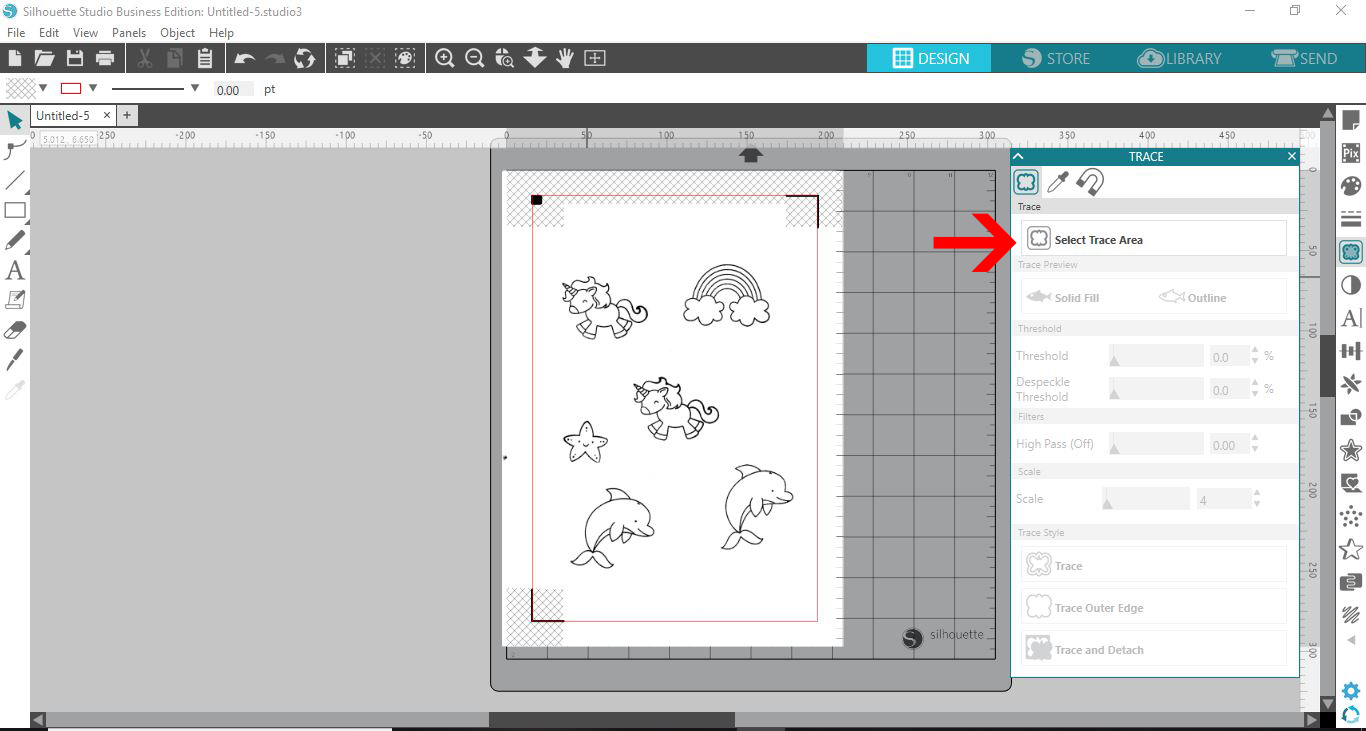
7- Go to the trace icon and click. Select trace area.
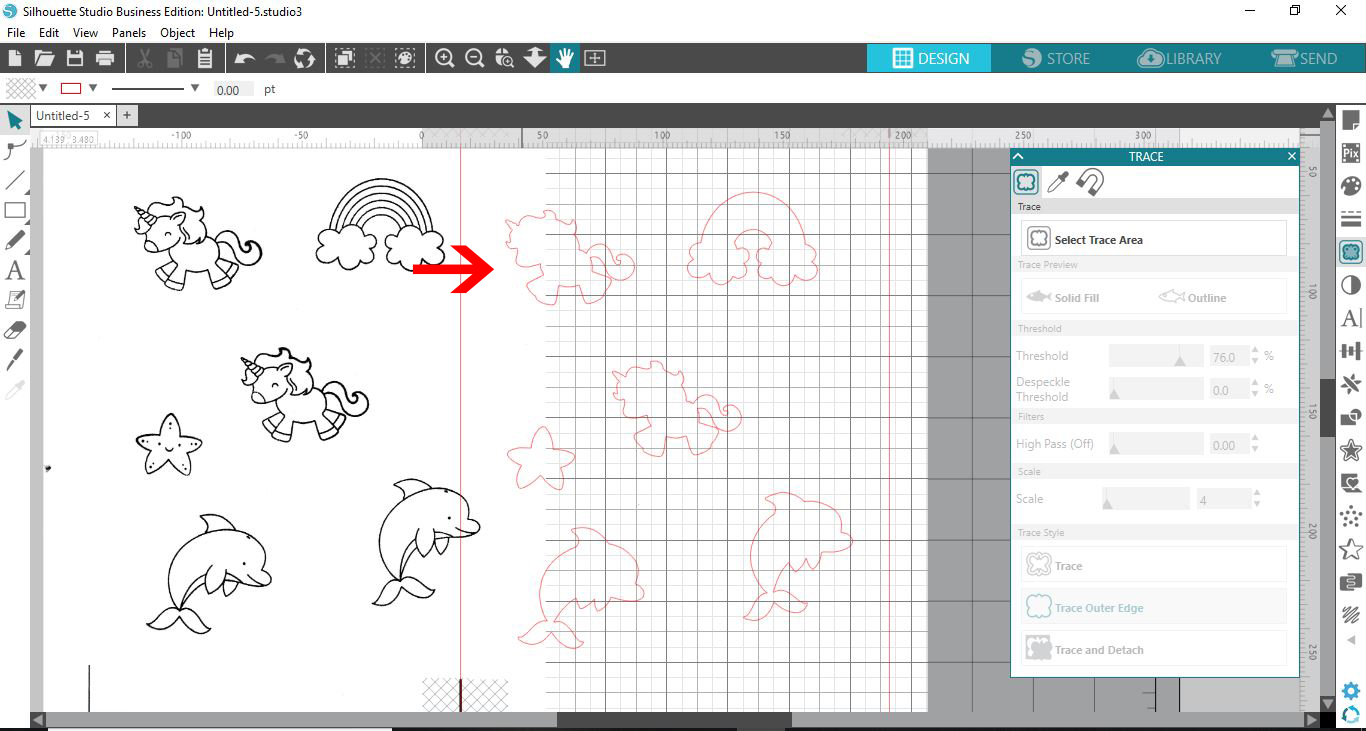
8- Your images will highlight. Adjust the trace settings to get the best trace. Click the trace icon.
9- As you can see all your stamped images are traced.
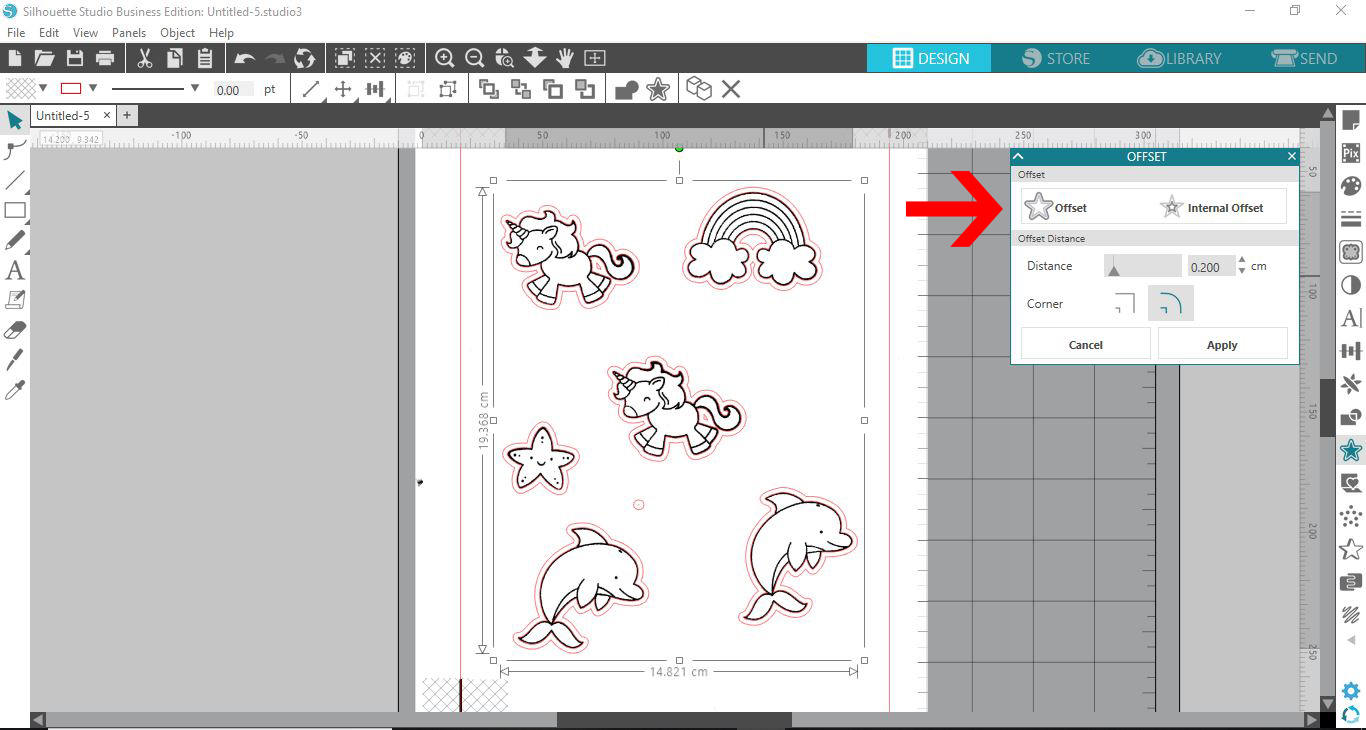
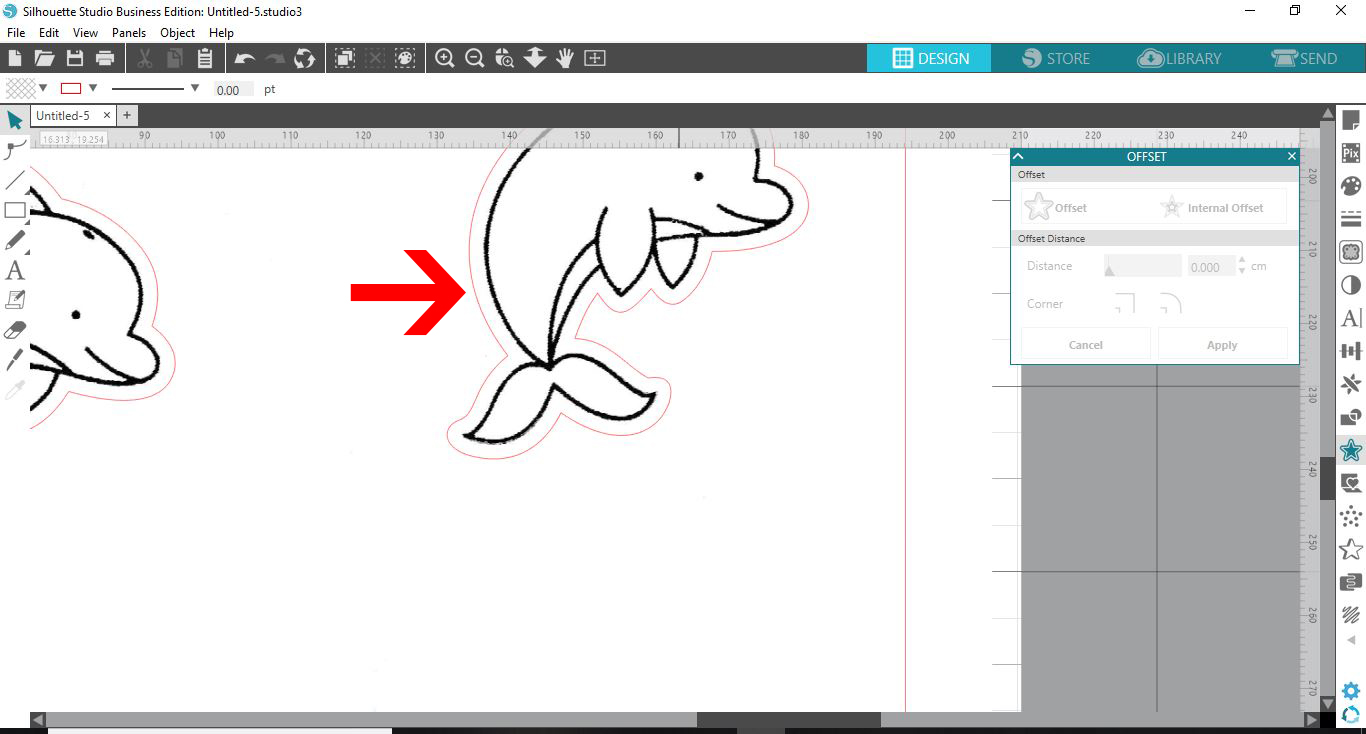
10- With your trace lines in the correct place. click on them and then go to the offset icon.
11- An offset will appear around your stamped images. Delete the original trace lines.
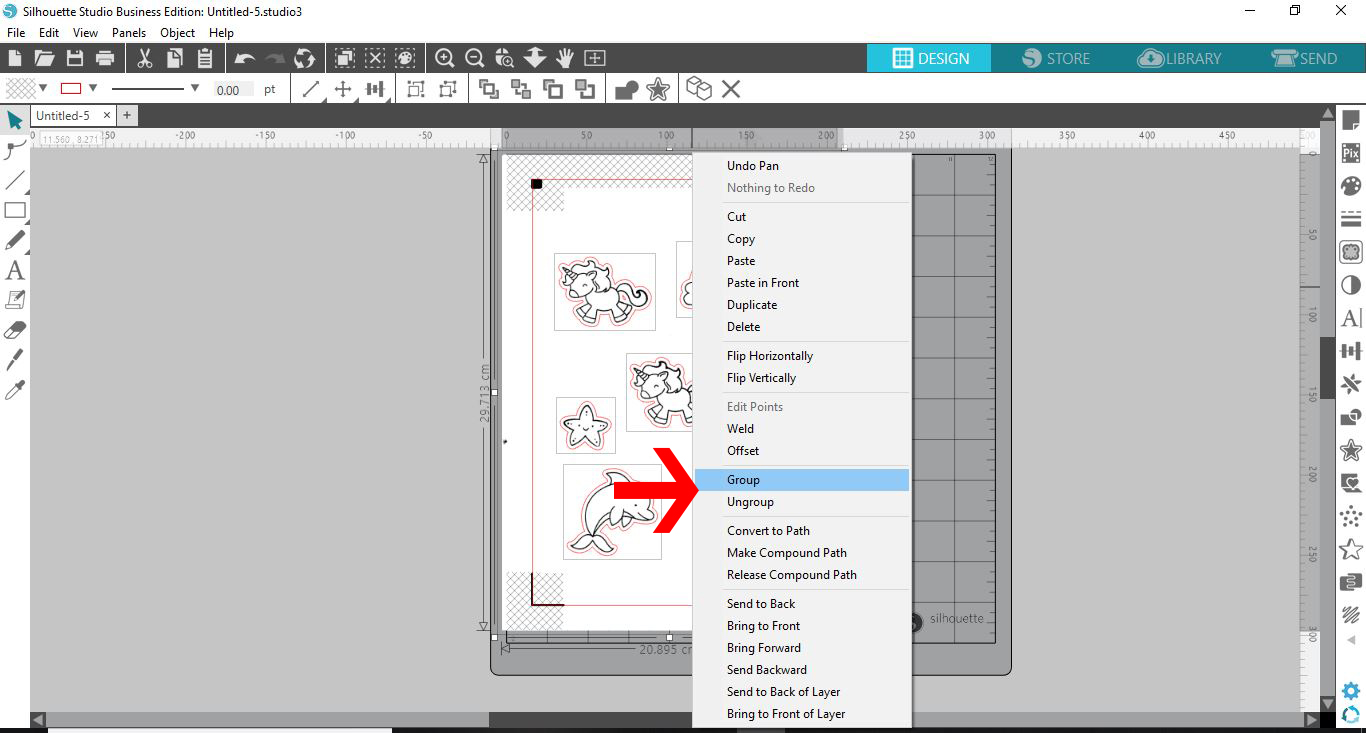
12- With the offset cut lines and your images selected, right click and group them together so they do not move.
13- Place your stamped images on your cut mat, then go to send. The software will read the registration marks. You can now cut the stamped images.
2- Turn on the registration marks. Print the blank page with the registration marks on them.
3- On the blank paper with the registration marks printed, stamp your images within the marks.
Place your sheet of paper/card into your scanner and scan into your PC. Scan as a Jpeg. Save.
4- Go to file - merge. Select your scanned file.
5- Your scanned image will appear on your workspace.

6- Move your scanned page over the registration marks in your workspace. Line them up evenly.
7- Go to the trace icon and click. Select trace area.
8- Your images will highlight. Adjust the trace settings to get the best trace. Click the trace icon.

9- As you can see all your stamped images are traced.
10- With your trace lines in the correct place. click on them and then go to the offset icon.
11- An offset will appear around your stamped images. Delete the original trace lines.
12- With the offset cut lines and your images selected, right click and group them together so they do not move.
13- Place your stamped images on your cut mat, then go to send. The software will read the registration marks. You can now cut the stamped images.


