
How to Make a Two Color Decal in Silhouette Studio
Learn how to create a two color sticker decal in Silhouette Studio with this tutorial.
Decalsinvolving more than one color can easily be created in Silhouette Studio. This can also involve the process of layering on your material. Decals are used for various applications. These include signage, wall decoration or adding character to personal items. In this tutorial we will show you how to make a two color decal in Silhouette Studio.
Any Calligraphic font can be used for this tutorial. We also used a Heart Flexi Shape for our design. If you would like to know more, be sure to check outhow to use Flexi Shapes in Silhouette Studio.
Step 1 - Add an Offset to your design
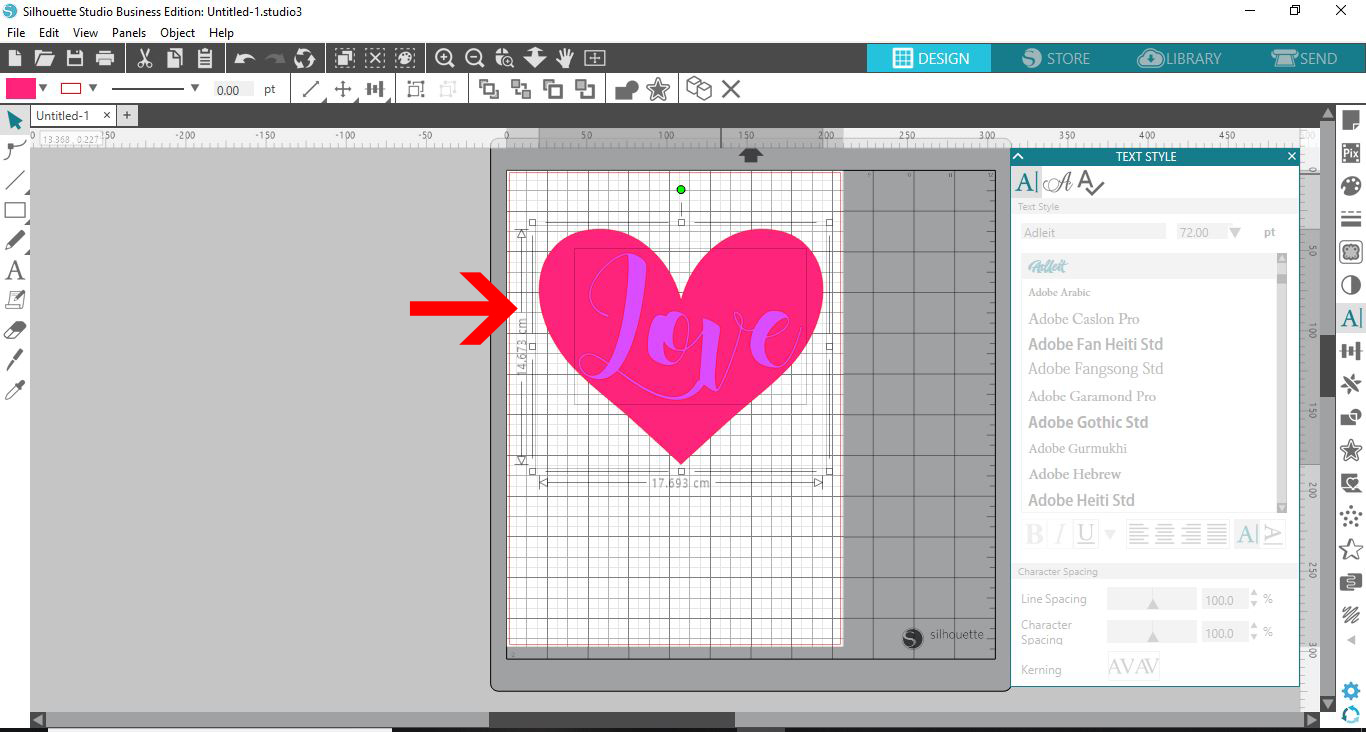
After you have opened Silhouette Studio, create your design. We selected the Heart Flexi Shape and also created a text object with the word ‘Love’. The text was layered on top of the Heart Shape.
With the text object selected, click on the Offset tool on the right side panel. In the panel, click on Offset.
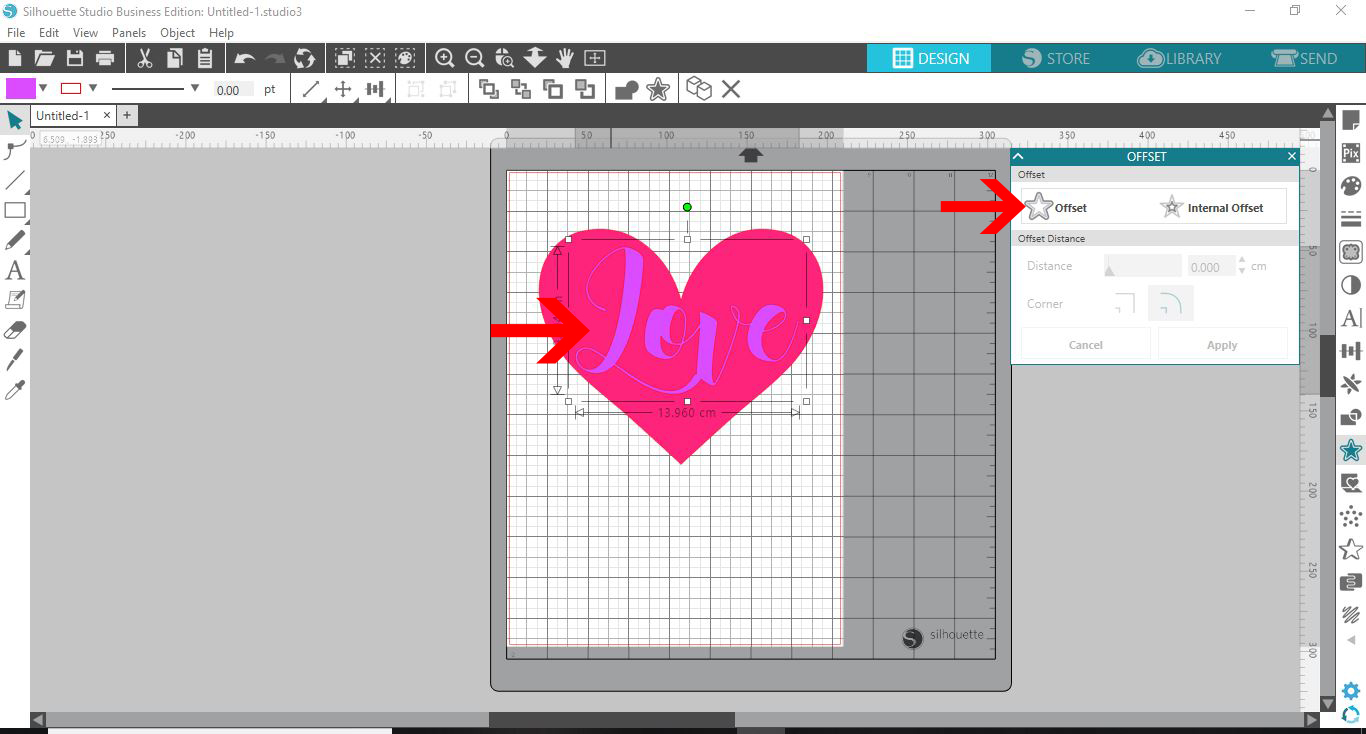
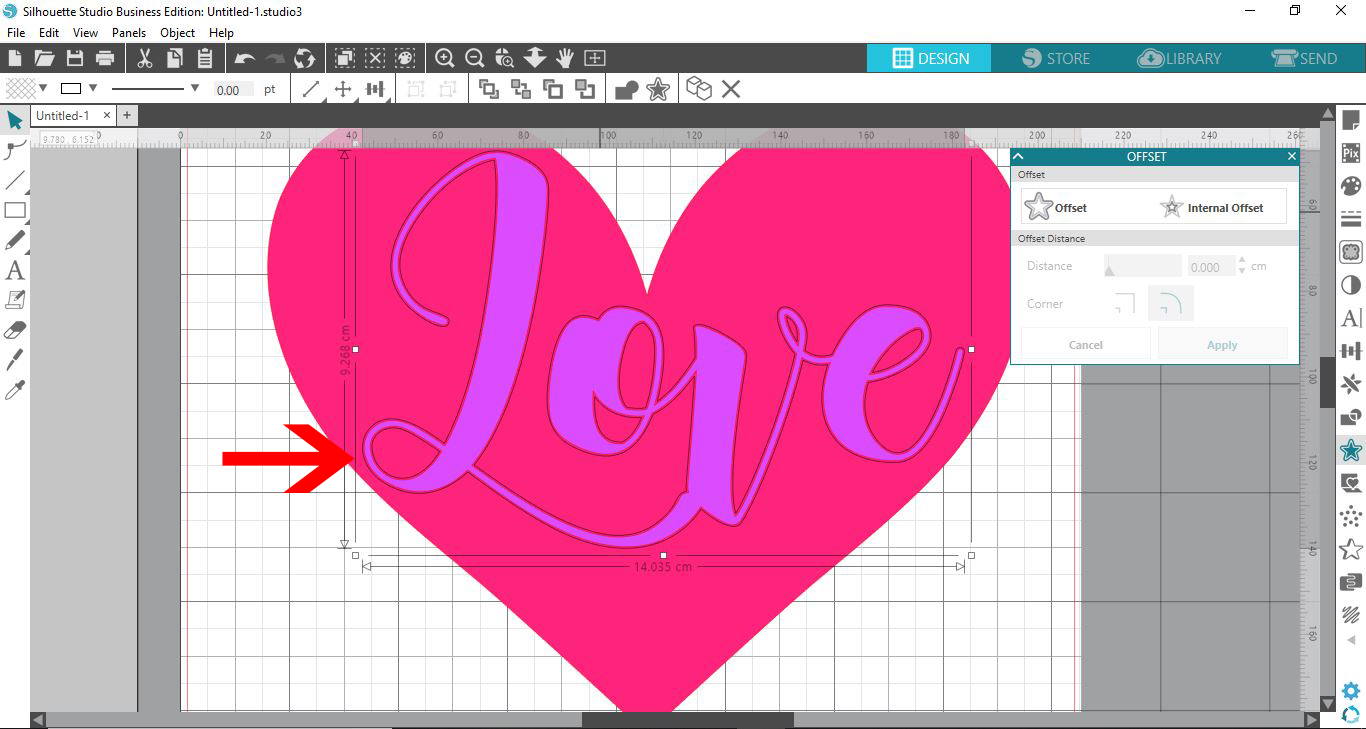
We want to create a very small offset around the text of about 0.04cm.This will help when layering later on.
Step 2 - Use Subtract under the Modify Panel
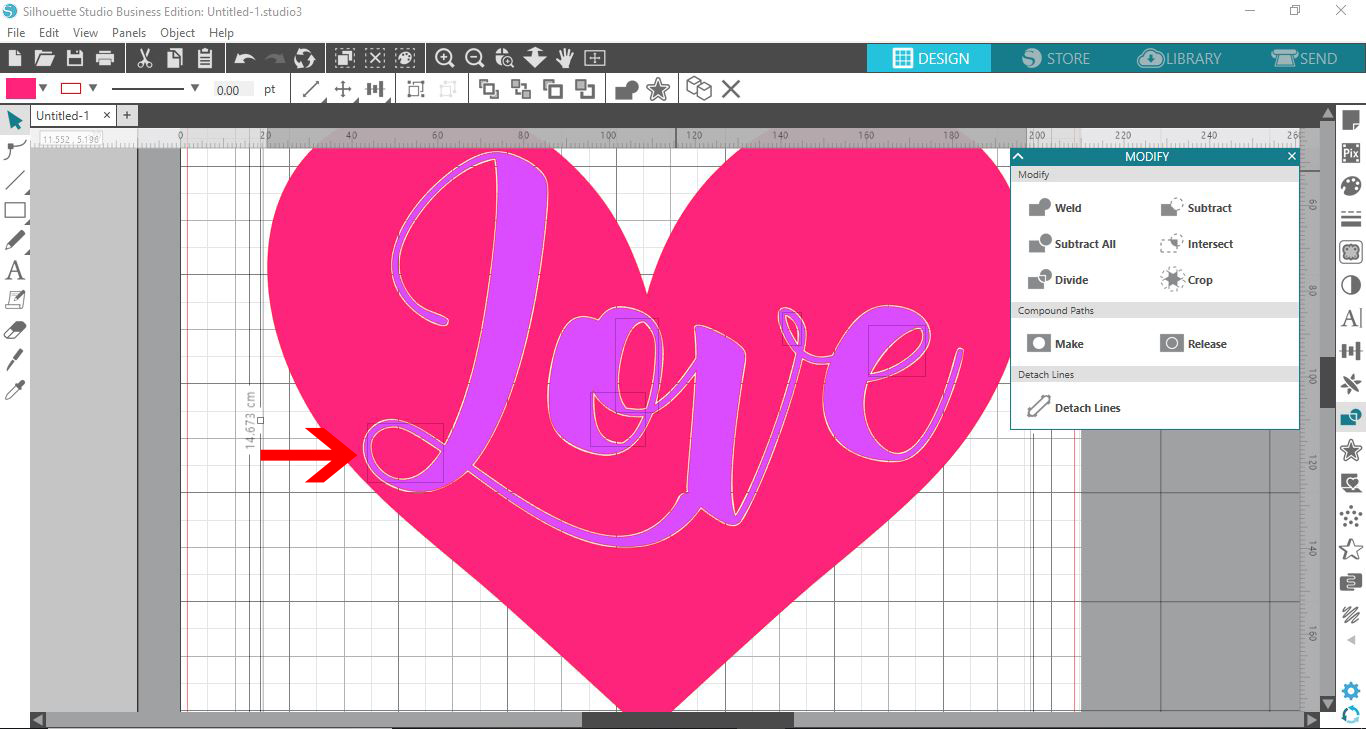
With the offset still selected, also select the bottom part of the design. Then, click on the Modify panel on the right hand side. Under the panel click Subtract. If you would like more details be sure to check out using the Modify panel in Silhouette Studio.
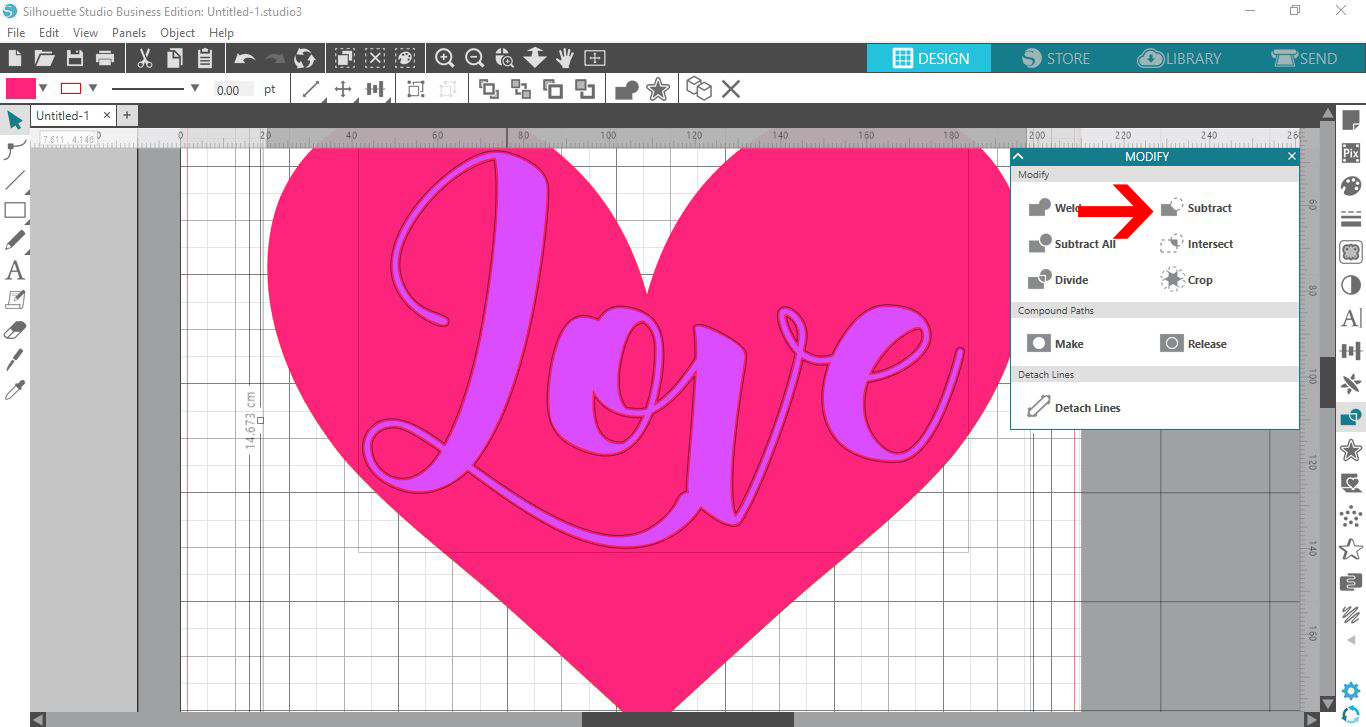
There is now a very fine gap between the bottom and top layer. This way you can lay the vinyl and not have the bulk.
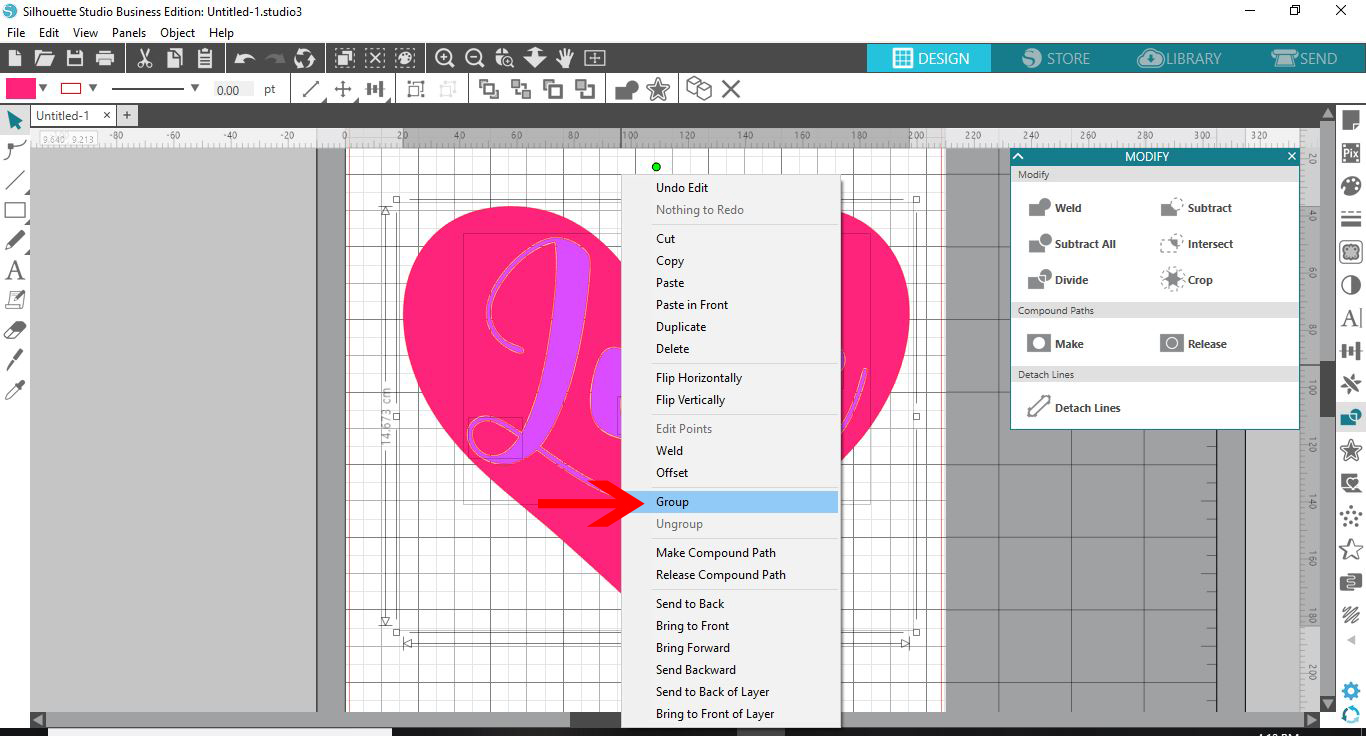
Select everything, right click and group.
Step 3 - Create manual Registration marks for layering
When layering more than one color vinyl, it helps to have guides to line everything up. There are various ways to layer vinyl. But for this tutorial we will create andusemanual registration guides. On the left hand side select the Rectangle tool.
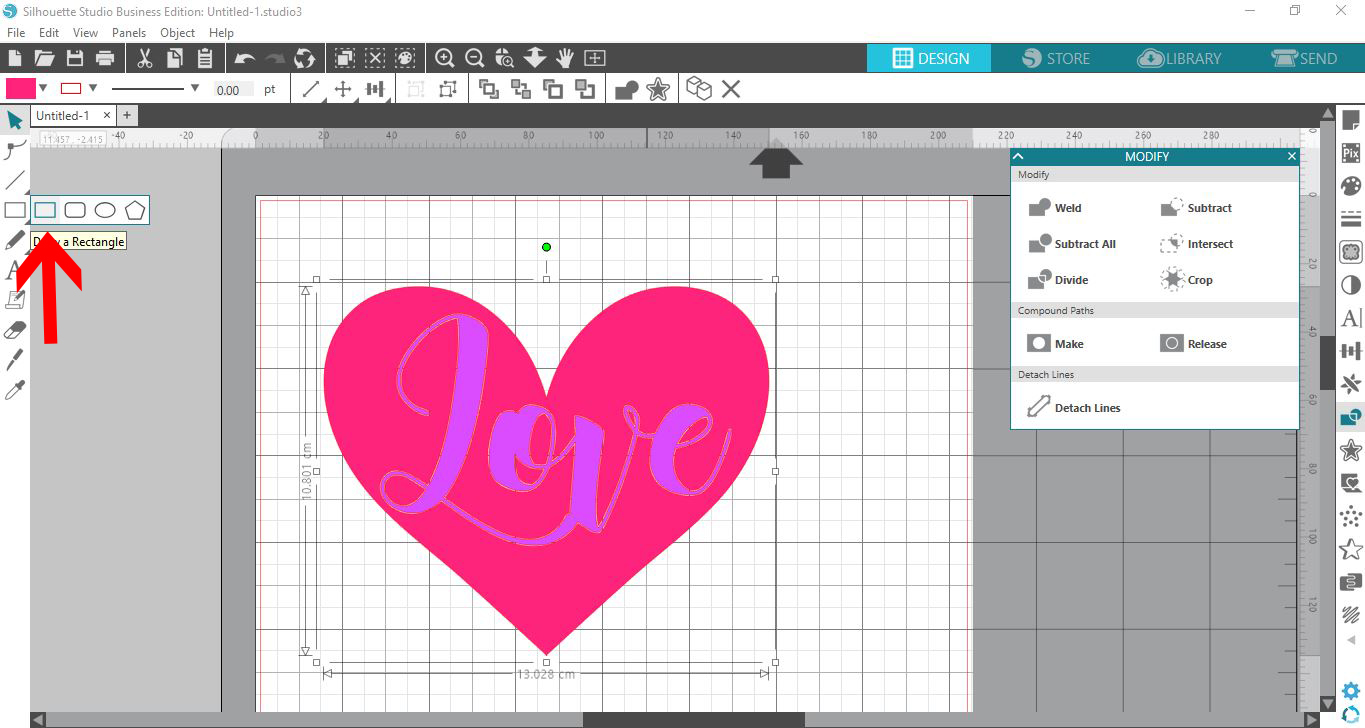
Click and drag out a small rectangle as shown in the image below.
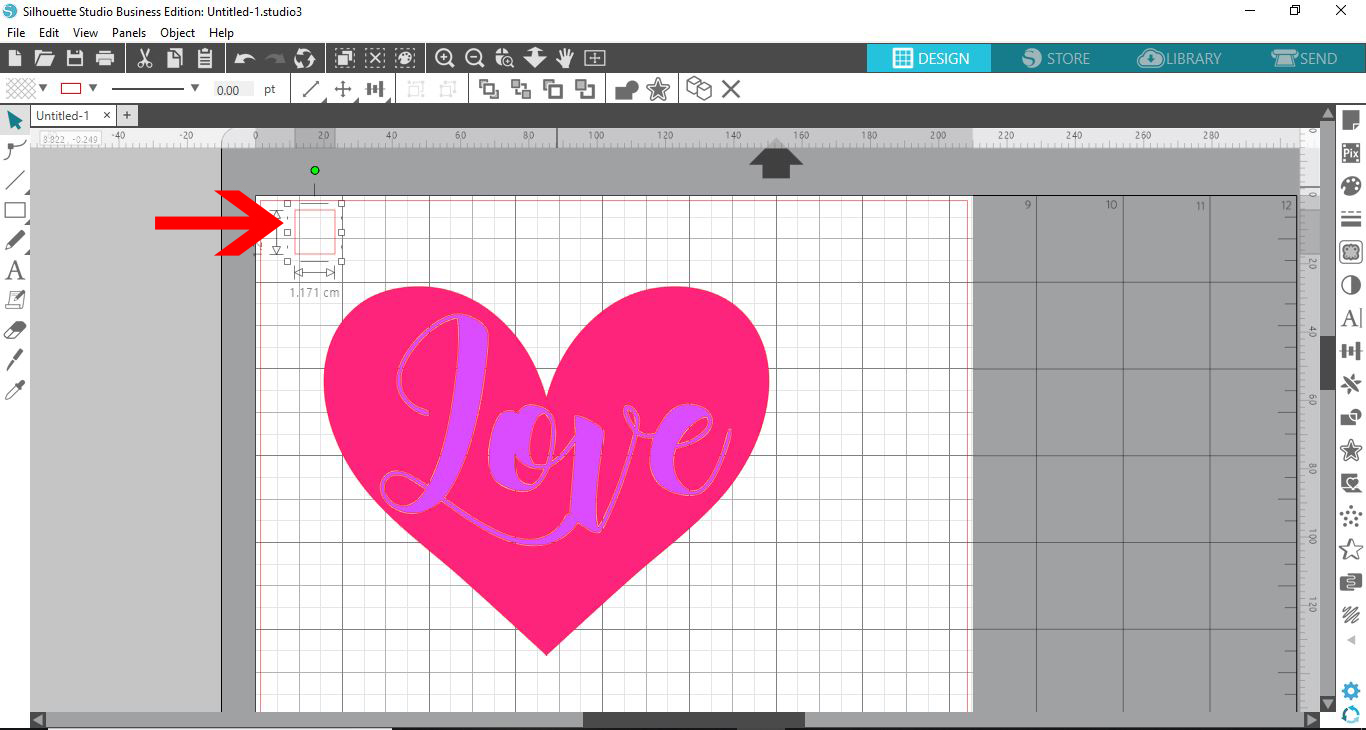
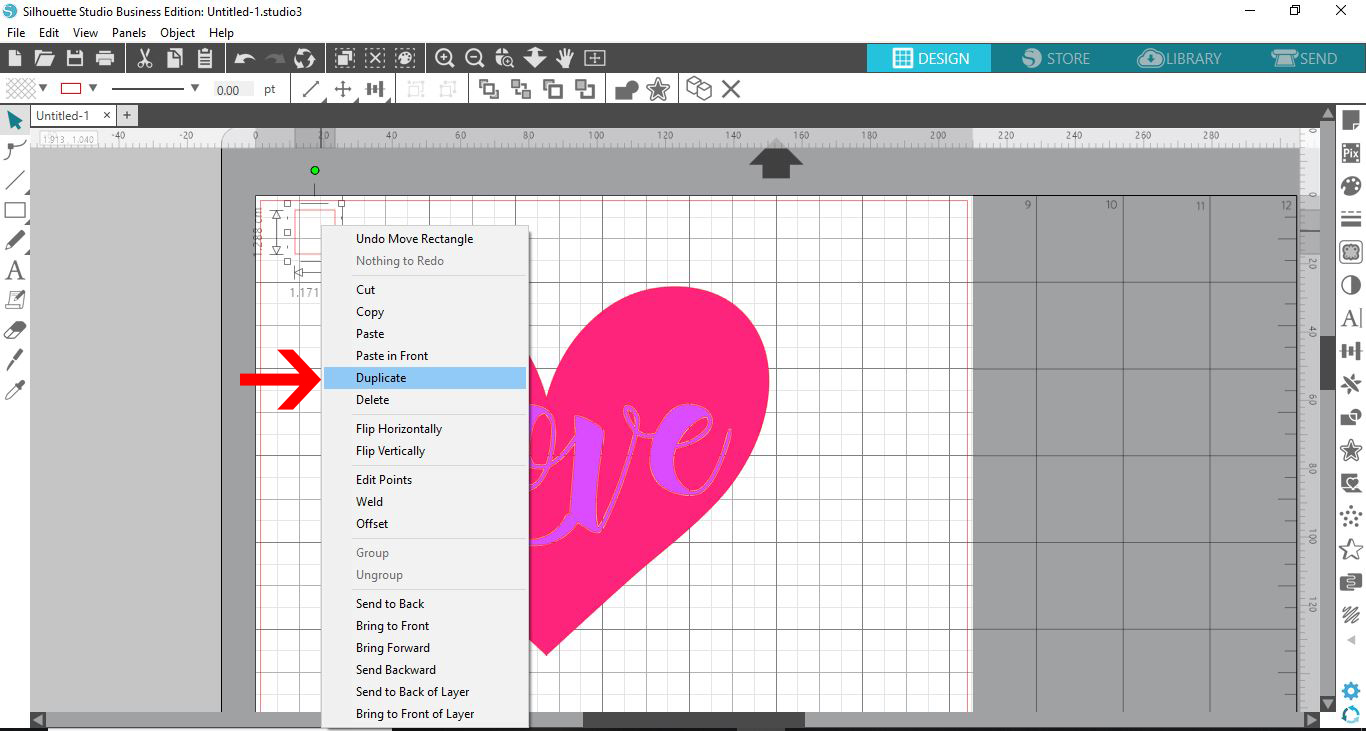
Right click on the rectangle and duplicate it.
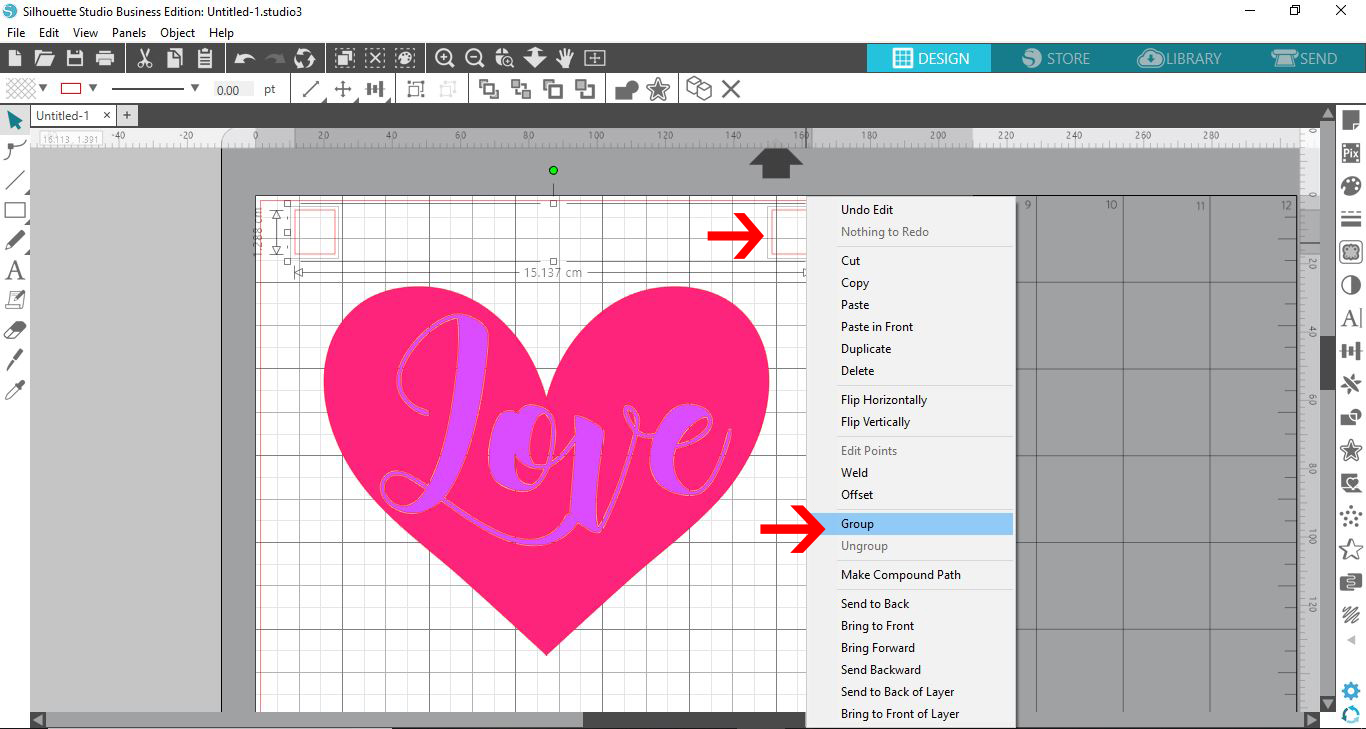
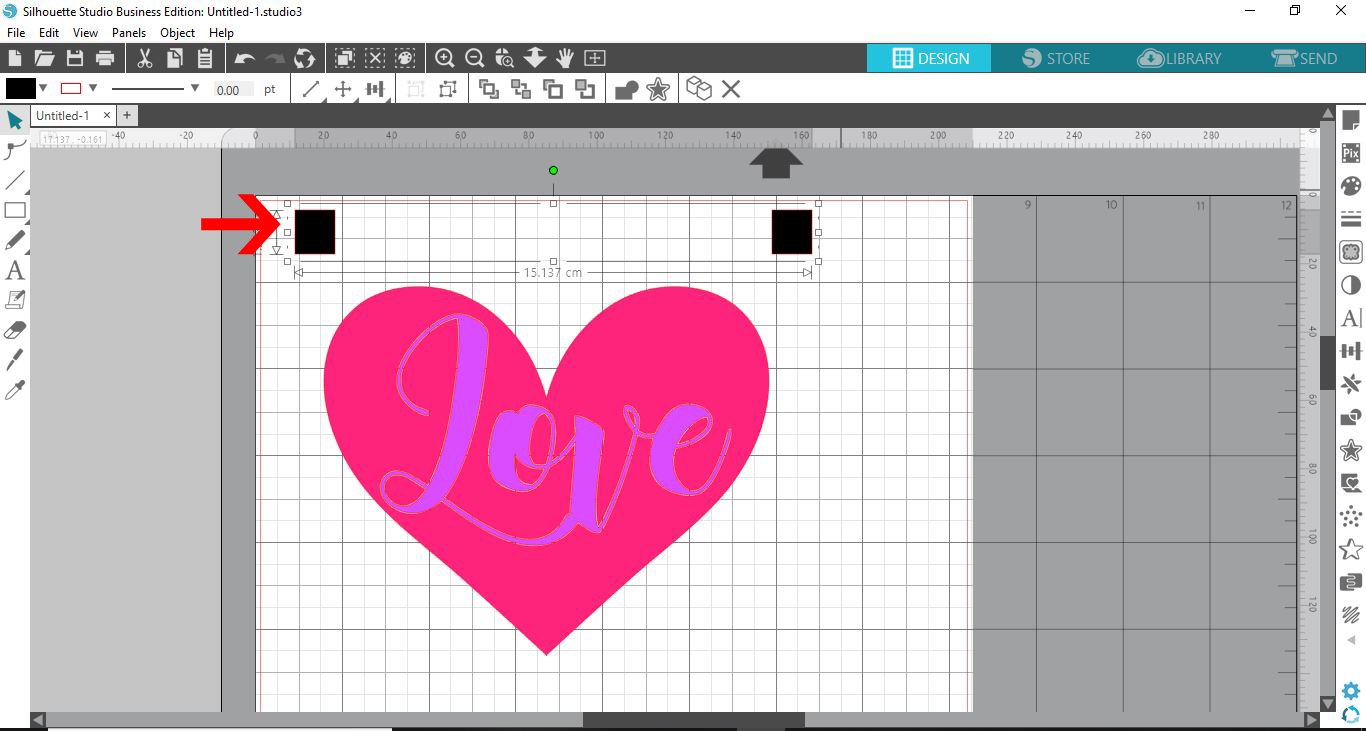
Select the second rectangle by clicking on it.Move the duplicate rectangle to the other side of the design. Select both rectangles, right click and Group.
Fill the rectangles with a black. You can use the Fill option top left corner or the Fill panel on the right hand side.
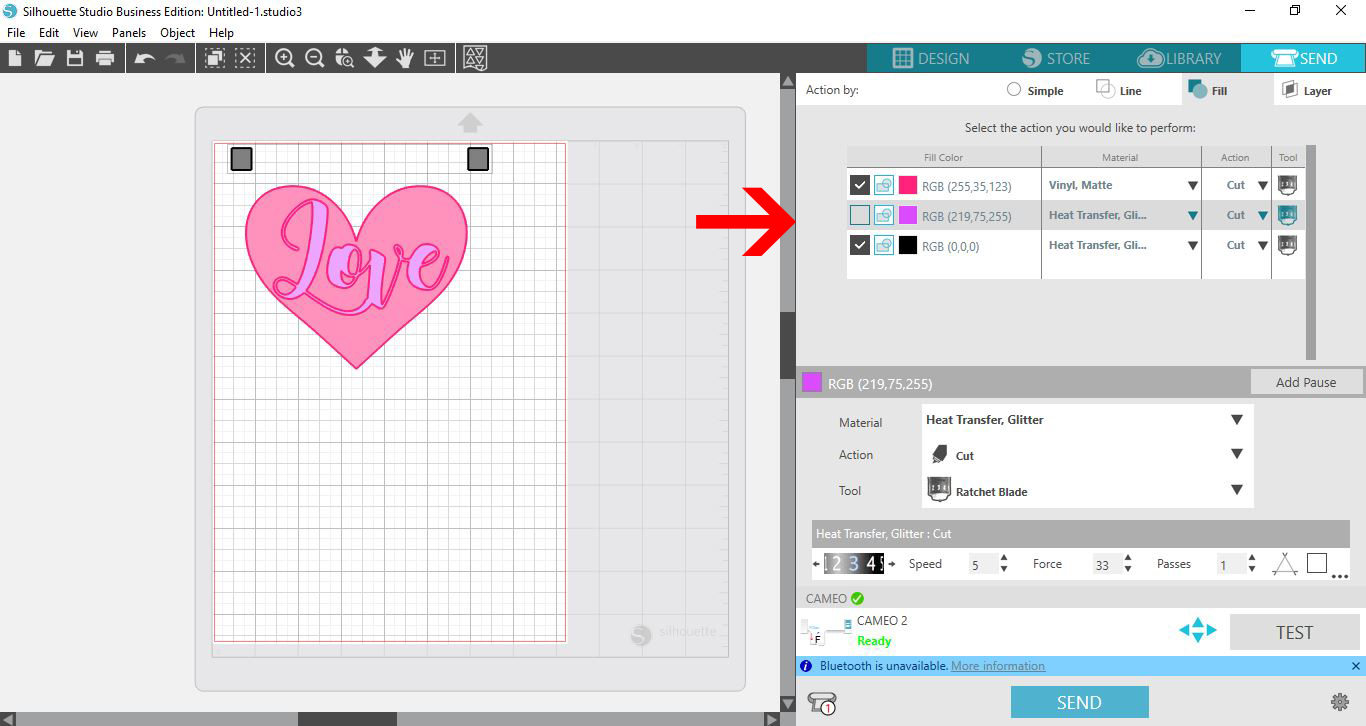
Step 4 - Adjust Cut Options Under the Send Panel
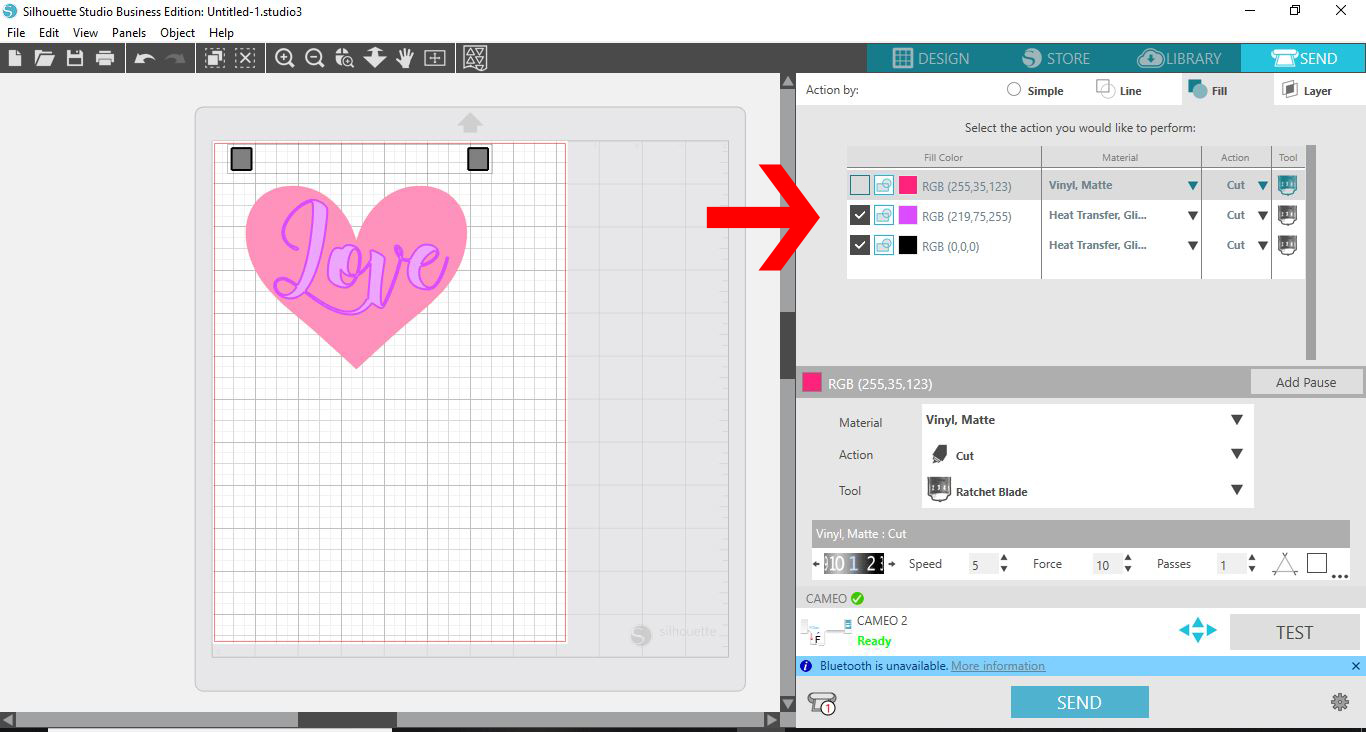
We are now ready to cut out our design. Click on the blue Send button top right corner. In the options, click on Fill. Then tick both the black color and one of the other colors. In this case we clicked on the purple fill, which is for the ‘Love’ text. When ticked, it will tell Silhouette to cut the designs with the selected color fill. Next, click the blue Send button at the bottom to cut with your machine.
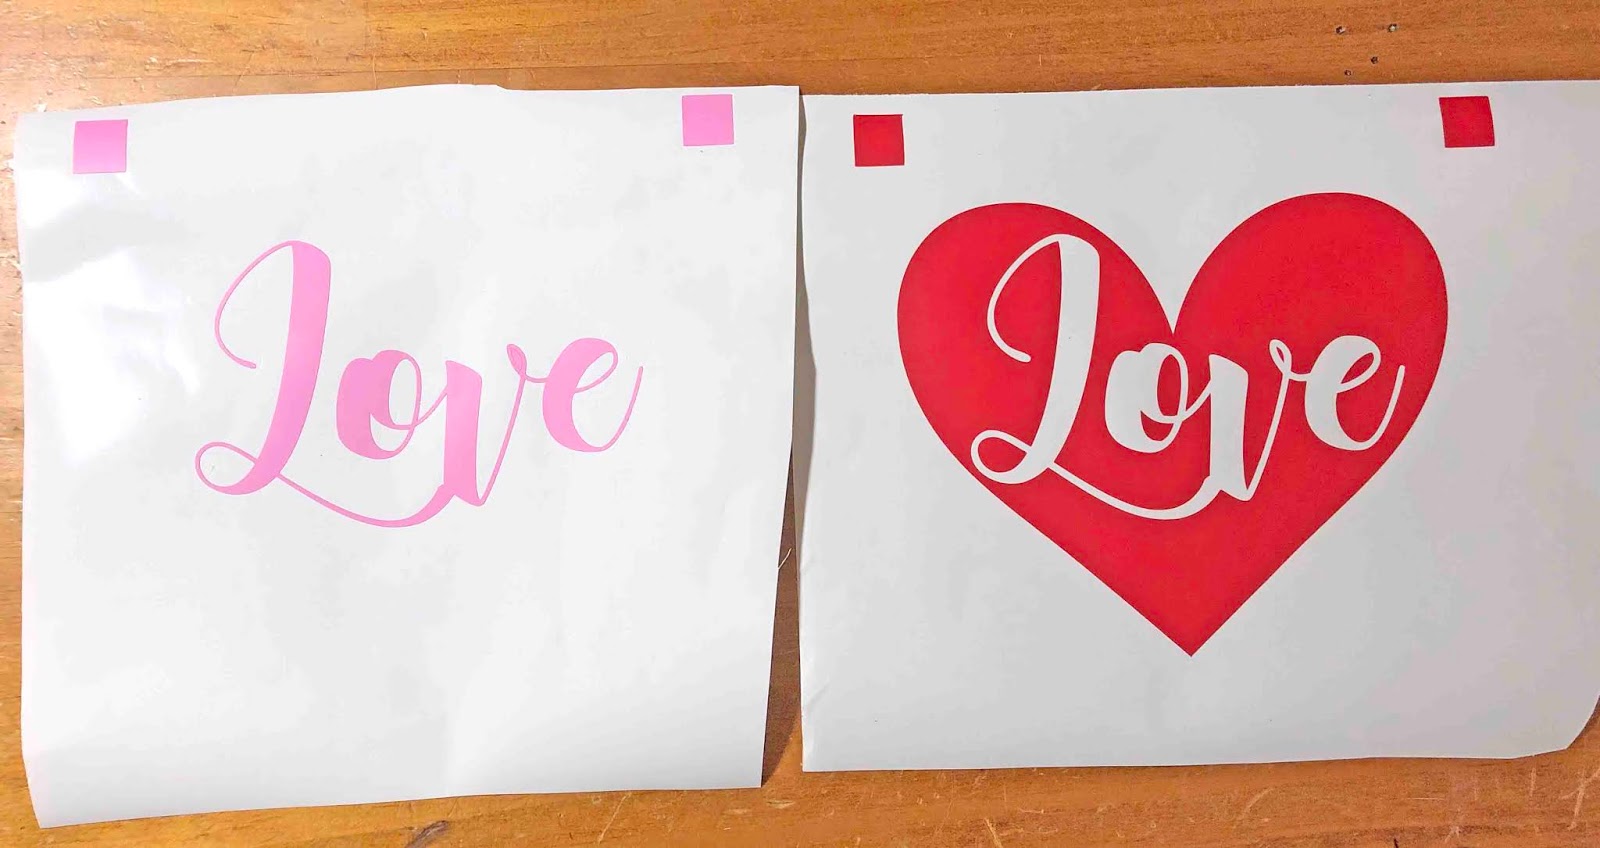
Repeat the above step, this time selecting the second color (pink) and the black. Once again click Send to cut.
The image below is how our two designs were cut.
Using the registration rectangles, line up the piecesthen layer your design. The image below is the result of layering the design.
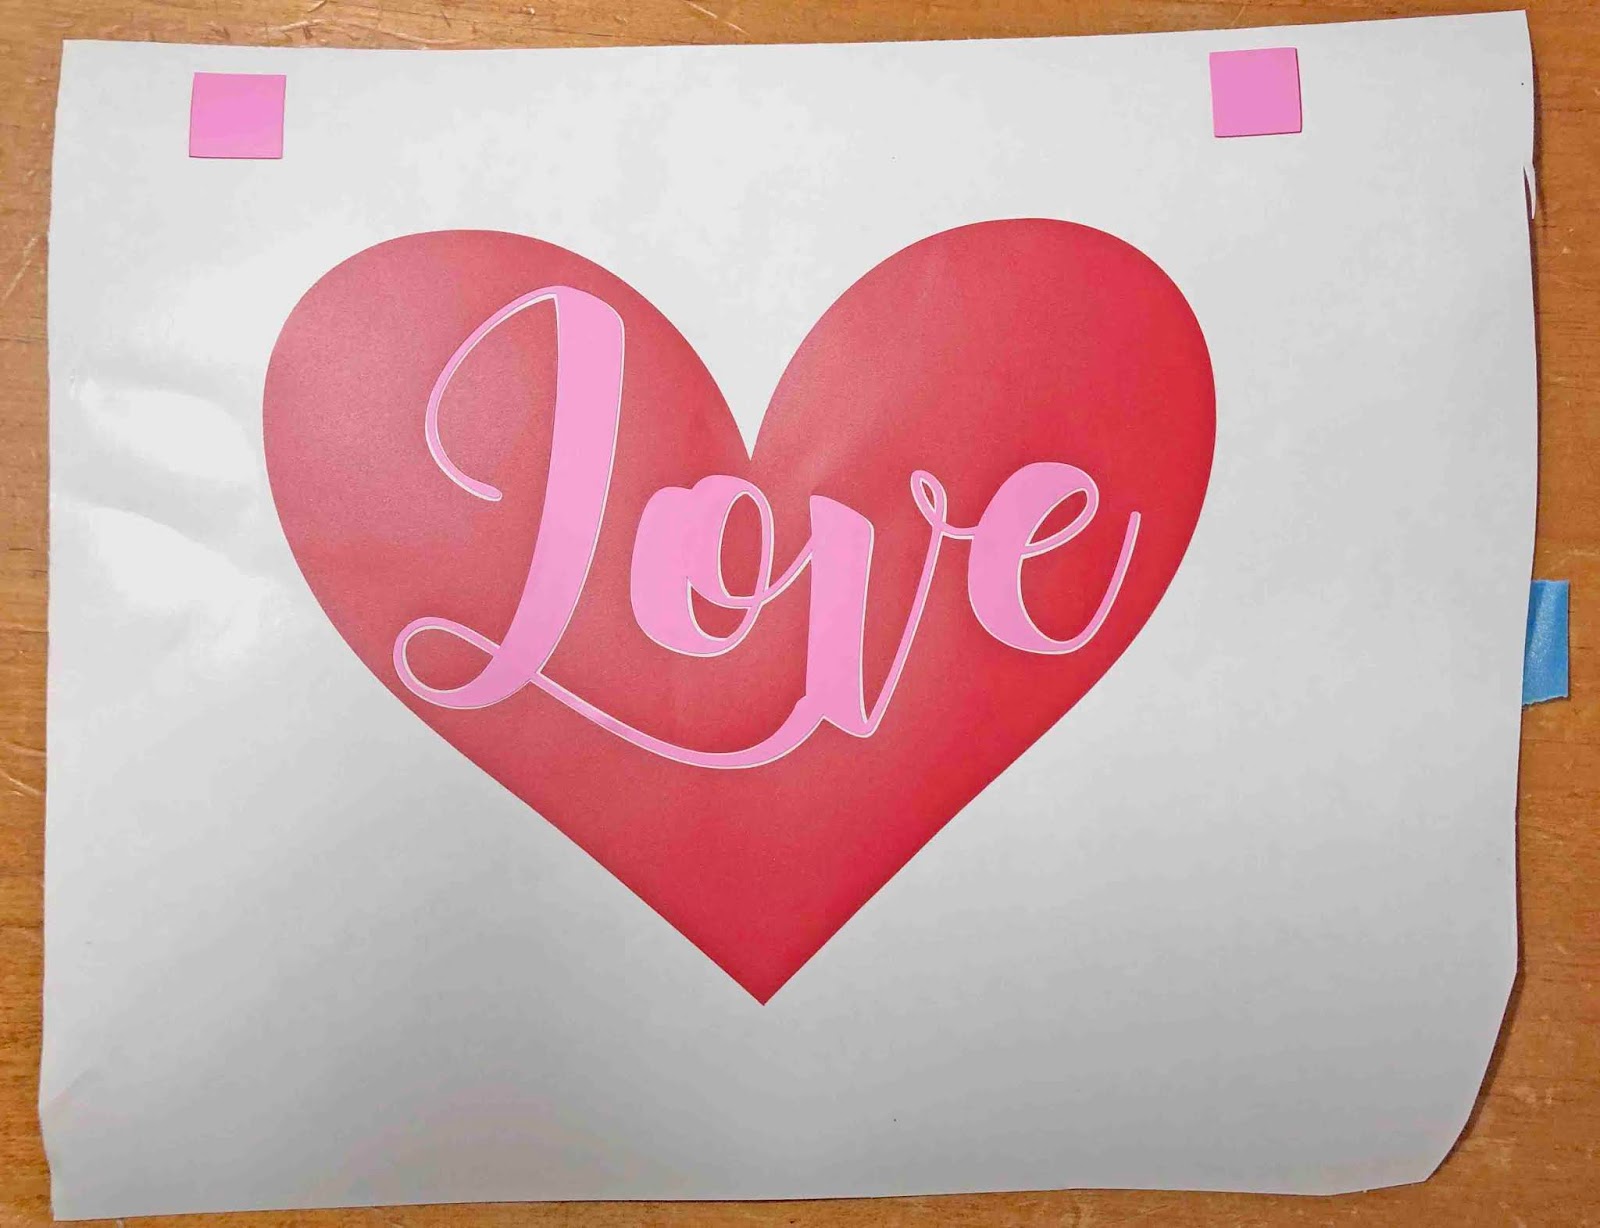
The design is now ready to be used in your project. You no longer need to worry about aligning the different colors up correctly.
We hope this tutorial has helped you learn how to use different colors in one design. If you enjoyed this tutorial, we have more excellent tutorials to check out like creating a distressed designand making a sheet of stickers in Silhouette Studio.


