
How to Make Stickers With Cricut Print then Cut
In this tutorial, discover how to create stickers with Cricut's Print then cut feature
One of the cutest things that you can create right now with your Cricut machines are stickers. You can even create them in Design Space itself. All you need is your cutting machine such as a Cricut Maker, printable sticker paper and an inkjet printer. Follow along with the steps below and you can create beautiful stickers for your planner, business, birthdays and so much more.
During this tutorial, I will be using a mixed case font called Bumble Bee and a bouncy handwritten script font called Girlfriend. Check out these amazing Fancy Script fonts for more options. Don't forget to grab your favorites from the fabulous collection of FREE Fonts on Design Bundles!
Step 1 - Create a New Project in Cricut Design Space
Once you are logged in to the Cricut homepage, you can begin your project by simply clicking on the green button New Project located in the top right-hand corner.
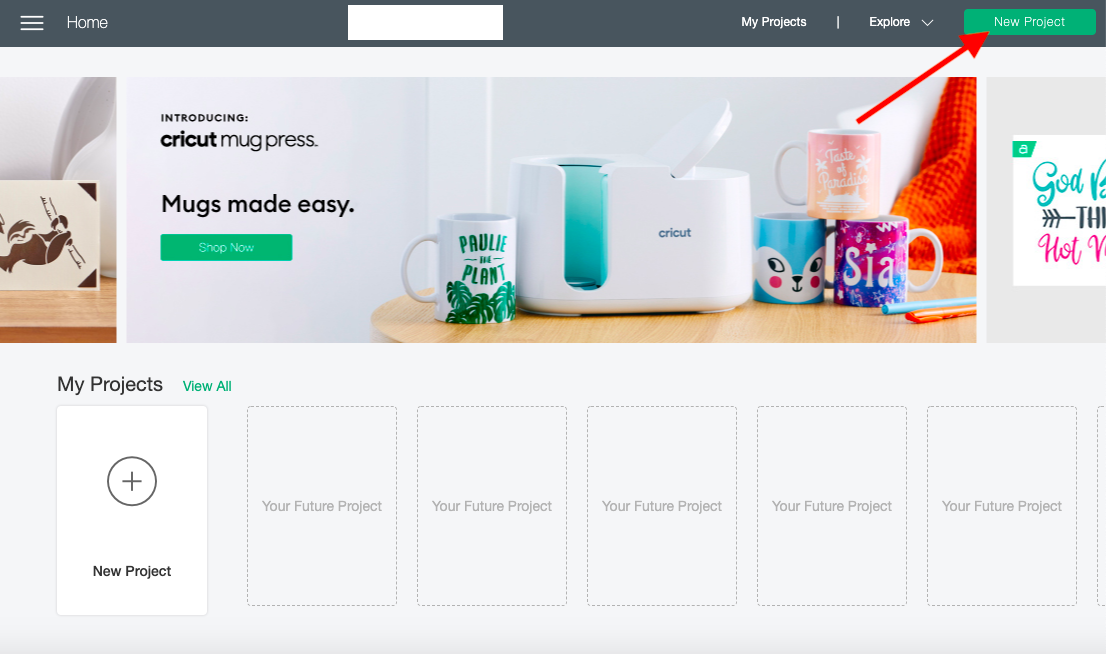
You will then be redirected to the canvas page and that's when all the fun happens!
Step 2 - Add your Text and Select a Font
I am going to add the text, and then adjust the spacing and color to create my design.
Use the Text Tool
Begin by clicking on the big "T" icon on the left side of your canvas to get started. A rectangle box will appear on the screen where you can enter your text. At the top toolbar, you will find the Font tab, the Spacing tool and so much more.
Click on the Font tab on the upper toolbar and choose a font from your Cricut Library. You can then search through the available Cricut fonts, and System fonts including favorites and recently used fonts. I love the combo of fonts that I'm using today as they work very well together.

Now, type out your text in the rectangular box. Create additional text boxes for each new font used by repeating the steps above. You can also add glyphs to your text for that extra touch of creativity.
Adjust the Spacing
When using a script font like Girlfriend, you will notice that none of the letters are connected. This is because the spacing between the letters is too large.
To reduce the spacing, click on the downward arrow next to the number for Letter Space. Alternatively, input a number in the tab box. To increase the spacing between letters, use the upward arrow.

Add Color to your Text
Select the item you want to add color to. You can find the color options next to the Operation tab at the top of the main toolbar. Click on the color swatch to open the options.

Step 3 - Add Shapes to your Design
You can easily add some basic shapes to your design such as hearts and stars. To add a shape, click on the Shapes tool located on the left-hand side of the screen. Here you will find shapes such as a square, circle and even a scoreline.
If you have an Access subscription, you will have a wider selection of shapes to choose from. I added a little heart and even though it's fairly simple, it does add some contrast to my design.

If you want to use printable images, be sure to have a look at the Cricut clipart available on Design Bundles. You can then upload your purchased images or SVG files to Design Space and add these to your Cricut Projects.
Step 4 - Add an Offset to your Artwork
When creating stickers with your Cricut cutting machine and home printer, you will most likely want to create an offset around the design. This creates a white space around the design that gives a cleaner look.
Use the Offset Tool
You can easily do this by using the Offset tool on the upper toolbar located between the Edit and Align tools.
A blue line preview will appear around your design. A pop-up menu with the Offset settings will appear, allowing you to adjust the distance between the offset and design.

Adjust Distance for the Offset
The topmost setting in the Offset menu is the Distance. The setting can be adjusted by clicking and dragging the gray button. Alternatively, type in the number in the box on the right.
The further you move the button to the right, the larger the offset will be around your design. I chose to set the distance to 0.25" for my offset.

Round the Corners of the Offset
Once you have adjusted your distance, decide whether you want to keep the corners sharp or rounded. I always select rounded corners so that the offset looks a little smoother. Pick the one that will work the best with your project.

Weld the Offset
When working with offsets and text, you will see a Weld Offset option located right under your corner options. This will only be available for unwelded objects and if the box is checked by default. The offset is welded as a single object so it's a good idea to leave the box checked.

Once you are done, click on the Apply button in the lower right-hand corner.

Change the Offset Color to White
Change the color of your offset to white using the swatch tool. This will create a white border around your artwork, which you'll need for your sticker. This also creates the cut line for the sticker.

You have successfully created a border for your sticker.
Step 5 - Flatten your Sticker Design
Select all of the design items on your canvas by clicking and dragging a selection box over everything. You can also use the layer tab on the right-hand side of the screen. Click on the first layer, then hold Shift + click on the second layer to select. Do this for all the layers you want selected.
Next, click the Flatten button located on the lower right-hand side of your canvas screen. This will flatten all the layers together creating one single layer. You will now be able to “print then cut” this design.

Step 6 - Print then Cut your Sticker
It's time to print and then cut your sticker. Start by clicking on the green Make It button on the upper right-hand corner of the screen. This will start the cutting process and take you to the next page.

Click the green Continue button on the lower right-hand corner of your screen.

Click on the green Send to Printer button.

In the Print Setup, make sure that the correct printer is selected and the slider for Add Bleed has been activated. Load your chosen sticker paper into the printer. I often use Avery Matte White sticker Paper, but you can use the sticker paper that you believe would be best for this project. When the settings are correct, click on the green Print button in the right-hand corner.

Step 7 - Cut your Stickers in Cricut Design Space
There are two main types of sticker cuts in Cricut Design Space. Below you will find the differences between the two so that you can decide how to cut your stickers.
Die Cut Stickers in Cricut Design Space
A Die-cut sticker is when you simply cut through both the sticker and the sticker backing. This is just your sticker design free and clear from any other material around it. If you would like to create this cut, make sure to choose Cardstock as your material settings.

Kiss Cut Stickers in Cricut Design Space
The Kiss cut option is a favorite with crafters, designers and creators. This cut option allows you to only cut the sticker layer and leave the sticker backing uncut. You can then simply pull off the sticker from the backing. A kiss cut is most often used to create sticker sheets.
To create this type of cut, select Browse All Material, and search for Sticky Note. Once you have your setting where you want it, get cutting!

Yay!! You have finished cutting your sticker and they look awesome.

Keep going and create more stickers using Design Space Print then cut with your die-cutting machine! Why not create sticker sheets of your designs to sell to customers or make die-cut stickers to add a personal touch to your orders? Show off your designs on your website or share across social media posts with these hand mockups!


