Unlimited Downloads 15% off Marketplace Purchases Exclusive Software Access Unlimited Downloads
15% off Marketplace Purchases
Exclusive Software Access
Go Unlimited Maybe Later
How to Remove Duplicate Files From the Silhouette Library
  • By Design Bundles
  • 07 Mar 2019
  • 3 Mins
  • Beginner
  • Silhouette Tutorials

How to Remove Duplicate Files From the Silhouette Library

In this tutorial, learn how to remove duplicate files in the Silhouette library.

Removing duplicate files from your Silhouette library is a quick and simple task. This option can be found in all of the Silhouette Studio versions including the free edition. There are various reasons that you may have duplicates but not know how to remove them. Follow our tutorial on how to remove duplicate files from the Silhouette Library.

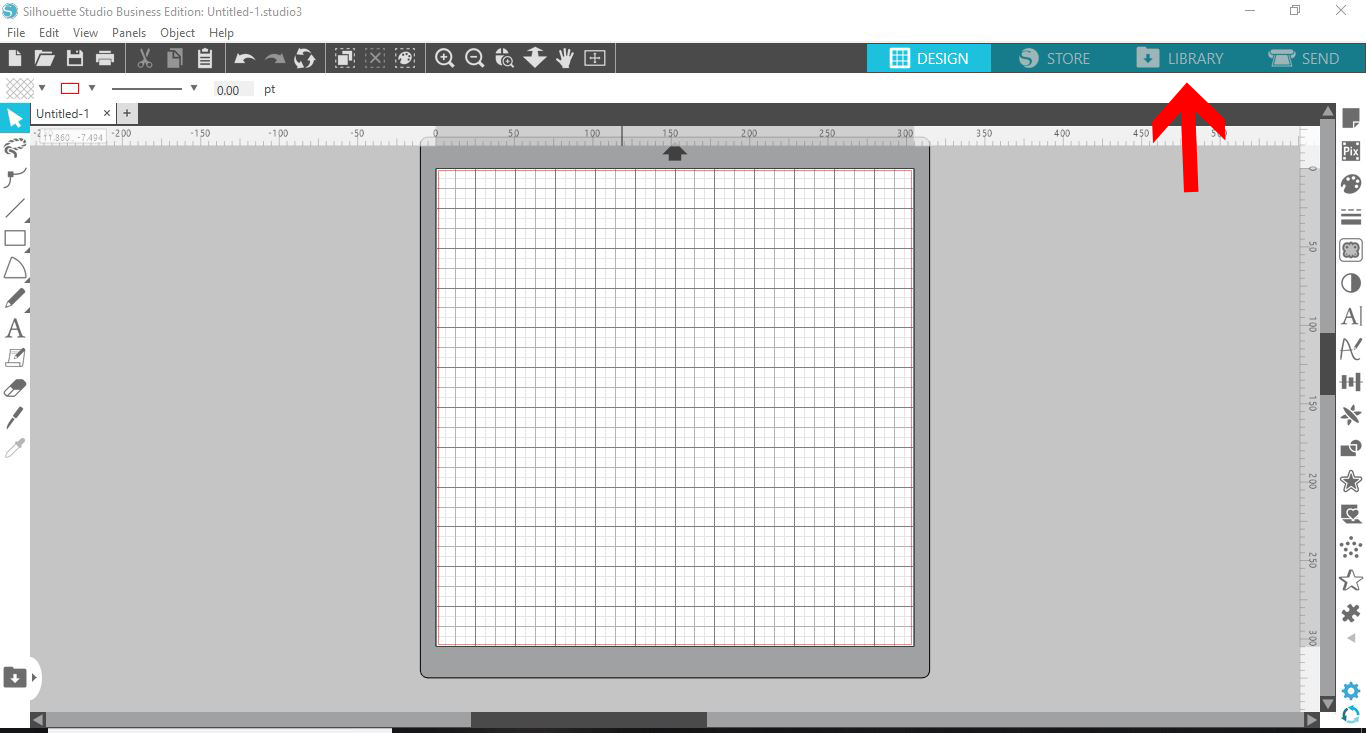
Step 1 - Open your Library

Once you have opened Silhouette Studio, click on the Library icon top right of the screen.

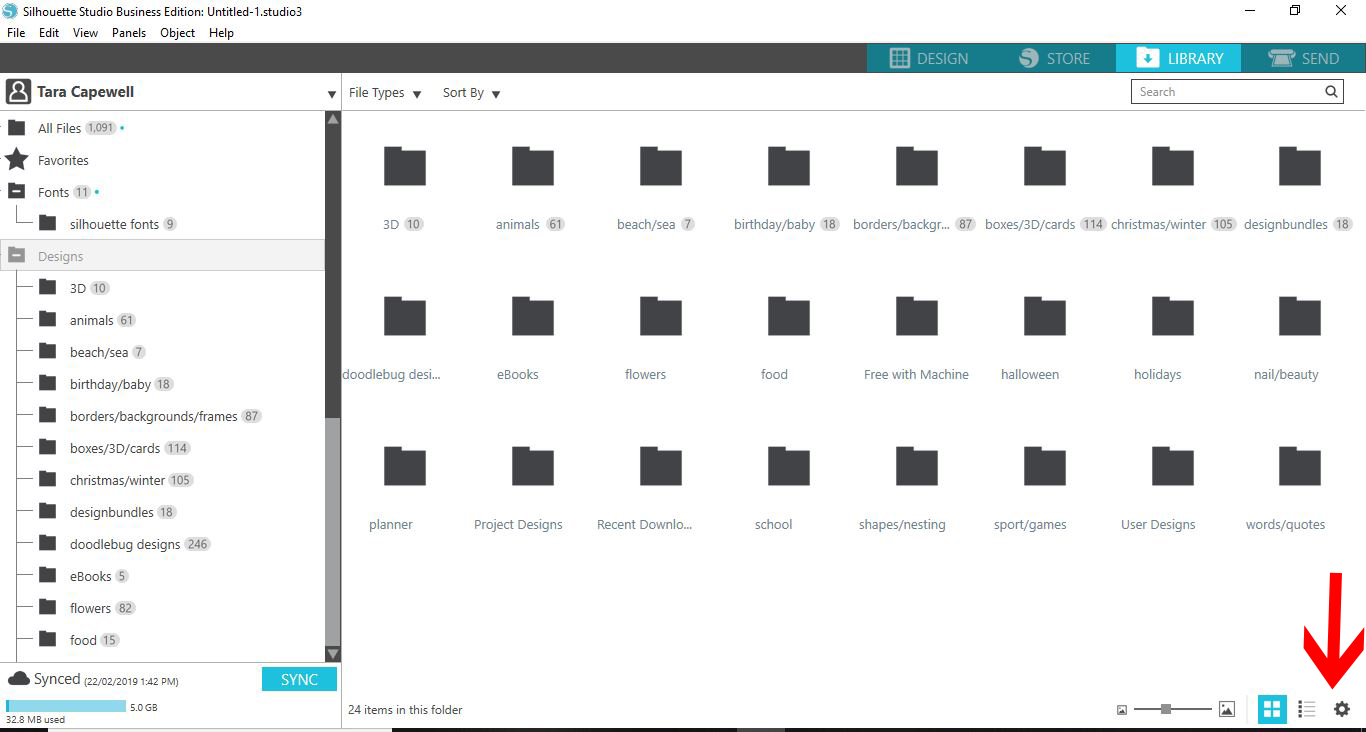
In the library, click on the setting icon in the bottom right corner. It looks like a little cogwheel.

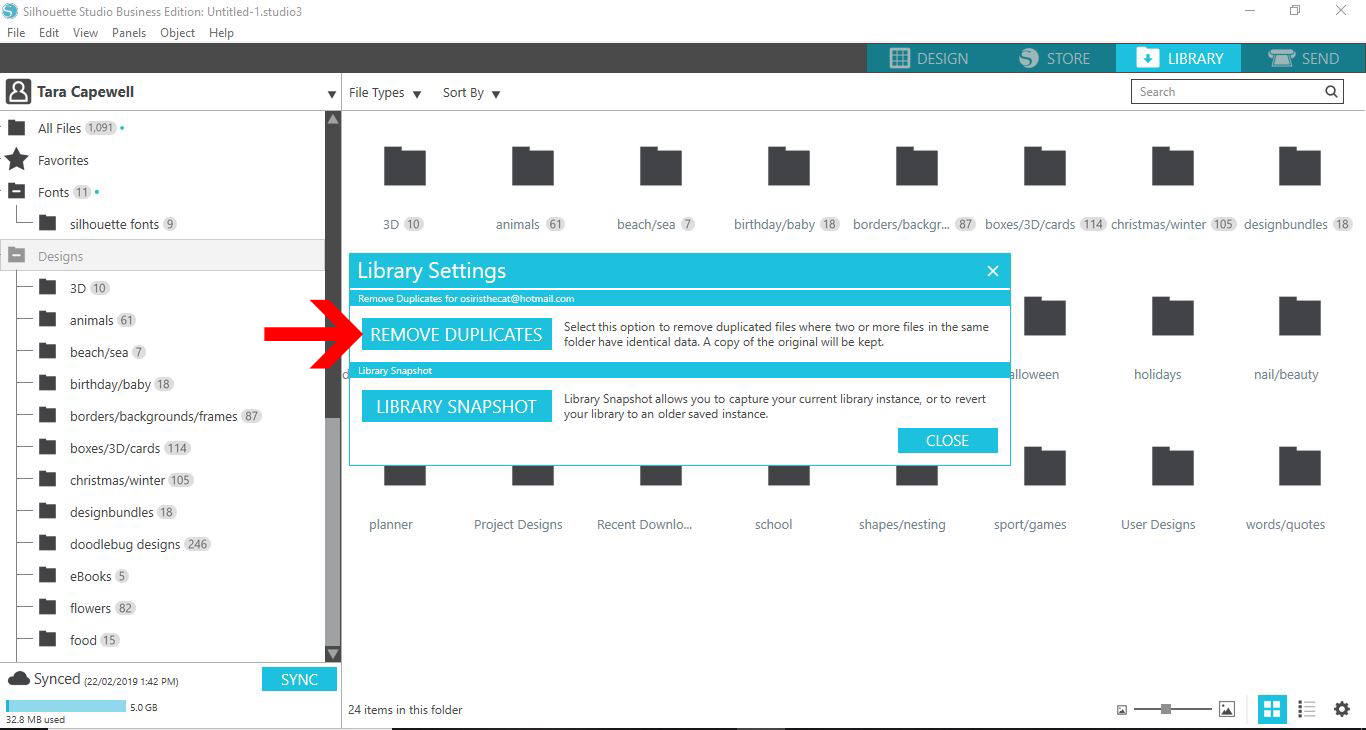
Step 2 - Click on Remove Duplicates icon

A new window will appear with the Library Settings. Here you have two choices. One is to Remove Duplicates and the second to take a Library Snapshot. The Library Snapshot takes a quick snapshot of everything as it is. You can revert back to that snapshot should you have an issues with your Library.

For this tutorial, we are going to click on Remove Duplicates. Depending on the amount of files, this function may take a few minutes to process.

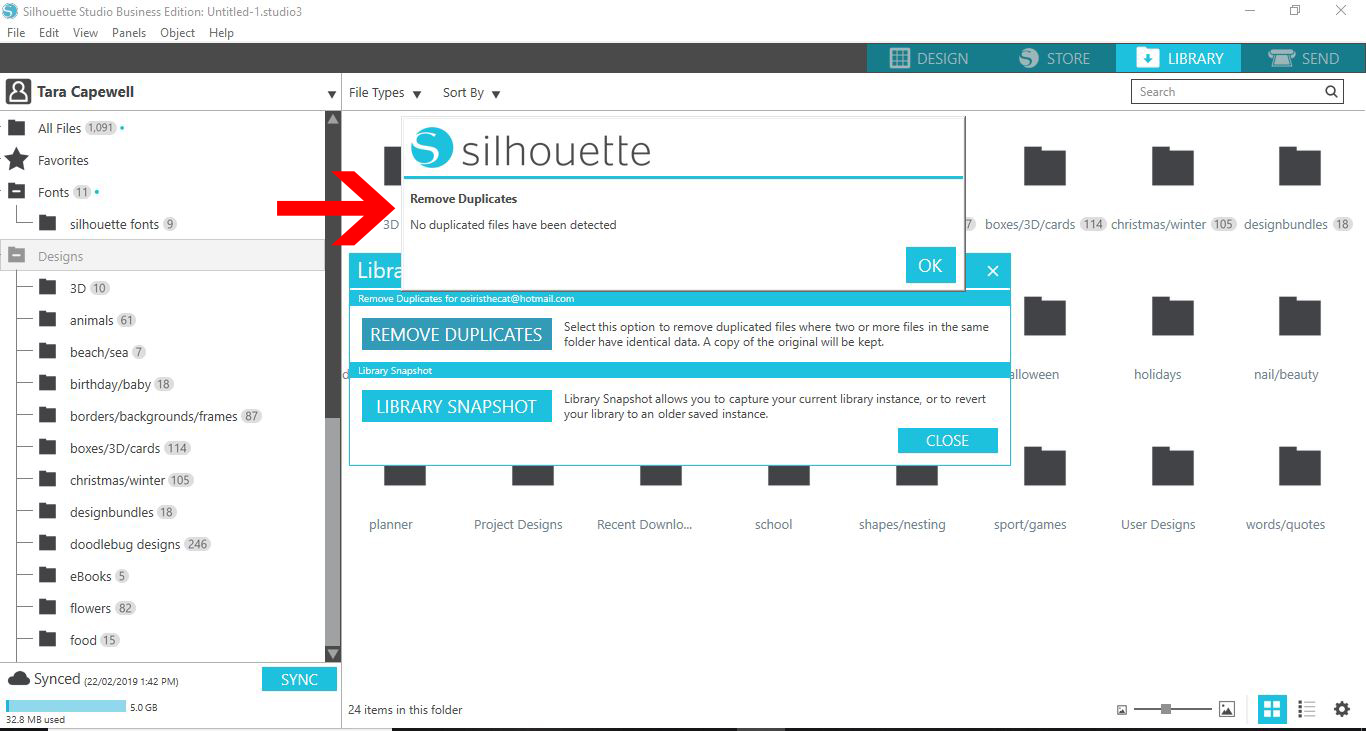
Once the software has completed the task, another window will appear. This will tell you. Click OK to finish.

It's that easy to clean up your library of unwanted duplicates. If you enjoyed this tutorial we have many more for you to browse such as using Silhouette Cloud and importing patterns to your library in Silhouette Studio.


6 Related Silhouette Tutorials

*free edition and higher.1- Open Silhouette studio. Click on the little tab at the bottom left of your toolbar.2- Your library will not pop out on the side as a split screen.3- Select the design you would like to use.4- Click and drag on the design ...

1- Open Ai and create a new art board.2-Click and drag your image into your art board.3- Adjust your image to fit your art board.4- On the left toolbar select the stroke colour to black and turn off the fill colour.5-Select the pen tool (1) and then ...

This technique is great if you have scanned image with not a clean background to remove.1- Open photoshop.2-Select the Jpeg file you want to remove the background from.3- In layers, select the eclipse icon and select Brightness/contrast.4- Adjust the contrast to make the background as ...

Did you know that you can bulk import files into the Silhouette Studio Library? Not only is this a time saver but it means less frustration when importing a large amount of files. This is a great way to quickly add your purchased products from Design Bundles to your library. ...

The Silhouette Studio Library is preloaded with Fill Patterns for a wide selection of creative opportunities. Fill Patterns work with both text and objects. They are particularly great for print and cut projects. You do have the option to import Patterns into the library. However this feature is restricted to ...

In today’s tutorial, we will guide you on how to Print and Cut with the Silhouette Curio. This feature is especially useful for projects like stickers, cake toppers and more. We will guide you on setting up your Curio work area super quick so you can get started with ...

remove duplicate files silhouette studio tutorial

You may also like

Help Center
ol image