
How to Bulk Import Files into Silhouette Studio Library
In this tutorial you will learn how to bulk import files into the Silhouette Studio Library.
Did you know that you can bulk import files into the Silhouette Studio Library? Not only is this a time saver but it means less frustration when importing a large amount of files. This is a great way to quickly add your purchased products from Design Bundles to your library. We will guide you on the entire process of importing bulk files in Silhouette Studio.
If you prefer a visual guide, we have a video below to get you started.
Before we begin, be sure to download and unzip your file to your PC or Mac. For more great designs, why not browse through the cute selection of Animal Clipart on Design Bundles?
Step 1 - Create a New Library Folder
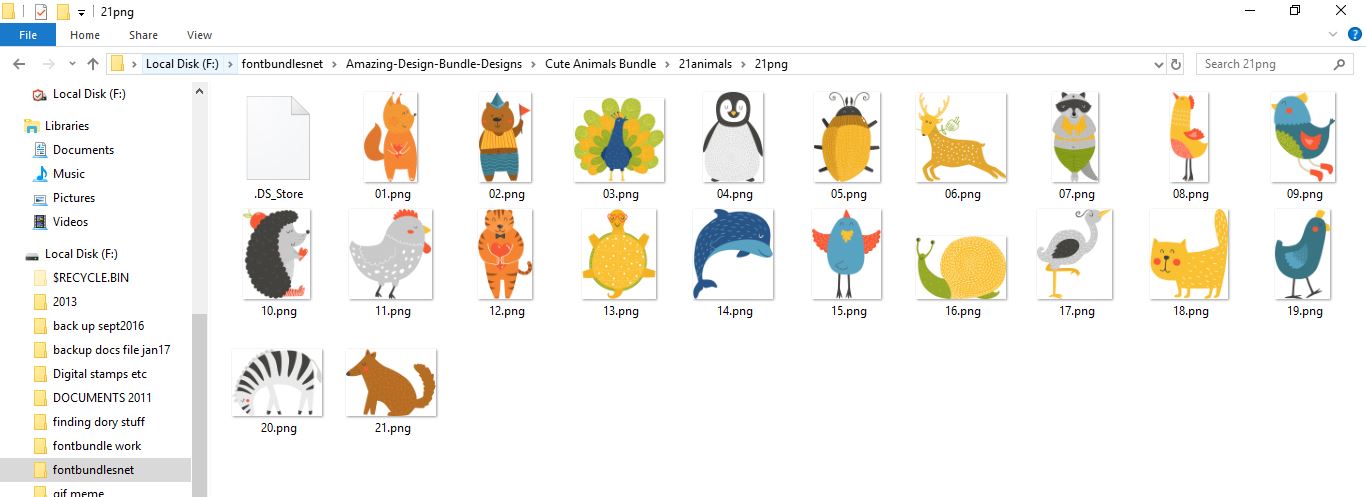
First, open the folder on your PC or Mac where the images are stored.
Now, open Silhouette Studio. On the top right click on the Library panel. This will open a preview of your library with the folders on the left hand side. Look for the folder called Library or Designs. This will depend on your version of Silhouette Studio.
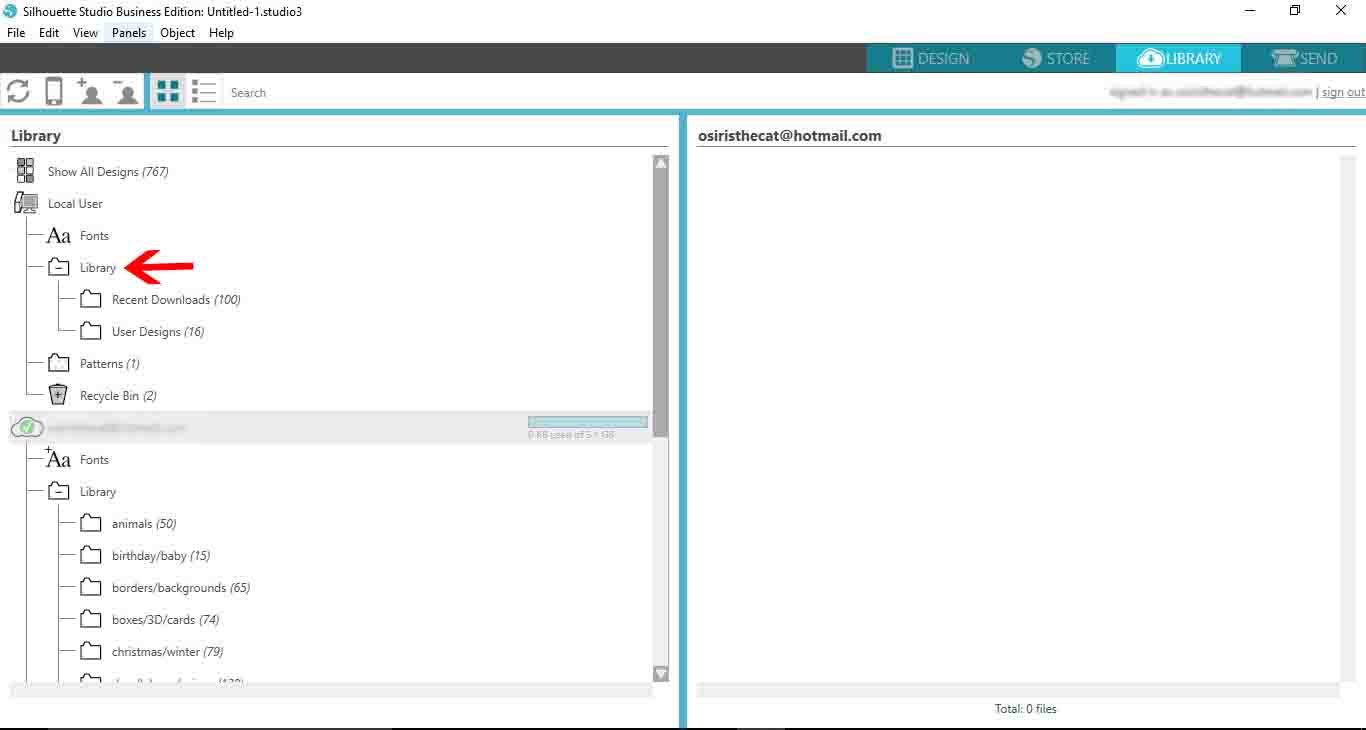
In this folder, you will find your recent downloads and User Designs.

To create a new folder, right click the Library or Designs folder. Then select New Folder. When highlighted in blue, you can rename this folder to whatever you want.

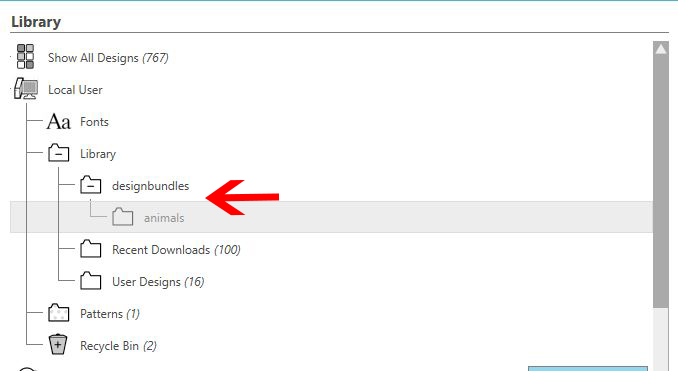
You can also create sub folders within this one to better organize your designs. To do this, right click the folder, “designbundles” in our case, and select New Folder.
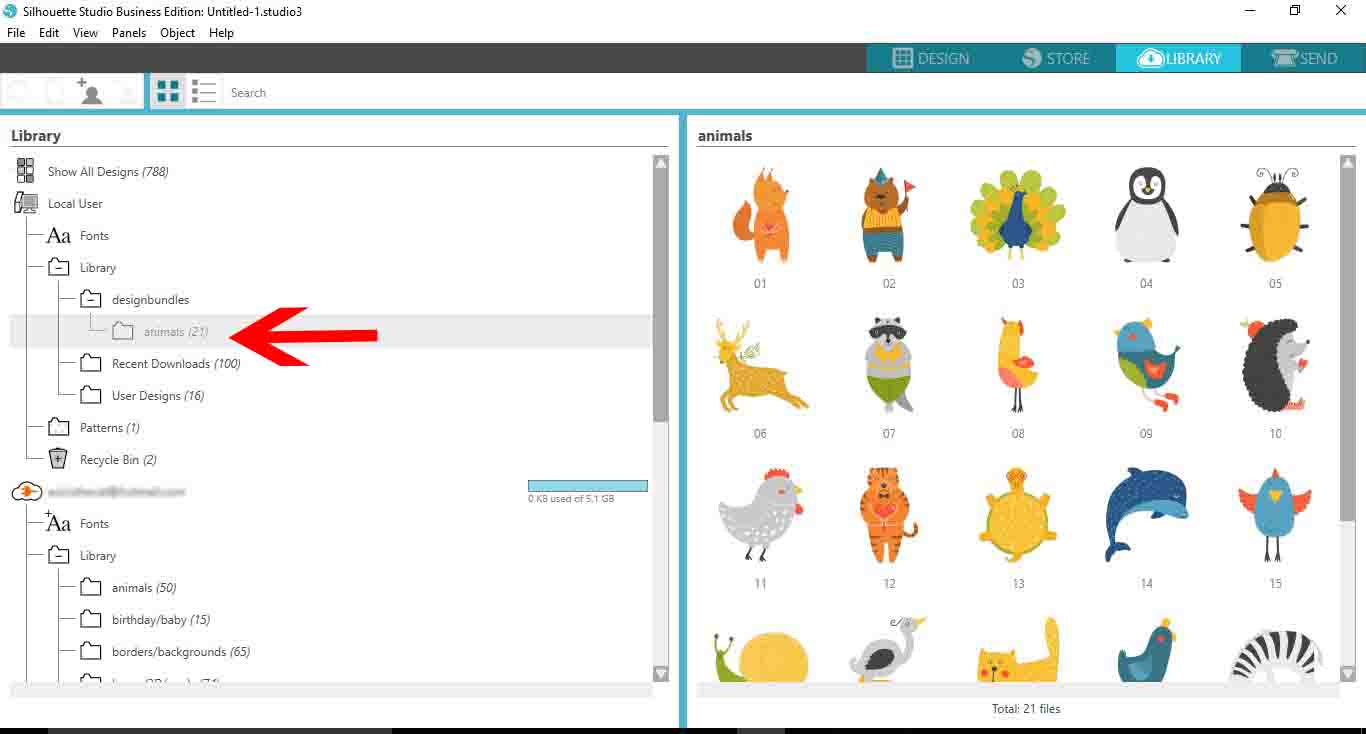
We renamed this folder to “animals”. If you want to change the name of your folder at any point, right click > Rename Folder.
Step 2 - Bulk Import your Images
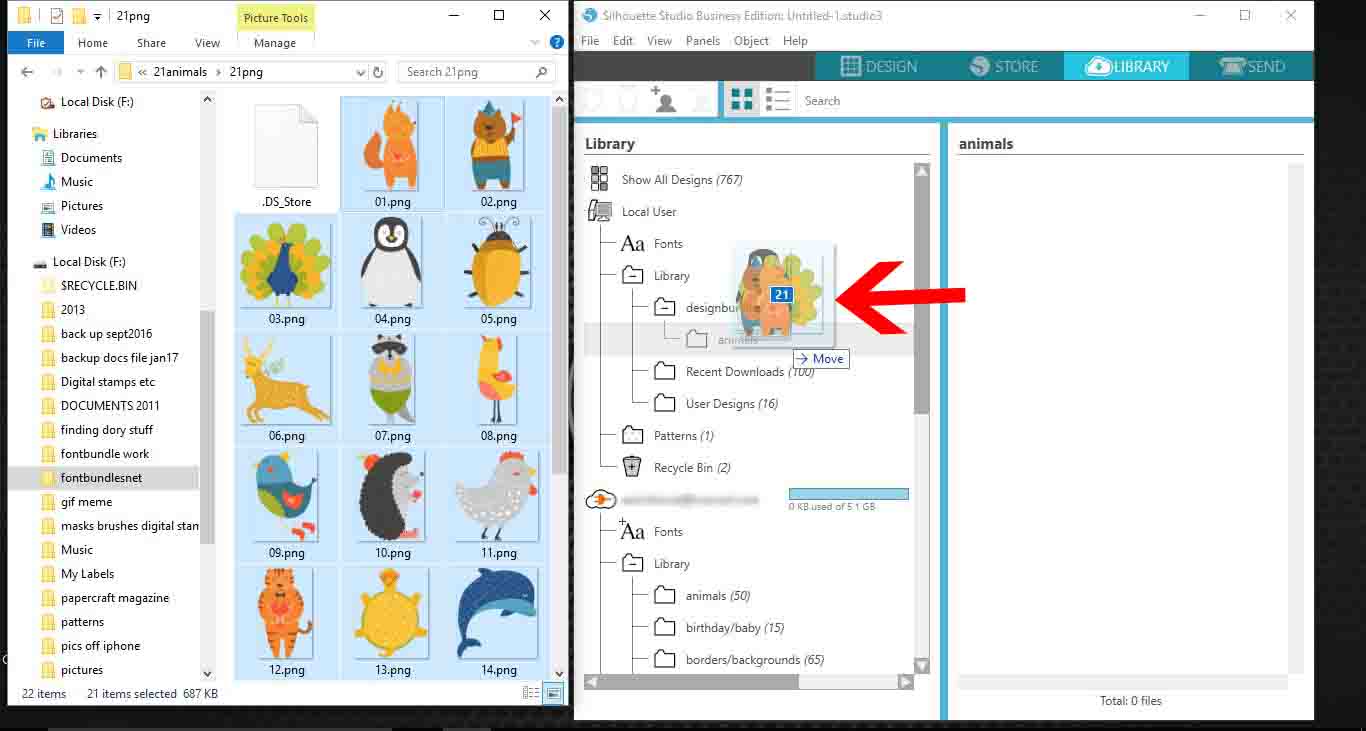
We need to be able to view both the file location and Silhouette Studio for this step. Resize the windows of both so they are side by side.

In the file location window, select all of the files that you want to transfer to your library. You can use the Select All option in the top toolbar of the window.
Alternatively, select the first image then hold Shift + click the last image to select all in between. Individually select using Ctrl + clicking on selected images.
If you are using the Designer Edition and higher you can upload PNG, JPEG, SVG and Studio files.
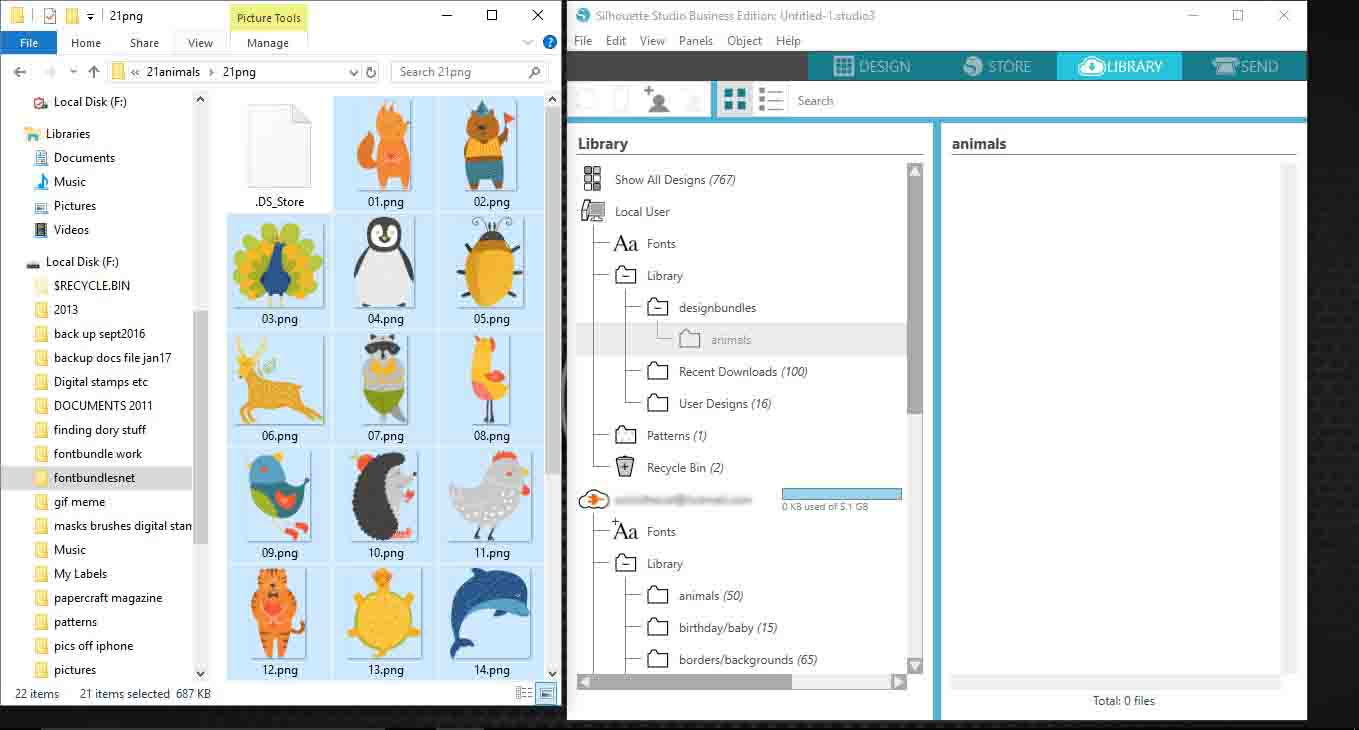
Now, click + drag the selected files to the folder you created in the Library. Then release your mouse button to drop these designs into the folder.
The designs are now ready to be used in Silhouette Studio.
Step 3 - Move your Designs to New Folders
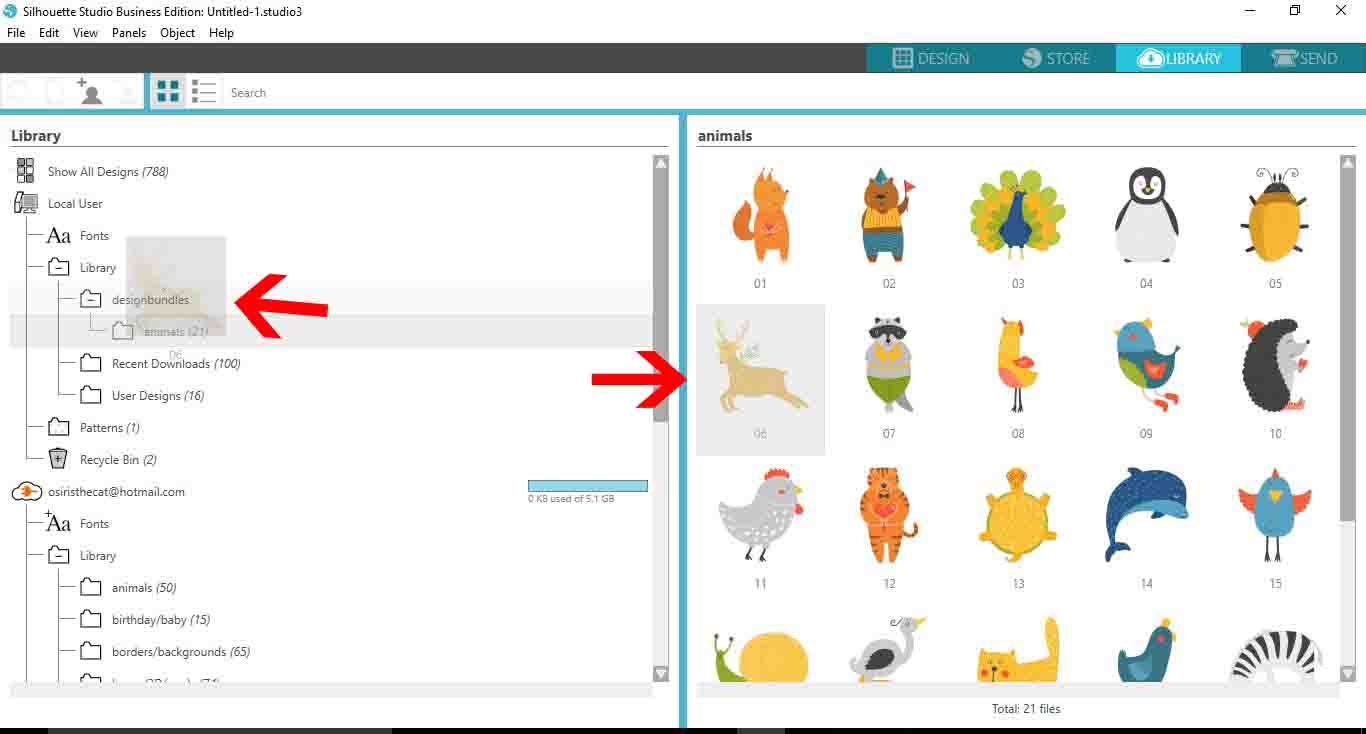
You can move the designs to another folder if you want to make the library more user defined. In the preview on the right, click + drag the design over to another folder on the left.
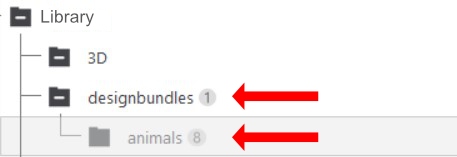
The number of files within the folder will be displayed next to the folder name or title.
To use your newly added designs, just double click in the Library to add to your mat. When you are happy with your design, click on the Send panel. Then, select the material and cut settings.
You can even create your own custom material cut settings specifically for the type of material used.
Don’t overload your library as this can slow the software down. As you build up your library with your favorite designs, it’s a good idea to backup and export it for safekeeping.
As quick as that you learned how to bulk import files into the Silhouette Studio Library. You can add your purchased designs in no time and with little to no effort. Now you can spend more time creating and having fun with your new images.


