
How to Save Your Photos to the Pixascape Library
Did you know you can save your images to the Pixascape library. We will show you how today.
Have you ever wanted to know how to save your photos to the Pixascape library? Then this tutorial is just for you. Pixascape is an online photo editing software, which means you don’t need to download anything. You can jump right in and start creating. Available to Silver and Gold Plus Members, Pixascape allows you to upload your photos to a library and access them anywhere. Want to give Pixascape a try but not a member yet? Then sign up for a free 30 day trial of the Gold Plus Membership today!
In our Pixascape tutorial today we will be using some photos from this beautiful mountain photos bundle.
Be sure that you have downloaded and unzipped your files before uploading to Pixascape.
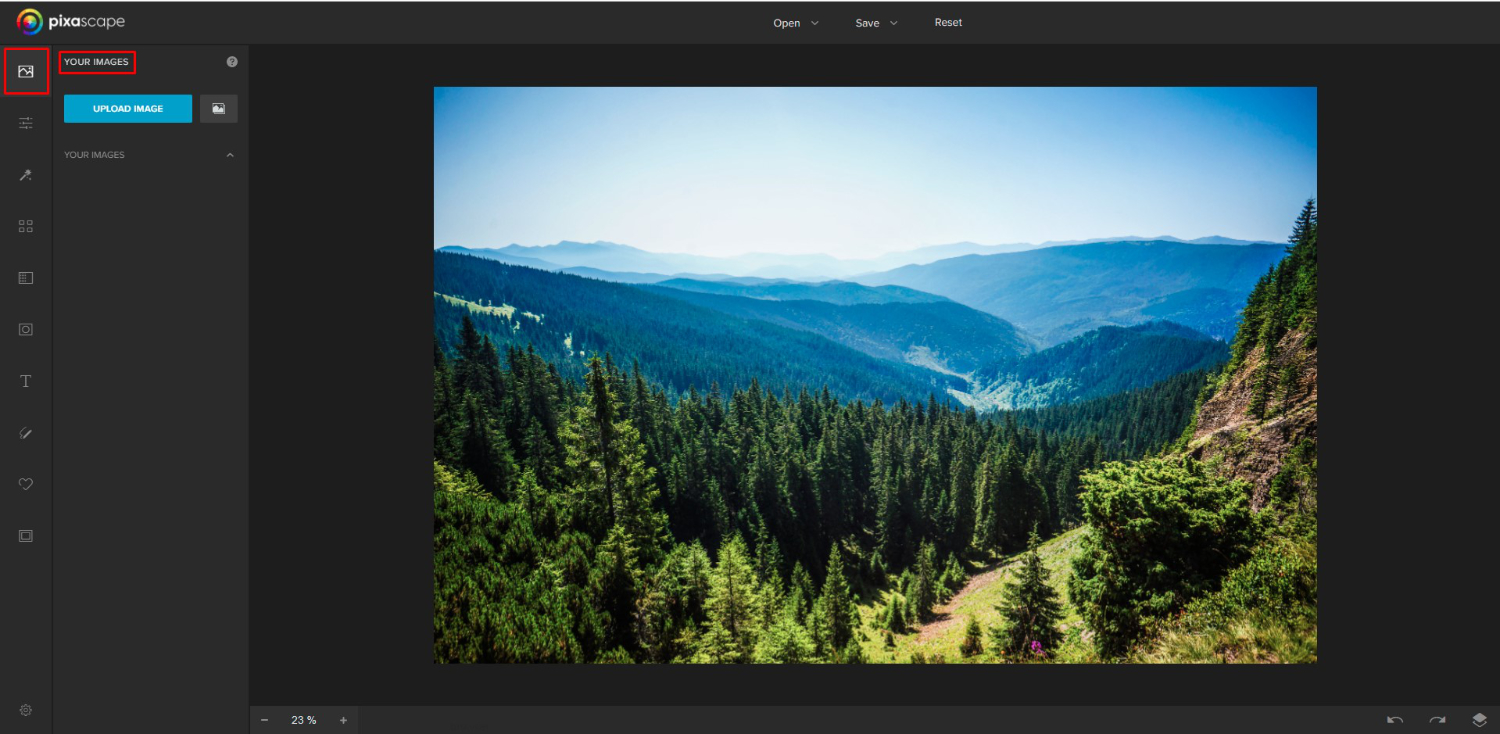
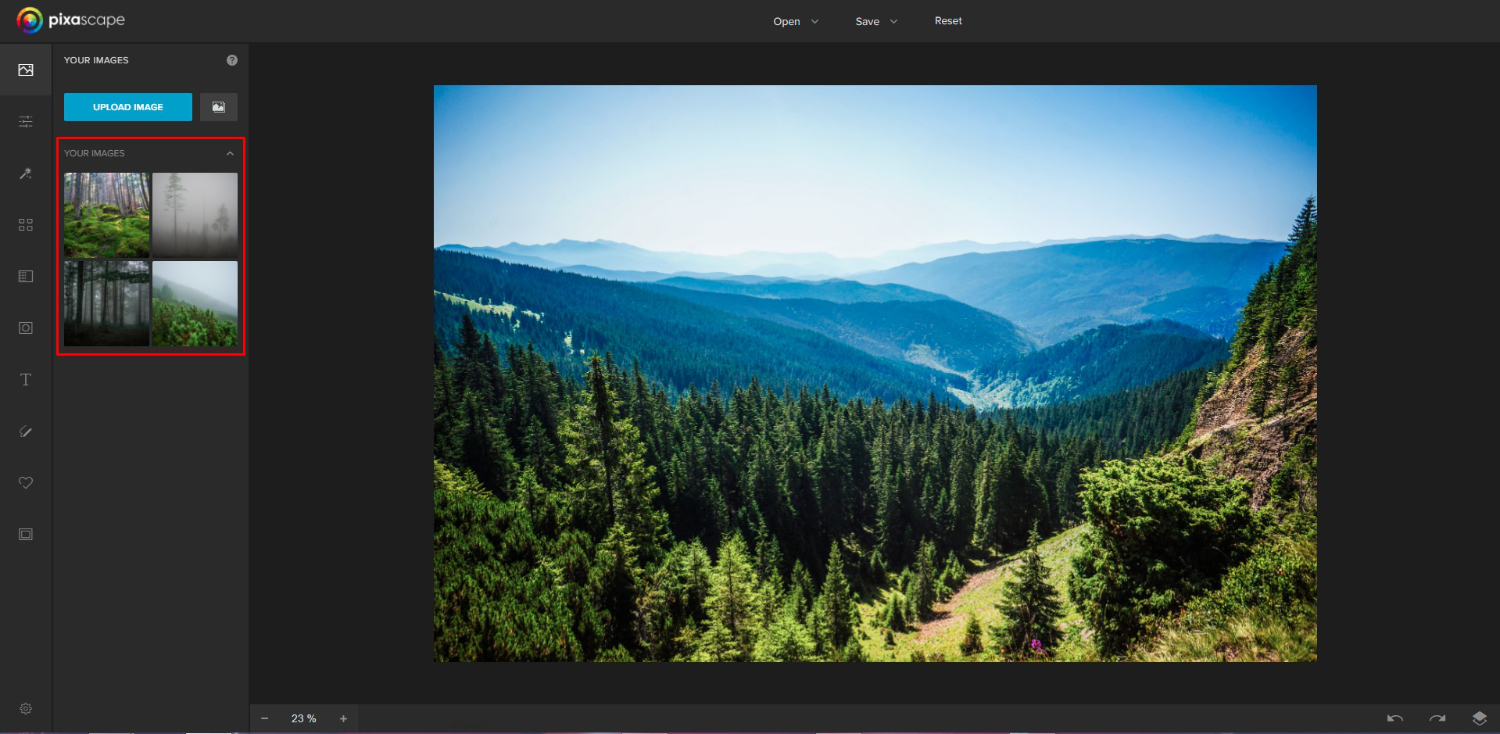
Step 1 - Locate the Image Manager
In order to add our images to a library, we need to first upload an image in Pixascape. Once the image is loaded, go to the left side panel and click on the top most icon. If you hover your mouse over it before clicking, it will say Image Manager.
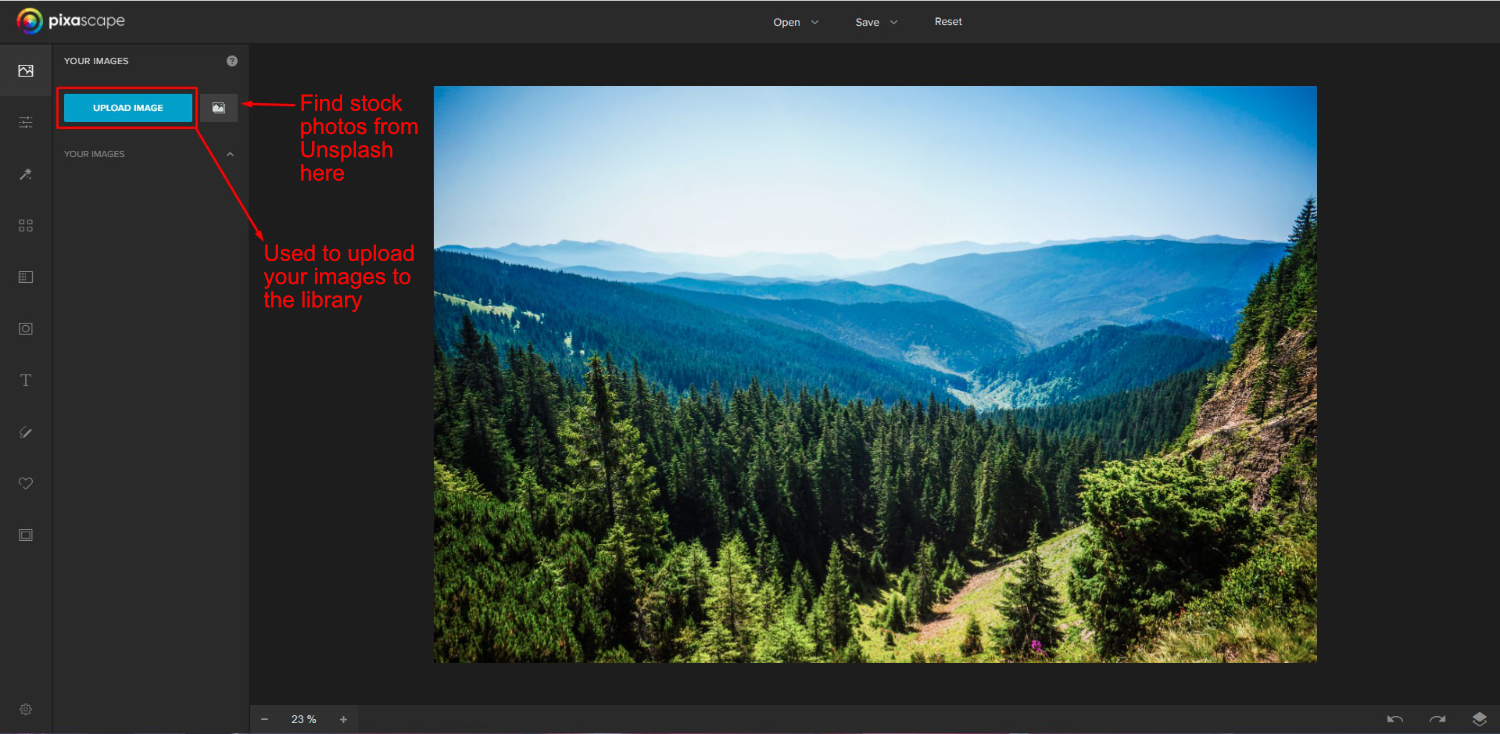
In the Image Manager panel, there are just a few options but the process is pretty straightforward.
You have the Upload button, highlighted in blue. This is how we will upload our images. Next to that is an image icon that, when clicked, will open up stock photo options from Unsplash.
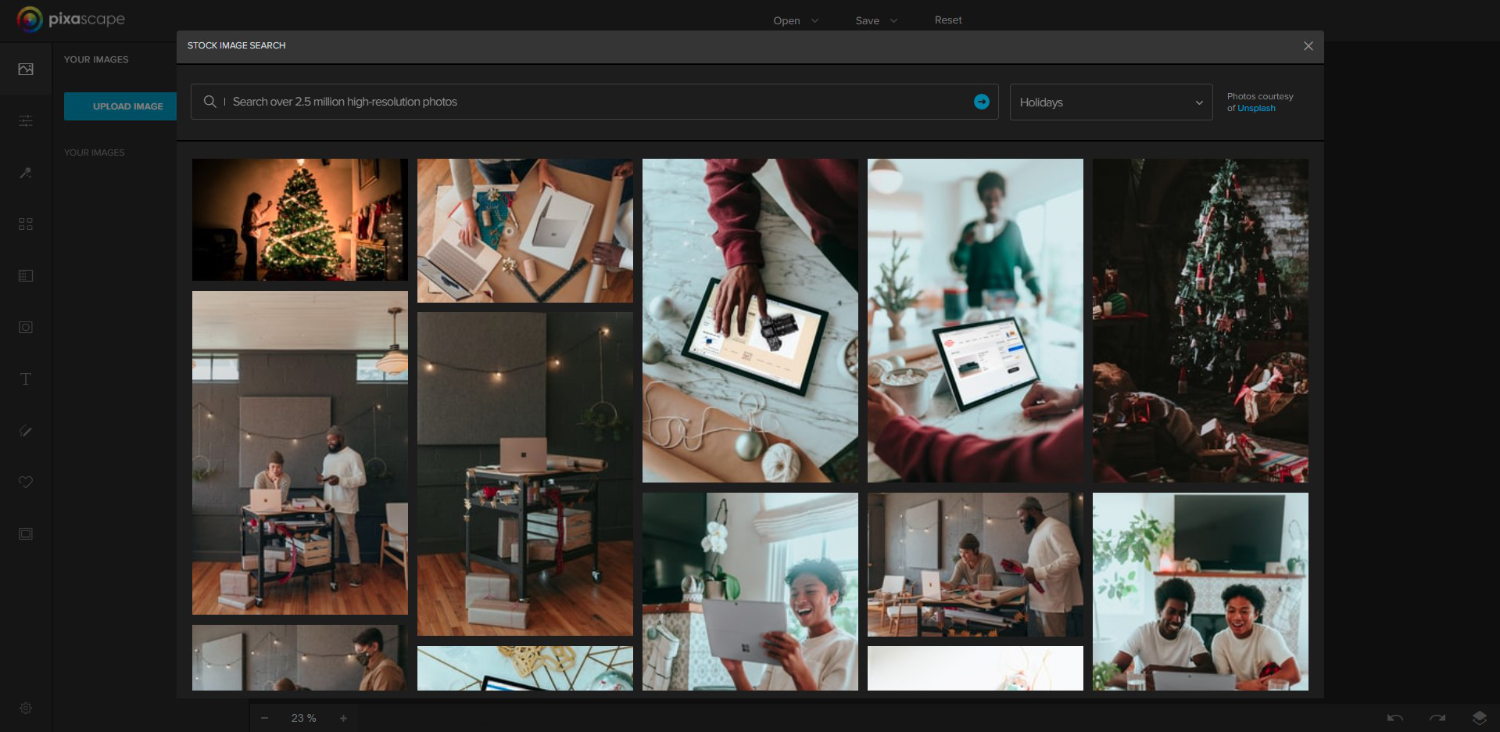
When you click on the image icon, a new window opens up. Here you can search for stock photos.
For this tutorial, we will be using the photos that we downloaded at the beginning from Design Bundles.
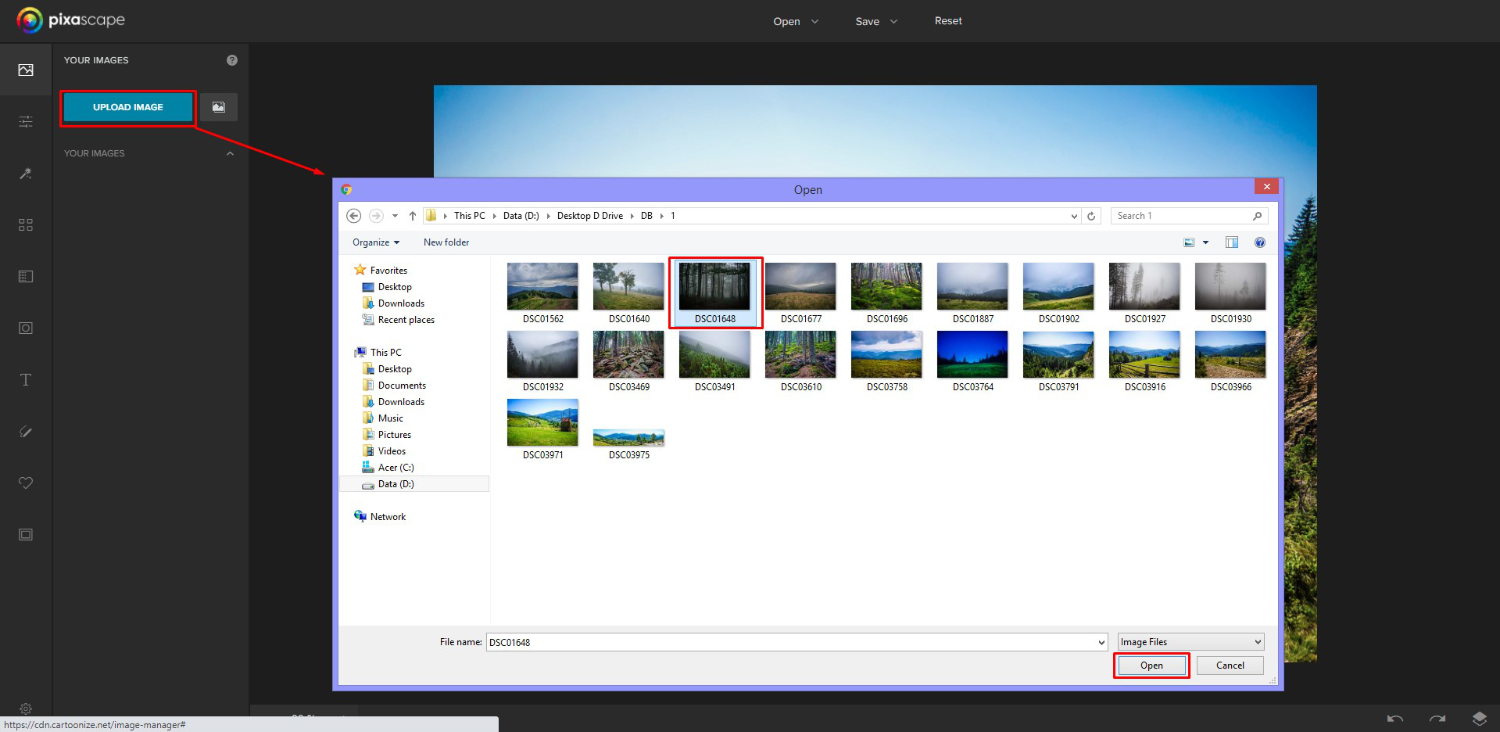
Step 2 - Upload to Image Manager
In the Image Manage panel, click on the Upload button. In the upload window, locate where your images are stored and select an image to upload. Now click Open.
It may take a few minutes for the image to upload. When uploaded the image will show in the Image Manager panel under Your Images.

Repeat this for each image you want uploaded to the library. We added four images to our library. You will now be able to quickly access your images for editing or creating composites.
Step 3 - Use your Uploaded Photos
You can use the images loaded into the library in one of two ways. You can either add it to the current project or create a new project.
Add Image to Current Project
To add an image to your current project you can drag and drop it from the library onto the image. You can also click on the image in the library then select Add to Project from the menu options.

Start as New Project
If you would prefer to begin a new project, select Start as New Project.

A warning window will pop up telling you that this will reset your current project, losing all of your work. As we haven’t done any editing, we don’t mind closing the image to open a new project. So we clicked Yes. Be sure that you have saved your work before going ahead.

Your selected image will now open in a new window.
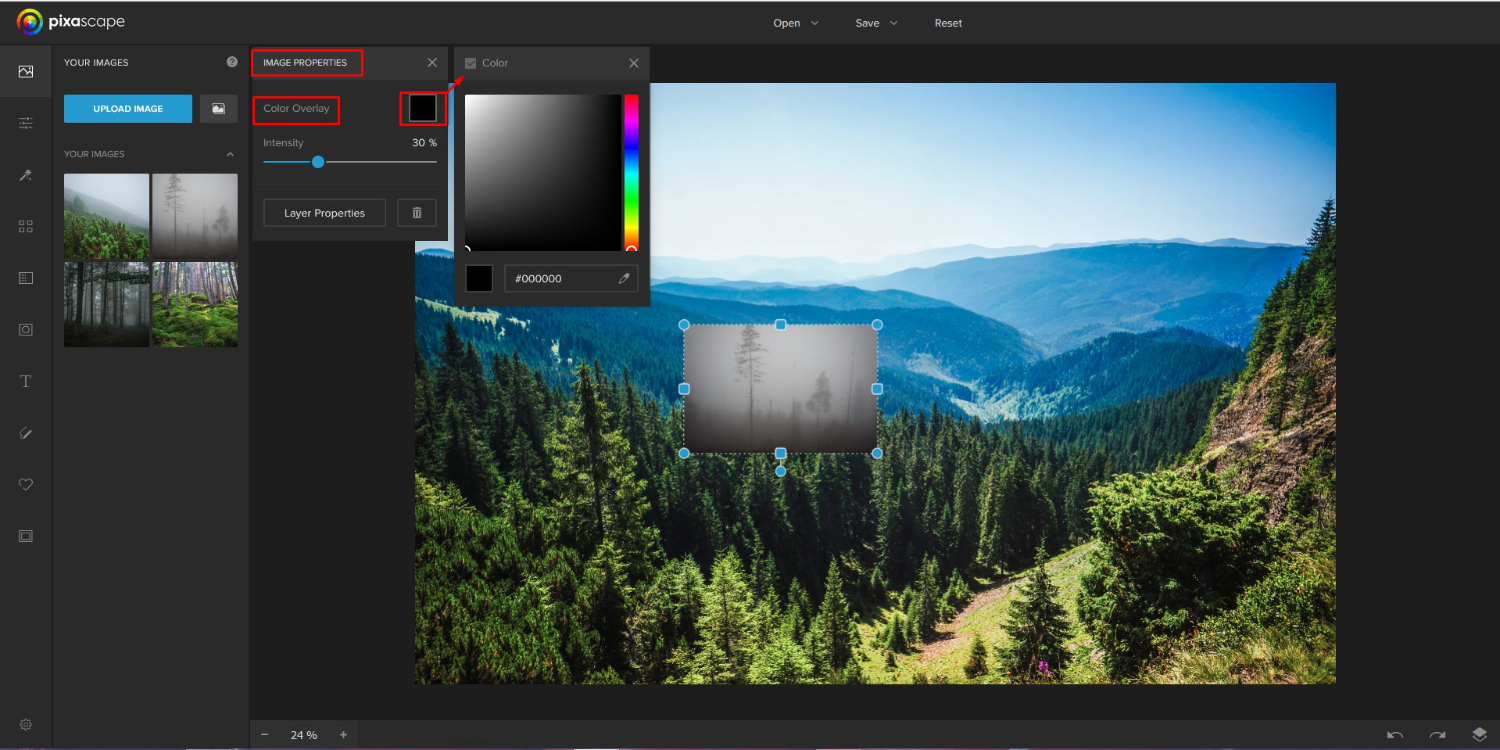
Step 4 - Edit the Image Properties
When you add an image to your current project, the Image Properties window will open. You won’t get this option when starting a new project.
Add a Color Overlay
In the Image Properties window, you have the option of adding a Color Overlay. To add a color overlay, click on the Color Picker box. It will by default have a red line through it to indicate no color overlay applied.
In the new window, tick the Color box then choose a color. Close out this window by clicking on the X top right corner. Back in the Image Properties window, you can adjust the Intensity of the Color Overlay.
Edit the Layer Properties
We chose not to use the Color Overlay so left the box as is. Now, click on the button that says Layer Properties to open another window below. In this window you have a few options available. You can align the image layer, change the order (send to back or front) and flip vertically or horizontally.
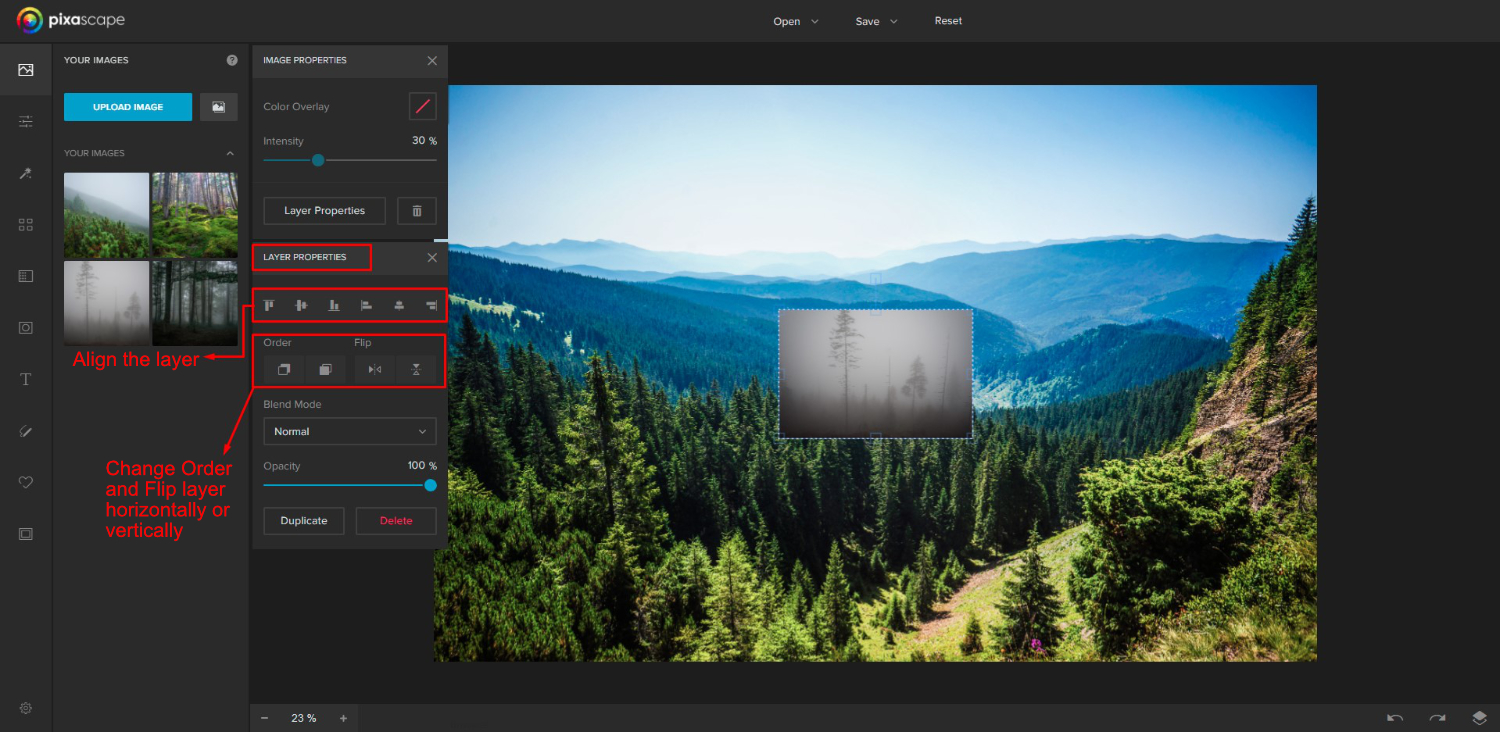
Next, you can also change the Blend Mode of the image layer as well as the Opacity. If you need to, you can Duplicate or Delete the layer here.

Resize Image Layer
The image layer can be resized by clicking + dragging the corner sizing handles in or out. Holding Shift will keep the ratio while holding Alt will resize from the center out. Using the Alt option is great if you have already centered your image.

If you want to delete the image, just click on the Trash can icon or Delete under the Layer Properties.
It’s so easy to save your photos to the Pixascape library for quick access when creating your projects. There is so much more you can learn like adding a vignette or applying photo filters in Pixascape.


