How to trace multi color images in Silhouette
The following tutorial shows how to trace an image in Silhouette Studio. In order to do this you must ensure you have purchased the correct license for the image you are going to trace. If you have downloaded the item for free please ensure you have the authors permission/license to edit, change/alter the image.
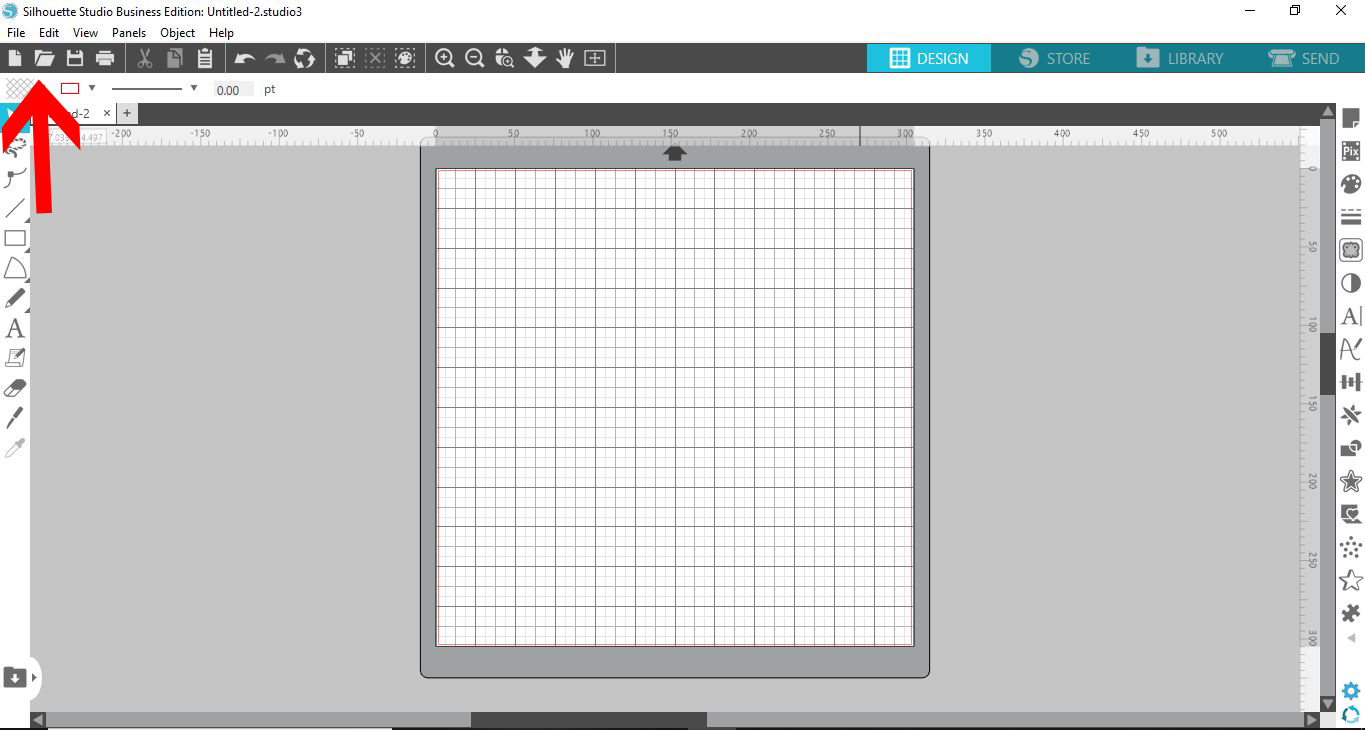
1- Open silhouette studio.
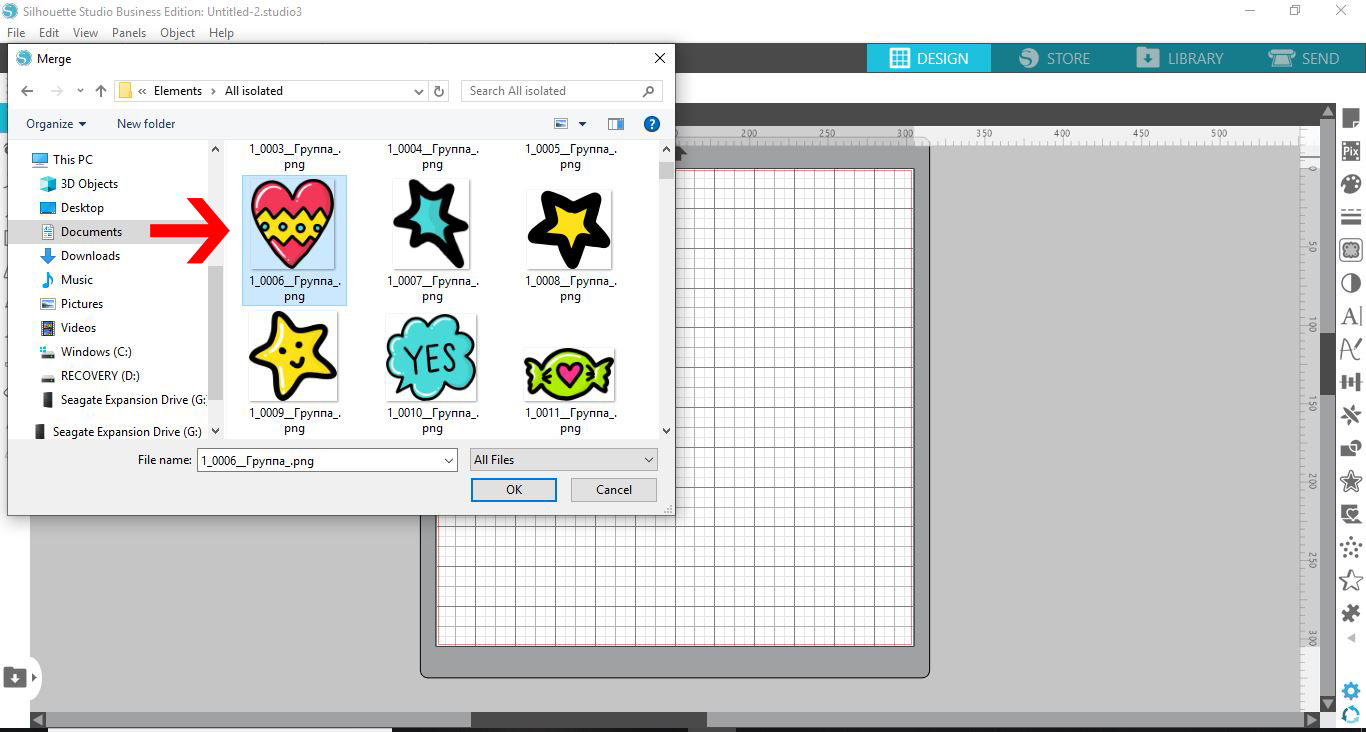
2- Open your file and select the image you would like to trace. I am using the design Valentine's Day clipart and patterns by Qilli.
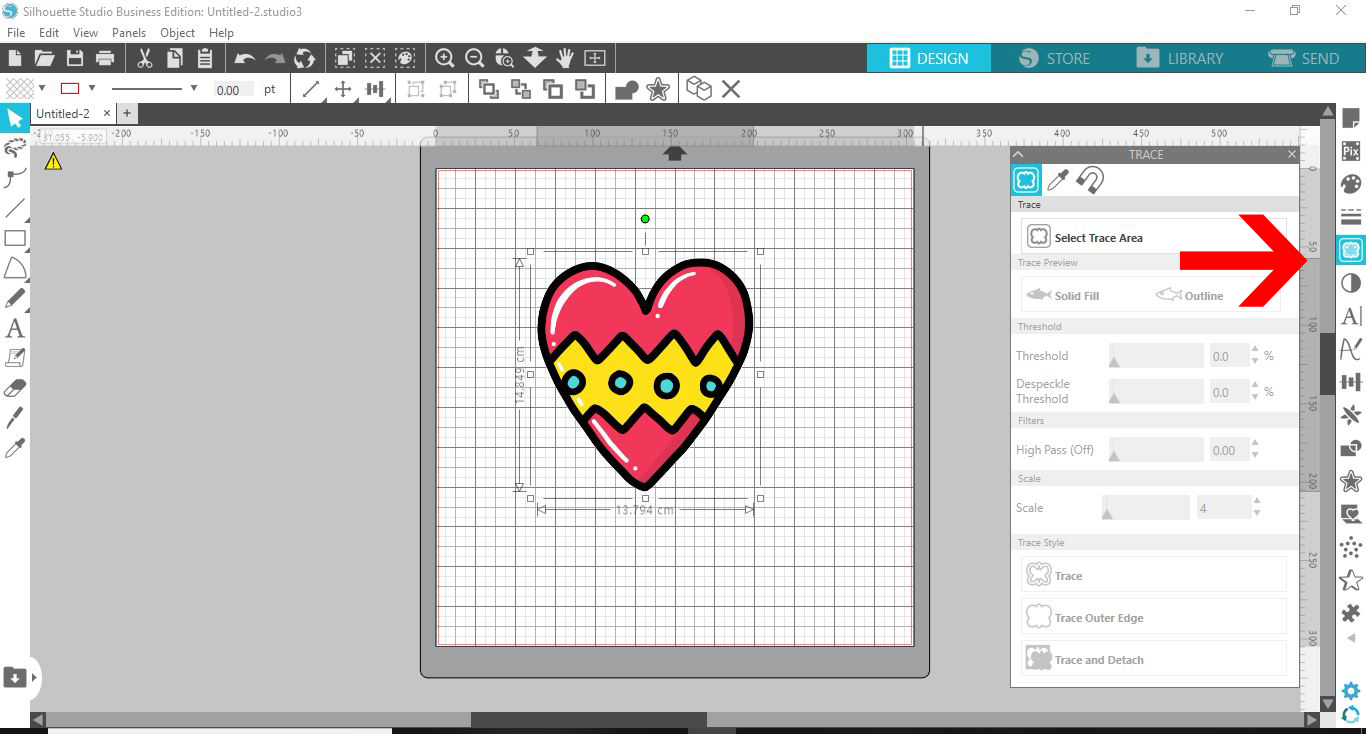
3- Click on the trace panel.
4- In the trace panel, select the eye dropper. This is the function for trace by color.
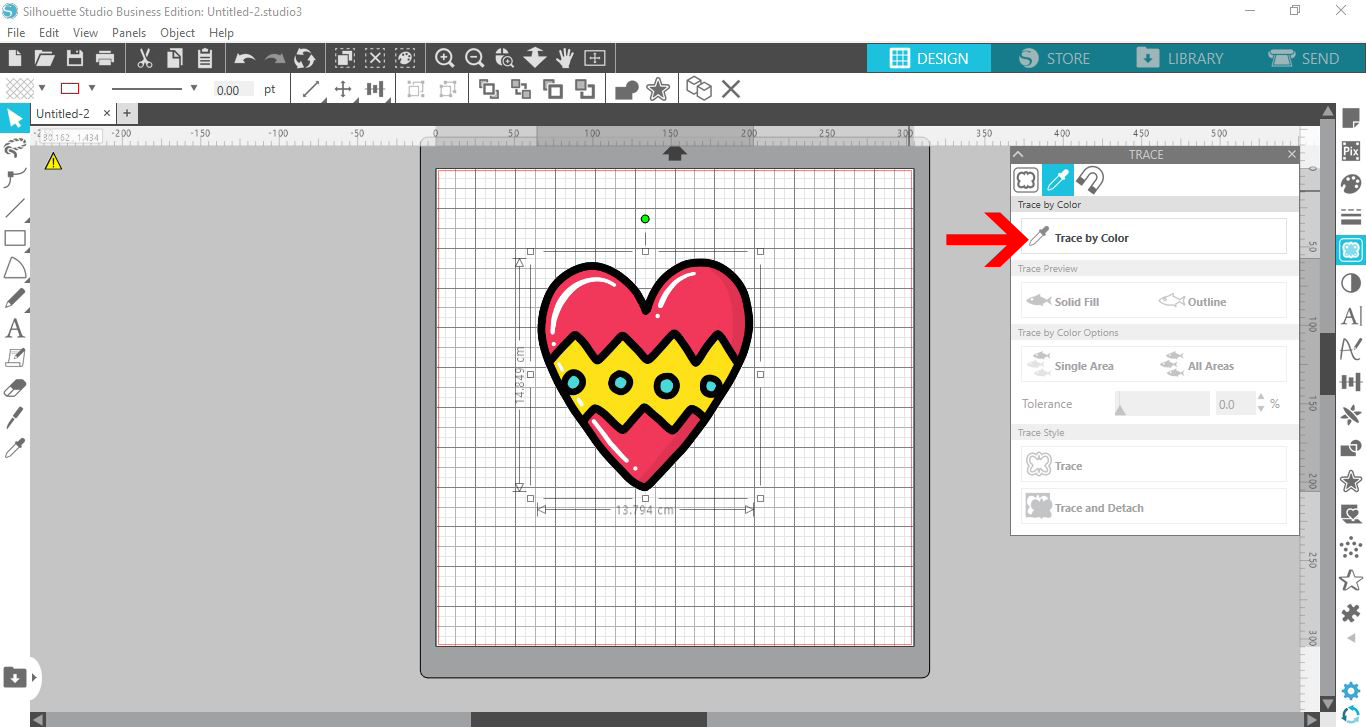
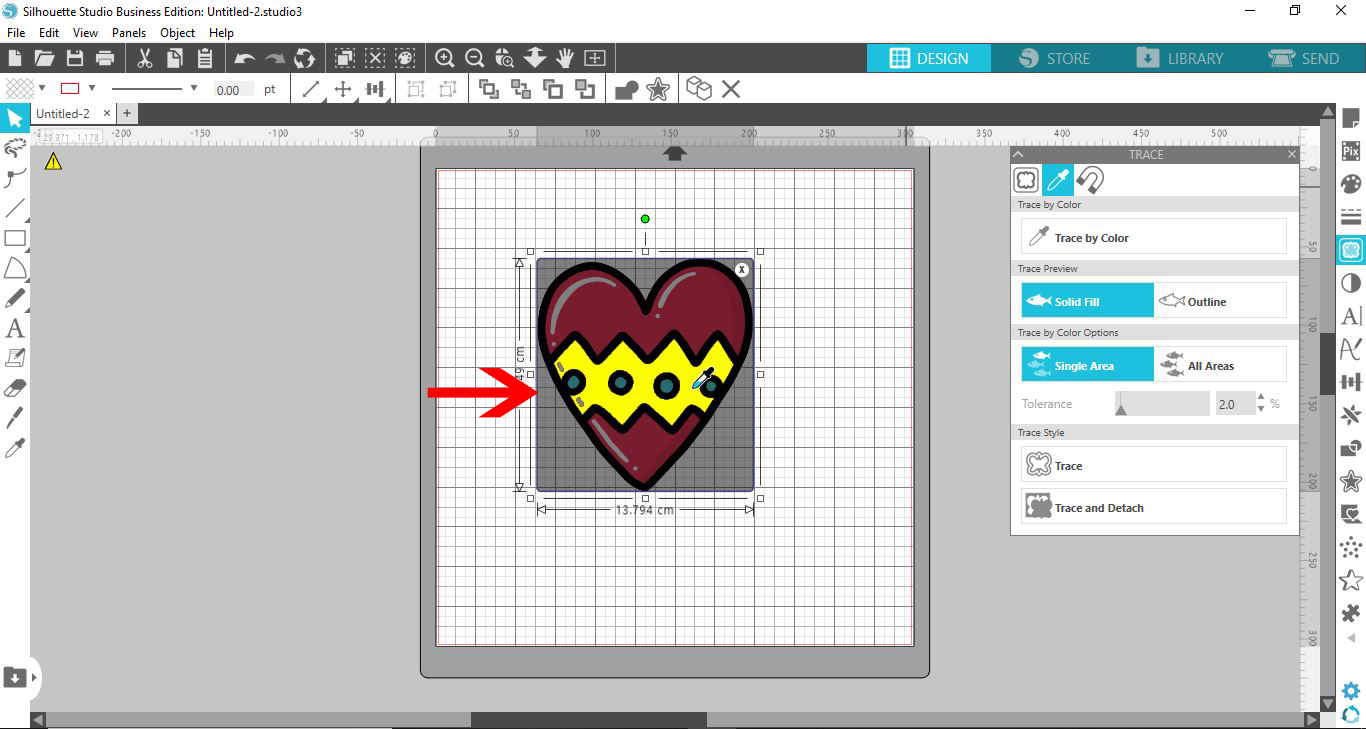
5- Click on one of the colors you would like to trace. The color you select will highlight yellow. Click the trace type.
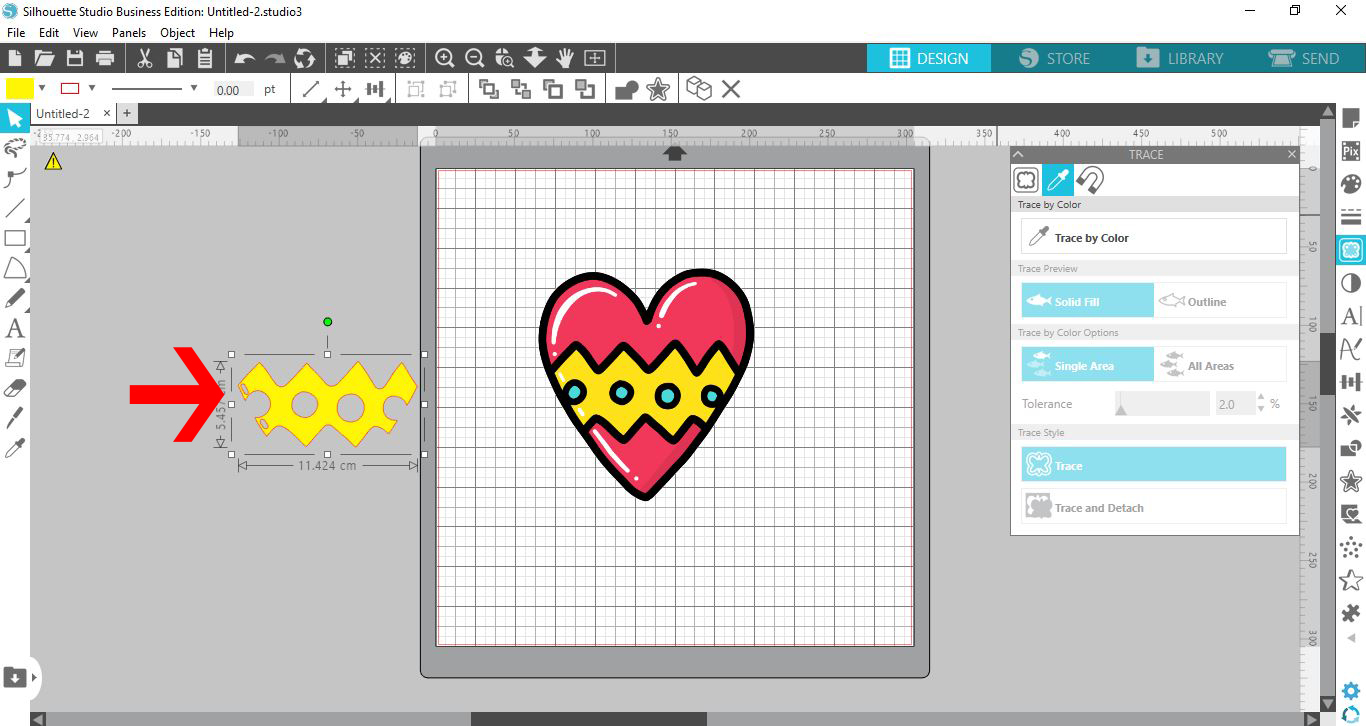
6- You can move the traced part to the side. You can even fill color is so you know what section it is.
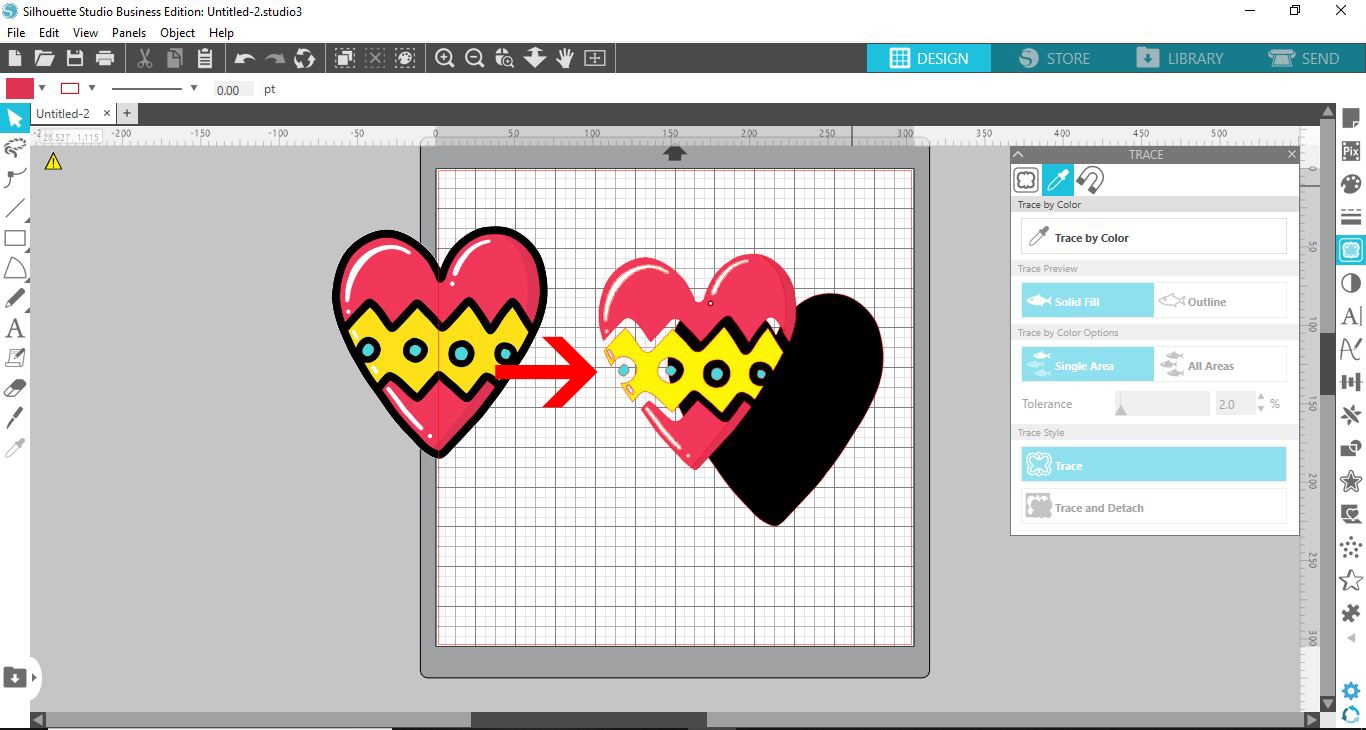
7- Repeat the above steps to trace each color in the image.
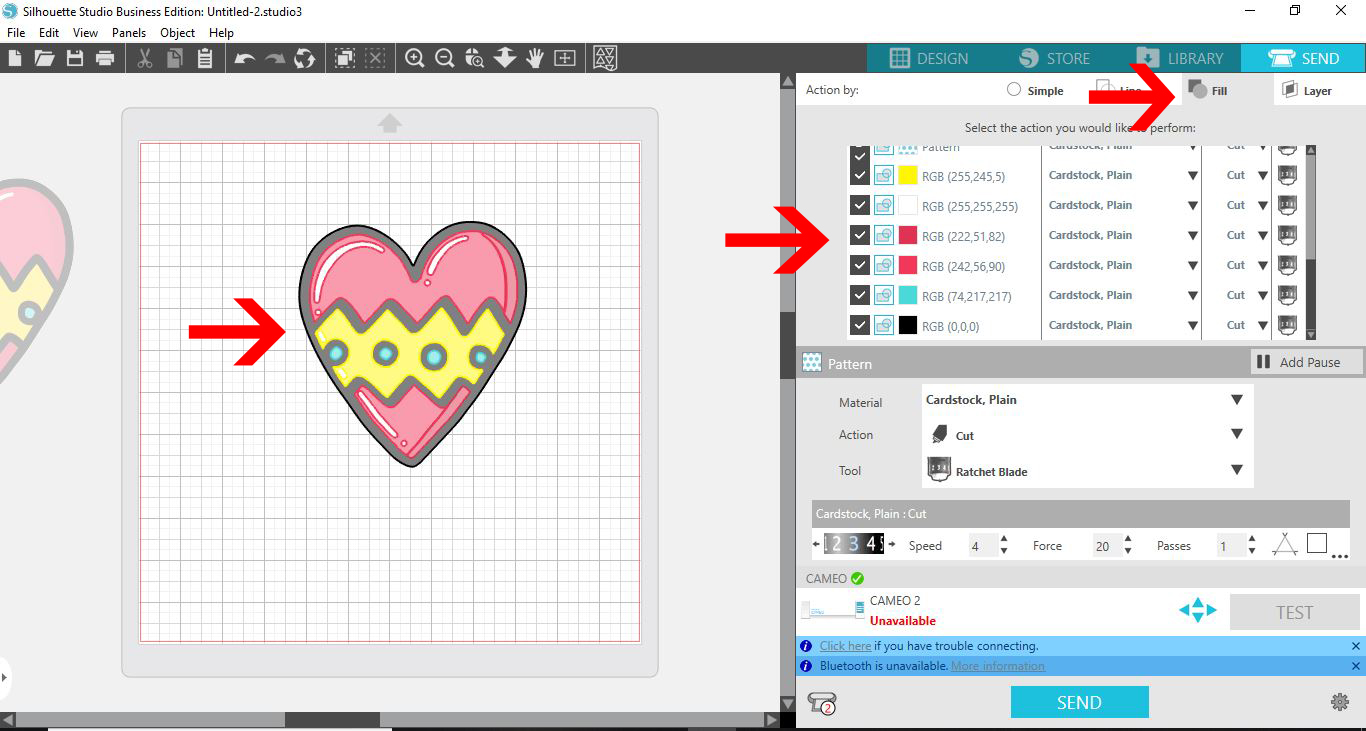
8- When you go to the send option, all the cut lines will highlight. If you select the fill color option, you can select each color to cut individual pieces.