
How to Type on Path in Illustrator
We will show you how to type on a path with this Adobe Illustrator tutorial.
The Type on a Path tool in Illustrator is a really easy tool to use and allows you to flow text along any path, whether it’s a shape from the shapes panel or a custom drawn shape using the Pen tool. This allows you full design control to add text to shapes for things like badges, logos or create typographic designs for SVG cut files, sublimation or for print.
Step 1 - Create your document and shape
Start by creating your document by selecting File > New. When you have your artboard set up, you can select any shape you want from the shapes panel. I am going to use the Ellipse Tool for this tutorial.

Now draw your shape anywhere on your artboard - to create an evenly proportioned shape, hold down shift when you drag to open the size of the shape.

Step 2 - Use the type tool
Select the Type on a Path tool by clicking and holding the Type Tool and selecting Type on a Path tool.

Add text to your shape
Now that you have your Type on a Path tool selected, you can click anywhere on the circle path you have created to create your text. I like to start from one of the nodes, as that way you are starting your text from an even position. When you have selected your position on the path, Illustrator will drop in dummy text.
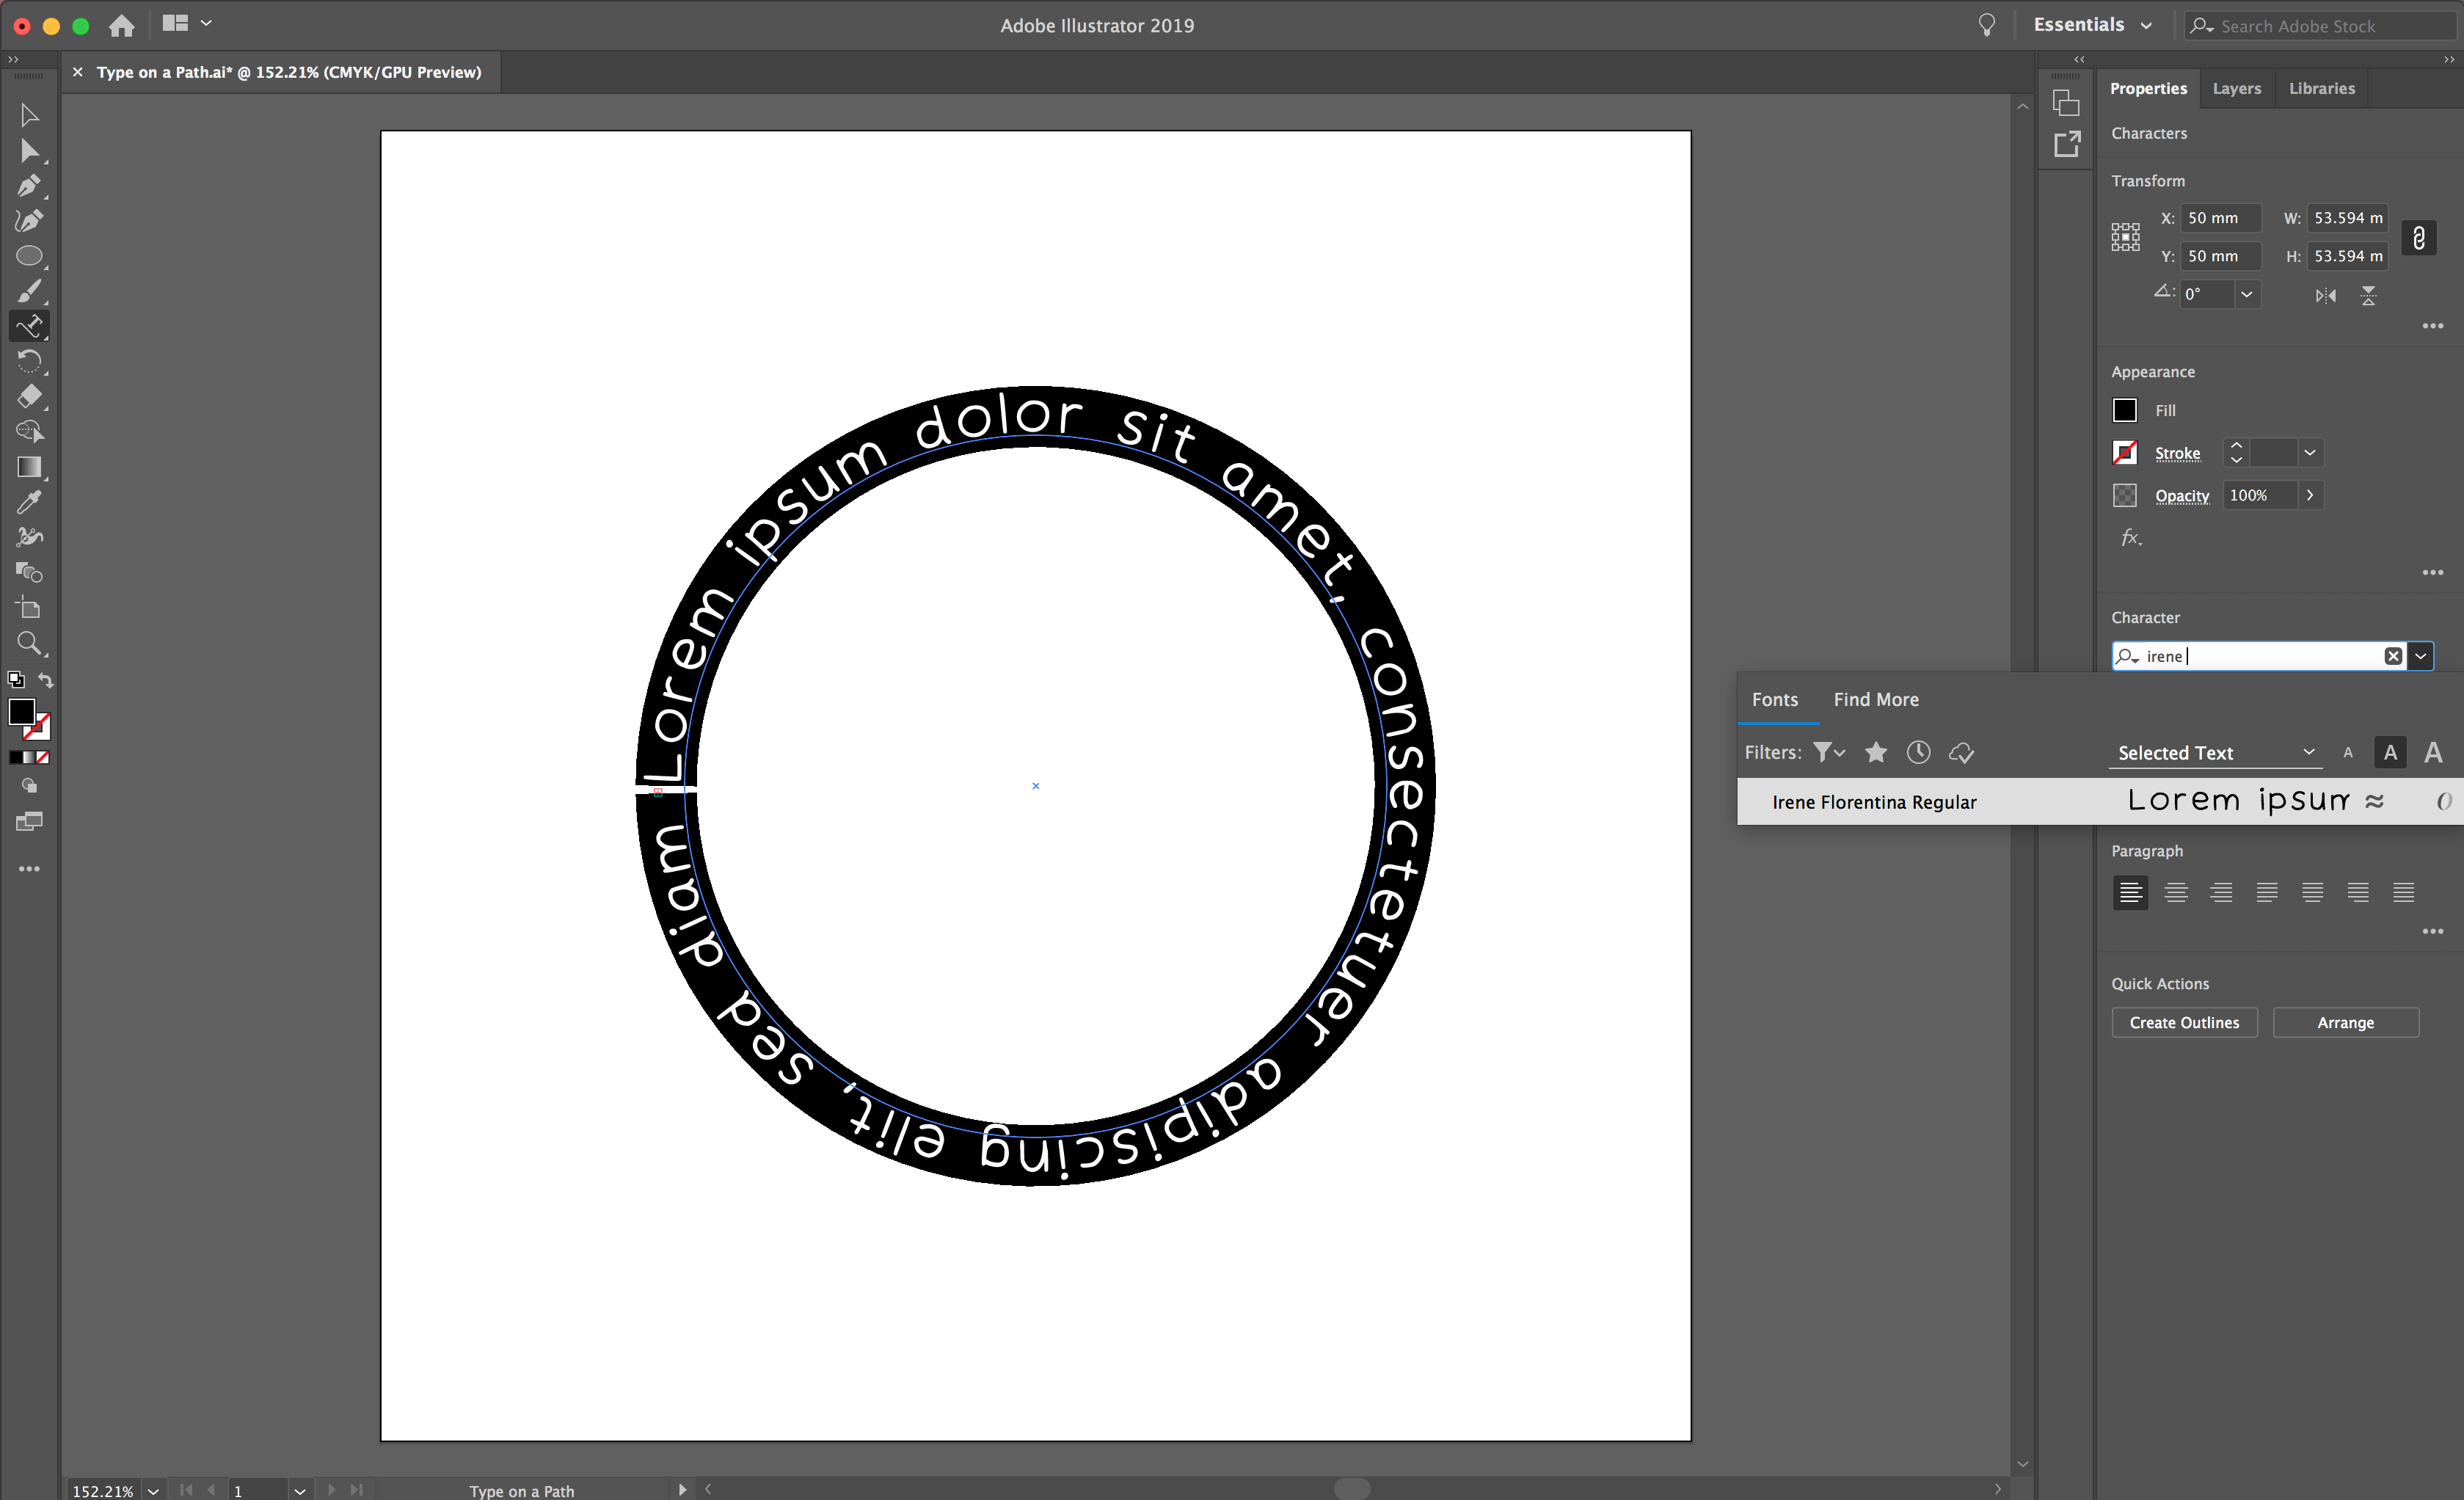
Choose your font
From here you can select your font and amend your text settings in the Character menu on the top or right hand side of your window - I am using the font Irene Florentina from Font Bundles. Once you have selected your settings, you can type into your design.

Center align text
You may also want to center align your text for a symmetrical design. You can do this from the Paragraph menu, which will be found next to the Character menu.

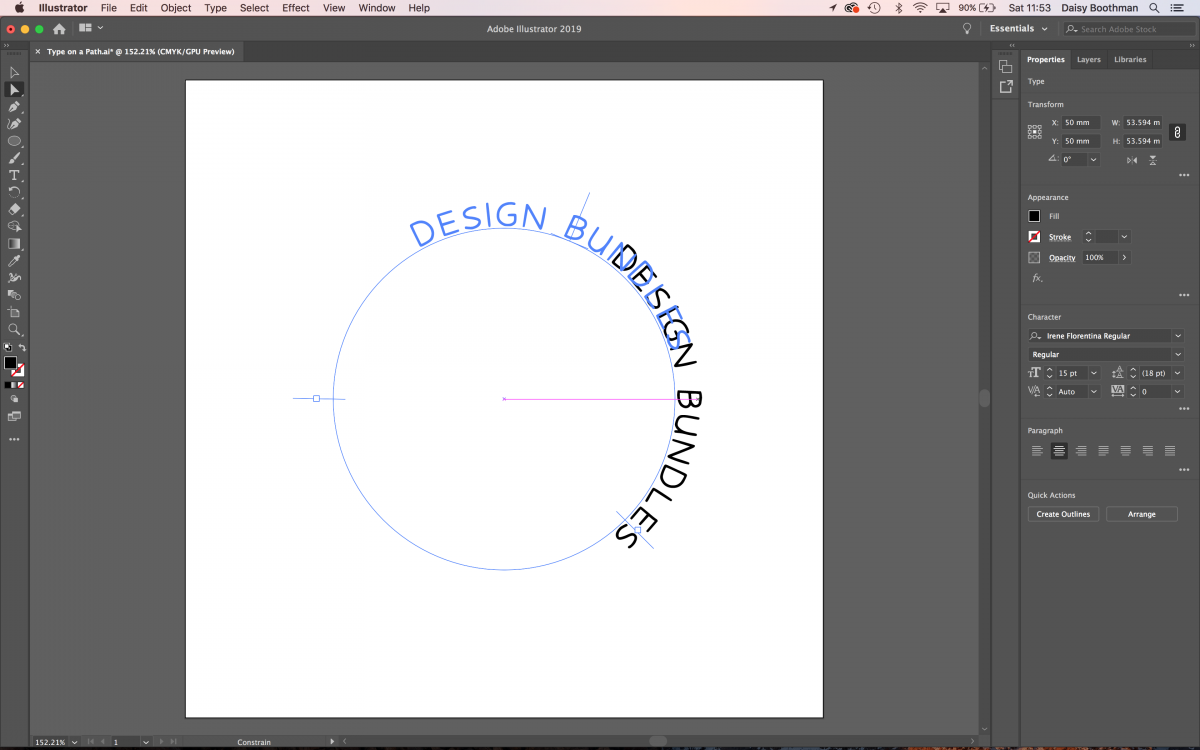
Step 3 - Move your text
As you can see, this has made my text jump sideways on the circle. This can be amended by selecting the Direct Selection Tool (white arrow). You will see some vertical lines appear on the circle path, these lines will give you full control over the position of your text.
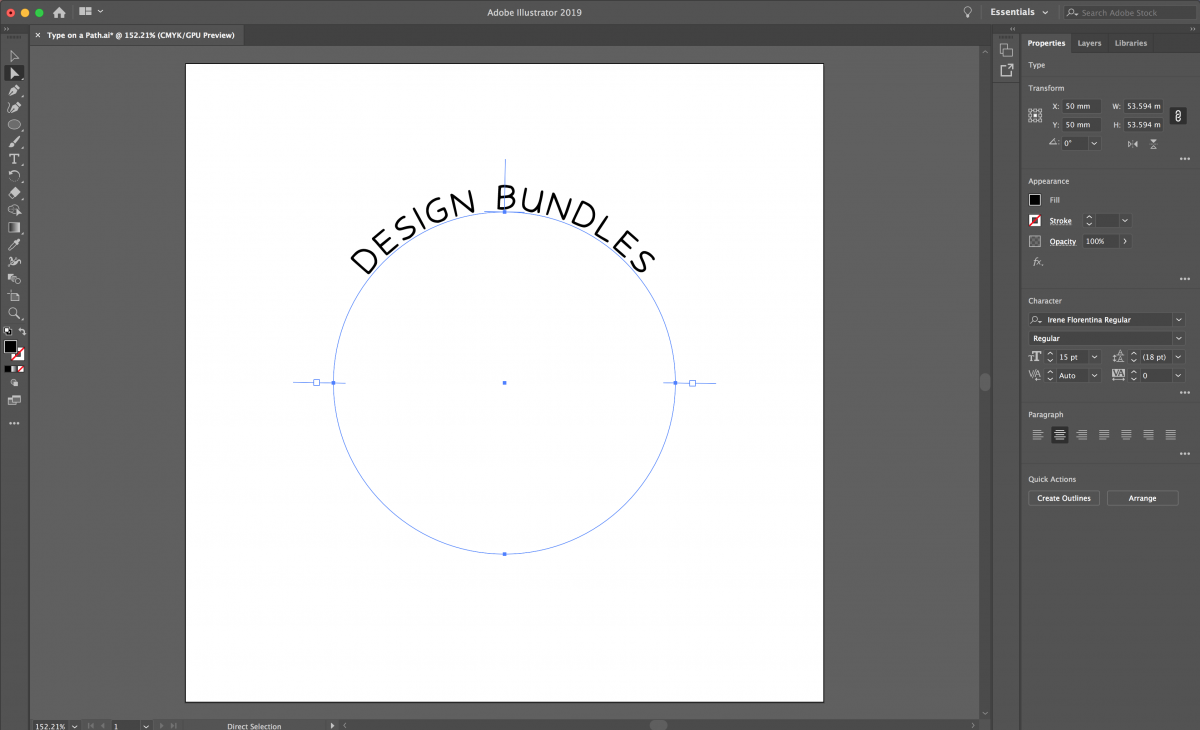
Where you can see the two lines together (see screenshot) these are the start and the end point of your text and these are what will control the position of your text on your path. I have dragged the end point to sit in line with the start point so that my text area is the top half of the circle. This will now align my text to the exact center.

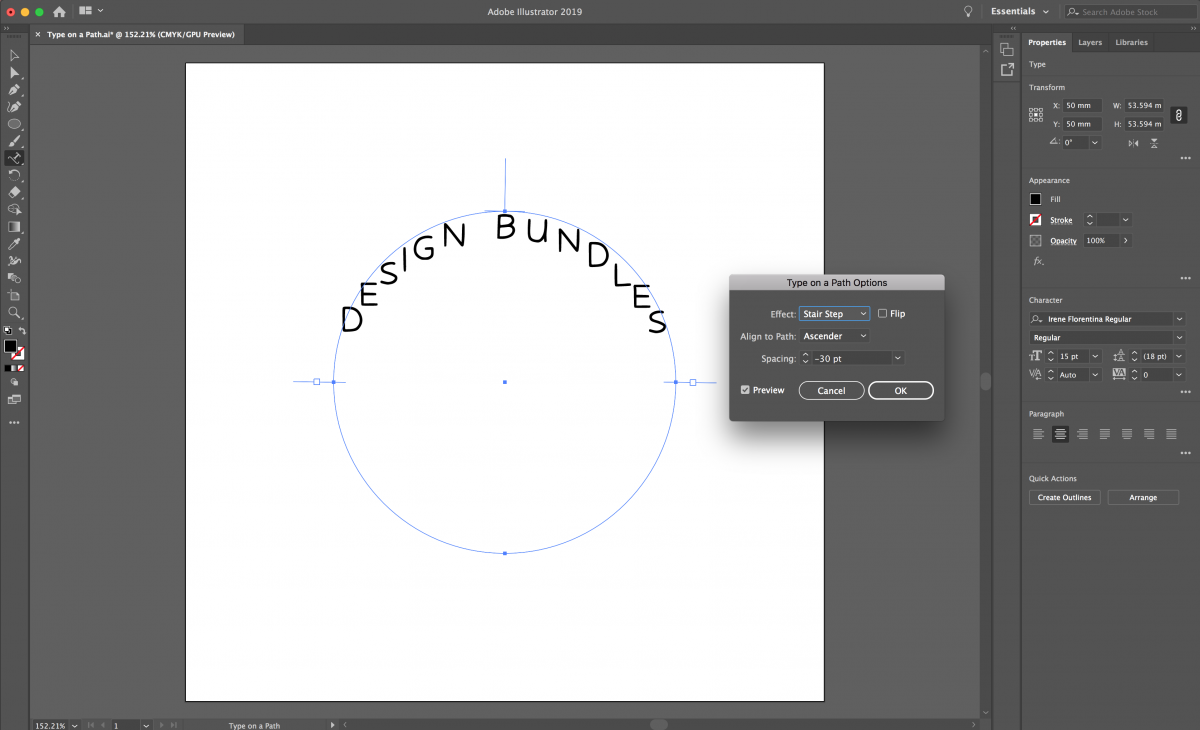
Step 4 - Type on a Path Options
You can also open the Type on a Path Options by double clicking the Type on a Path tool icon and select the preview box so you can see the settings you are changing. You can change the effect, align your text to the Ascender (the top of your letters) and also amend the spacing of your text.

Once you have completed these steps, you can create another Type on a Path to complete your design. Here I have added text on the lower part of the circle. This was created by duplicating the path I already had and rotating it. Then by amending the settings to flip and align to the descender, it completes the lower section of the circle.

If you liked this tutorial, we think you’ll also like making a repeating text outline, using the Pathfinder Panel, or making ribbon text which can all be found in our Illustrator tutorial section.


