Unlimited Downloads 15% off Marketplace Purchases Exclusive Software Access Unlimited Downloads
15% off Marketplace Purchases
Exclusive Software Access
Get Plus Now Maybe Later
How to Use a Premade Design to Decorate an Object in the Silhouette Alta
  • By Design Bundles
  • 11 Oct 2018
  • 2 Mins
  • Silhouette Tutorials

How to Use a Premade Design to Decorate an Object in the Silhouette Alta

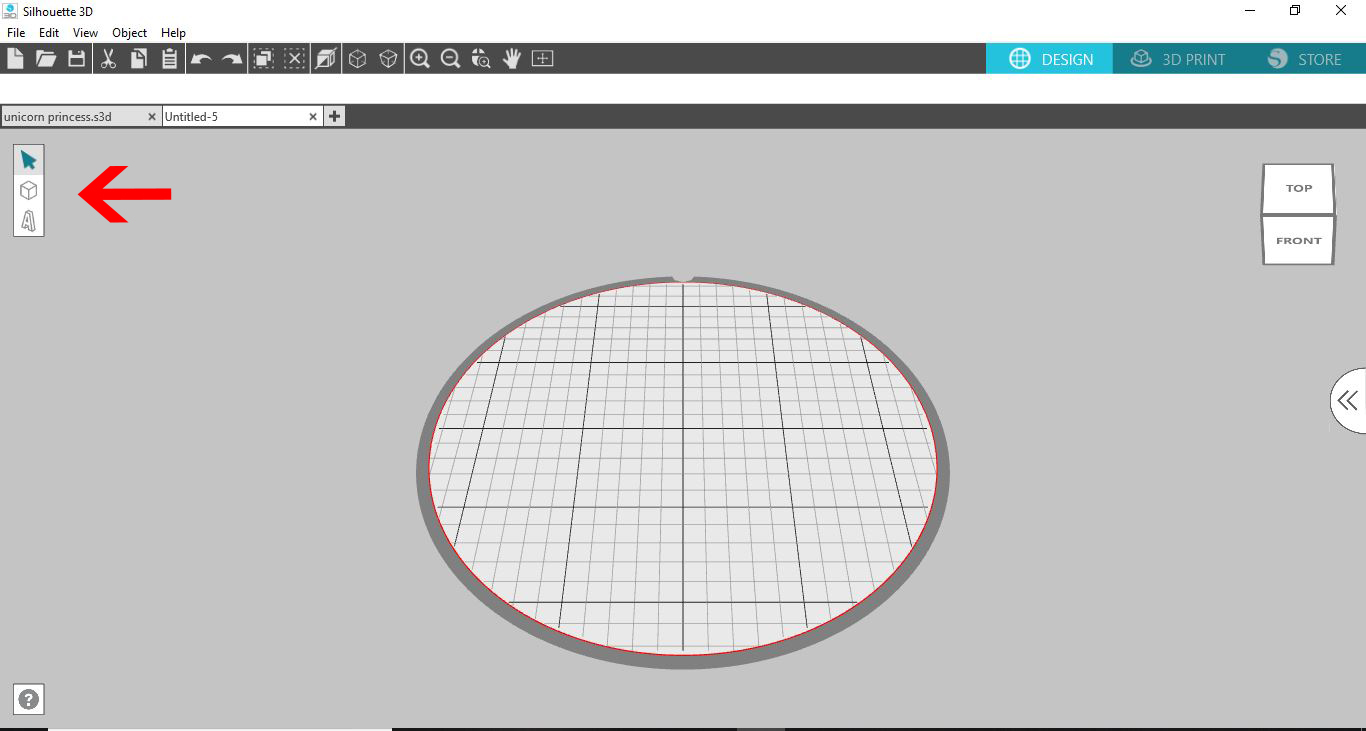
1- Open Silhouette Alta software. Click on the shape icon.

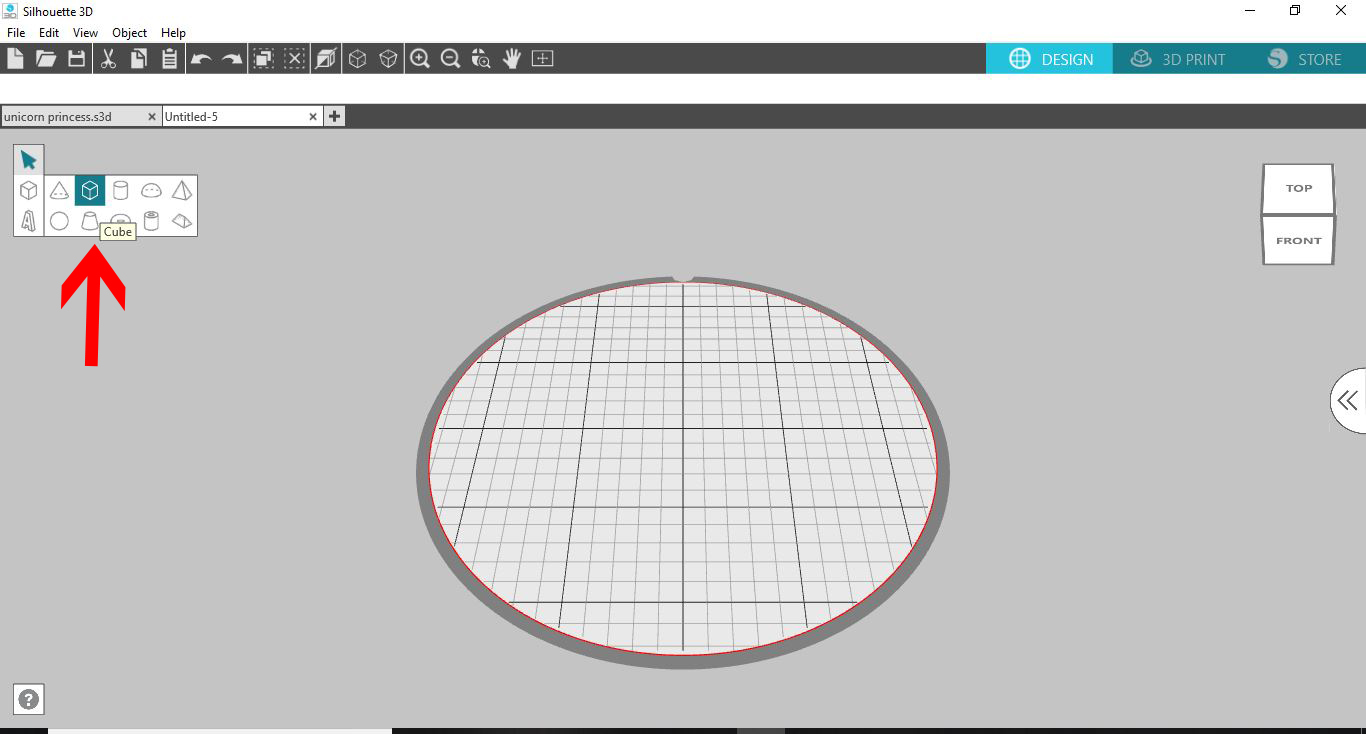
2- Select your shape.

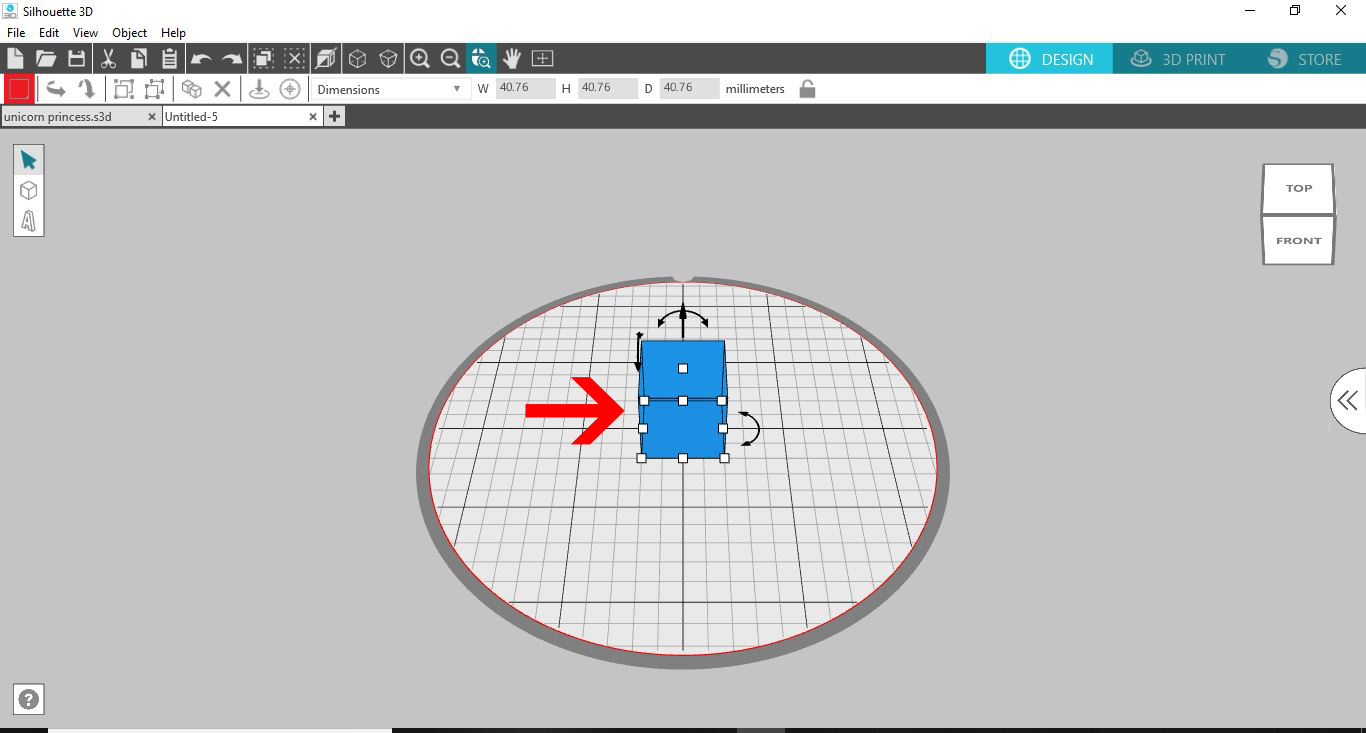
3- Create your shape. If you are going to put a decoration onto a project you have already made, open that instead.

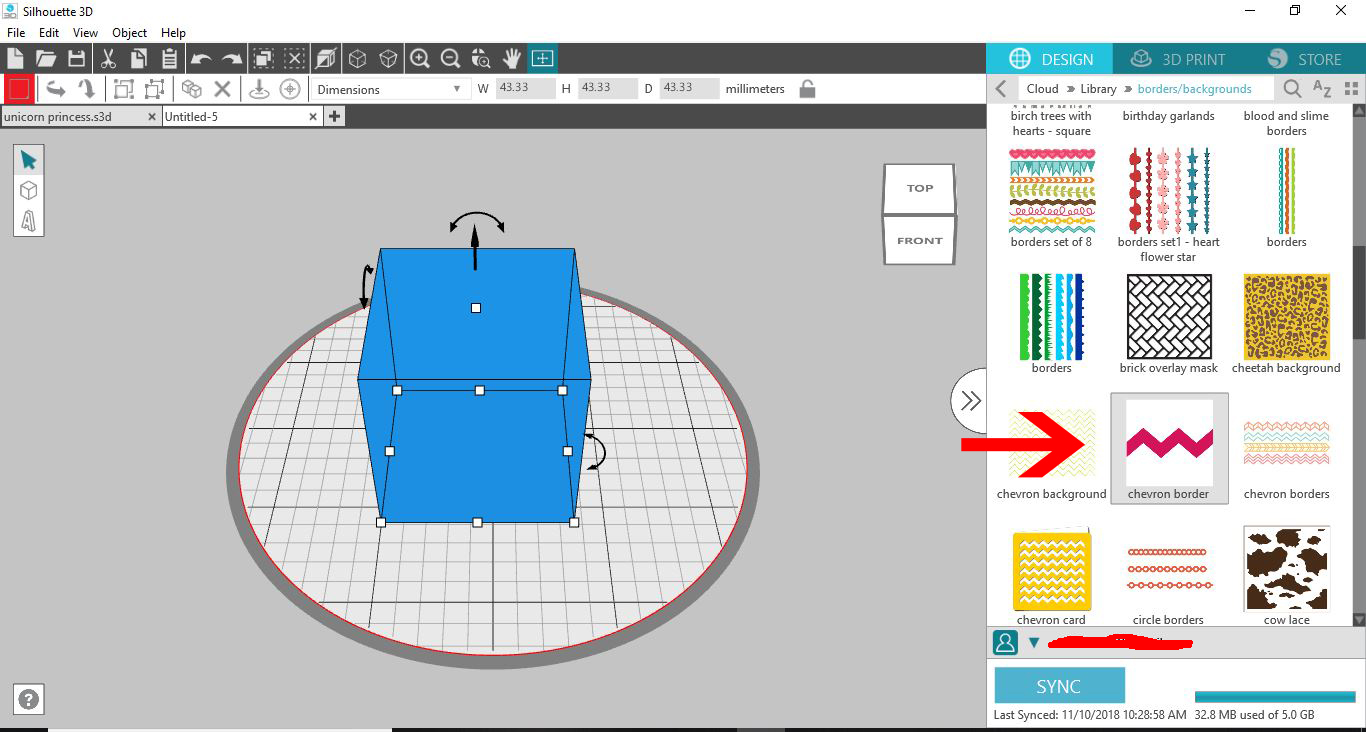
4- Click on the right tab to access the library and your premade designs.

5- Select your premade design. Borders and single flat designs are the best to start with. Double click on it.

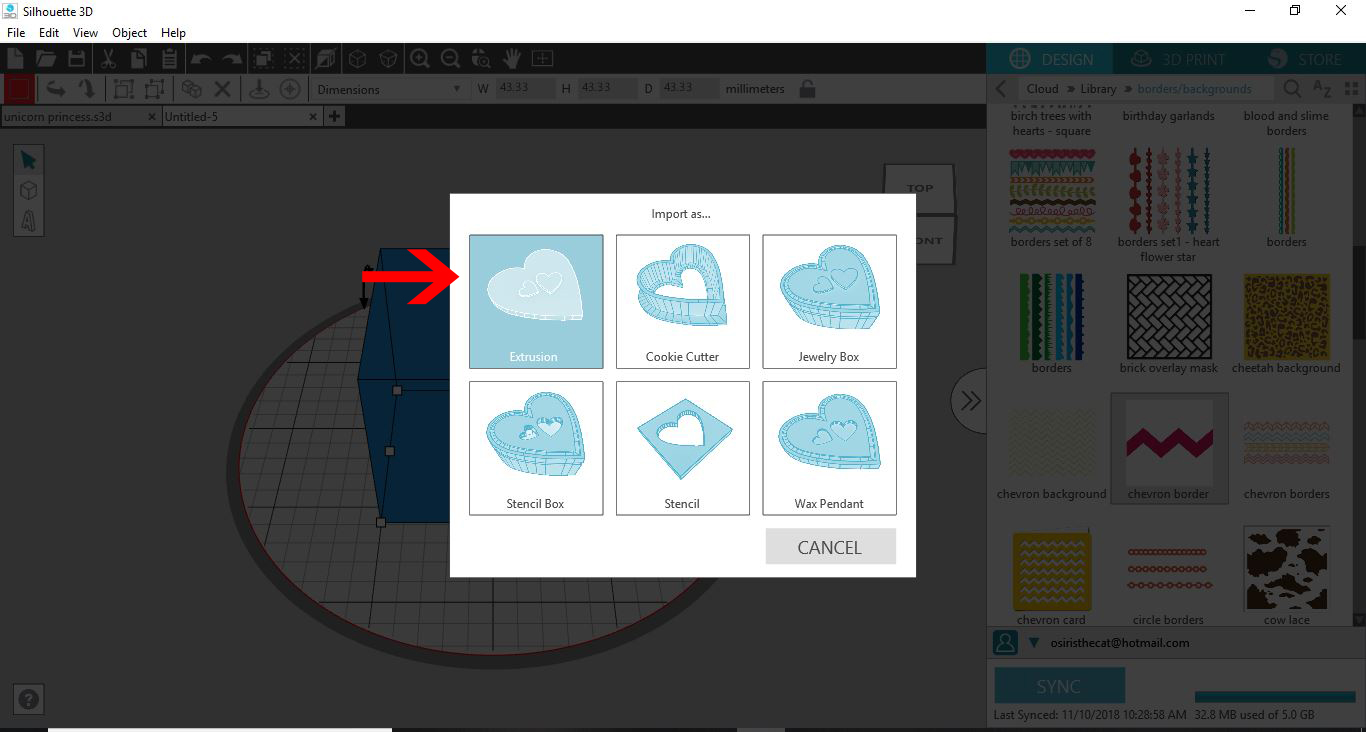
6- Click on extrusion.

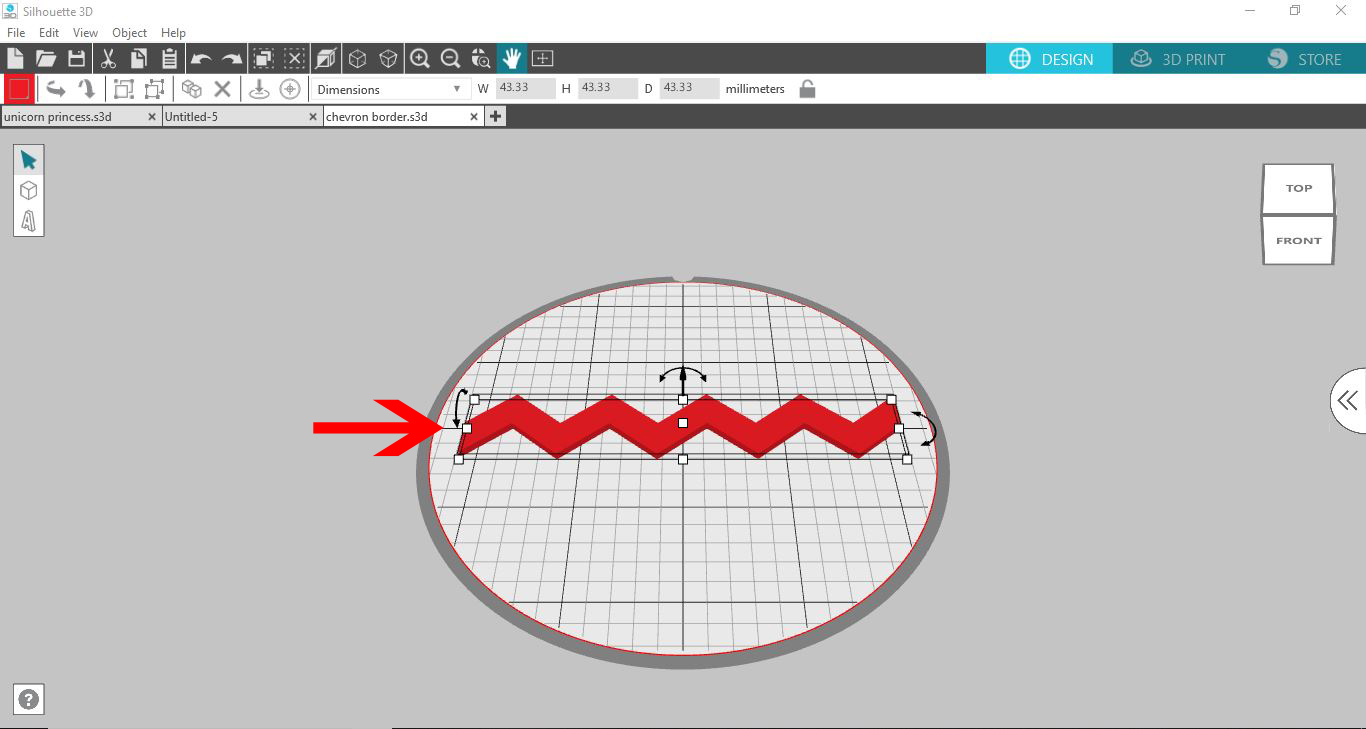
7- Your premade design will appear on your design space.

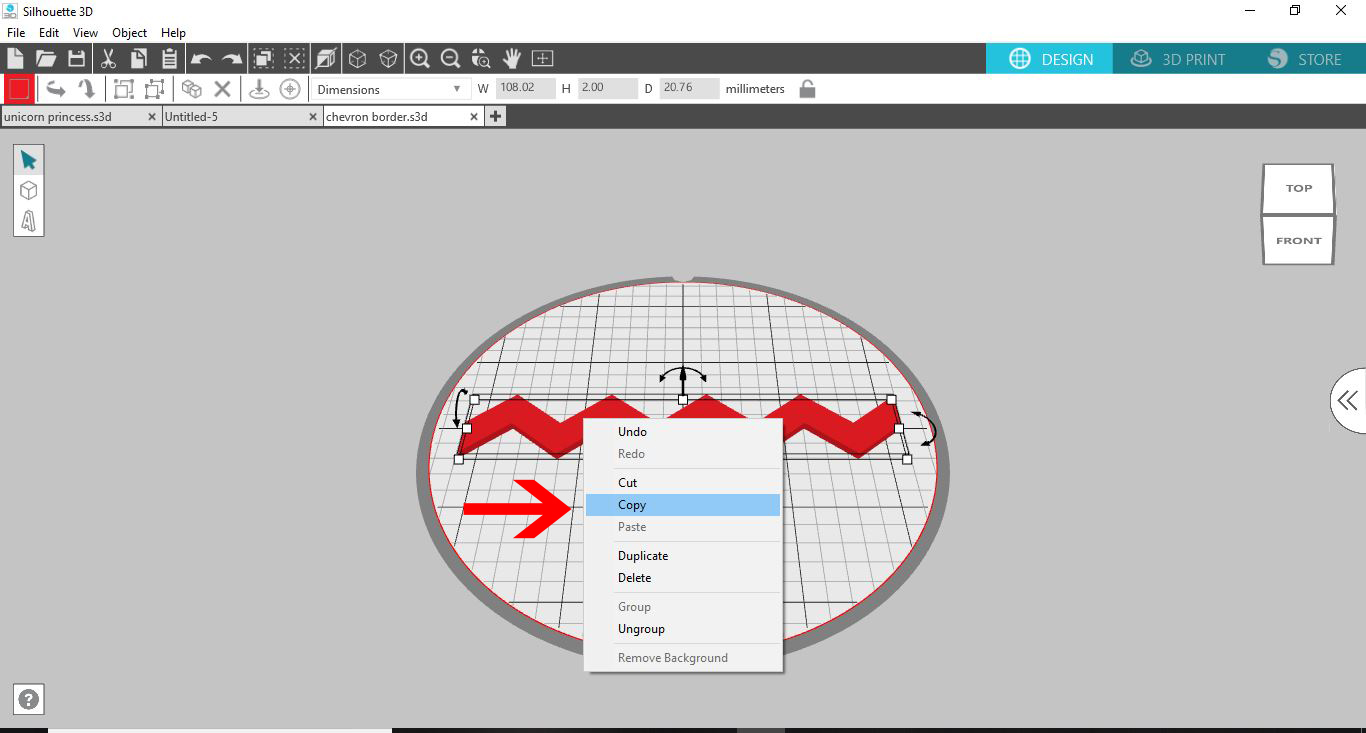
8- Right click on your design and copy it.

9- Go back into your first file and right click, then select paste.

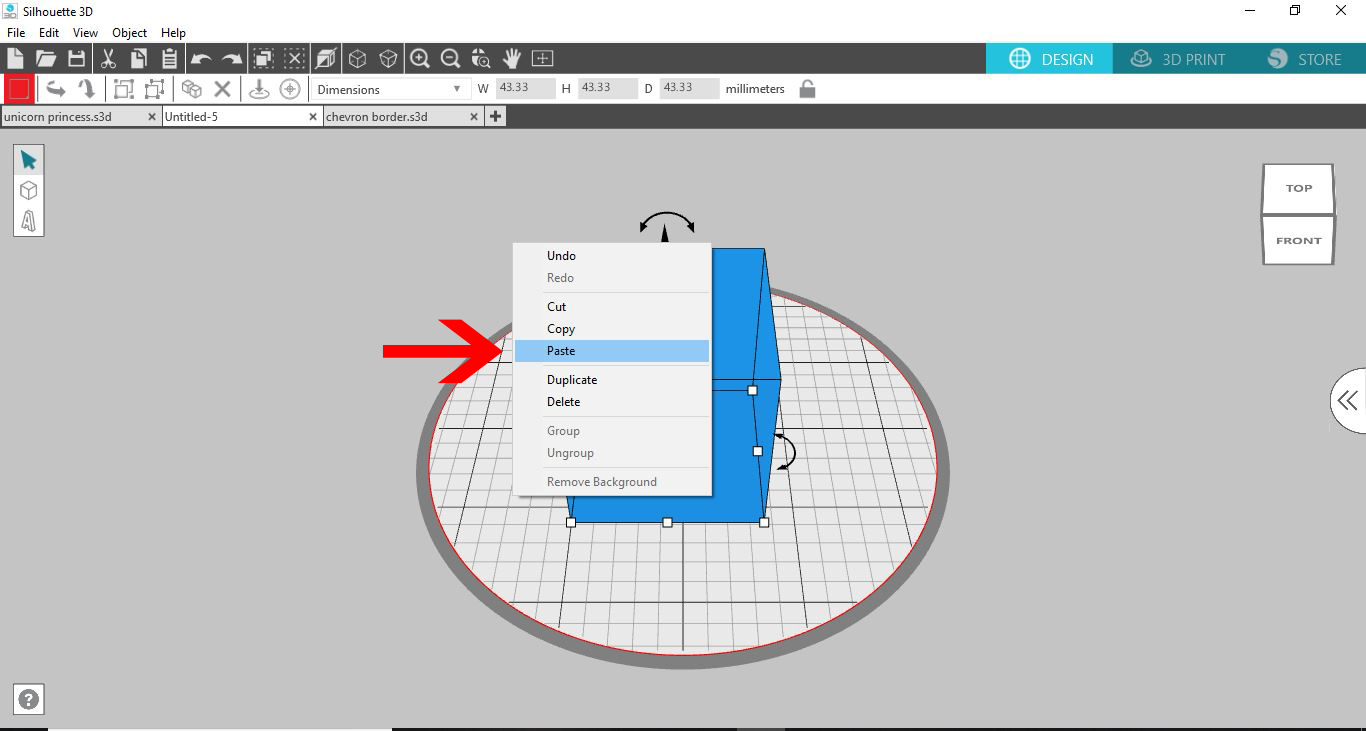
10- Your design will appear in your design space.

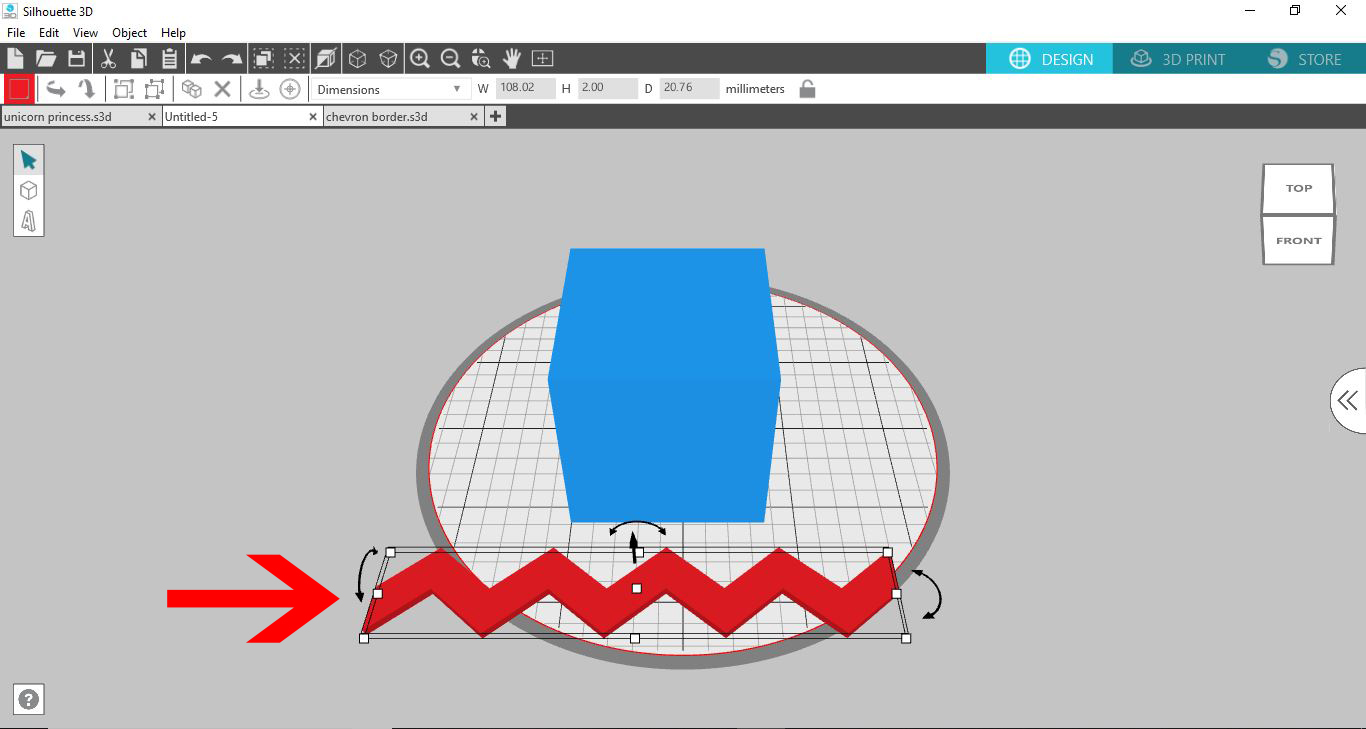
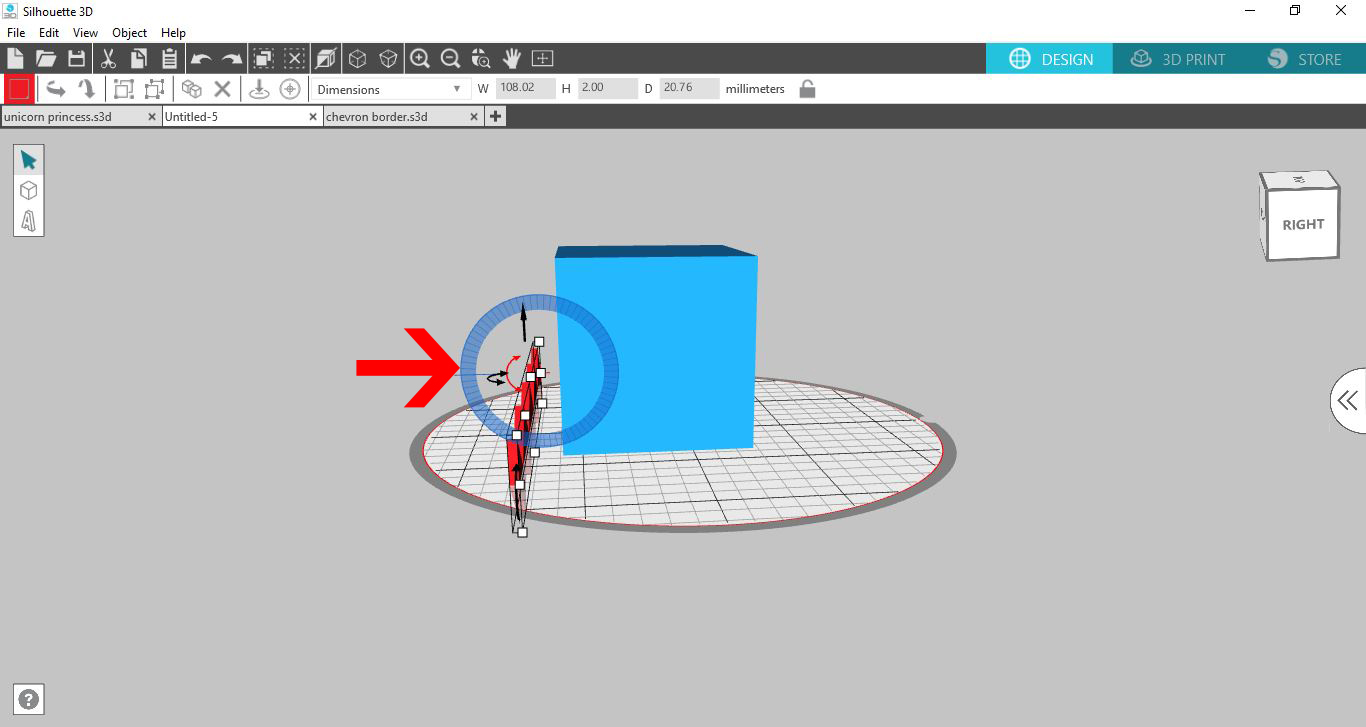
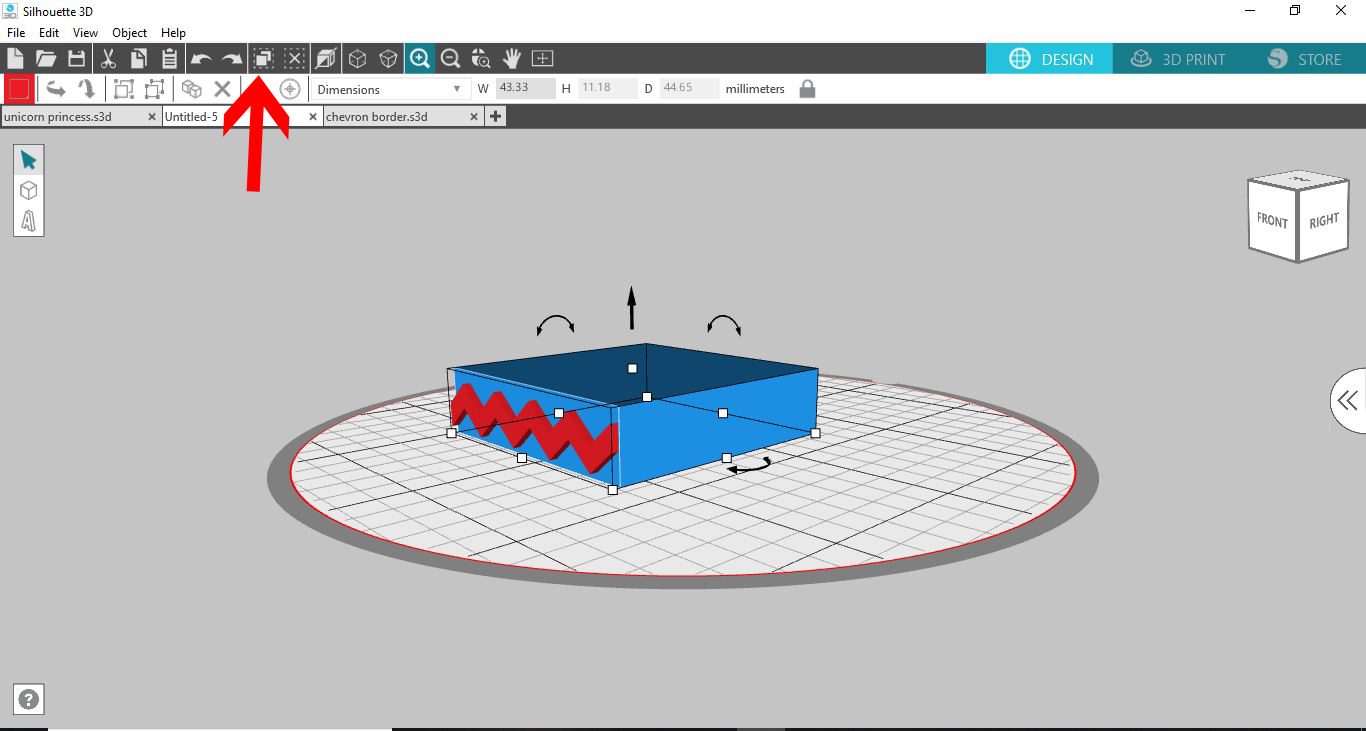
11- Using the rotation icon, rotate your design so it can be placed flush onto your cube (or premade object).

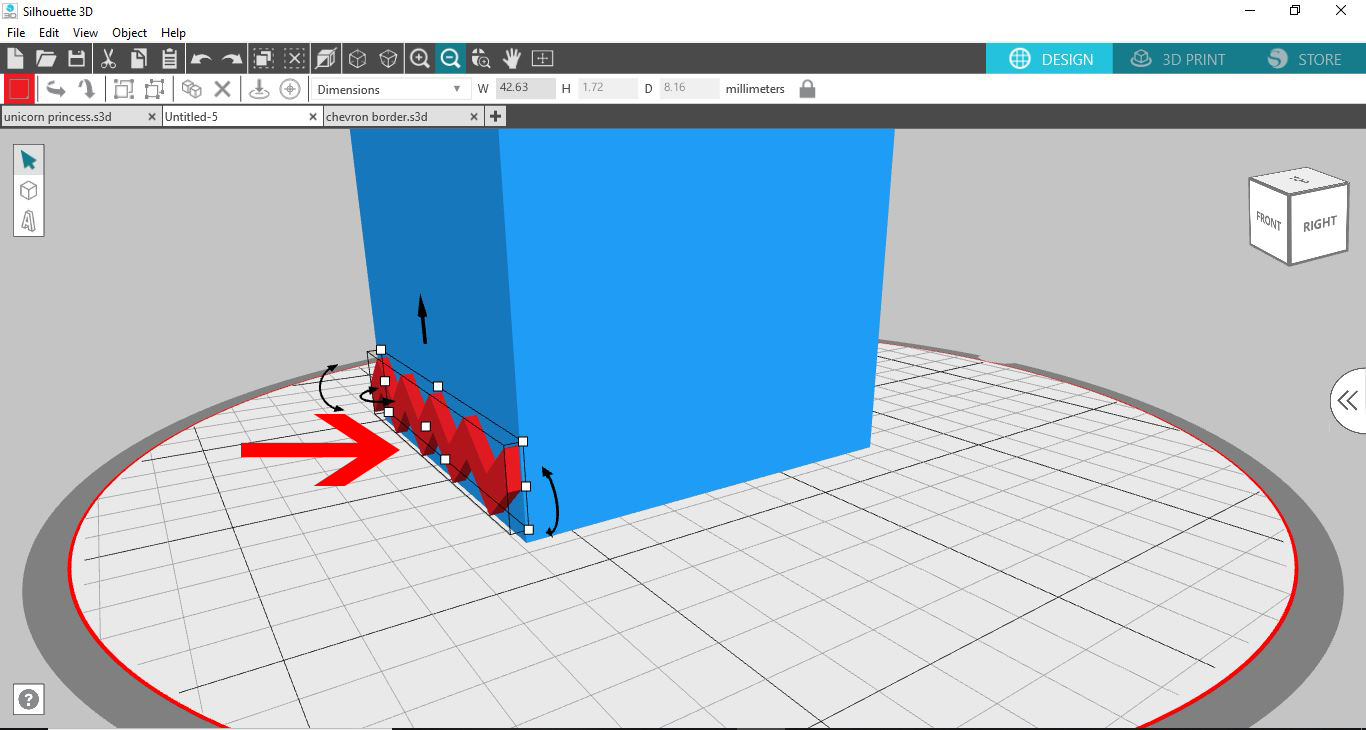
12- Move the design back so it is flush on your cube.Resize so there is no overlap.

13- Click on the select all icon.

14- Right click and group. This way the software will print as one file, not separate parts.

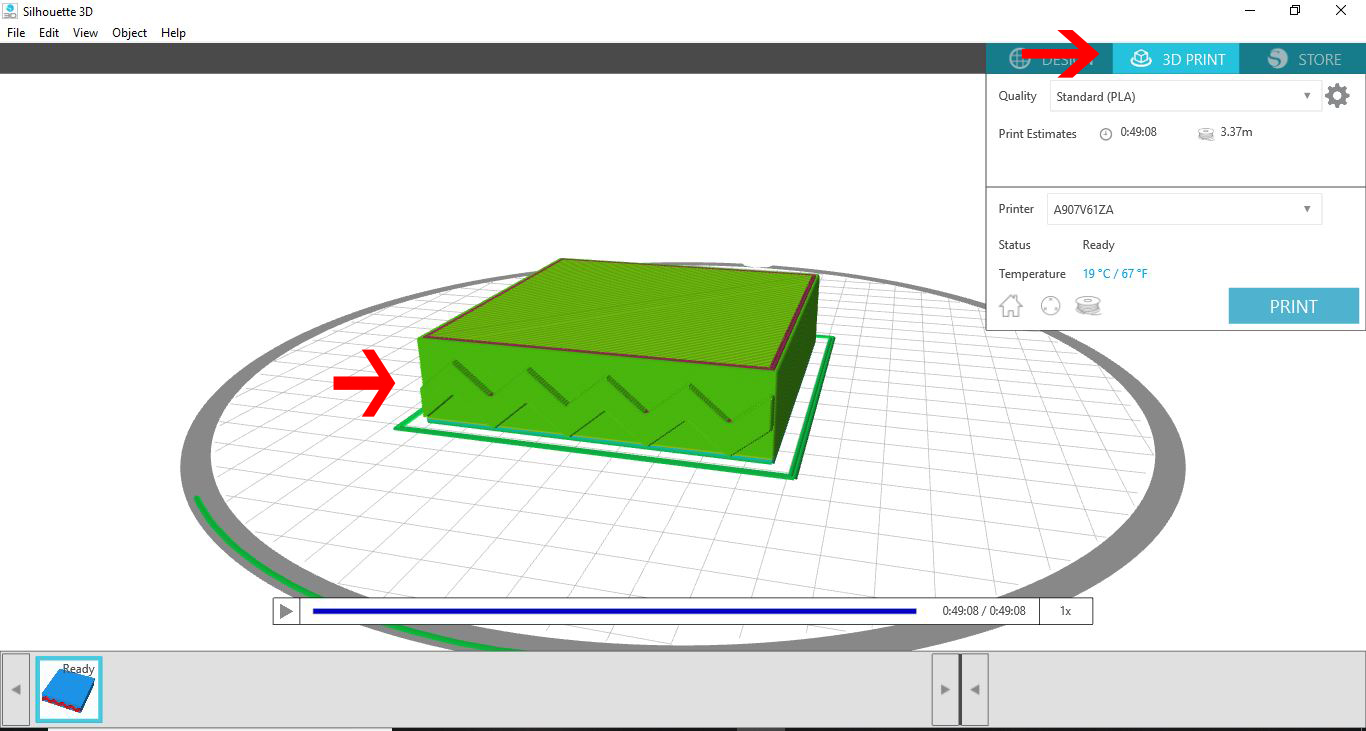
15- Click on 3D print and the software will slice your design ready to print. Click print.


6 Related Silhouette Tutorials

Did you know that you can use Silhouette Files in Cricut Design Space? In this quick and easy to follow tutorial we will guide you through the steps on how to do this.Before we begin make sure that you have unzipped your purchased files to your computer. 1- Open ...

With the Silhouette Alta 3D software, you can also create text designs. Objects with 3D text can be personalized for all kinds of projects. These projects can include cake toppers, luggage tags, monograms, and so much more. In this tutorial, we will show you how to use the Text tool ...

1- Ope Silhouette Studio Software (Business Edition). Click on the open folder icon.2- Find your EPS file and open it. I am using acat lover svgfrom designbundles.net3- Your file has now imported to the design space.4- Select the image and right click and check ungroup.5- ...

1- Open the Silhouette Alta 3d software. Click on the shapes icon.2- Select your first shape.3- Click on your dome. Adjust the size and make the dome flat.4- Adjust the thickness of the shape to only 1 mm thick.5- Lengthen the shape to make the clip part ...

1- Open Silhouette Studio Software (Business Edition).Click on the open folder.2- Find your Ai file and open. I am usingI love you svgfrom designbundles.net3-A new window will appear. This will let you import the design as a vector file. click on import.4- It will take ...

1- Open up Silhouette Studio software (Business Edition). Click on the open folder.2- Click and open your DXF file. I am using theflip flop monogram svgfrom designbundles.net3- The file will now appear in your design area.4- Ungroup the design, then select the part you would like ...

You may also like

Help Center