


By Design Bundles
How to Use the Knife Tool in Illustrator
The Knife tool in Illustrator is a really easy tool to separate one shape into multiple shapes, working similarly to the Divide Pathfinder tool. The difference with using the Knife tool is that it is a freehand path that you draw which instantly divides the shape into new shapes.
In this tutorial, we will show you how to use the Knife tool on a wavy line in Illustrator.
Step 1 - Select the Knife Tool
Once you have drawn your design, select the Knife tool from your left toolbar. If you don't see the Knife tool, click and hold the Eraser Tool or Scissors Tool until a small listpops up. The Knife tool may be in that list, but if it isn't, you can locate it by clicking the three dots at the bottom of the left toolbar. You will find Knife under Modify, which you can then drag out into the toolbar.

Step 2 - Cut Your Design
There aretwo ways to cut into your design: freehand and straight lines.
Note: If you have multiple shapes on top of each other but only want to cut into a single shape, you must select that specific shape first. If you cut the shape without selecting it, the Knife tool will cut through all the shapes.
Cut Freehand
With theKnife tool selected, draw the cut line.

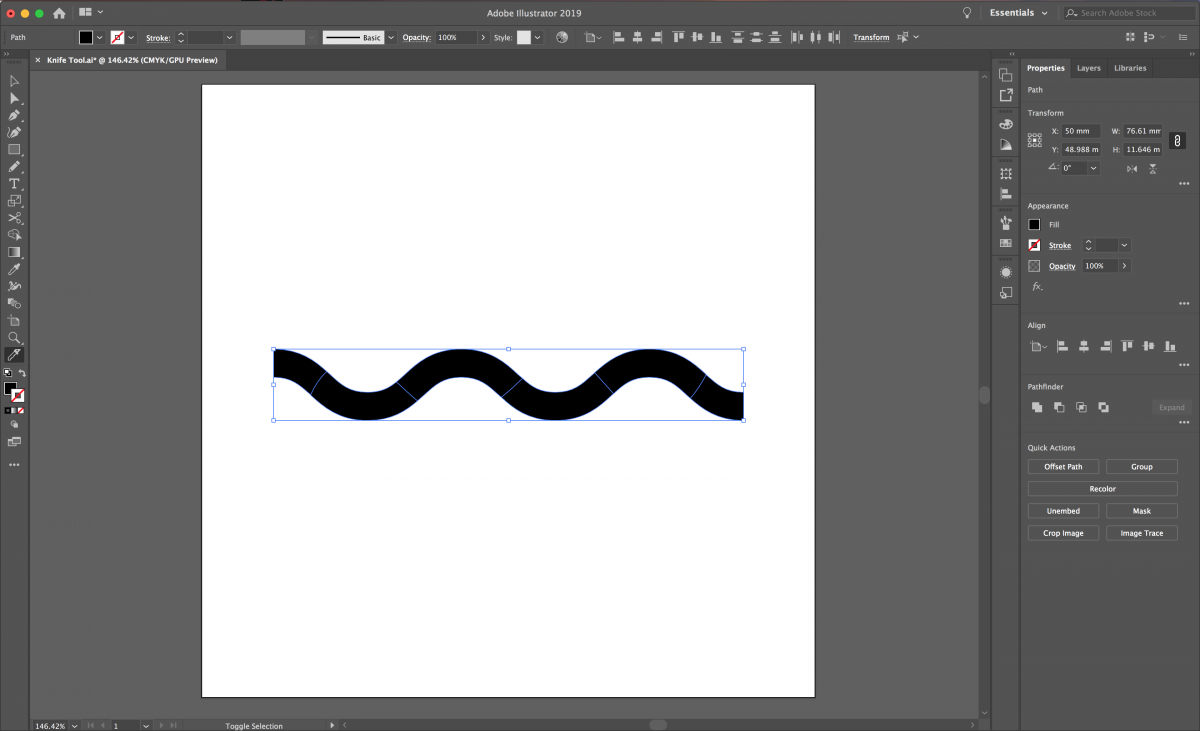
Once complete, you can select and move the individual shapes.
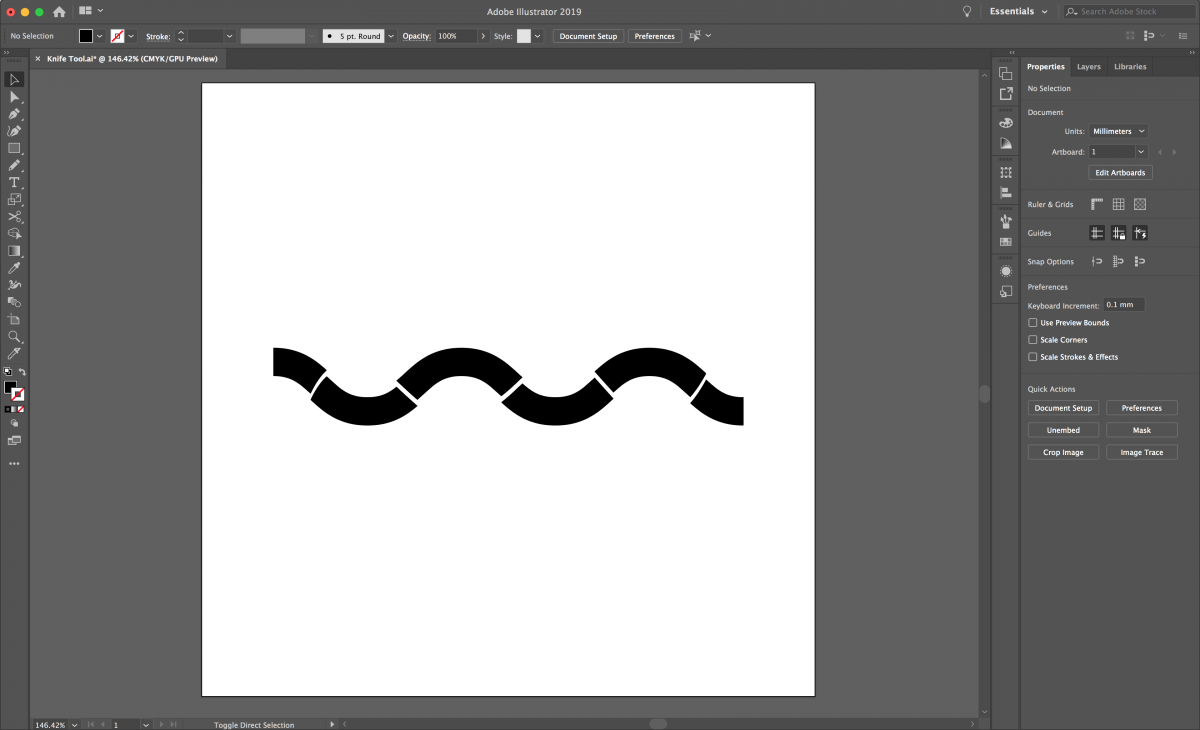
Cut Straight Lines
With the Knife tool selected, hold down Alt/Option, and then draw your cut line. You can hold Shift to keep the line to a horizontal, vertical, or 45-degree angle.

Once complete, you can select and move your individual shapes.

The Knife tool doesn't get used very often, but it's just that easy. We have tons of other great Illustrator tutorials. Make sure you don’t miss our guides on using the width tool and using image trace in Illustrator.


