- By Design Bundles
- 6 Mins
- Illustrator Tutorials
How to Make a Wavy Line in Illustrator
In this tutorial learn a super quick and easy way to draw a wavy line in Adobe Illustrator.
Drawing a wavy line in Adobe Illustrator is super quick and easy. You simply choose the amount of waves and the size for your project. This can be used with many design options including logos or fun personal projects. I will be teaching you how to create a sunset with waves in Illustrator.
Step 1 - Create your new document
Create your new document and select the Pen Tool from your toolbar. Click your first point then hold Shift and click your next point to the side of the first to create a straight line.

This could be horizontal, vertical or diagonally, I’m creating a horizontal line to create the waves in front of the sunset.

Step 2 - Create your wave
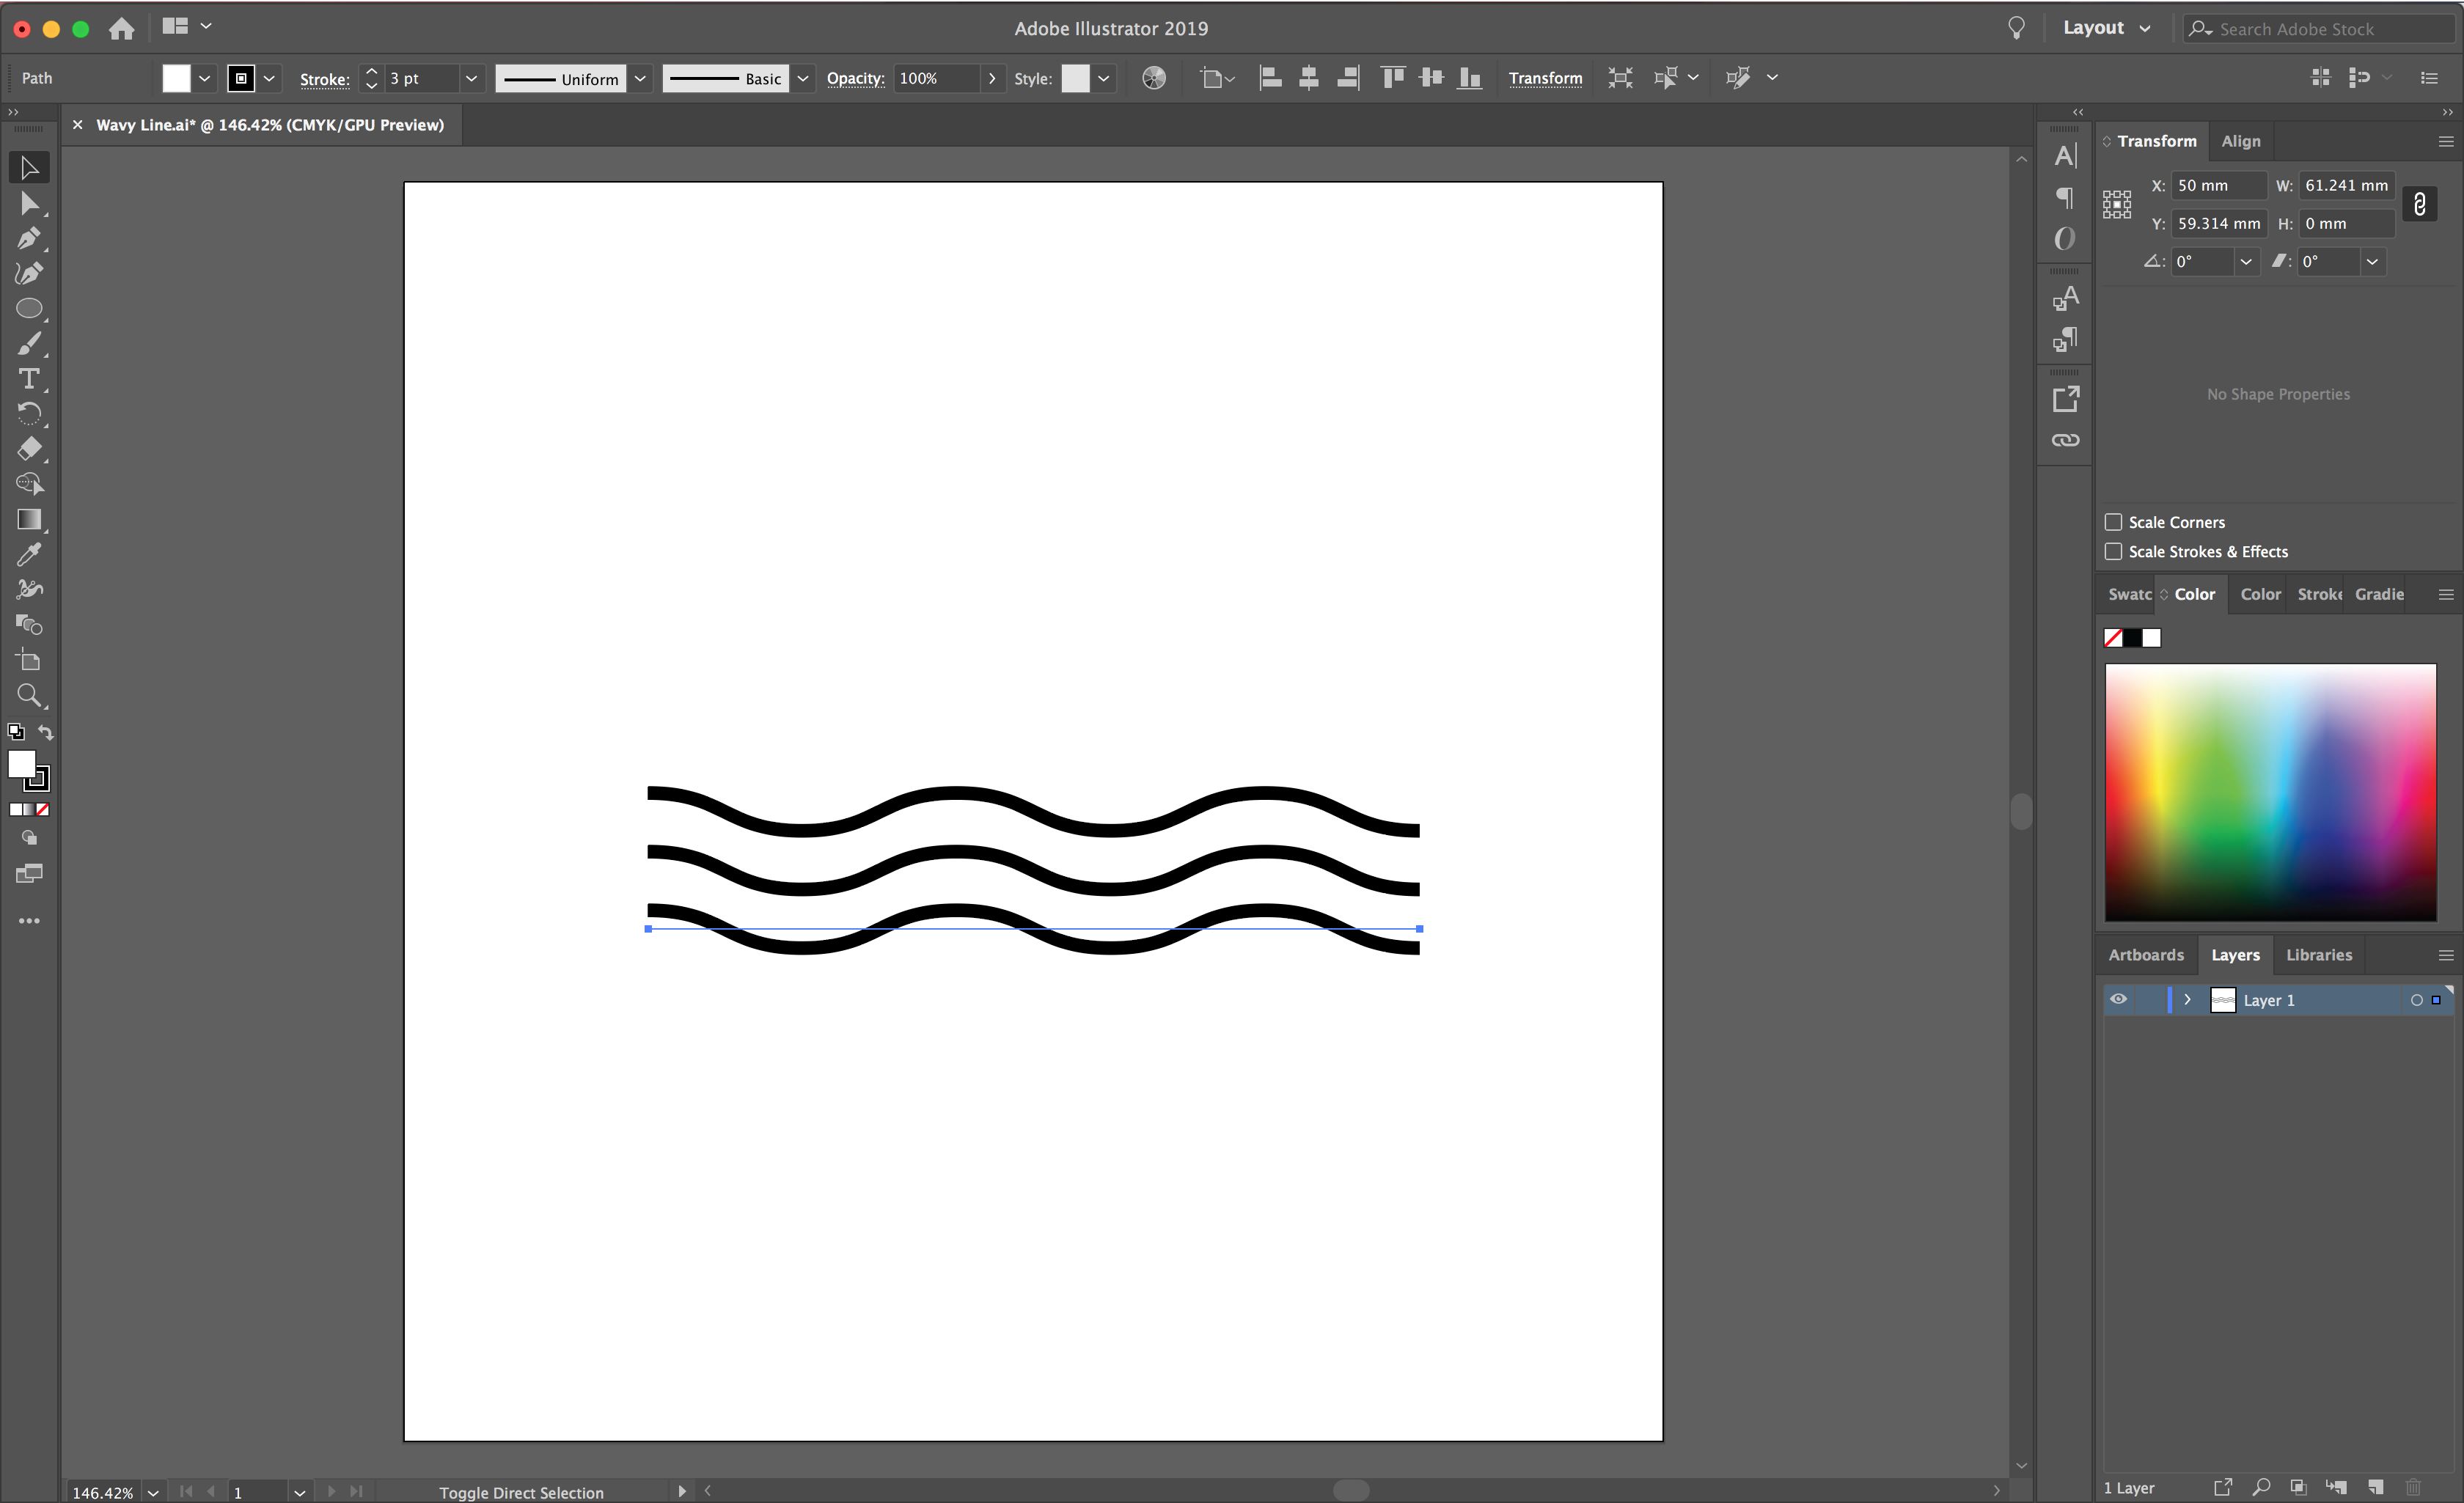
Now, select Effect > Distort & Transform > Zig Zag. Your Zig Zag options will appear and this is where you can completely adapt your waves. Start by clicking preview, so you can watch your design changing with your settings to help you achieve your desired effect.

To create smooth, curved waves, select Smooth in your Zig Zag options. I want my waves to represent the sea, so I’ve set the size of my waves to be quite low and I only want 4 waves across my line.

Once you have your desired effect, select OK.

Step 3 - Adjust and duplicate your wave
You can now adjust the weight and color of your line to the desired effect by selecting the line and selecting Stroke in your top tools panel.

Duplicate the line by holding down Shift + Alt + Cmd, then press Cmd + D to duplicate.

Step 4 - Edit your wave
If you need to amend your wavy line you can select Window > Appearance to bring up with Appearance window.

Select your lines and then in your Appearance window double click Zig Zag. This will then bring up the Zig Zag options to amend your values.

Step 5 - Expand appearance to convert your strokes to outlines
Once you have completed this step, you can no longer use the Zig Zag options to adjust the options of your wave so make sure you are happy with the design before completing this step. Select all your lines and then select Object > Expand Appearance.
When your strokes have been converted to outlines, you could then add text to these wavy lines. We have a very helpful tutorial on how to type on path to help you along.

To take it further, you could add a circle to make a sunset image. To create this, I drew a circle behind the waves and used the Pathfinder Tool to remove the section of sun behind the waves. To learn how to use Pathfinders, see our tutorial on how to use the Pathfinder Tool.

Now that you know how to create a wavy line, you can create so many different effects. You can apply this tool to various different shapes or paths you create for an array of designs.
We have more great tutorials for you to follow such as create an SVG, using the character panel and using the blend tool with text.
6 Related Illustrator Tutorials
Wavy line patterns can easily be created with some basic shapes in Illustrator. These designs work well as seamless patterns for backgrounds or wallpaper. They can also be used for projects such as mugs, cushion covers and so much more. Up next, we will show you how to make a ...
In this tutorial, you will learn how to easily create a dotted line in Adobe Illustrator. Dotted lines can be a great way to divide up a document, label graphics, create texture in a line art illustration, or emphasize information on an infographic design.Step 1 - Draw a LineThere are ...
In this tutorial we will be making a line art illustration in Adobe Illustrator. These illustrations are perfect designs for t shirts, tote bags and so much more. Create them for mementos of all your favorite places or holidays!Check out our Illustrator tutorial section for more great tips! ...
Line art is everywhere, in web design, logos, even in some patterns. It is a drawing technique made up of lines and curves that are very distinctive. Placed against a plain background, line art doesn't consist of gradients or colors. It is created to be represented on 2D or 3D ...
1- Open canvas workspace. Click on the shape tool.2- Click on the shape you would like to use for your card blank. I picked a rectangle.3- Change the size manually to create the full size of your card blank. For example. I want a 10 x 10 cm square card, ...
In this tutorial, we are going to create an outline brush in Procreate. Outline brushes are a type of dual brush, which means we will be combining two brushes for this outline effect.If you are short on time, check out the Procreate outline brushes available on Design Bundles! Before ...

 All your Font Needs


