- By Design Bundles
- 3 Mins
- Illustrator Tutorials
Rock Texture in Illustrator
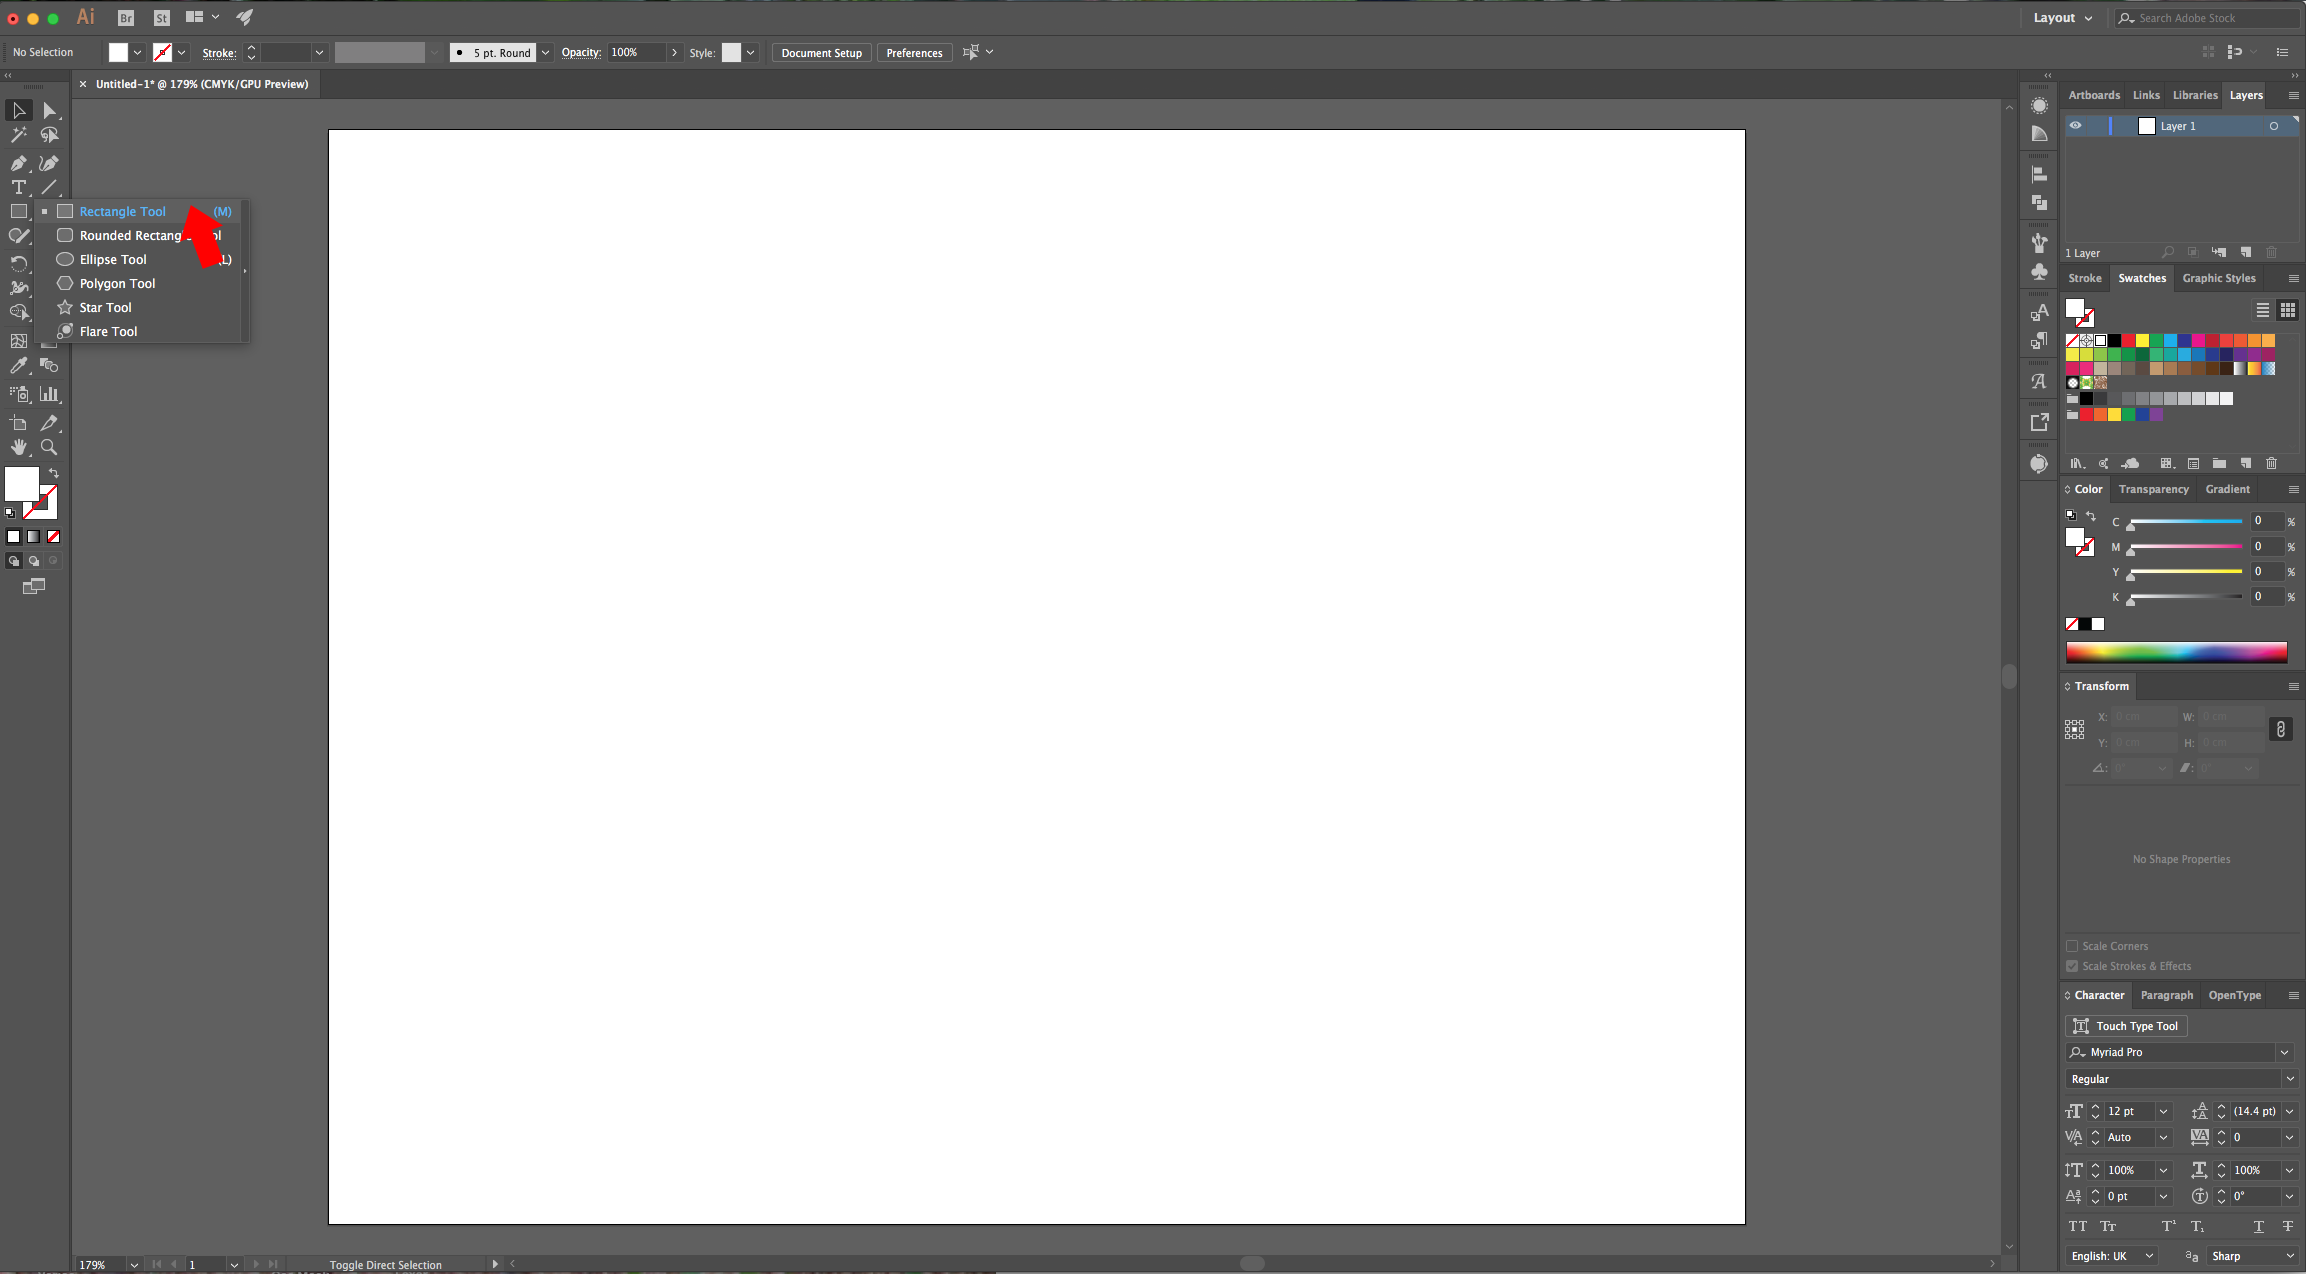
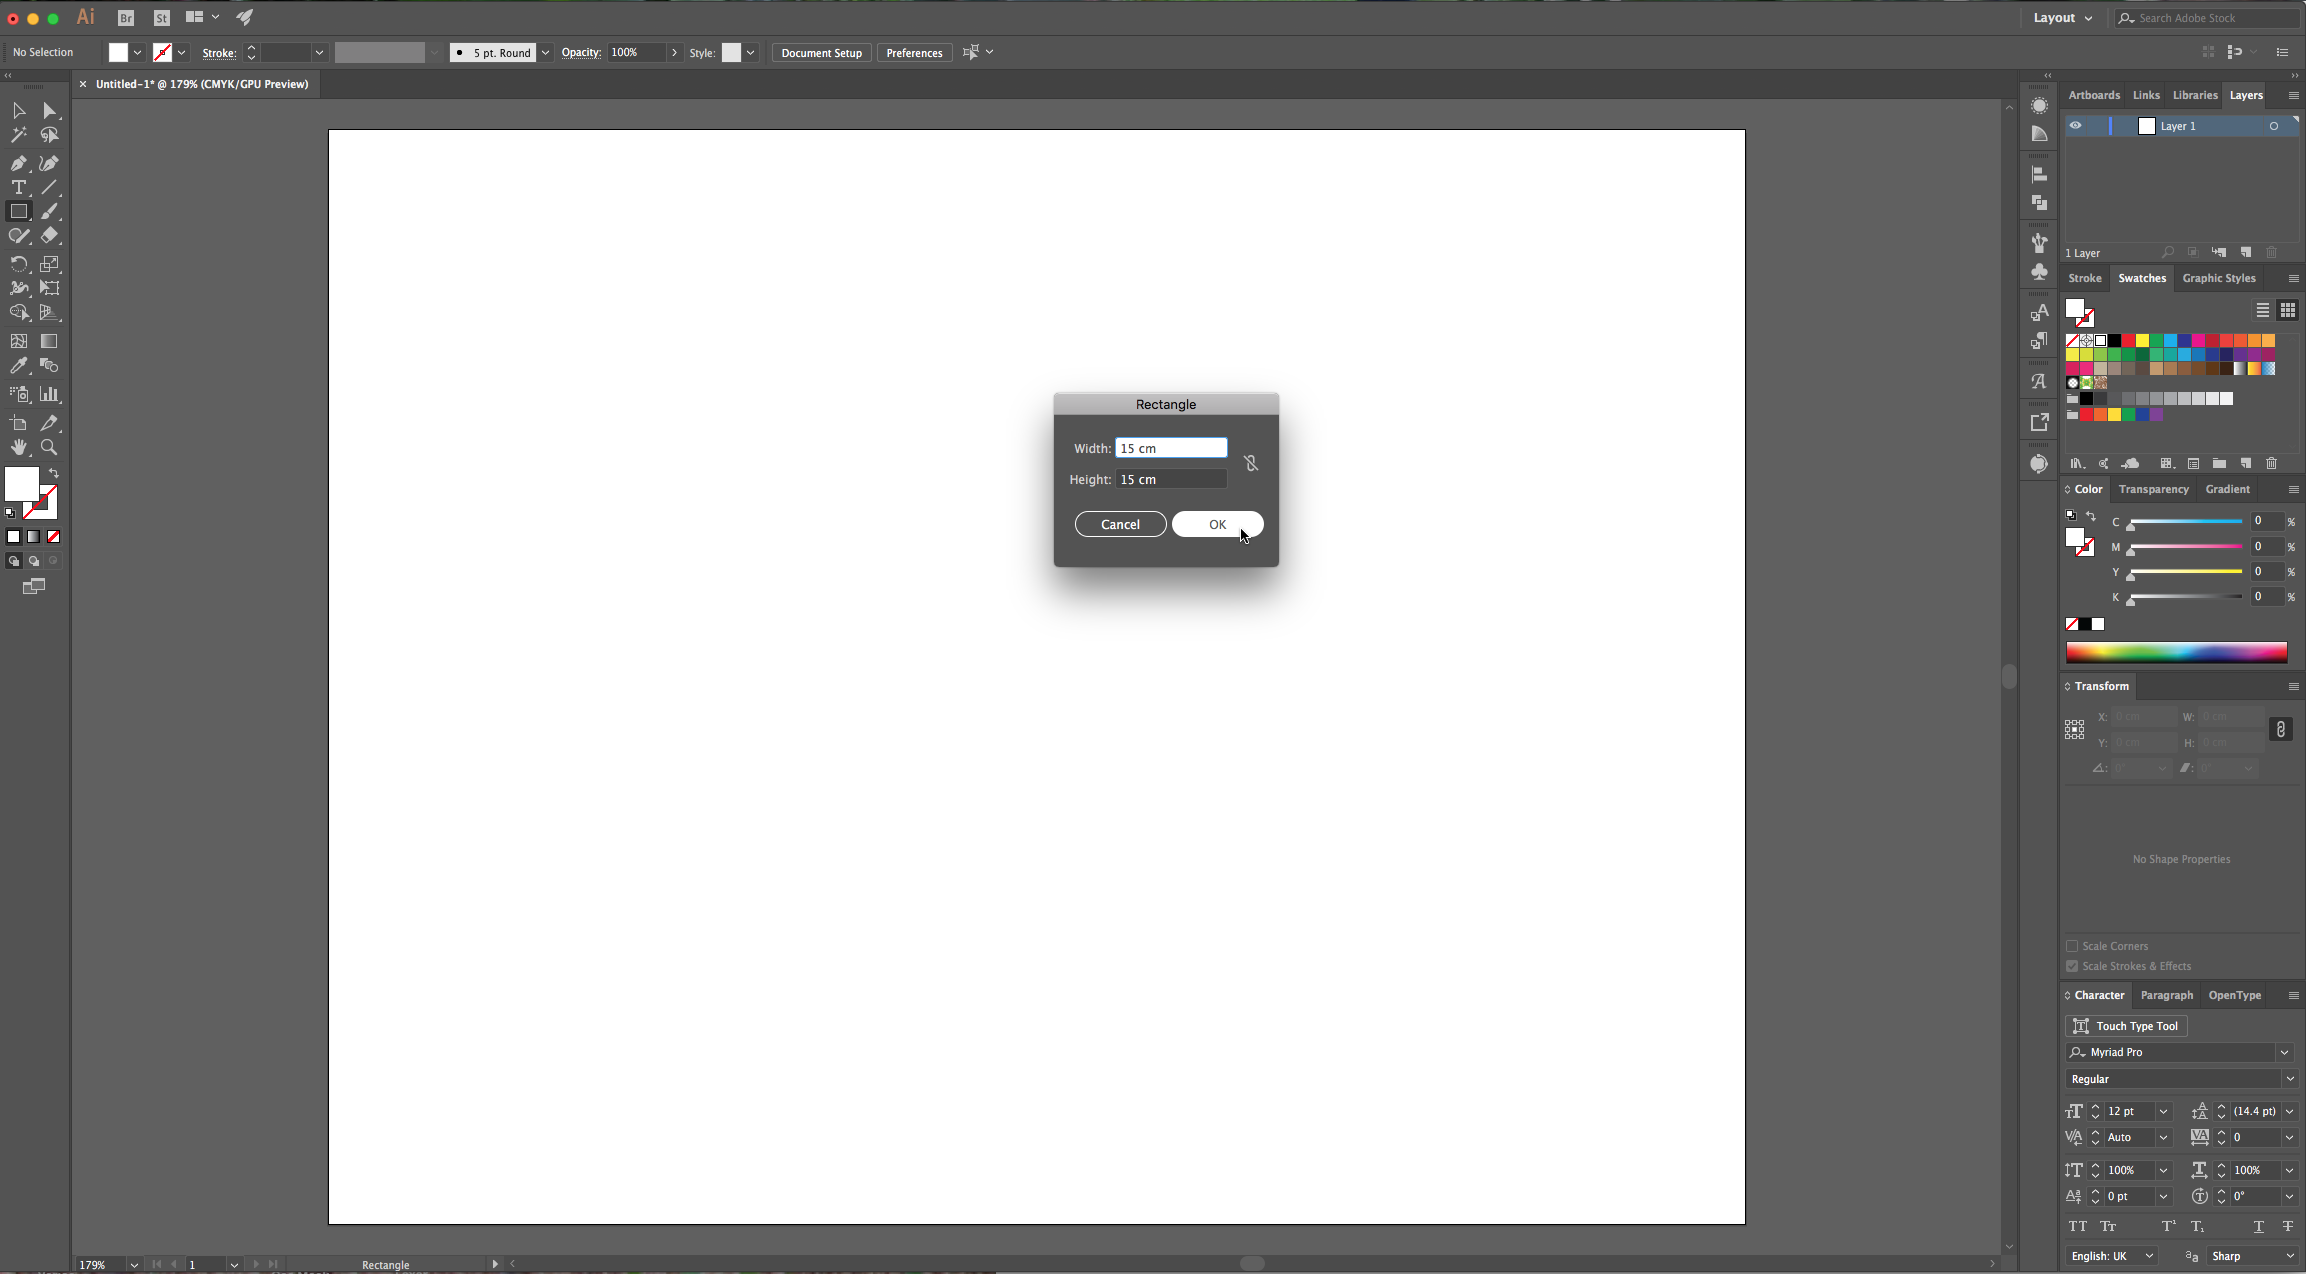
2 - Select the “Rectangle Tool” (M), click inside your Document and create a 15 x 15 cm Square.
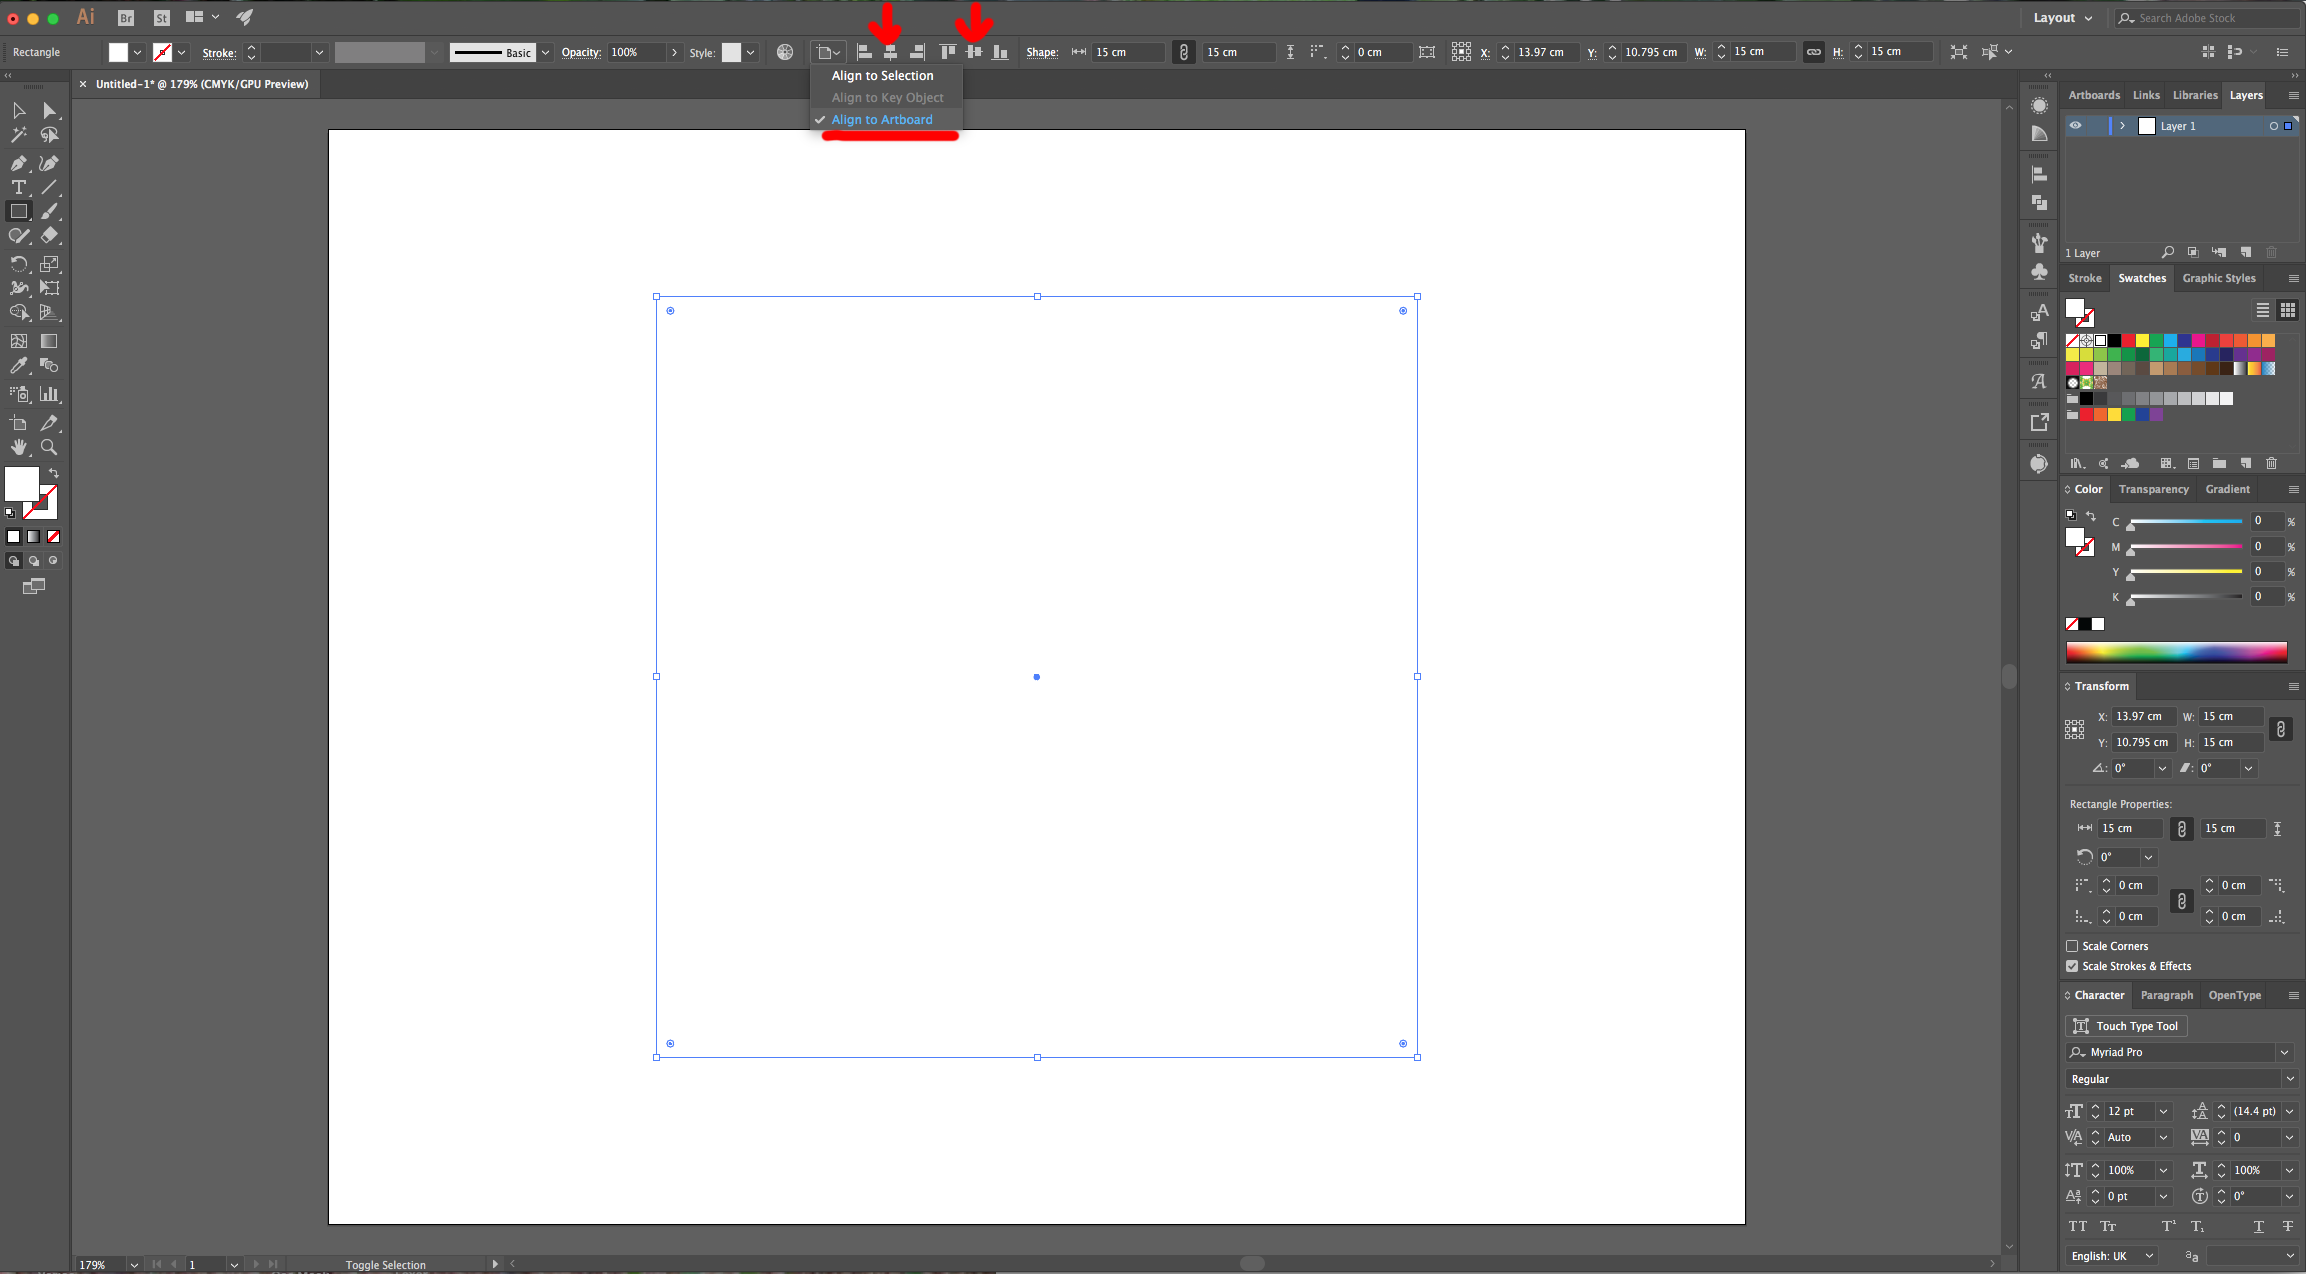
3 - Center it using the “Horizontal and Vertical Align Center” options on your Top Menu and make sure that “Align to Artboard” is selected. Or use the same options in the “Align Panel”.
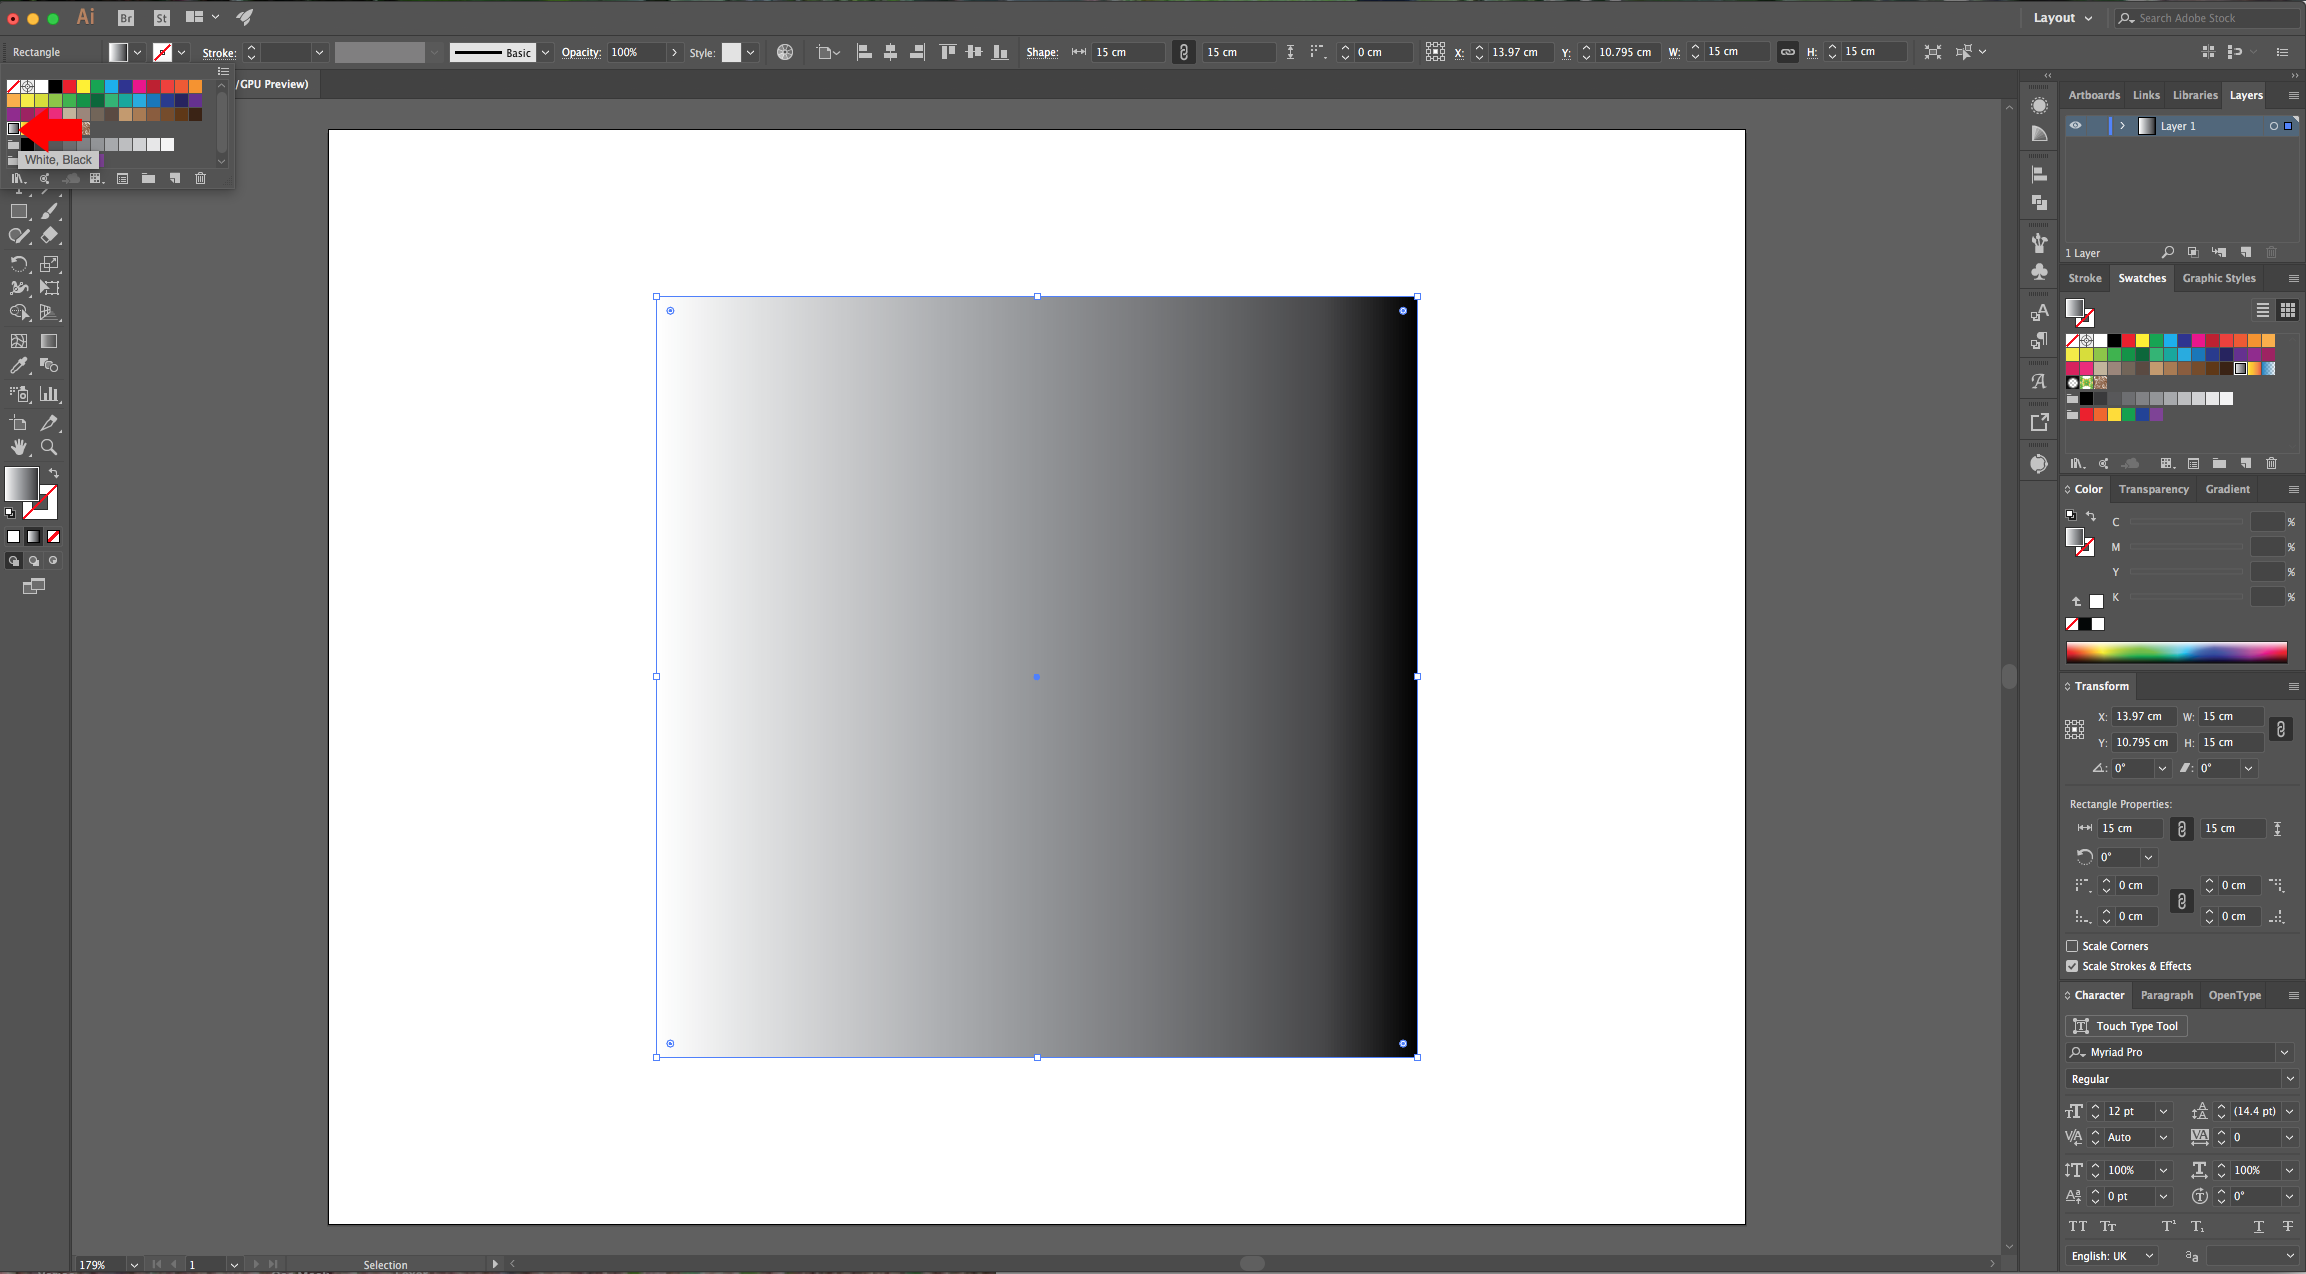
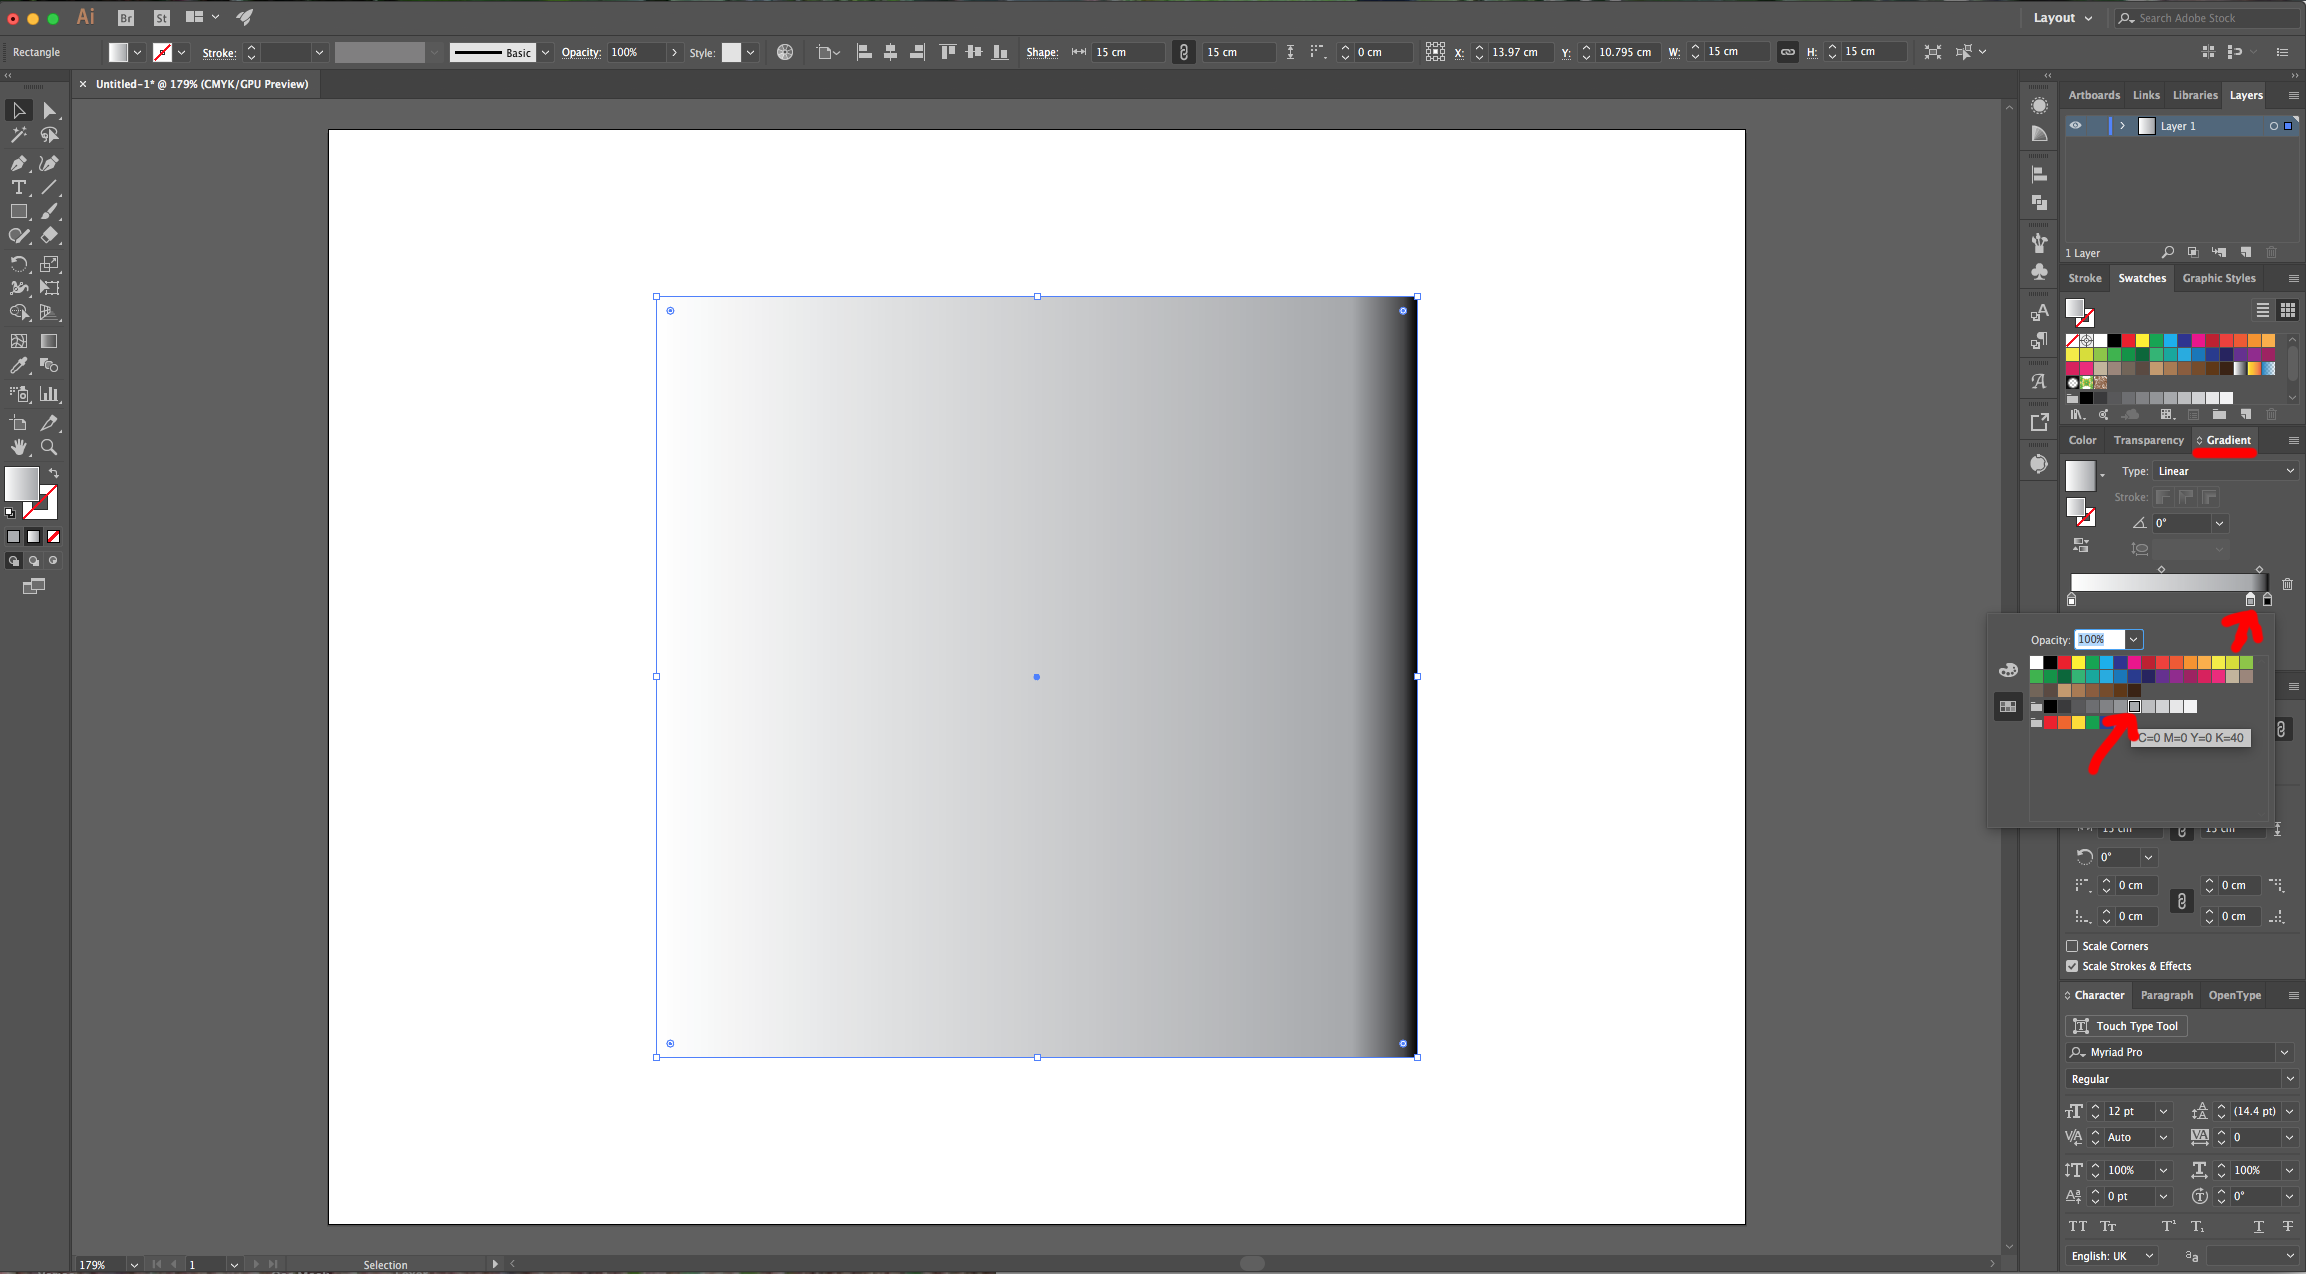
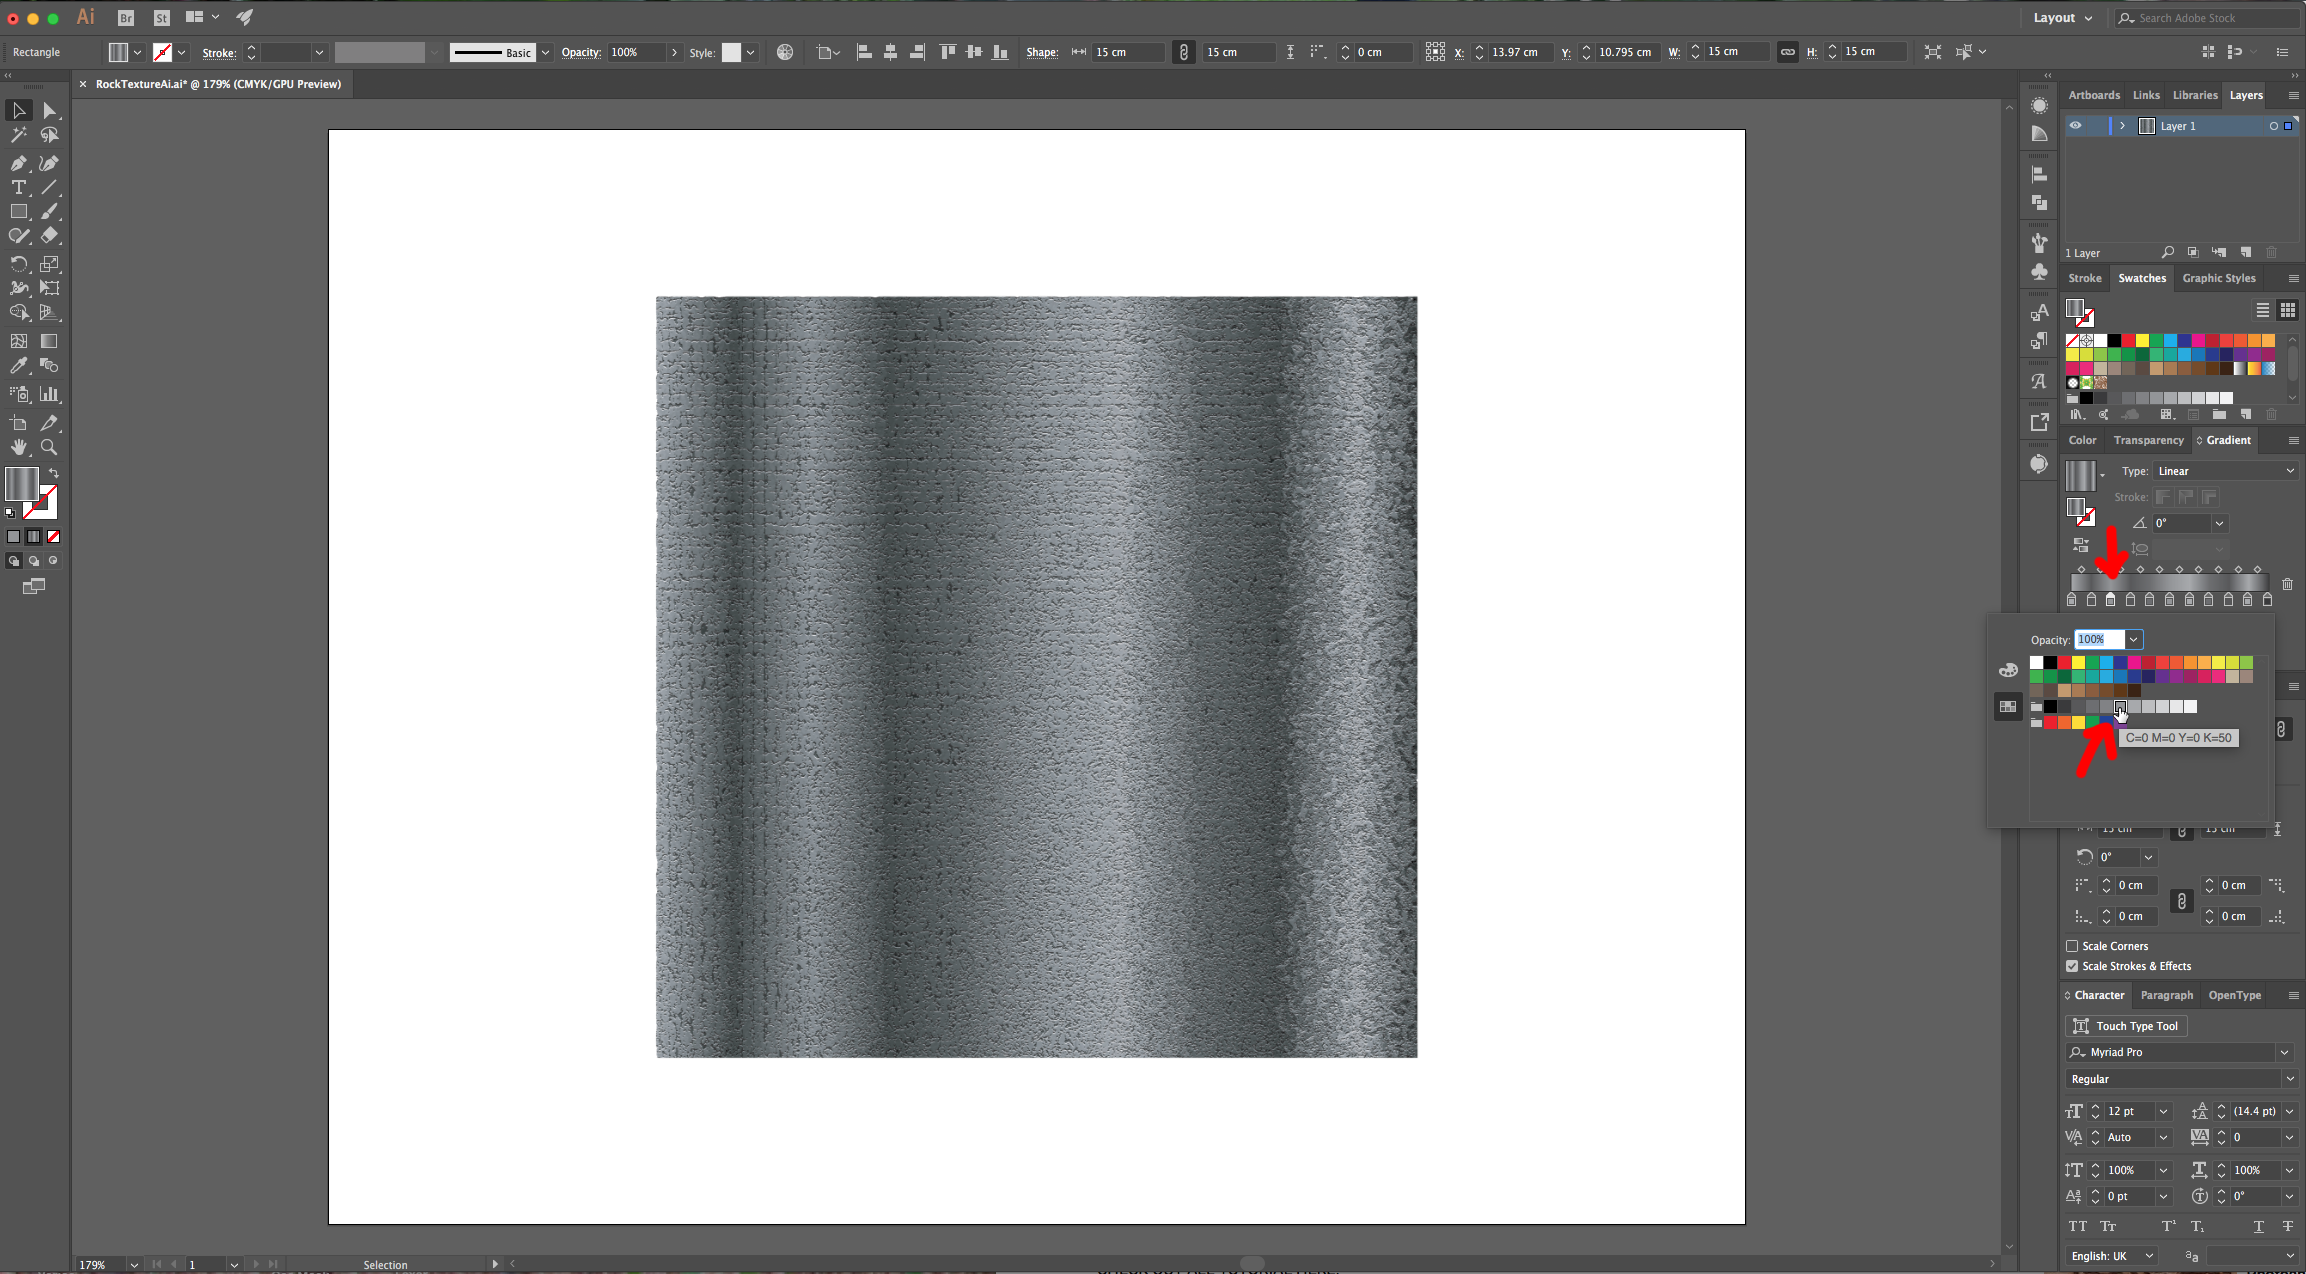
4 - In the “Swatches Panel” choose a “White, Black” Gradient as “Fill”, head to the “Gradients Panel” and click close to the swatch on the right (90% Location” to add another swatch, double-click on it and fill it with 40 K. Keep adding swatches to the Gradient to create a pattern (From Right to Left: Location 100%, Color 100 K - Location 90, Color 40 K - Location 80%, Color 80 K - Location 70%, Color 90 K - Location 60%, Color 40 K - Location 40%, Color 50 K - Location 40%, Color 70 K - Location 30%, Color 80 K - Location 20%, Color 50 K - Location 10%, Color 90 K - Location 0%, Color 40 K).
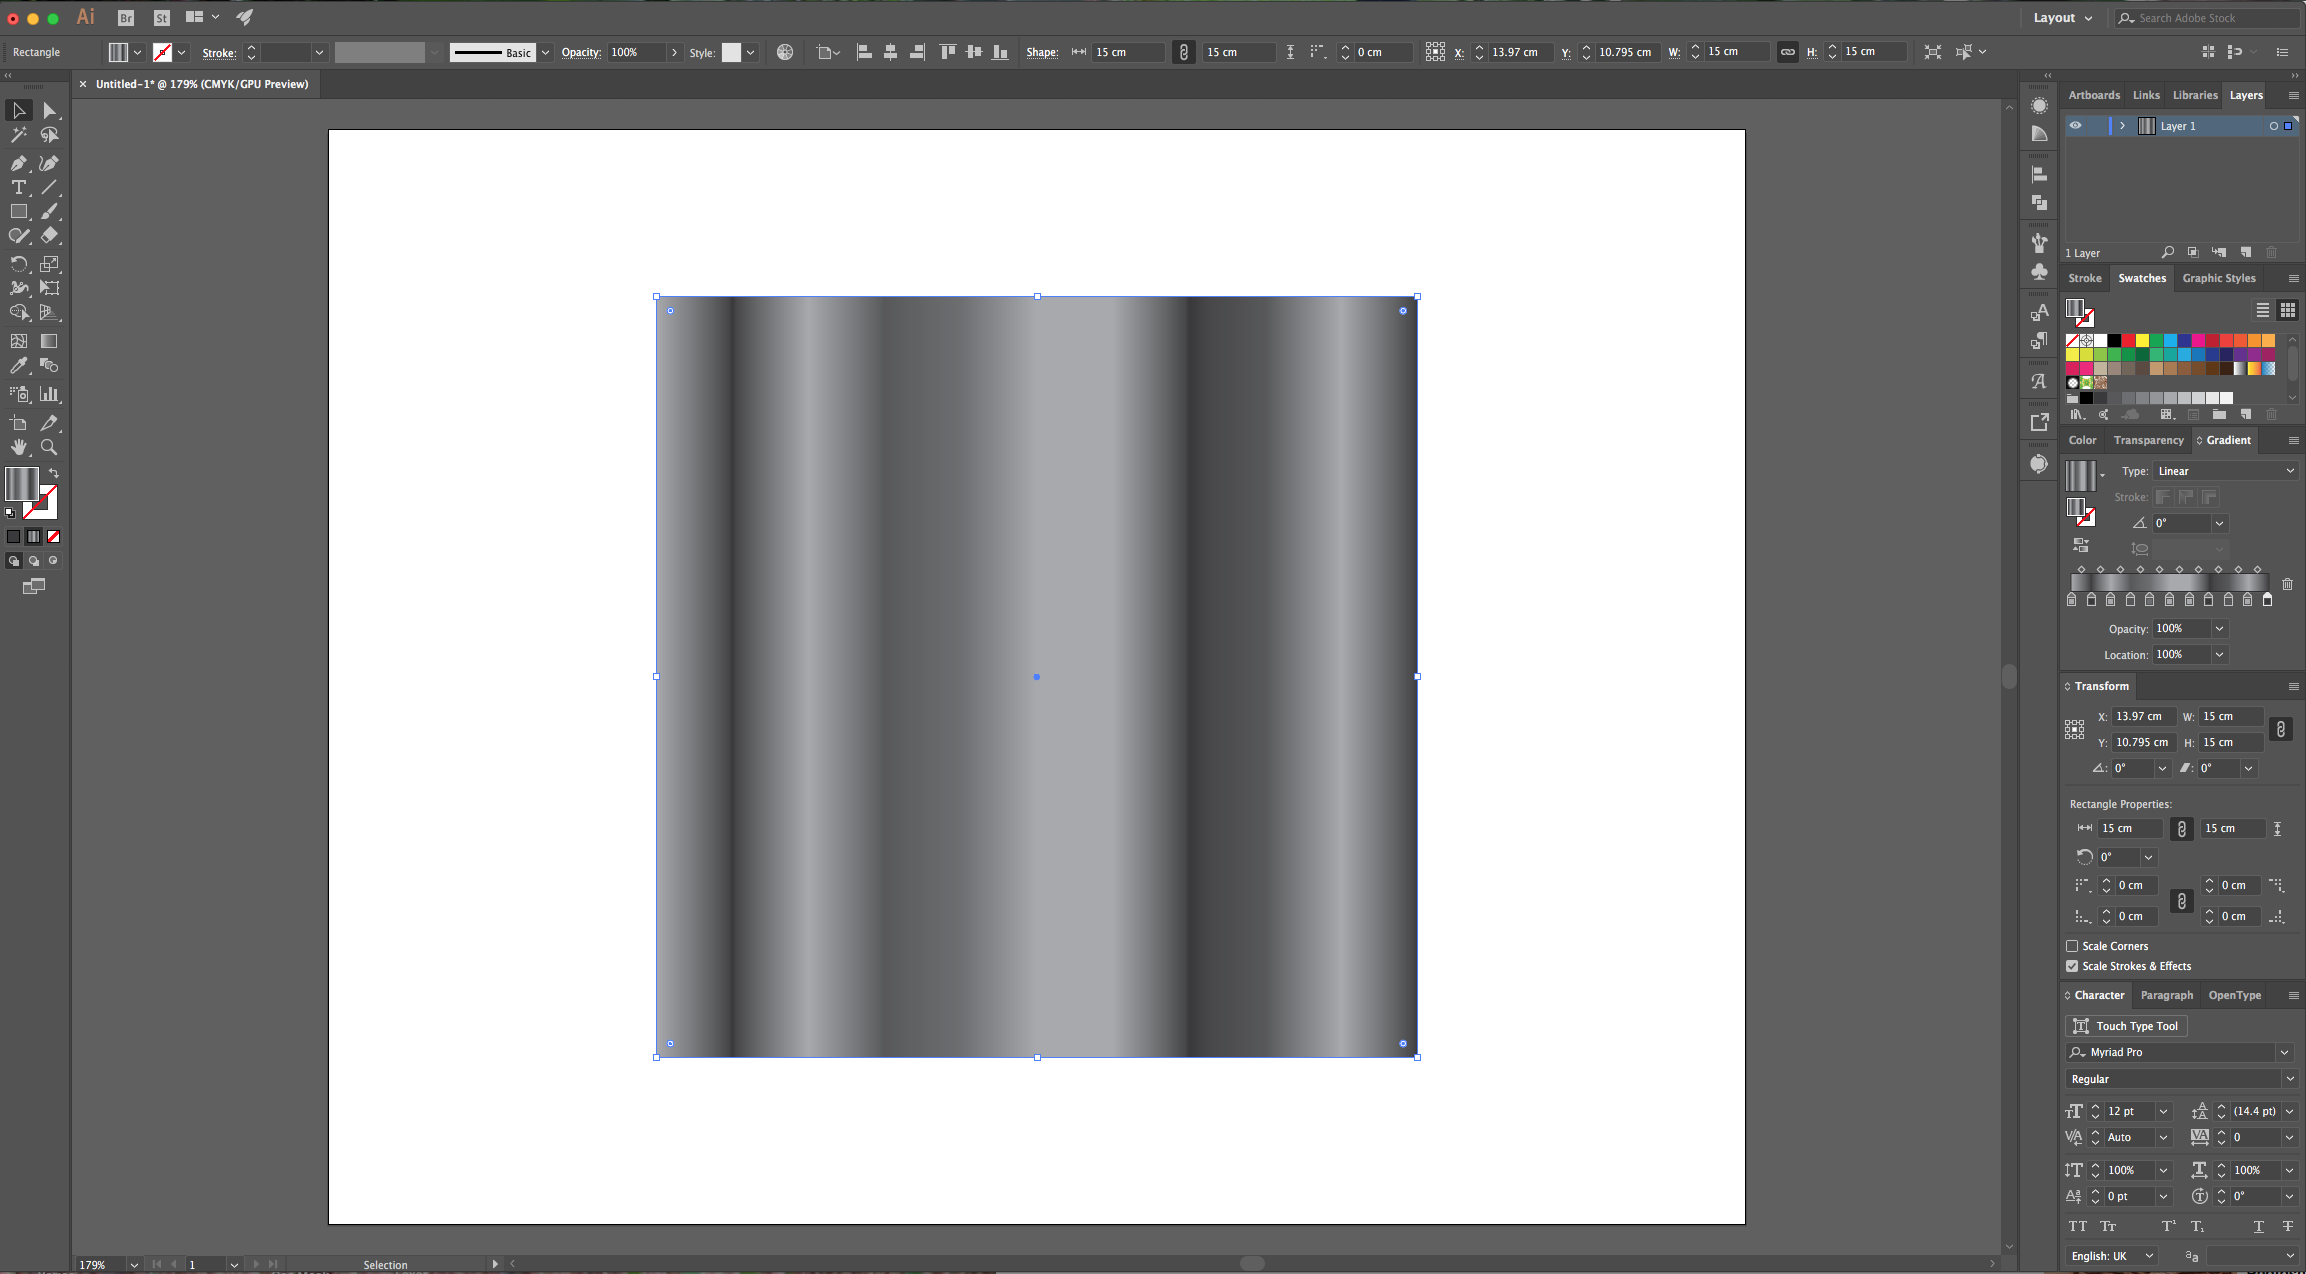
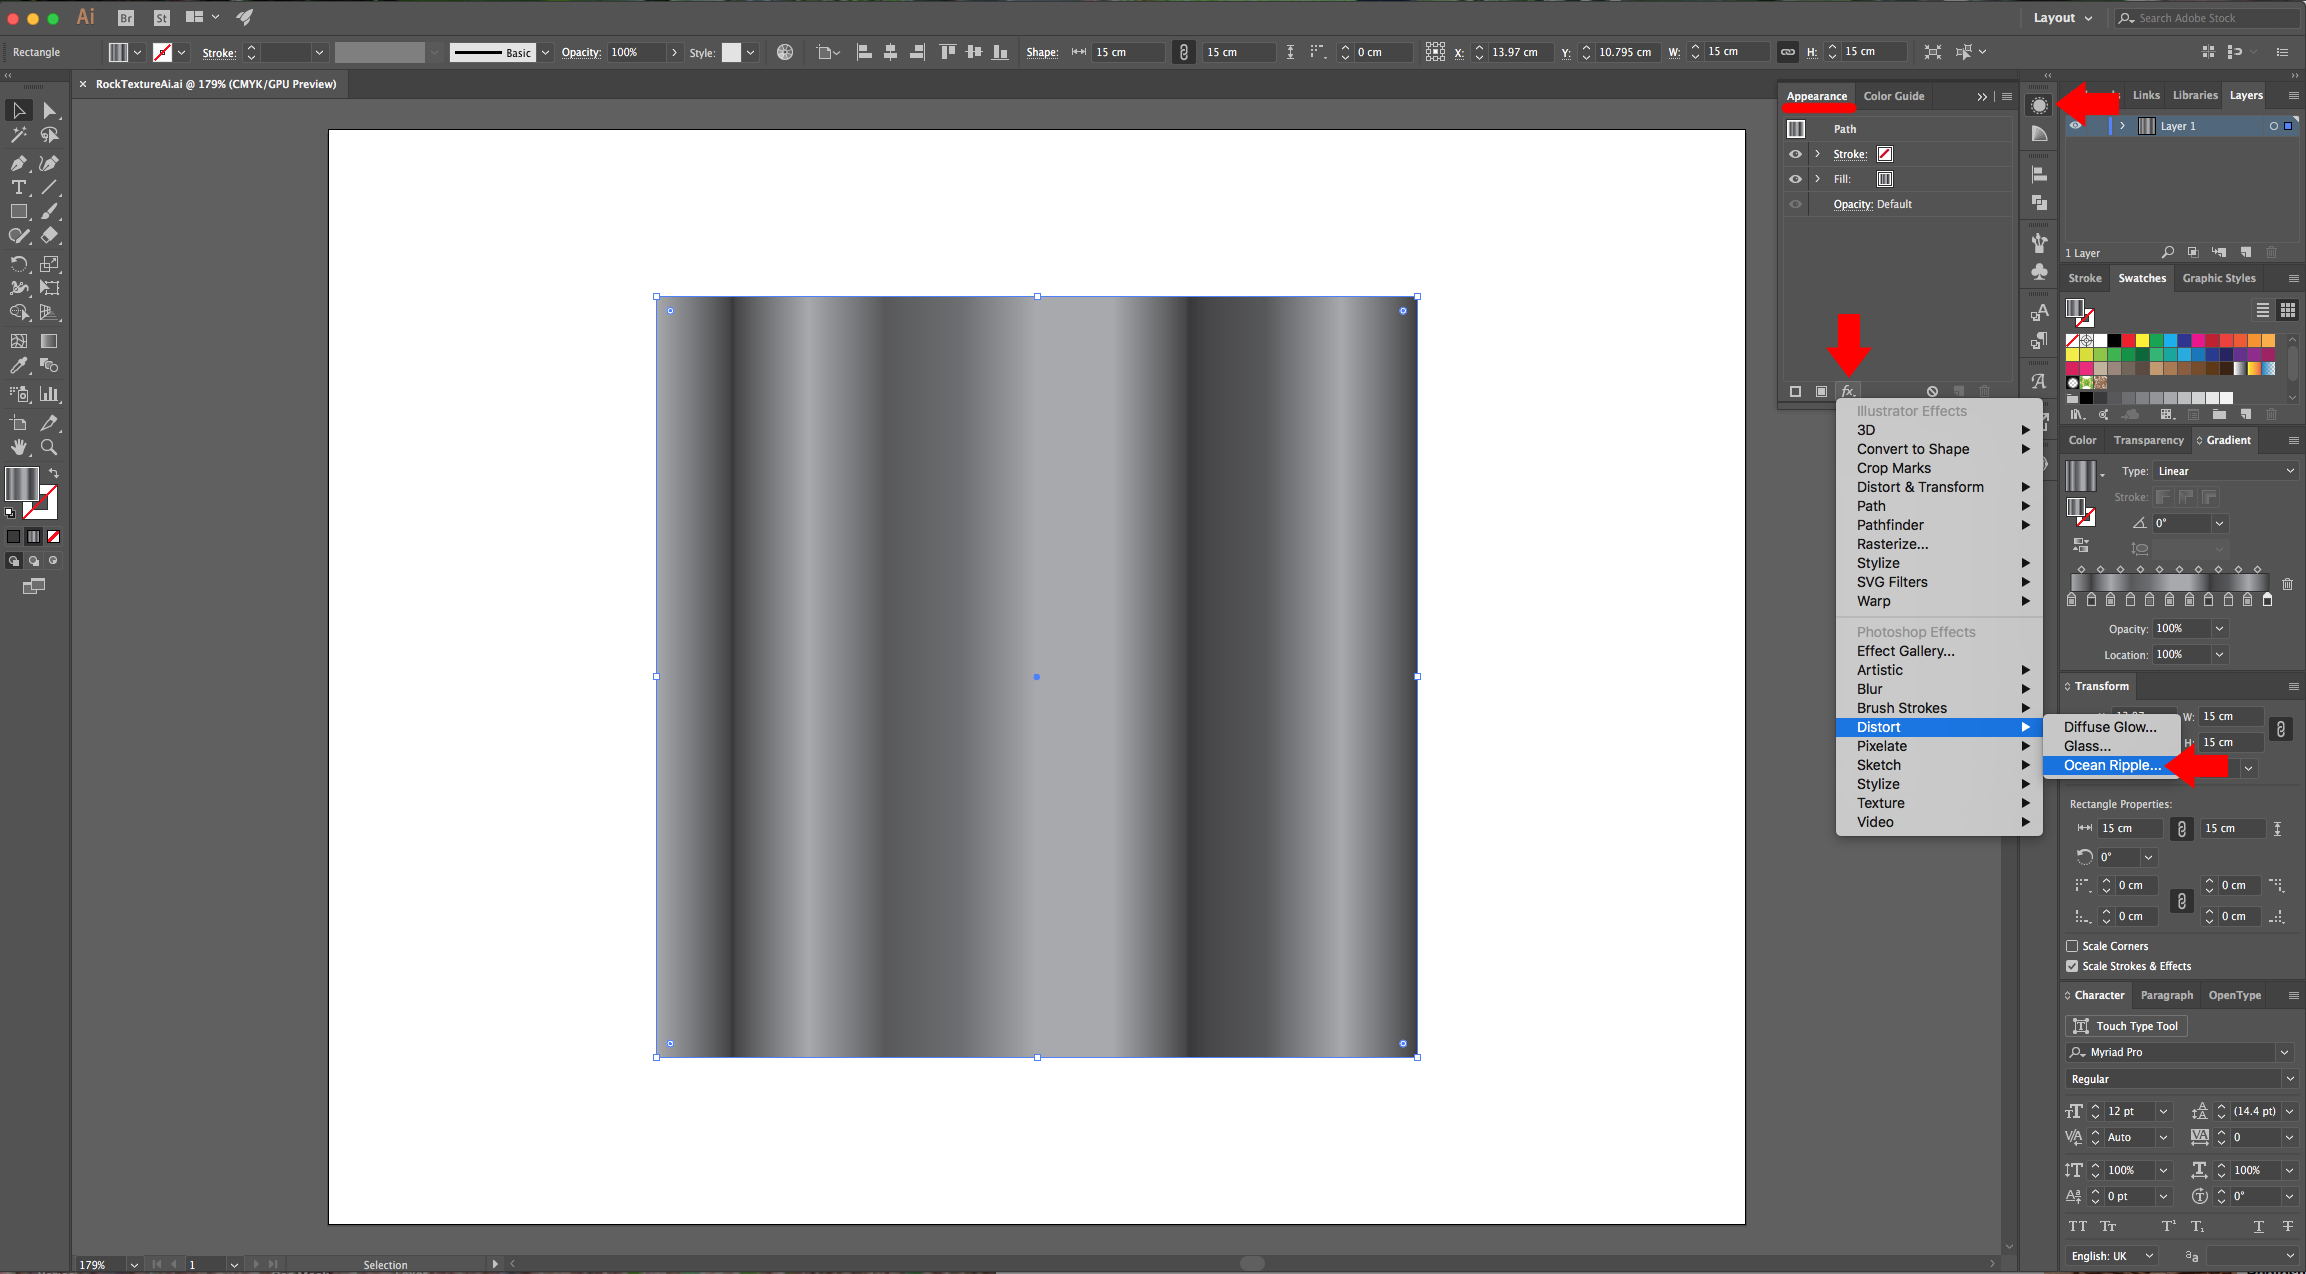
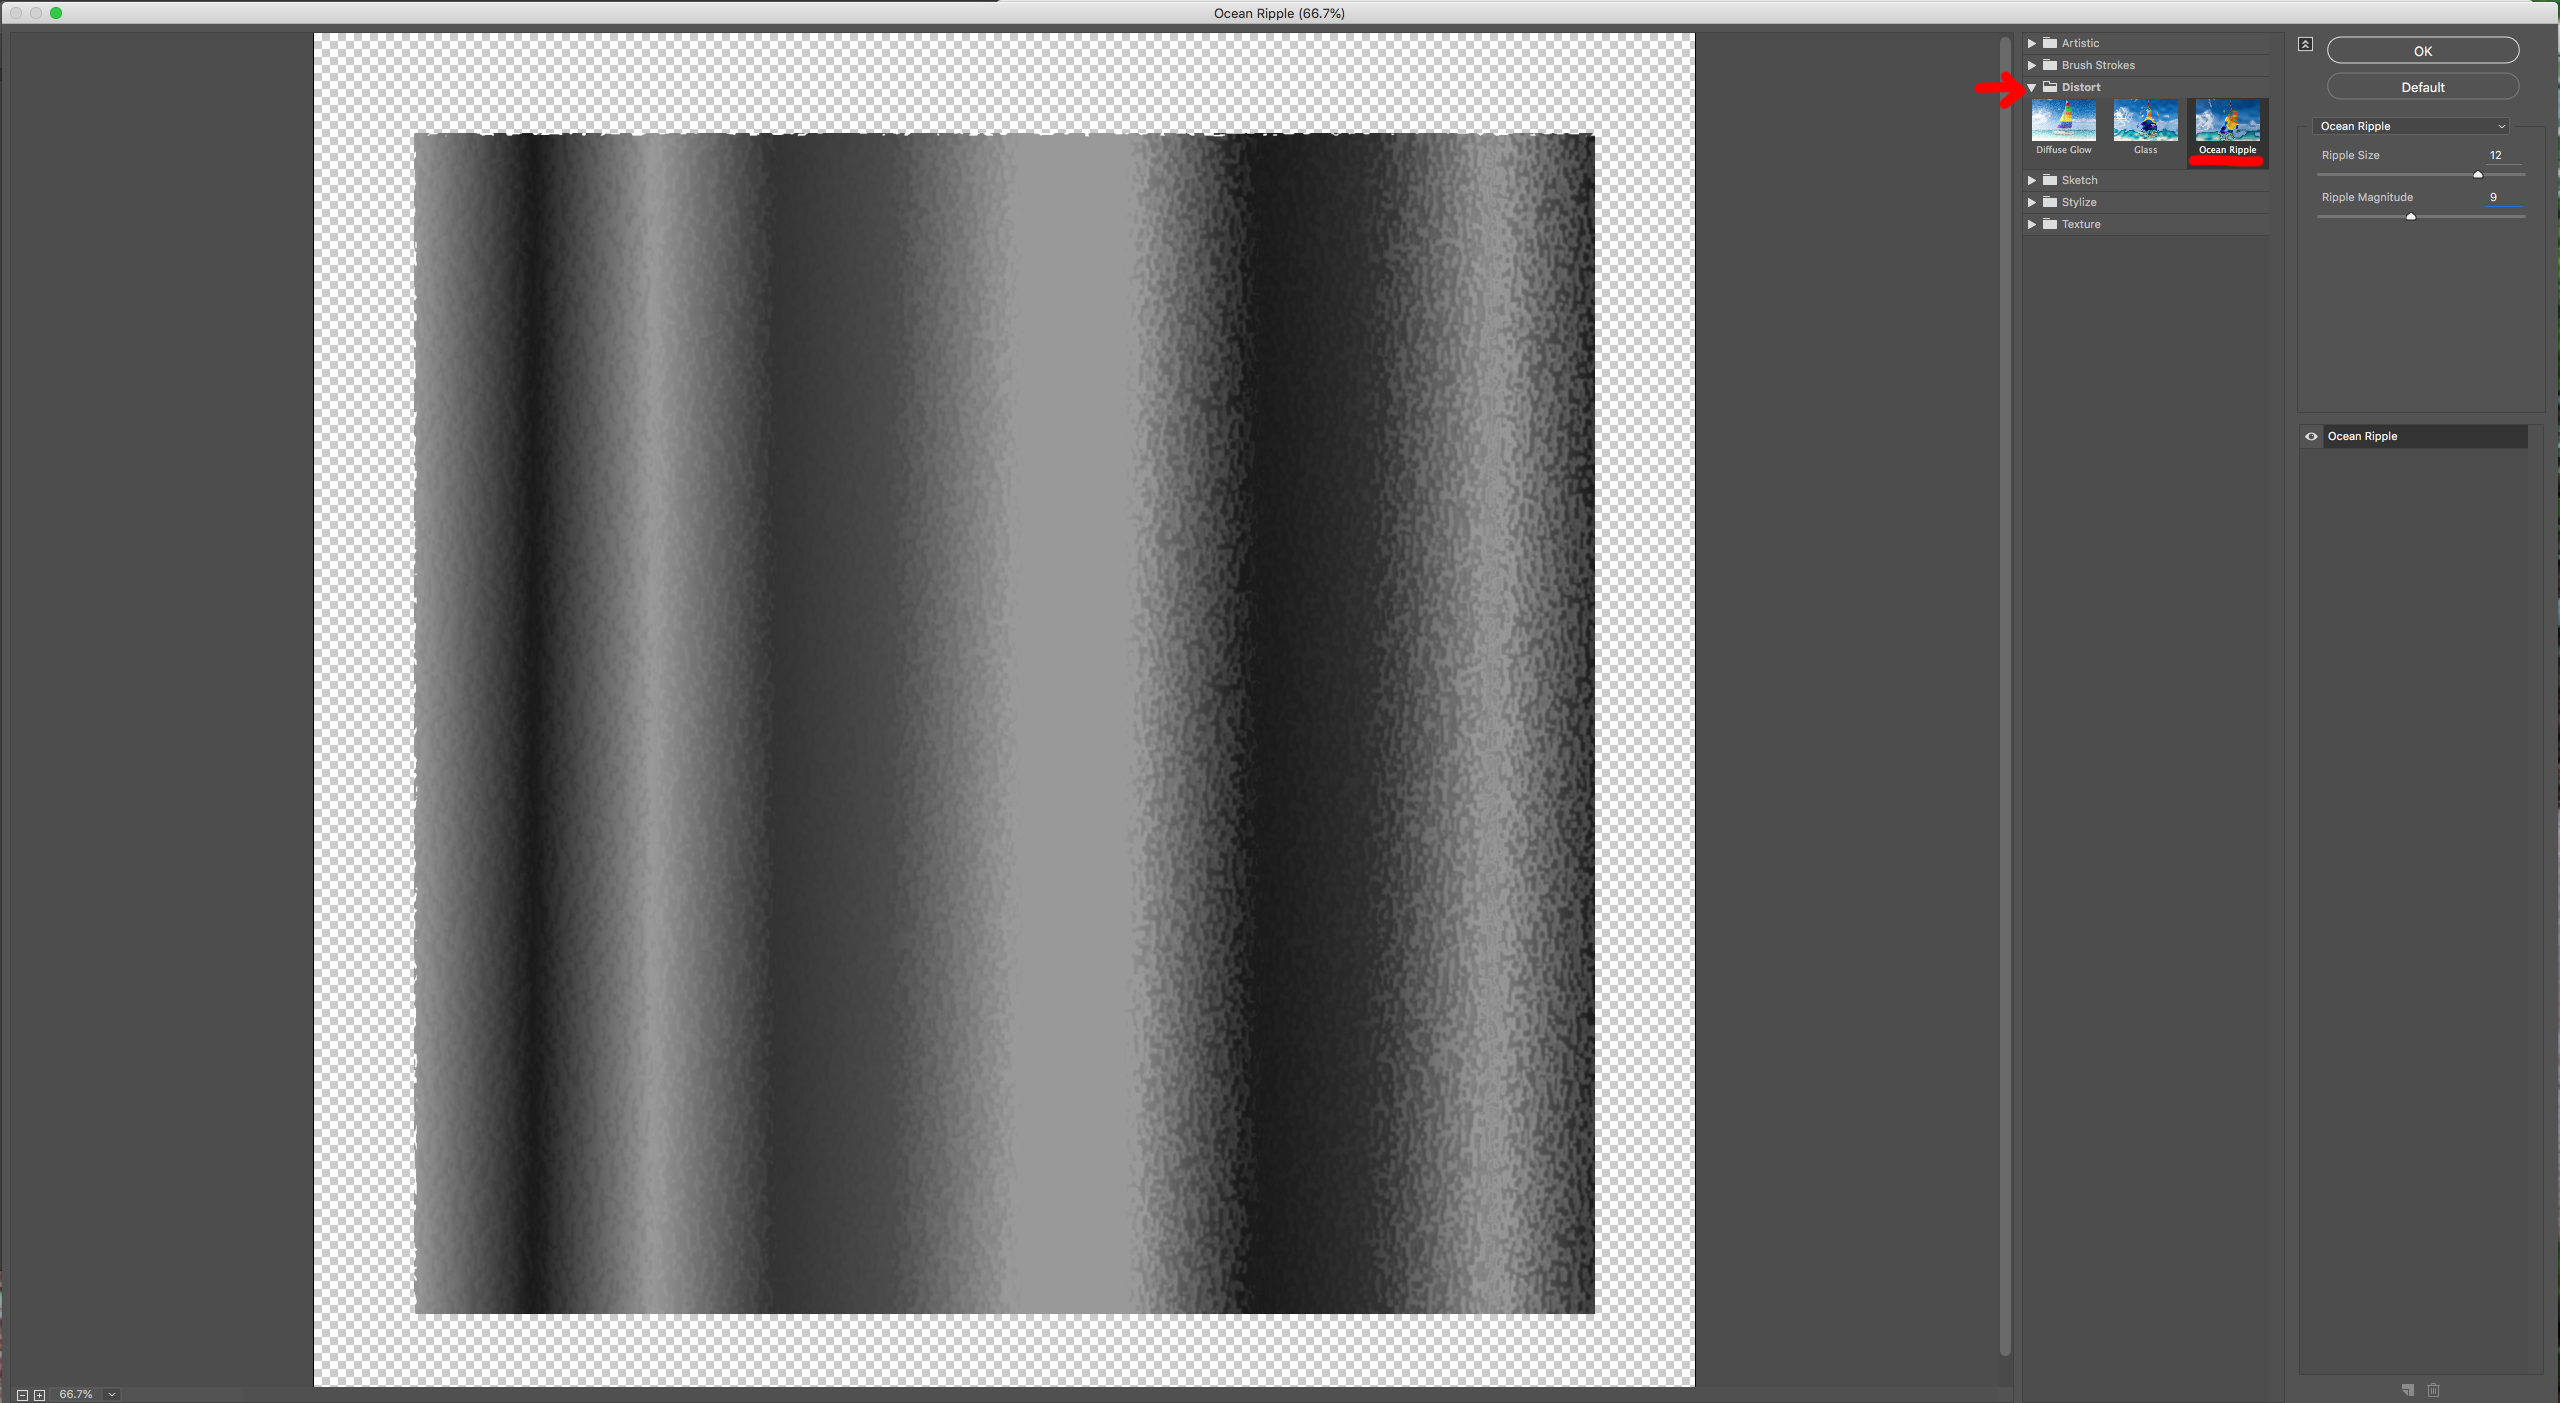
5 - Go to the “Adjustments Panel”, click on the “Effects Menu” icon at the bottom of the Panel and navigate to Distort > Ocean Ripple… use a “Ripple Size” of 12 and a “Ripple Magnitude” of 9.
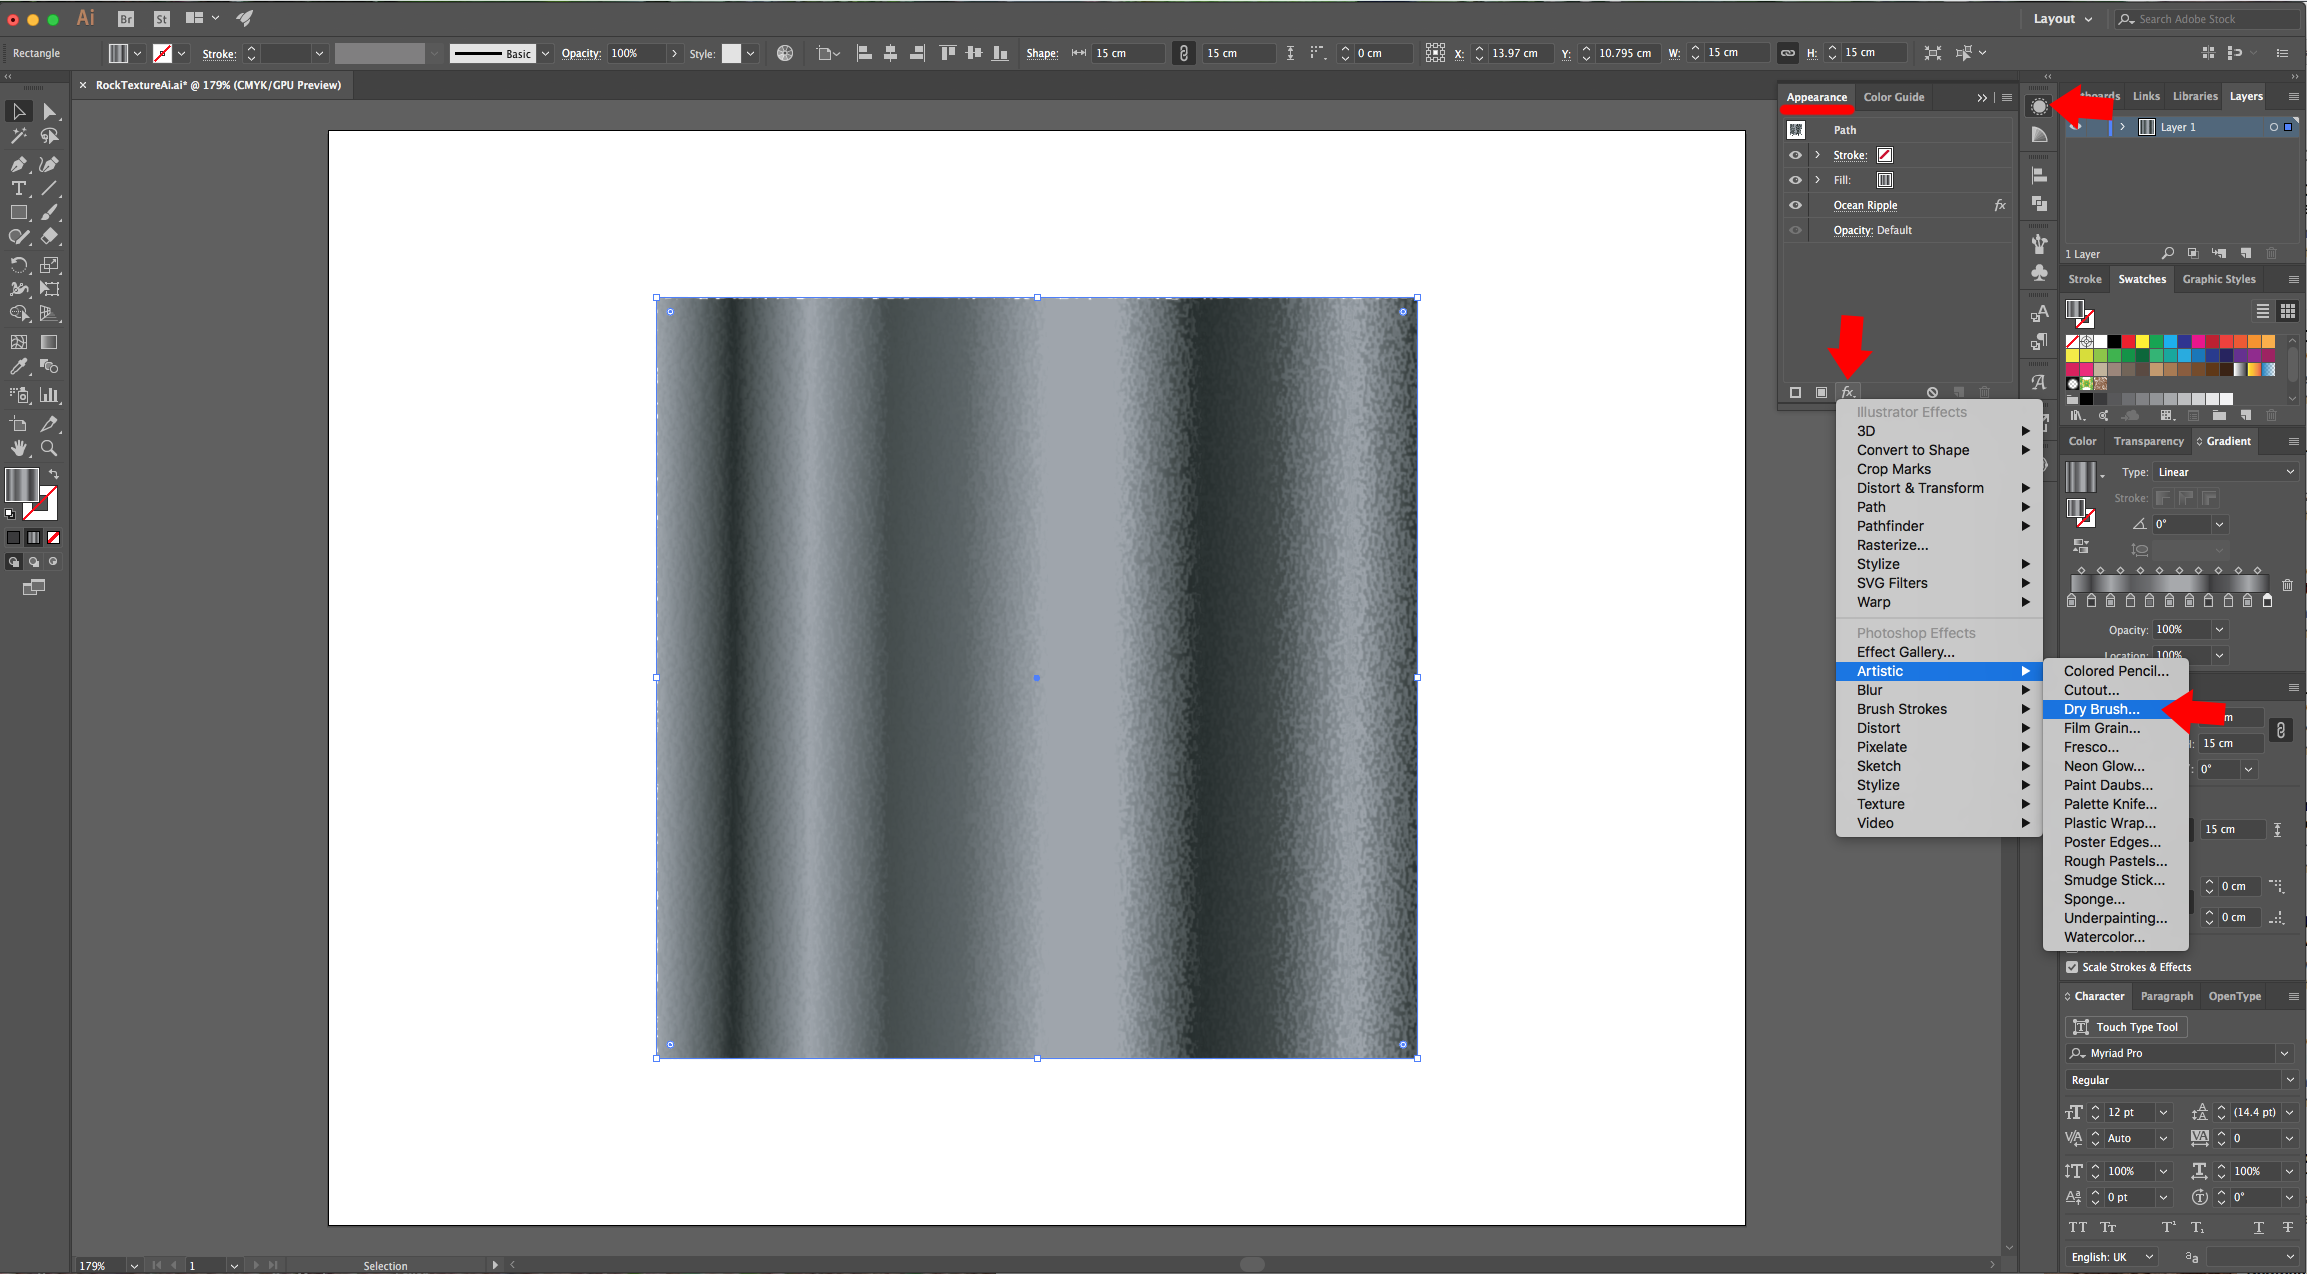
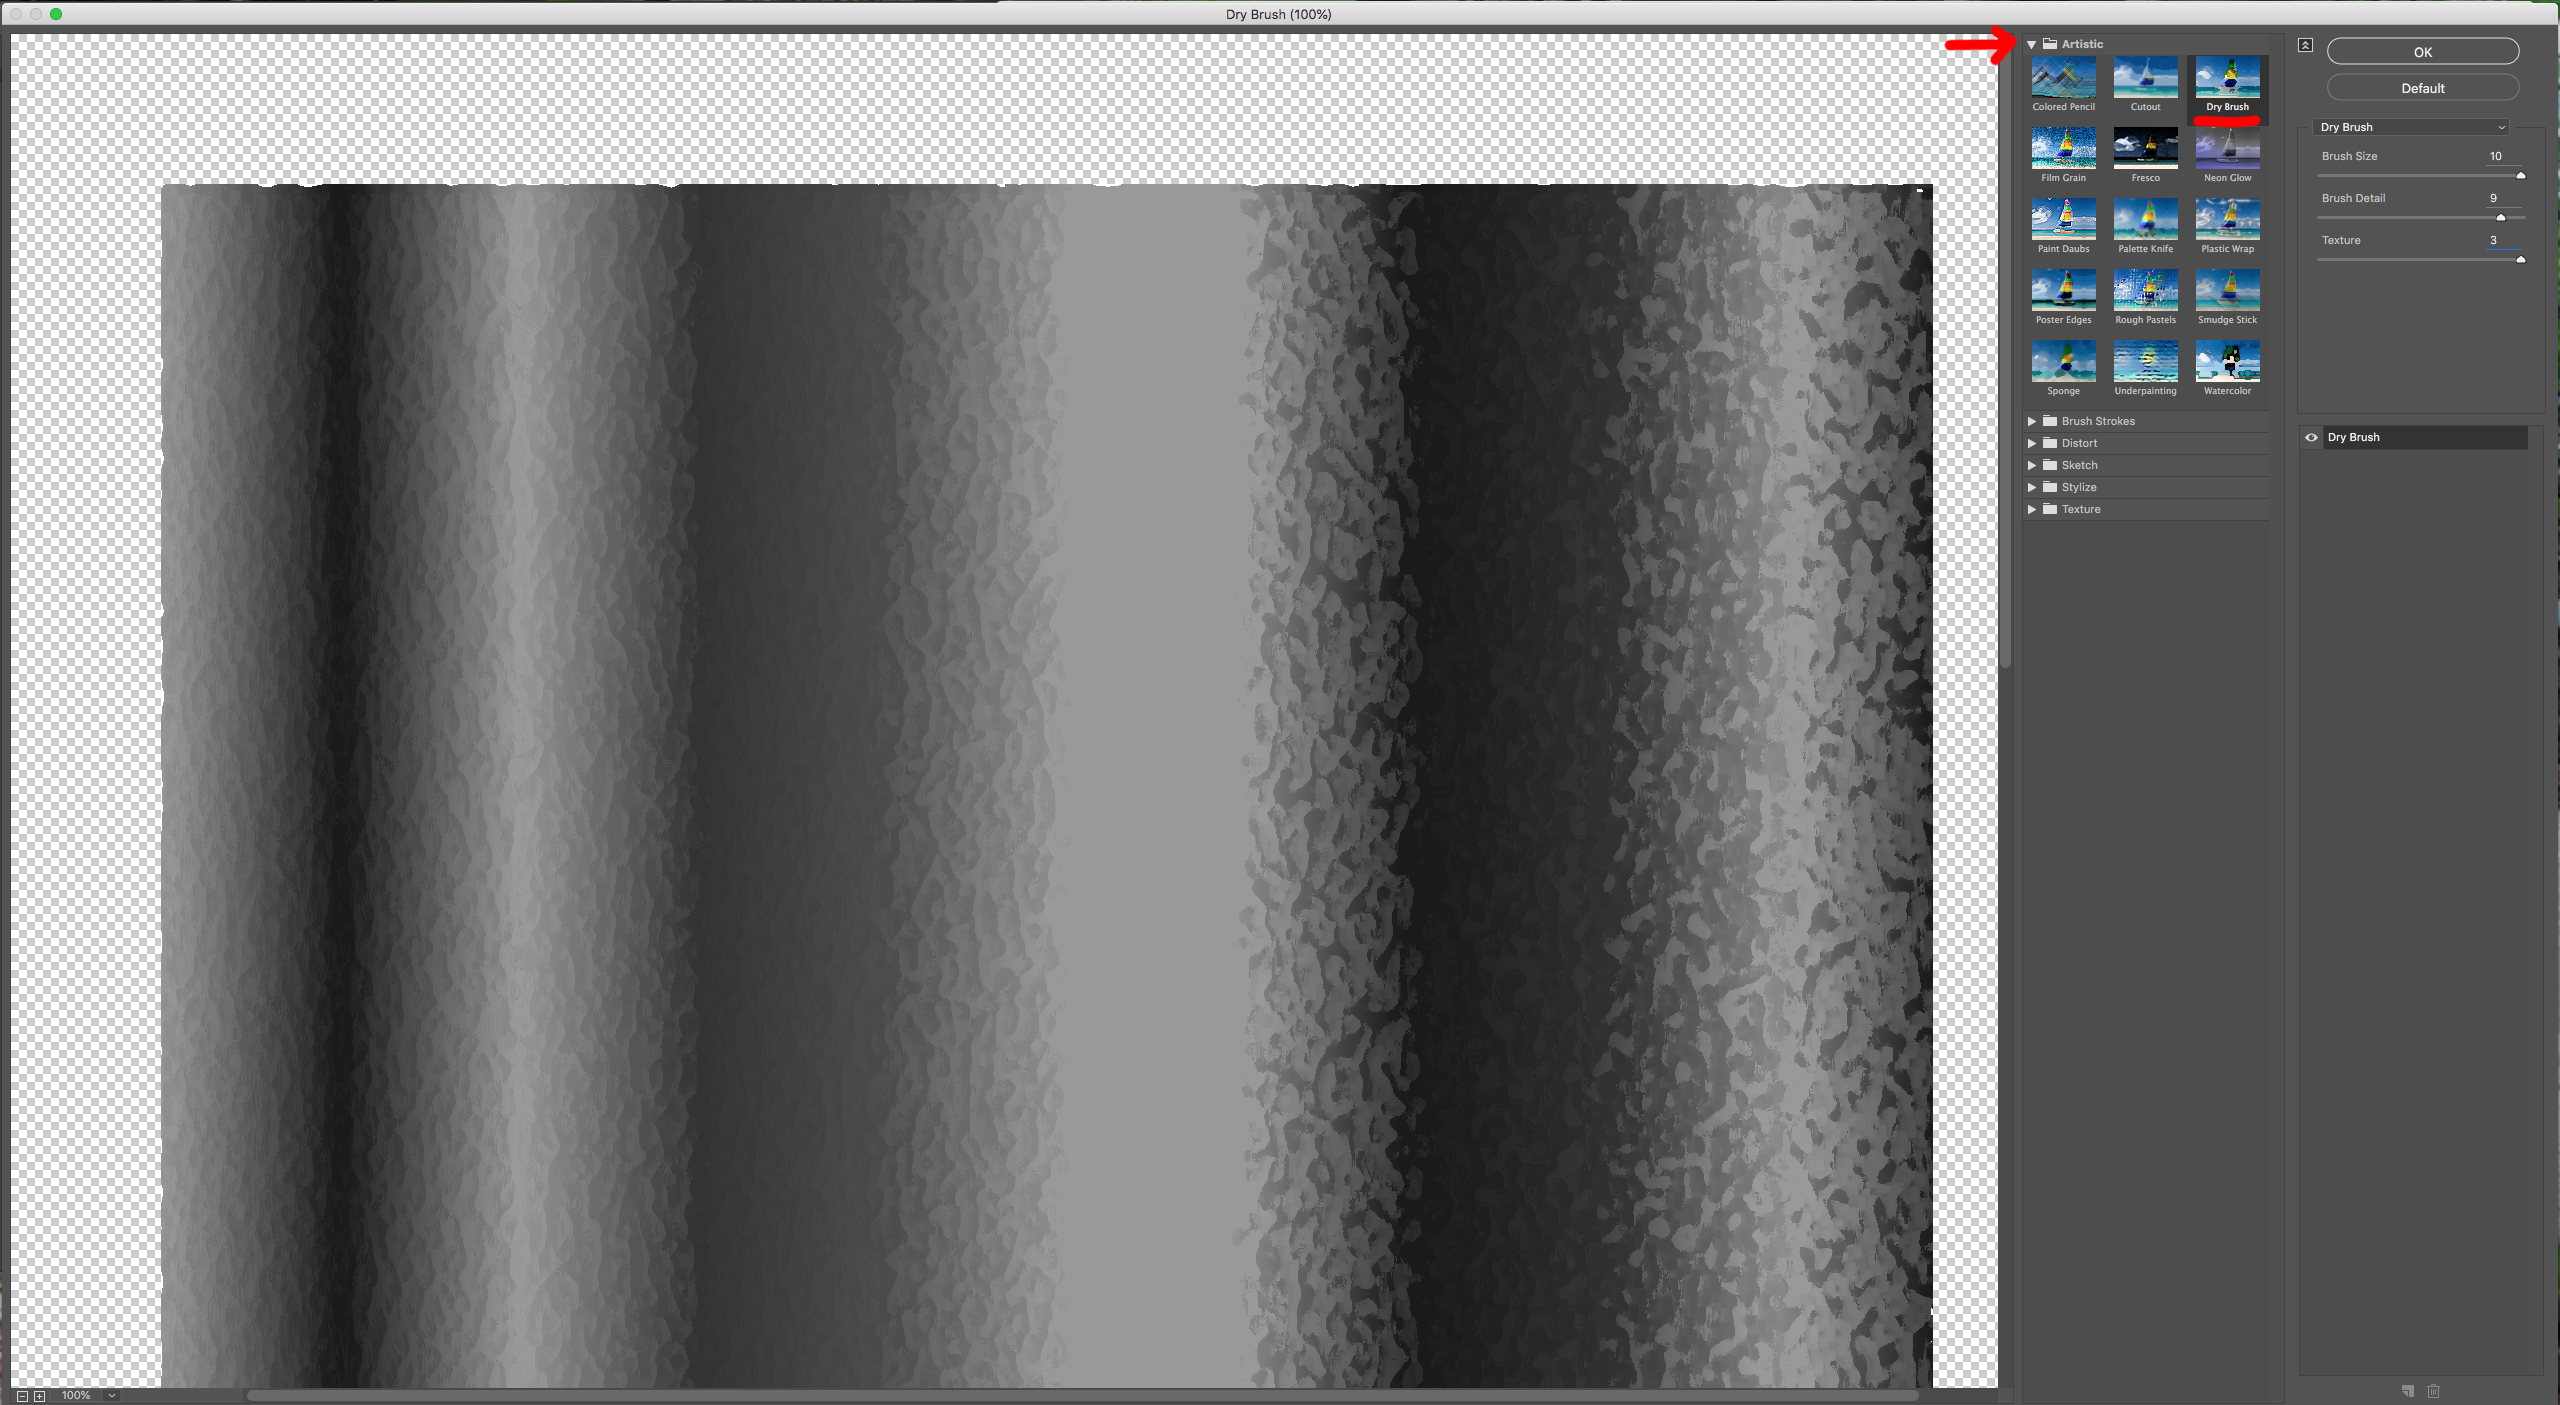
6 - Back in the “Adjustments Panel”, click on the “Effects Menu” icon at the bottom of the Panel and navigate to Artistic > Dry Brush… use a “Brush Size” of 10, a “Brush Detail” of 9 and a “Texture” of 3.
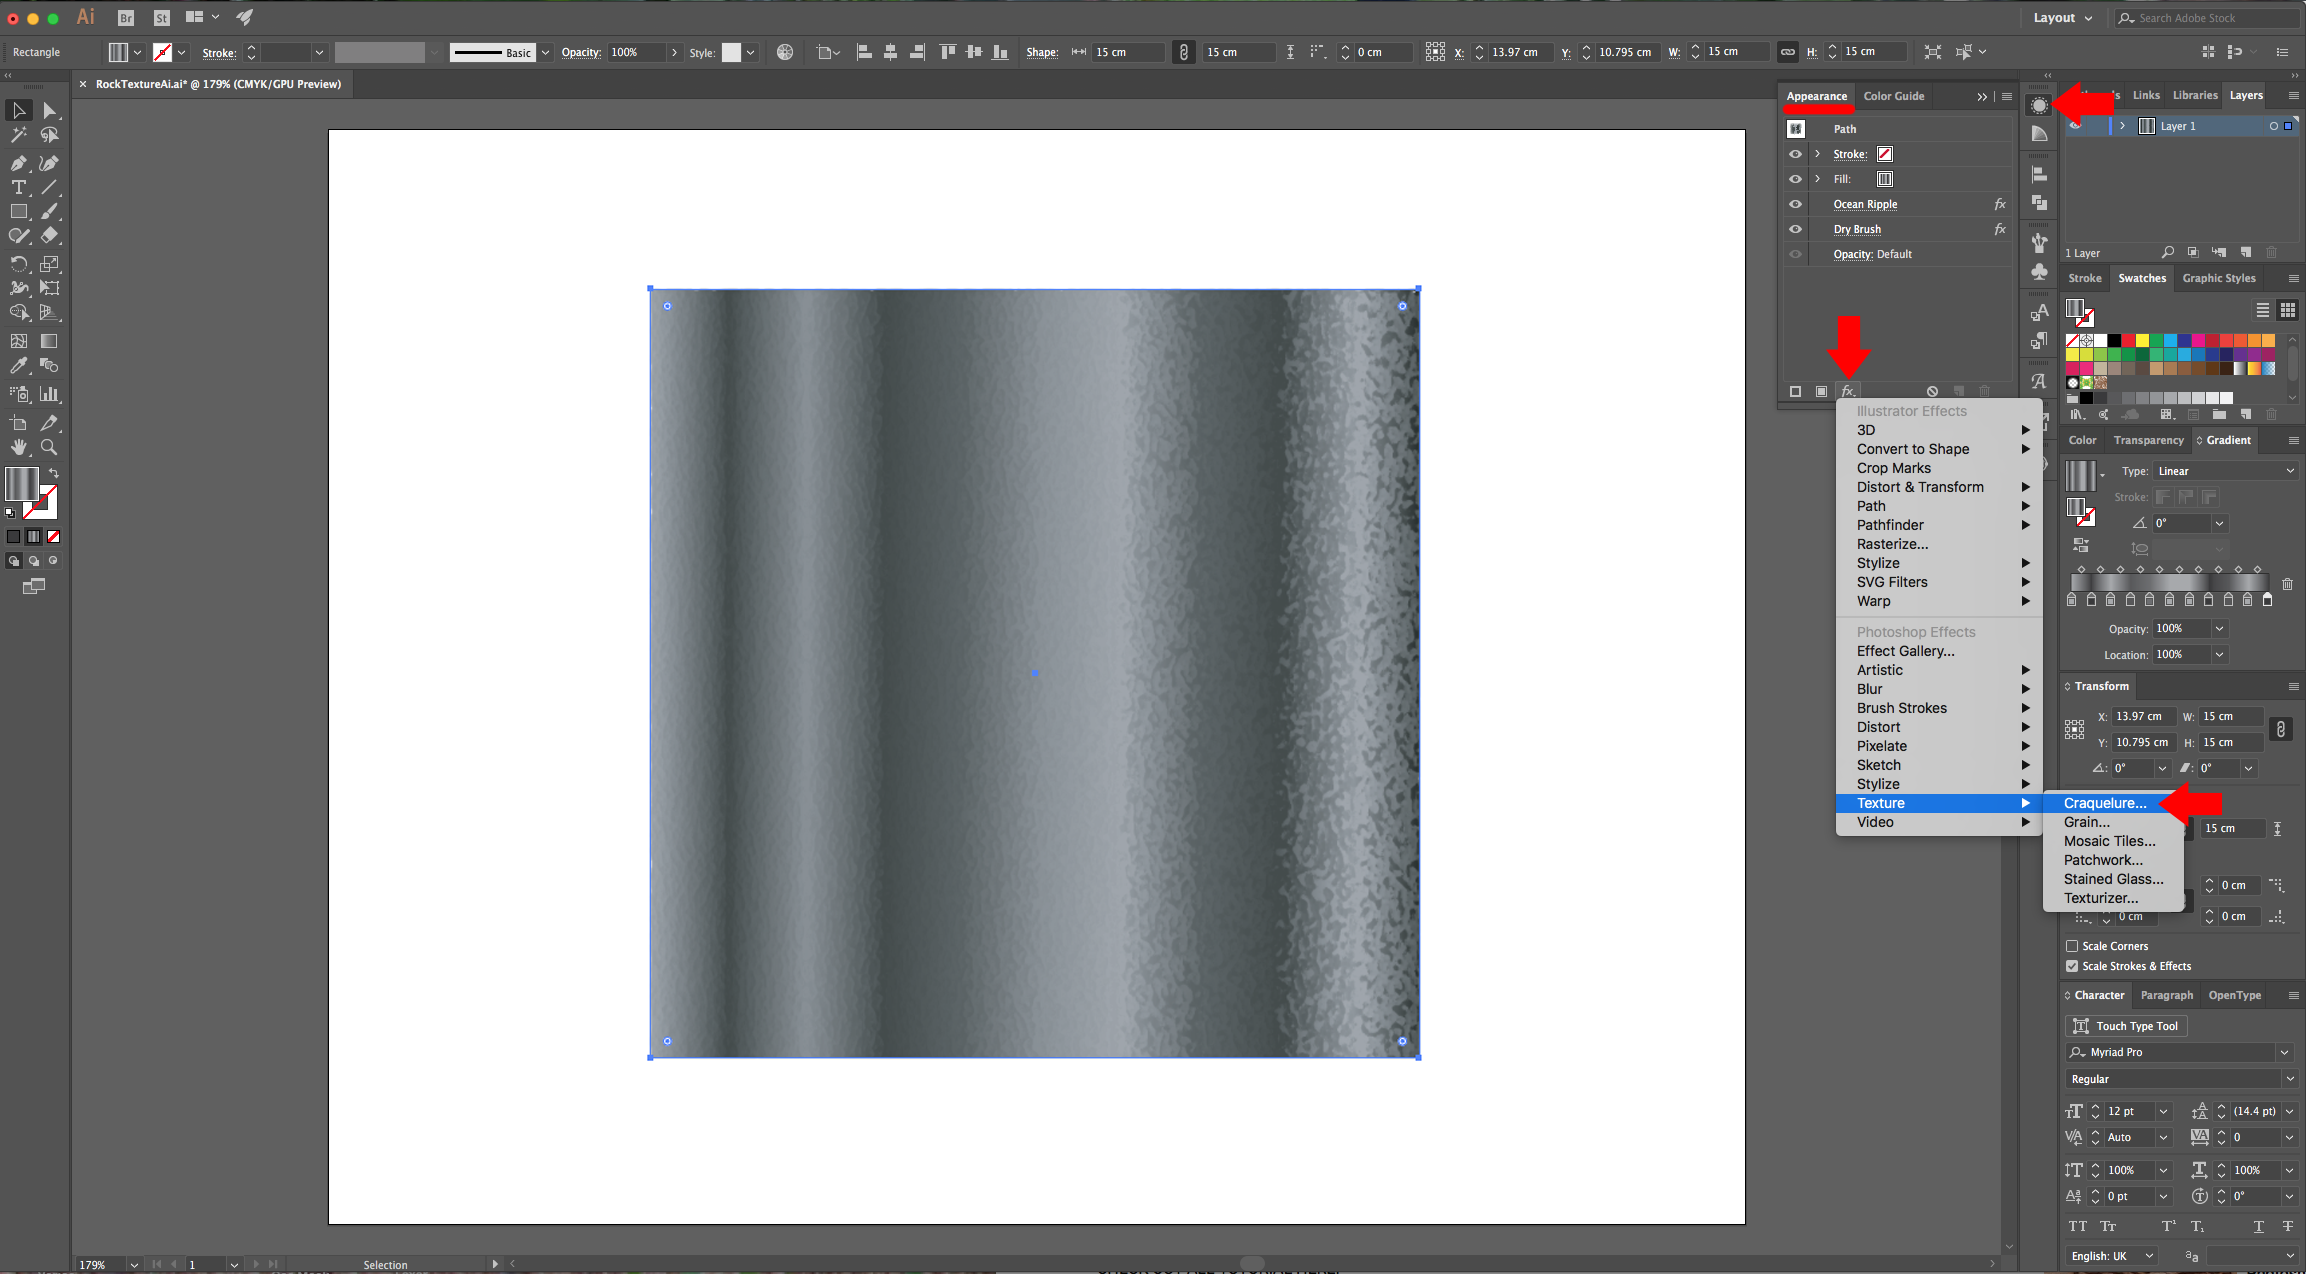
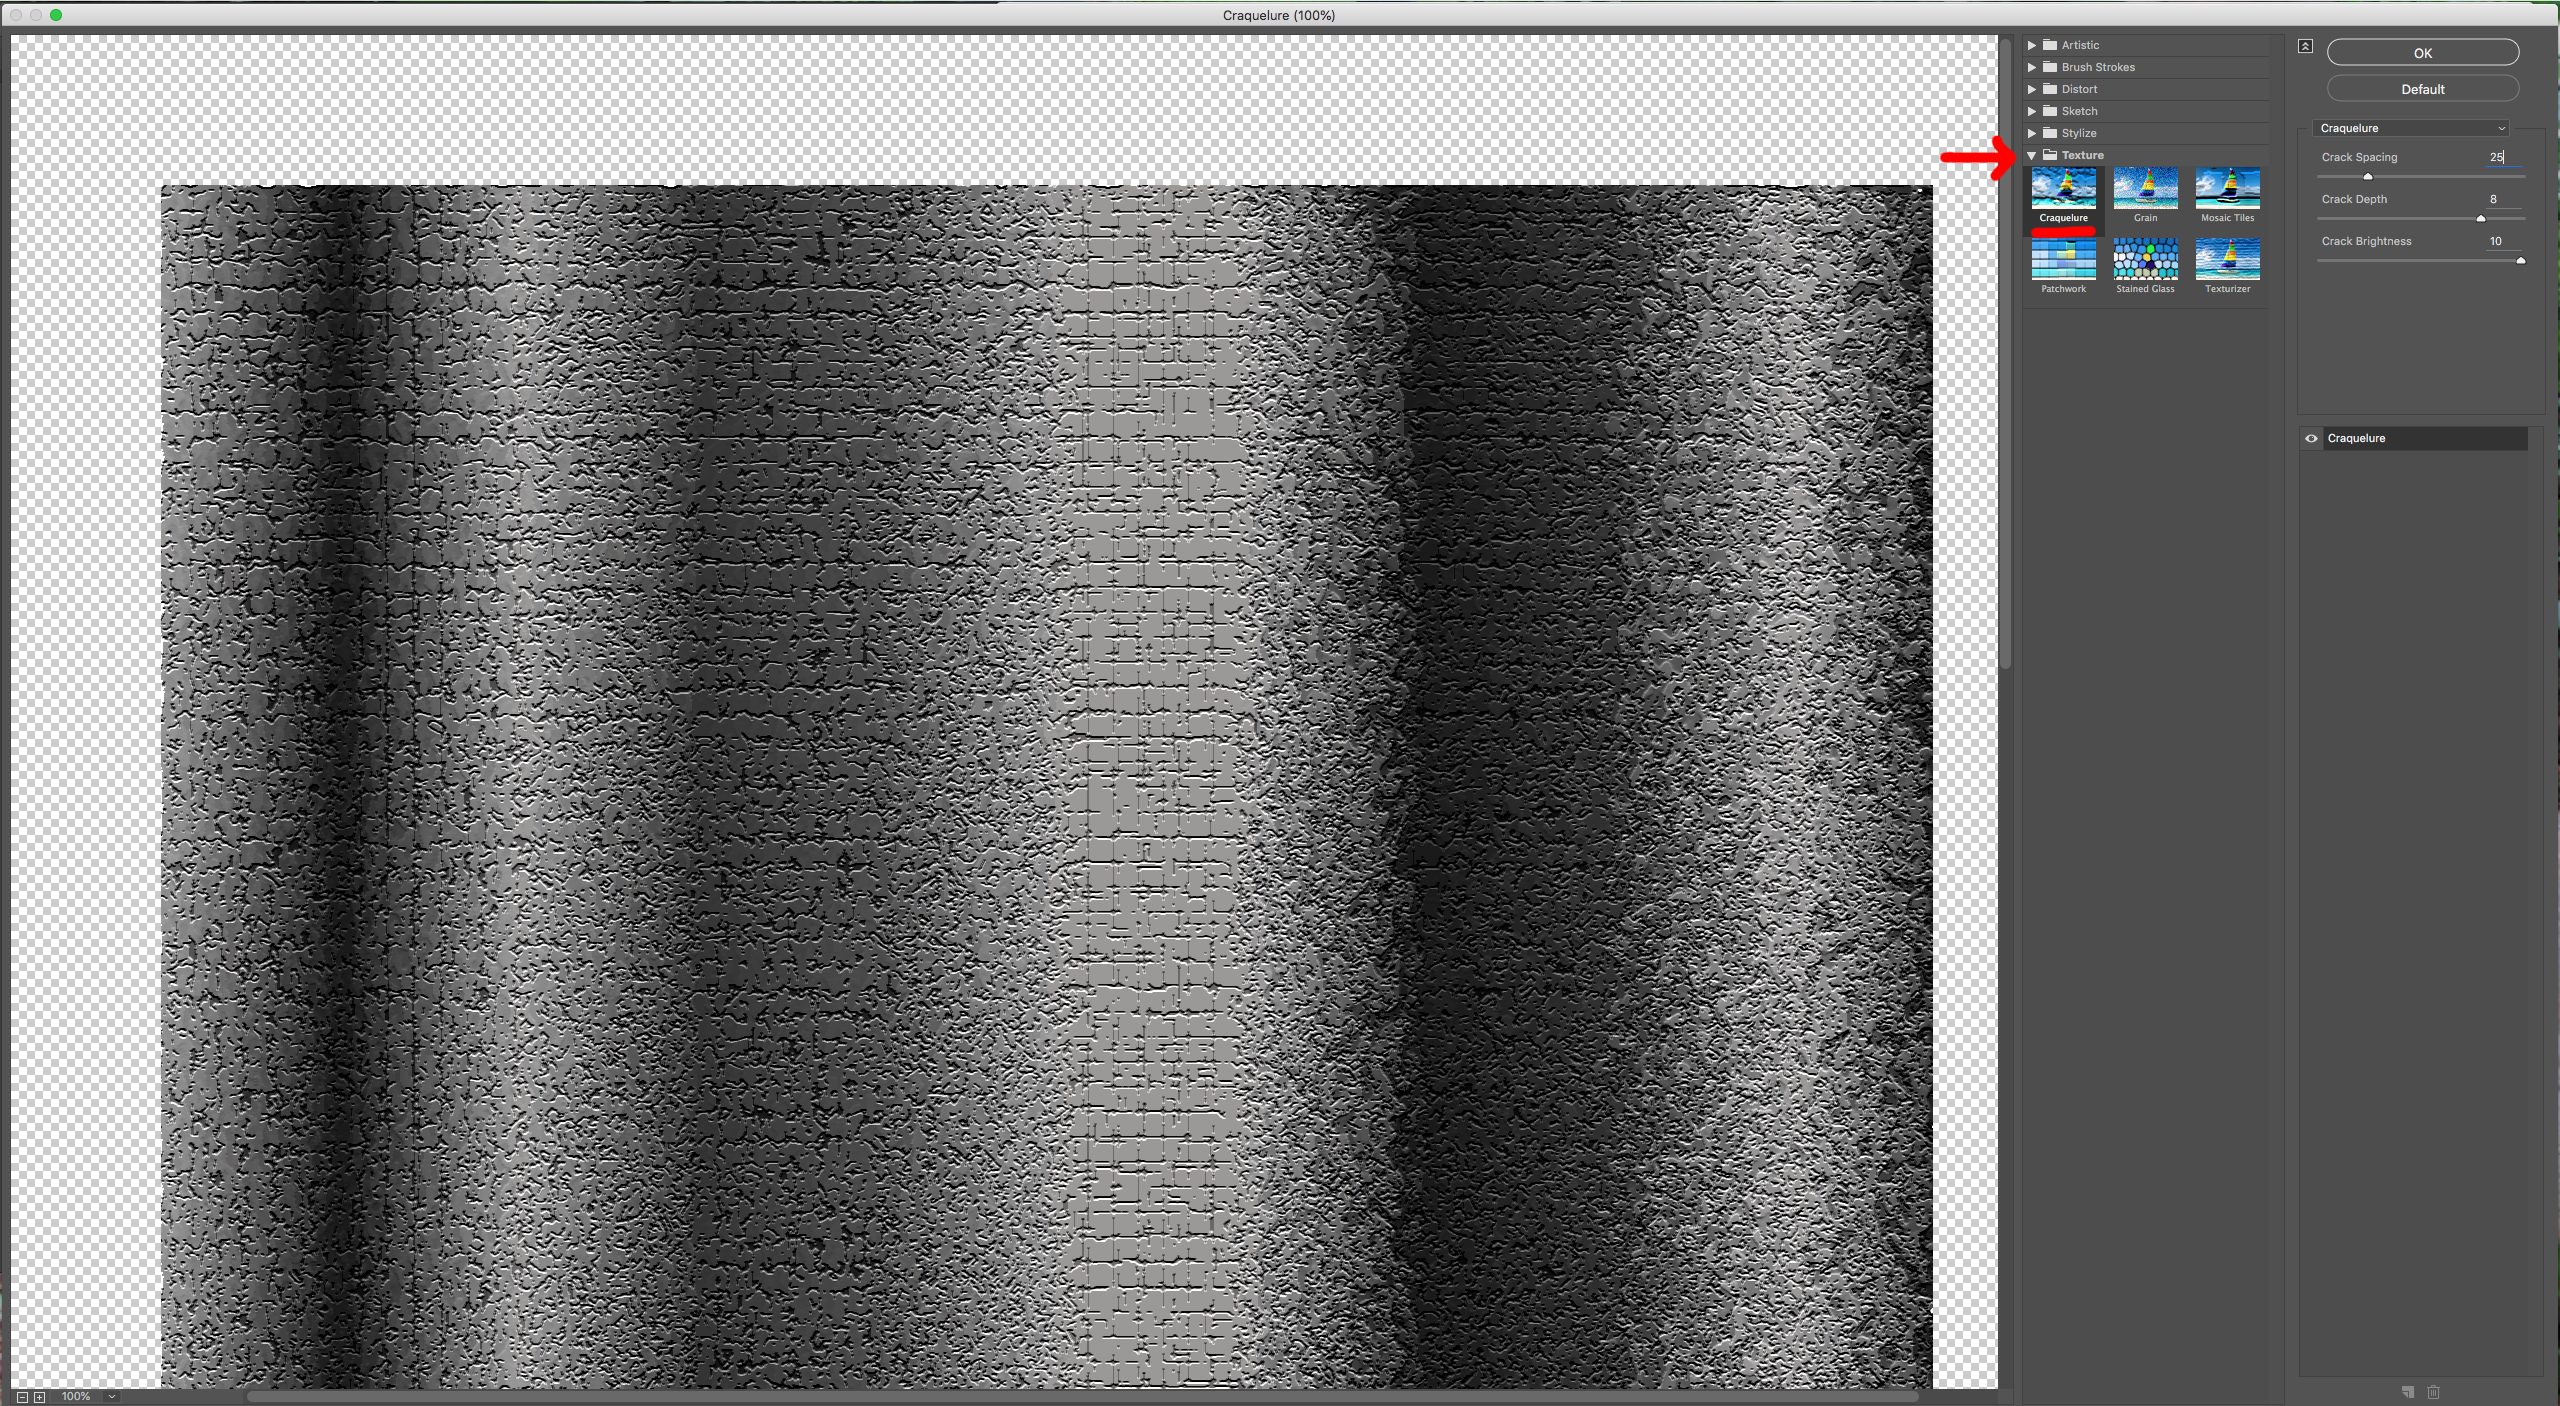
7 - Finally, add a third Effect. Go to Texture > Craquelure and use a “Crack Spacing” of 25, a “Crack Depth” of 8 and a “Crack Brightness” of 10.
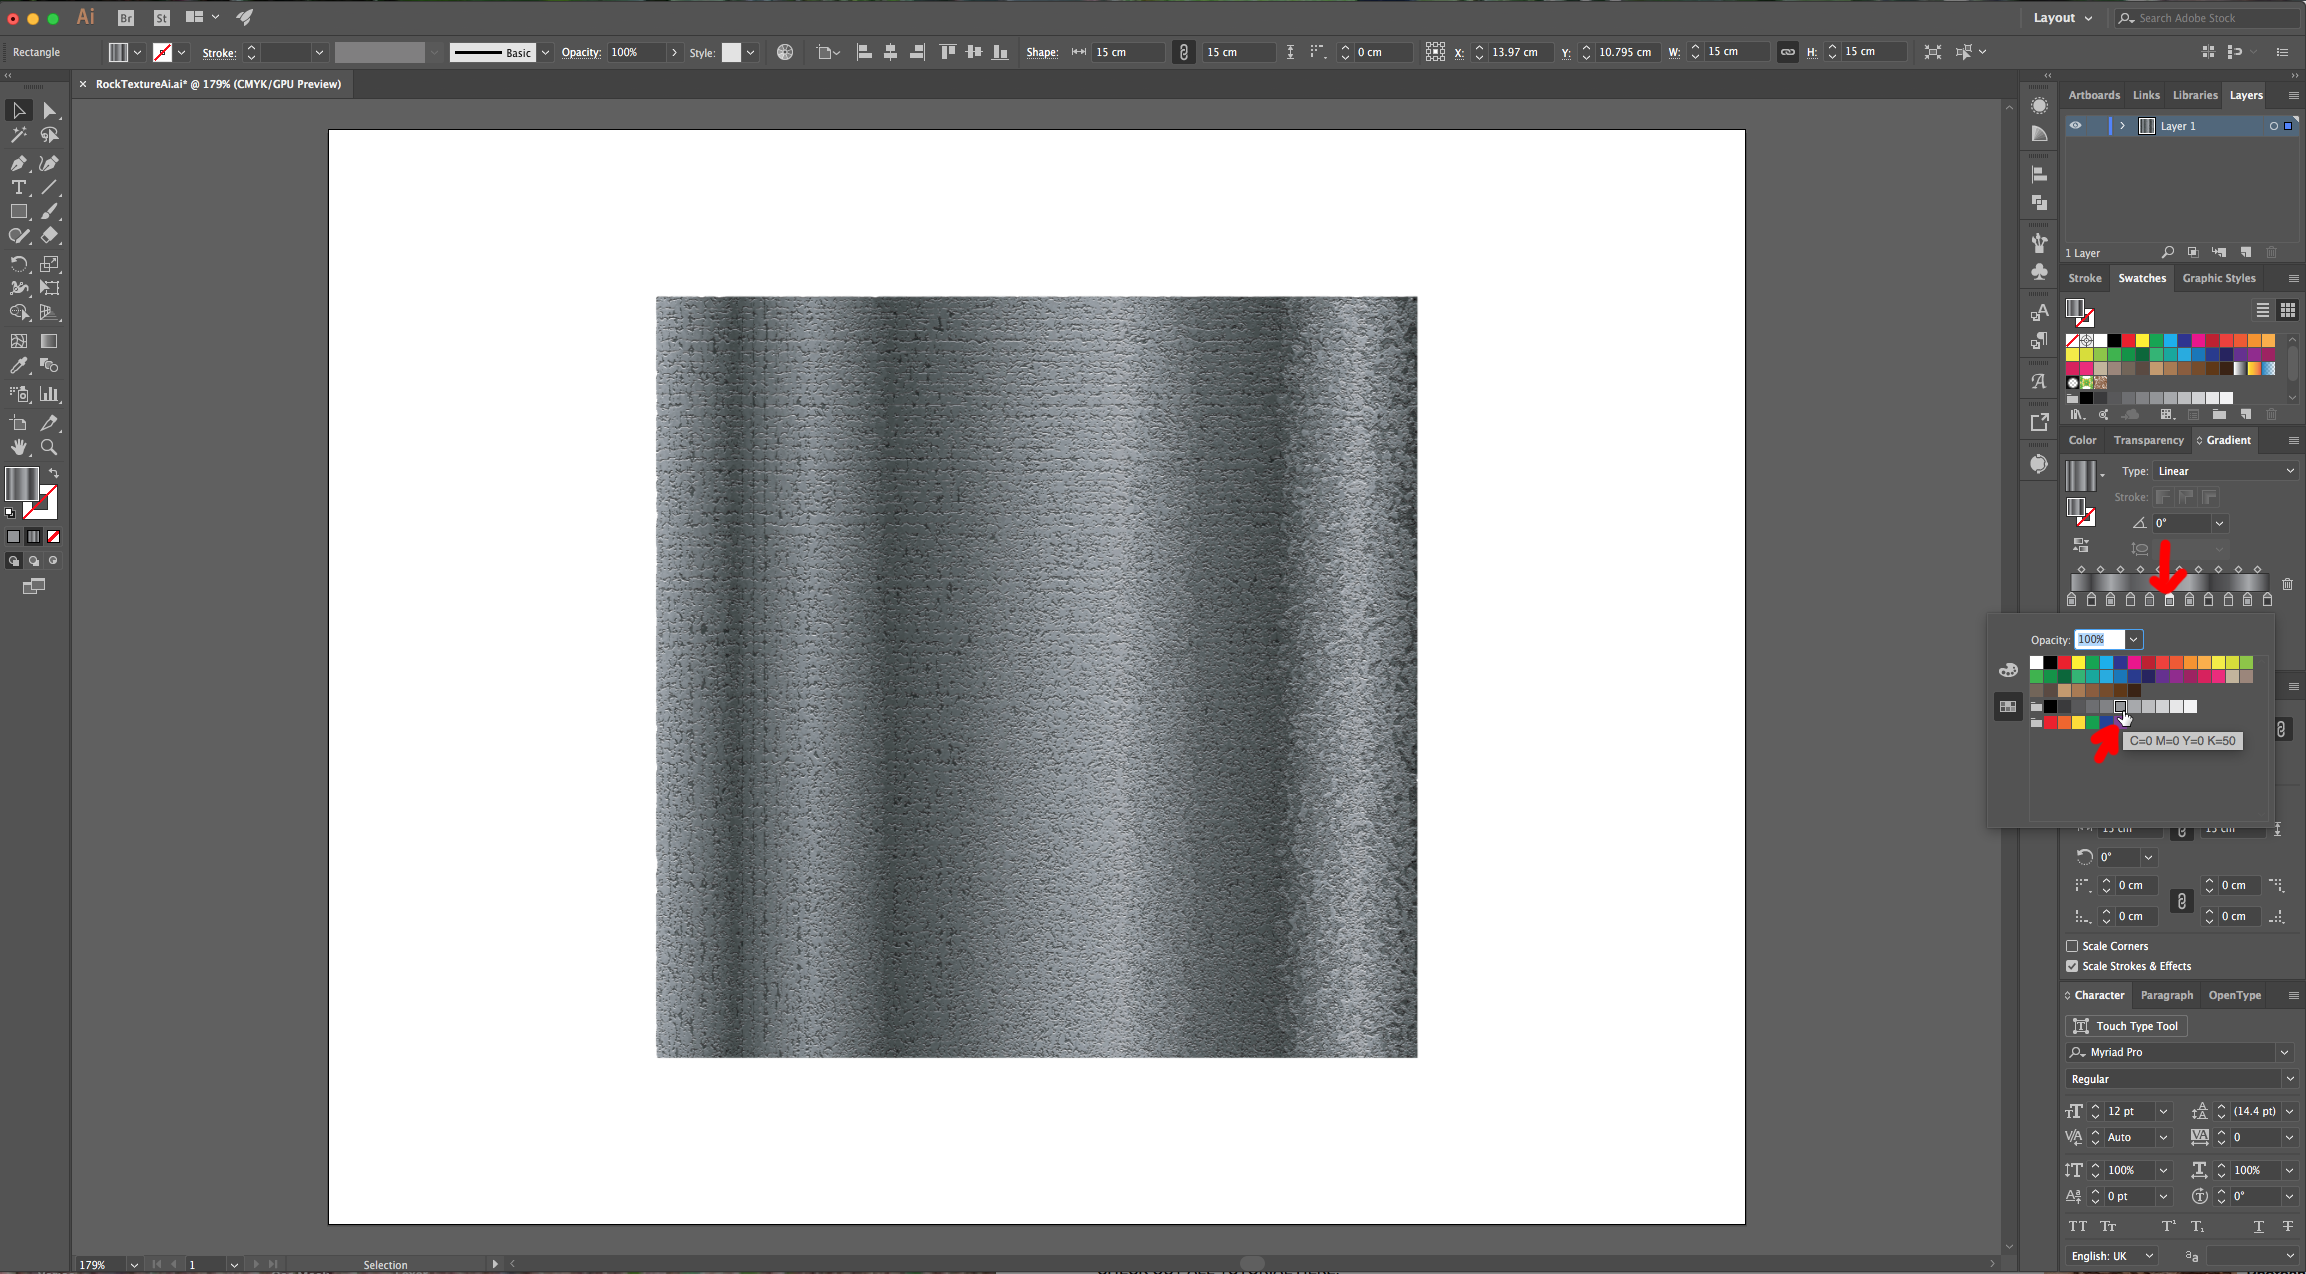
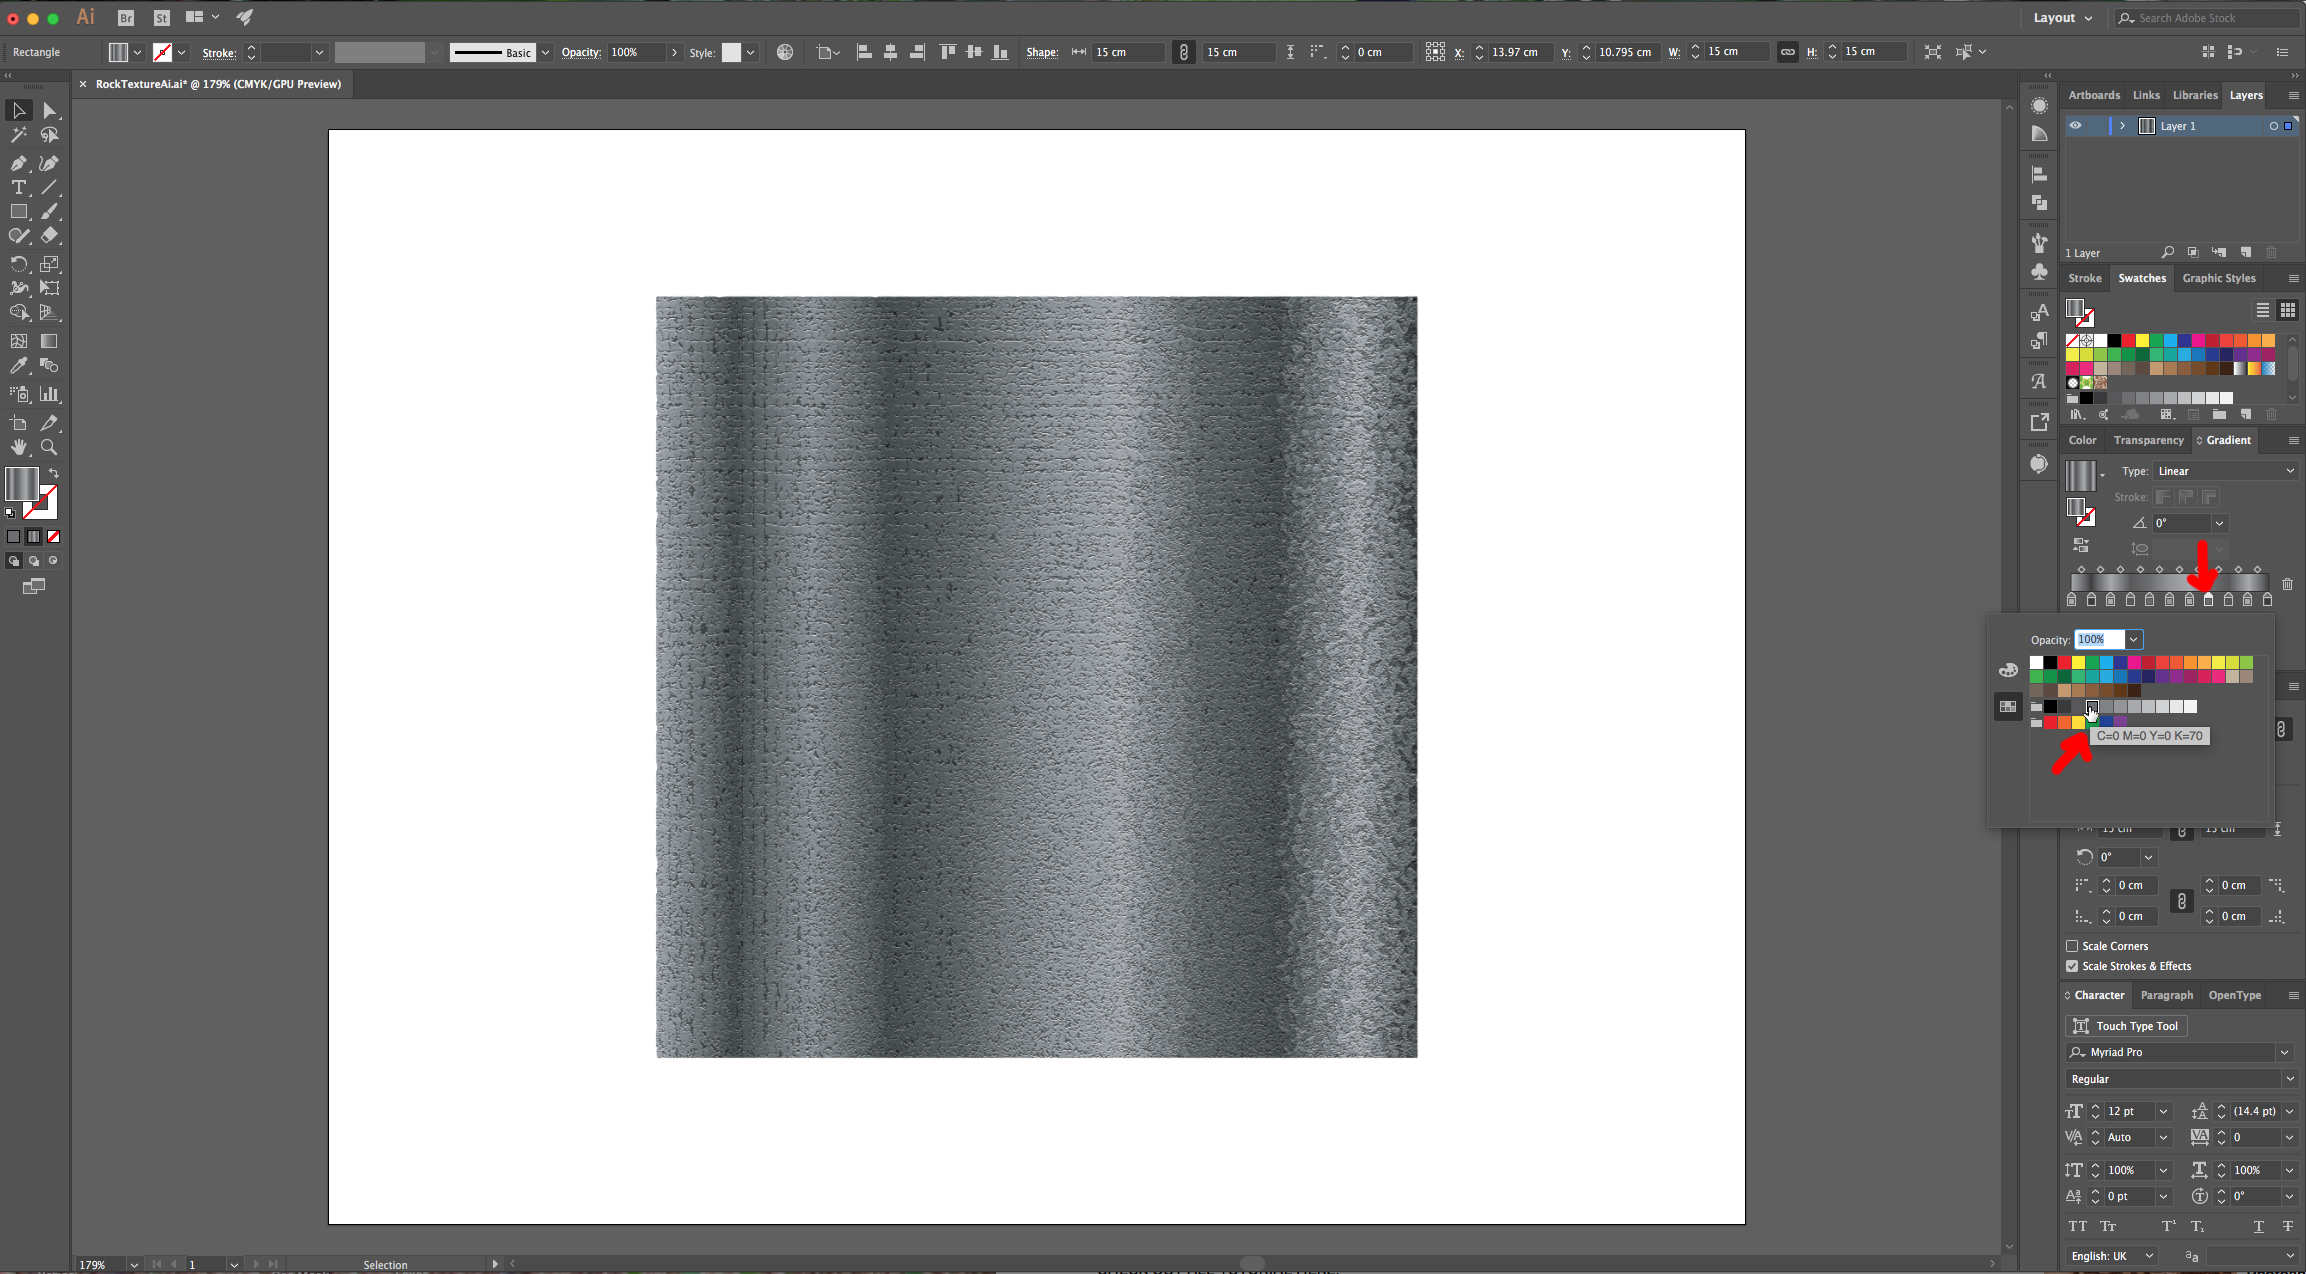
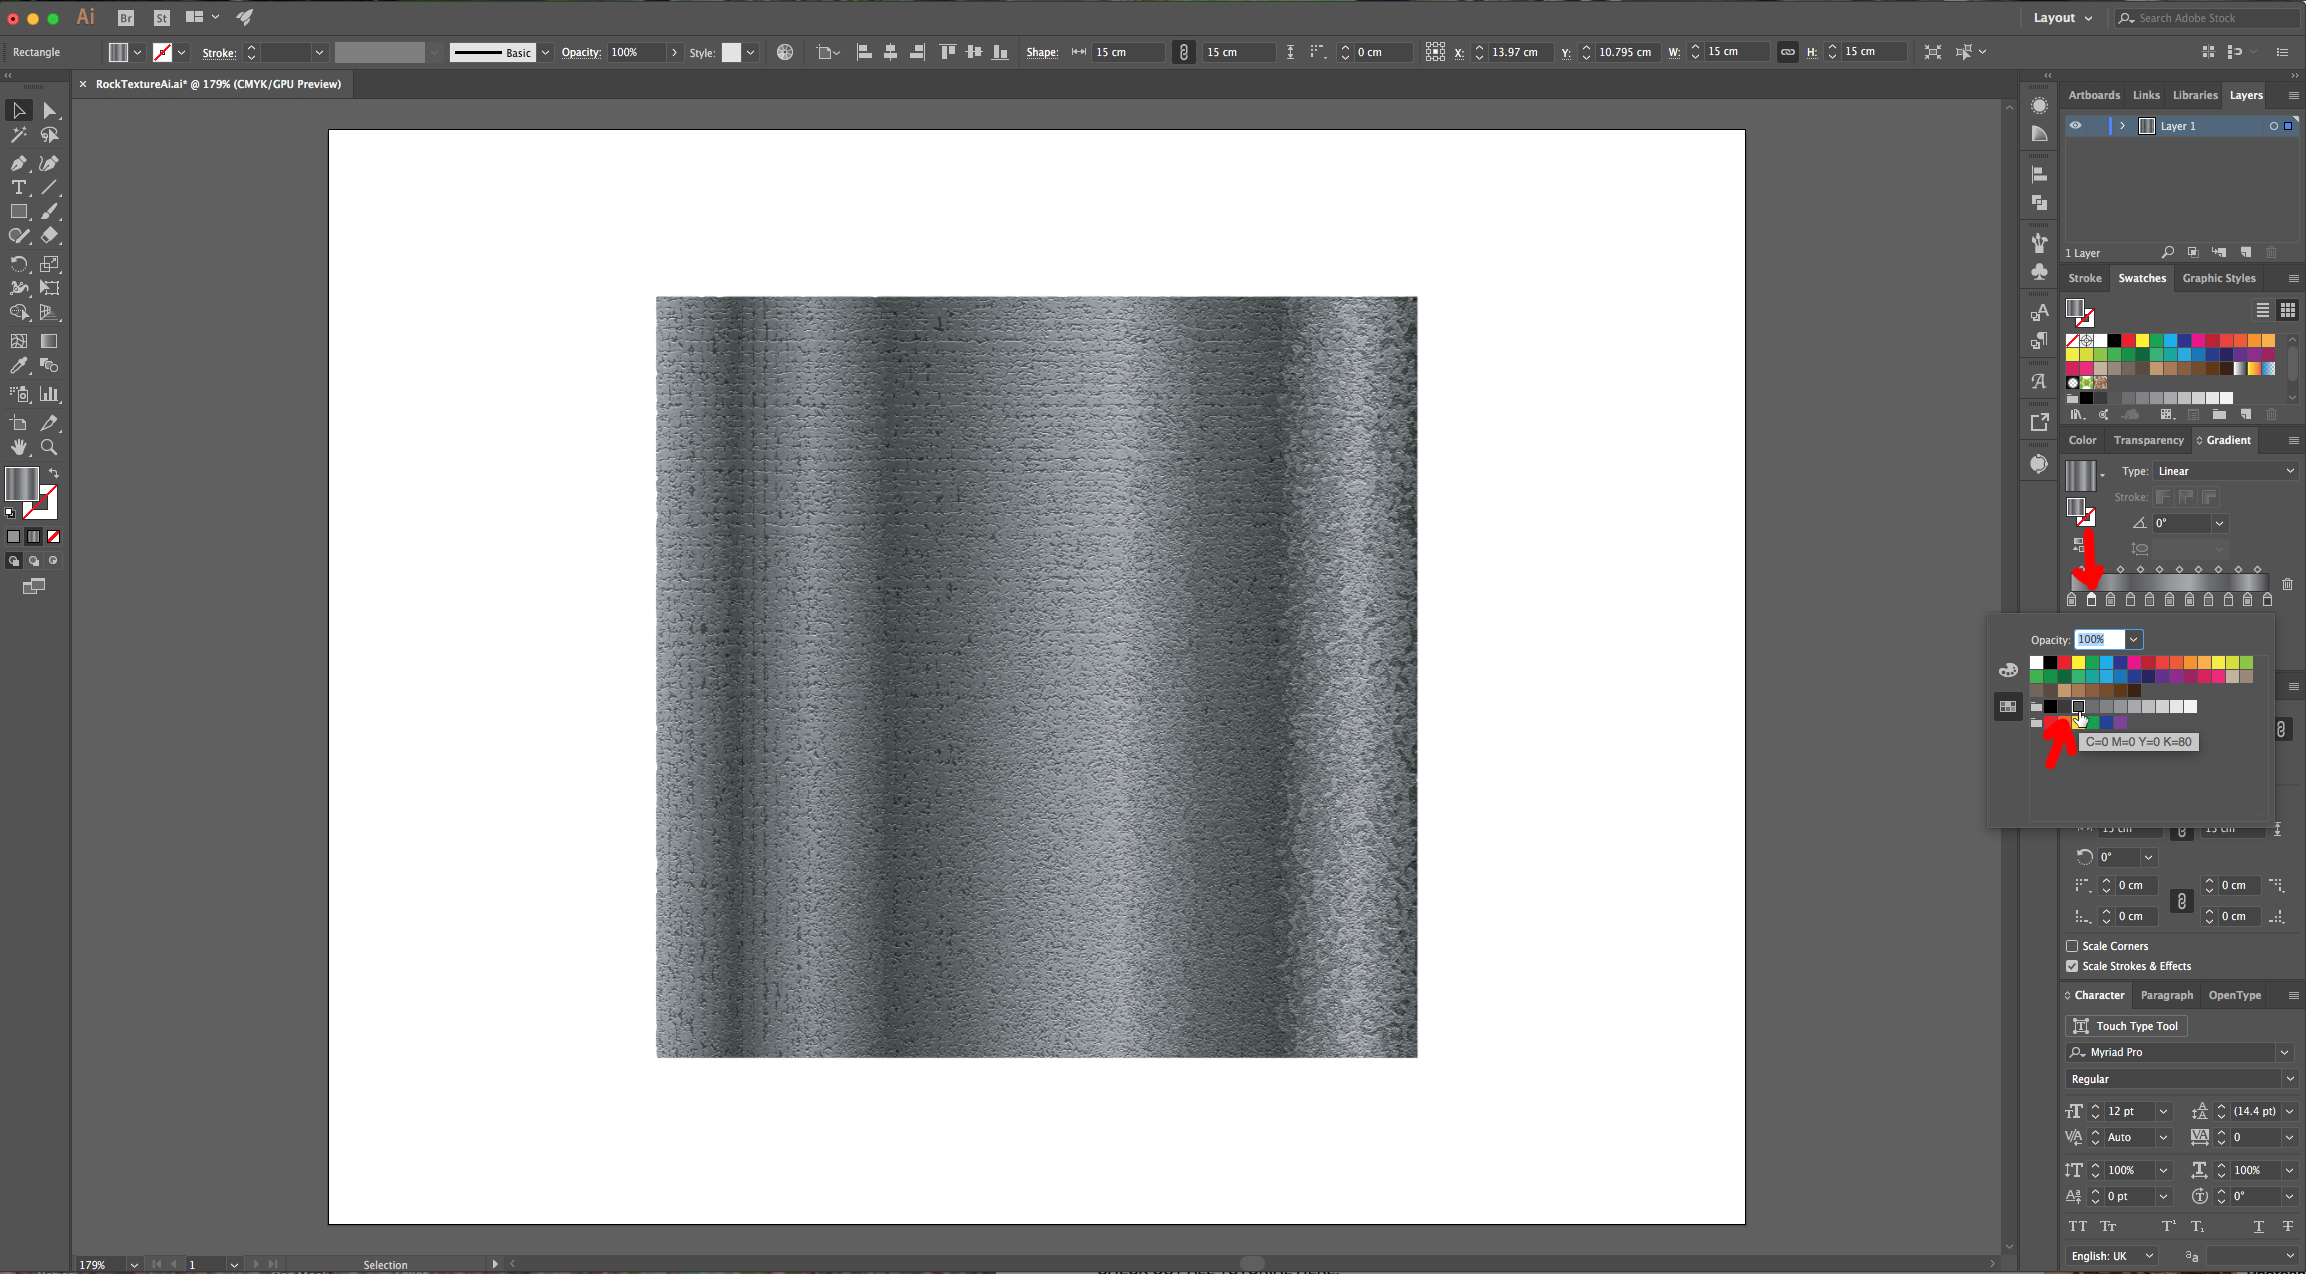
8 - If you want to modify some of the Gradient’s colors, go to the “Gradients Panel” and change them. (We changed Location 50% to Color 50 K, Location 70% to Color 70 K, Location 20% to Color 50 K and Location 10% to Color 80 K).
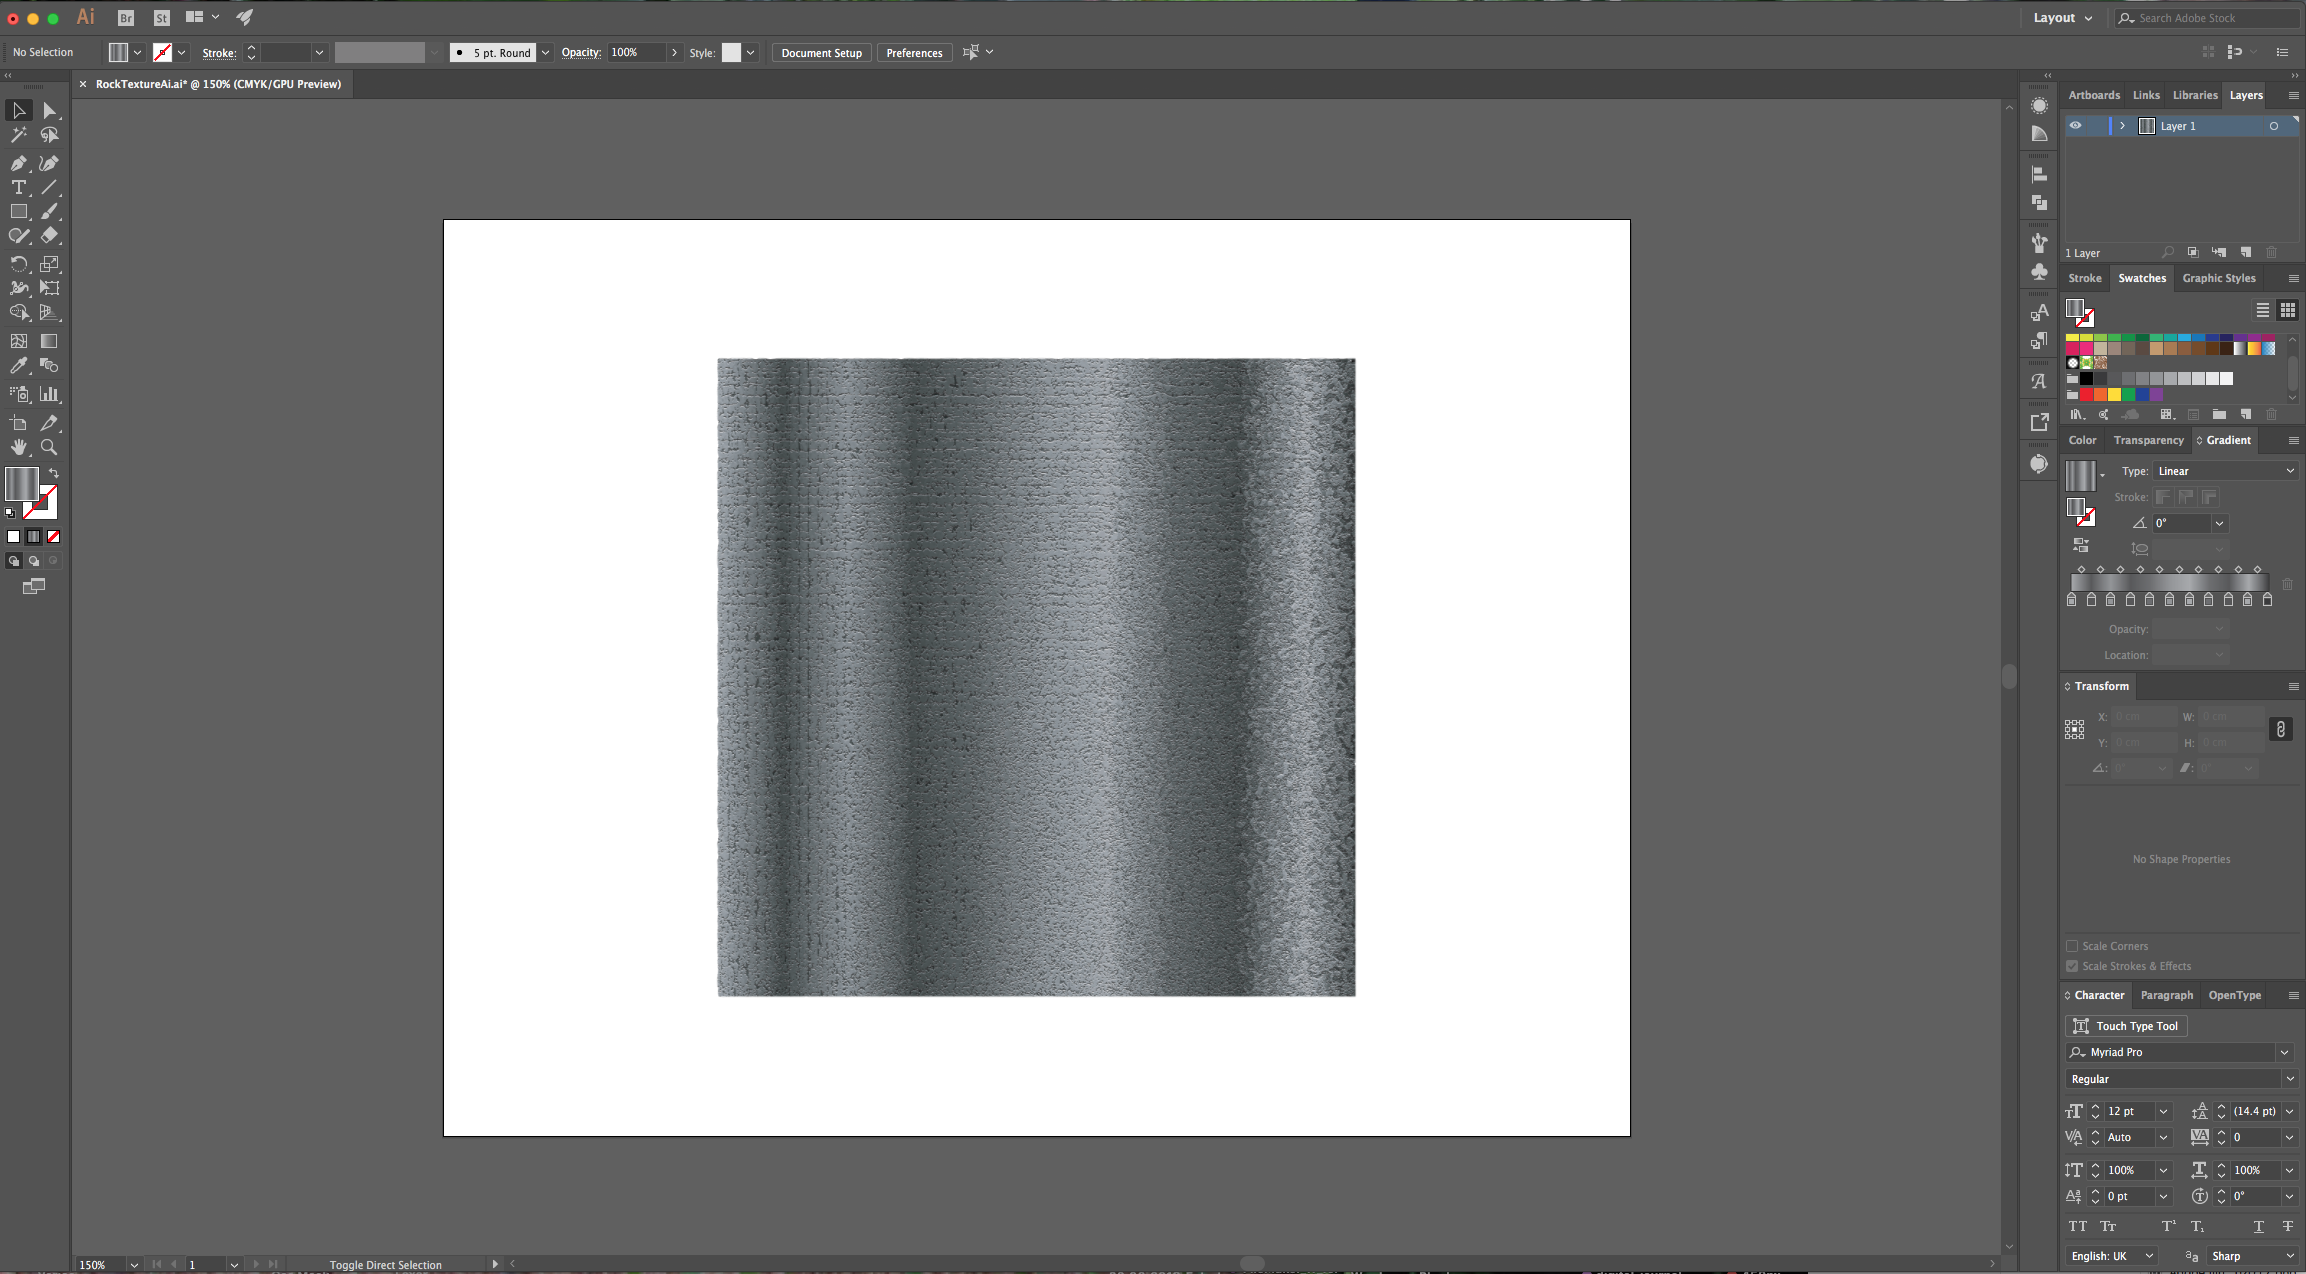
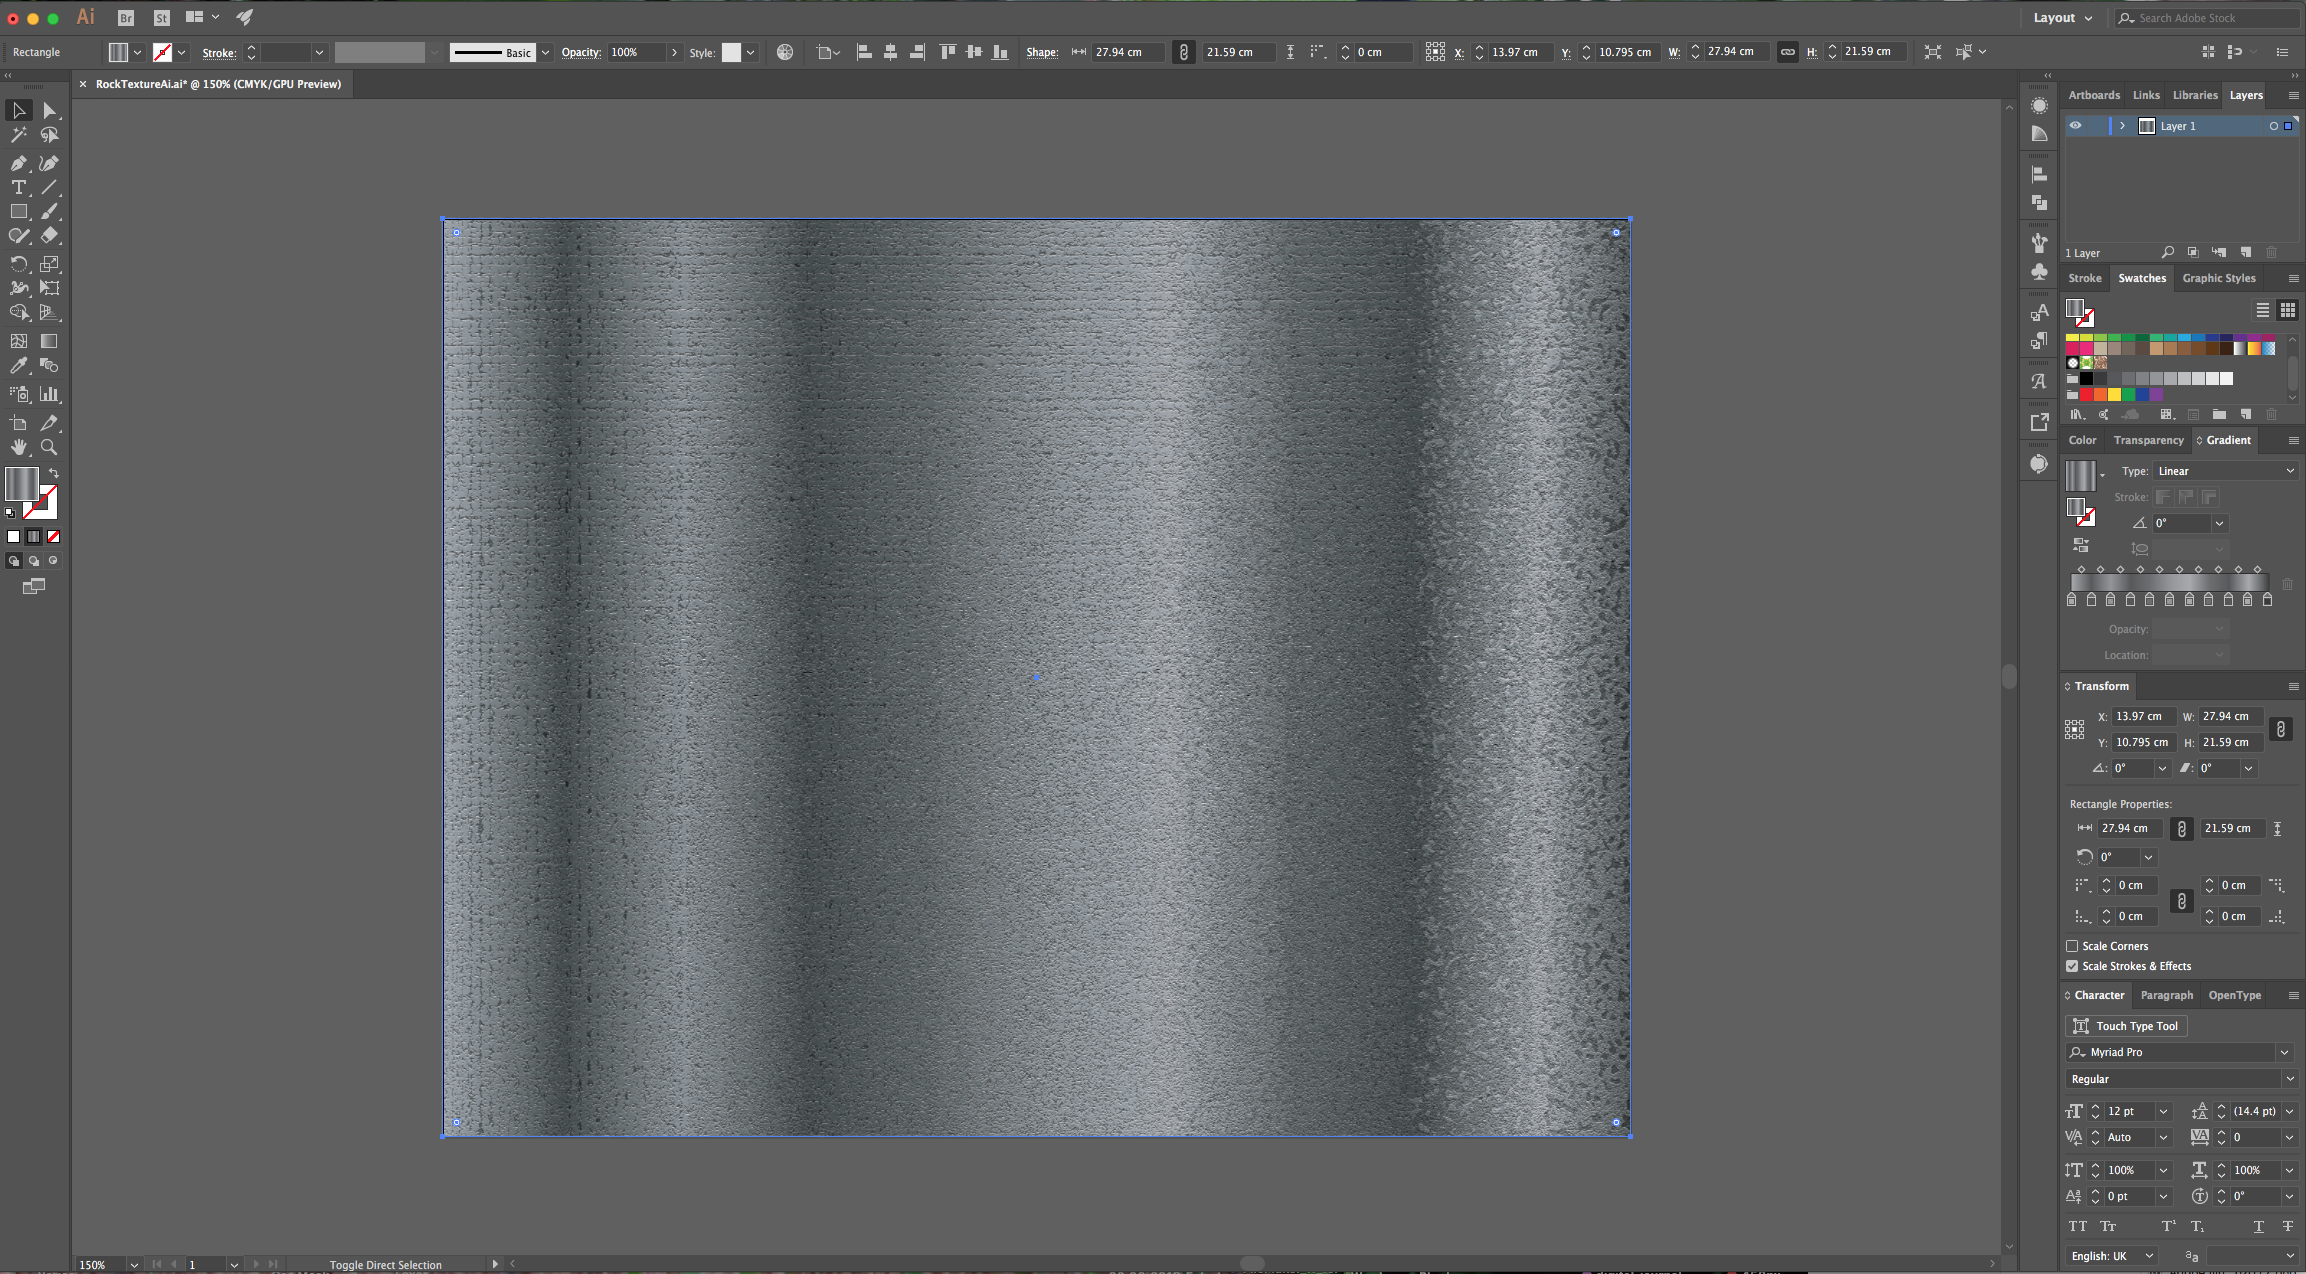
9 - If you modify and/or enlarge your Square, the effects should be applied to the changes.
by @lornacane
6 Related Illustrator Tutorials
For this Tutorial, we are using Wask New Free Font from Vasilis Skandalos.We will need to start in Photoshop to create a part of the Marble texture used as background.1 - First, in Photoshop, create a “New Document” and make it as big as your Illustrator file will be.2 ...
In this tutorial you will learn how to add texture in Illustrator. This is a great technique to create gritty, urban designs and illustrations. It creates interest as well as catches the attention of viewers. Textures can also be used in multiple ways to achieve different effects each time.Step 1 ...
For this tutorial, we will use some “Color Swatches” in different shades of Pink to create the “Brain” and the Font “Brain Melt” from Font Bundles.1 - In Illustrator, create a “New Document”.2 - If the “Rulers” are not enabled, go to View > Rulers > Show Rulers (Command/Control + ...
1 - In Illustrator, create a “New Document”.2 - Select the “Rectangle Tool” (M), click inside your canvas and input a “Width” and “Height” of 15 cm. Fill it with Cyan from the “Swatches Panel”.3 - Center it using the “Horizontal and Vertical Align Center” options on your Top Menu and make ...
Creating a marble texture in Illustrator is simple and very fun. Every marble texture you make will look different. You can use these textures as design elements on décor items, custom product packaging, cards, social media posts, etc.In this tutorial, we will be using the Color Guide panel ...
Did you know that you can create a wood texture from scratch in Illustrator? In today’s tutorial, we will show you how to do just that. Then we’ll continue on to create a pattern with the wood texture and apply it to a vector image.You’ll want ...

 All your Font Needs


