- By Design Bundles
- 4 Mins
- Illustrator Tutorials
See Through Vector Window in Illustrator
1 - In Illustrator, create a “New Document” (Command/Control + N).
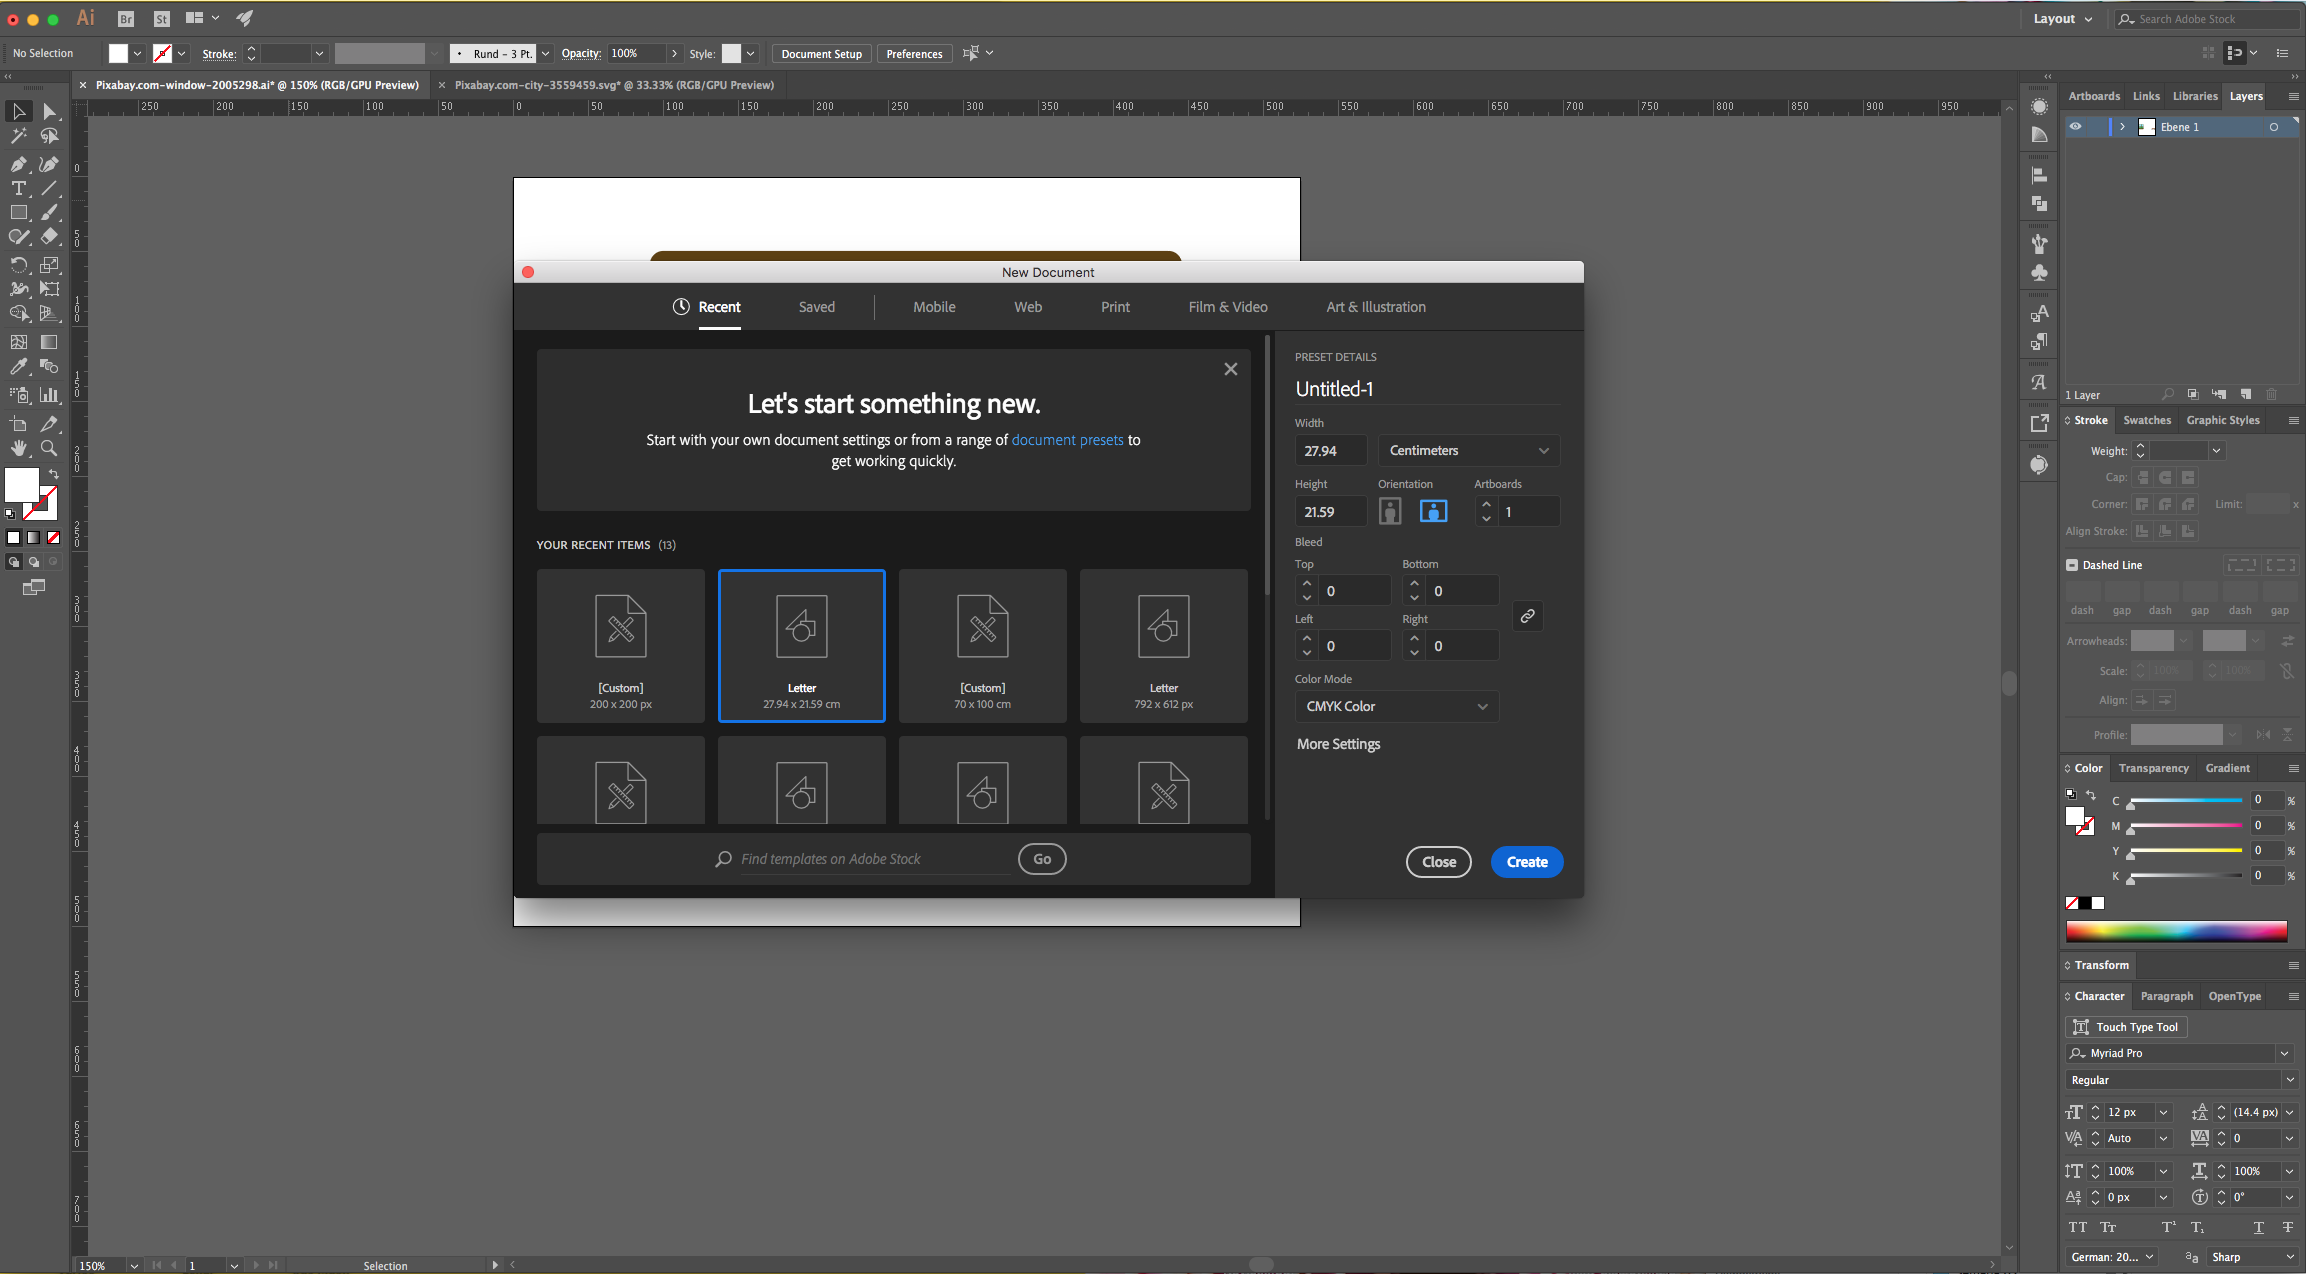
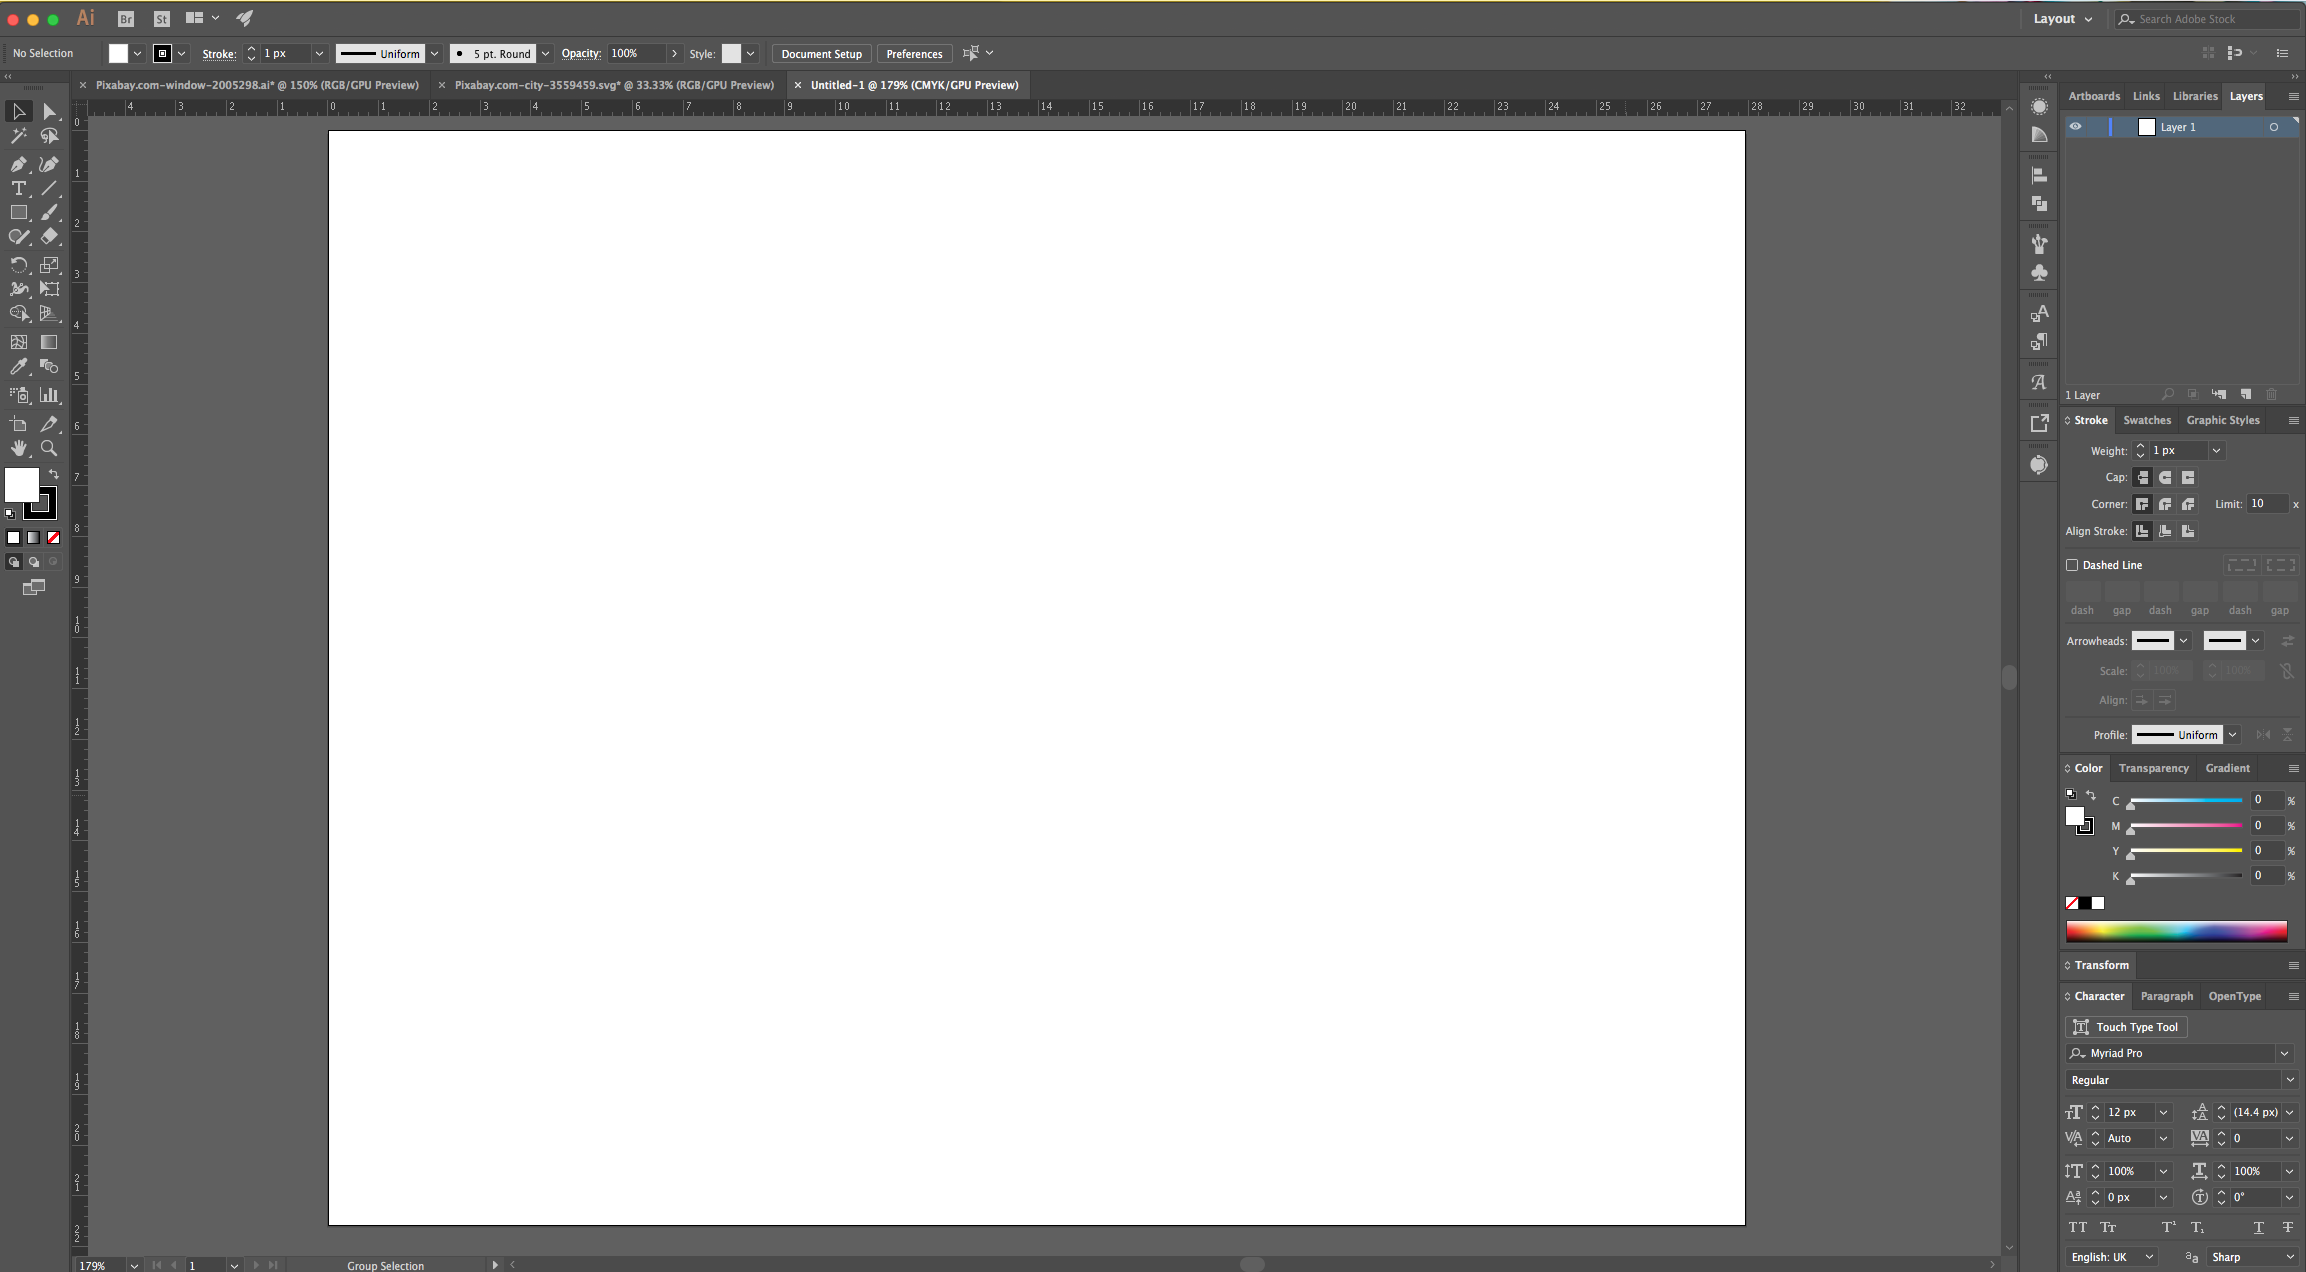
2 - Open the File containing the “Window” Image you chose, then “Copy” (Command/Control + C) and “Paste” it (Command/Control + V) inside your Document.
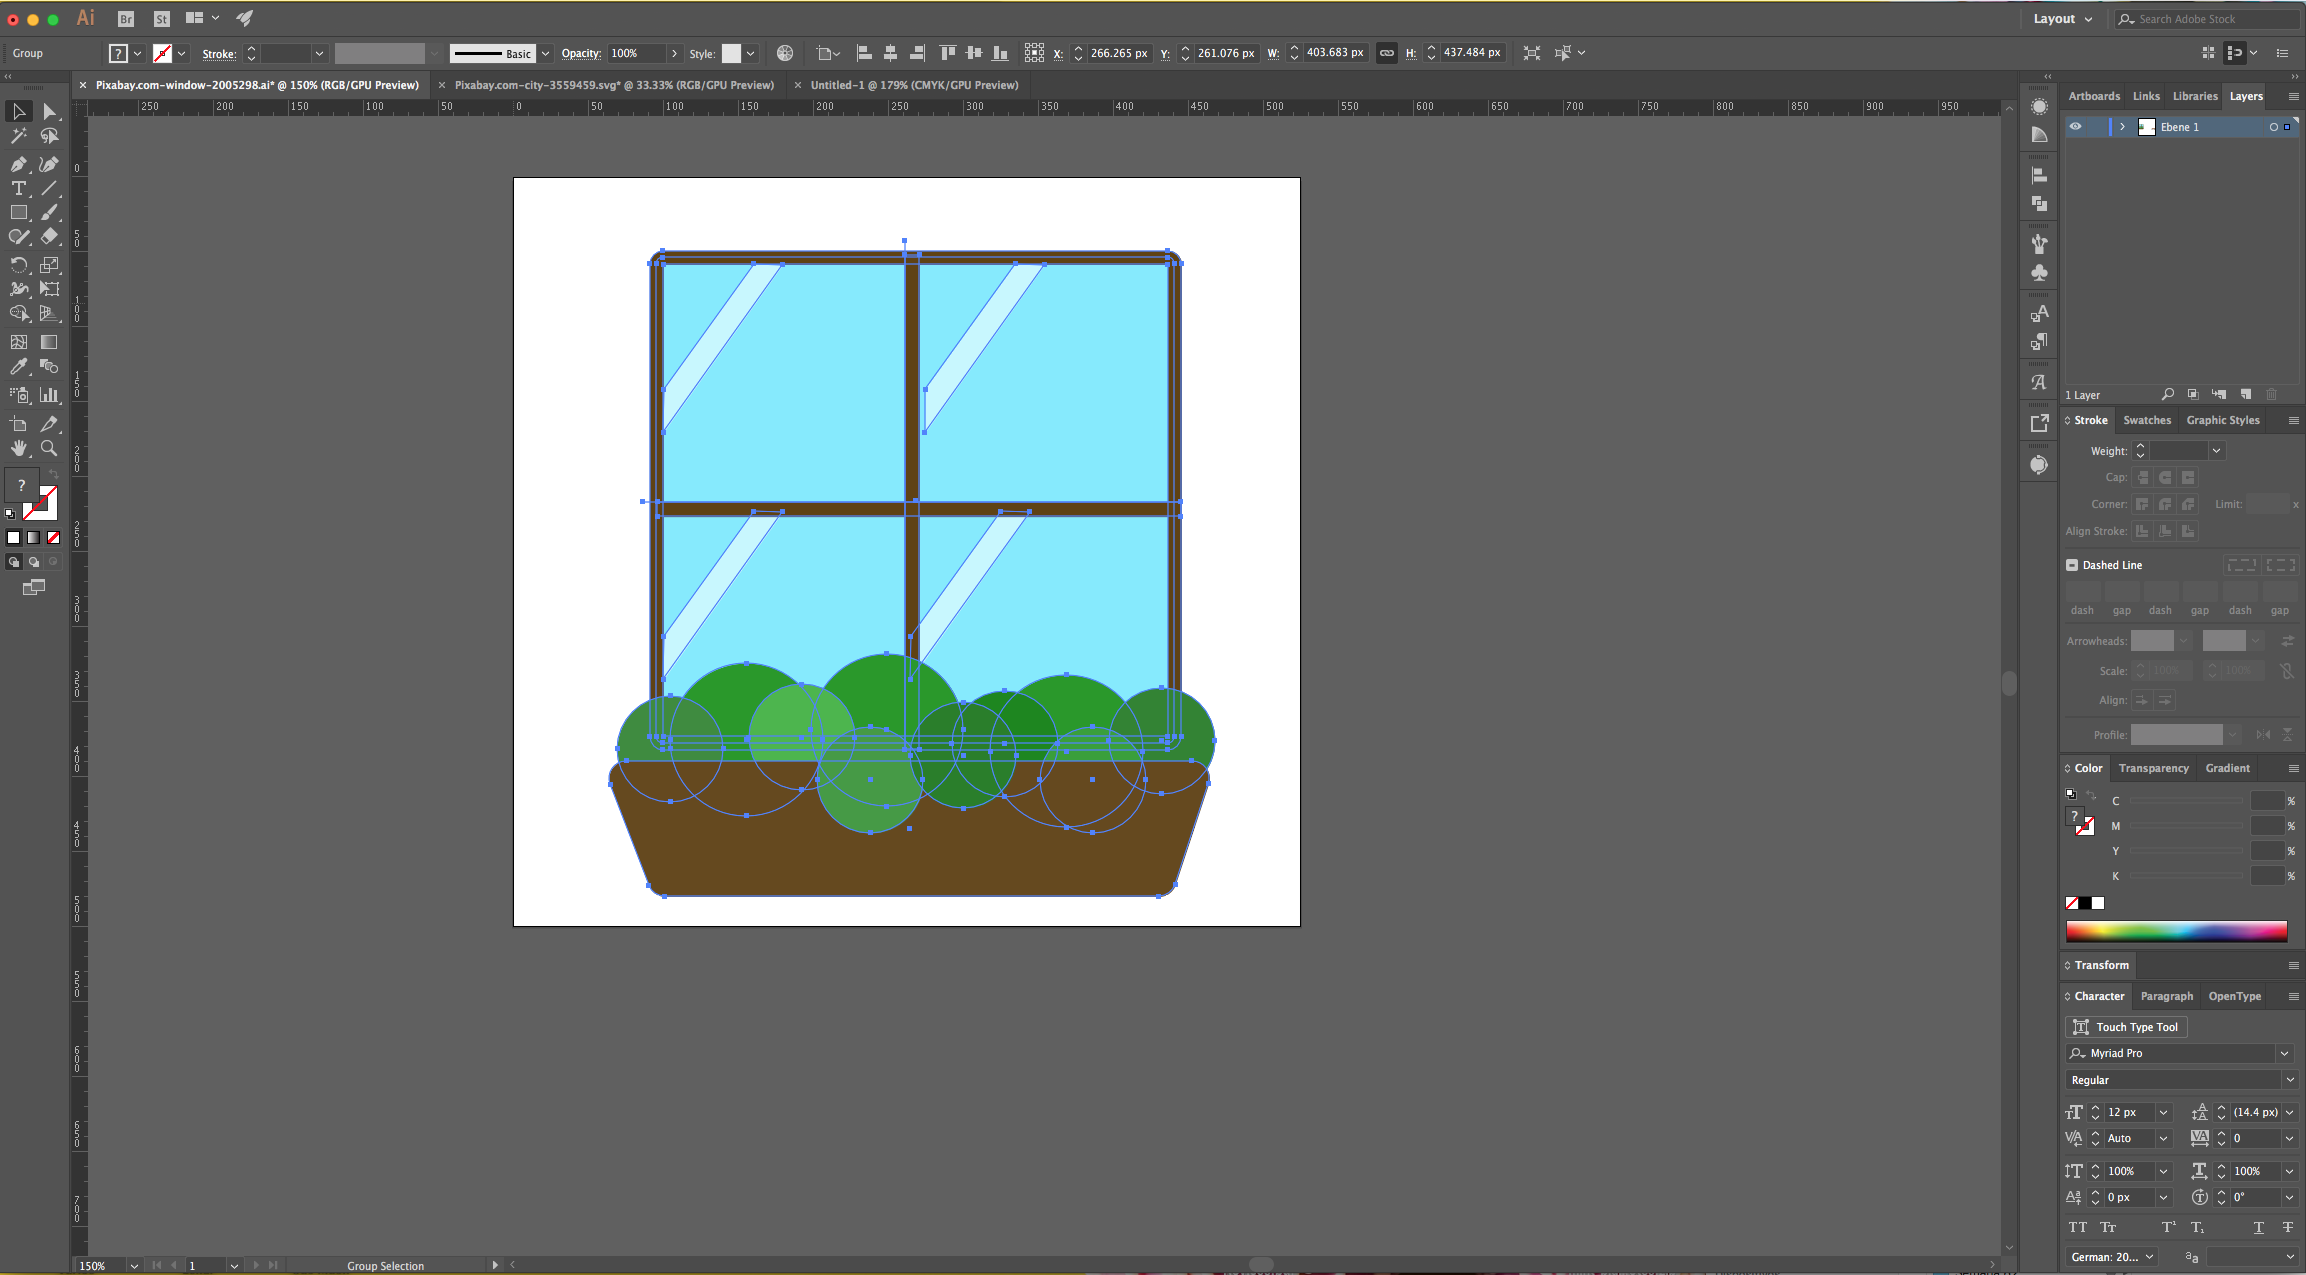
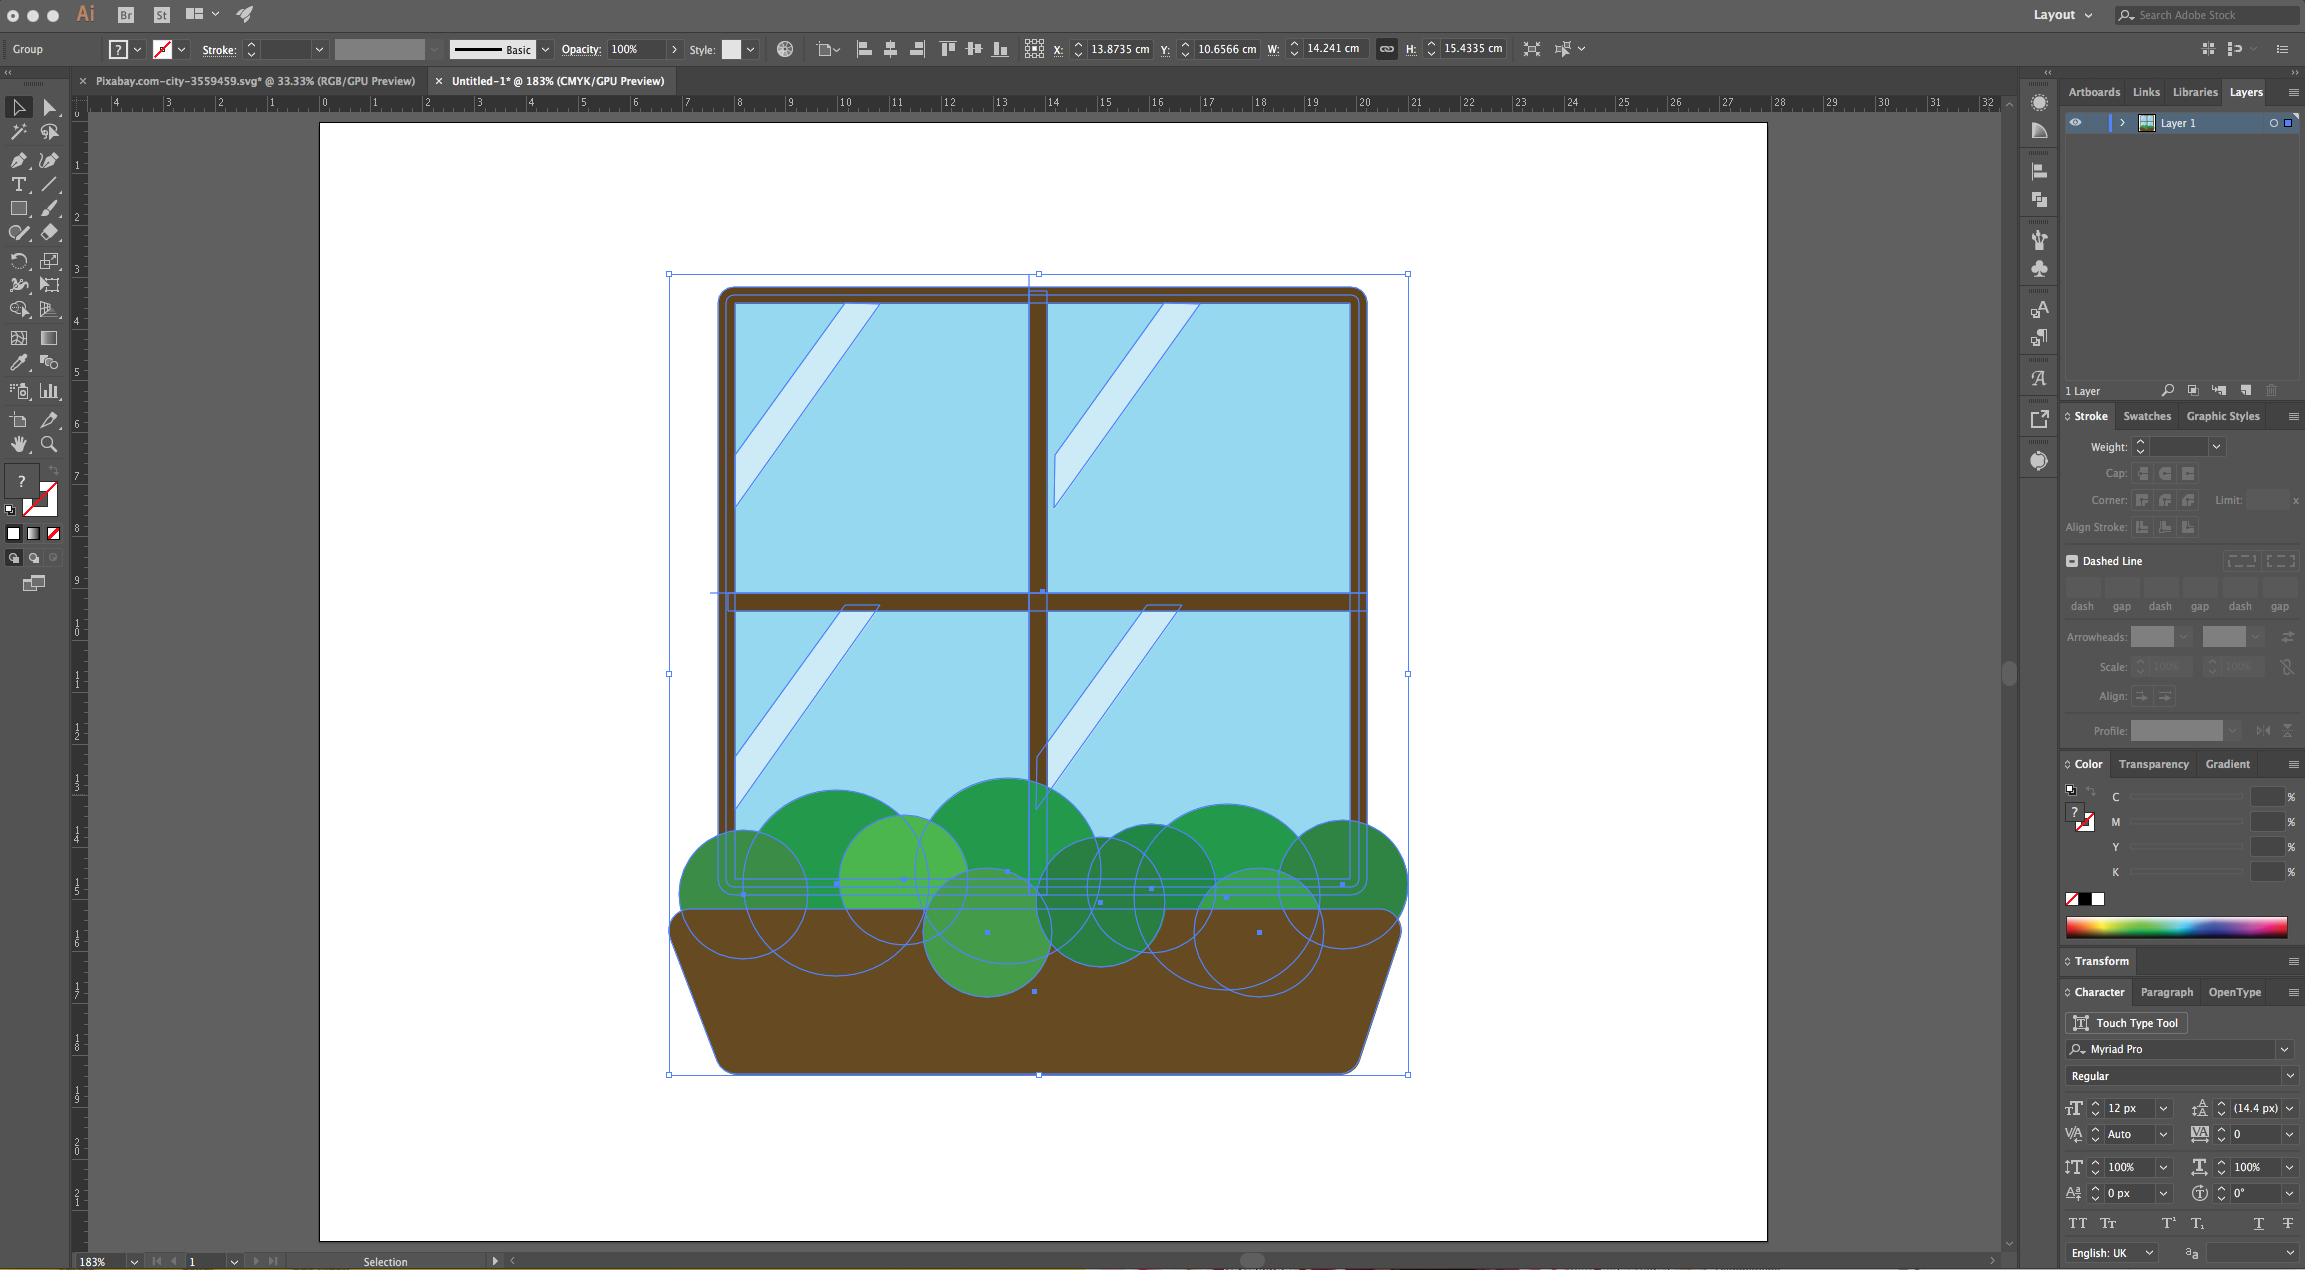
3 - Resize it if needed and then, right-click on top of the “Window” vector and choose “Ungroup”.
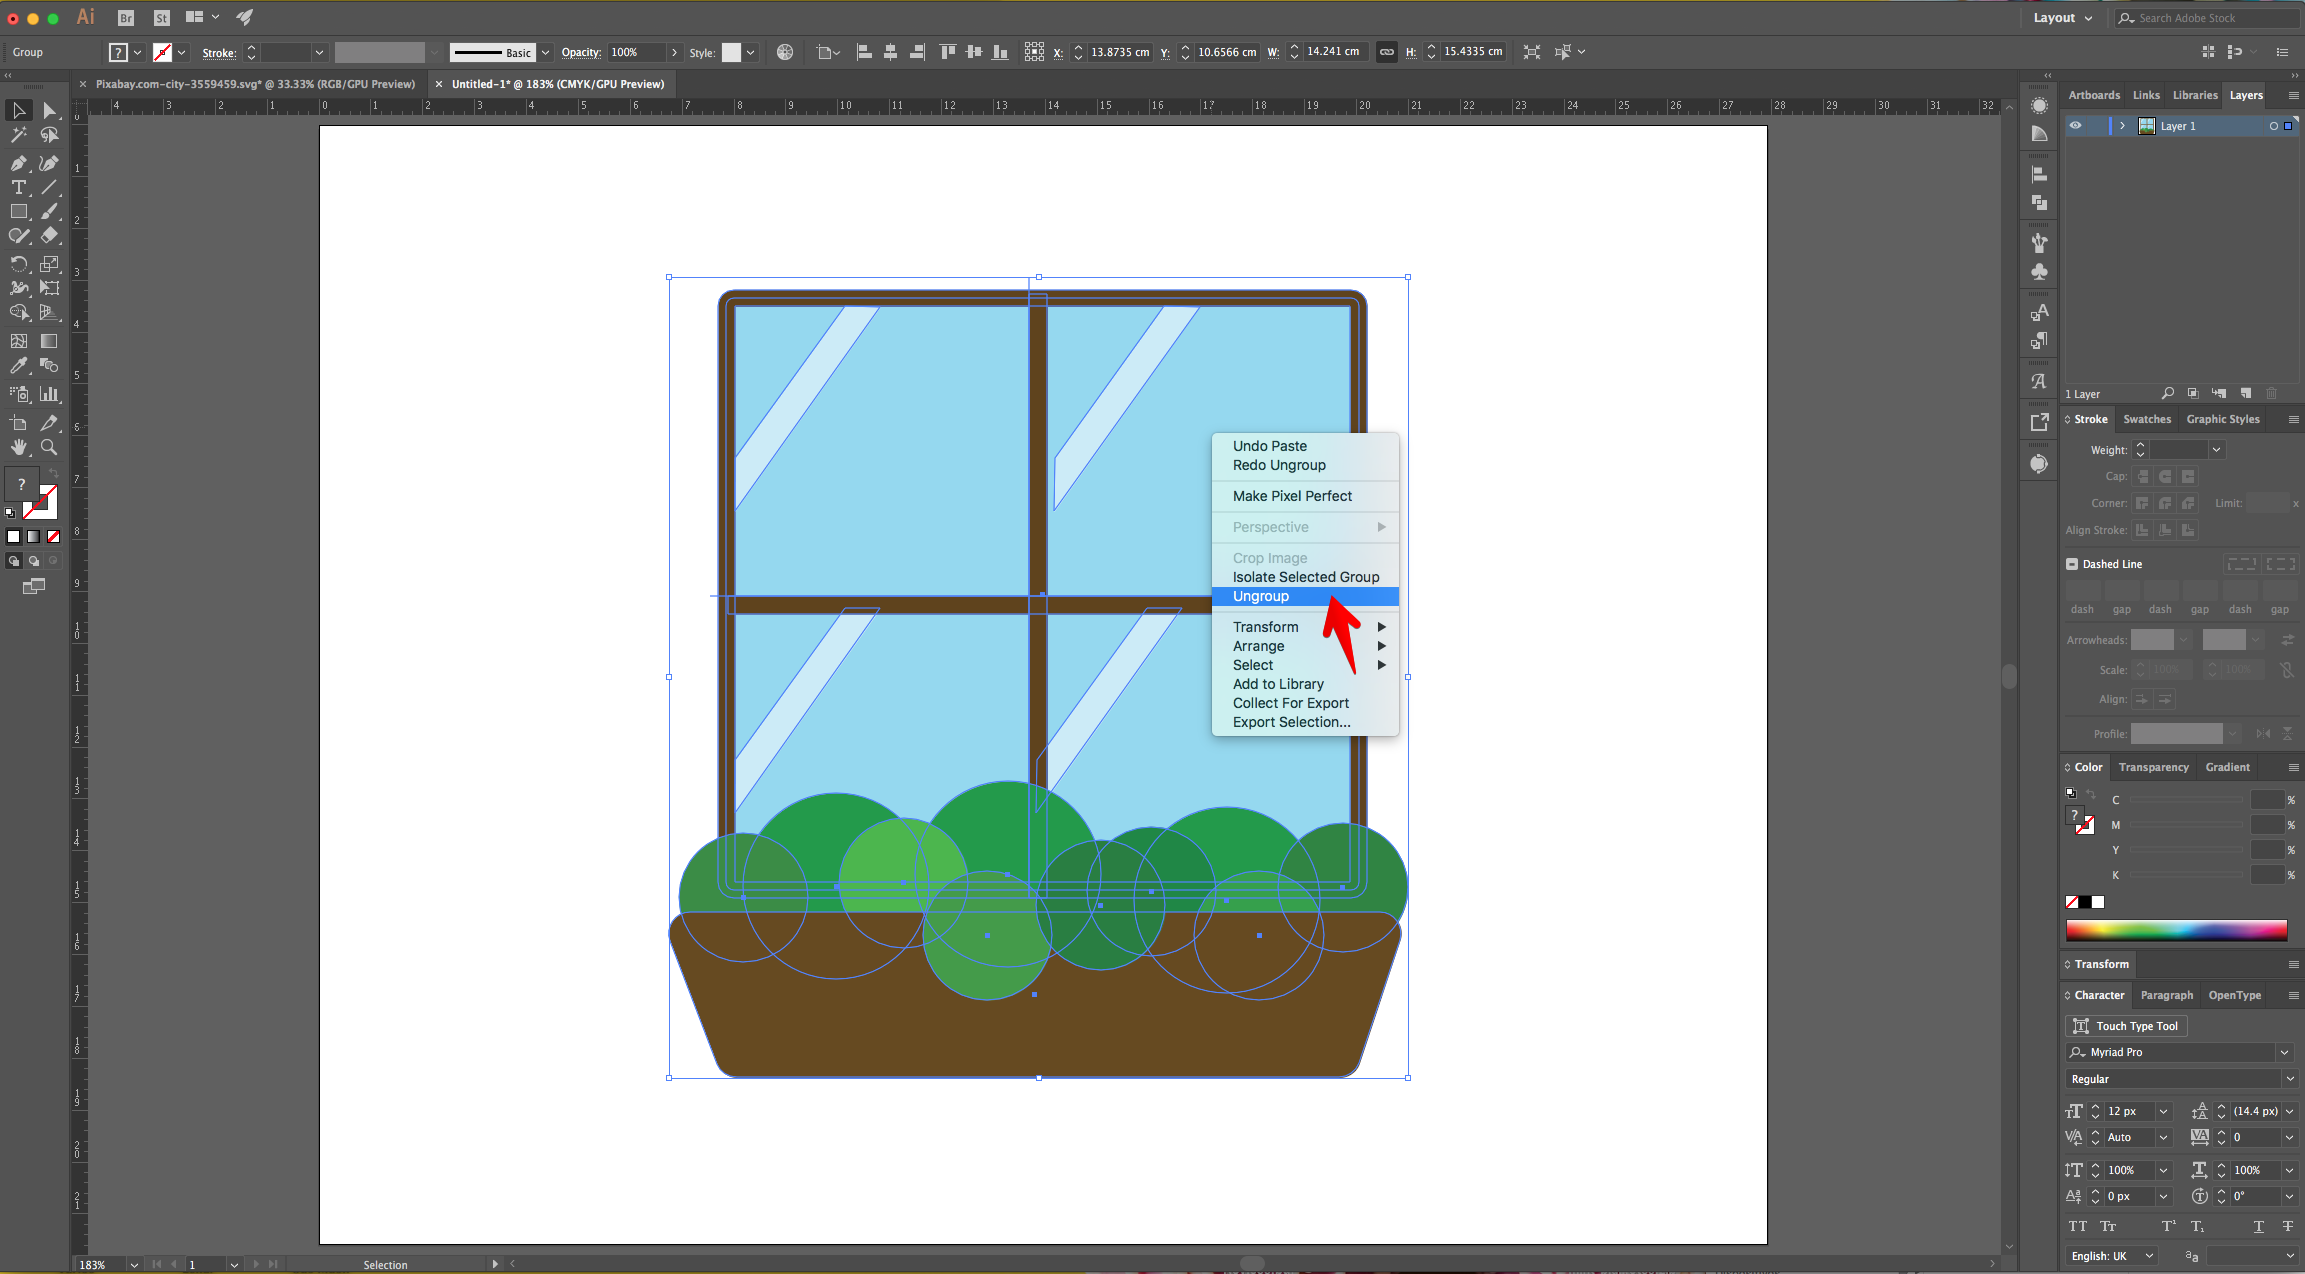
4 - Select the “Rectangle Tool” (M), click and drag from the Top - Left corner of your document and create a “Rectangle” that covers the entire “Canvas”. Use a contrasting color as “Fill” (we chose a bright Orange from the “Swatches Panel”).
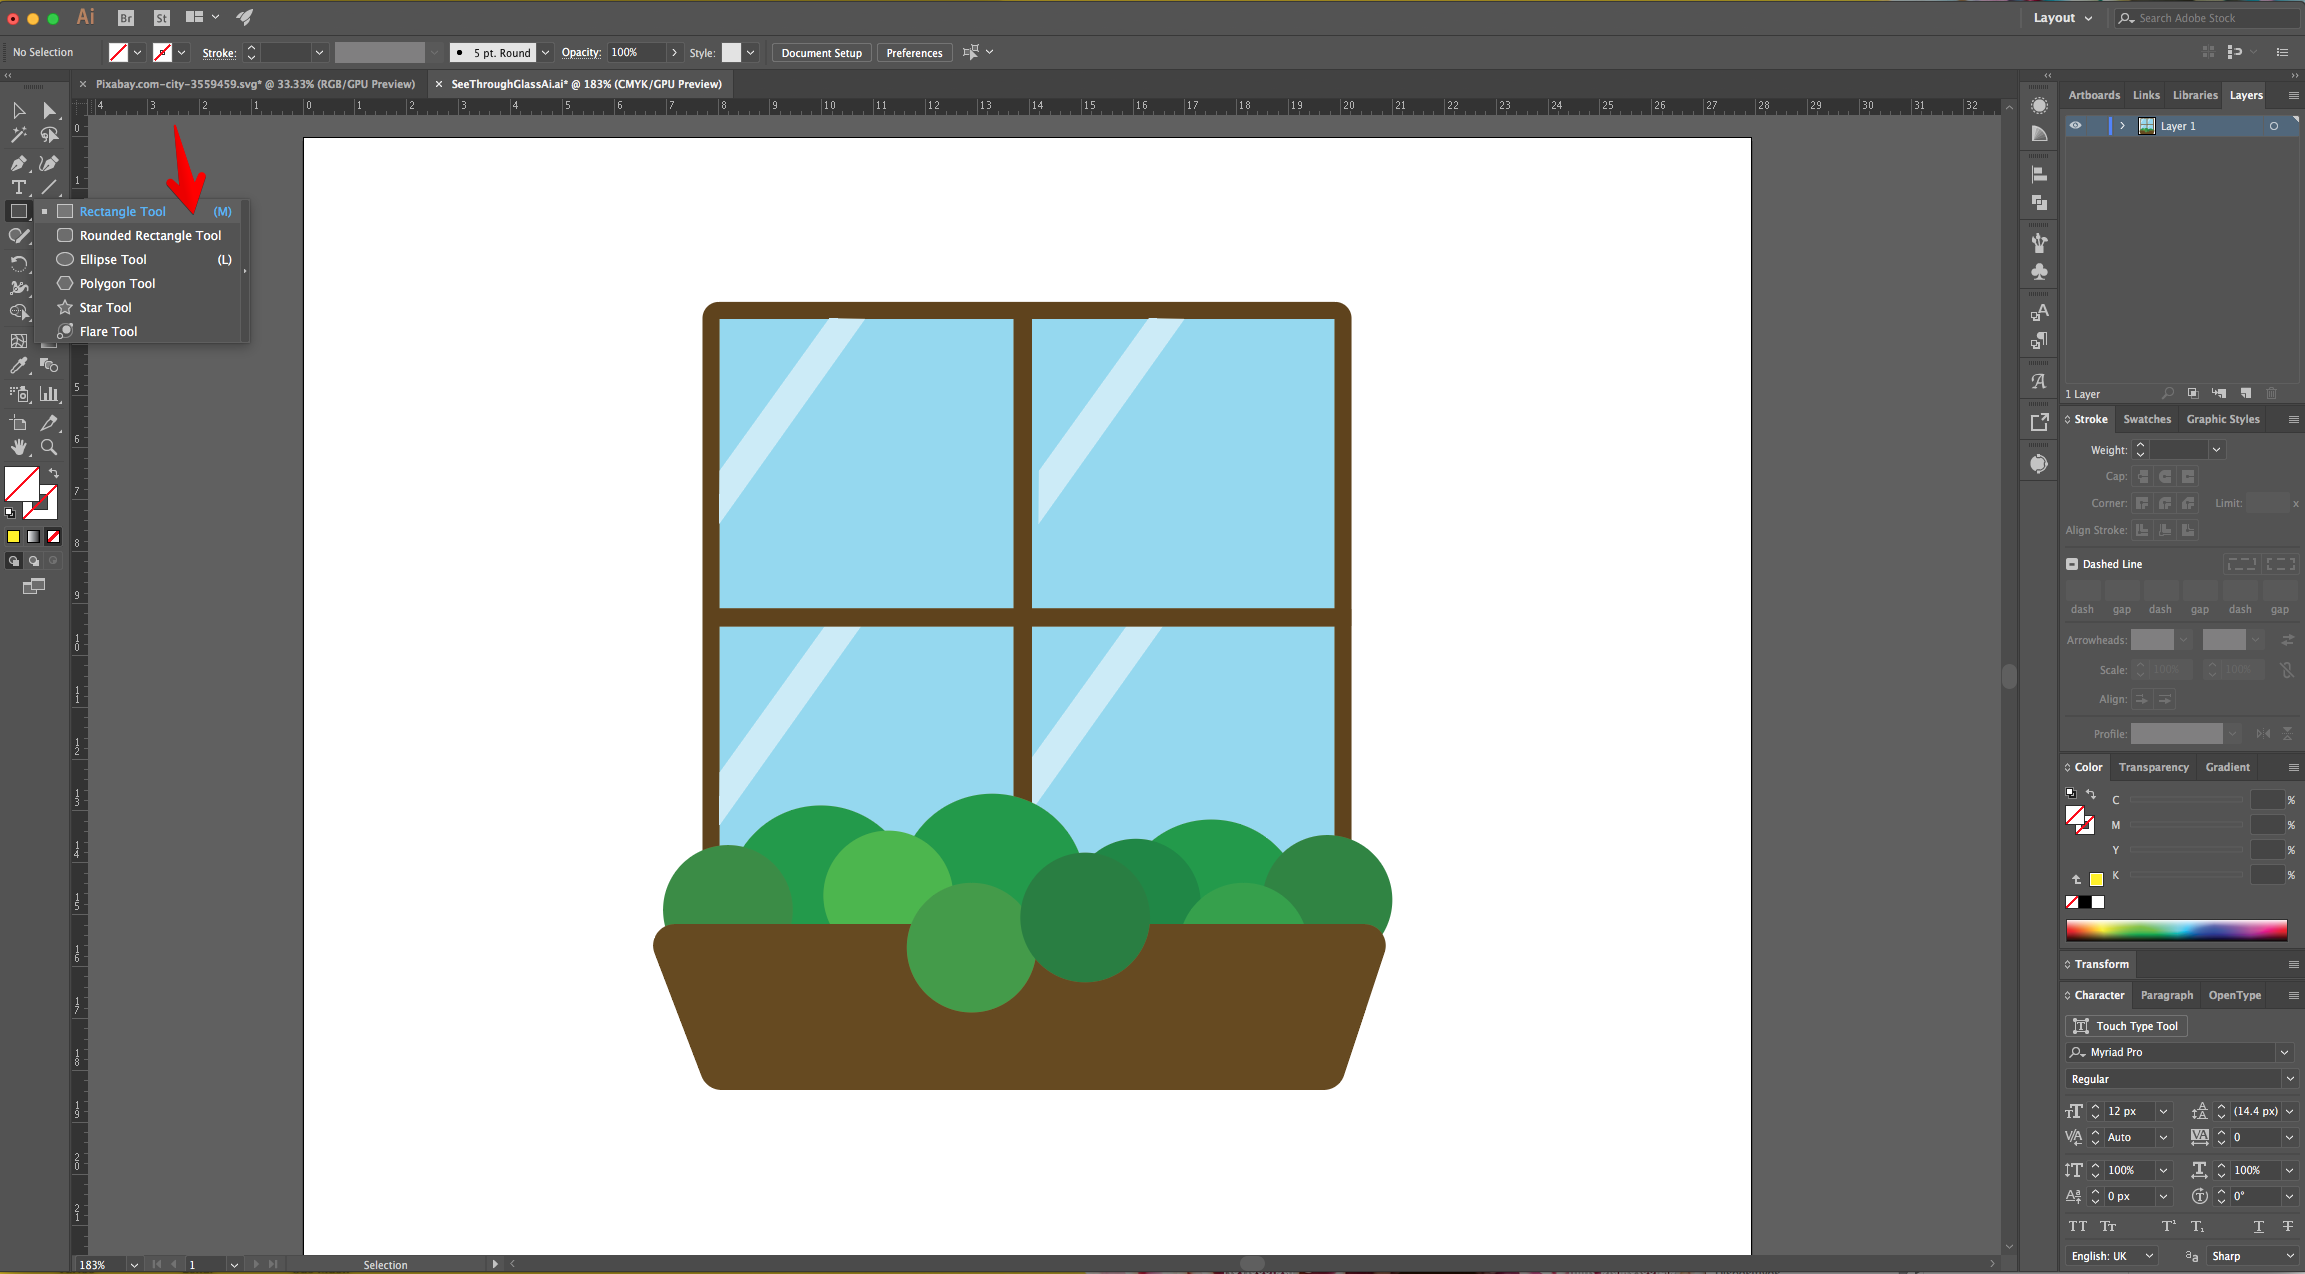
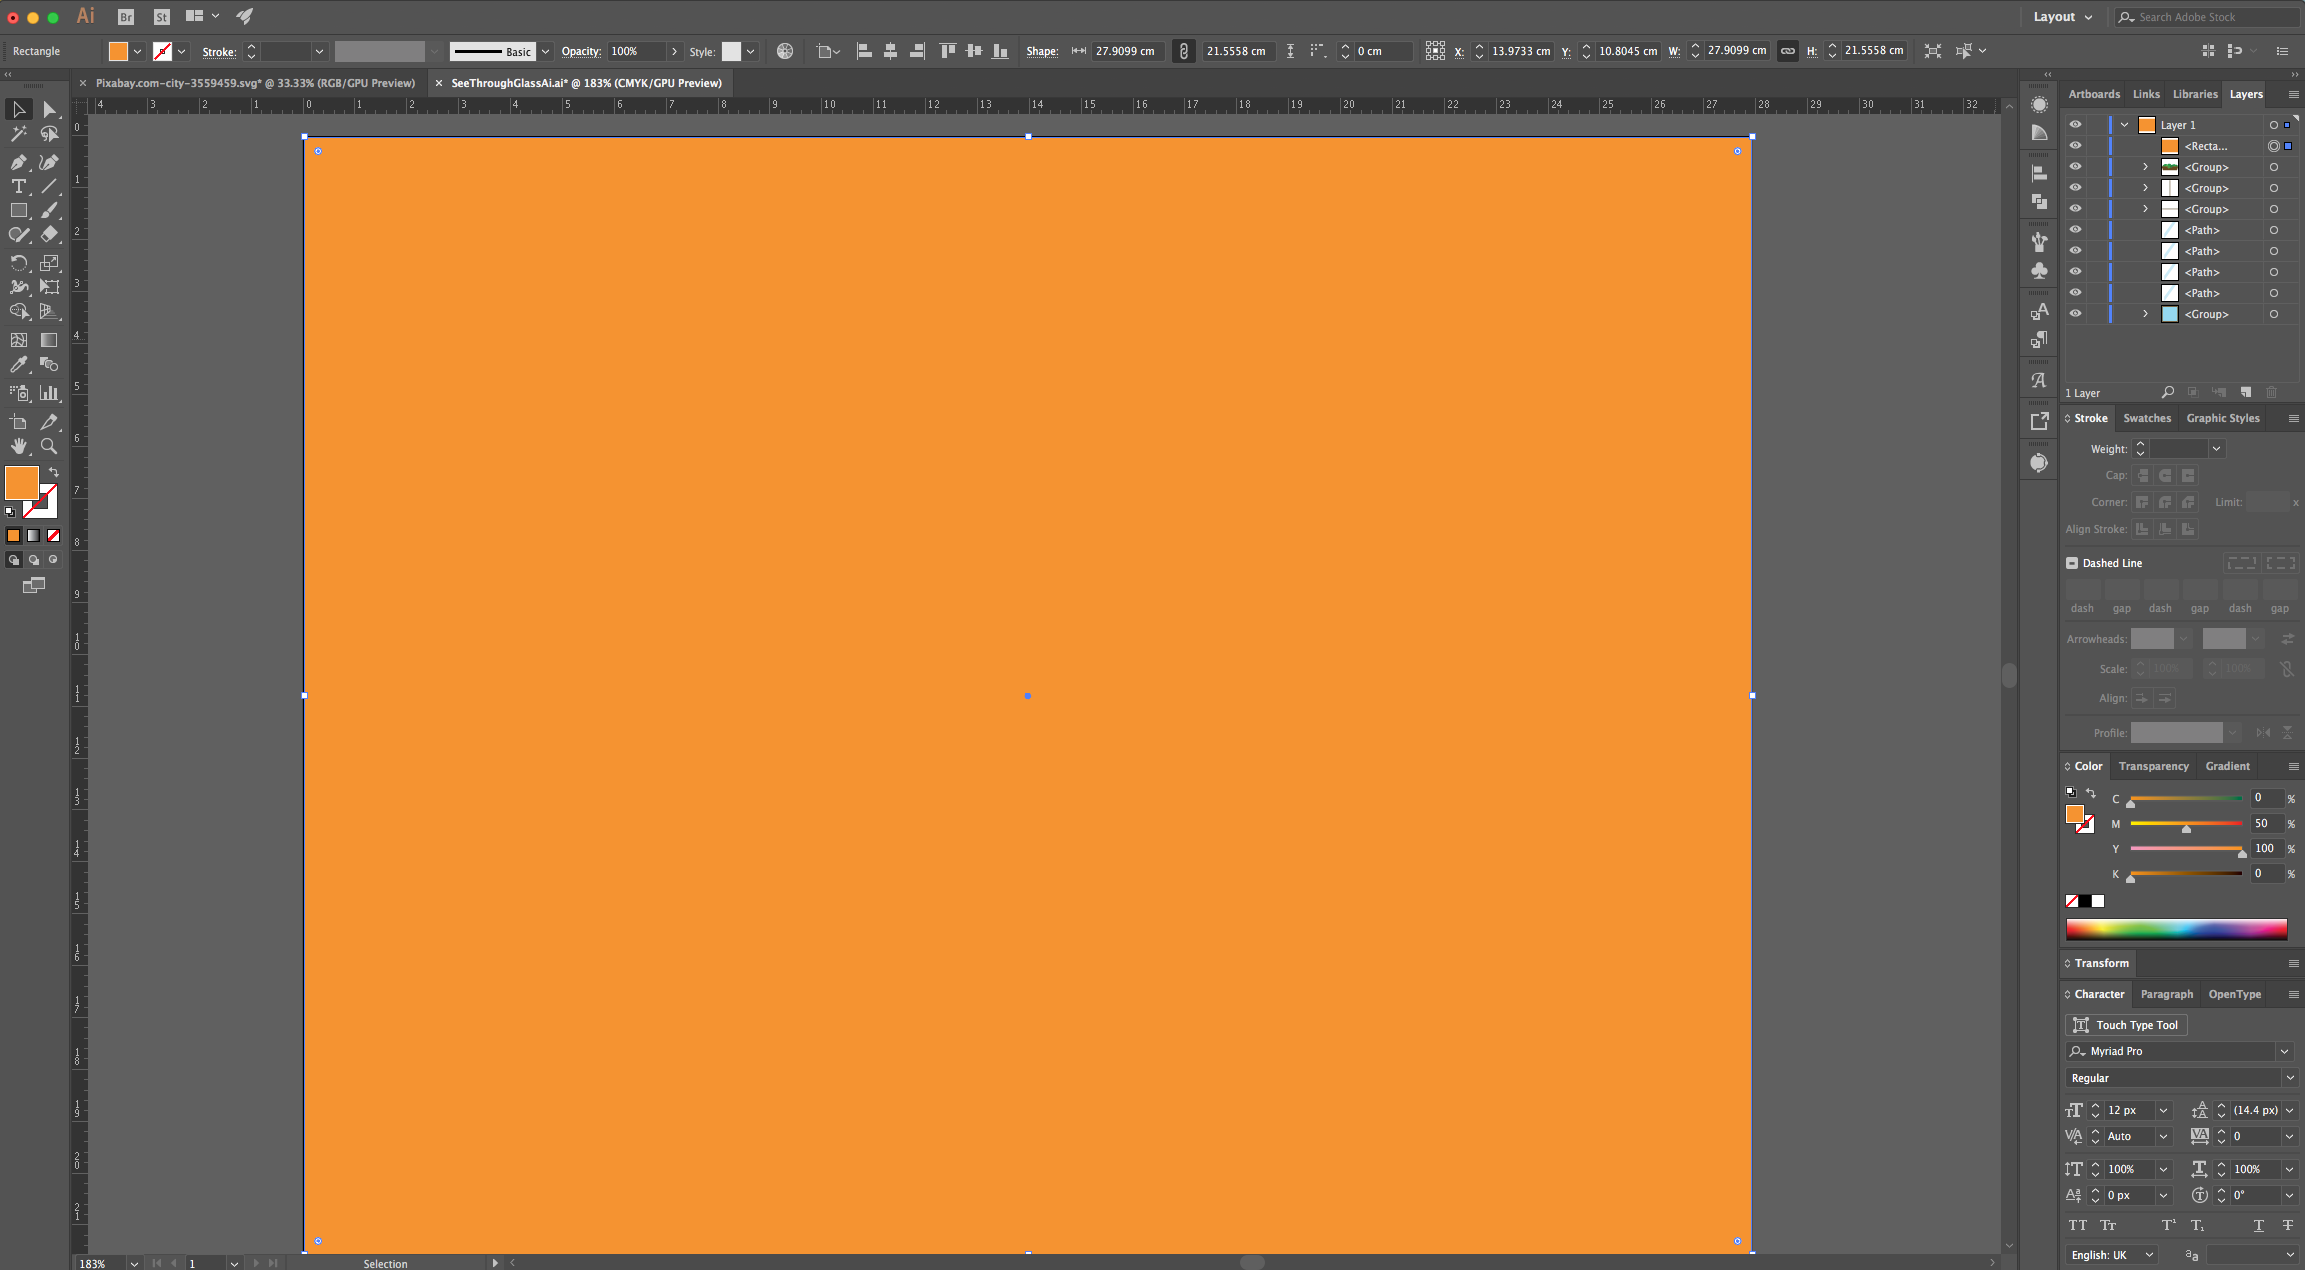
5 - Place the “Rectangle” under the “Window”. Select it in the “Layers Panel” and drag its Thumbnail down.
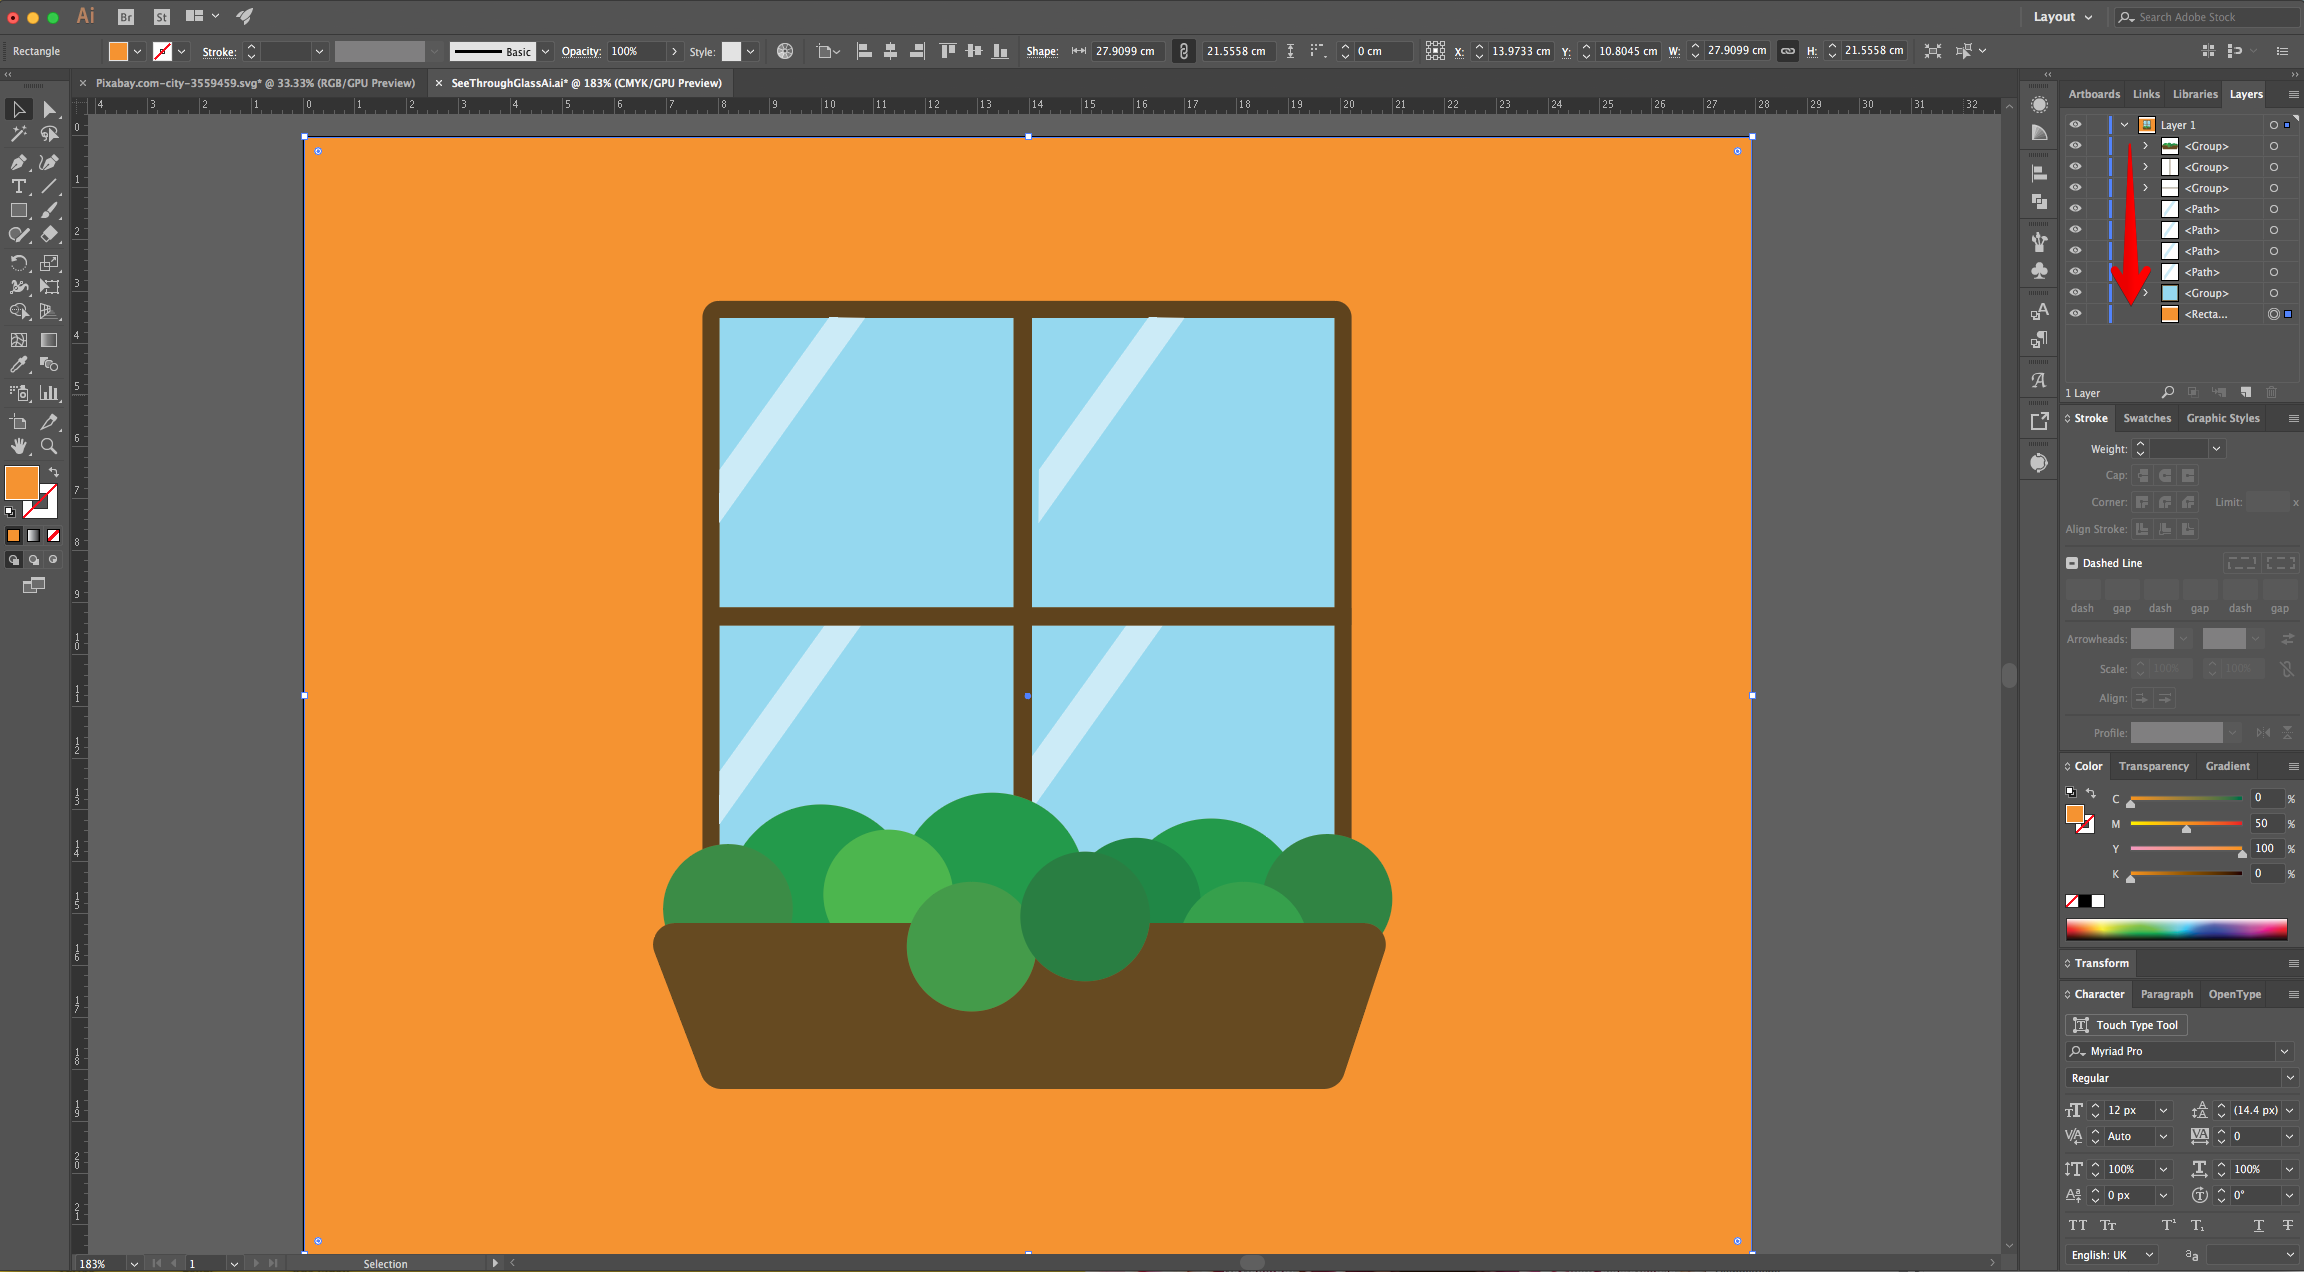
6 - Open the File containing the “Landscape” Image you chose, “Copy” (Command/Control + C) and “Paste in Back” (Command/Control + B) inside your Document. Resize it if needed and position it so the portion you want to show is under the “Glass” of the “Window”.
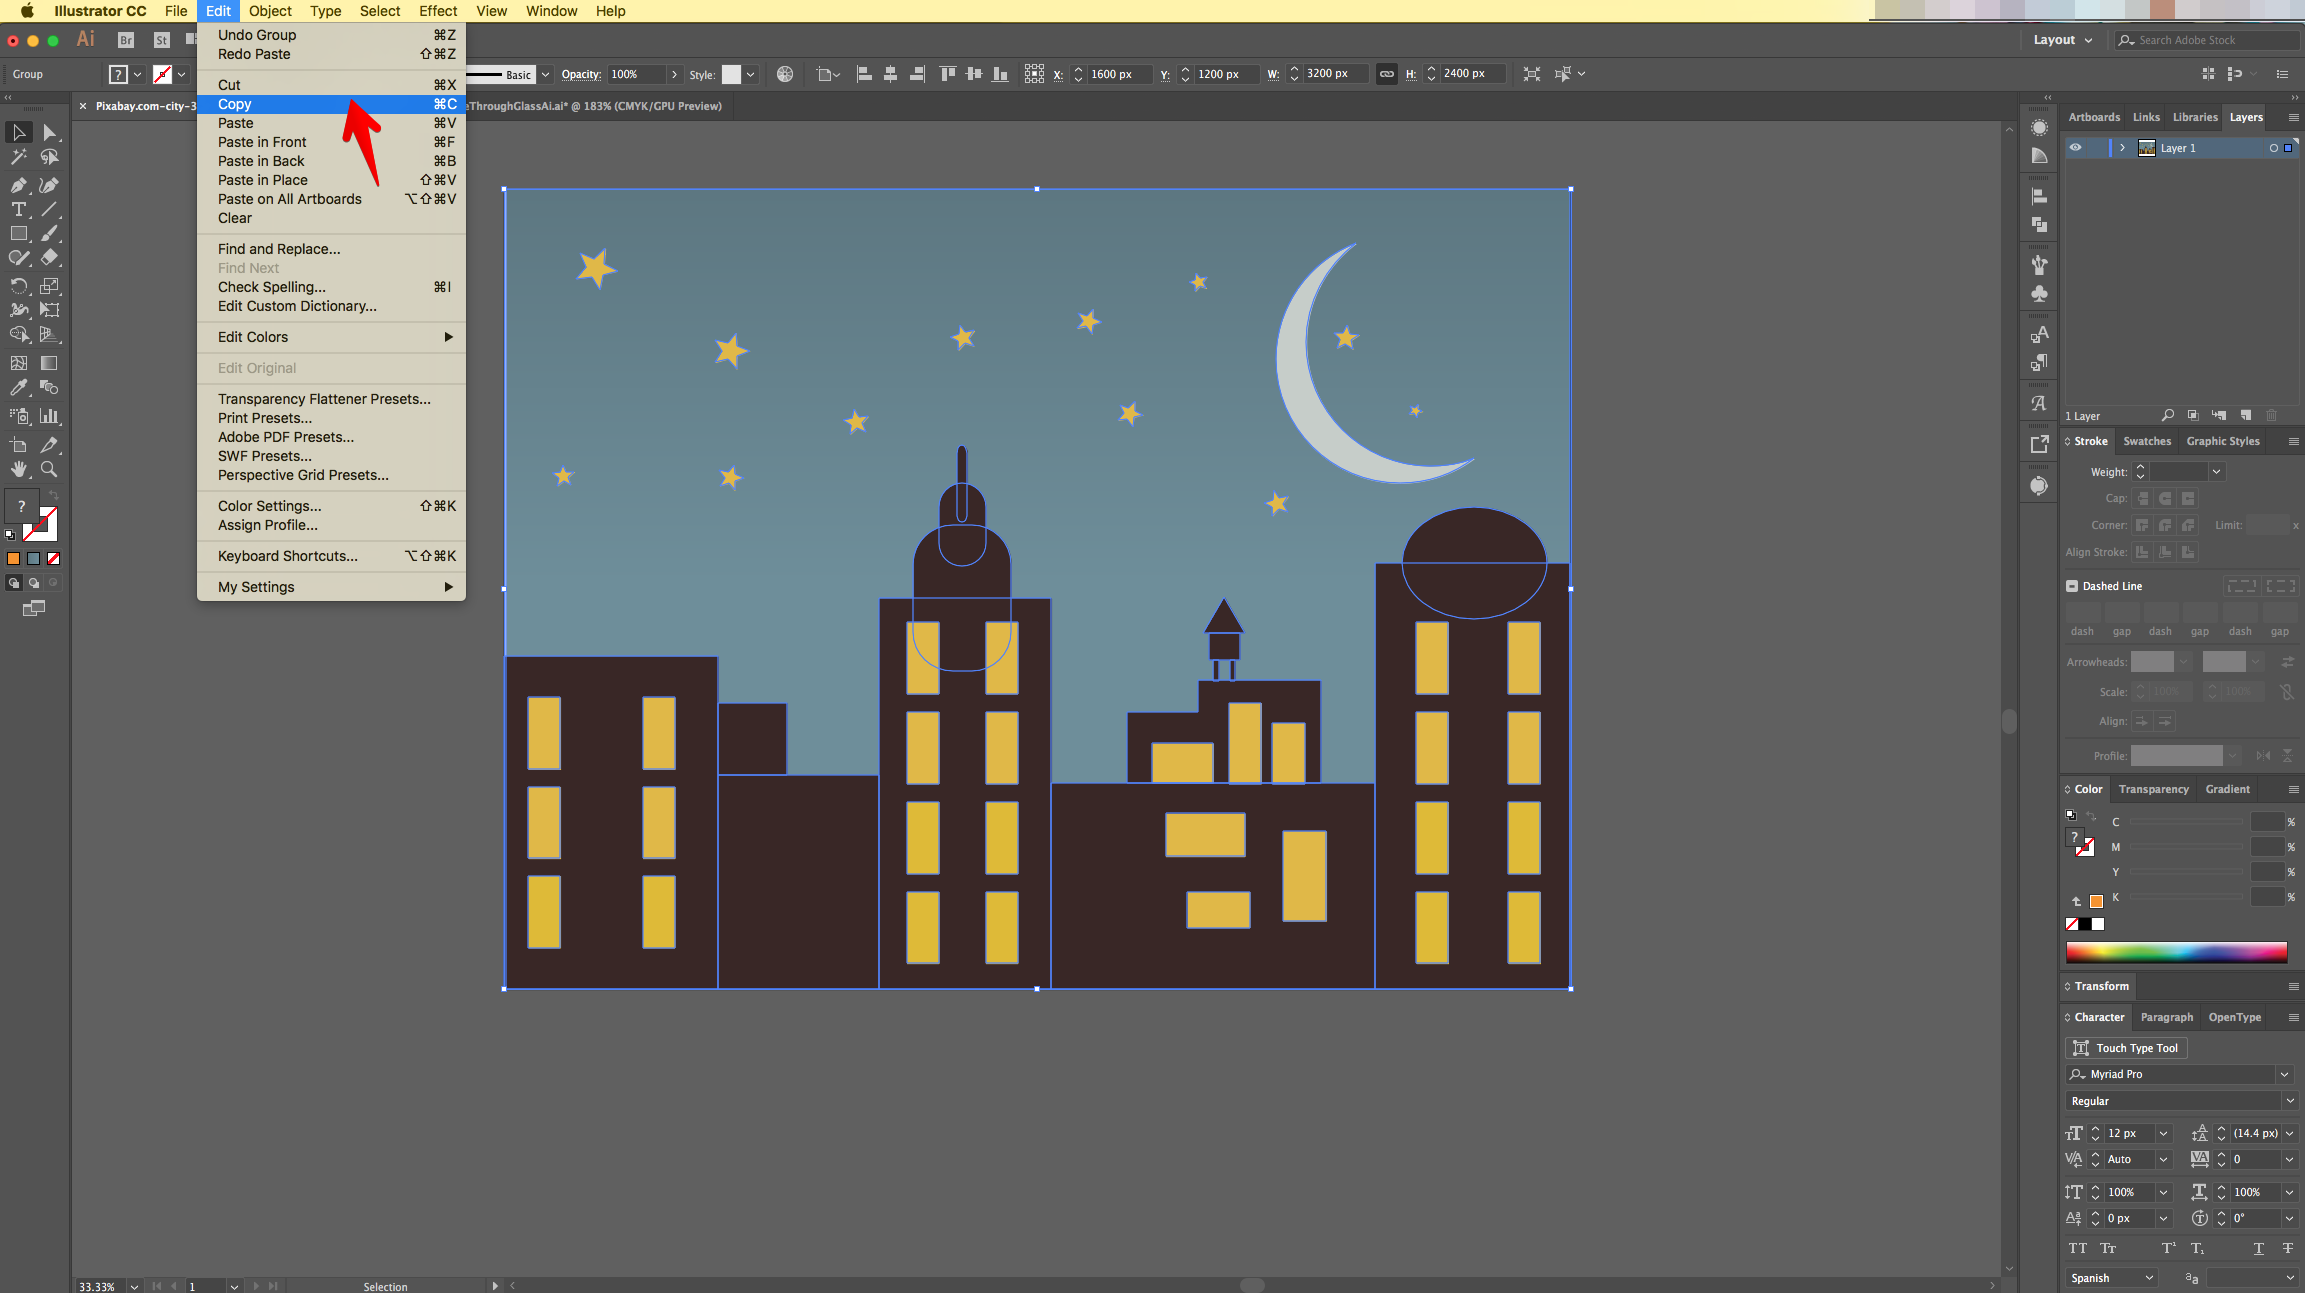
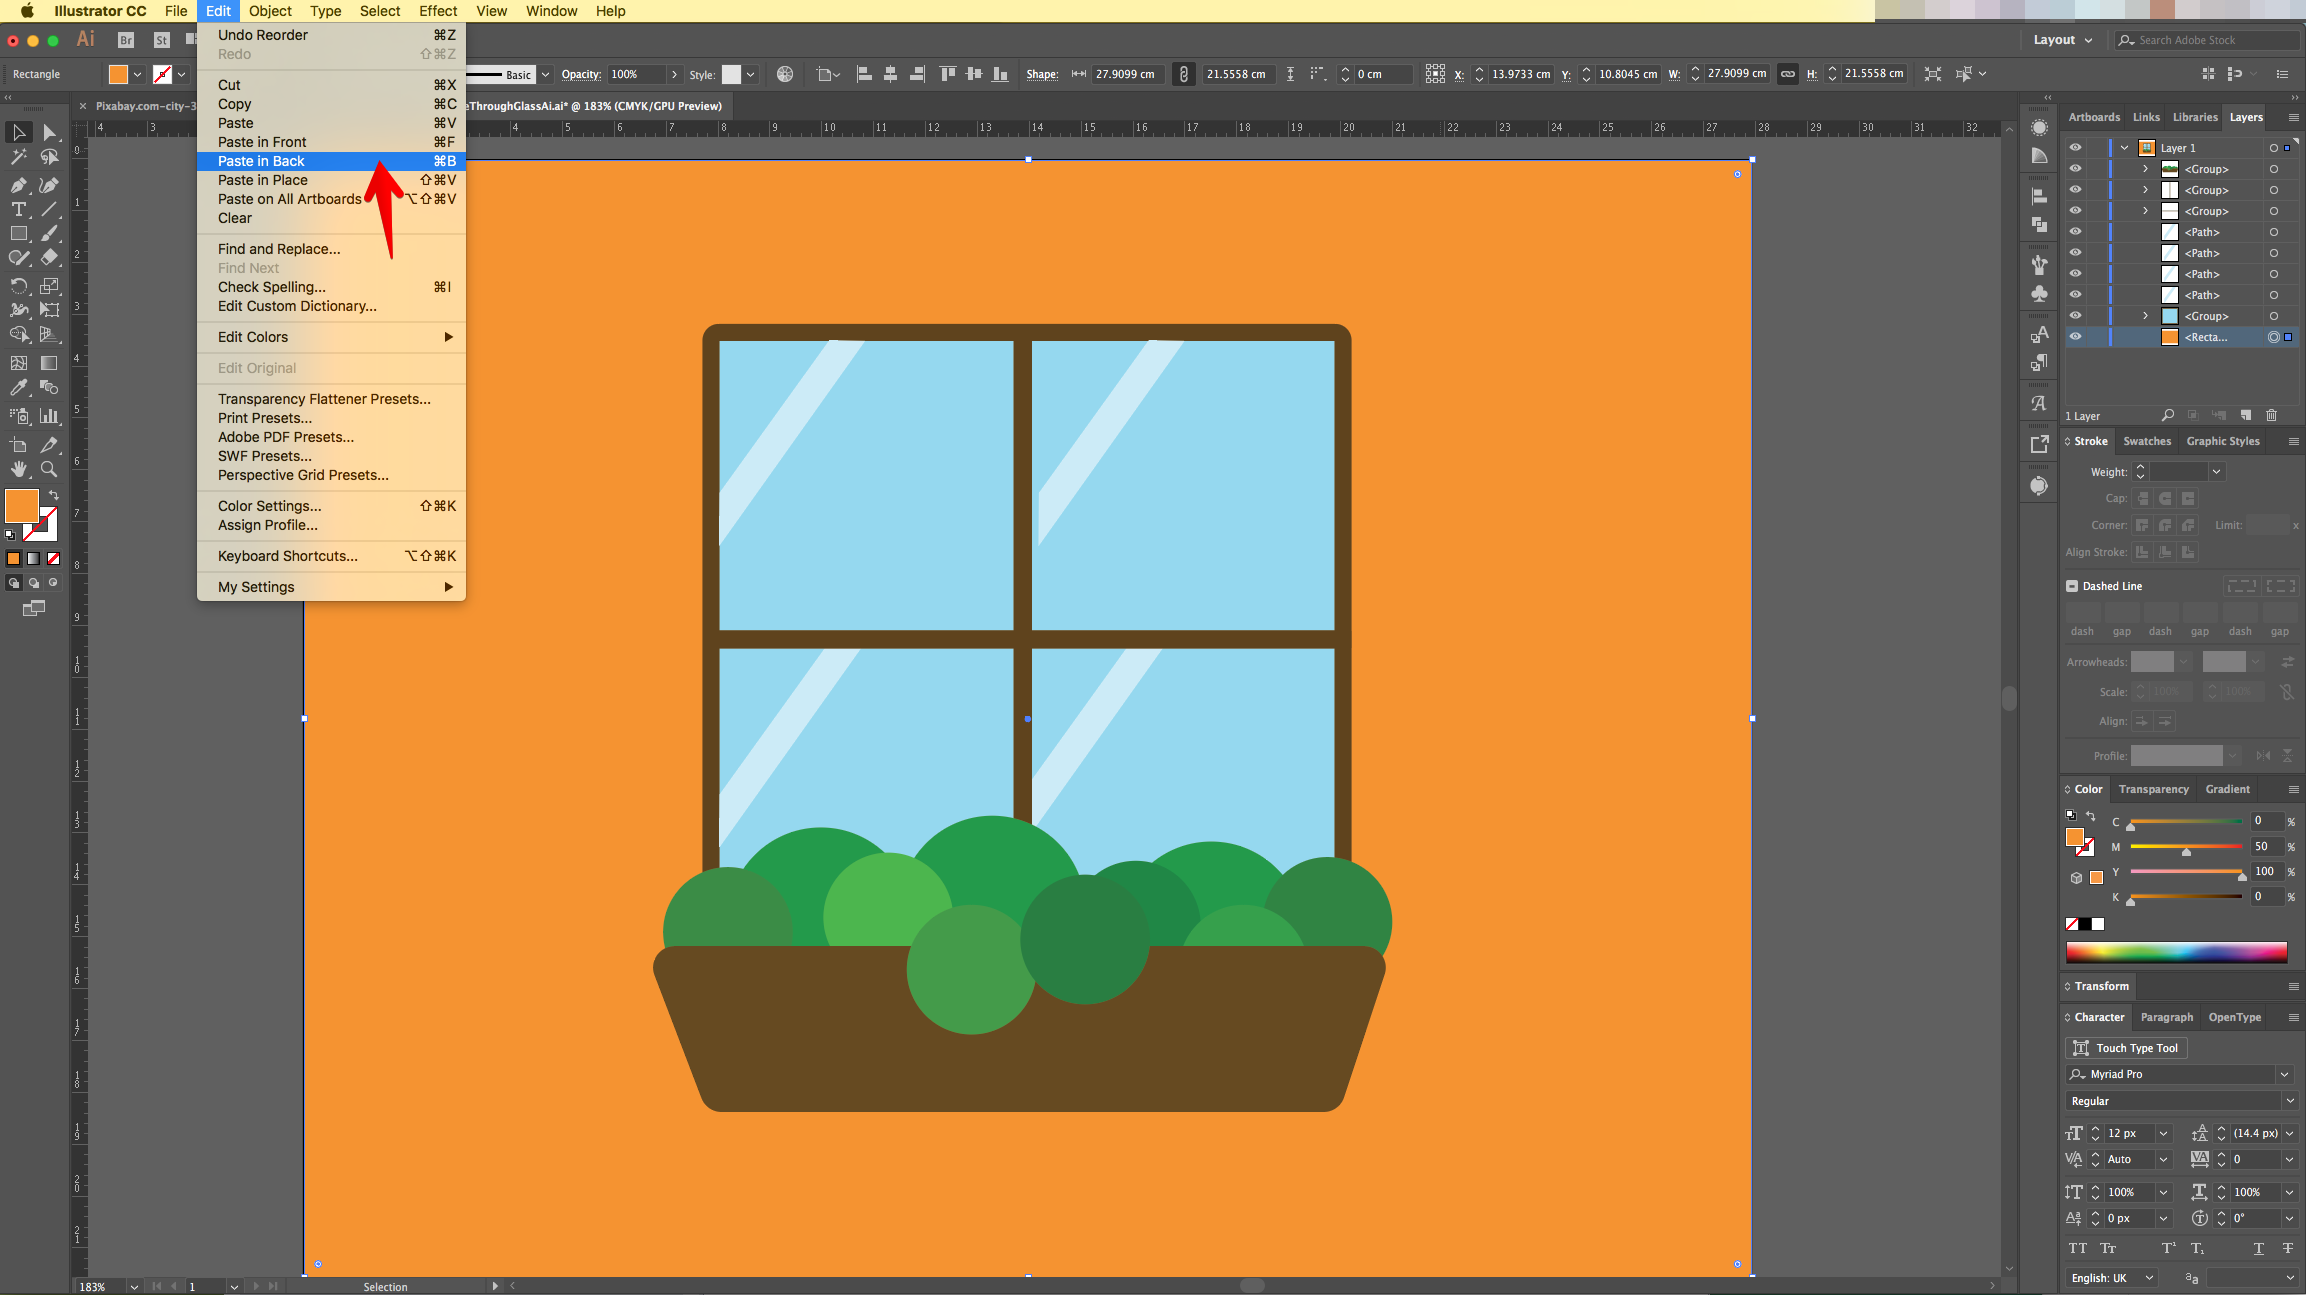
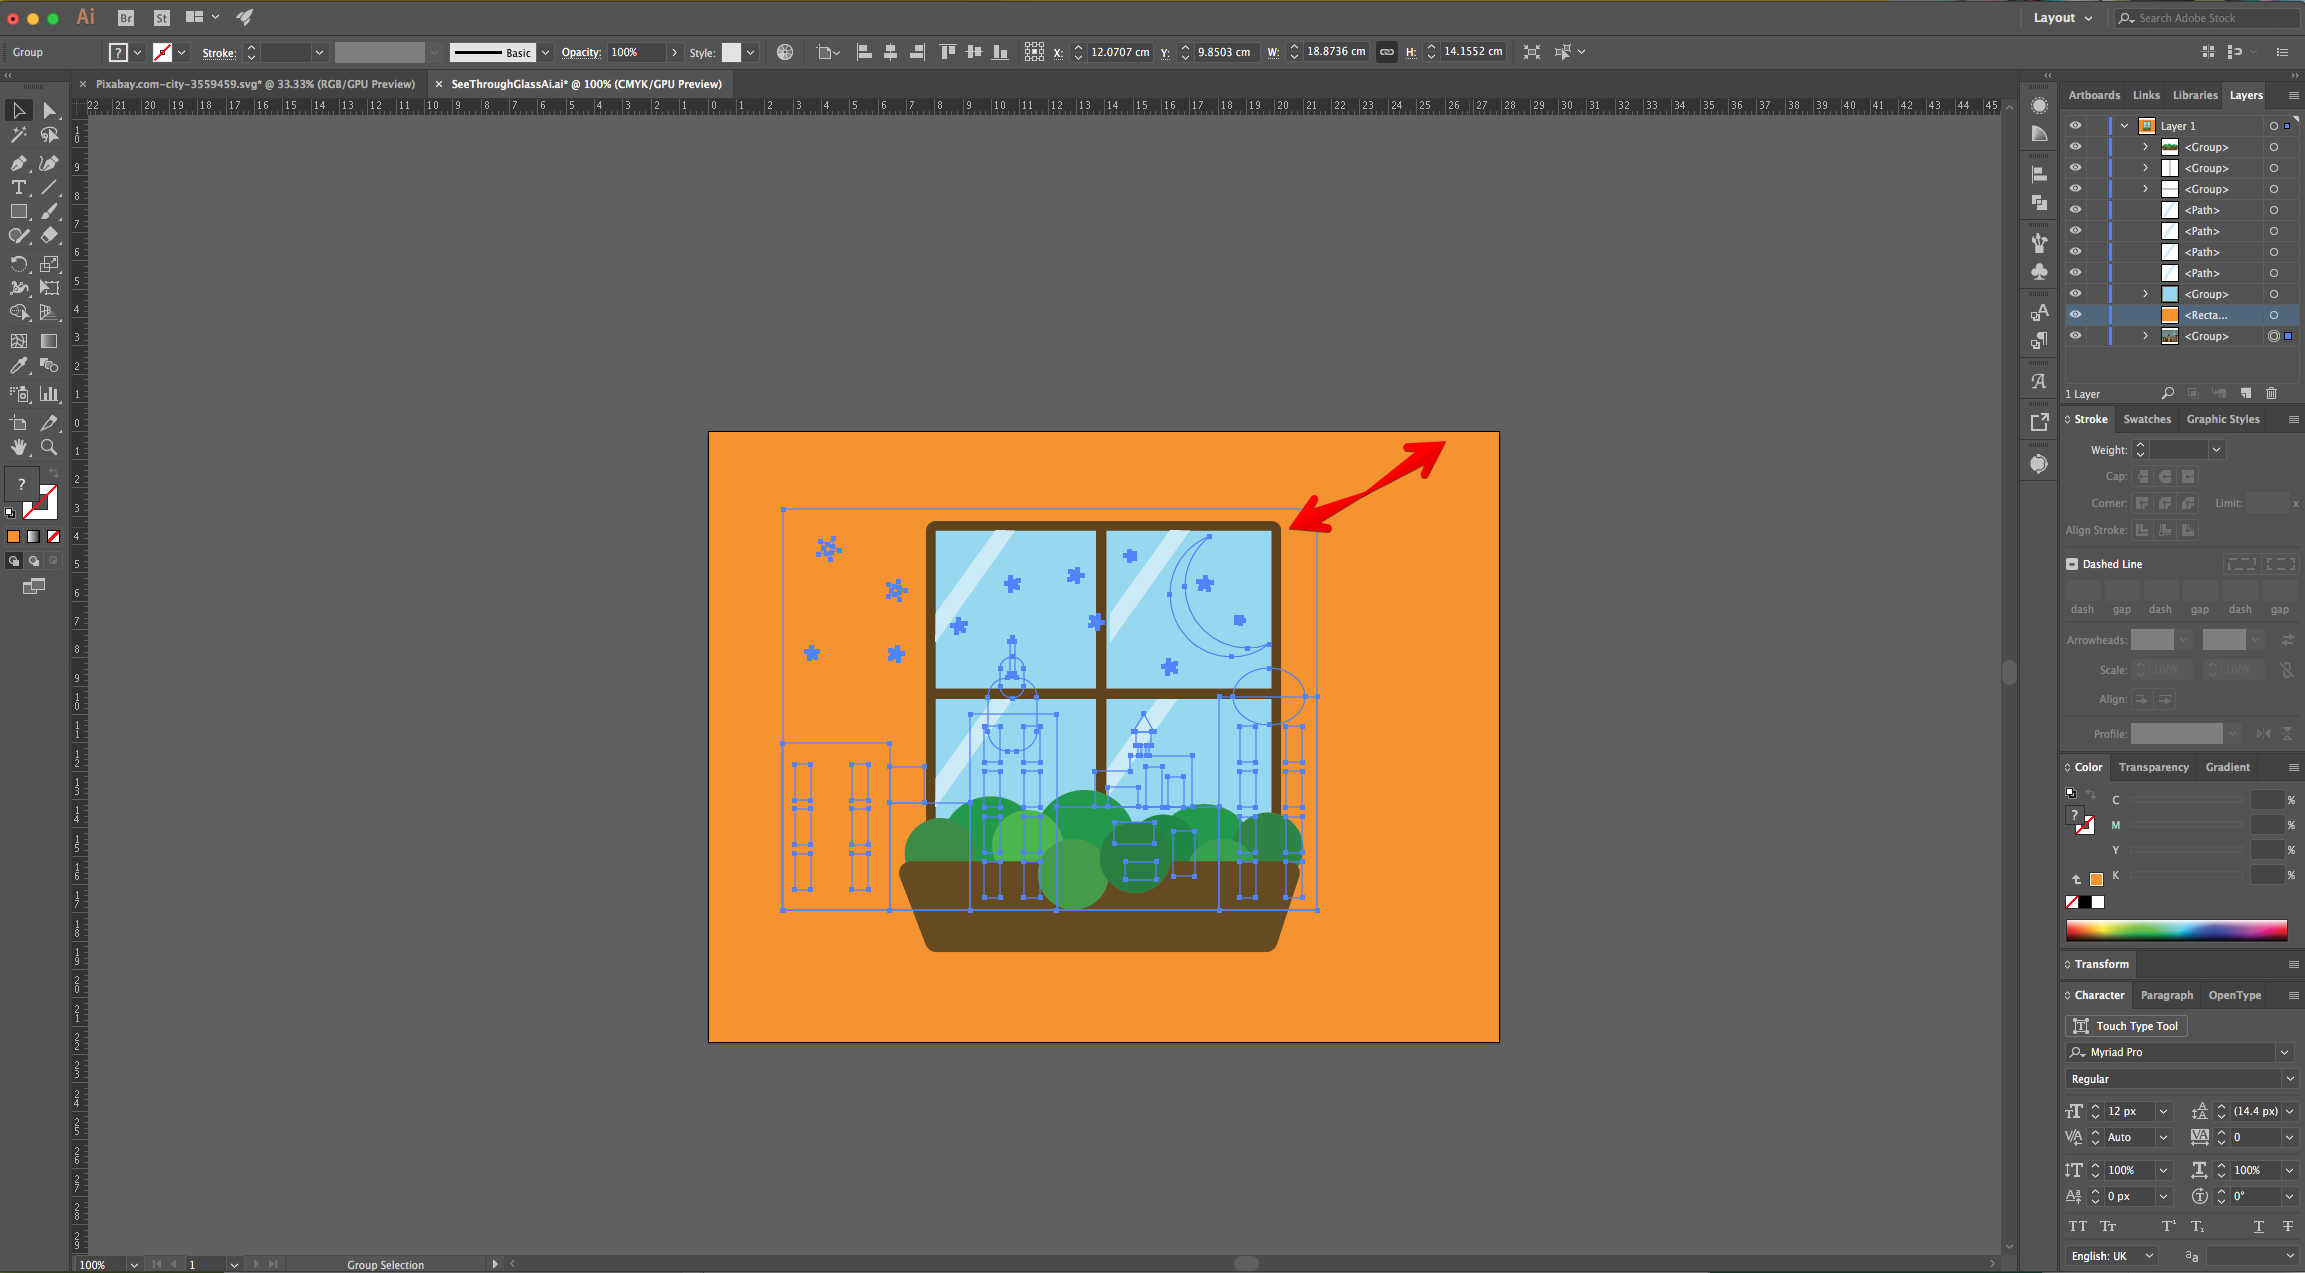
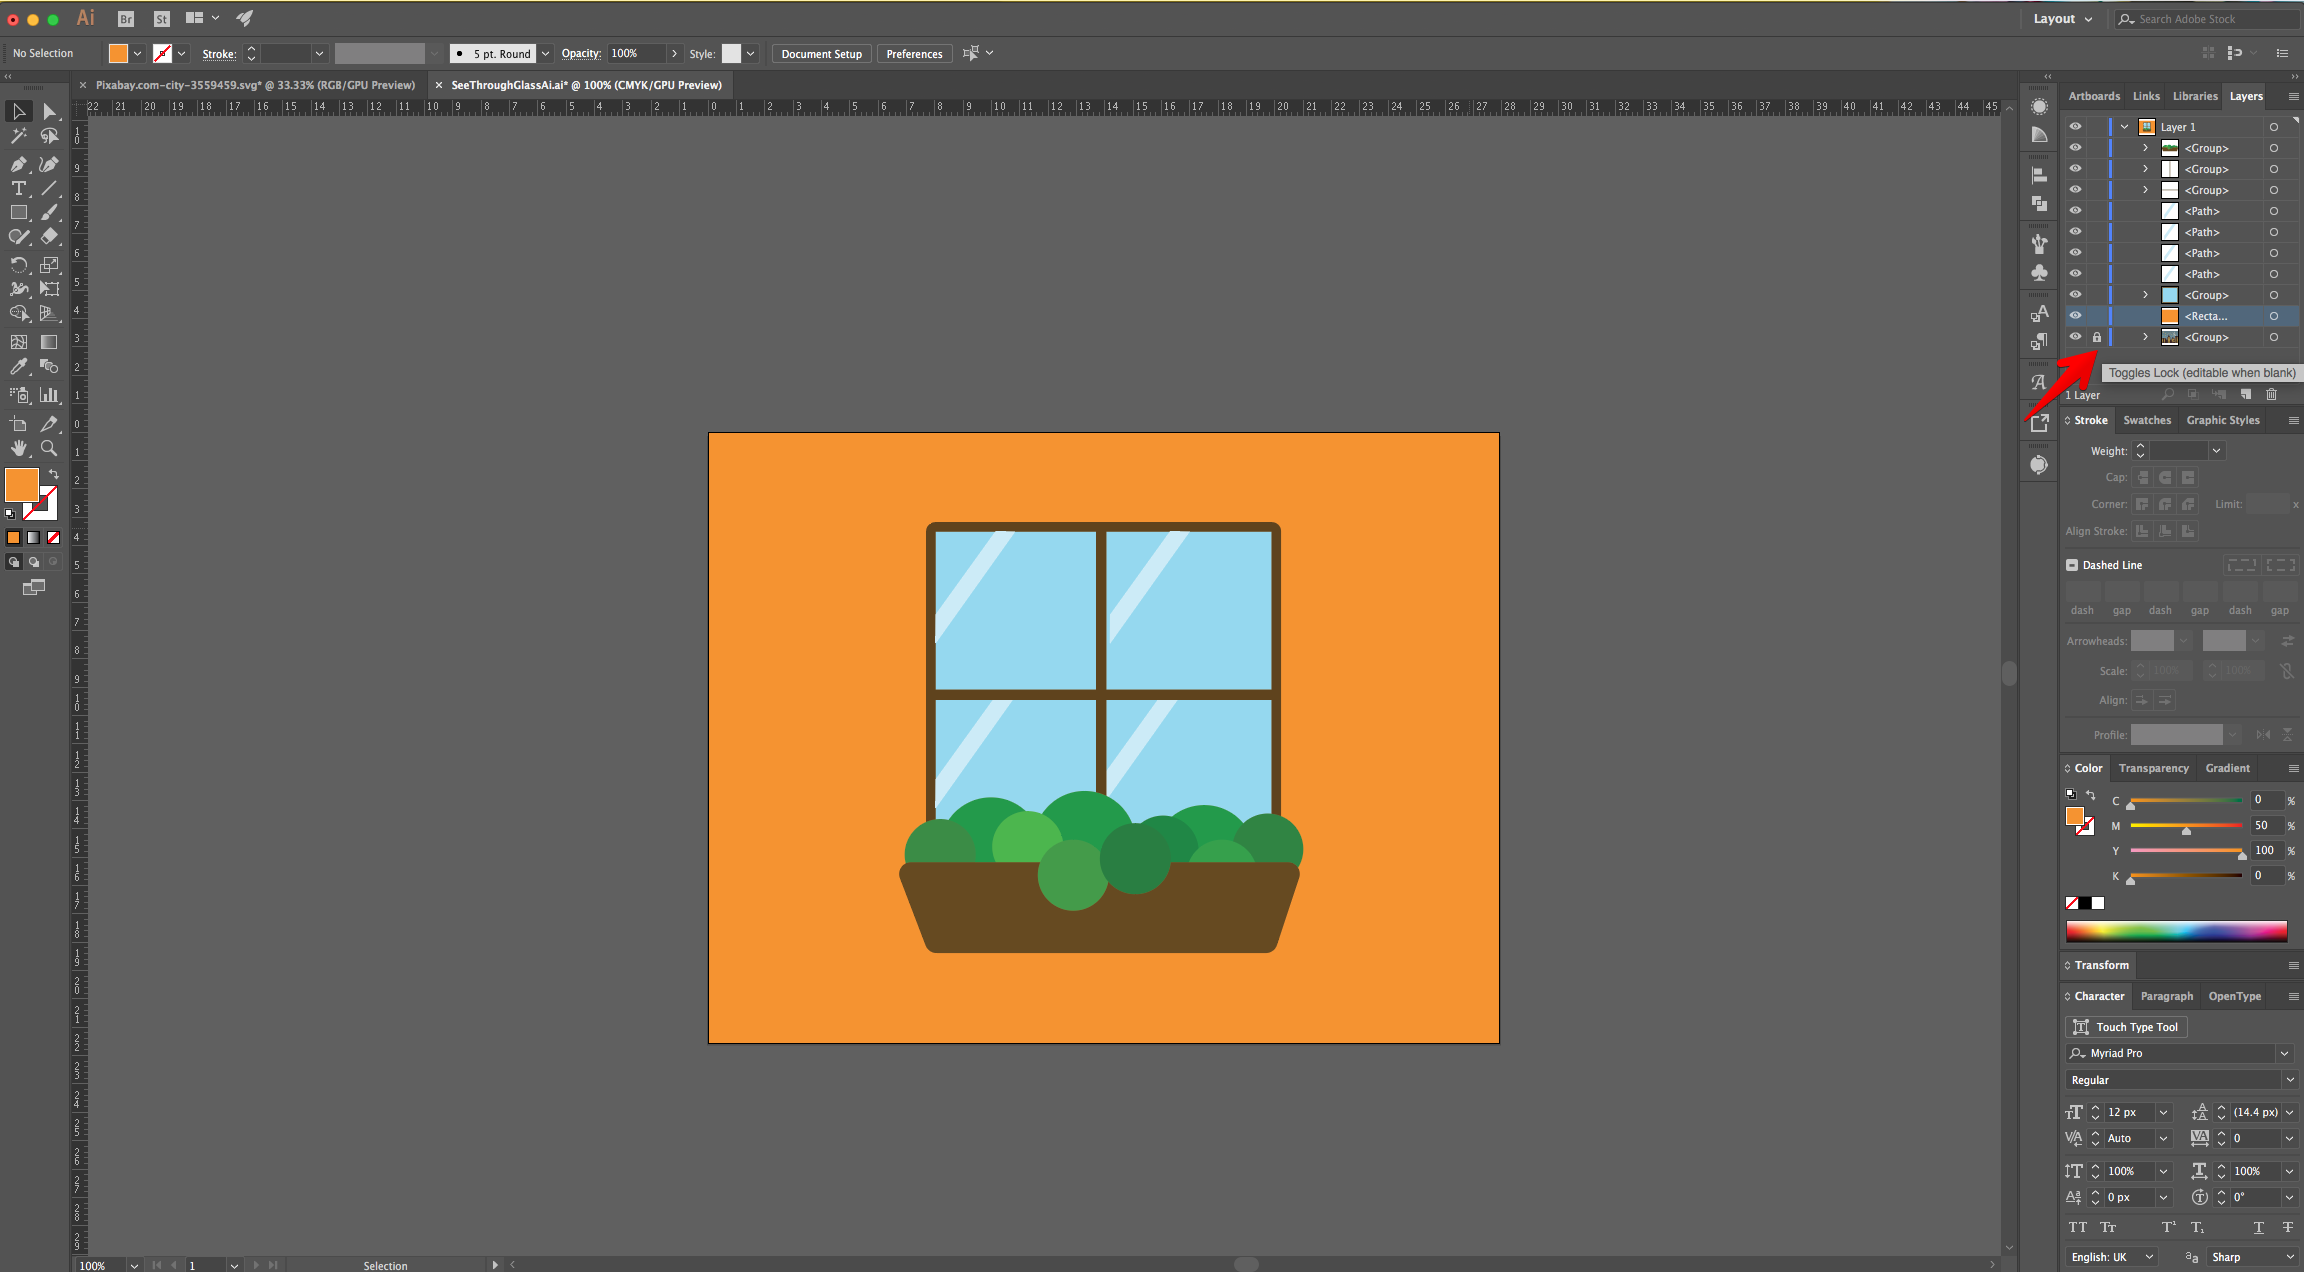
7 - “Lock” the background using the small “Padlock” icon on the left side of its Thumbnail in the “Layers Panel”. Then, “Copy” (Command/Control + C) and “Paste in Back” (Command/Control + B).
8 - Select the “Background Rectangle” and the “Glass” portion of the “Window” that sits on top of it.
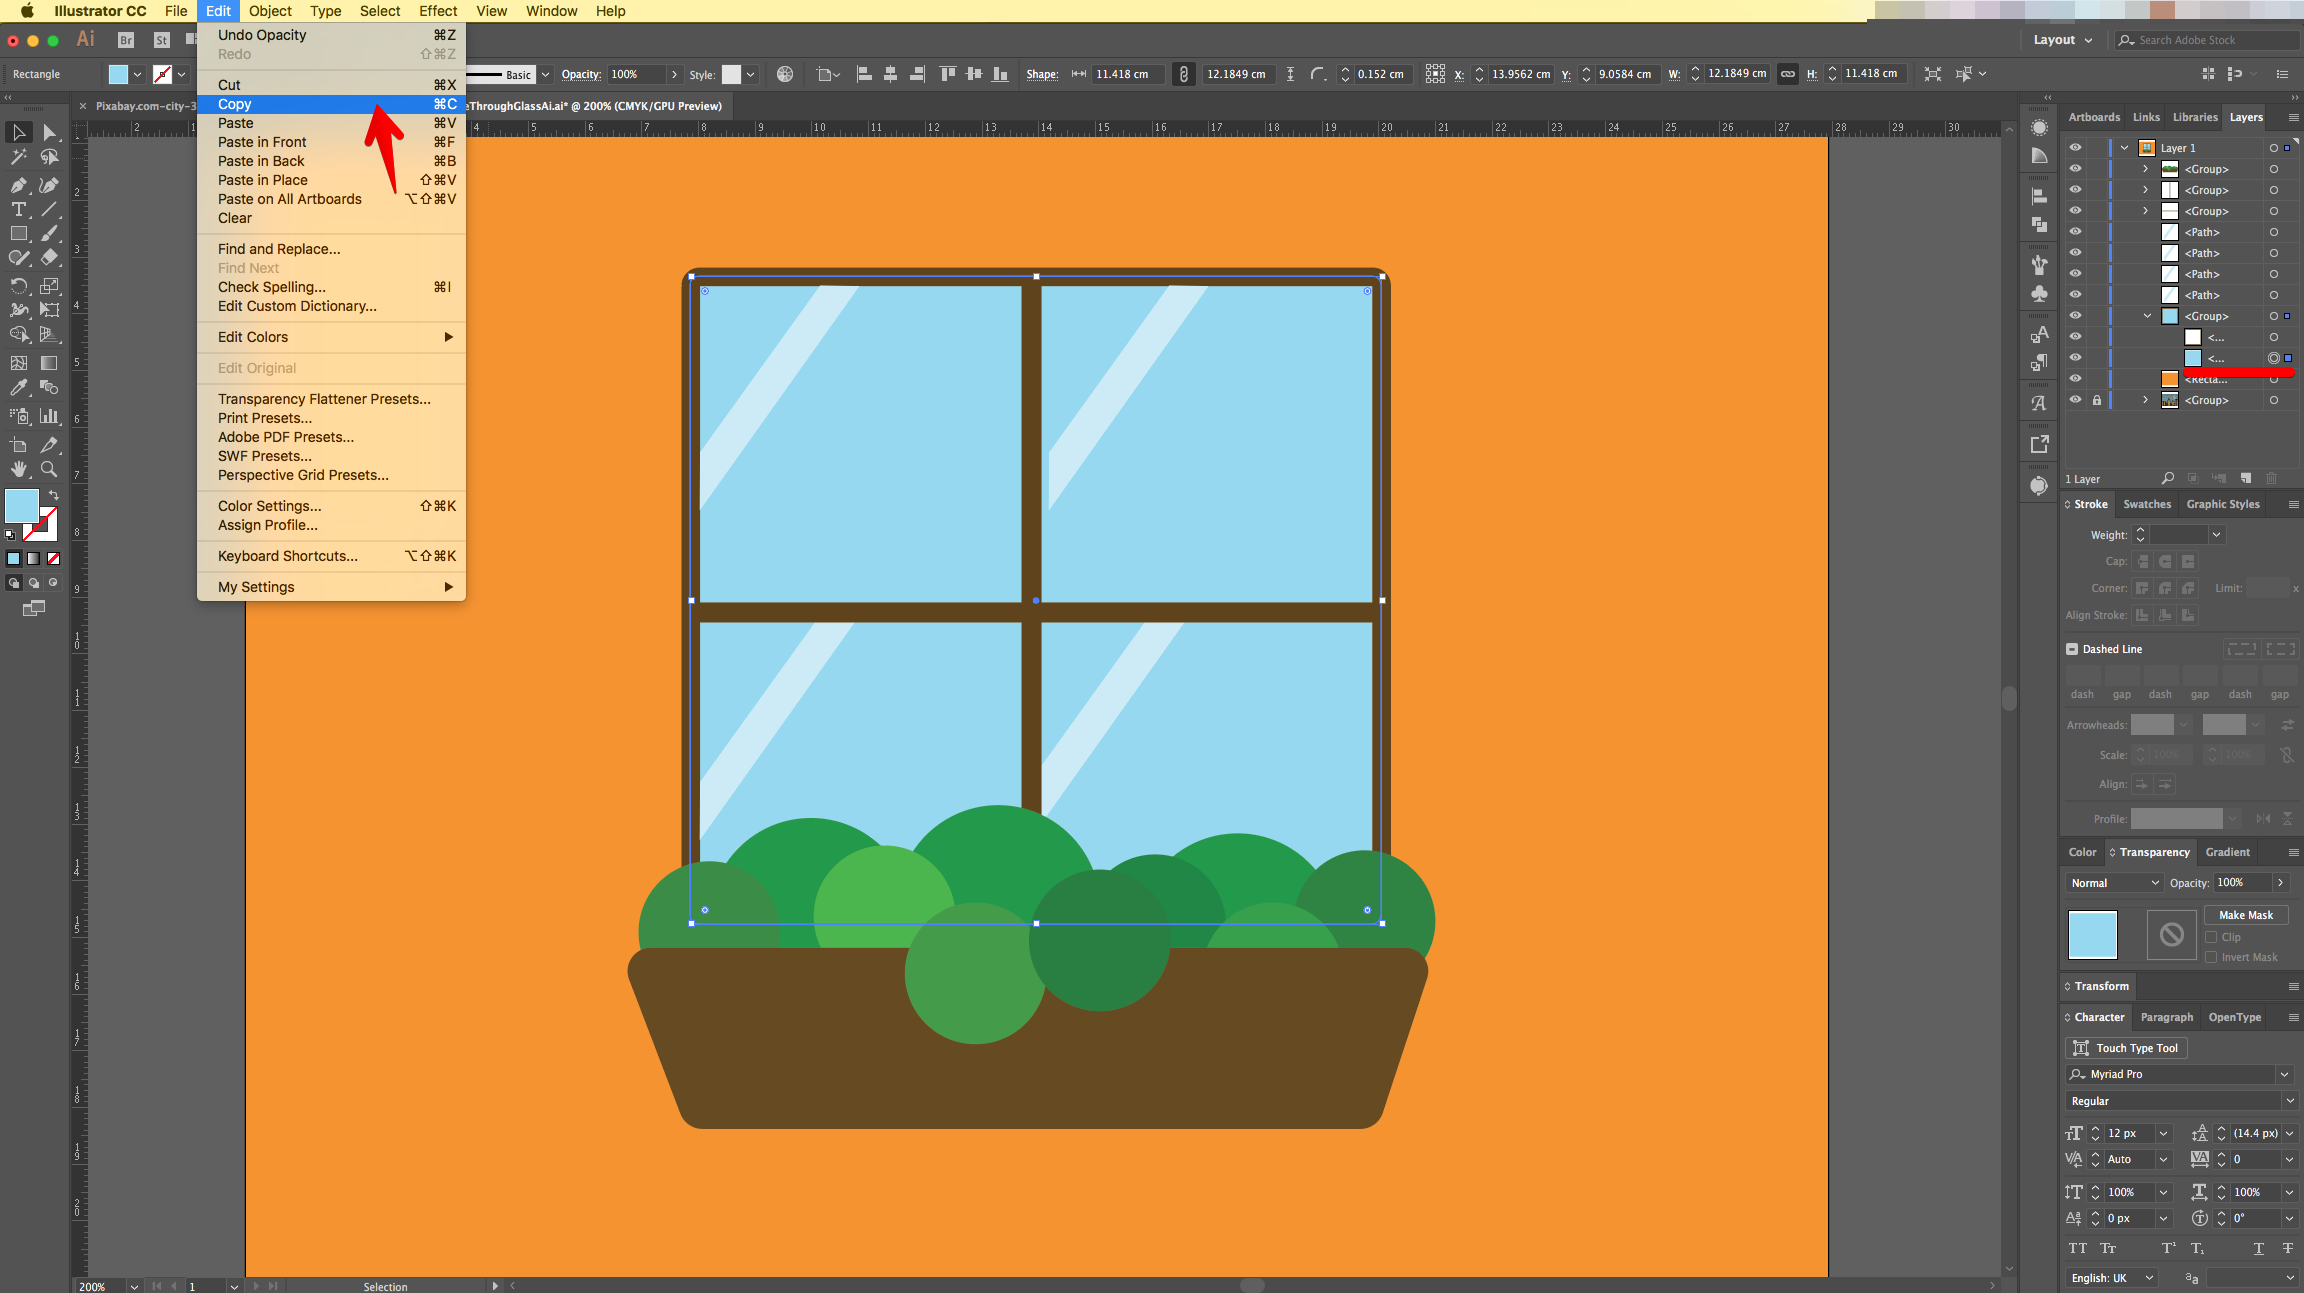
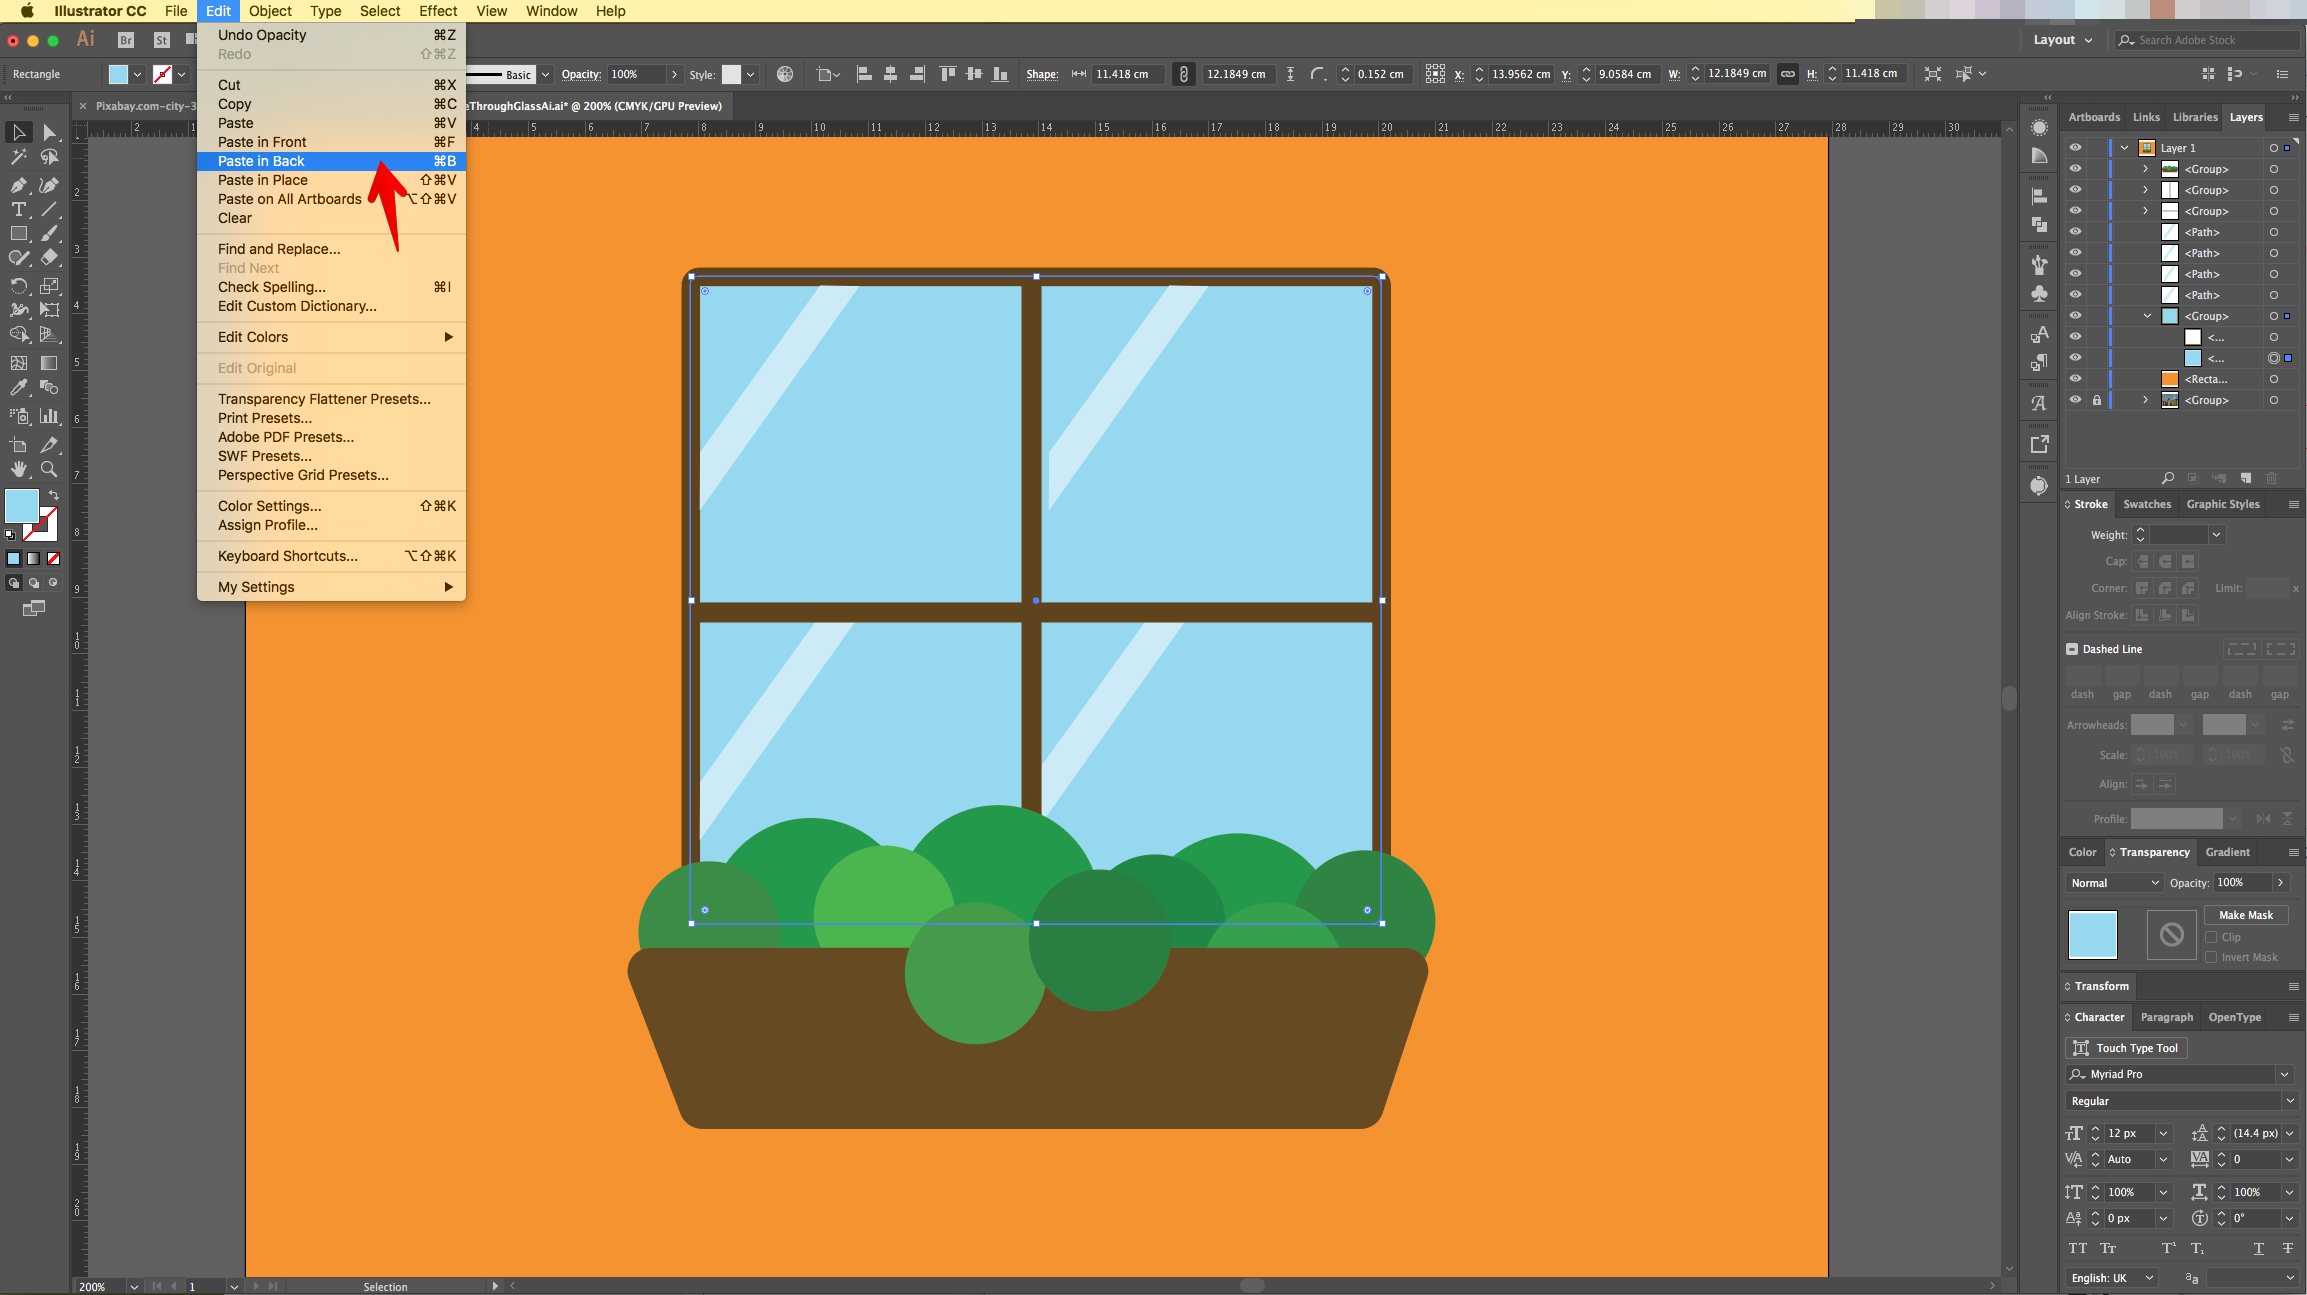
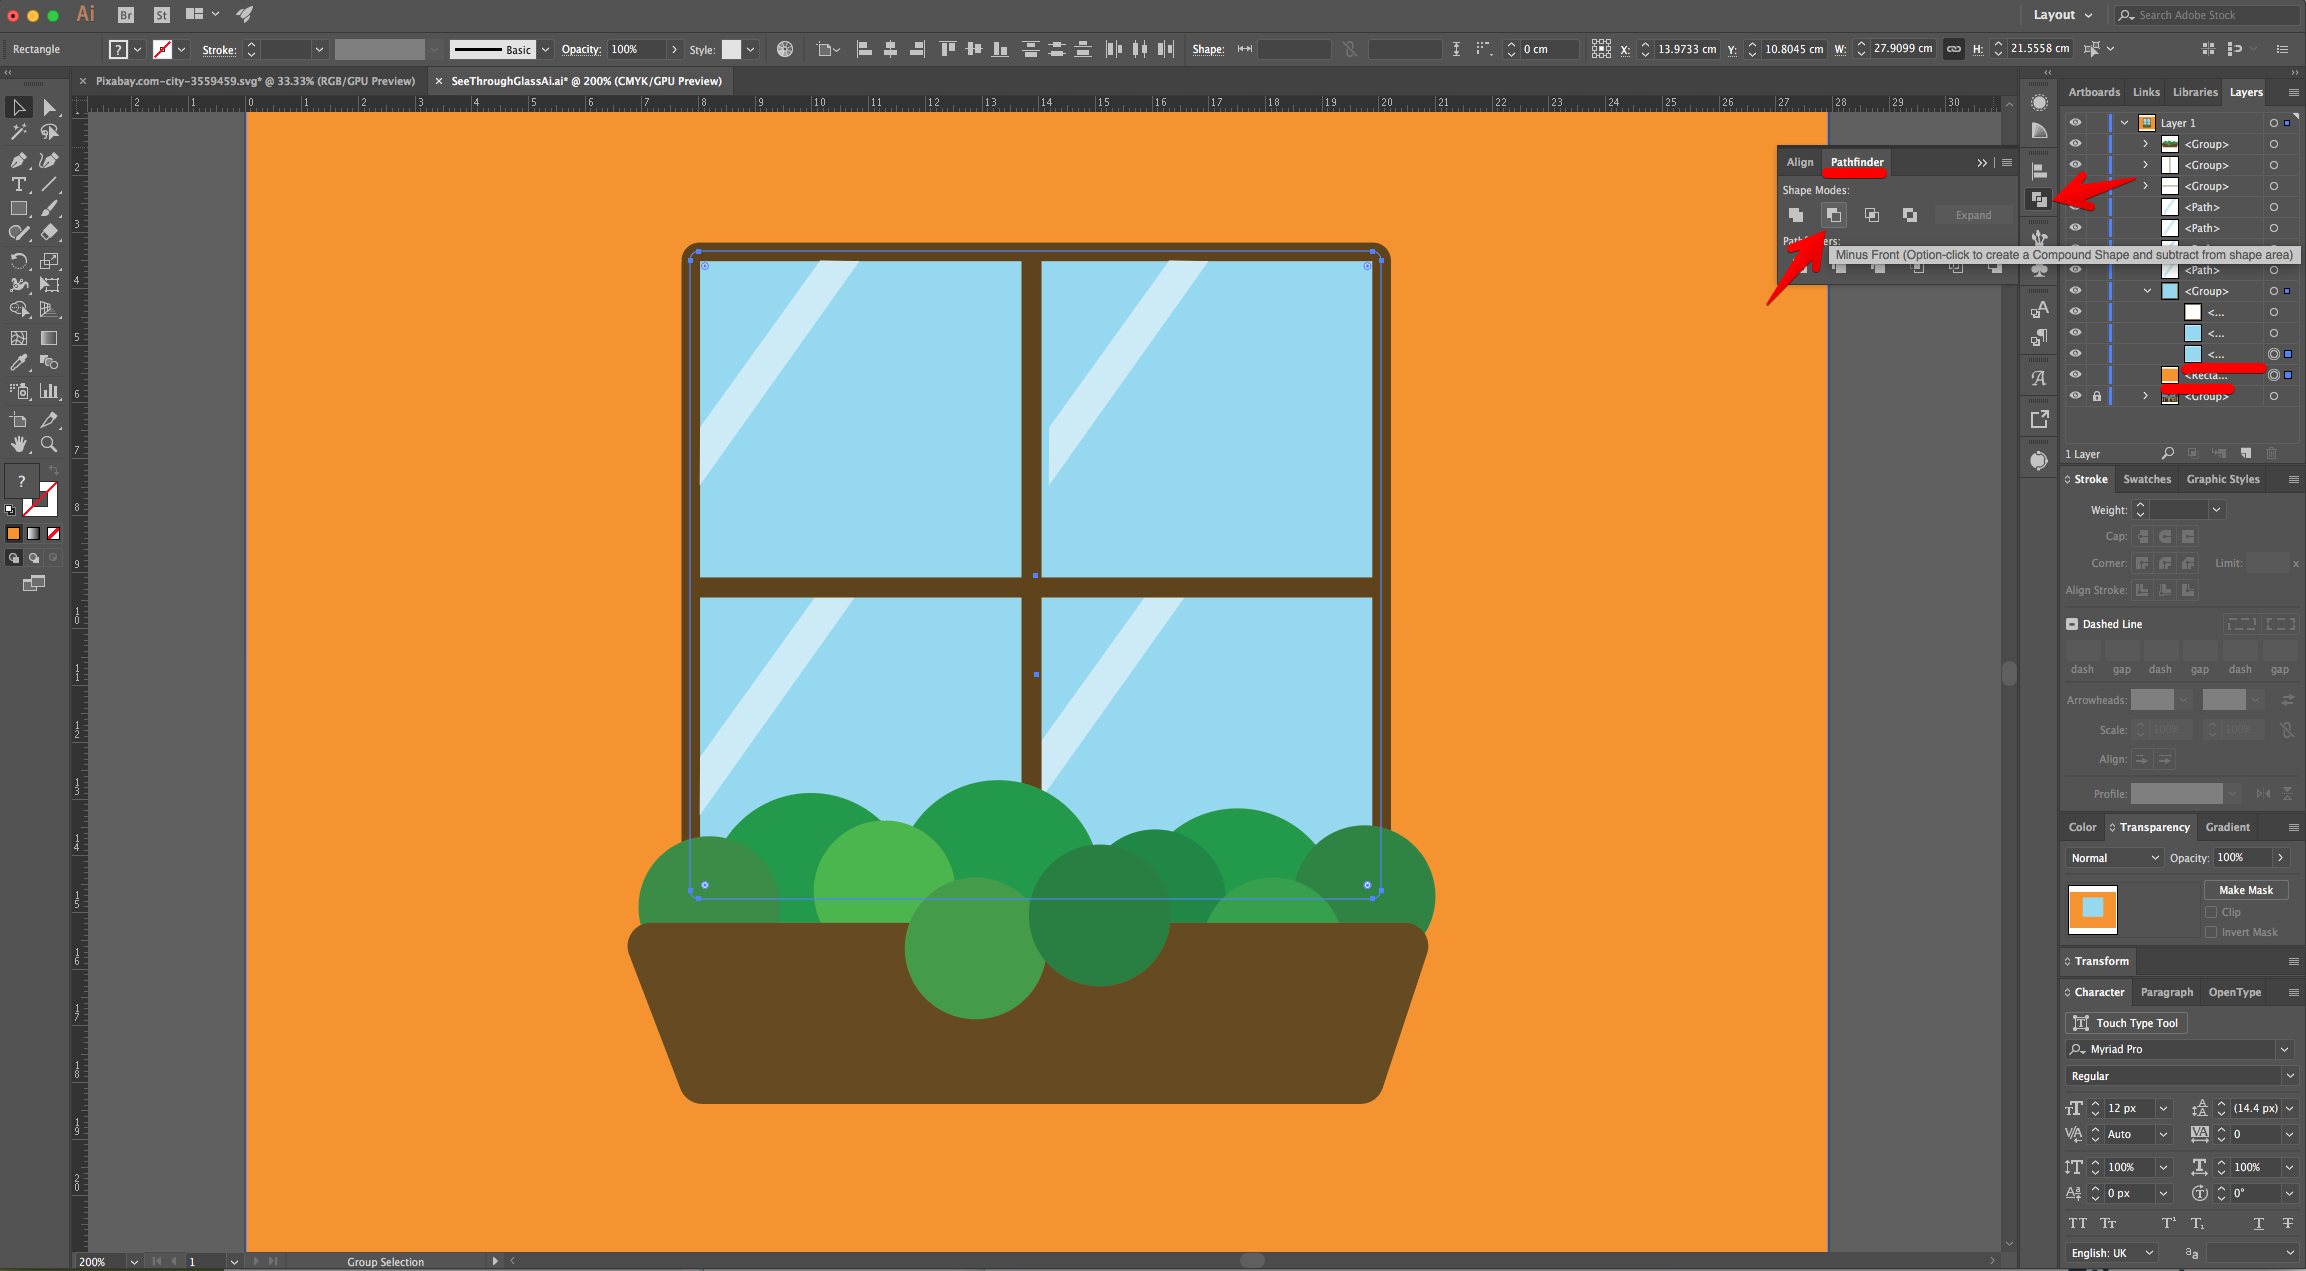
9 - Head to the “Pathfinder Panel” and choose “Minus Front” to cut a hole in the “Wall”.
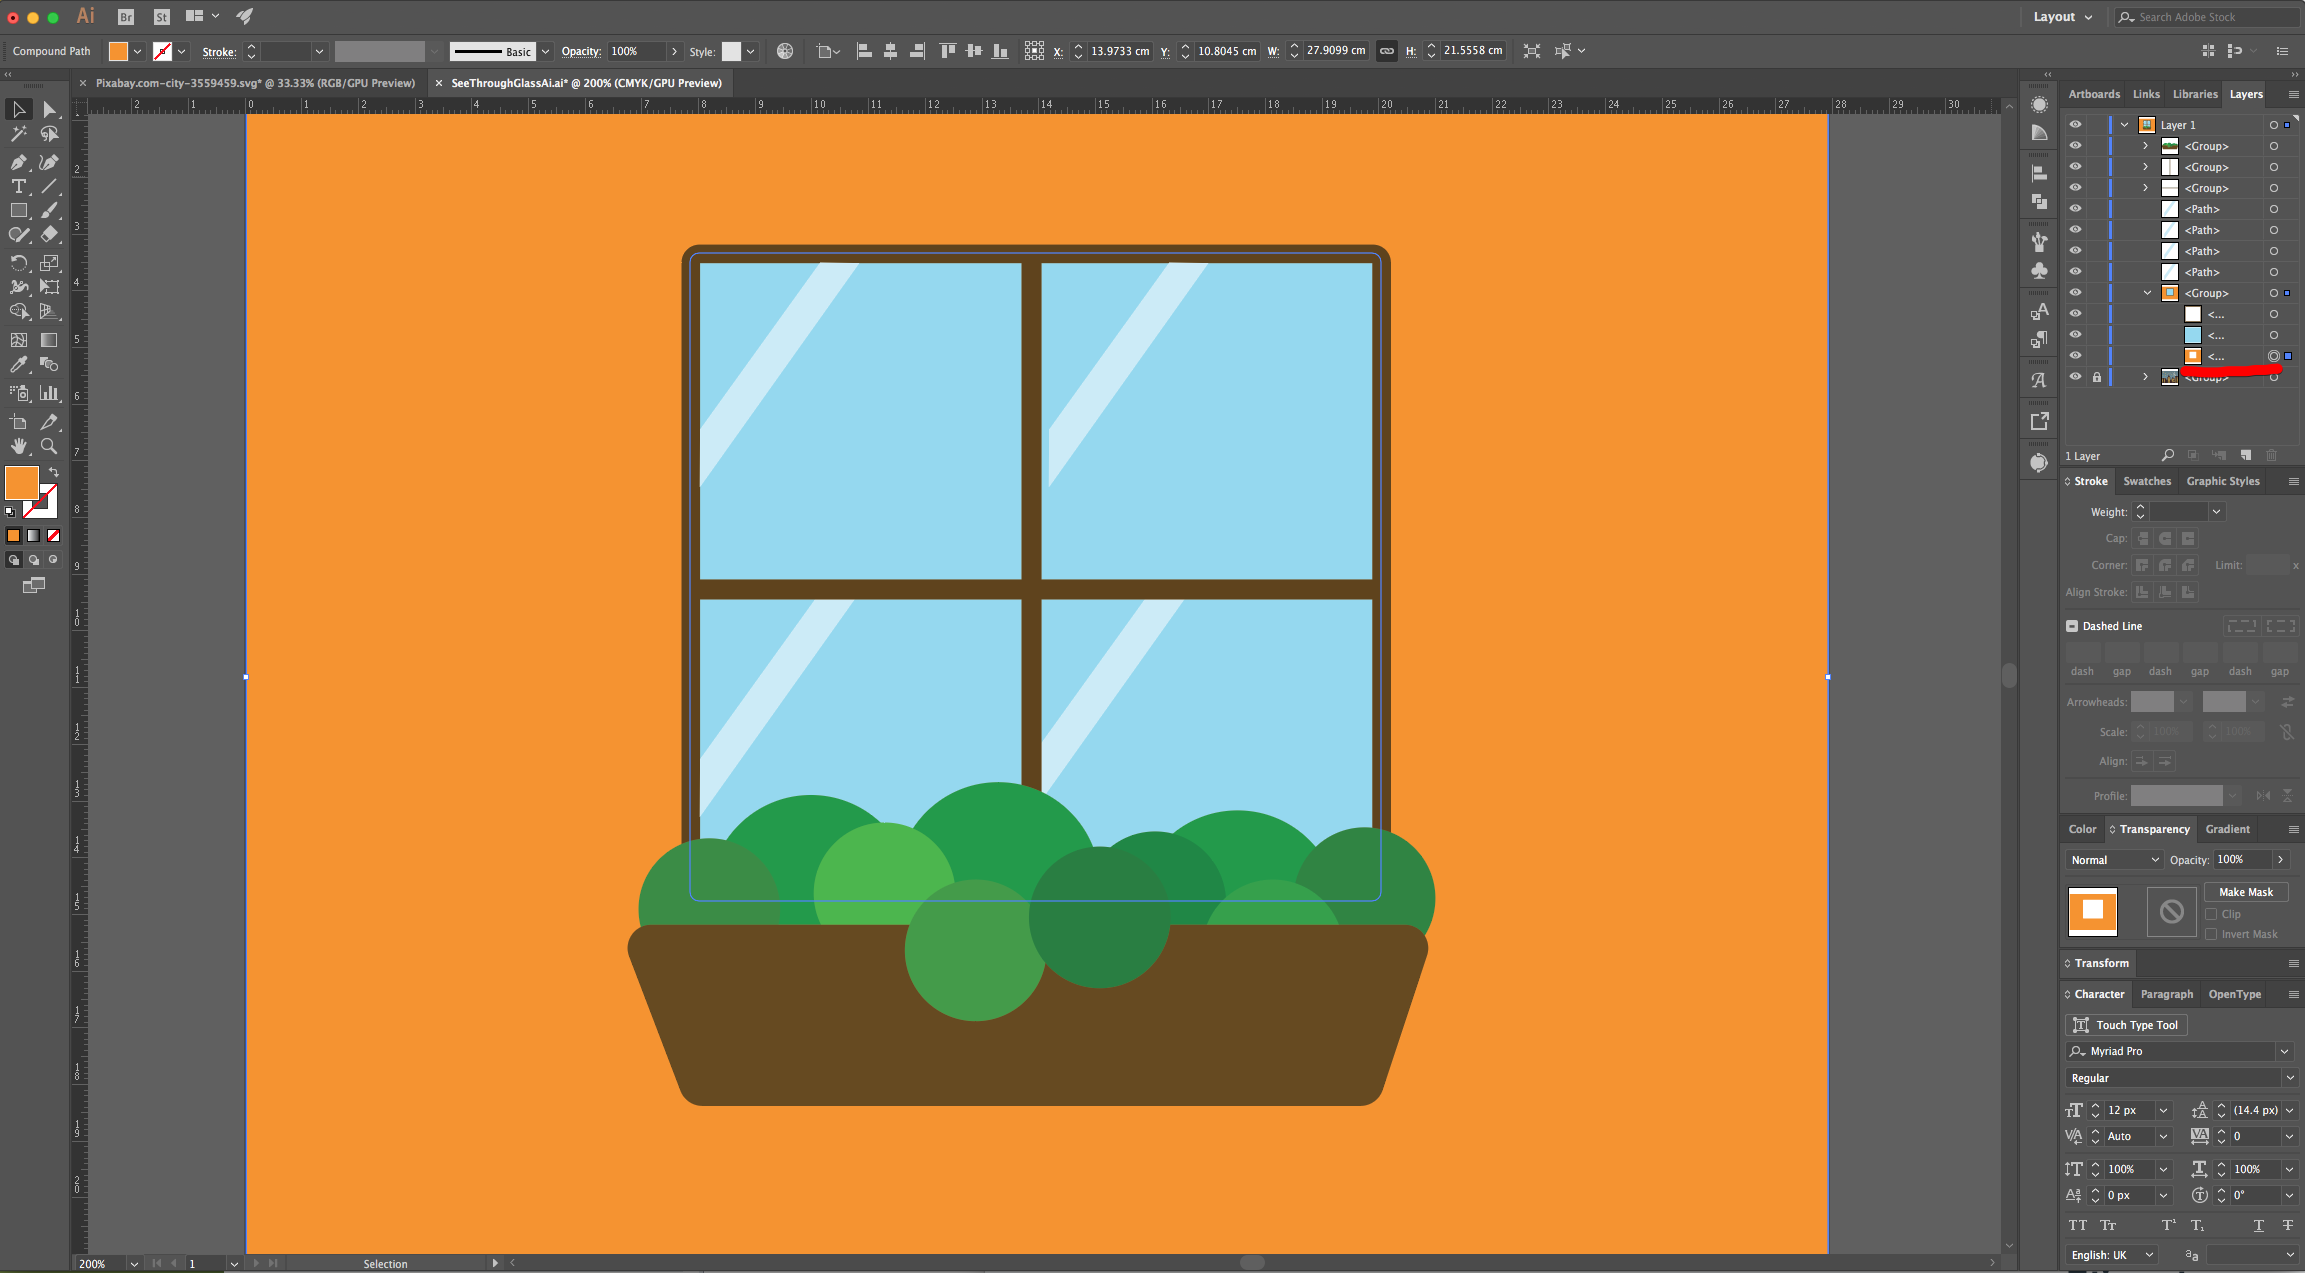
10 - Select the “Glass”, head to the “Transparency Panel” and lower its “Opacity” to 65%. Now you will be able to see the “Background” through the “Glass”.
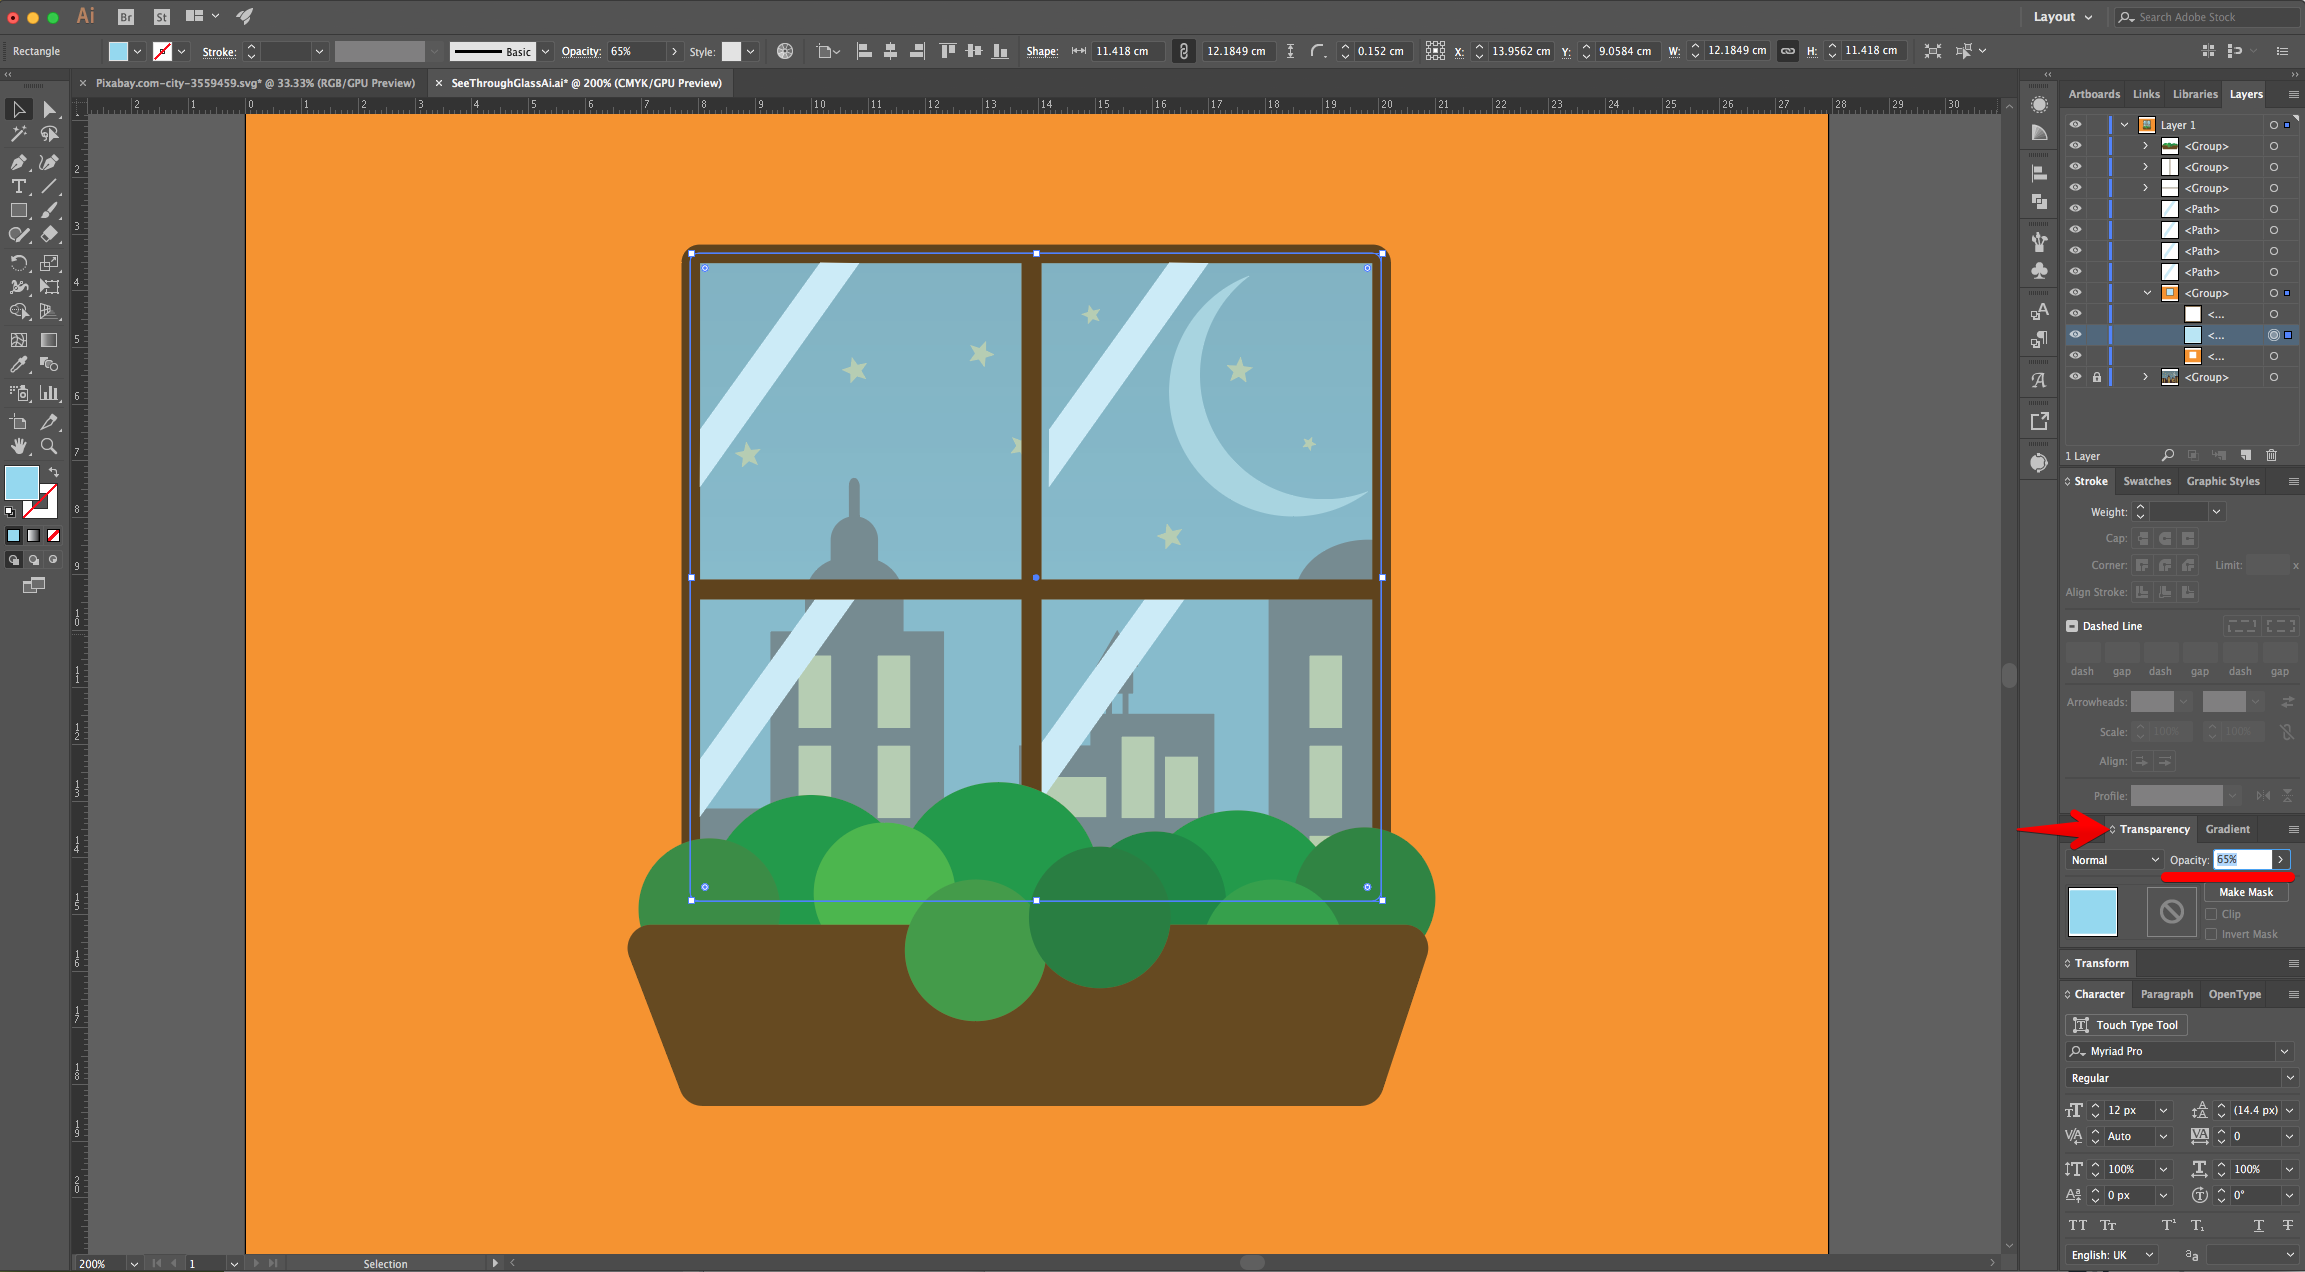
11 - Select the “Glass” and change the “Fill” to “Linear Gradient” from a Light Blue to a darker shade (we used #95d8ee and #00576f).
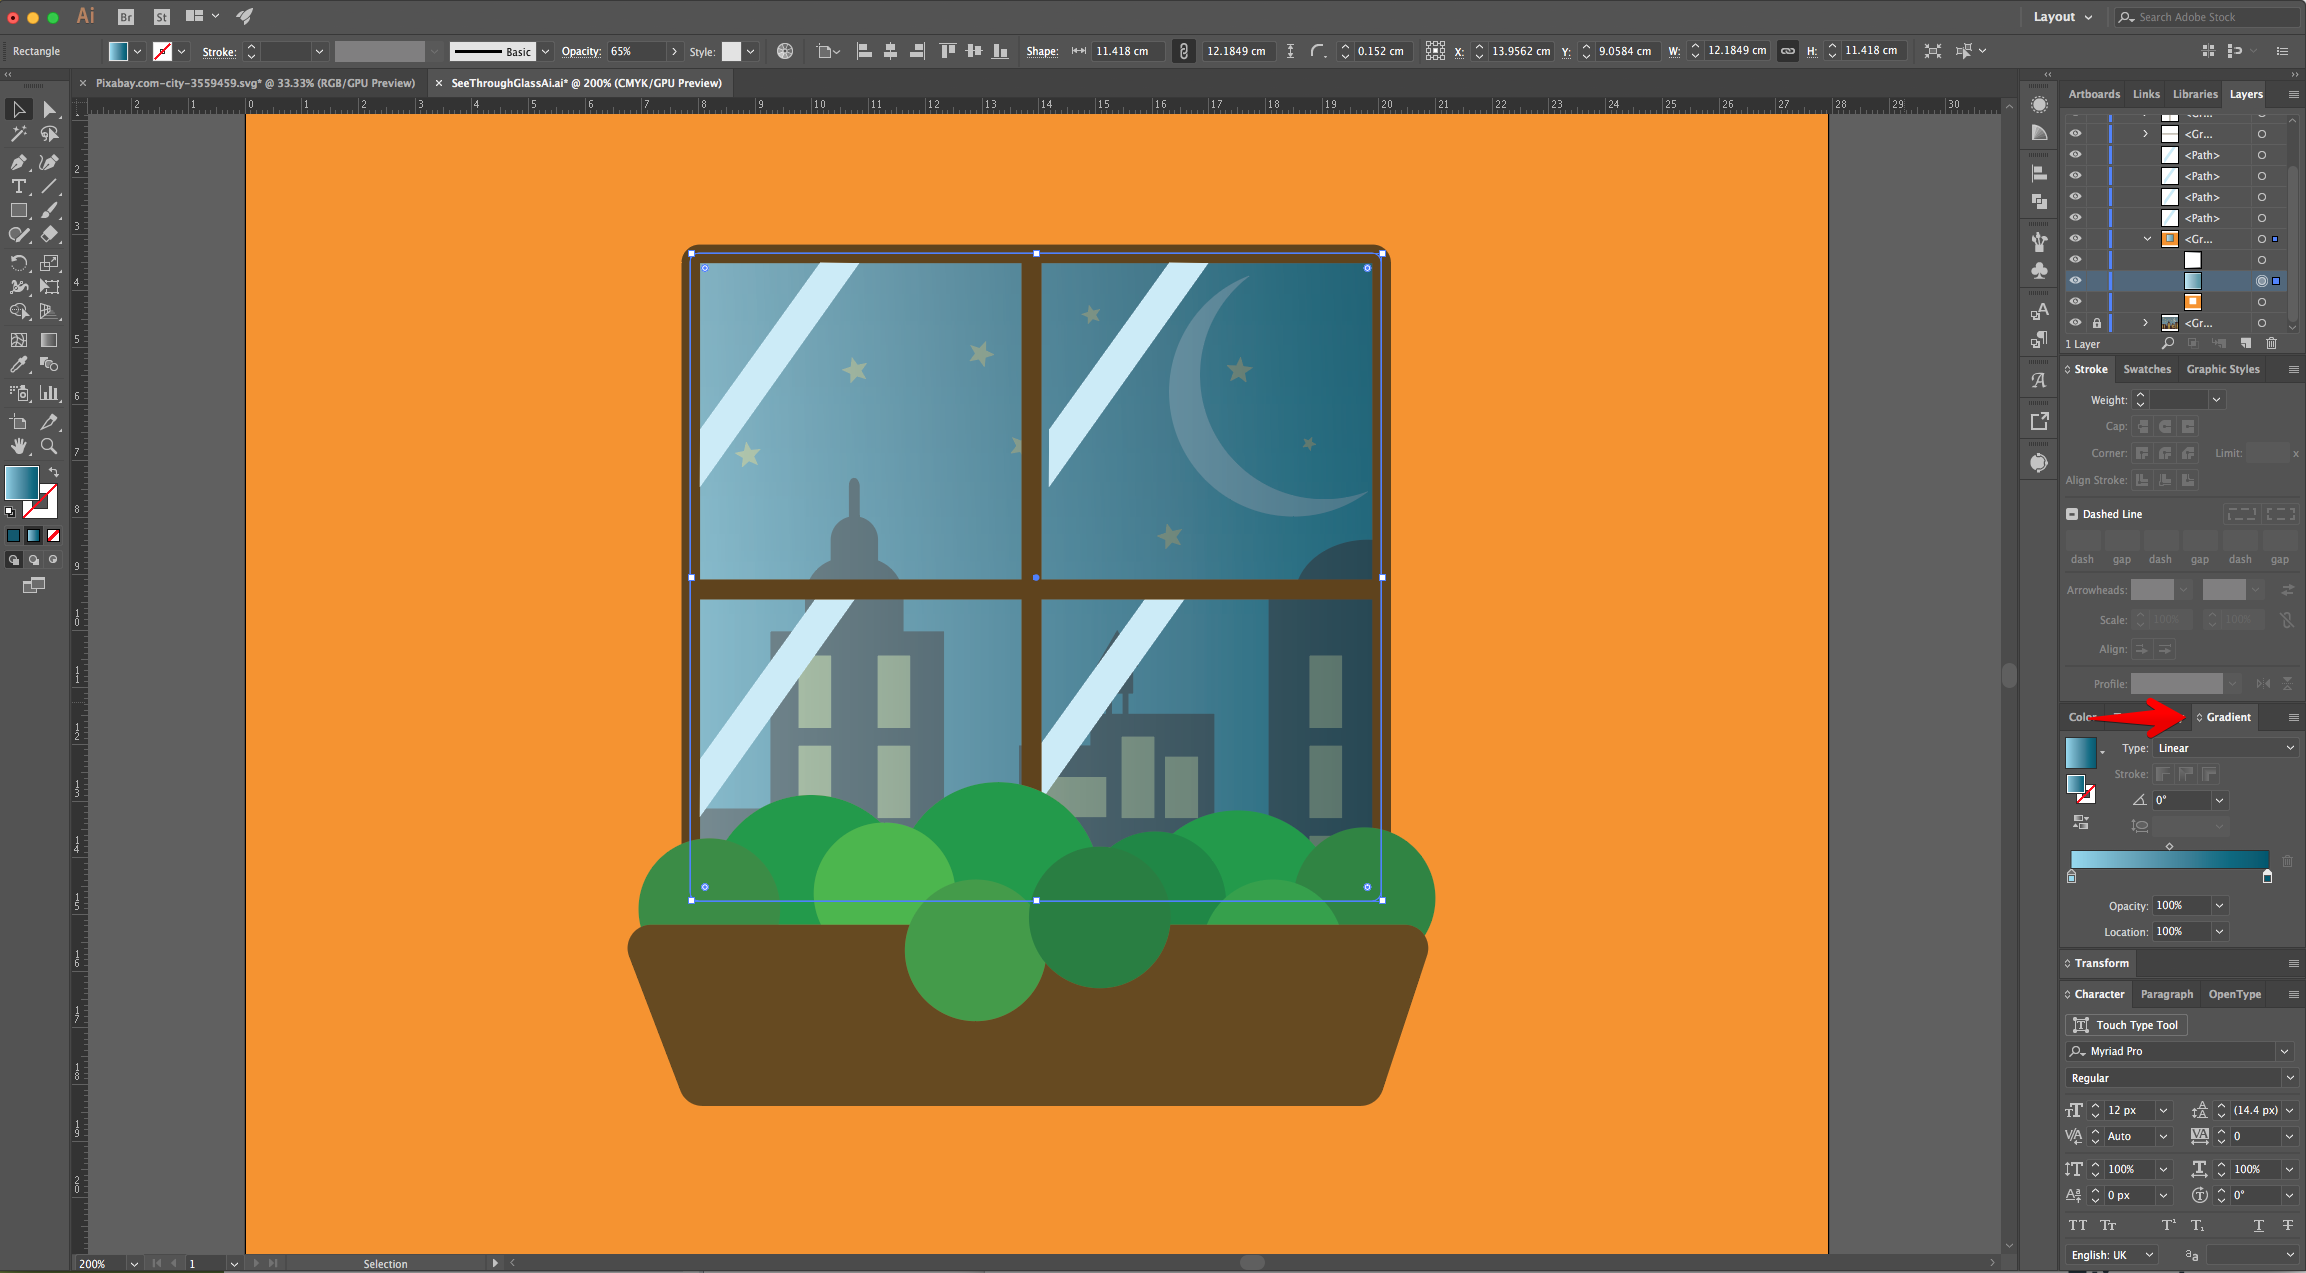
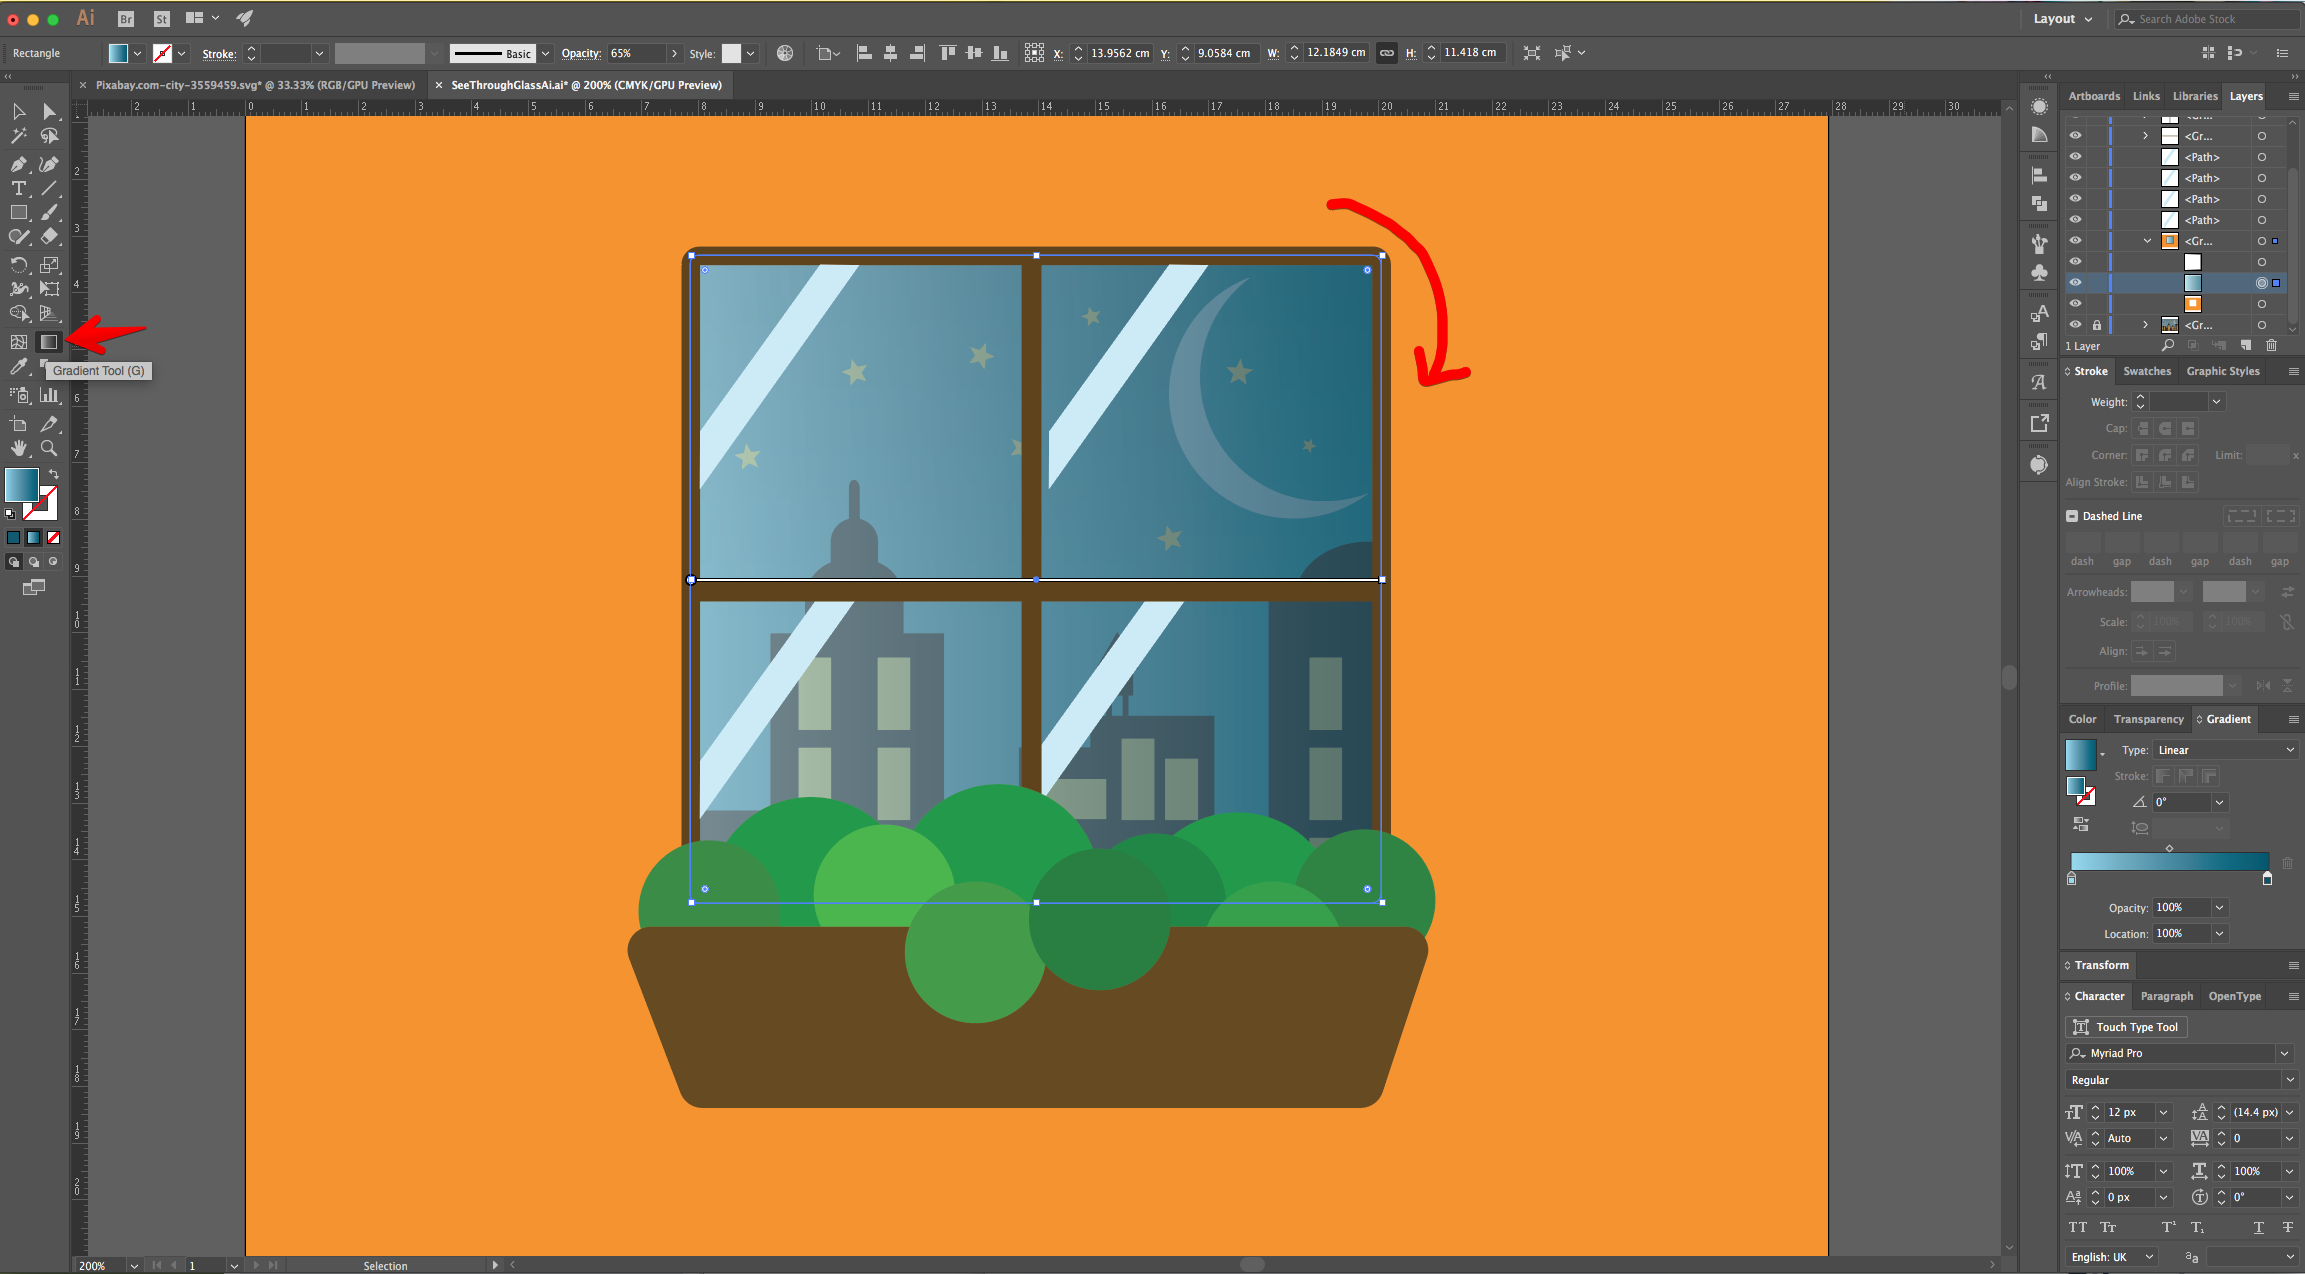
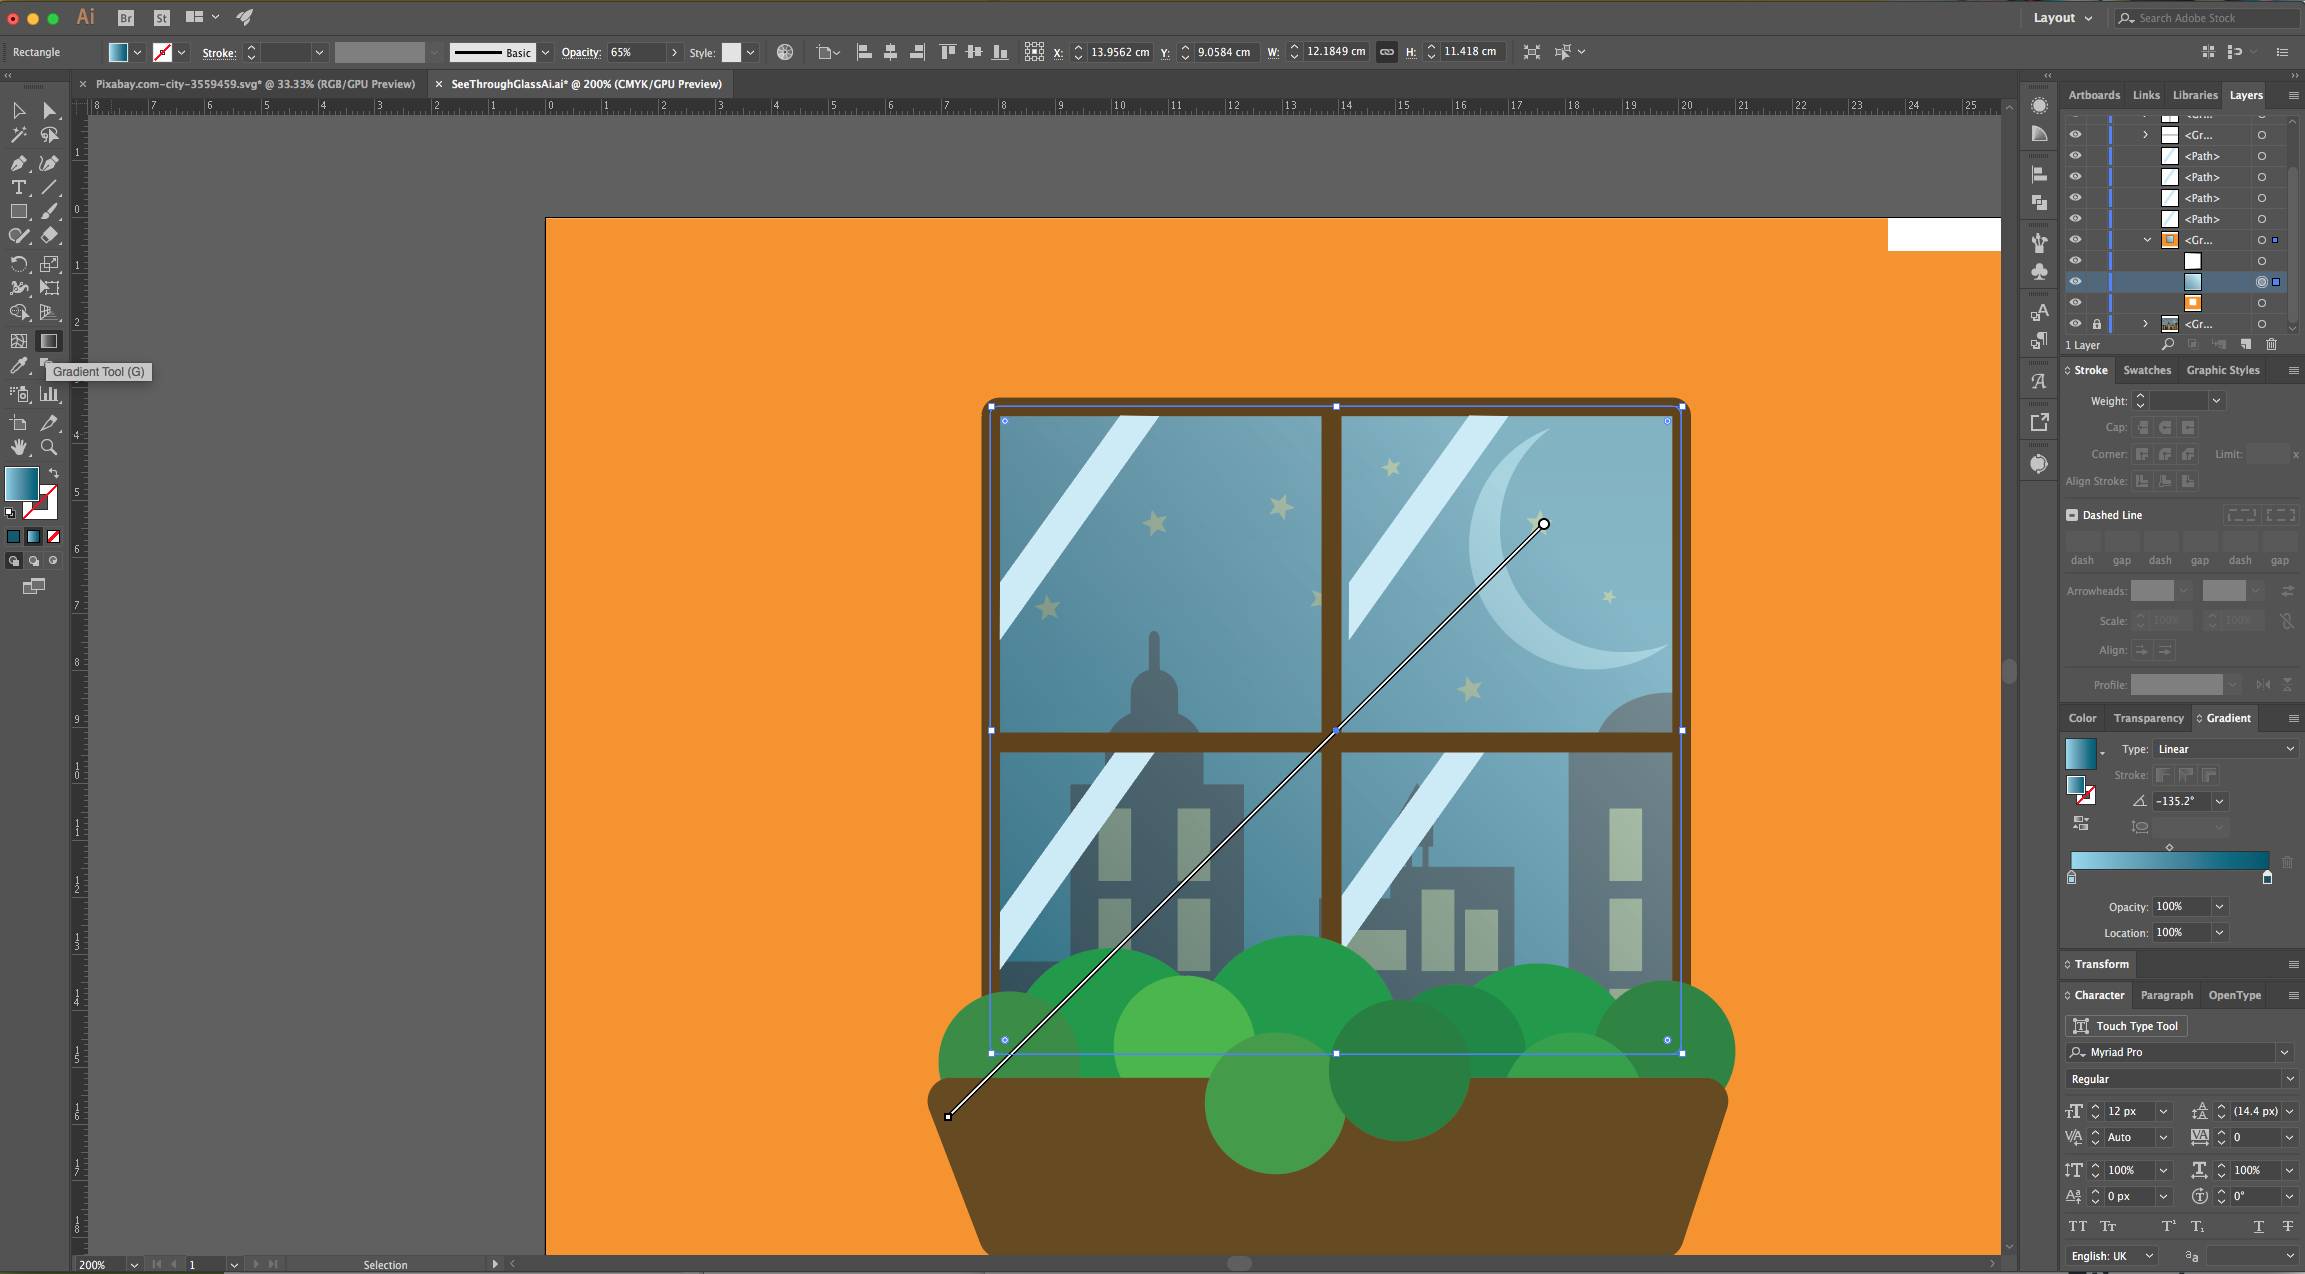
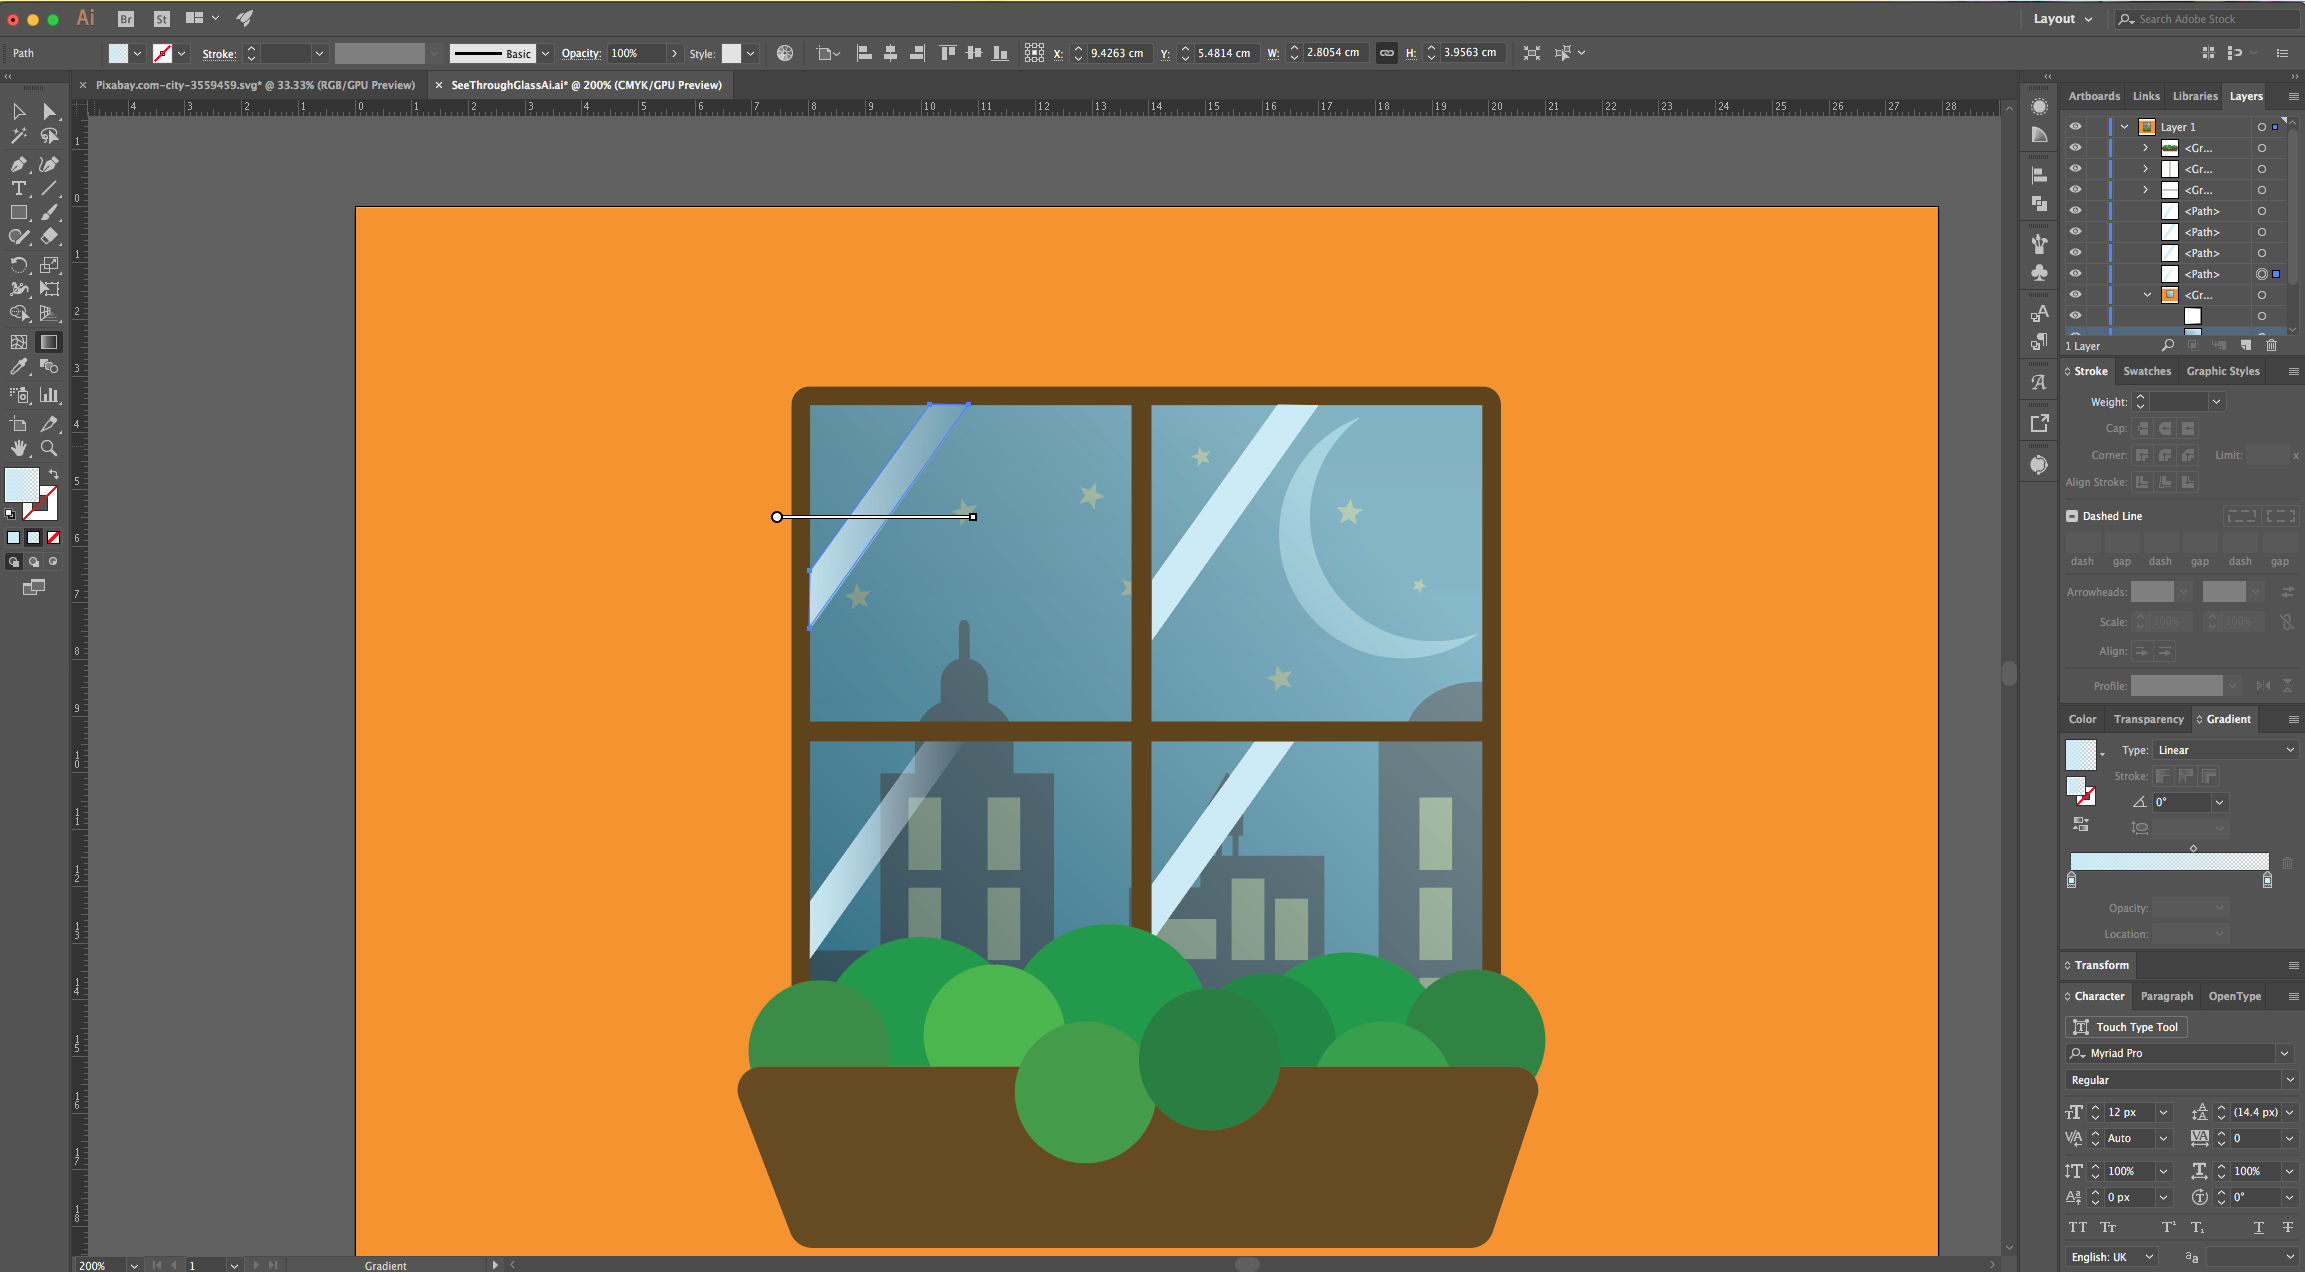
12 - Click on the “Gradient Tool” (G) in the “Toolbar” to see the “Gradient Slider” on top of the Vector and rotate it so the lighter portion coincides with the light source.
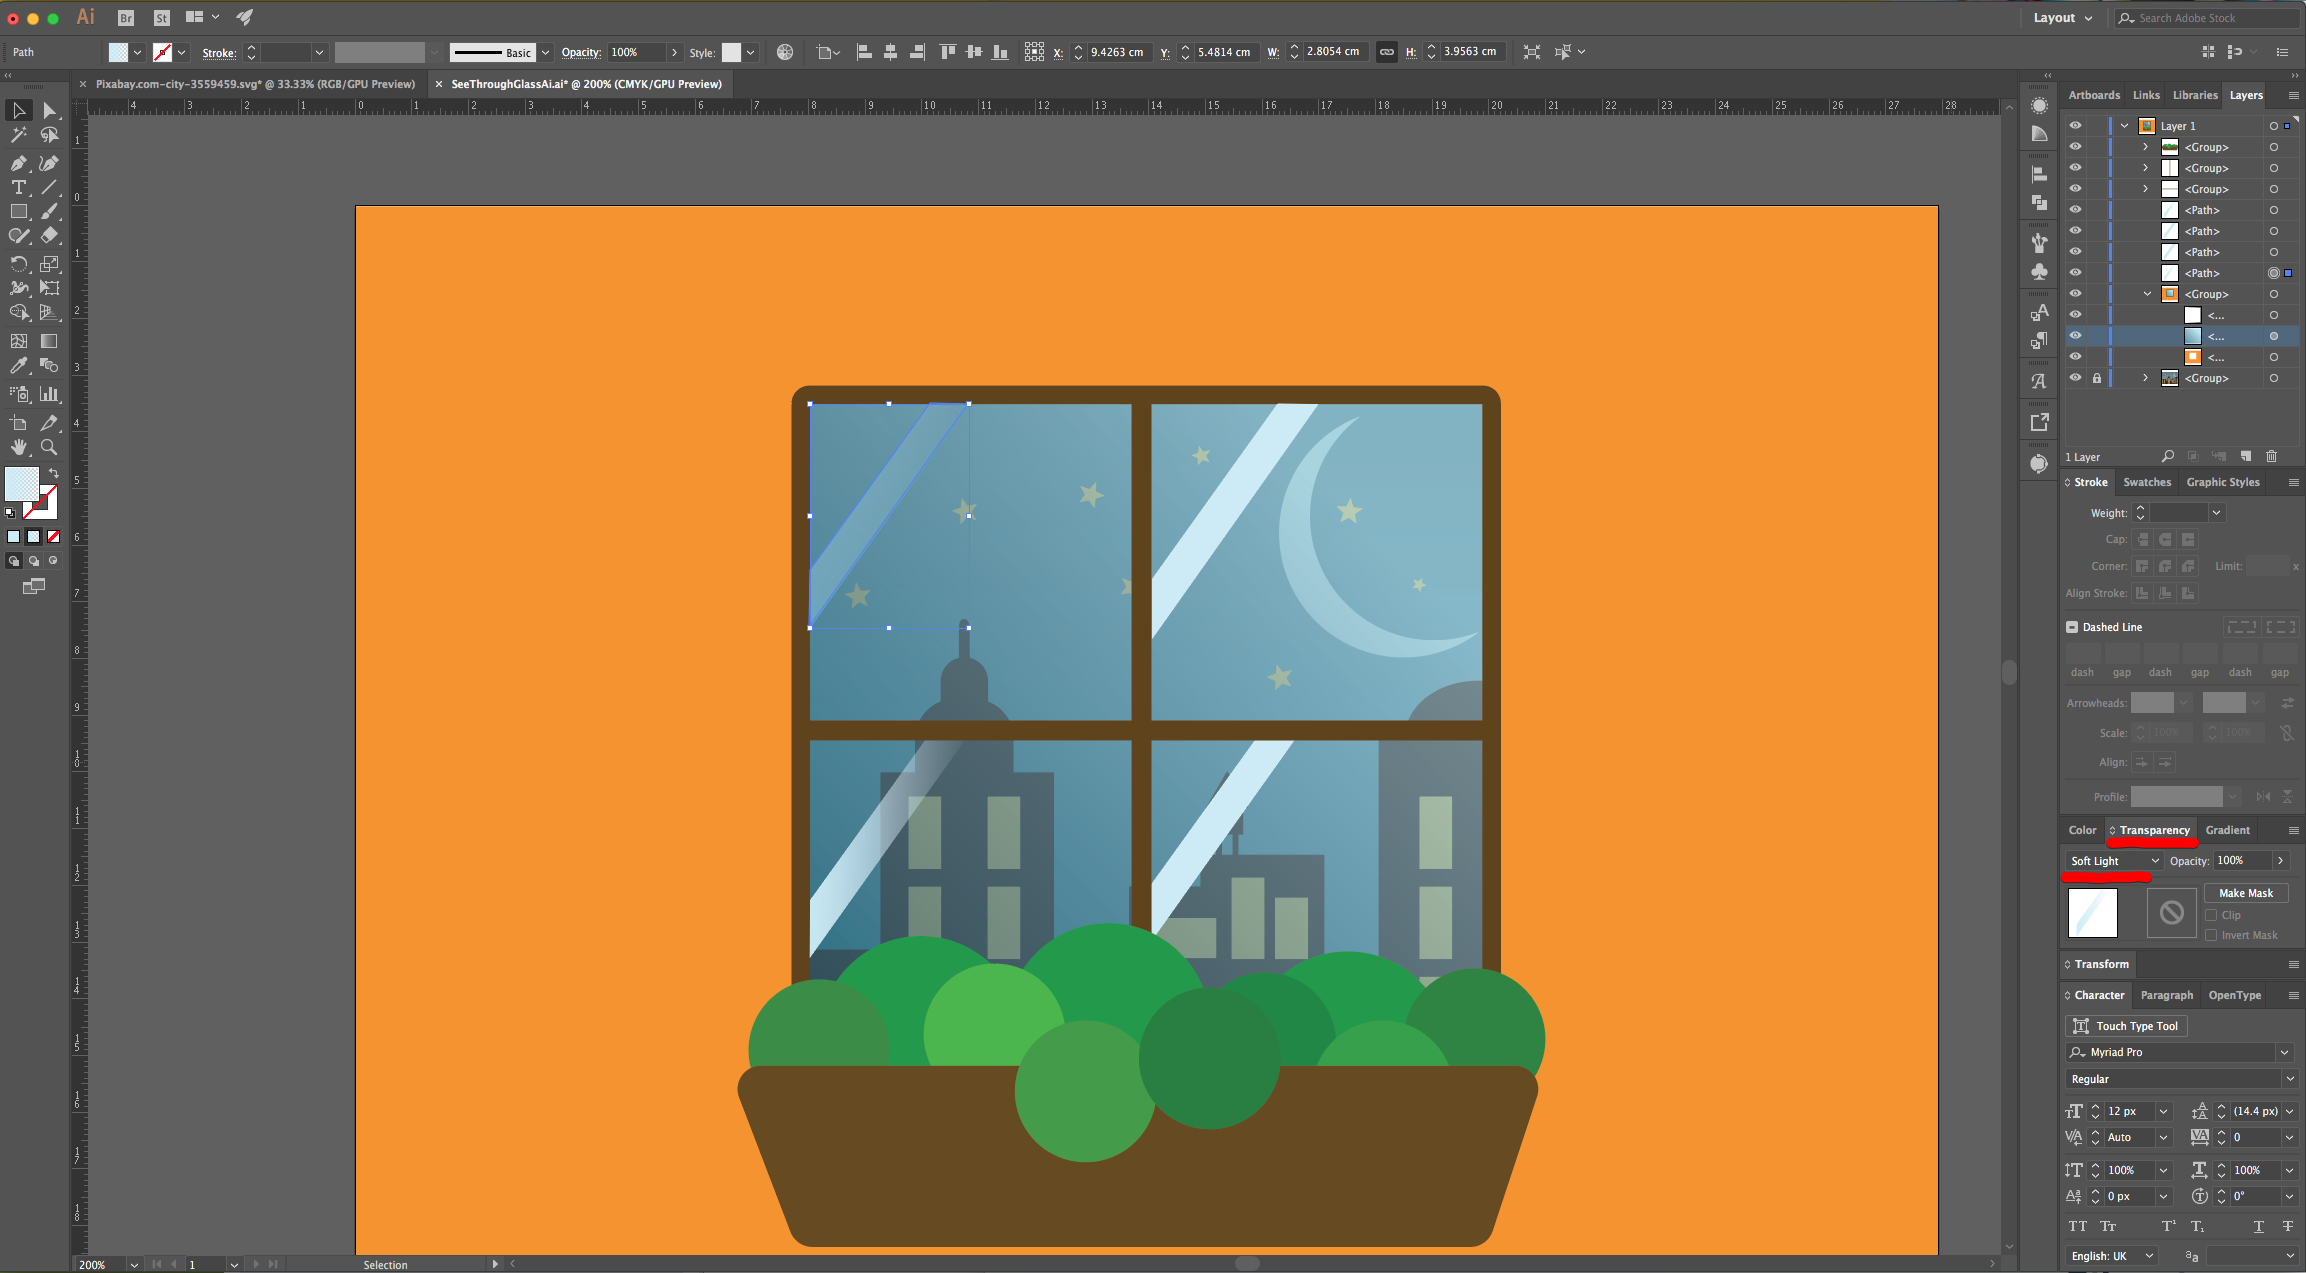
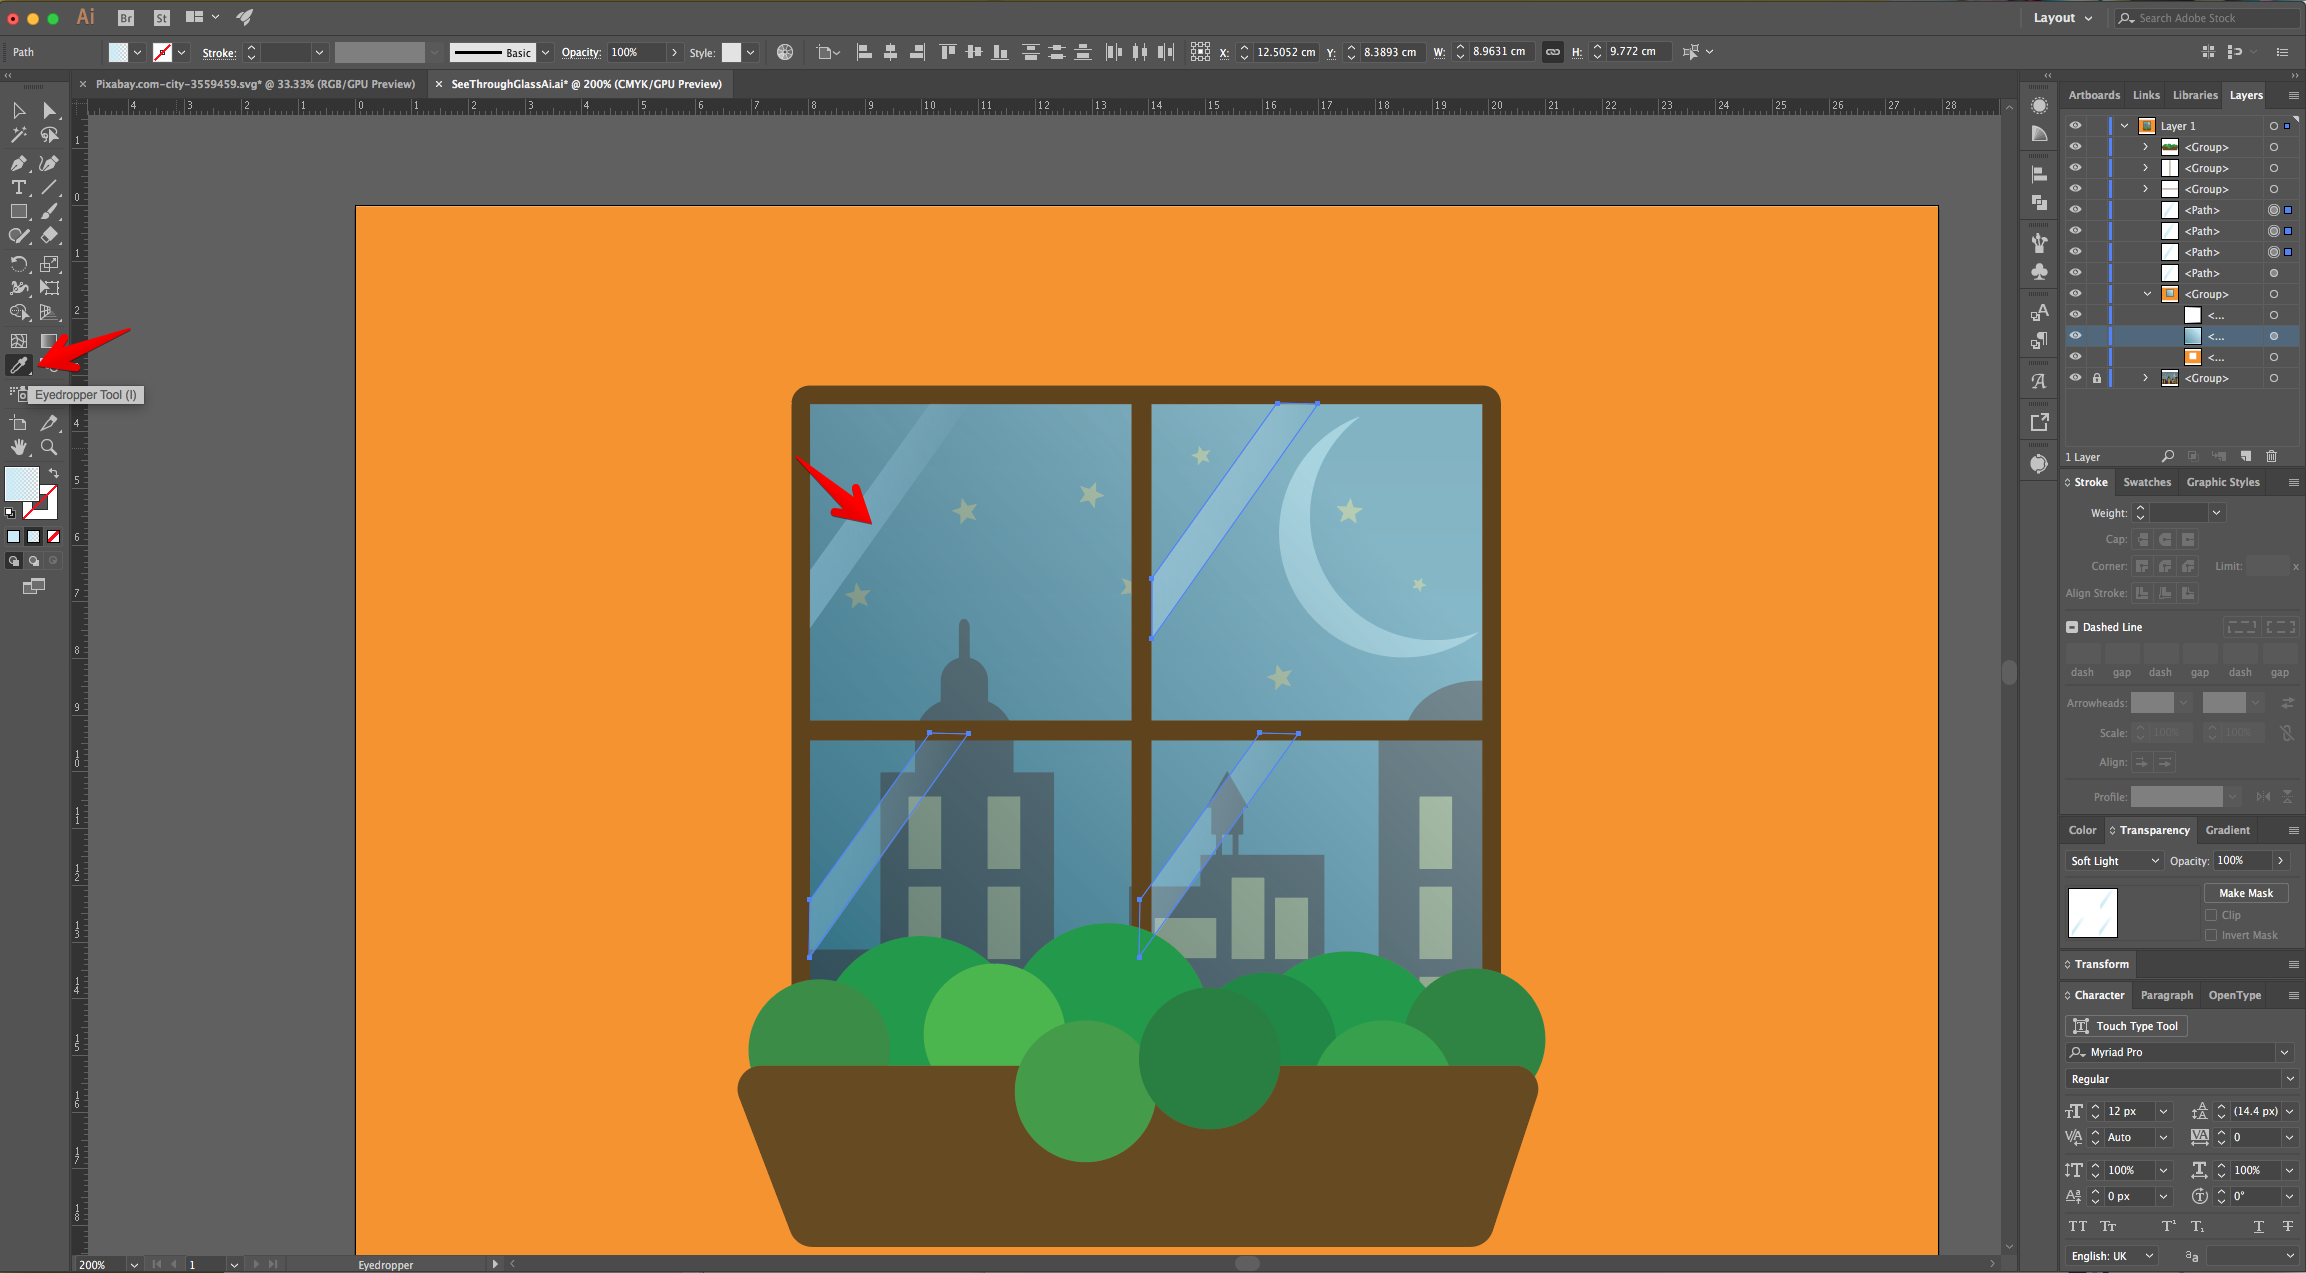
13 - Select or create some perpendicular Rectangles inside the “Glass” to mimic a light reflection, fill them with a “Linear Gradient” from a Light Blue (#ccebf6) to Transparent. Change the “Blending Mode” to “Soft Light” in the “Transparency Panel”. You can use the “Eyedropper Tool” to copy the gradient fill to other reflections if needed.
14 - Your work should be similar to this.
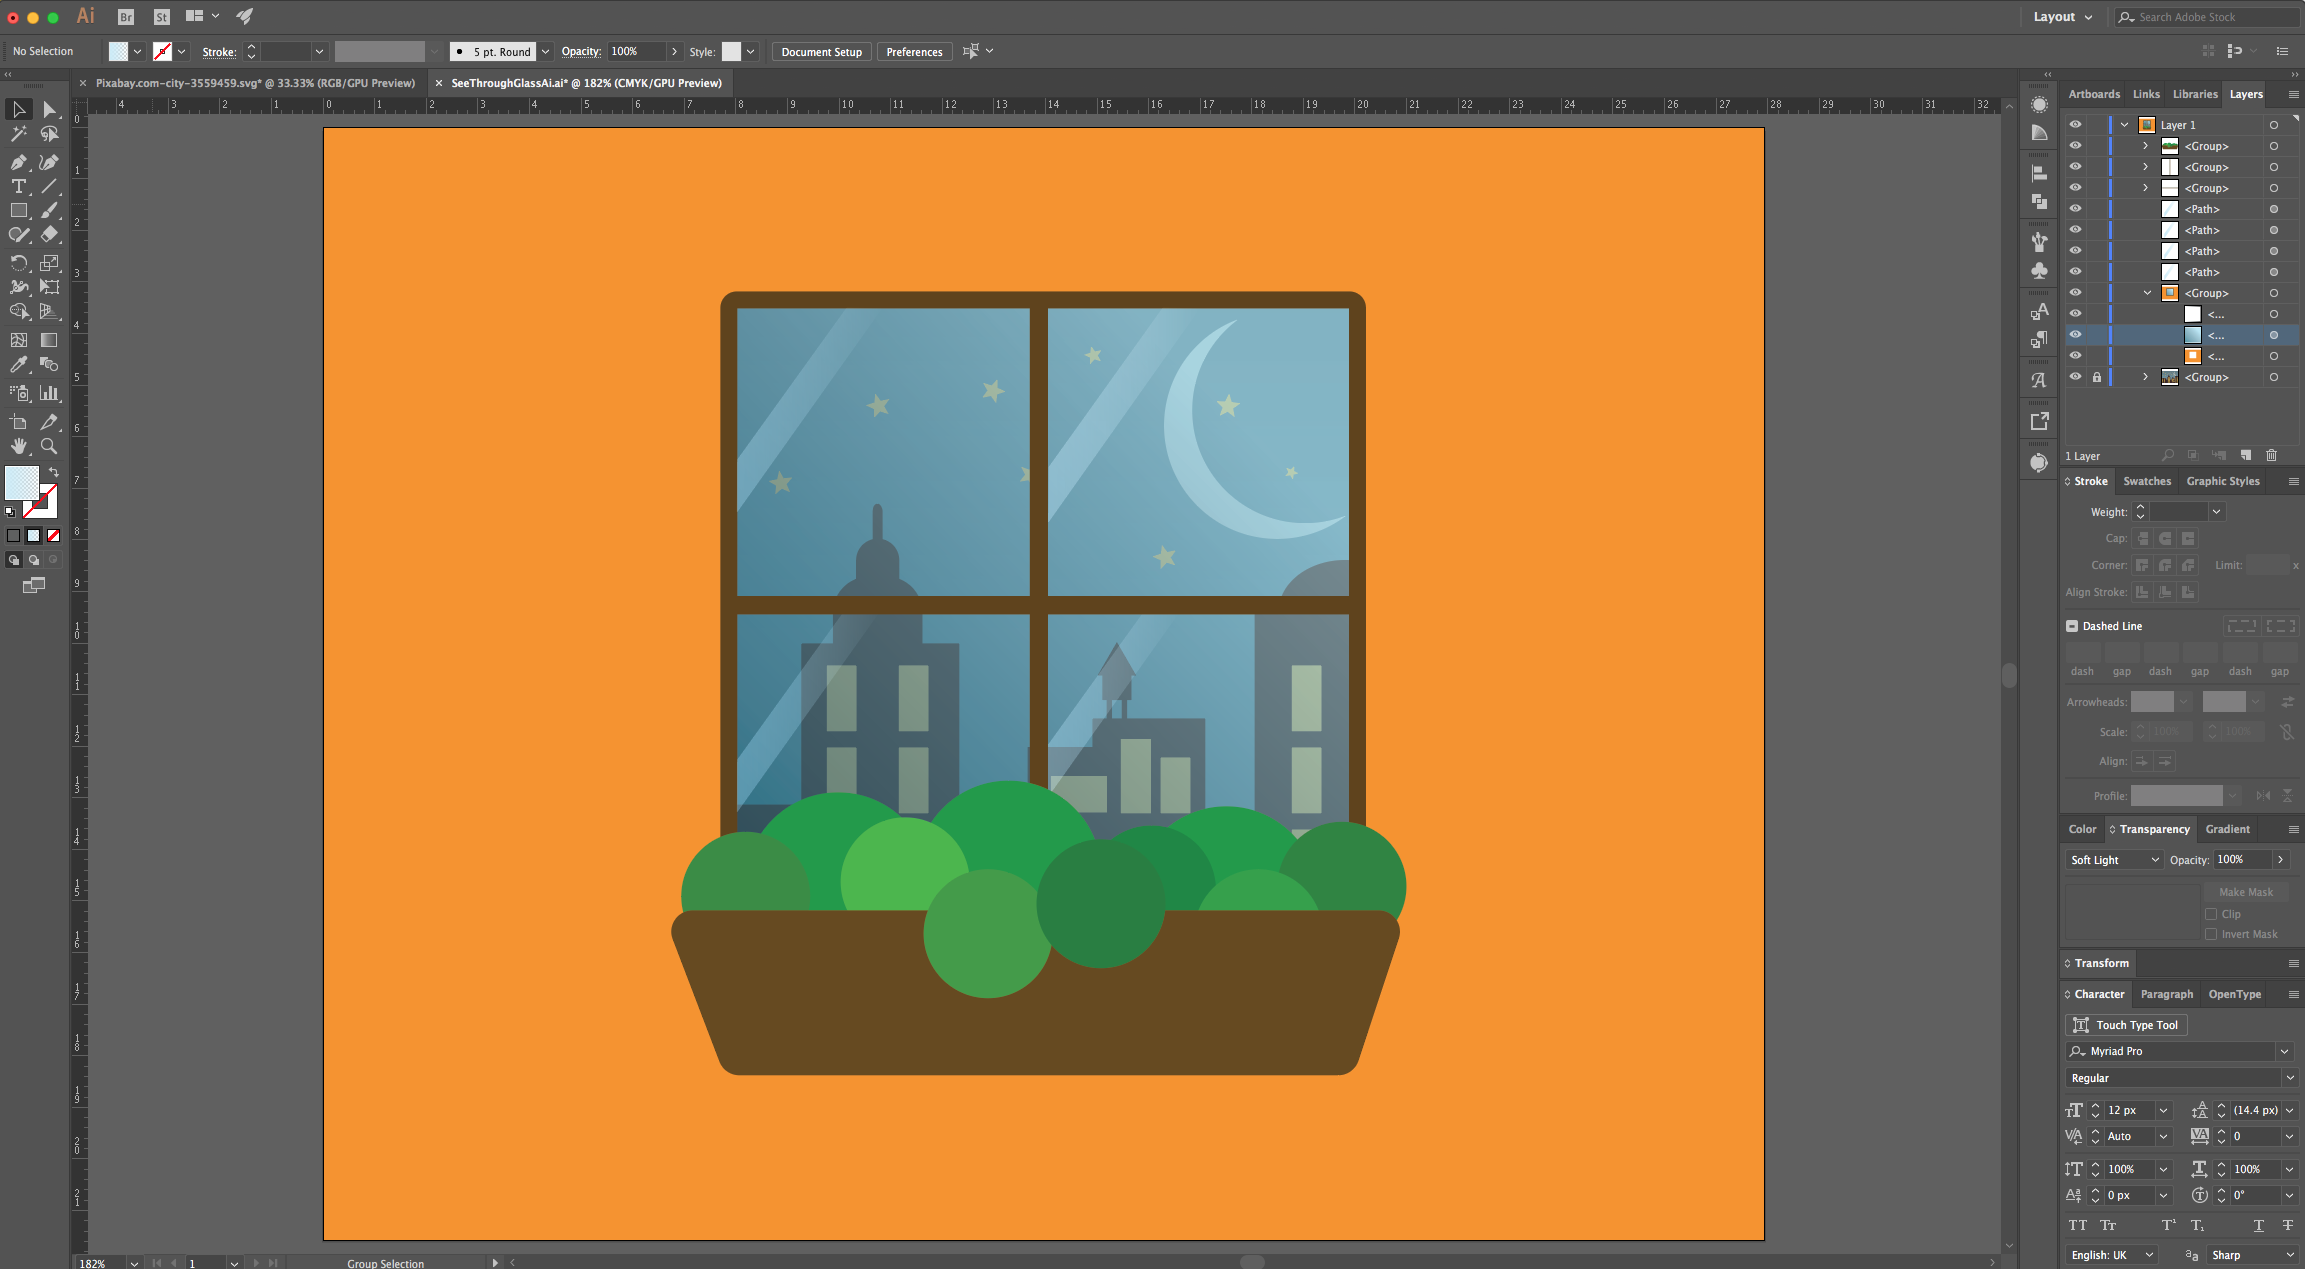
by @lornacane
6 Related Illustrator Tutorials
In today's tutorial we will show you how to create a see-through cut out text in Photoshop. This is a great way to impact in your projects including logos, social media and websites.You will need an image to use as “Background”. You are welcome to browse through the Commercial ...
Have you wanted to create vector images from your drawings but didn’t know how? It’s actually pretty easy to do. In this tutorial, we’ll teach you how to convert a drawing to a vector in Adobe Illustrator.We’ll be using a drawing of a feather from ...
Today, we will learn how to create quite popular yet simple flat-style vector diamonds and/or gems in Illustrator. We will achieve this with some basic shapes and a simple color palette. We are going to create two basic views of the vector diamonds, a look from the top and ...
1 - In Illustrator, create a “New Document”.2 - Select the “Rectangle Tool” (M), click on the Top-Left corner of your Canvas and input the same “Width” and “Height” of your document to make a rectangle that covers all of it and fill it with a “Radial Gradient” from White with 0% “...
This tutorial will show you how to create a pop art vector image in Illustrator from a photo. Pop art vector images work well on posters, stickers, and sublimation designs as they are very striking with saturated colors and bold outlines.For this tutorial, you will need an image or ...
1 - In Illustrator, create a “New Document”.2 - Select the “Rectangle Tool” (M), draw a rectangle covering your whole document and fill it with Black.3 - Lock your “Background” Layer by clicking on the left side of its thumbnail to bring out the small “Padlock” icon. Create a “New Layer” ...

 All your Font Needs


