Unlimited Downloads 15% off Marketplace Purchases Exclusive Software Access Unlimited Downloads
15% off Marketplace Purchases
Exclusive Software Access
Go Unlimited Maybe Later
Silhouette Studio Lock Layer Tool
  • By Design Bundles
  • 19 Dec 2018
  • 3 Mins
  • Silhouette Tutorials

Silhouette Studio Lock Layer Tool

Learn how to lock layers using the lock layer tool in Silhouette Studio.

Using the lock layer tool in Silhouette Studio can be super helpful when designing to ensure layers aren't getting moved around.

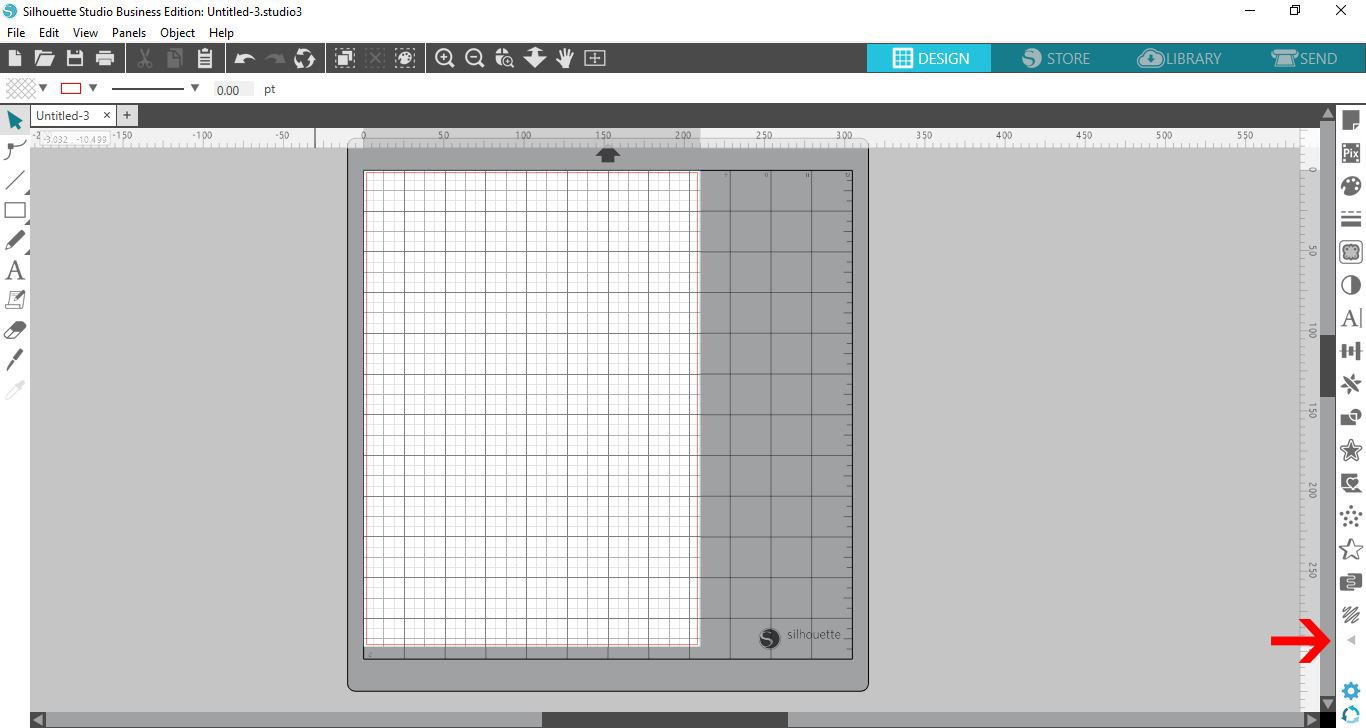
Step 1 - Click the triangle icon

Open Silhouette Studio and click on the little triangle icon at the bottom right of the toolbar.

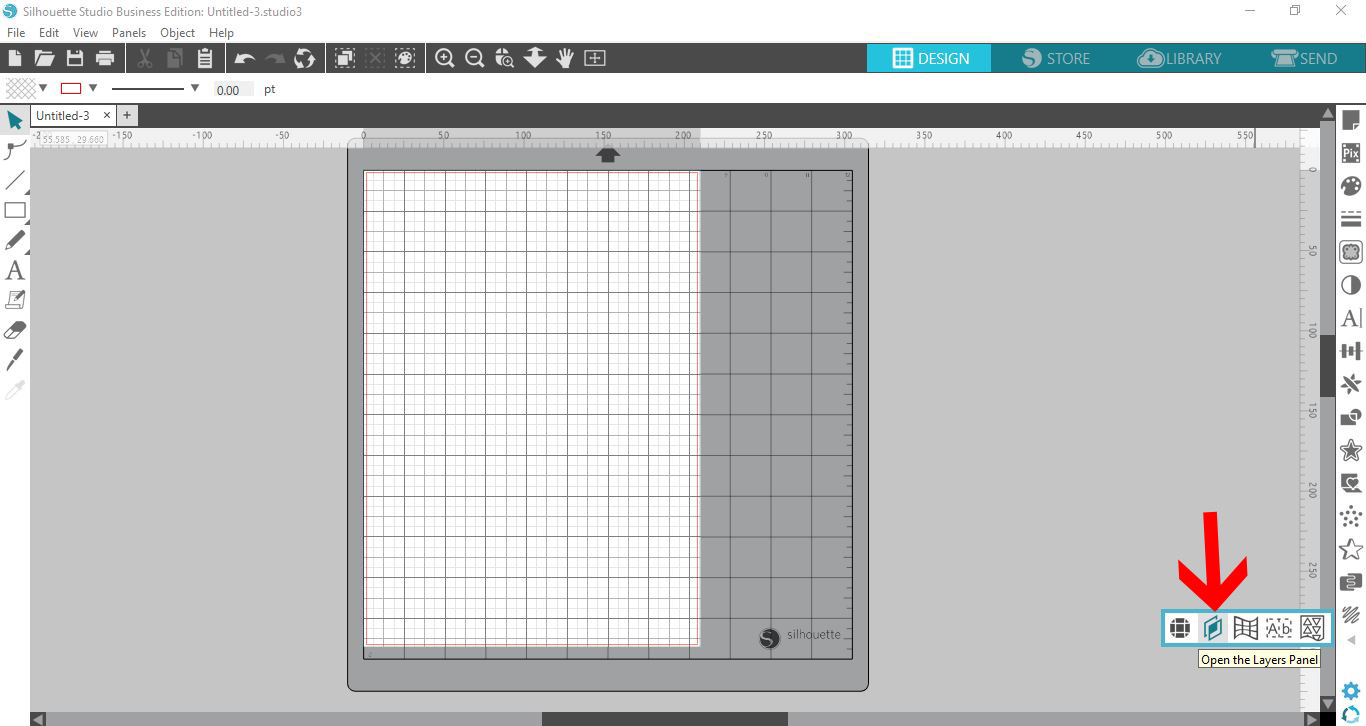
A pop out toolbar will appear. Click on the layer tab icon.

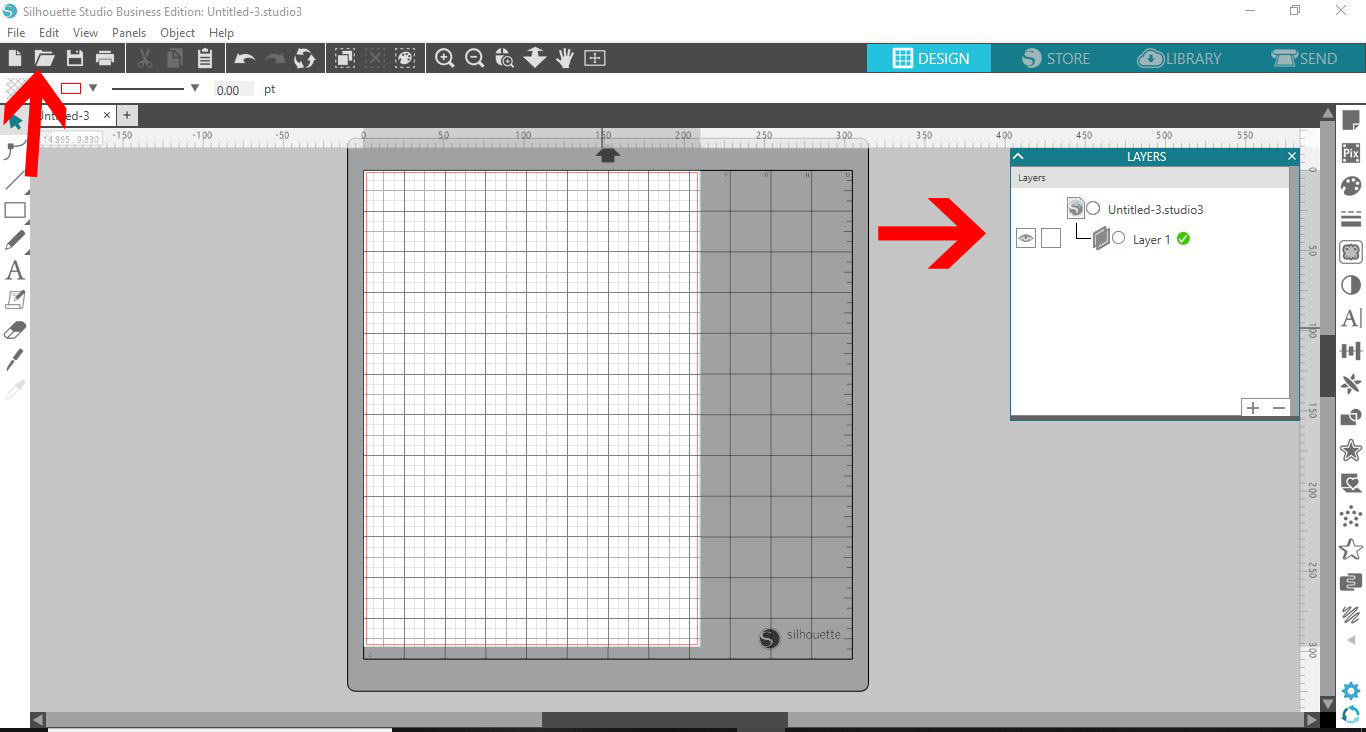
Step 2 - Open your file

The layer panel will appear on your screen. Open your file.

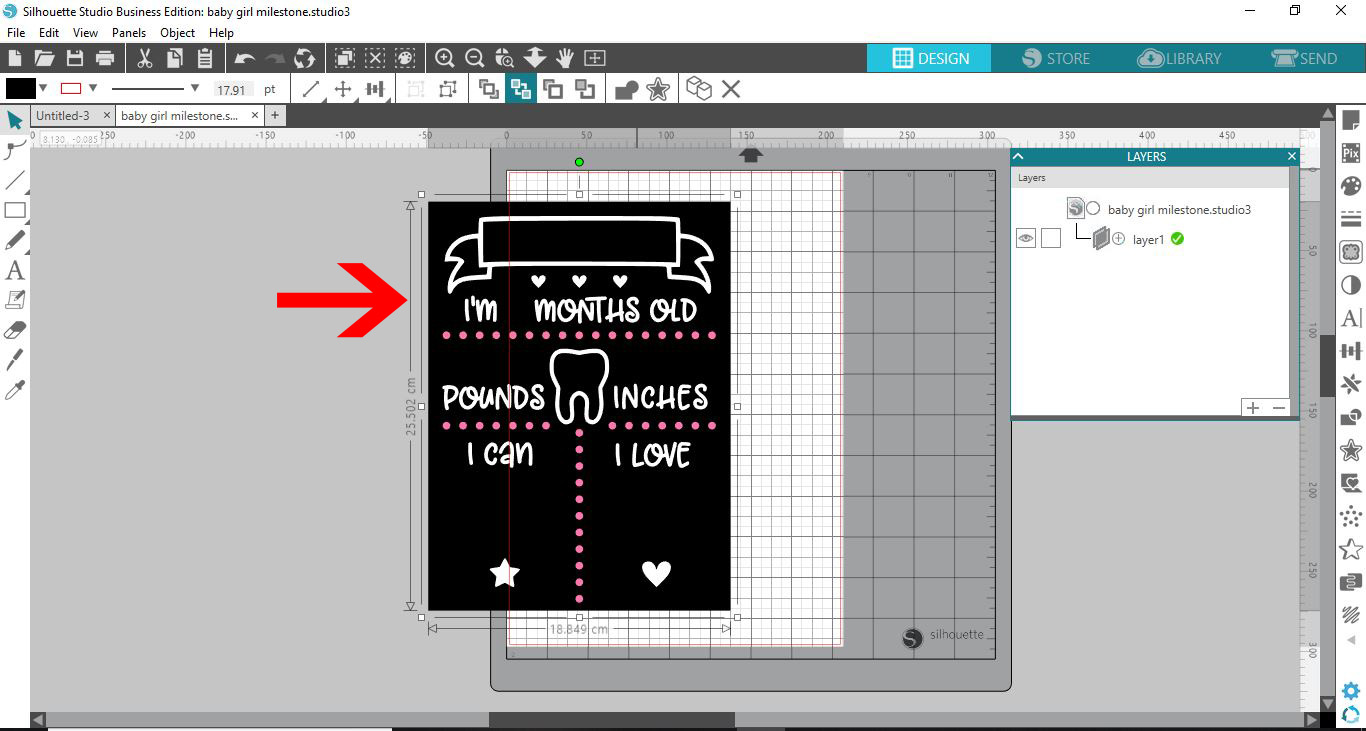
Your design will appear on the design space. I am using Baby milestone SVG from Design Bundles.

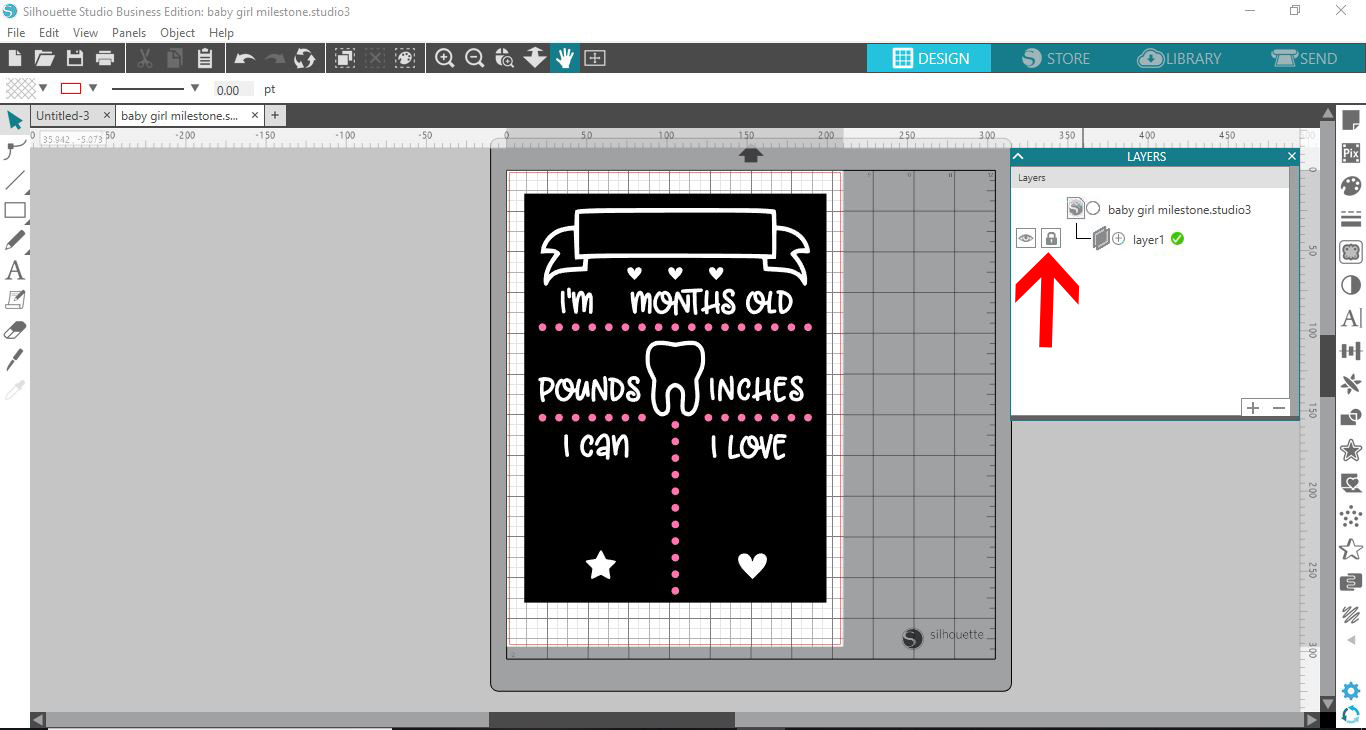
Your design is layer 1. There are two icons available for you to use. The little eye icon is to hide the image on your design space, and the second blank box is the lock layer option. When the lock layer option is not selected your image/design can move freely around your design space.

Step 3 - Click on the padlock icon

When the lock layer icon is selected, you will see a little padlock in the box. This will lock the design in place so it cannot move. The lock layer option is great when you are having to add many elements onto a single design. With it selected you will not accidentally select the design and move it (and therefore making everything out of alignment).

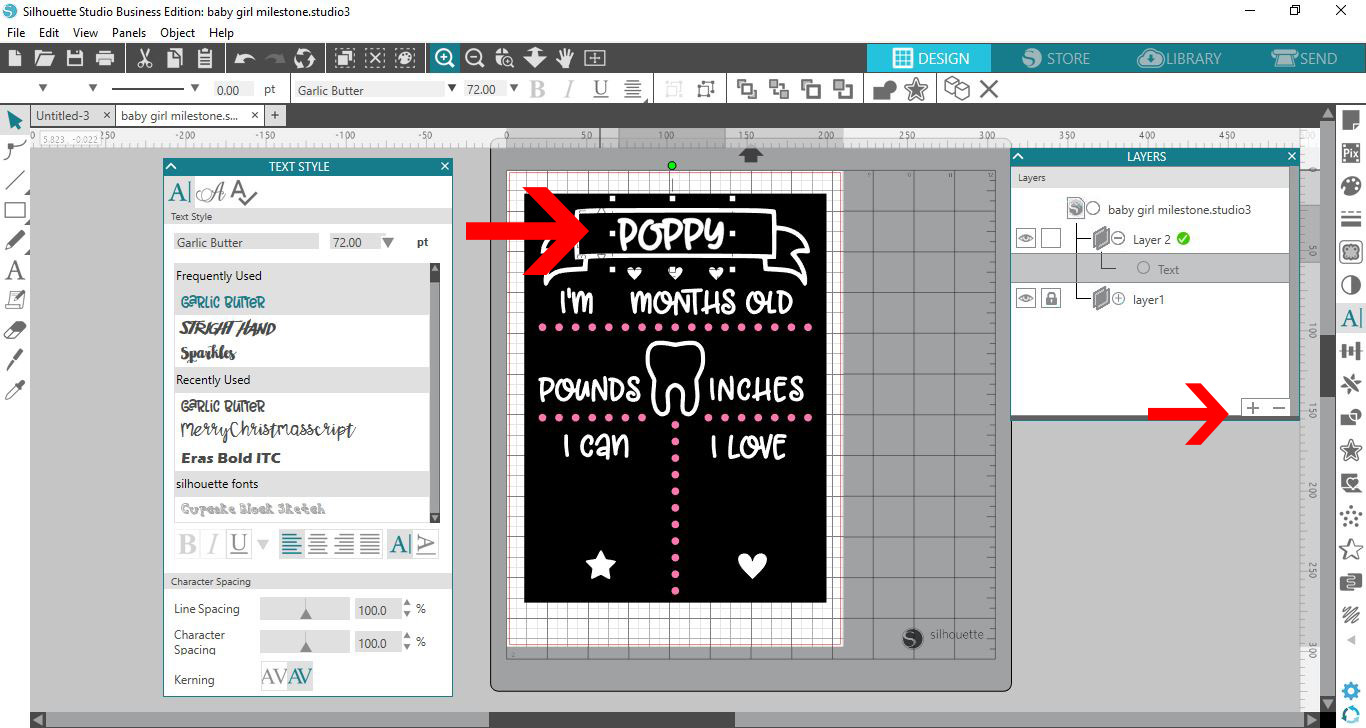
If you want to add new elements and be able to lock those as well, click on the + icon on the layers tab. This will create a new layer for you to add your text/image/shape.

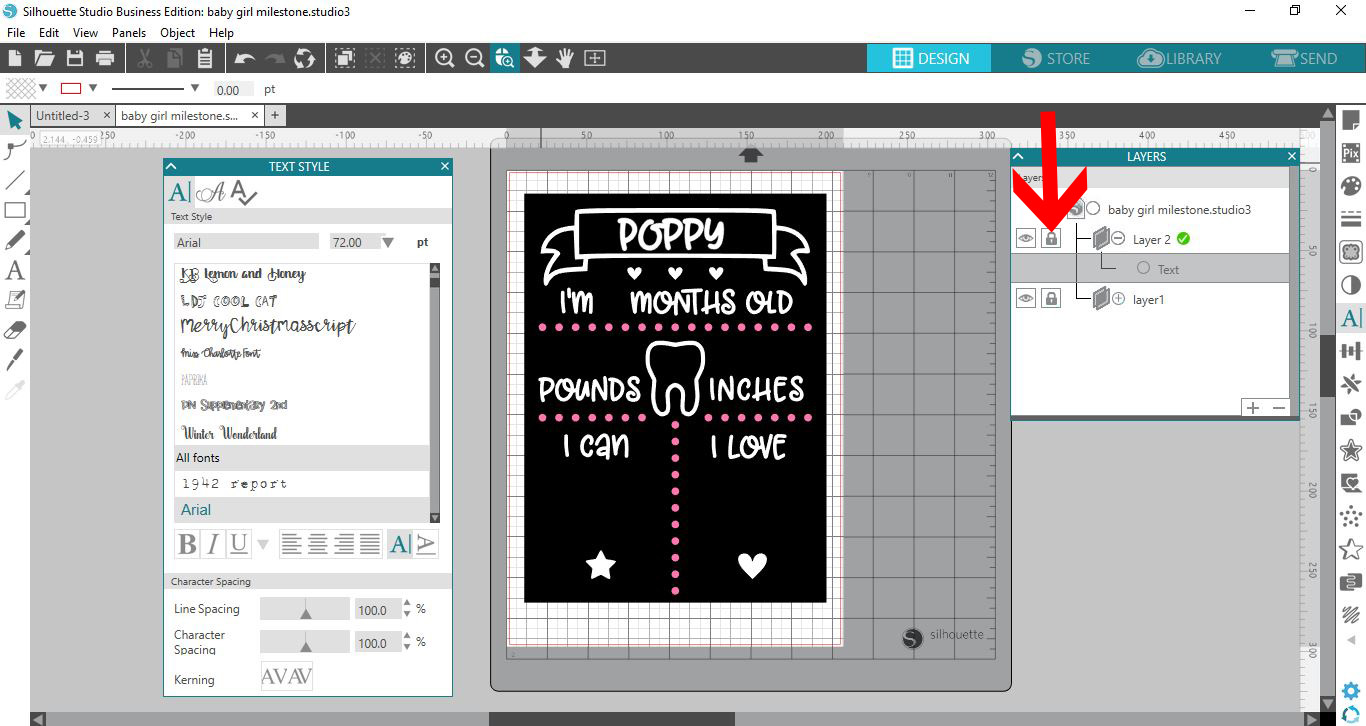
You can now click on the lock box on layer 2 so the text/image etc is locked in place also. You can repeat this technique for every part of your design so nothing moves out of place as you add more designs or text.

You have now learned how to use the lock layer tool in Silhouette Studio!


6 Related Silhouette Tutorials

1- Open Silhouette Studio2- Add graphic and click on the replicate panel3- To duplicate click on the image showing what you trying to do.Here is the result:3- Rows and columns will produce three or four graphics total in the direction of the image you choose.Here ...

1- Open Silhouette Studio2- Add text or graphics for your project.If it's text you need to have them as separate images to use with this feature. We're using the Weathered Sweater font.3- Open the Transform panel on the left-hand side.4- Select the correct image showing the ...

In today’s tutorial you will learn how to use the Modify Tool in Silhouette Studio. With the Modify Tool Panel, you can change the interaction between overlapping objects. This is especially useful when designing cut files from scratch. The ModifyTool is available in all Silhouette Studio versions.Throughout the ...

In this tutorial we will guide you on how to calibrate with the Distance Adjustment Tool in Silhouette Studio. The tool is used to correct any differences in your design measurement. You may find that your machine is cutting slightly off the design. It can be highly frustrating but with ...

1- Open Silhouette Studio.2- Click on the rectangle tool, a new pop out will appear. select the polygon icon.3- Click and drag on your work space.You will create a polygon.4- Hold the ALT key while creating your polygon to ensure the shape is created straight rather ...

Splitting or slicing an image in Silhouette Studio is done by using the Knife Tool.Applied to cut lines or images, projects such as creating Split Monograms are easily achieved. Once your image is selected click the Knife Tool on the left side panel, click and drag across your design ...

You may also like

Help Center
ol image