Unlimited Downloads 15% off Marketplace Purchases Exclusive Software Access Unlimited Downloads
15% off Marketplace Purchases
Exclusive Software Access
Go Unlimited Maybe Later
Using the Polygon tool in Silhouette Studio
  • By Design Bundles
  • 09 Feb 2018
  • 2 Mins
  • Silhouette Tutorials

Using the Polygon tool in Silhouette Studio


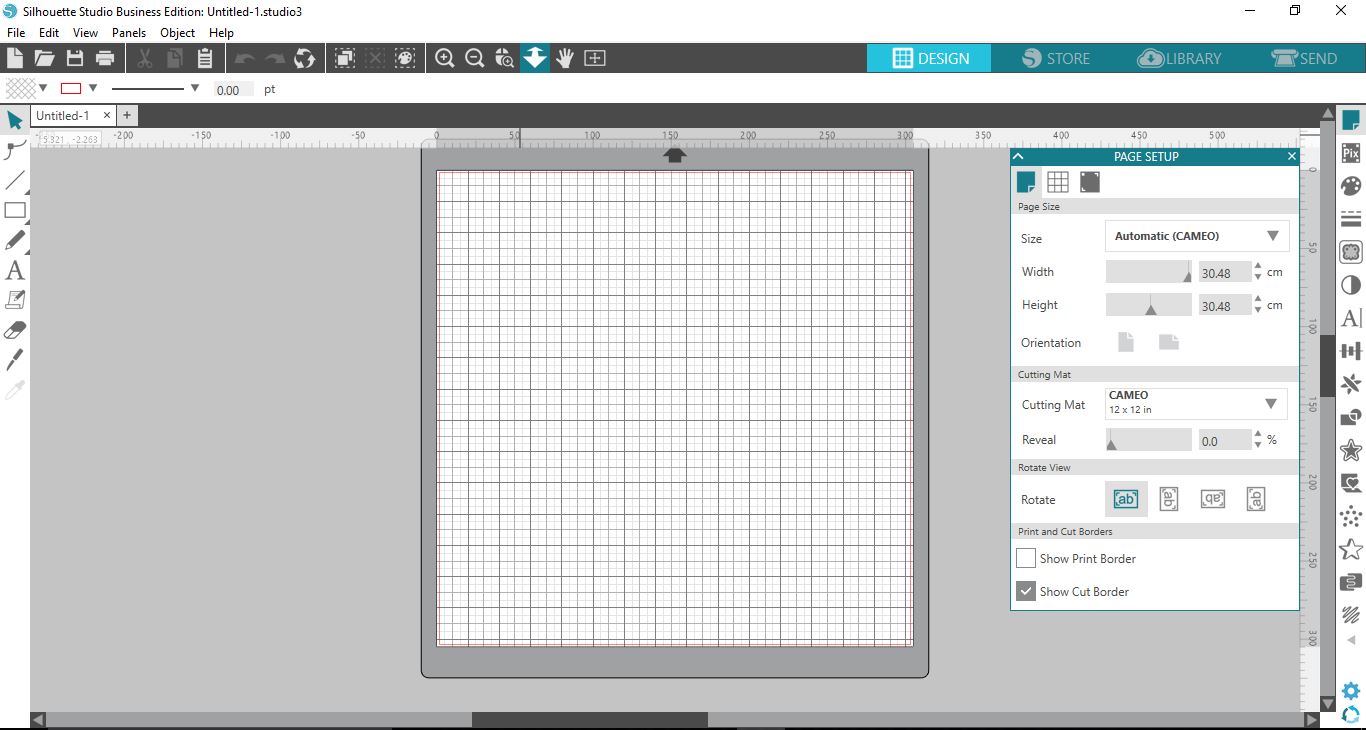
1- Open Silhouette Studio.


2- Click on the rectangle tool, a new pop out will appear. select the polygon icon.


3- Click and drag on your work space.You will create a polygon.


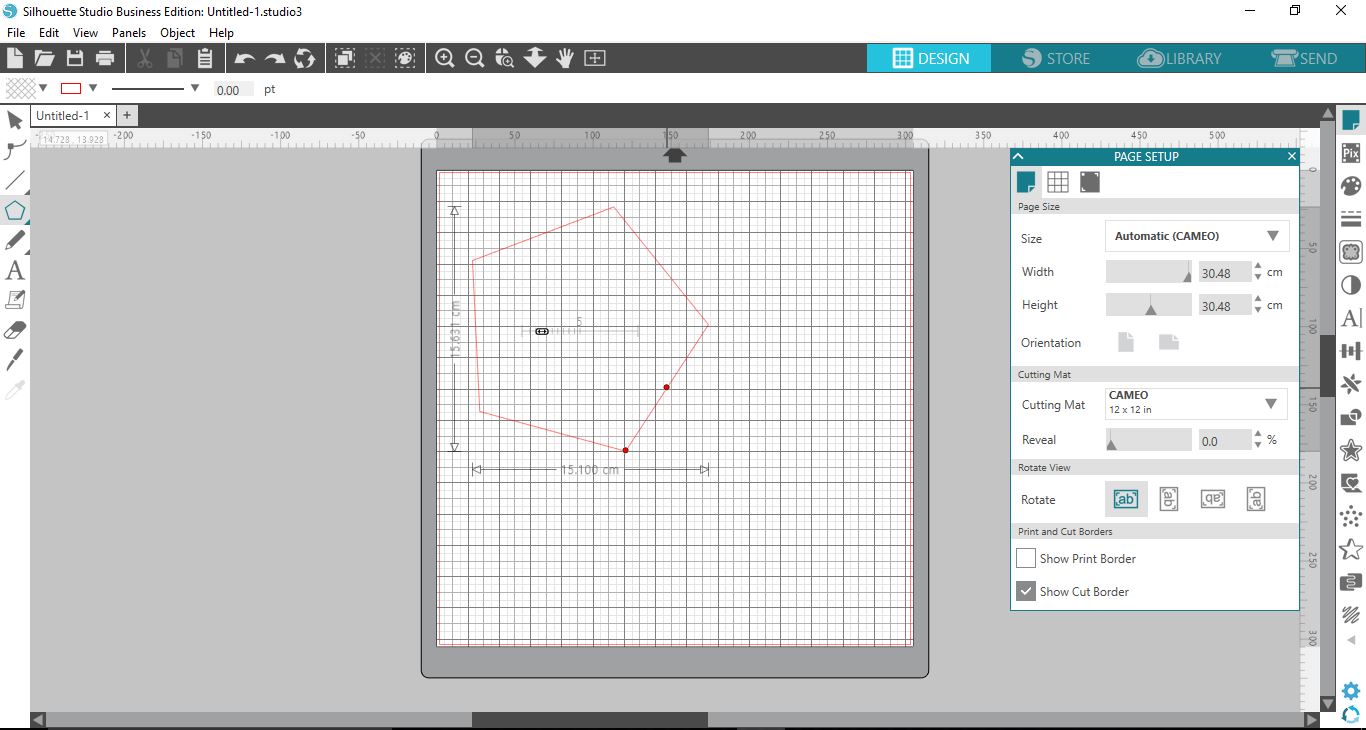
4- Hold the ALT key while creating your polygon to ensure the shape is created straight rather than is rotating as you create it.


5- To adjust the number of sides on your polygon, you can click on the slider in the middle of the polygon to increase and decrease the number of sides.


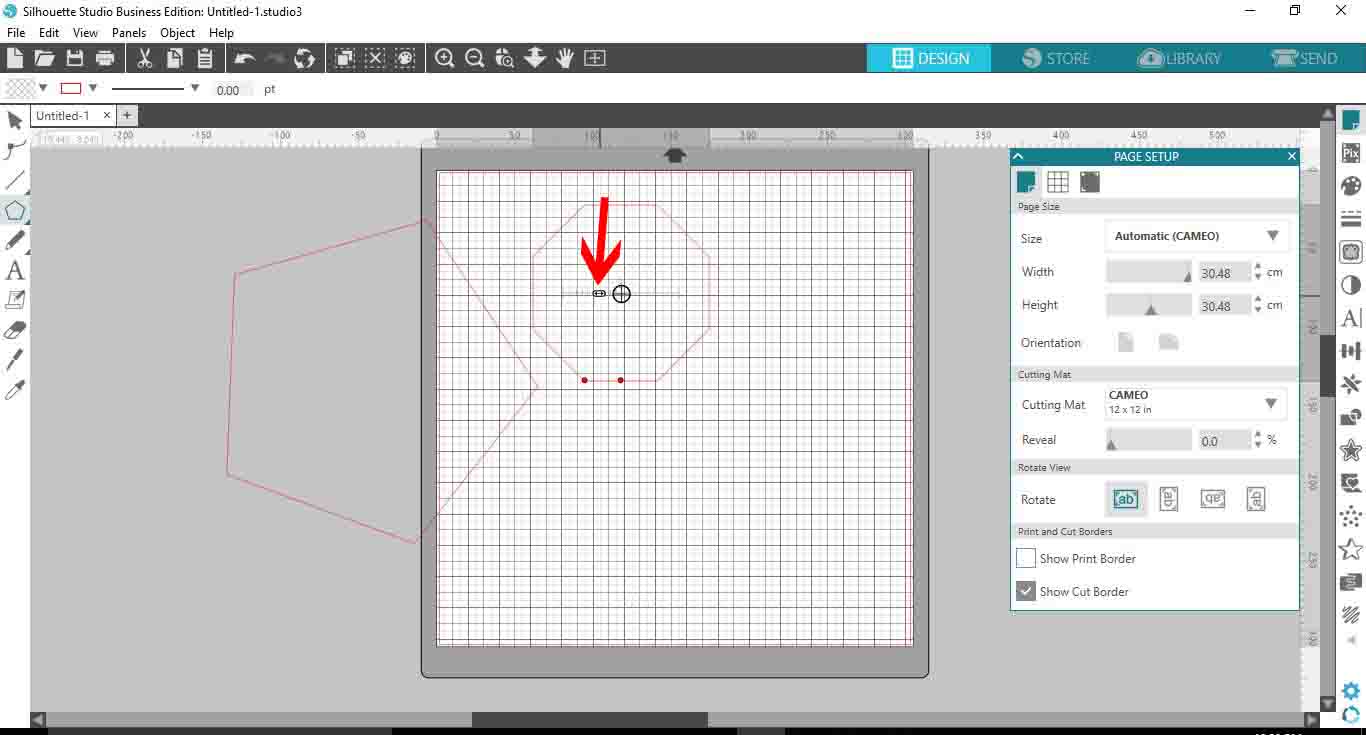
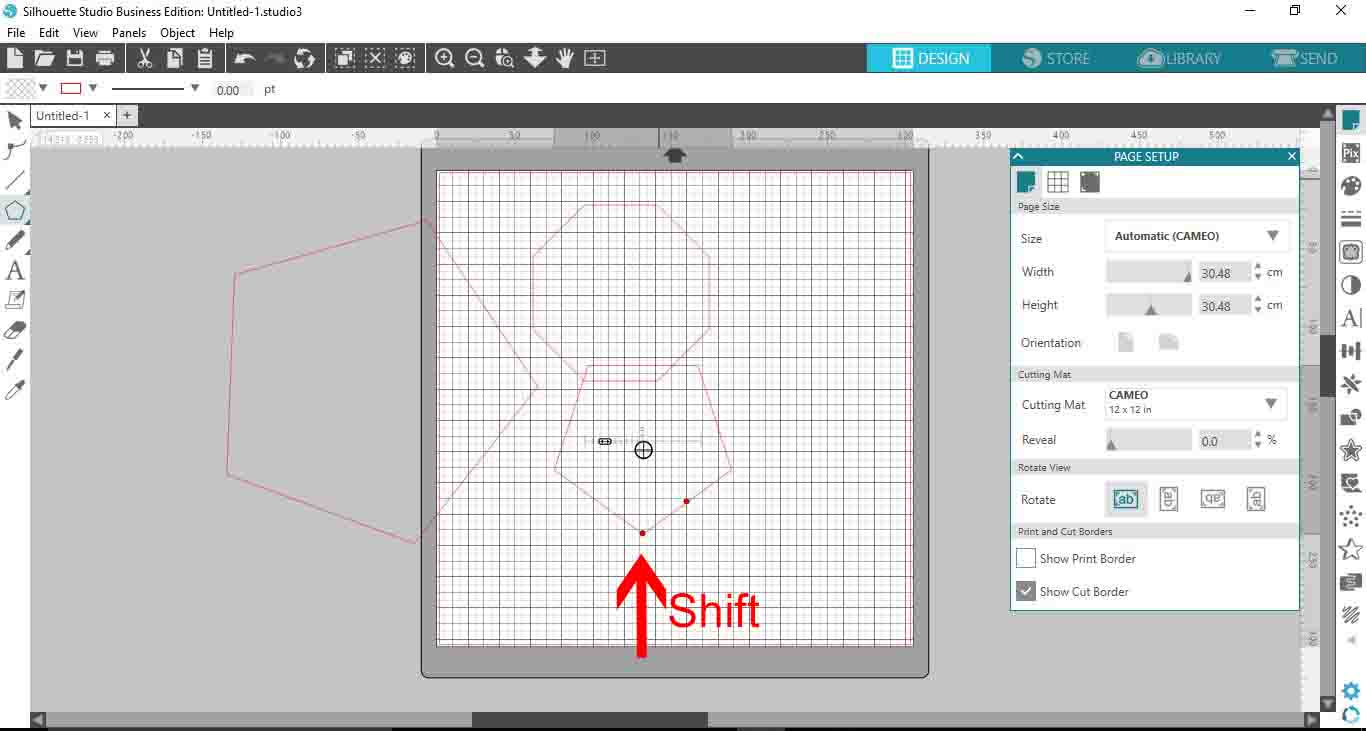
6- If you click on the red node in the middle of a side and hold shift, you can rotate the polygon so each side as you move is horizontal.


7- If you click on a corner node and hold shift while moving the polygon, the polygon will lock to each corner.


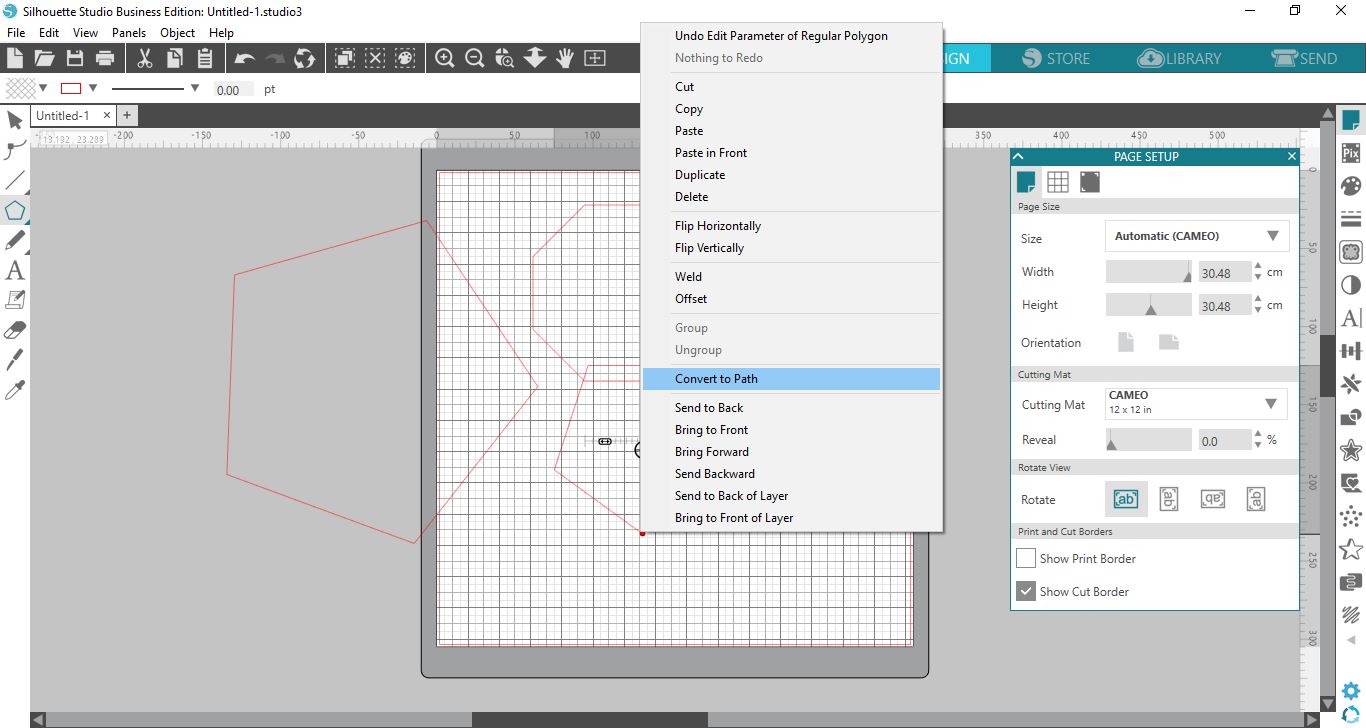
8- When you are happy with your polygon, right click and convert to path. This will remove the nodes and slider.


6 Related Silhouette Tutorials

The Lasso Tool in Silhouette Studio makes selecting multiple items in a design hassle free. This is especially useful for designs where ungrouped elements are very close together. The Lasso tool is available in the Silhouette Studio (4.2) Designer Edition or higher. In our tutorial today we will go over the ...

The Toggle Tool allows you to toggle between studio versions. It is an important tool for those who teach or create tutorials using Silhouette Studio. We will show you how easy it is to use the Toggle Tool in Silhouette Studio. You will also learn how to hide your email ...

1- Open Silhouette Studio2- Add text or graphics for your project.If it's text you need to have them as separate images to use with this feature. We're using the Weathered Sweater font.3- Open the Transform panel on the left-hand side.4- Select the correct image showing the ...

In today’s tutorial you will learn how to use the Modify Tool in Silhouette Studio. With the Modify Tool Panel, you can change the interaction between overlapping objects. This is especially useful when designing cut files from scratch. The ModifyTool is available in all Silhouette Studio versions.Throughout the ...

1- Open Silhouette Studio2- Add graphic and click on the replicate panel3- To duplicate click on the image showing what you trying to do.Here is the result:3- Rows and columns will produce three or four graphics total in the direction of the image you choose.Here ...

*Silhouette Cameo 3 used. 1- Open silhouette studio and click on the text icon.2- Type your text.3- You can change your font. I am using  luducudu font from fontbundles.net4- Click on the sketch tool.5- As you can see there are a lot of sketch options in ...

You may also like

Help Center
ol image